
Ly6/t56 in my 79 t/a
 03-13-2013, 02:03 PM
#41
Staging Lane
Thread Starter
iTrader: (5)
Join Date: Oct 2012
Location: Norman,OK
Posts: 95
Likes: 0
Received 0 Likes
on
0 Posts
I'd love to see pics of that when finished or in the process. My stock shaker base was messed up when I got the car so I am not exactly sure how it is supposed to look.
 03-14-2013, 02:20 PM
#42
Staging Lane
Thread Starter
iTrader: (5)
Join Date: Oct 2012
Location: Norman,OK
Posts: 95
Likes: 0
Received 0 Likes
on
0 Posts
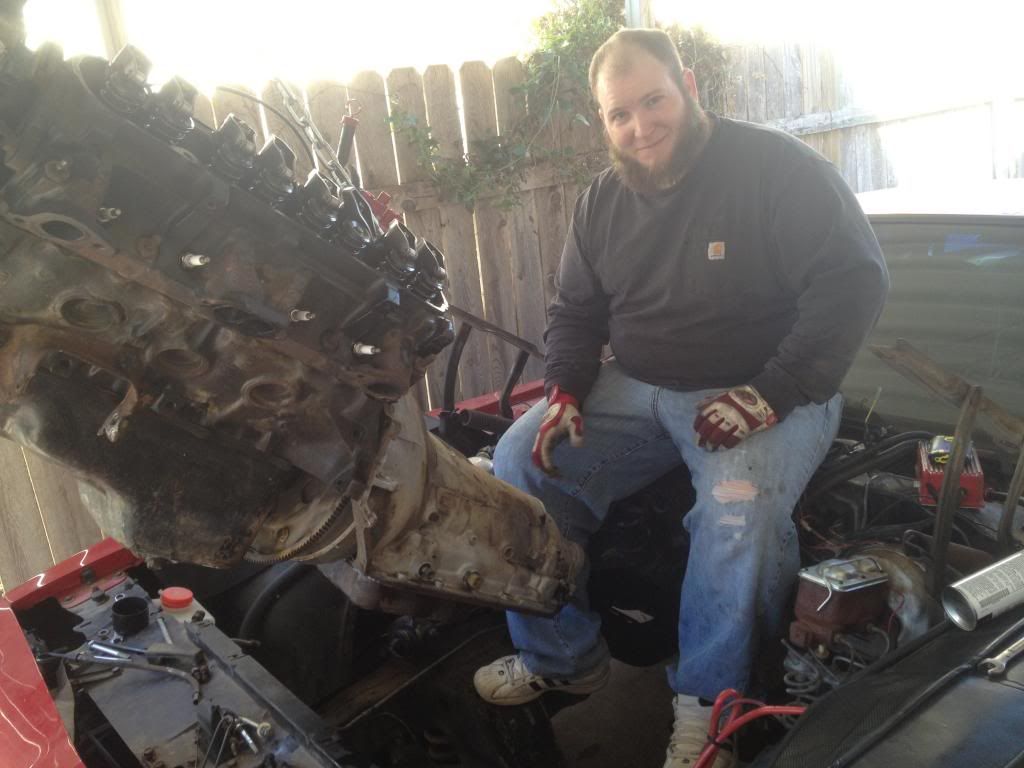
I took off work today and tomorrow for the big Houston meet and decided to leave later today so that I could make some progress on the car. My brother came over and helped today.
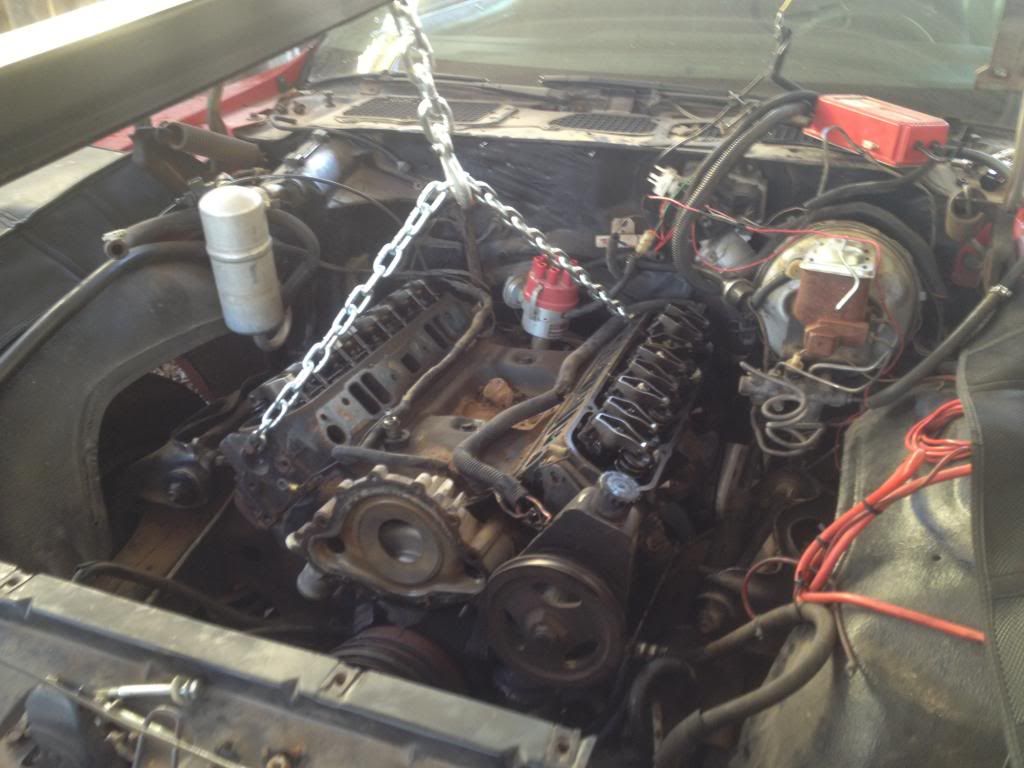
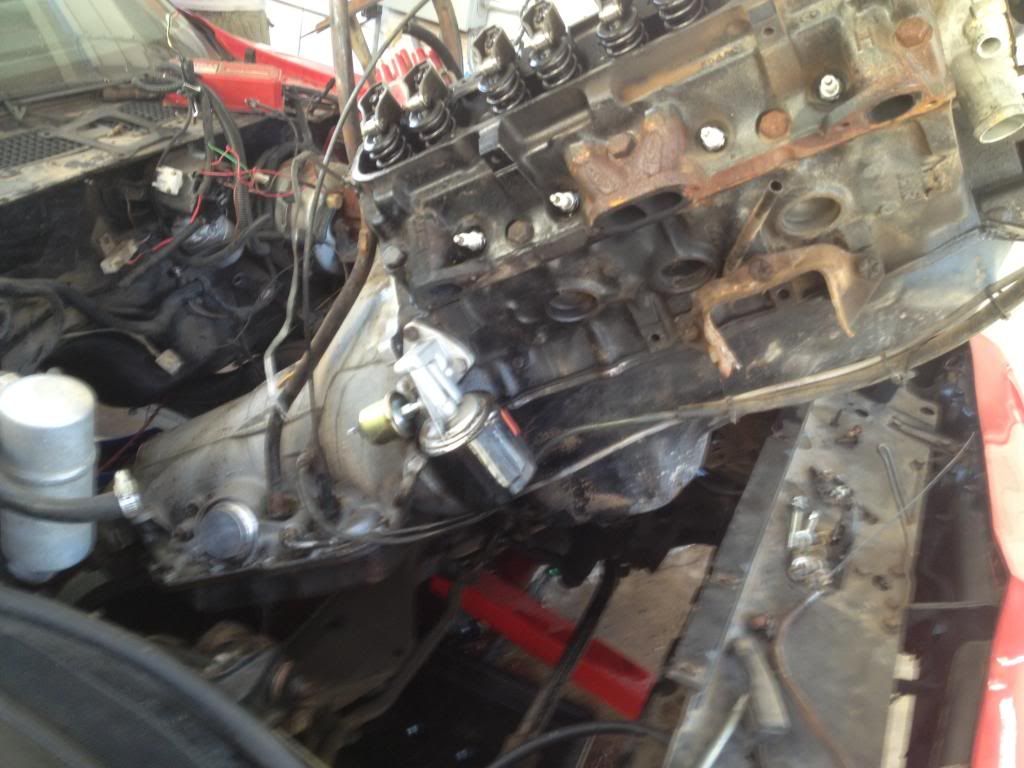
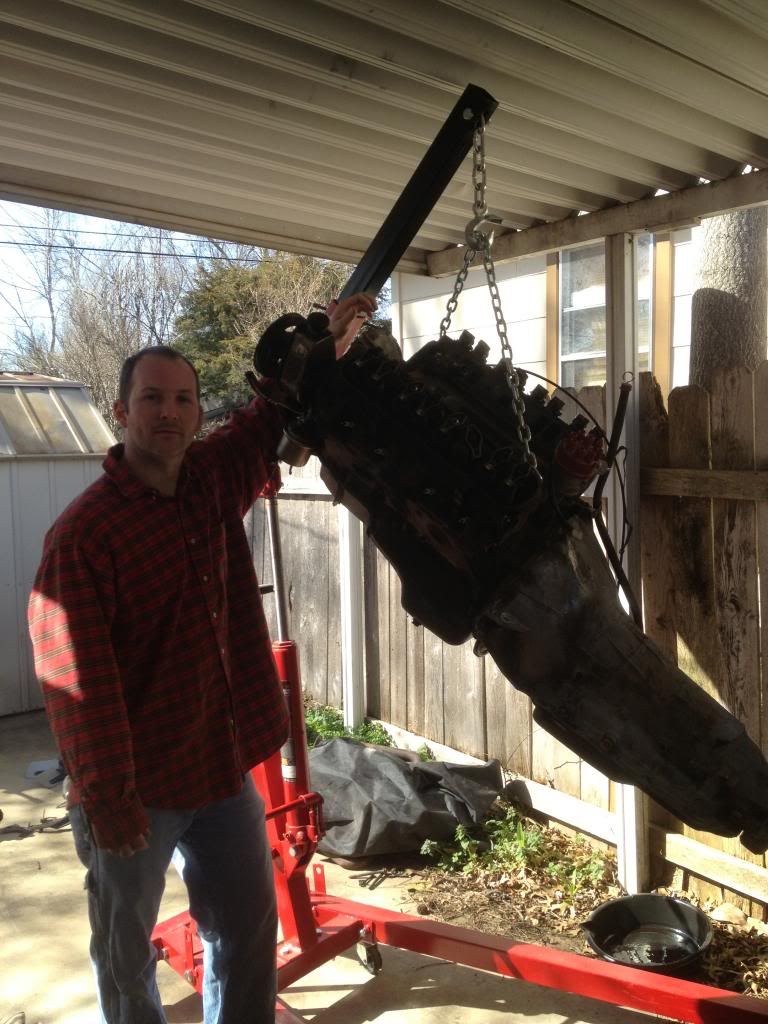
My bro..haha
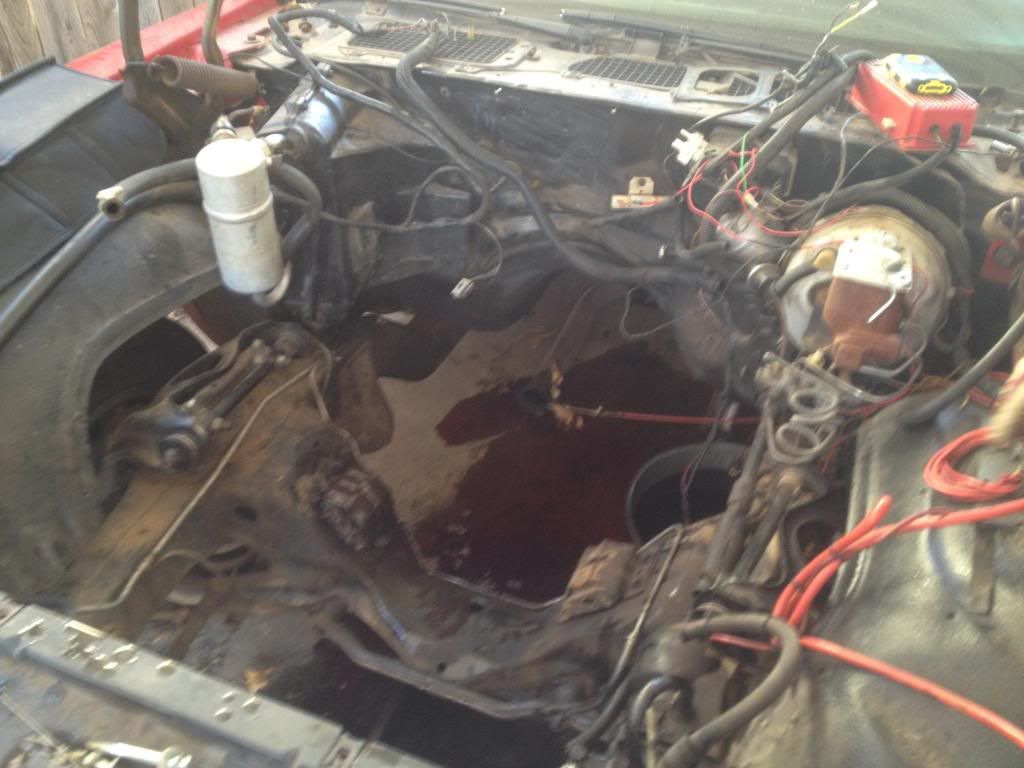
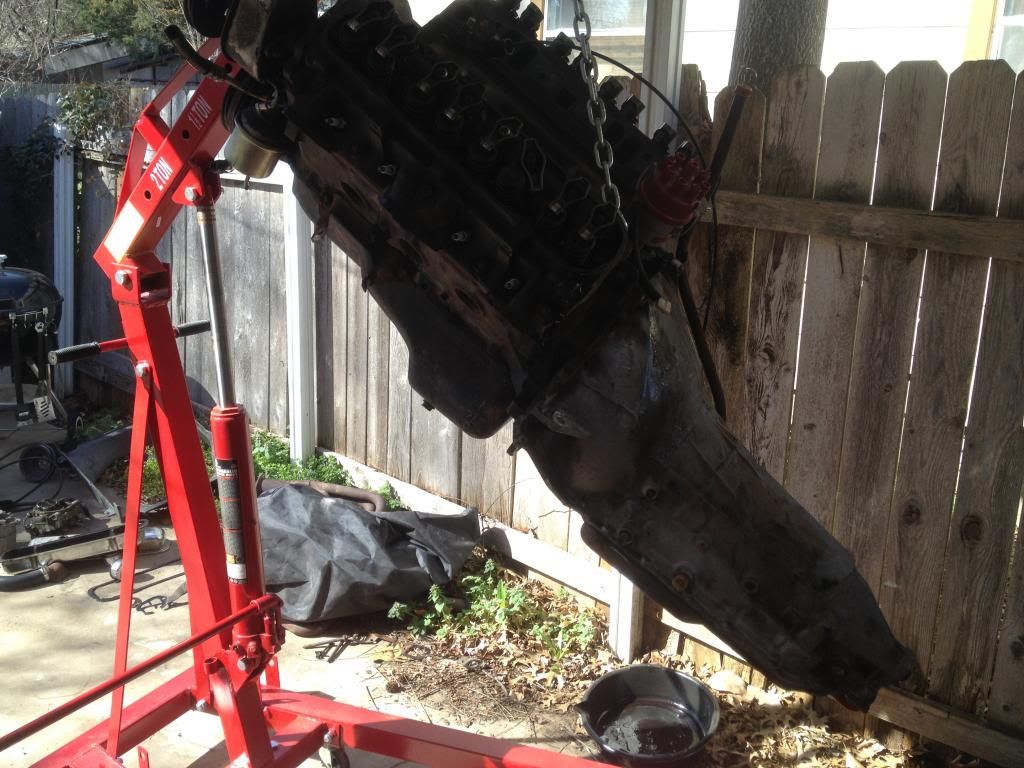
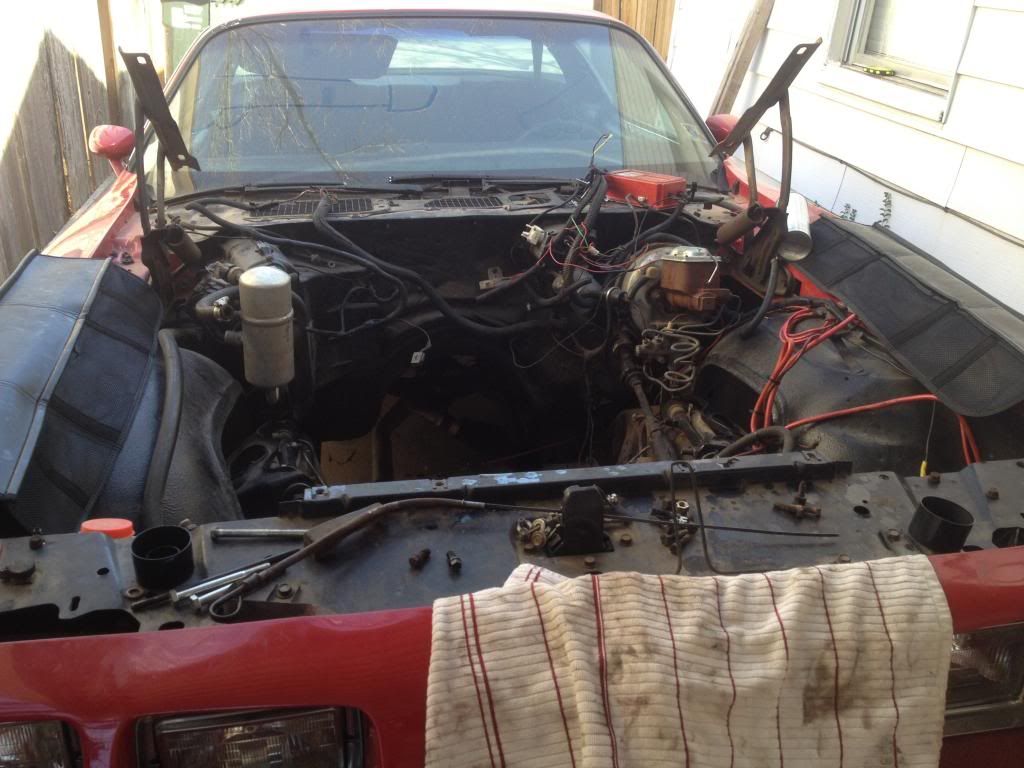
She is out!!
This is my 'cool' face as I wear my official work on car shirt.
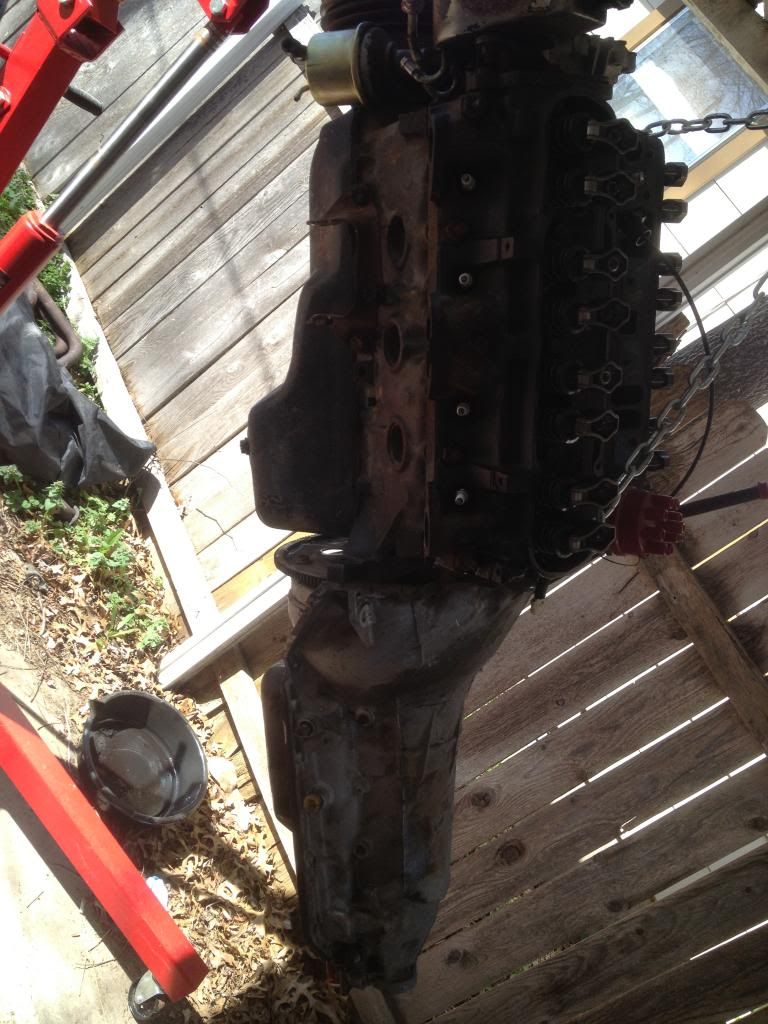
A guy came by and picked up the motor and transmission about an hour later so I guess I have some more go fast money. Cam perhaps
Well, that is all for today. Off to Houston!
My bro..haha
She is out!!
This is my 'cool' face as I wear my official work on car shirt.
A guy came by and picked up the motor and transmission about an hour later so I guess I have some more go fast money. Cam perhaps
Well, that is all for today. Off to Houston!
03-15-2013, 10:43 AM
#43
On The Tree
iTrader: (1)

Join Date: Apr 2009
Location: 201 NJ
Posts: 153
Likes: 0
Received 0 Likes
on
0 Posts

What are you doing about the map sensor? The one that came in my LY6 doesn't fit tight enough to seal in the LS3 intake. I was going to get an LS3 map and change the connector. If there's a way to keep the truck map I'd like to know.
03-15-2013, 01:35 PM
#44

Here is the bracket:
[IMG]
 [/IMG]
installed:
[IMG]
 [/IMG]
Sorry Redline didn't mean to hi-jack your thread
 03-15-2013, 11:23 PM
#45
Staging Lane
Thread Starter
iTrader: (5)
Join Date: Oct 2012
Location: Norman,OK
Posts: 95
Likes: 0
Received 0 Likes
on
0 Posts
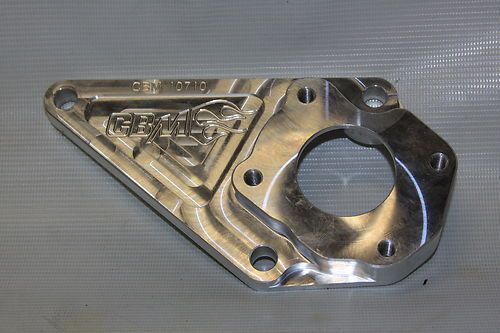
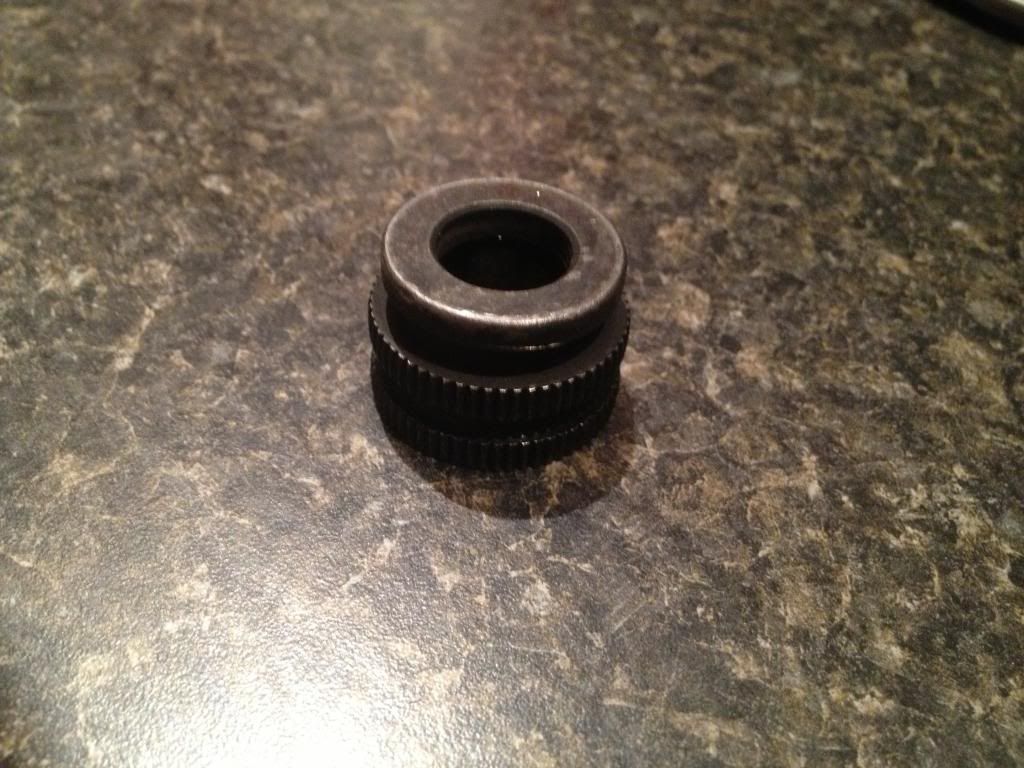
I cheated and used my LQ4 map sensor. You have to pull the rubber seal off and wrap electrical tape or equivilant around the stem and then push the rubber back over it. This will expand the diameter to a nice tight fit in the LS3 intake. I also made a bracket to hold down on the sensor to prevent it from working loose.
Here is the bracket:
[IMG][/IMG]
installed:
[IMG][/IMG]
Sorry Redline didn't mean to hi-jack your thread
Here is the bracket:
[IMG]
[/IMG]installed:
[IMG]
[/IMG]Sorry Redline didn't mean to hi-jack your thread
No apology necessary!
03-30-2013, 06:05 PM
#46
Staging Lane
Thread Starter
iTrader: (5)
Join Date: Oct 2012
Location: Norman,OK
Posts: 95
Likes: 0
Received 0 Likes
on
0 Posts
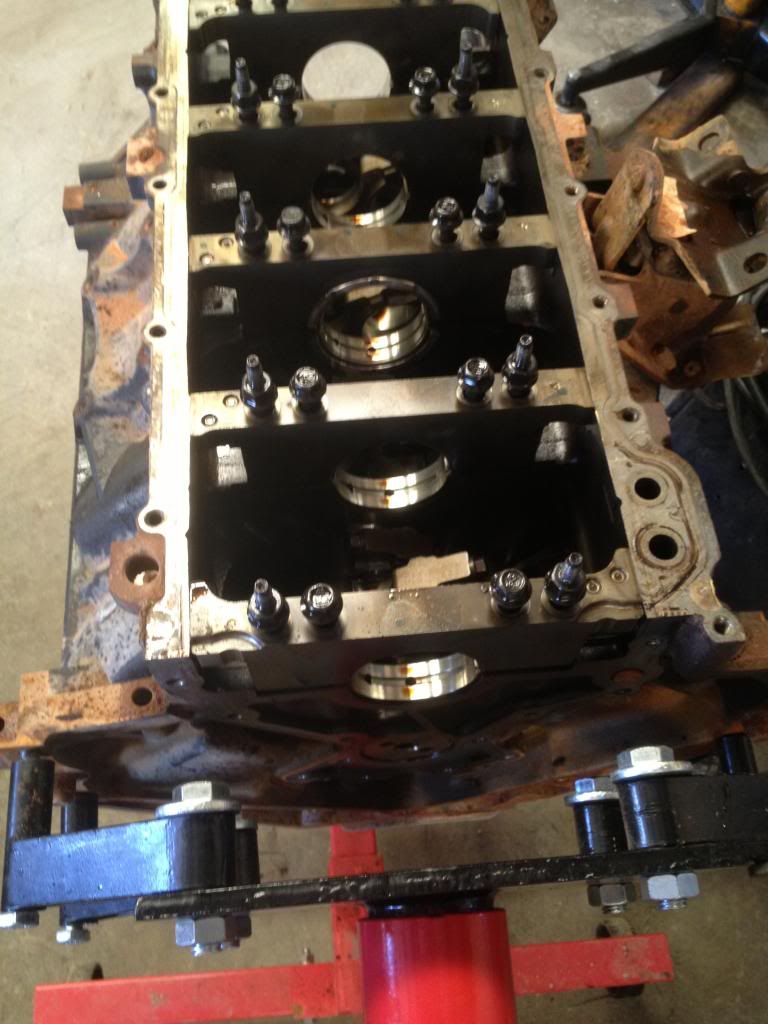
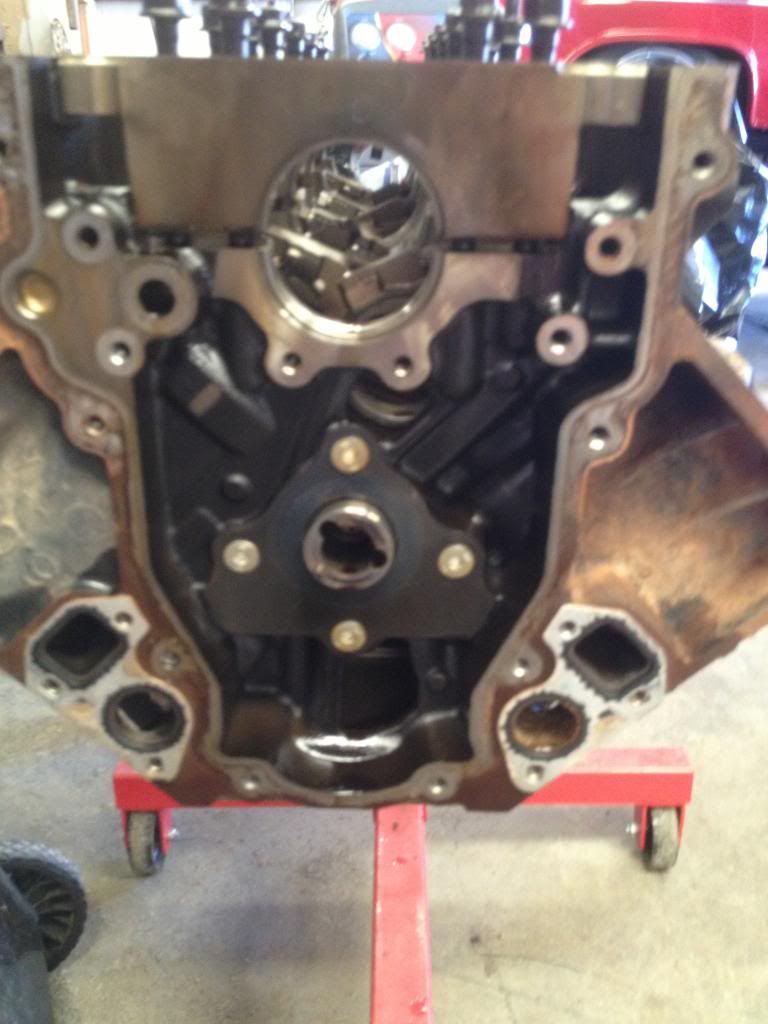
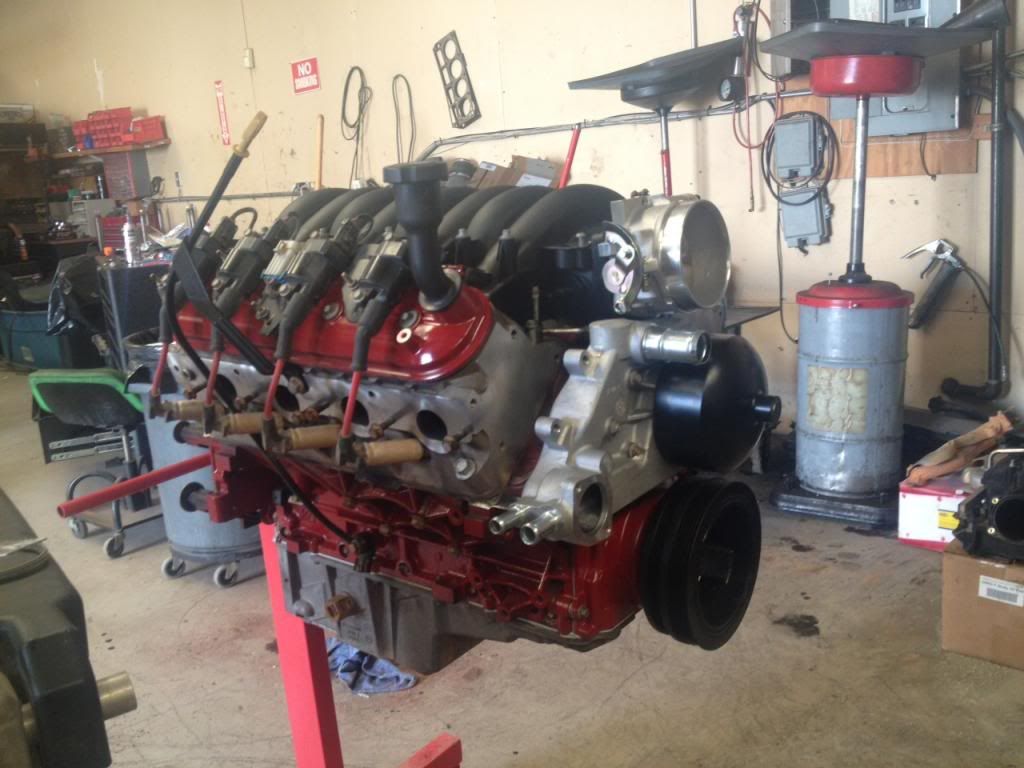
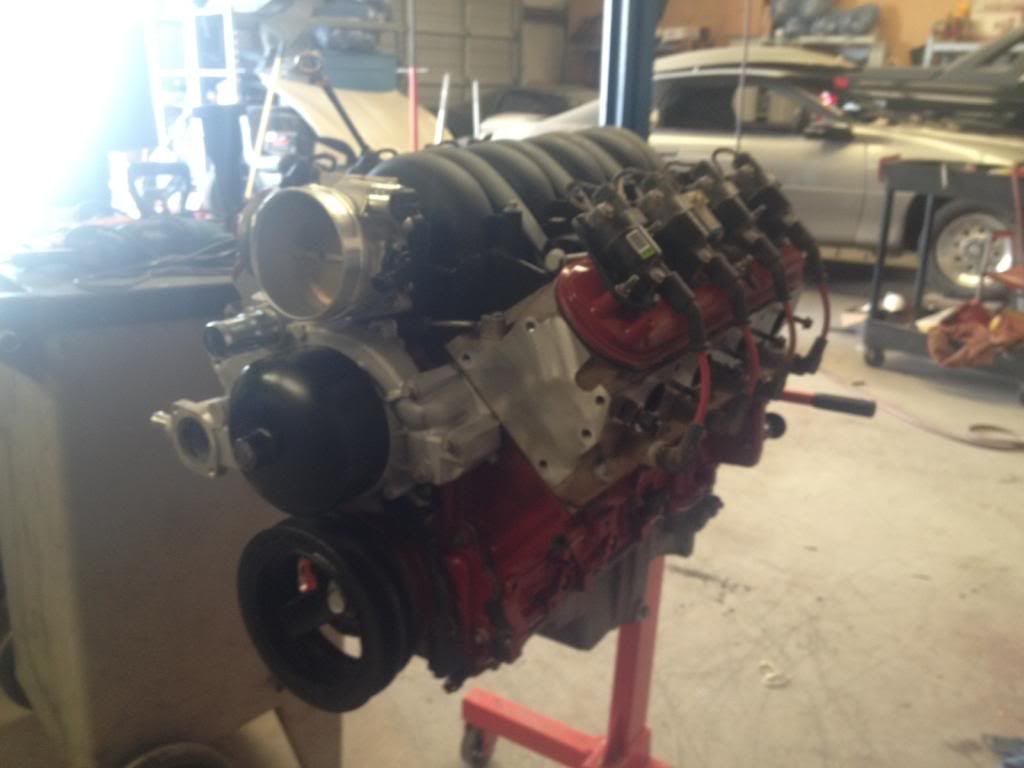
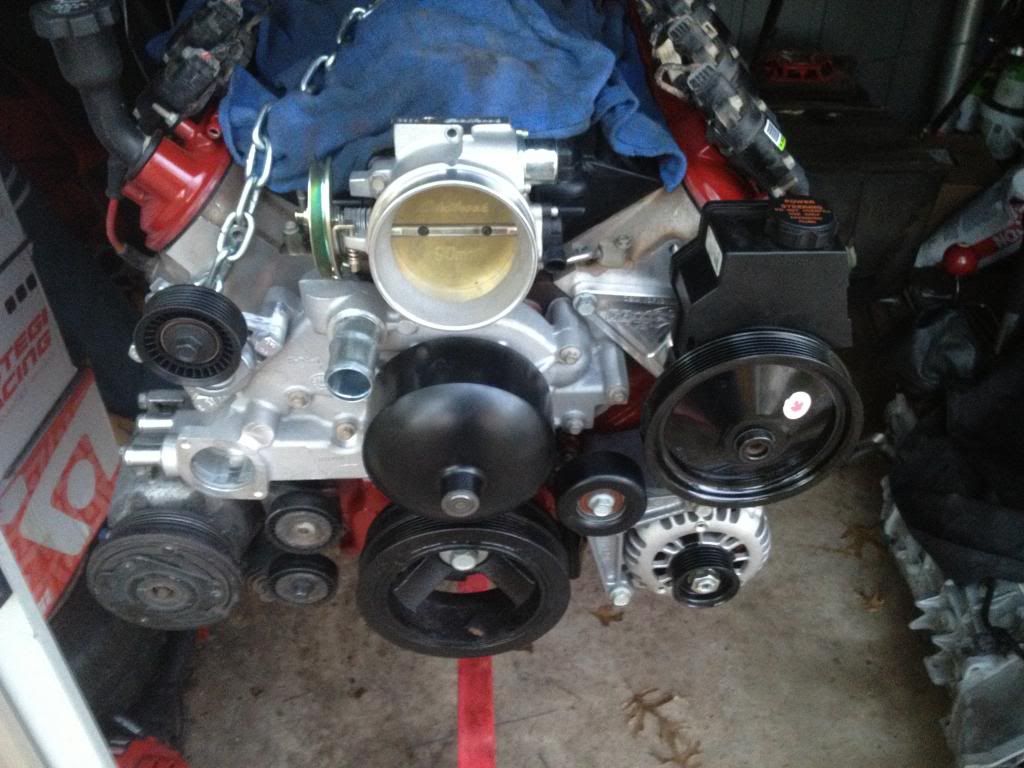
The motor is coming around. Looks pretty good inside. Here are a few pics.
This should give it a little more punch.
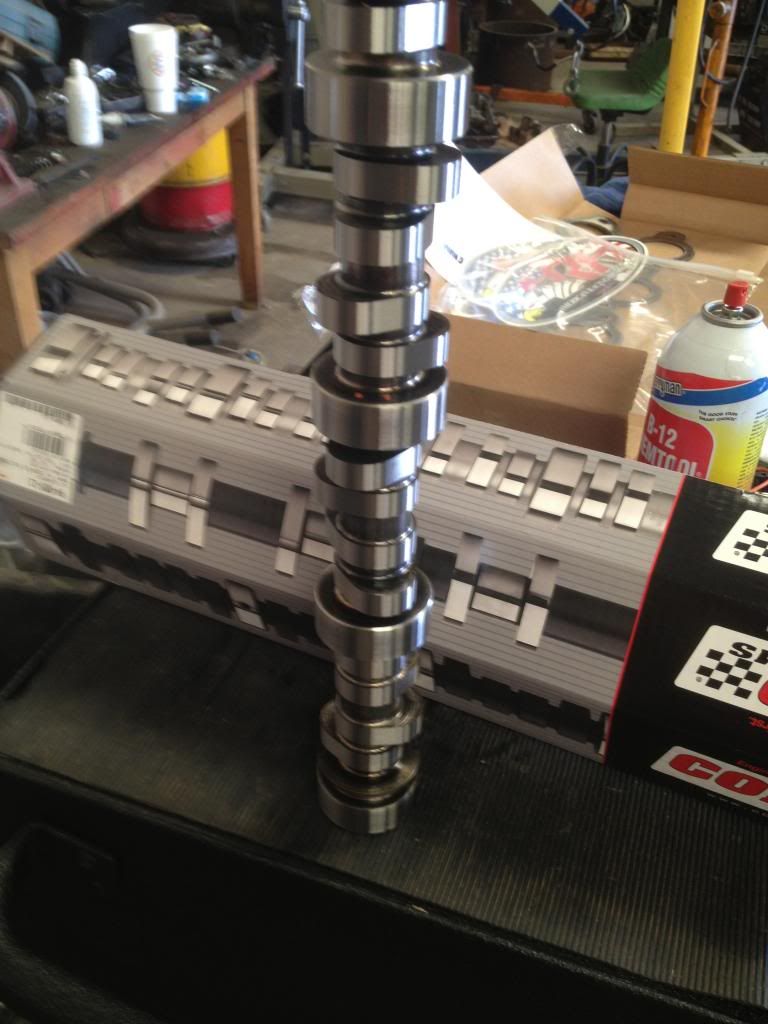
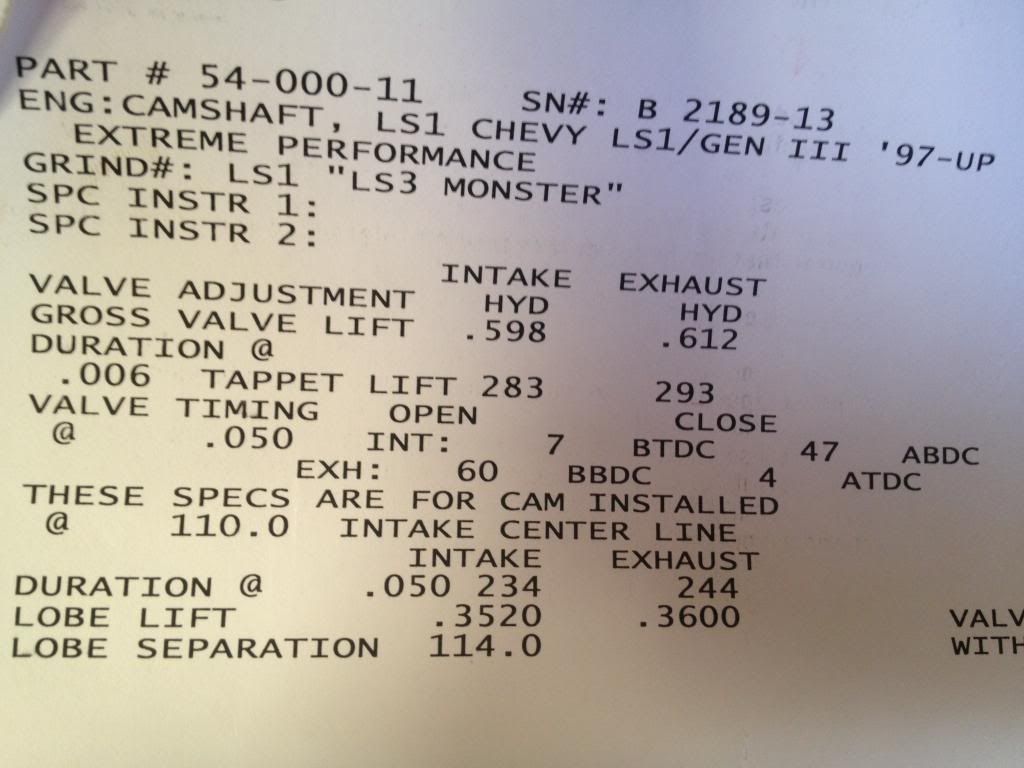
Also doing lifters, springs, pushrods, high pressure oil pump, and some new head bolts. I am sure this thing will see some spray eventually.
Shoot some paint on this block because it looks like pooooo.
I need to get some belhousing bolts and FW bolts next and should be test fitting this engine/trans next week sometime.
This should give it a little more punch.
Also doing lifters, springs, pushrods, high pressure oil pump, and some new head bolts. I am sure this thing will see some spray eventually.
Shoot some paint on this block because it looks like pooooo.
I need to get some belhousing bolts and FW bolts next and should be test fitting this engine/trans next week sometime.
Last edited by REDL1NE; 03-30-2013 at 06:12 PM.

 03-31-2013, 08:58 PM
#50
Staging Lane
Thread Starter
iTrader: (5)
Join Date: Oct 2012
Location: Norman,OK
Posts: 95
Likes: 0
Received 0 Likes
on
0 Posts
Thanks sir! With any luck I can test fit soon!
I appreciate it! I actually just bought some. It was a decent price and time always seems like its an issue for me so it was easier..lol
Thanks buddy. Hopefully I can help you out with it! I have been getting a lot of great ideas from some awesome members on this one.
Thanks buddy. Hopefully I can help you out with it! I have been getting a lot of great ideas from some awesome members on this one.
04-01-2013, 12:18 PM
#51
Staging Lane
Thread Starter
iTrader: (5)
Join Date: Oct 2012
Location: Norman,OK
Posts: 95
Likes: 0
Received 0 Likes
on
0 Posts
BTW for anyone who does this after me.
The bell housing bolts needed are
Trans to engine 15724226 x6 I know these are M10x1.5x40mm
Trans to oil pan 11515768 x2
The bell housing bolts needed are
Trans to engine 15724226 x6 I know these are M10x1.5x40mm
Trans to oil pan 11515768 x2
 04-08-2013, 01:00 PM
#54
Staging Lane
Thread Starter
iTrader: (5)
Join Date: Oct 2012
Location: Norman,OK
Posts: 95
Likes: 0
Received 0 Likes
on
0 Posts
I have been running through the whole process in my head and am researching headers more and more. BRP makes some nice ones that I know will work, but they are a bit pricey.
I'm kinda busy this weekend, but soon I need to get some new hardware to install the clutch, get that installed, get it on the motor, and get the motor mounts on.
I may be in the process of switching jobs so I may hold off on spending any more money for a bit, but we'll see.
04-17-2013, 07:46 PM
#56
If a company makes a quality part that will save you headaches it may be worth a few bucks to you.
Nice car BTW.
Hopefully i will quit getting distracted and start working on my swap again soon.
04-18-2013, 01:21 PM
#57
Staging Lane
Thread Starter
iTrader: (5)
Join Date: Oct 2012
Location: Norman,OK
Posts: 95
Likes: 0
Received 0 Likes
on
0 Posts
I like to consider the overall cost of the swap. In the end it will not be cheap.
If a company makes a quality part that will save you headaches it may be worth a few bucks to you.
Nice car BTW.
Hopefully i will quit getting distracted and start working on my swap again soon.
If a company makes a quality part that will save you headaches it may be worth a few bucks to you.
Nice car BTW.
Hopefully i will quit getting distracted and start working on my swap again soon.
Yea, your right. In the end I guess it is better to go with a known item that gets the job done even if it's a bit higher. Maybe cost more in frustration in the long run to go cheap.
Get your tail in gear! lol
Weather is starting to get nice!
04-28-2013, 08:28 PM
#58
Staging Lane
Thread Starter
iTrader: (5)
Join Date: Oct 2012
Location: Norman,OK
Posts: 95
Likes: 0
Received 0 Likes
on
0 Posts
I haven't had much time (whats new eh?), but I was able to complete some stuff today and get the motor seriously ready for some test fitting. I installed the A/C compressor setup in the location I want (stock location).
Just a quick pic after the compressor/bracket install:
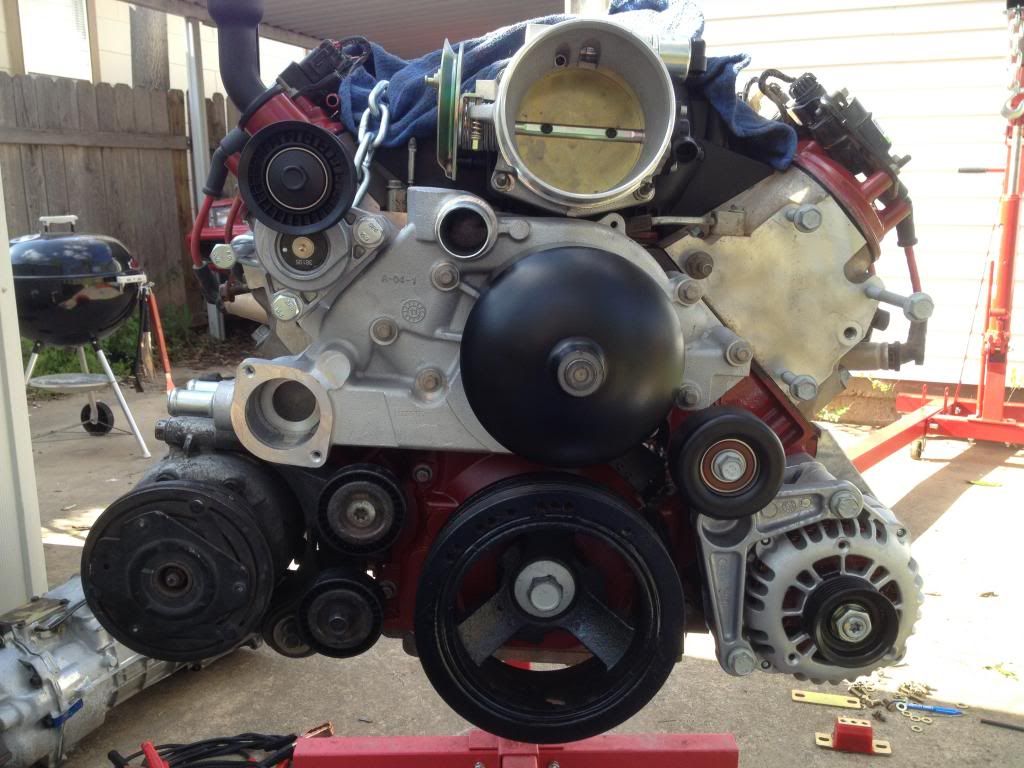
Now onto the power steering pump. The teardrop looking bracket has been discontinued by Chevrolet and is tough to find so I got one from Ebay(60.00), this:
The power steering pump I bought did not come with a pulley so I got a pulley from my buddy over at Chevrolet. It took me a minute to figure out what was going on, but after a bit of research I figured it out. Looks like the pulley on the pump I bought was just broken off and the center portion that needs to be pressed on was left on the shaft.
So I went to O Reilly and picked up a power steering pulley puller/installer for 30 bucks. Removed the old broken piece:
and installed the new pulley.
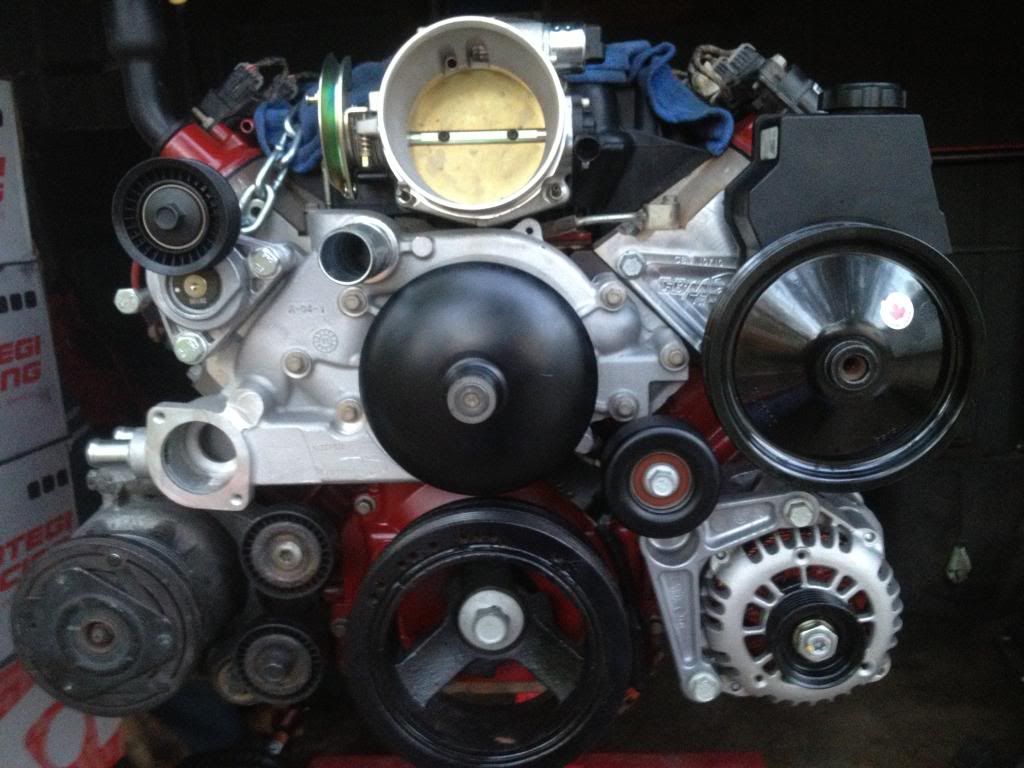
I'll try to get some more work done next weekend. I went ahead and got a saw so I can do what I need to with the frame to make this stuff fit.
Power steering pulley part number: 1255-9885
Just a quick pic after the compressor/bracket install:

Now onto the power steering pump. The teardrop looking bracket has been discontinued by Chevrolet and is tough to find so I got one from Ebay(60.00), this:
The power steering pump I bought did not come with a pulley so I got a pulley from my buddy over at Chevrolet. It took me a minute to figure out what was going on, but after a bit of research I figured it out. Looks like the pulley on the pump I bought was just broken off and the center portion that needs to be pressed on was left on the shaft.
So I went to O Reilly and picked up a power steering pulley puller/installer for 30 bucks. Removed the old broken piece:

and installed the new pulley.


I'll try to get some more work done next weekend. I went ahead and got a saw so I can do what I need to with the frame to make this stuff fit.
Power steering pulley part number: 1255-9885
Last edited by REDL1NE; 04-28-2013 at 08:44 PM.
05-28-2013, 08:56 AM
#59
Staging Lane
Thread Starter
iTrader: (5)
Join Date: Oct 2012
Location: Norman,OK
Posts: 95
Likes: 0
Received 0 Likes
on
0 Posts
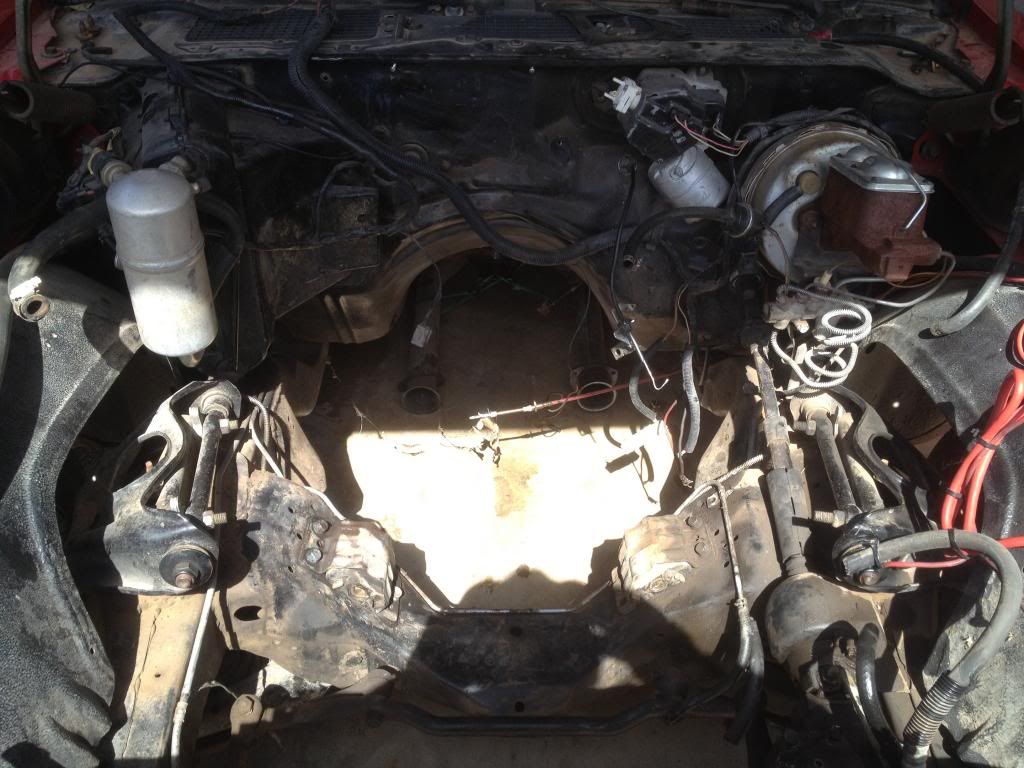
Had a few hours this weekend so I was able to get something done.
First of all, the access holes on the underside of the cross member for the motor mounts are very tiny so I went ahead and cut the mounts off and will be enlarging the hole so I don't have this issue going forward. I have a pic somewhere I will post here shortly.
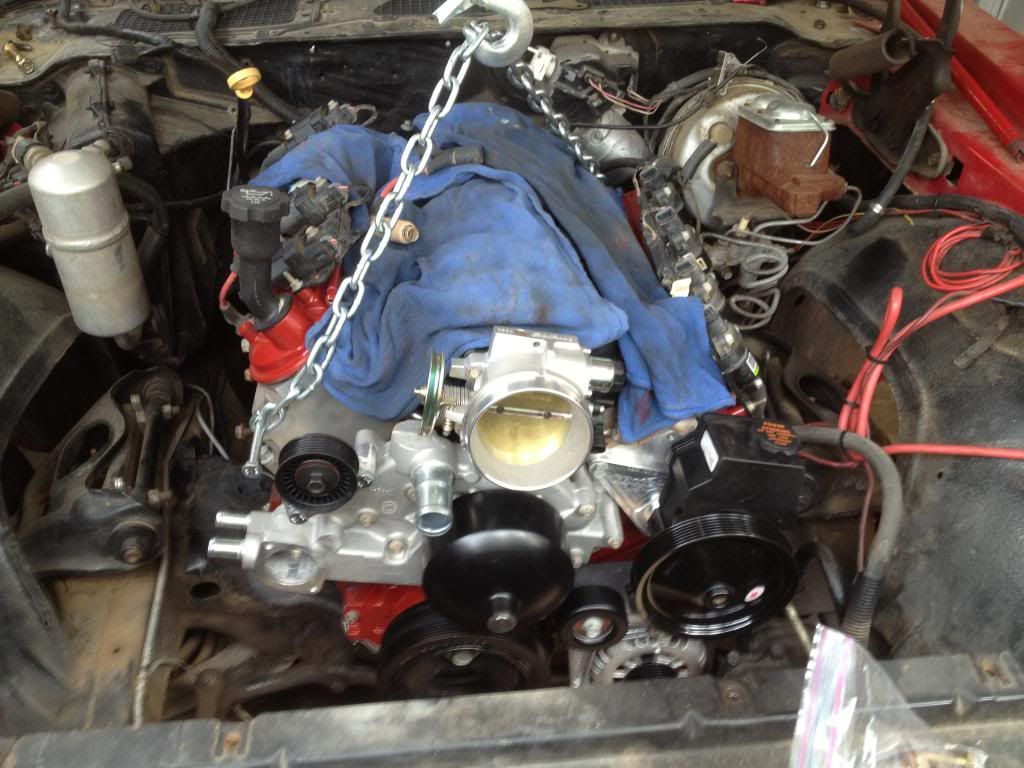
A buddy came over and we test fit the motor. The main goal was to see where and how much metal had to be removed for the AC compressor/lines. The alternator was close, but fit with no issue. Well, we fit it in and made some very raw marks where I need to cut. I am going to research a bit more before I begin cutting to see what else has been done.
The BRP motor mounts are very impressive. After a little mocking up they fit very well.
I was planning on waiting on A/C lines until this thing got going, but after seeing the clearance issues I may as well design then now and include them.
Anywho, here are a few pics I snapped while in the process. Sorry, they are pretty rough.
I will be cleaning this engine bay up a lot before the finished product, I just want to get it all lined out before making it pretty..lol
You can see where the scratch marks are, that half circle is what needs to go.
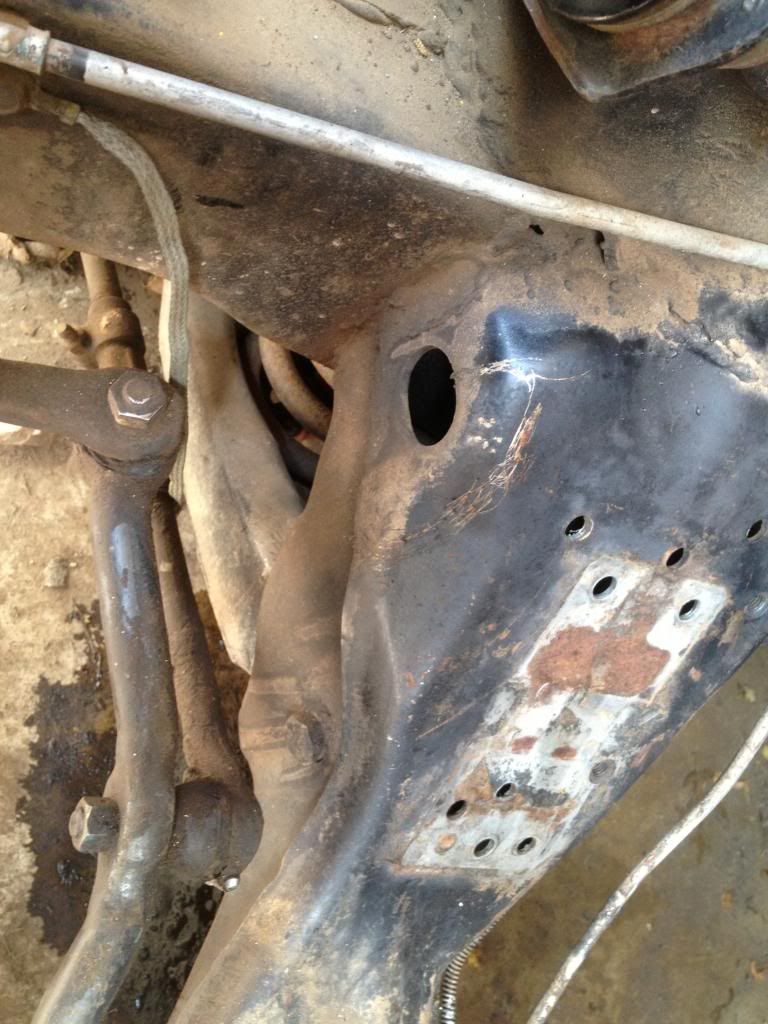
First of all, the access holes on the underside of the cross member for the motor mounts are very tiny so I went ahead and cut the mounts off and will be enlarging the hole so I don't have this issue going forward. I have a pic somewhere I will post here shortly.
A buddy came over and we test fit the motor. The main goal was to see where and how much metal had to be removed for the AC compressor/lines. The alternator was close, but fit with no issue. Well, we fit it in and made some very raw marks where I need to cut. I am going to research a bit more before I begin cutting to see what else has been done.
The BRP motor mounts are very impressive. After a little mocking up they fit very well.
I was planning on waiting on A/C lines until this thing got going, but after seeing the clearance issues I may as well design then now and include them.
Anywho, here are a few pics I snapped while in the process. Sorry, they are pretty rough.
I will be cleaning this engine bay up a lot before the finished product, I just want to get it all lined out before making it pretty..lol
You can see where the scratch marks are, that half circle is what needs to go.

