E36 M3 - LS3/TR6060 Swap
#102
thanks!!
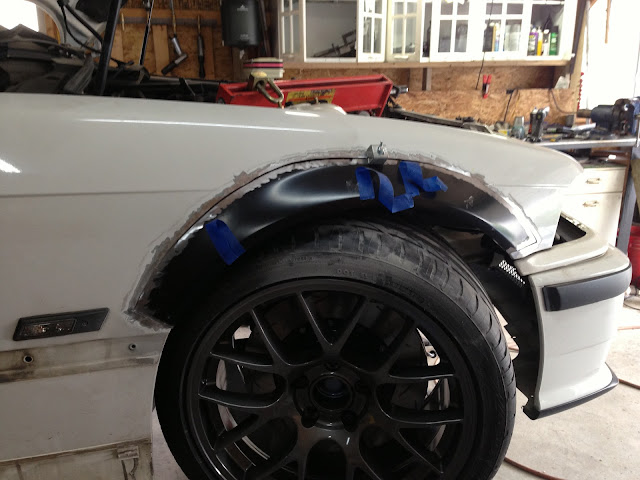
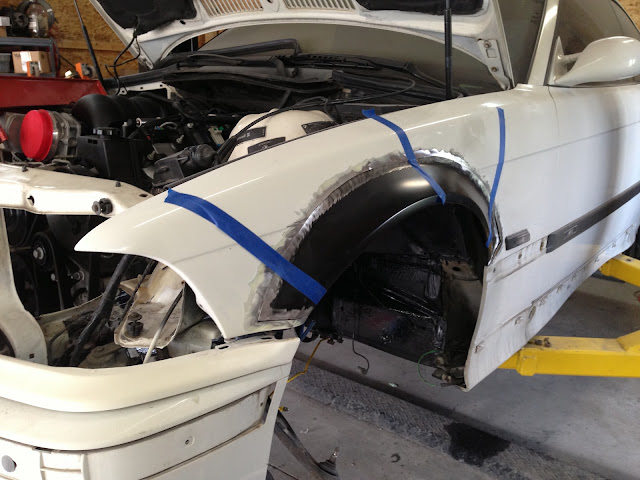
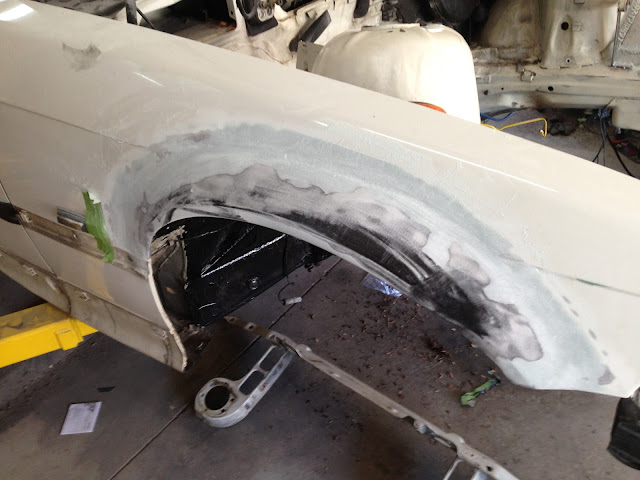
The drivers side flares are mocked up to match the passenger side. Still a little bit of trimming and then they can get cut out and welded.
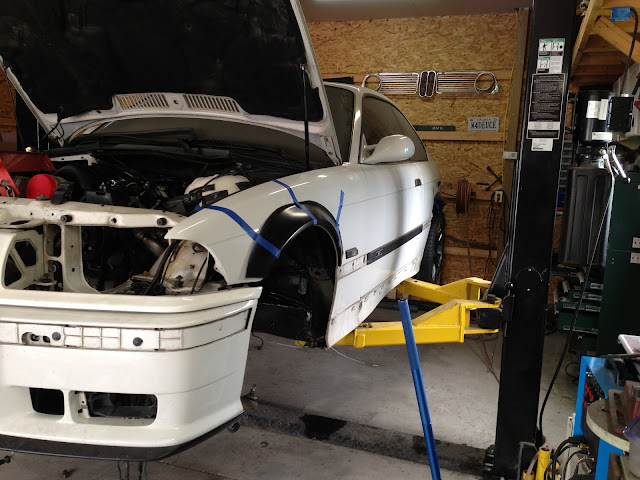
bumper and everything is just setting on and nothing is tightened up. I was trying to get a picture showing how the flares look from the front. Sorta hard to do...
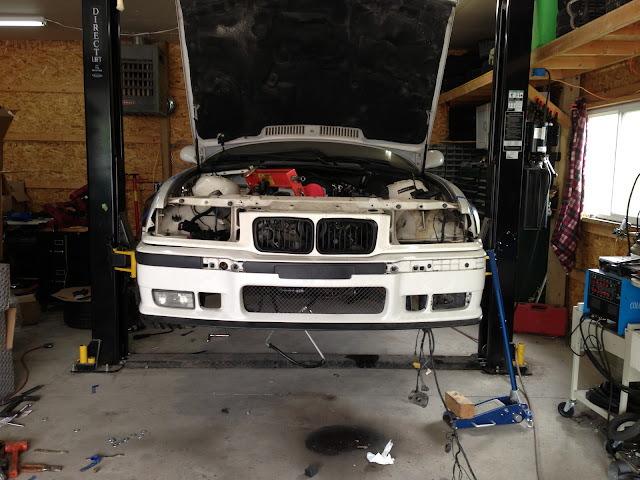
Picking up the power coated brake calipers this afternoon and will update when I have them.
The drivers side flares are mocked up to match the passenger side. Still a little bit of trimming and then they can get cut out and welded.
bumper and everything is just setting on and nothing is tightened up. I was trying to get a picture showing how the flares look from the front. Sorta hard to do...
Picking up the power coated brake calipers this afternoon and will update when I have them.
#103
I should have put something in the photo to show size...they look small on their own but they are far from small.

The plan was to use powder to make the ///M but the powder coater did not feel comfortable doing it that way and getting a good results. So they will be done in vinyl. This is the type of vinyl used on signs, trailers, etc so it will handle a lot of abuse.
They will get put on once everything is together.
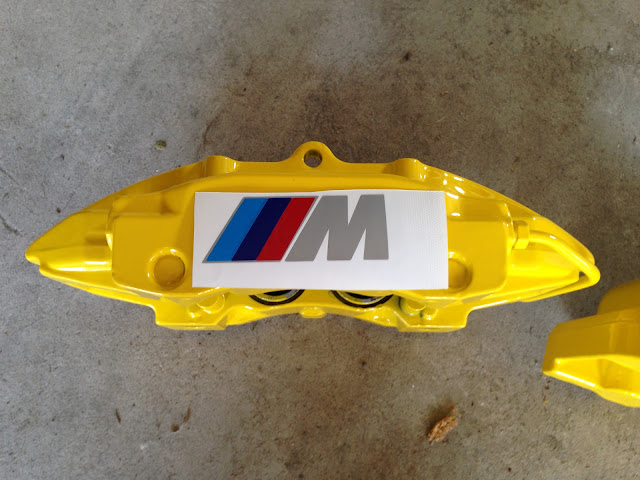

Rear

The plan was to use powder to make the ///M but the powder coater did not feel comfortable doing it that way and getting a good results. So they will be done in vinyl. This is the type of vinyl used on signs, trailers, etc so it will handle a lot of abuse.
They will get put on once everything is together.
Rear
#106
thanks!
More cutting...

Inner fender left and it will get bent to match the new flare


Fronts tacked...


This picture really didn't turn out for some reason...


The drivers side rear is done as well but for some reason I didn't get a pic. I'll get one and post tomorrow. Today is my birthday and it has been a great day in the garage.
More cutting...

Inner fender left and it will get bent to match the new flare


Fronts tacked...


This picture really didn't turn out for some reason...


The drivers side rear is done as well but for some reason I didn't get a pic. I'll get one and post tomorrow. Today is my birthday and it has been a great day in the garage.
#109
I left part of the inner fender and then will bend it out to match the new flare. Either weld or use panel adhesive to hold the two layers together.
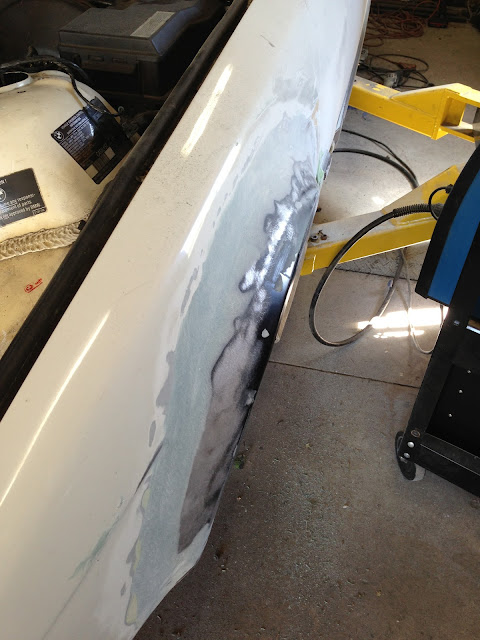
Picture isn't very good as the flash on the camera went off and picked up all the dust, etc
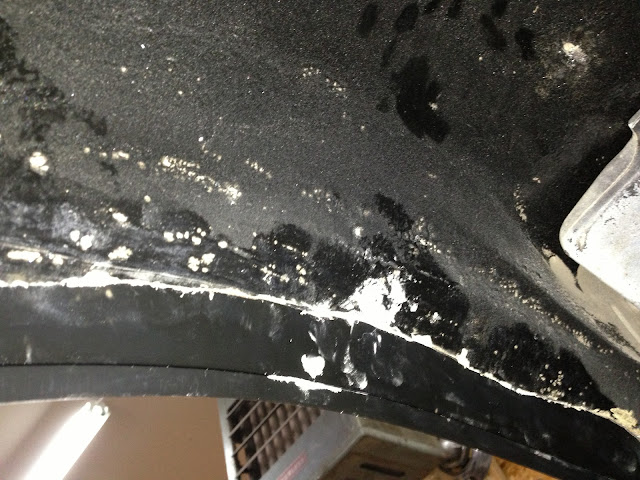
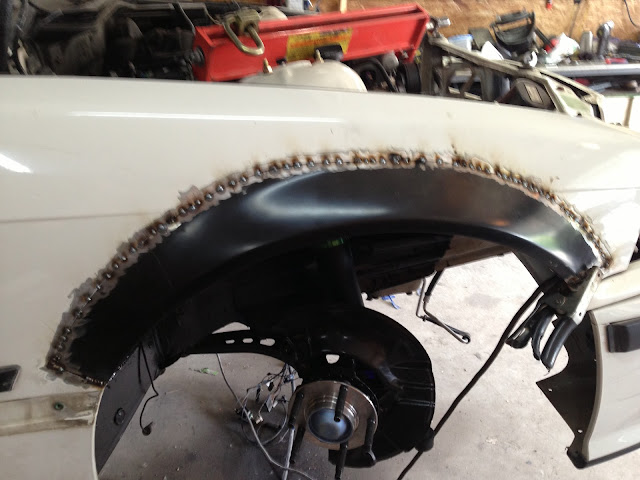
All the welds around ground down
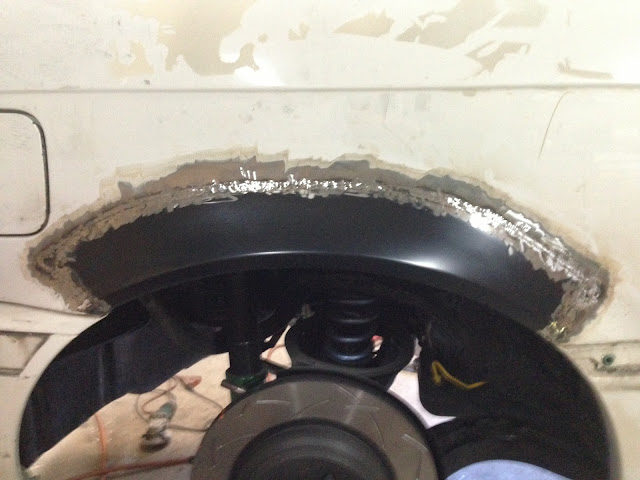
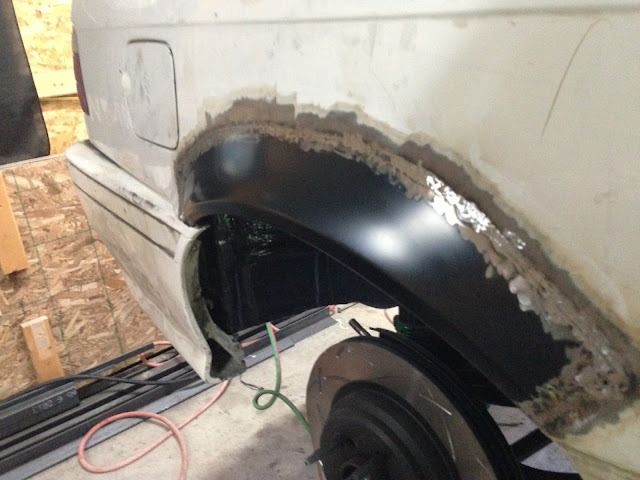

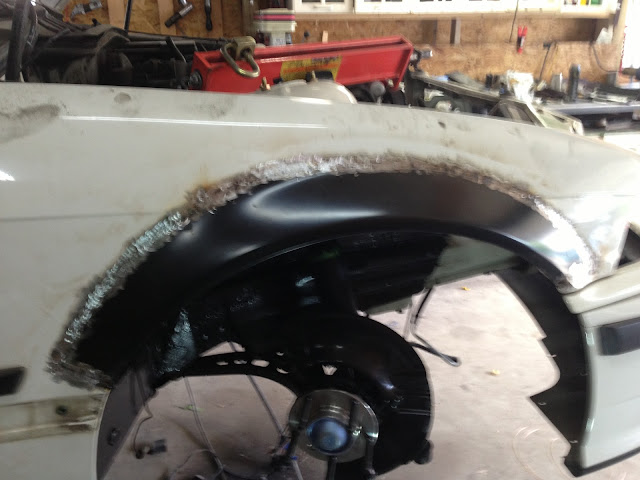


Picture isn't very good as the flash on the camera went off and picked up all the dust, etc

All the welds around ground down


#112
thanks!
I was away for the weekend but back at it today.
Camaro front driveshaft section showed up....going to have this combined with the BMW shaft.
BMW bottom...Camaro top

I would say these are pretty close....
Camaro

BMW

Front section

Rear section

More updates later
I was away for the weekend but back at it today.
Camaro front driveshaft section showed up....going to have this combined with the BMW shaft.
BMW bottom...Camaro top

I would say these are pretty close....
Camaro

BMW

Front section

Rear section

More updates later
#118
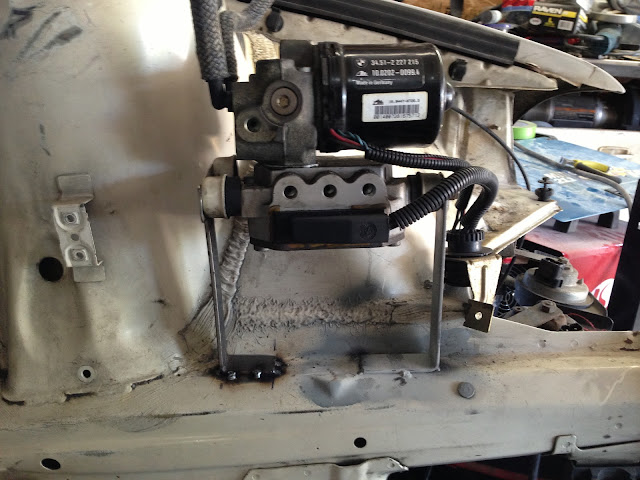
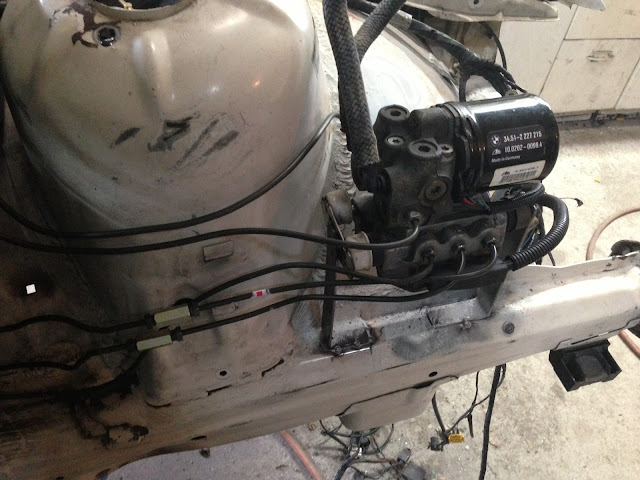
Brake lines to ABS pump all extended...and off to powder coat
Jigged the trans mount before going off to powder coat

Engine mounts are off to be coated as well and then they will get jigged...the powder coater I use also does Lathe work and he is making me a plug to make the engine mount jig.
Passenger side header jigged and ready to weld

header off...

Drivers side

Both together...Once the headers are all welded up I will add a locator for the vband and collector


Jigged the trans mount before going off to powder coat

Engine mounts are off to be coated as well and then they will get jigged...the powder coater I use also does Lathe work and he is making me a plug to make the engine mount jig.
Passenger side header jigged and ready to weld

header off...

Drivers side

Both together...Once the headers are all welded up I will add a locator for the vband and collector


