


1966 C10 Shortbed Build Thread

Thread Starter
10 Second Club
Joined: Apr 2013
Posts: 317
Likes: 0
From: Carlinville, IL
Rockers and cab corners in place and looking good. The rockers are a trip because on these trucks, there is an inner rocker that has to be installed and then an outer rocker that goes over it. Funny thing is that this very design is what makes them rust out so quick so we are taking steps to prevent it from happening again.


Thread Starter
10 Second Club
Joined: Apr 2013
Posts: 317
Likes: 0
From: Carlinville, IL
The toe kicks also needed a little extra work up the side because the floor pan panels are only the flat part and the originals were rusted about an inch above where the floor meets them.

The trans tunnel turned out nice. It was also separated from the firewall by rust.


The trans tunnel turned out nice. It was also separated from the firewall by rust.

Thread Starter
10 Second Club
Joined: Apr 2013
Posts: 317
Likes: 0
From: Carlinville, IL
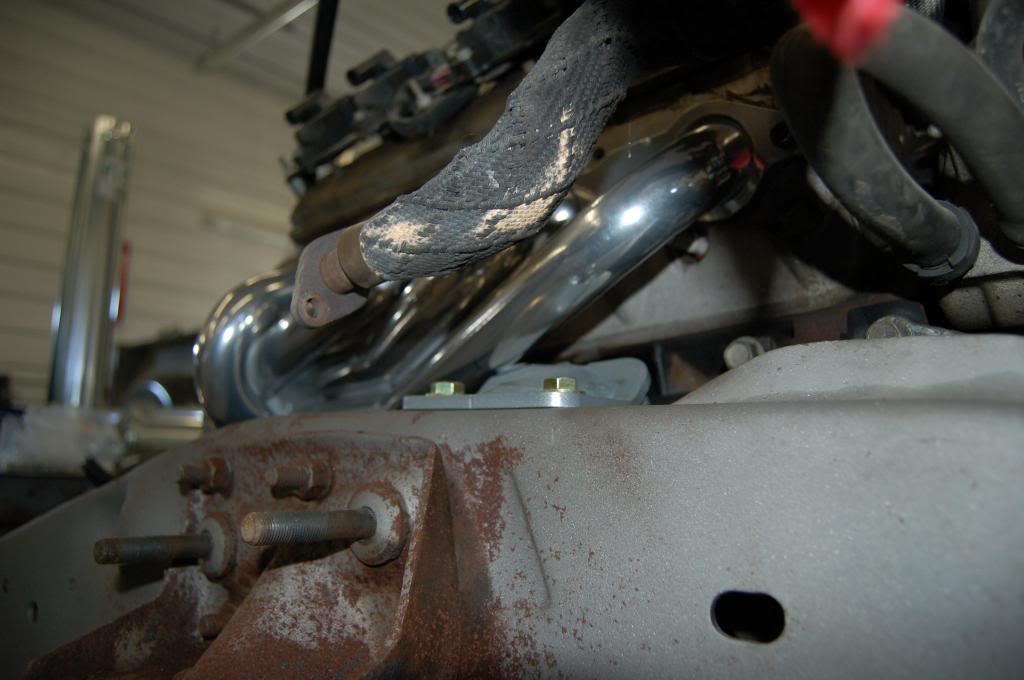
A little more about the headers. These are Sanderson (part #CSLS1) Chevy LS1 Headers designed for for 2WD S-10 and Blazer V8 Conversions, and 1964-Up Chevelle and El Caminos but they are a near perfect fit for 60 to 66 Chevy pickups and I suspect 67 to 72 trucks as well. Probably would be a perfect fit if I were using a different motor mount system, but I had already bought these before I even had the motor to swap in.
http://www.sandersonheaders.com/Sand...El-Camino.html
On the passenger side, the stock LS cast iron manifold will not work at all because the exit port points directly at the frame. As you can see, the header exit point is straight back.

The flanges are not fixed so you can rotate them for easy access to all three bolts. Also has plenty of clearance for the starter to bolt up without having to remove the header.
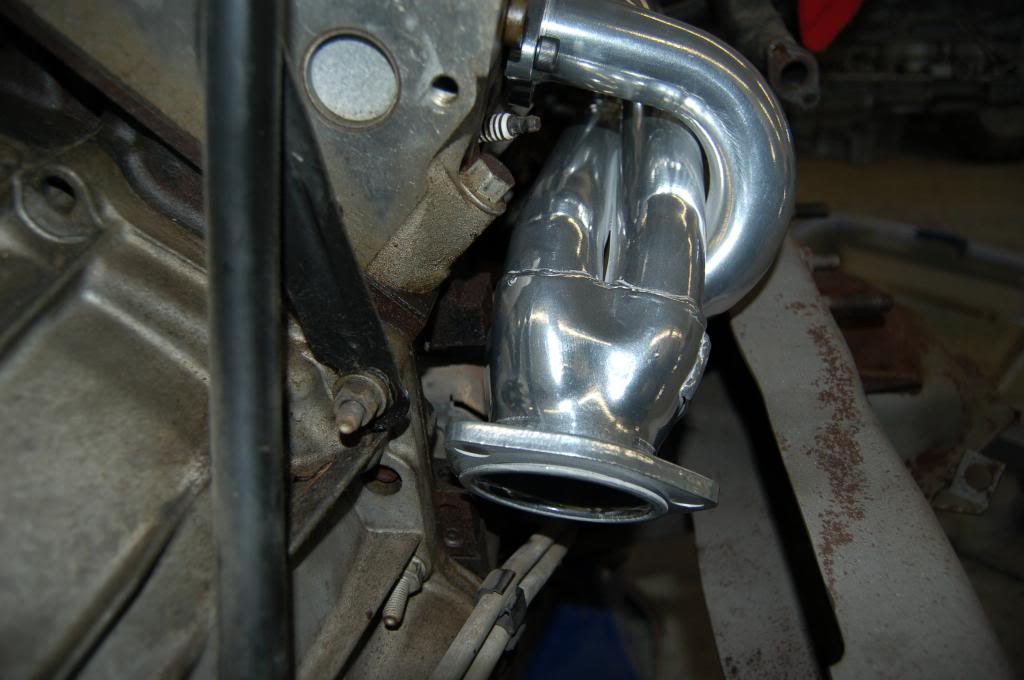
Here is the only slight problem with the fit. Since these are coated headers, I don't want to put a ding in them and the front tube on the passenger side is very close to the motor mount stand off, so I will relieve a small portion of the edge of the stand off for clearance.

Last edited by 65drag; Apr 25, 2013 at 08:33 AM.
Thread Starter
10 Second Club
Joined: Apr 2013
Posts: 317
Likes: 0
From: Carlinville, IL
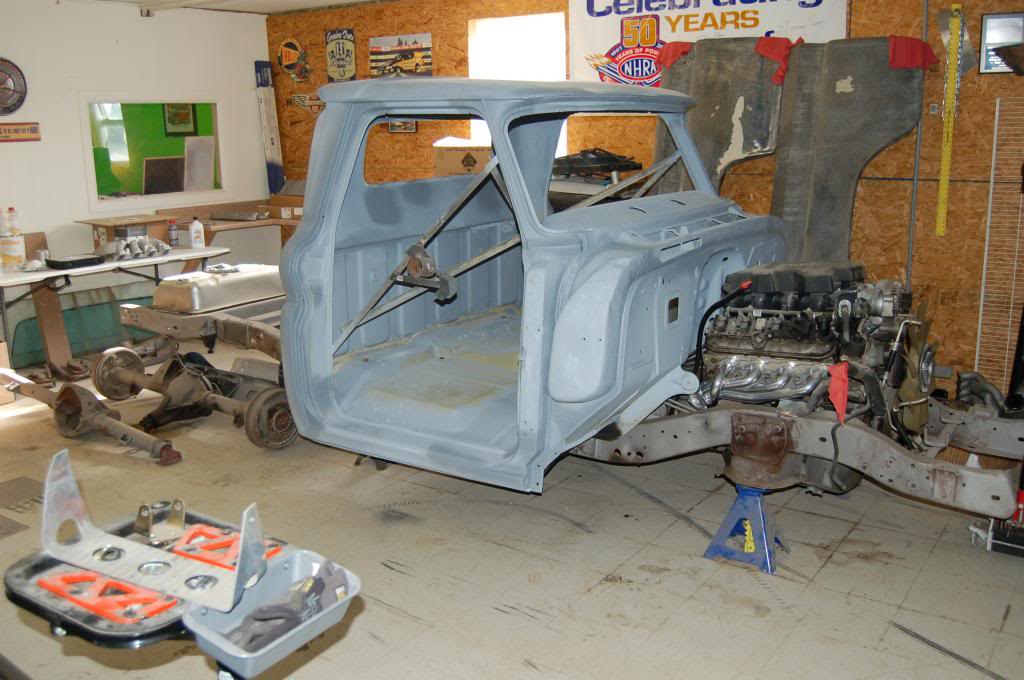
Sorry for the long break in posts. If you have been following our other posts, you will see why this one is behind. Got the cab back from the body shop to fit the doors and front fenders before final color goes on.

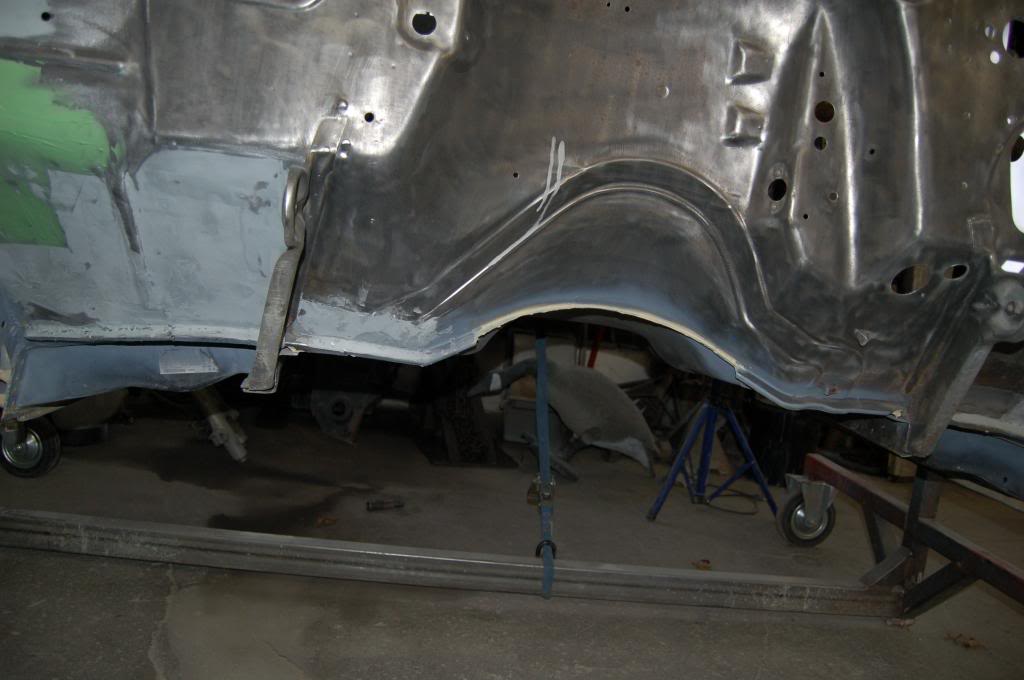
We also modified the pinch weld seam between the trans tunnel and the firewall while it was at the body shop so we can check for tranny clearance this way too.

We also modified the pinch weld seam between the trans tunnel and the firewall while it was at the body shop so we can check for tranny clearance this way too.

Thread Starter
10 Second Club
Joined: Apr 2013
Posts: 317
Likes: 0
From: Carlinville, IL
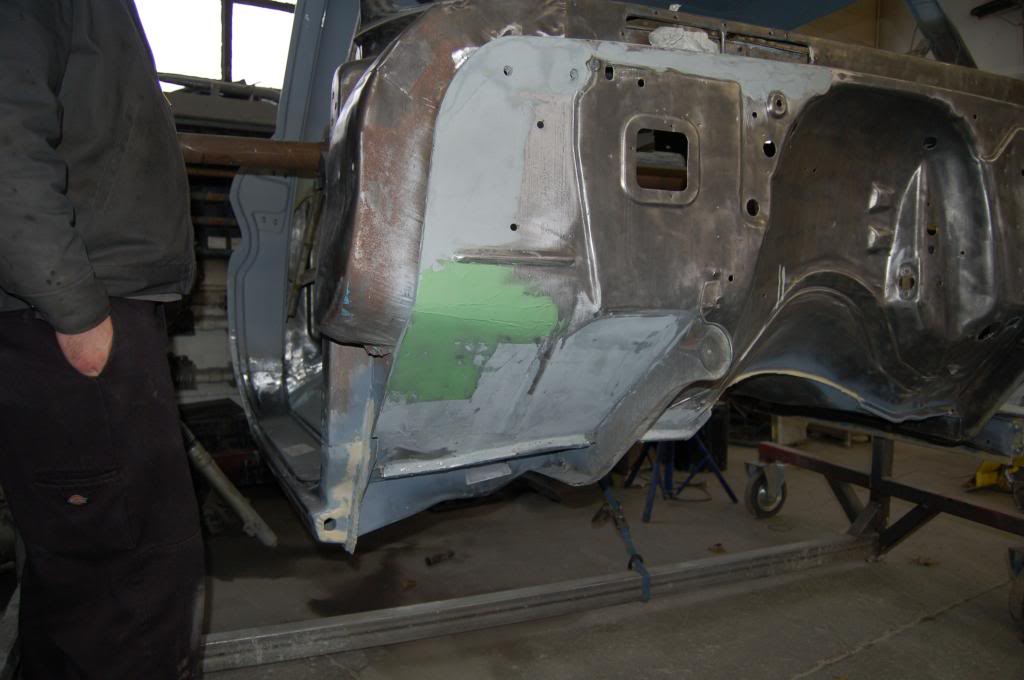
My body man George cut some of the bracing out after he was sure of rocker replacement so he had better access inside the cab while still on the rotiserrie.

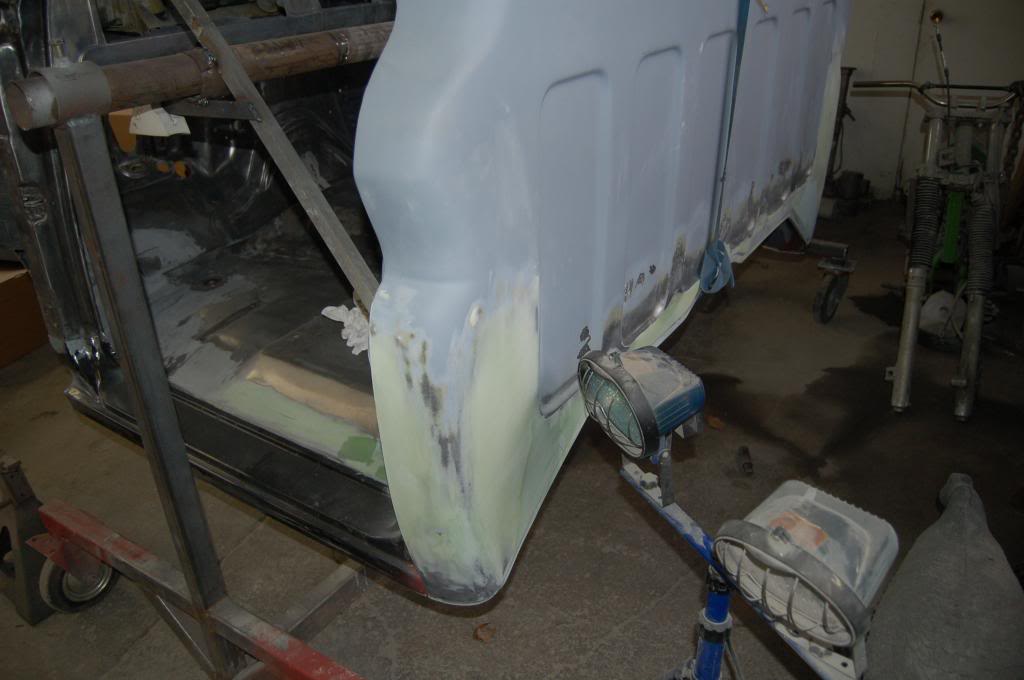
Remember the cancer line across the entire rear where the back met the floor? All that is gone now by custom hamering 8 individual pieces of sheet metal to patch it back together. George is not only a good friend but a killer old school body guy.


Remember the cancer line across the entire rear where the back met the floor? All that is gone now by custom hamering 8 individual pieces of sheet metal to patch it back together. George is not only a good friend but a killer old school body guy.


Last edited by 65drag; Dec 29, 2013 at 05:44 PM.
Thread Starter
10 Second Club
Joined: Apr 2013
Posts: 317
Likes: 0
From: Carlinville, IL
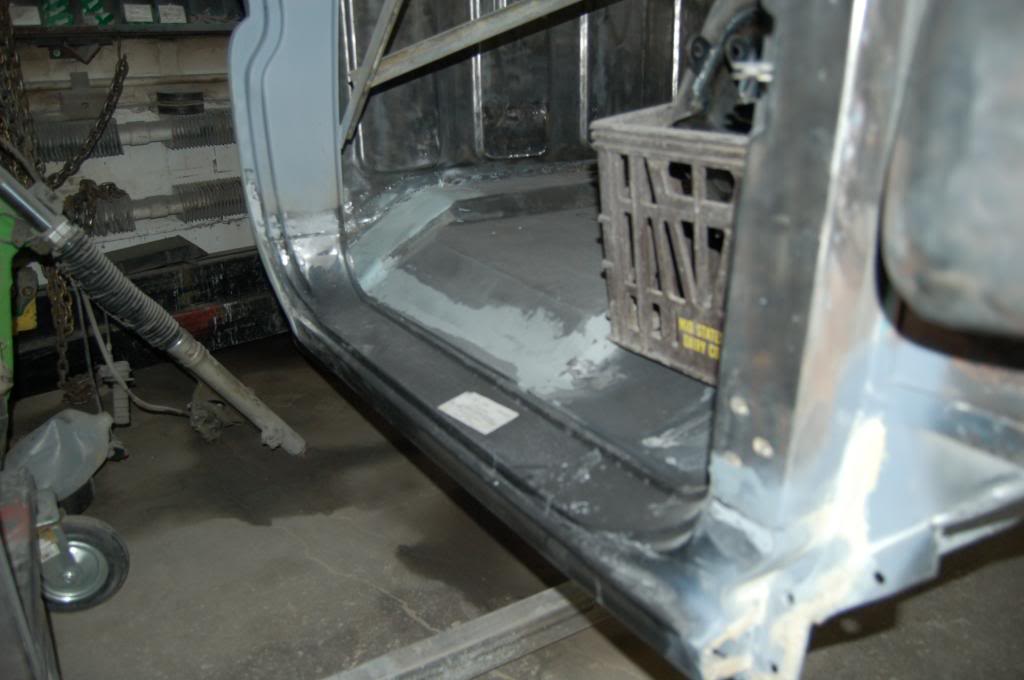
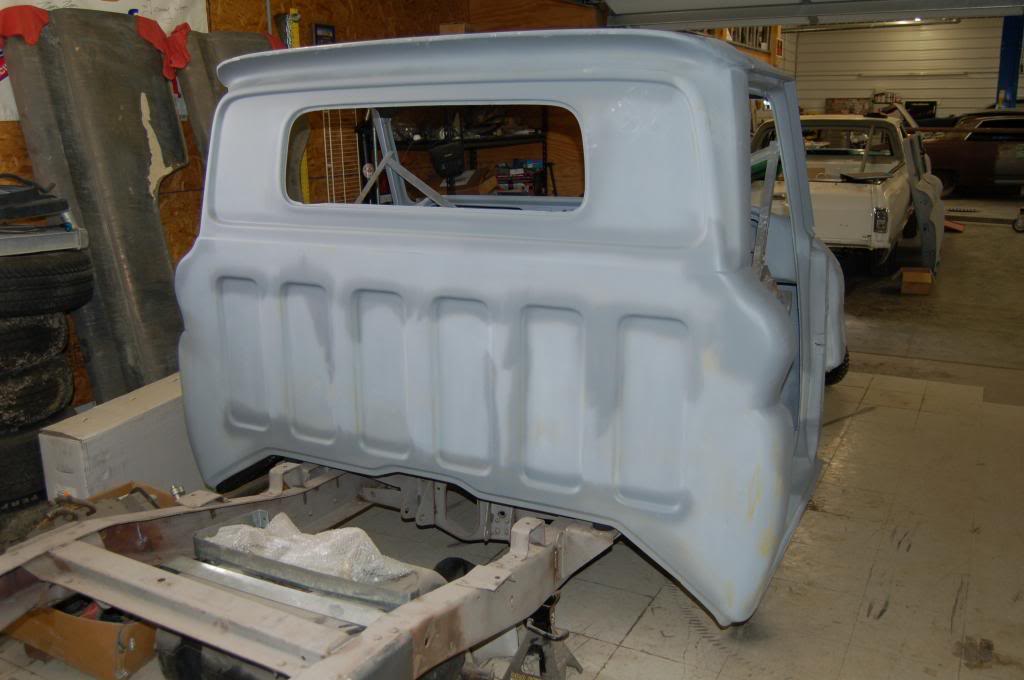
Rockers and floor pans solid as a rock again.
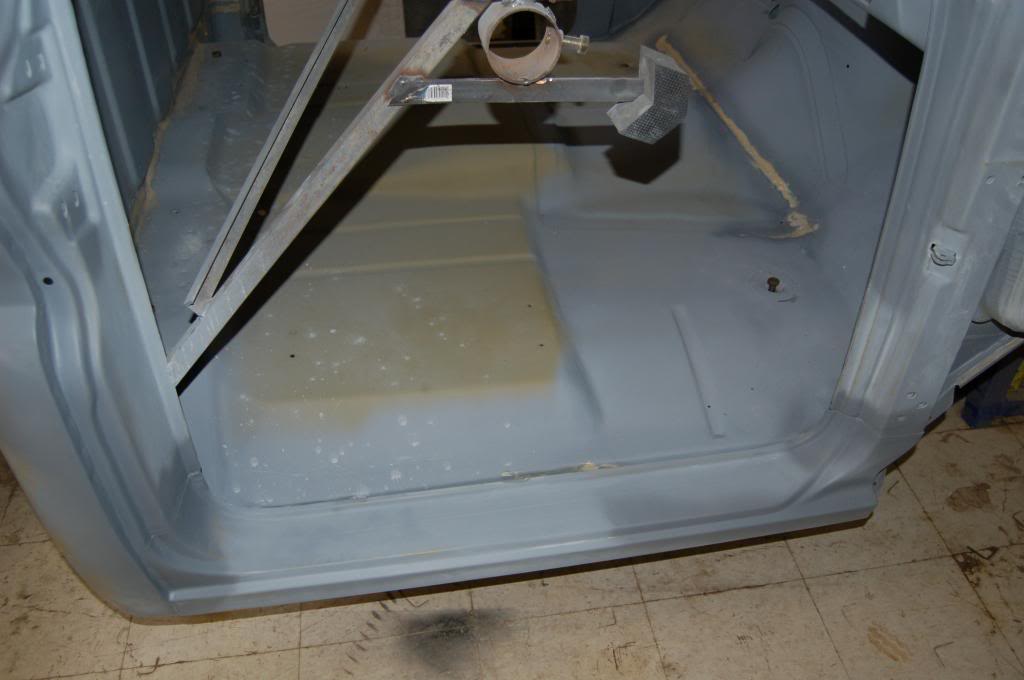
Now that the cab is ready for paint, we went ahead and undercoated the cab since it will be painted on the frame when we are ready.


Now that the cab is ready for paint, we went ahead and undercoated the cab since it will be painted on the frame when we are ready.

Thread Starter
10 Second Club
Joined: Apr 2013
Posts: 317
Likes: 0
From: Carlinville, IL
I promised you earlier a picture of the cab snatching rig I built. It slides in the cab sideways and lifts under the roof so it self balances. Ends are adjustable so you can get a snug fit for safety. If I had it to build over, I would move the pivot point of the toggle farther out about 6 inches for better clearance of the main frame to the cab.

As a reminder, here is how we did it before I had the lifting rig finished with the rig's boom and a chain. This setup is very unstable.
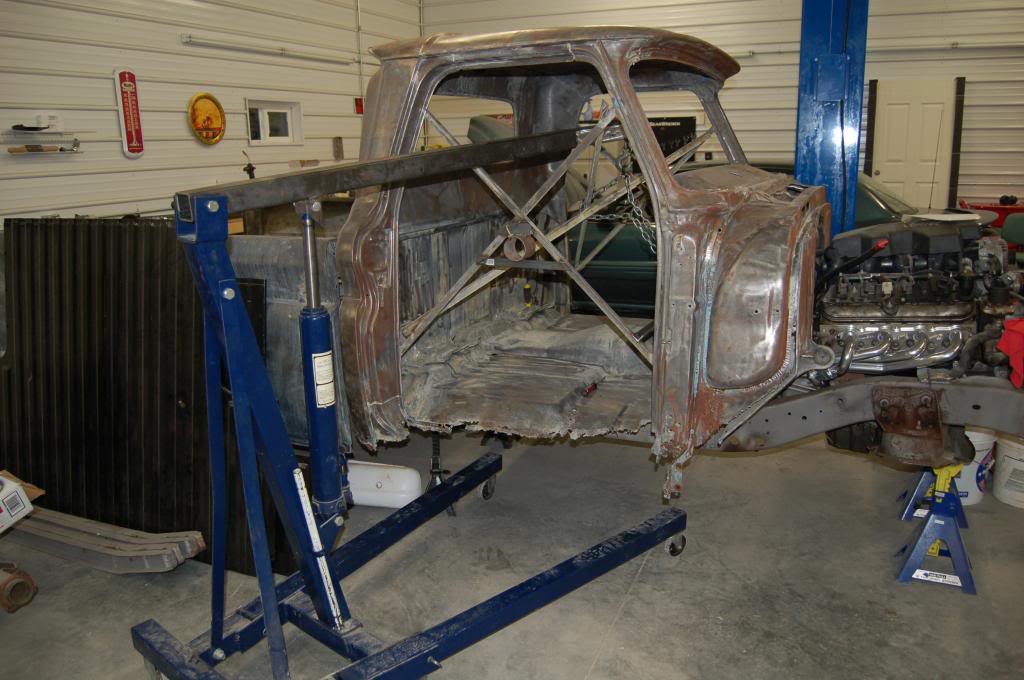

As a reminder, here is how we did it before I had the lifting rig finished with the rig's boom and a chain. This setup is very unstable.

LS1 Tech Stories
The Best V8 Stories One Small Block at Time

Amazing '71 Camaro Restomod Is Modern Muscle Car Under the Skin
Verdad Gallardo
6 Common C5 Corvette Failures and What's Involved In Repairing Them
Pouria Savadkouei
Retro Modern Bandit Pontiac Trans AM Comes With Burt Reynolds' Autograph
Verdad Gallardo
Top 10 Greatest Cadillac V Series Performance Models Ever, Ranked
Pouria Savadkouei
Top 10 Most Powerful Chevy Trucks Ever Made!

Hennessey's New Supercharged Silverado ZR2 Has 700 HP
Verdad Gallardo
Coachbuilt N2A Anteros Is an LS2-Powered C6 Corvette In Italian Clothes
Verdad Gallardo
Awesome K5 Blazer Restomod Comes With C7 Corvette Power
Verdad Gallardo
10 Camaros You Should Never Buy


On The Tree
Joined: Sep 2011
Posts: 187
Likes: 0
From: NW Arkansas
We have 2 of these trucks right now. And after tgey r done, we r building a pro-touring short stepside that'll get a turbo 5.3.
Keep up the great work and these trucks r really beginning to show up everywhere...
Keep up the great work and these trucks r really beginning to show up everywhere...


Thread Starter
10 Second Club
Joined: Apr 2013
Posts: 317
Likes: 0
From: Carlinville, IL
I'm not worried about the size of the header tubes, just the fitment between the frame rails. This is not being built for performance, just a reliable cruiser for the wife. In stock form, it will still be twice the H.P. of the original 6 cylinder wheezer the truck came with from the factory.

I'm not worried about the size of the header tubes, just the fitment between the frame rails. This is not being built for performance, just a reliable cruiser for the wife. In stock form, it will still be twice the H.P. of the original 6 cylinder wheezer the truck came with from the factory.
I used cheap pacesetters for a TBSS. had to clearance the frame 1/4" in a couple spots on the driver's side but it was easy to do compared to what you're doing.
Last edited by truckdoug; Dec 14, 2015 at 08:09 PM. Reason: added units
