Austin Healey Sprite w/LS6 200-4r
 03-14-2014, 06:41 PM
#81

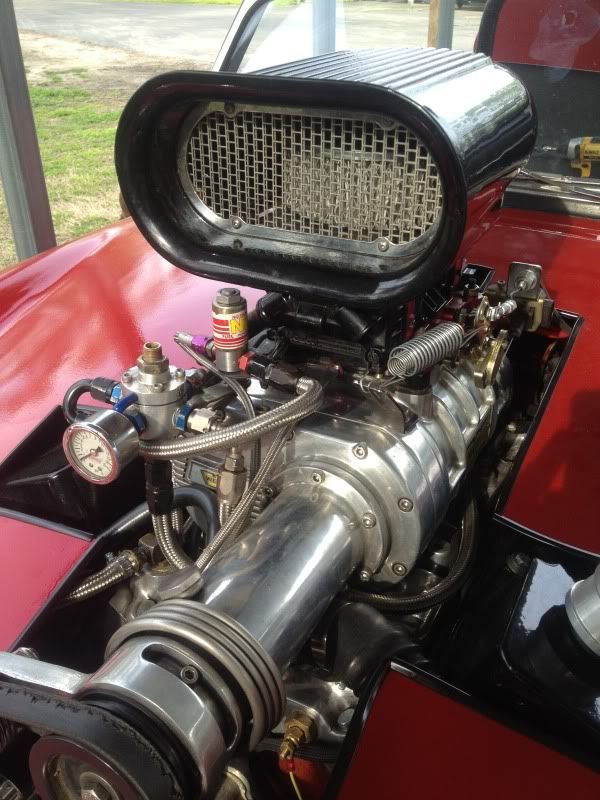
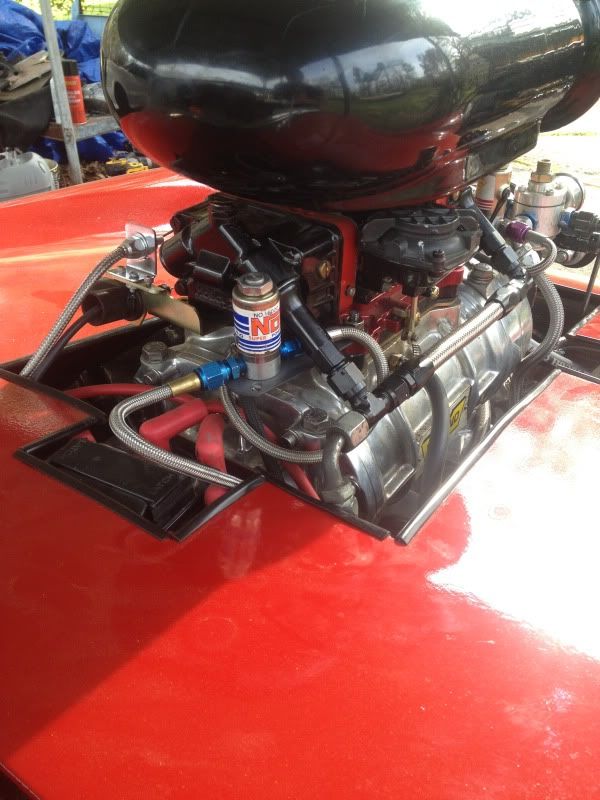
it's mean as **** sounding through the side pipes. I'm glad I kept them, they fit really well. I should be out doing shake out runs tomorrow and sunday. The car was my daily before and oddly enough except for rainy days it still will be, it was insanely fun to drive. Still waiting on the wildwood brakes to arrive so I'll be taking it easy. I'm overall happy I went this route instead of continuing on with the blown ls6, it's got a new home ready in the Z06 and this car will be running that much quicker.
 03-21-2014, 05:15 PM
#82
To say that this car is a handful to drive would be a gross understatement. I need sticky tires and my front brakes that I ordered awhile back to get here before I really see what the car can do. Saying all that though, it's soo much fun to drive. Basically idles at speed and obviously plenty of power. I just need to finish the front end and toss it back on but I may just put cheap turn signals and headlights on the front end and drive it as is for a little while... kinda fun that way. Forgive the videos, the first was after I buttoned up the majority of the electrical late at night and I was pretty tired. The second was the first test drive, rowing through the lenko style shifter... It achieves exactly what I wanted and makes driving the car alot more fun. The third was basically me zip tying the camera to a spot in the back of the car so you could see how the shifting works... forgive the wind noise and I still need to adjust the shifts on the TV cable a little bit but you get the idea.

 03-30-2014, 04:57 PM
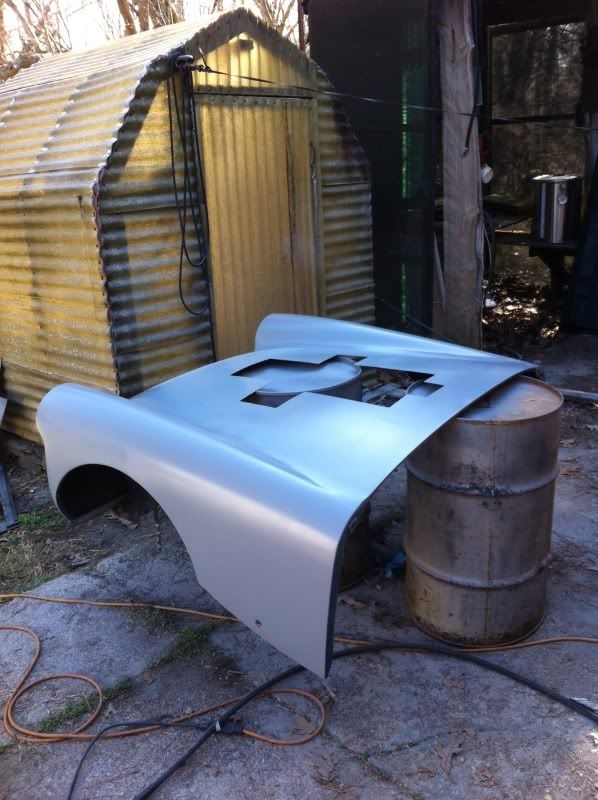
#84
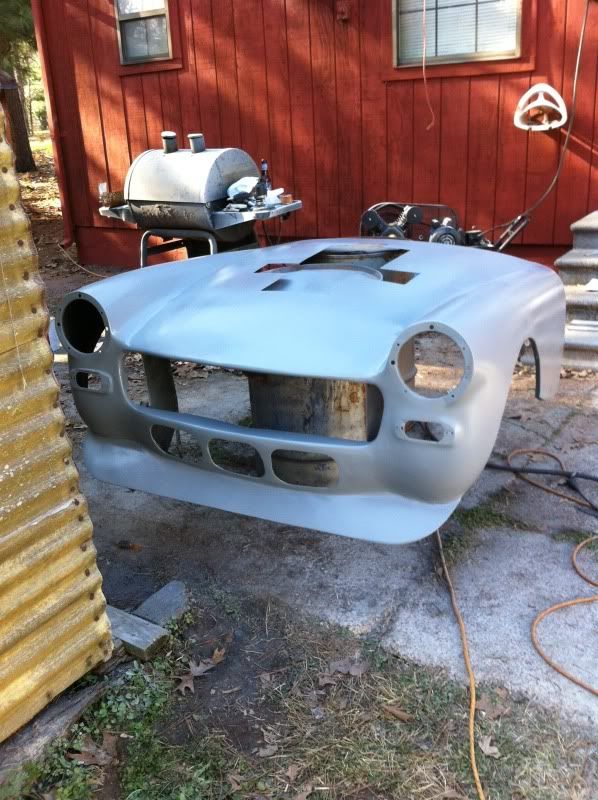
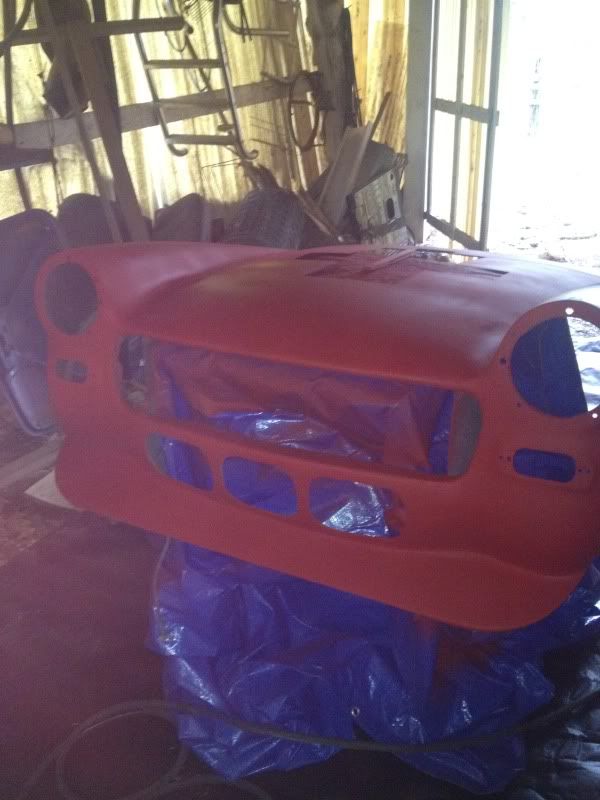
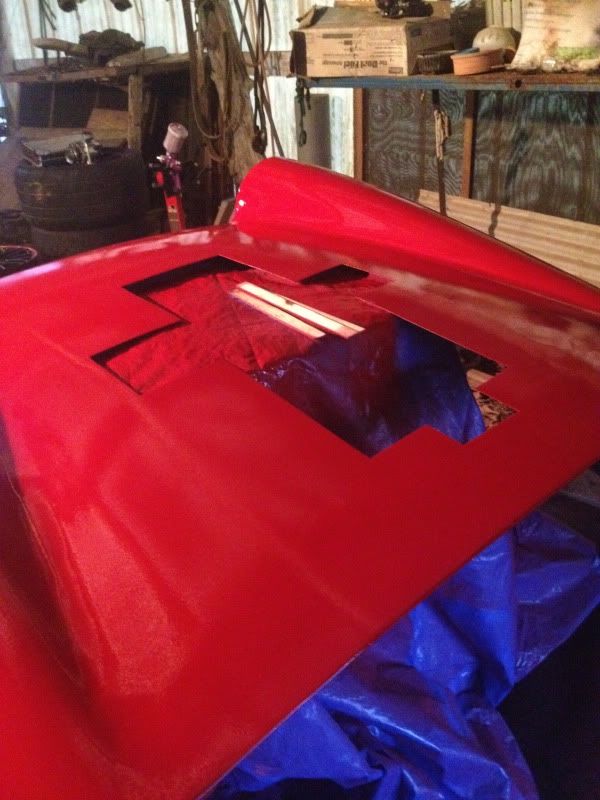
accomplished my goal of getting primer on the hood. Test fit everything after I made the cut and it's pretty tight fitting so I'm happy with that. There are a few spots we still need to fix on the hood, mainly cracks that we missed before primering and a few small imperfections in the body work... all in all, I'm very pleased with how it turned out and I should be able to spray it red after work tomorrow or the next day and get it on the car finally.


 03-31-2014, 07:51 PM
#87
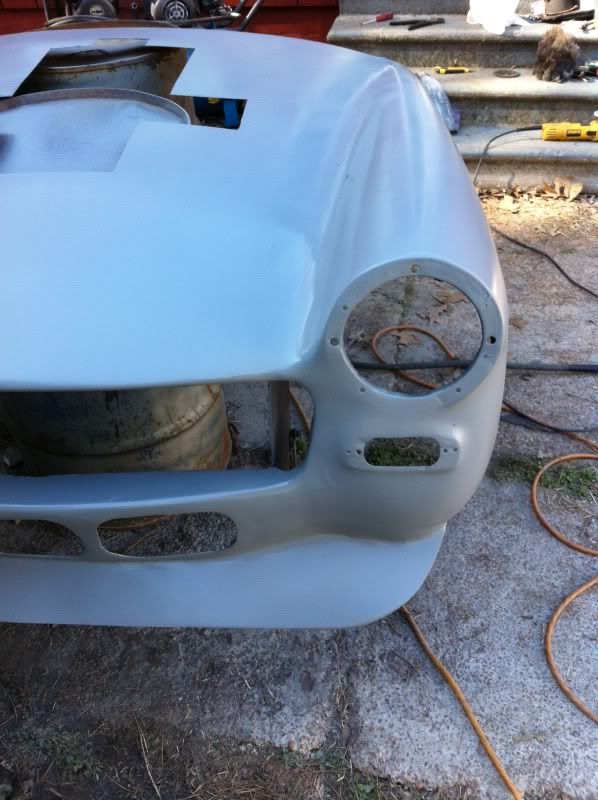
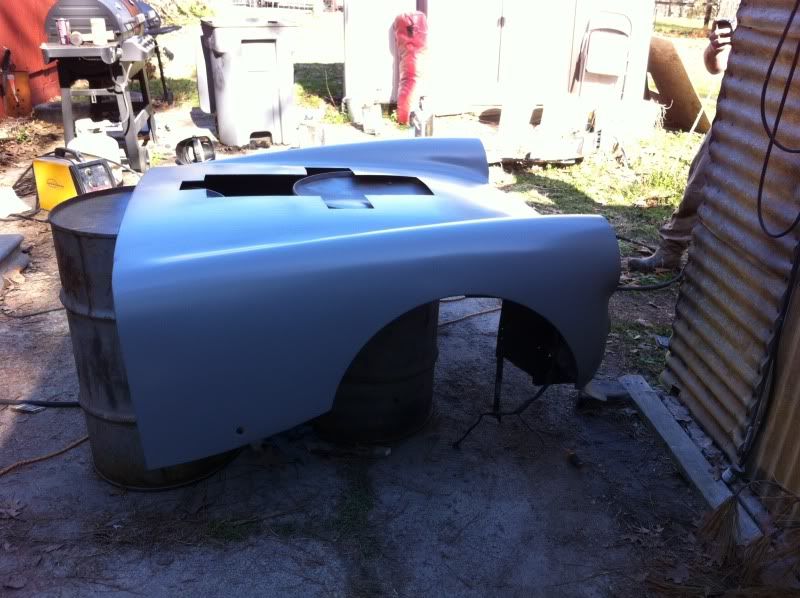
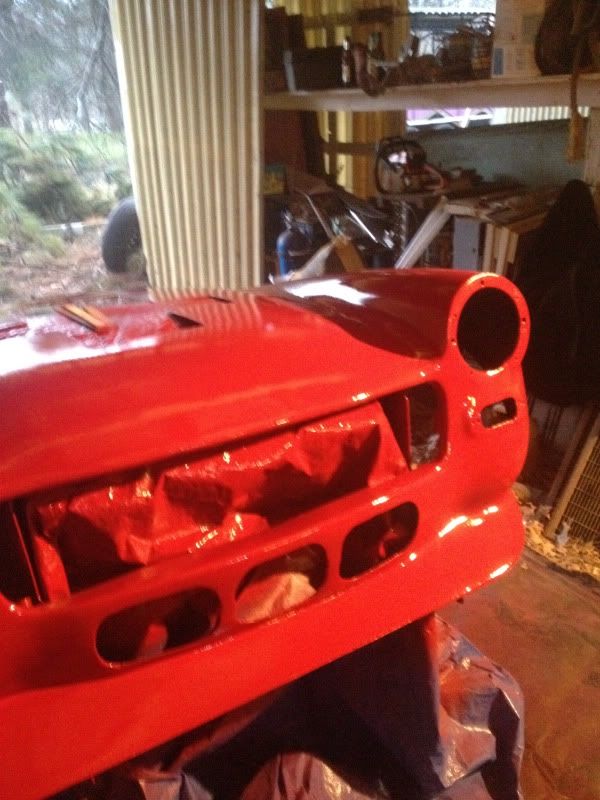
I cleaned up all the scratches and some other minor stuff... I could have spent a lot more time on the hood making it perfect but its close enough for now and looks pretty damn good... Right when I was getting to apply the first coat of red it started to rain so I moved everything into the barn and sprayed it. I'm very happy with how it turned out and I can't wait to get it on the car.


 04-01-2014, 08:57 AM
#89
I'll hopefully get the lights and grill in later today when I get home from work. I need to wetsand everything but I need to wait a week or 2 for that. Should have the hood on the car later today, maybe I'll get lucky and it won't rain tomorrow.
04-01-2014, 05:58 PM
#90
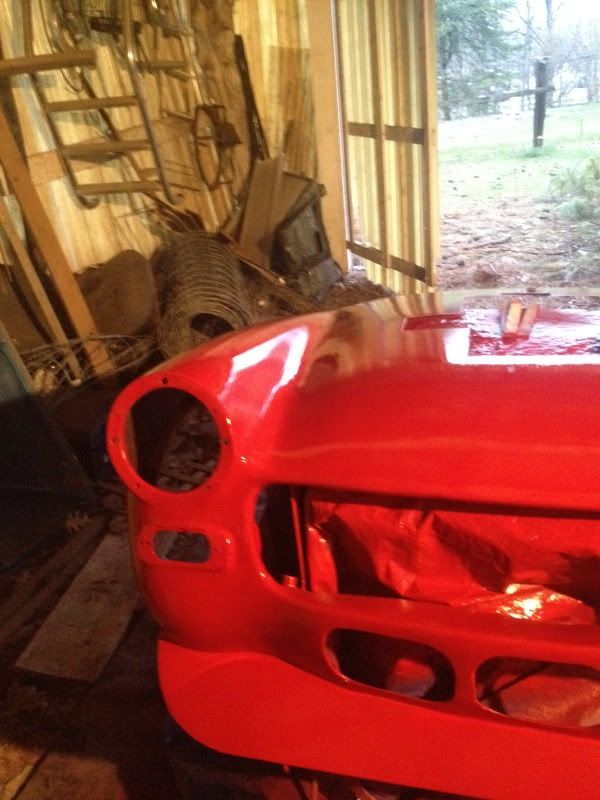
well, there's a light at the end of the tunnel finally... Hood is on, though it flexed more than I apparently accounted for and caused a small crack on one side... Nothing crazy but I'll clean it all up at some point and weld the top some more, then respray it. I was kind of in a hurry to get paint on it to have a finished running and driving fun car for the warm weather. It still all looks really really good. Close but not finished yet.
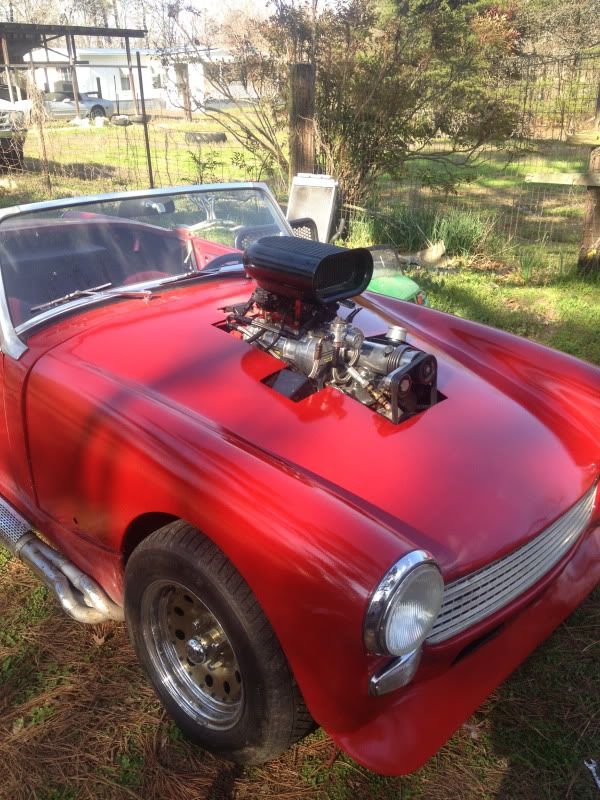
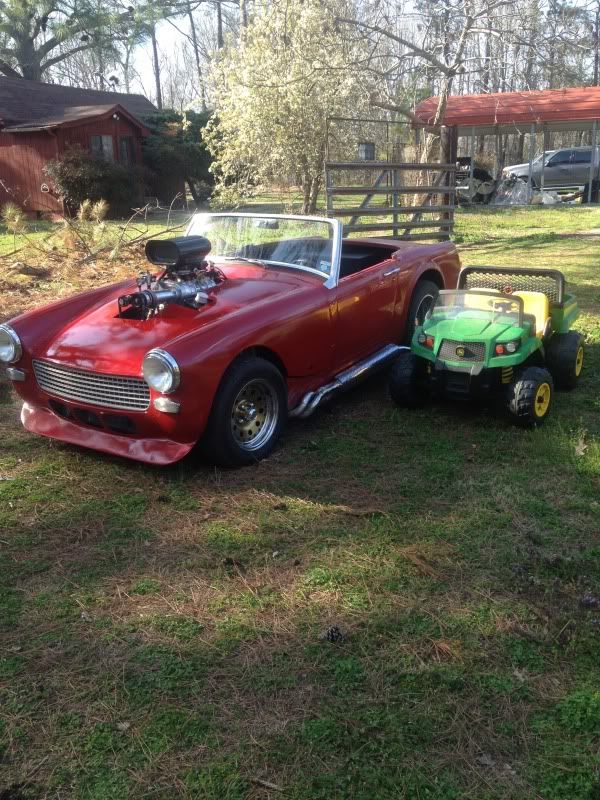
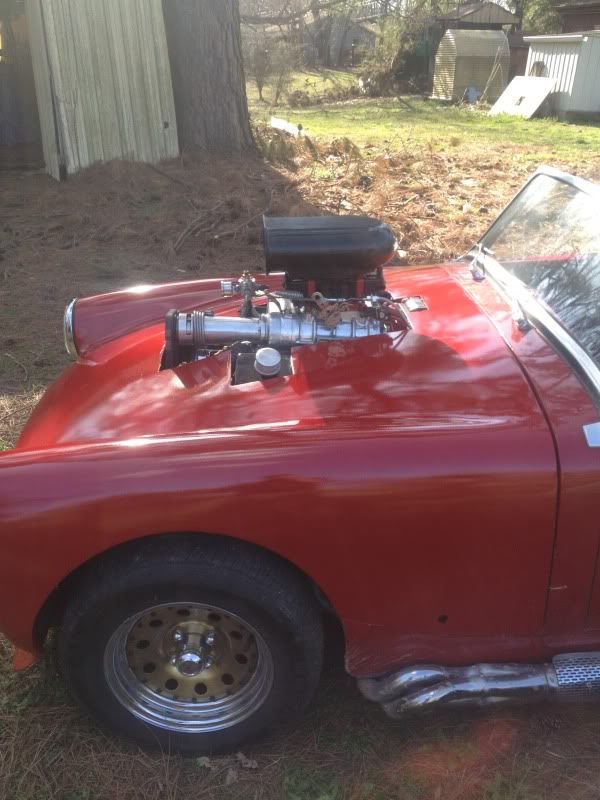
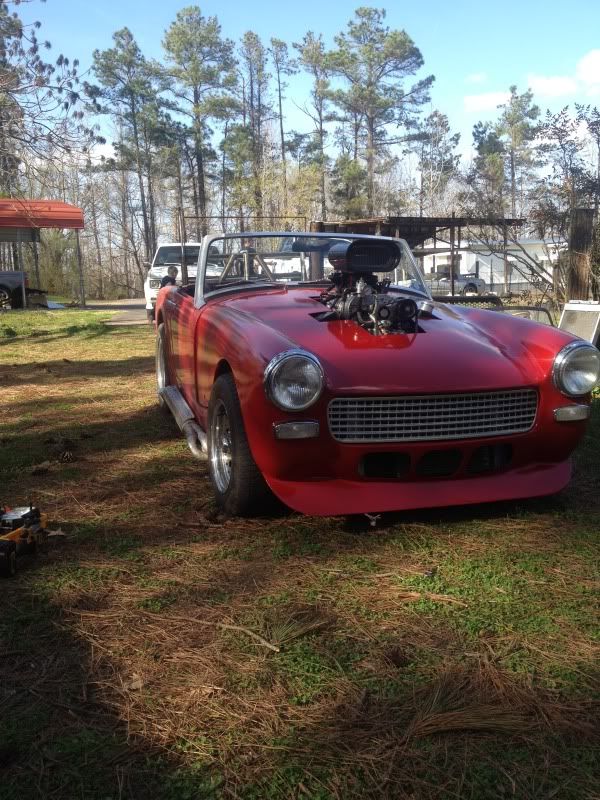
Oh yeah, Almost forgot, I'm tossing the chrome locking lugs in the hood, that's why you see the holes behind the wheels and that will hold the back of the hood down, also I still have to put the trim moulding around the cut in the hood to clean it up some and give it more of a finished look.


Oh yeah, Almost forgot, I'm tossing the chrome locking lugs in the hood, that's why you see the holes behind the wheels and that will hold the back of the hood down, also I still have to put the trim moulding around the cut in the hood to clean it up some and give it more of a finished look.
04-02-2014, 10:12 AM
#94
I had to sit down and decide whether I was going to make it some show car I'm afraid to drive or say the hell with it, it's good enough and lets drive the **** out of it... I went with the latter one. It's good enough for now and could be better in places but I can enjoy it this summer and have fun with it... Building a fisher price type wind up key as we speak for it, just for grins.
 04-11-2014, 09:28 AM
#100
After a 2 1/2 month delay my big brakes finally shipped yesterday... Long story. I was going to run at super chevy this weekend but since I don't have the upgraded stoppers, I think I'll hold off on that. Slowly adding trim pieces and various other things back to the car and also ordered a hard top. More to follow.