When you click on links to various merchants on this site and make a purchase, this can result in this site earning a commission. Affiliate programs and affiliations include, but are not limited to, the eBay Partner Network.
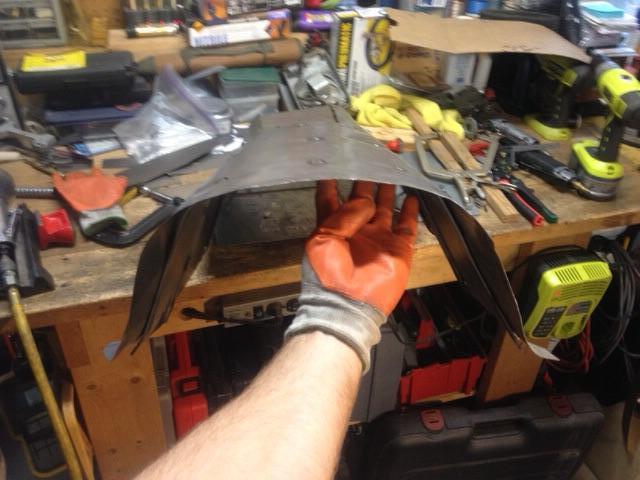
We made some serious progress on the car this week. We got the tunnel rebuilt and screwed in with sheet metal screws temporarily. We decided to ditch the stock tunnel that we had cut out. It proved too hard to work with due to several patches along the top from various shifters over the years I guess. Attempts to get it bent into place and to weld in a top widening piece proved to be more trouble than it was worth.
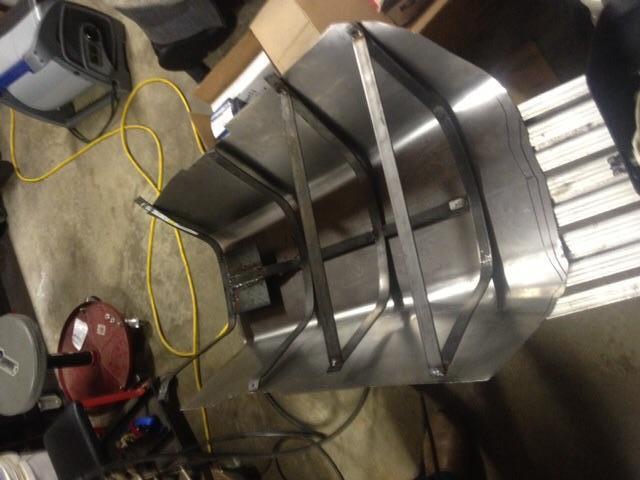
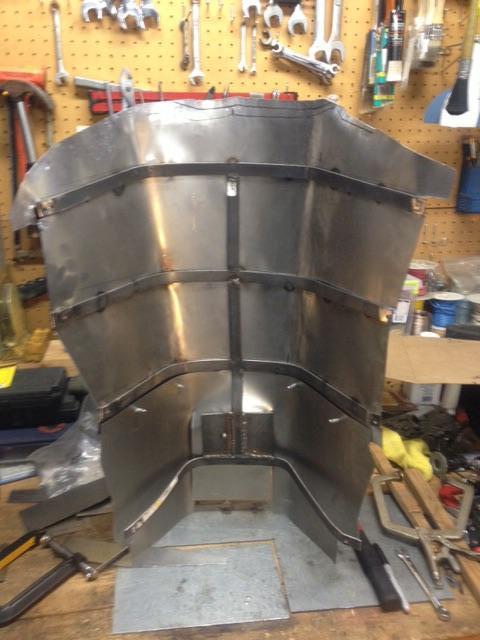
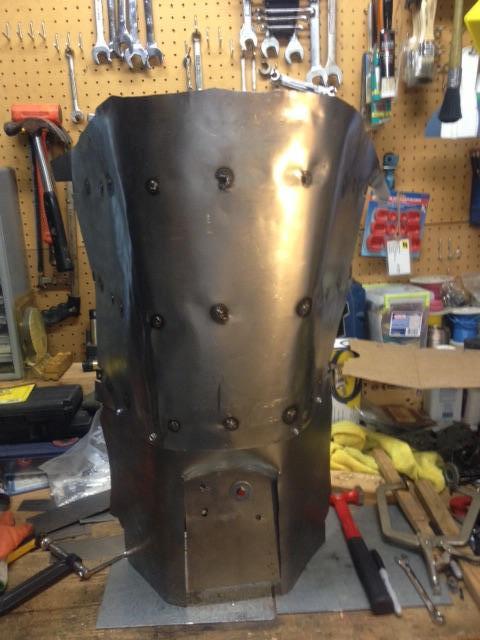
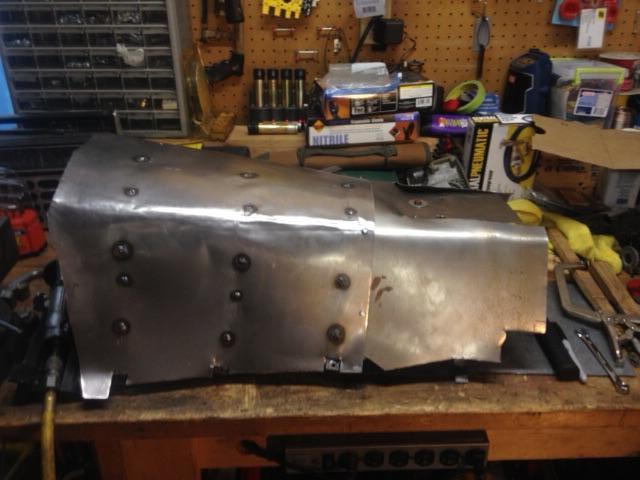
We made a steel skeleton to serve as the main support for the tunnel the draped it in 20 gauge steel. We will weld it in place once we drive the car a little and work out any bugs that present themselves.
The guy helping with the swap got the new tunnel all mounted in and the carpet put back before I could get any in place pics of it. Like I said once we drive the car, test and tune it we will weld the tunnel into place for the final time. So far so good with the miles we have put on it so far. Here's a few more pics
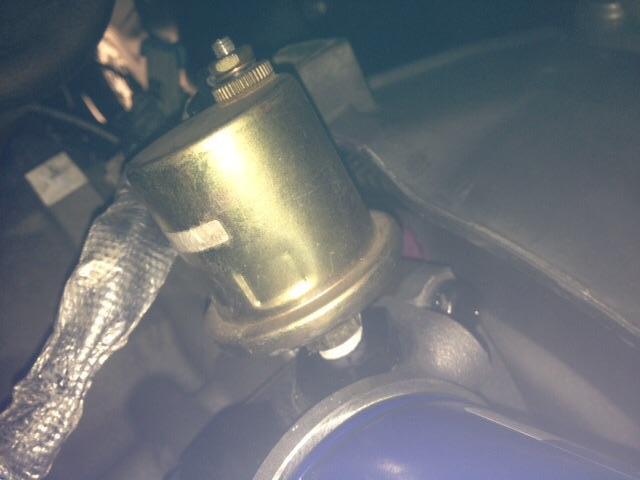
Oil sending unit tapped and in place in one of the Mast motorsports oil pan plugs
Homemade Lokar tranny dip stick hold down bracket
Word to the wise, DO NOT buy Carquest PN CPS 81624, it is a 1/8" NPT female to 12mm x 1.5 adapter. We bought one locally in an attempt to get the coolant temp gauge hooked up to the coolant port on the back of the head on the passenger side. As we thread it into place with the first turn of a wrench the damn thing broke off, threads left in the head! Took us hours to get it out with and easy out. Thought we were going to have to pull the head. Luckily we avoided that. Well order the auto meter one now
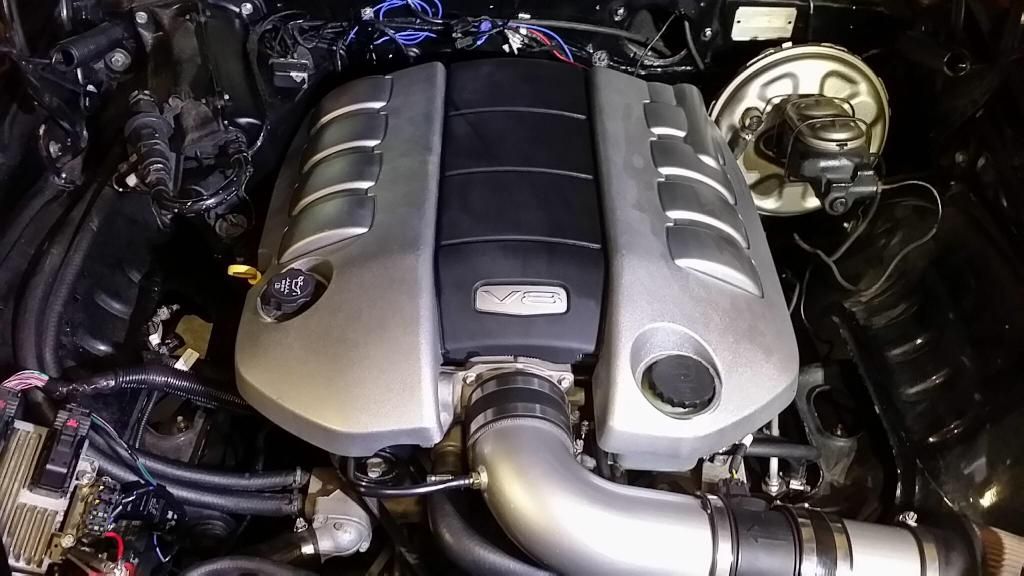
G8 engine cover went on without trimming and clears the hood, life is good. Now time to drive this thing some!
Mother of all transmissions . Are you driving yet ? you will need a gear change I think .I ended going with 3.08 26 inch tire . JOHN
We are putting some miles on the car now, with the 3:73's we have have in the car now it is beast to hold in the road. First gear us is pretty much useless, we do have a gear change planned in the near future. We just need to figure out what tire combo we will go with in the end. We plan to step up to some bigger wheels and brakes as well as a suspension upgrade (cheap as possible)... I'd like to run 18's or an 18" front, 20" rear combo. Have to research what will fit with or without mini tubs. Progress is good, we are glad to have it home and finally to be able to drive our car after 22 months of it being in the rebuilding stage
Congrats . Great job. I am stealing you dipstick holddown idea , thanks . All of those brass fittings worry me ,soft brass going into soft aluminum !!! .JOHN
why didn't you just try normal 18 g and form it around some type of object? I never seen someone do such a simple mod this way.
The guy doin the swap for us wanted to do it this way, so we went with it. Its stronger than only 20 gauge sheet metal, which is good in my book. Different doesn't mean wrong
Drove the car a good bit this weekend. It's running good, needs a tune though. Running rich and needs the gear ratio reset to what we have. Computer is seeing a speed of around 90 when we're running 60. Shifts so quick, it'll be in 3rd before you cross an intersection if you're easing on it. I think the tune can help this some
Still have to make the AC brackets and get all the ac components mounted up and hooked up. Went with a vintage air condenser / dryer kit and a Sanden 508 with a 7 grove pulley. Keep the thread updated as more progress occurs.
On my 1965 Buick Skylark I went with 3.27(maybe 3.23) rear gears and I am also running the 6L80. My tires are 26" in diameter in the rear. I wanted the engine to be around 1800-2000rpm at 70mph for a nice cruising rpm. With the low first gear of the 6L80 the launch is still very good off the line.
I appreciate all the pics, I am doing the basic swap LS3/6l80e into a 72 vette. Keep the pics coming. I was wondering once it was all done, how much difference was there in the tunnel, did it seem you lost any seating room, leg room and room between the seats?
I have 3.08 's and 26" tires -good launching and top end . the tranny seems like it is in a rush to get to 6th gear . I am told that it wants to be in a low rpm range for fuel economy. I have the shifter from speartech ( found in many gm cars ) which is nice as it allows you to have a seperate " sport tune " and then you can manually thumb shift which is nice . JOHN
On my 1965 Buick Skylark I went with 3.27(maybe 3.23) rear gears and I am also running the 6L80. My tires are 26" in diameter in the rear. I wanted the engine to be around 1800-2000rpm at 70mph for a nice cruising rpm. With the low first gear of the 6L80 the launch is still very good off the line.
Cool, thanks for the comment, we'll prob do 3.08's or something near yours. 3.23's are the factory gear ratio in the g8 I believe.
Originally Posted by smooth72
I appreciate all the pics, I am doing the basic swap LS3/6l80e into a 72 vette. Keep the pics coming. I was wondering once it was all done, how much difference was there in the tunnel, did it seem you lost any seating room, leg room and room between the seats?
Sorry I didn't any good ones before the tunnel went in, when we weld it in for the final time I will get more. For the Camaro tunnel it's essentially the same size at the bottom, wider at the top say by 2" and an 1-2" taller. Factory console fits in place as well. No affect to the seats what so ever.
Originally Posted by john 67
I have 3.08 's and 26" tires -good launching and top end . the tranny seems like it is in a rush to get to 6th gear . I am told that it wants to be in a low rpm range for fuel economy. I have the shifter from speartech ( found in many gm cars ) which is nice as it allows you to have a seperate " sport tune " and then you can manually thumb shift which is nice . JOHN
What rpms do you run at 70? Thinking of a powerglide shifter for a sport mode in 1st gear position. Not liking our b&m hammer rachet style shifter as it sits now. We went with the tap shift box from speartech for the manual mode. Haven't tried it yet though.
Factory gears in a g8 gt (v8), are 2.92. I would definely not go more than 3.27, I'd you go with a short 18 tire like a 265/40/18, I would go 3.08.
The camaro is at least 900lbs lighter.
I own both, look for lsa supercharger on g8 boards for next mod.
j
Factory gears in a g8 gt (v8), are 2.92. I would definely not go more than 3.27, I'd you go with a short 18 tire like a 265/40/18, I would go 3.08.
The camaro is at least 900lbs lighter.
I own both, look for lsa supercharger on g8 boards for next mod.
j
Been driving the car some, about 400 miles so far since the swap. No real issues as of yet. We have had a custom tune done to dial everything in for the current set up, 3:73 gears and 15" rally's. With the tune the car is running great, the 3:73's aren't bad. At 70 it runs about 2300 RPM's at 80 2600 RPM's, live able in my mind. Once we move up to bigger wheels and tires we will decide if and what final gear ratio we might go with
We did have to add a gas tank vent. The stock style vented gas cap wasn't venting enough air in. The tank would get a suction on it after being driven. When the gas cap was removed you could visually see the tank expand back to normal size, with a loud "swoosh" at the same time. After researching adding tank vents people had problems putting them at the top of the tank on one side or the other. This method tended to spill fuel out when cornering. Read about people putting them in the filler neck also, but worried about fuel slosh here too when on the gas. Also, the tank has had fuel in it so finding someone to weld on it would have been a challenge.
We ended up dropping the tank and installing a vent in the center removable portion if the tank that has the fuel pump etc attached to it. This is something we could do ourselves at home for minimal cost. Once out we removed the center section, disconnected the electrical connections to make room for the brass elbow. Drilled and tapped the hole, added a little JB weld to the top to ensure a good seal, despite the elbow threading in very tightly.
Used 3/8" fuel line to run from the elbow to small inline fuel filter (didn't want charcoal fines migrating back to the tank), then to a homemade charcoal canister of sorts which has a small breather filter attached to the end. Went a little over kill on the canister, couldn't find or think of anything lighter at the time, (I was only in town for the weekend). Might try to redo the canister part later if I find a more suitable container or pull one from a junkyard, shoot ideas or makes and models that you have used at me please!!
Here's the parts list:
-Dorman PN:785-430, 90 degree male elbow 3/8"ID 1/4" MNPT
- 3/8" fuel line
-Carbon 1.5oz filter from Pets Smart
-Threaded pipe from Lowes with caps, drilled and tapped the caps
-2, 3/8"ID 1/4" MNPT, brass fittings
-Spectra breather filter PN: 3991
-Small inline fuel filter
In the end it works well, tank no longer gets a suction and seems to be getting all the air it needs. Swapped from a Stant 10646 stock style vented cap to a Orielly Auto Master Pro stock style gas cap PN: MCS6806 "CA Emissions." I am pretty sure this cap is non-vented. I couldn't find a PN for a non-vented gas cap for the 69 stock style tank/filler neck. If you know of a PN let me know please!! Do not need a vented cap anymore and want to keep gas from coming out the back, if even a little when the tank is full as it did with the vented style cap...
figured I'd snap a couple pics of the inside of the Spectra gas tank. It definitely has a sump of sorts and baffling. Pics aren't the best but here's some
Tank does well, no fuel starvation issues for us so far. I ran it all the way down to 1/8 of a tank before I dropped the tank. We
Will typically not run it lower than 1/4 tank. You can see the gas gauge move around as you go around corners and such at 1/4 tank. Happy with the tank so far just should come with a vent at the top from the factory. That's my only gripe
That is interesting that you had to add a vent. Tsnow did a swap on a 69 and did not need to use the vent that came with the tank setup. Based on his input, I am capping the vent on my tank also. I guess if I do have an issue I can just uncap it, but I have heard of people having problems with fuel smell while parked.


 12-26-2014, 01:13 PM