
'73 240z LS3 Crate Swap
 06-02-2014, 10:20 PM
#21

one thing I learned doing swaps, do it the way you really want to do it the first time even if it takes longer to save the money to do so. You'll save time and money in the long run by not having to do things over or getting sick of your v8 running 2500rpm at 60mph and selling it off 
Really do wish LS stuff hasn't gotten even more expensive than it used to be now that the swaps have exploded in popularity. Actually has me looking at other swap options now that would be more interesting for about the same cost.
Really do wish LS stuff hasn't gotten even more expensive than it used to be now that the swaps have exploded in popularity. Actually has me looking at other swap options now that would be more interesting for about the same cost.
 06-04-2014, 05:26 AM
#22
If you are really looking at $2500 for a used T56, then you can get brand new magnum for just a few bills more. You can get your choice of gear ratios, will get both mechanical and electronic speedo outputs and will have the strongest, smoothest shifting option out there. The magnums are quite a bit better than stockers.
http://www.ddperformance.com/chevy-t...num-lsx-sb-bb/
I put a new TKO in my car. Can't really use the John's cars mounts cause the trans is shorter, but a cheaper option.
I honestly don't see the need for an R230. The diff isn't the weak point, the half shafts and axle stubs are. A R230 does give you some additional LSD options and maybe better axle options, IDK, but at the cost of quite a bit of added expense and added weight like said above.
08-10-2015, 12:37 PM
#23
Teching In
Thread Starter

Join Date: Feb 2014
Posts: 25
Likes: 0
Received 0 Likes
on
0 Posts
Hey guys, finally got the car running, still need to sort some things out so back for some advice.
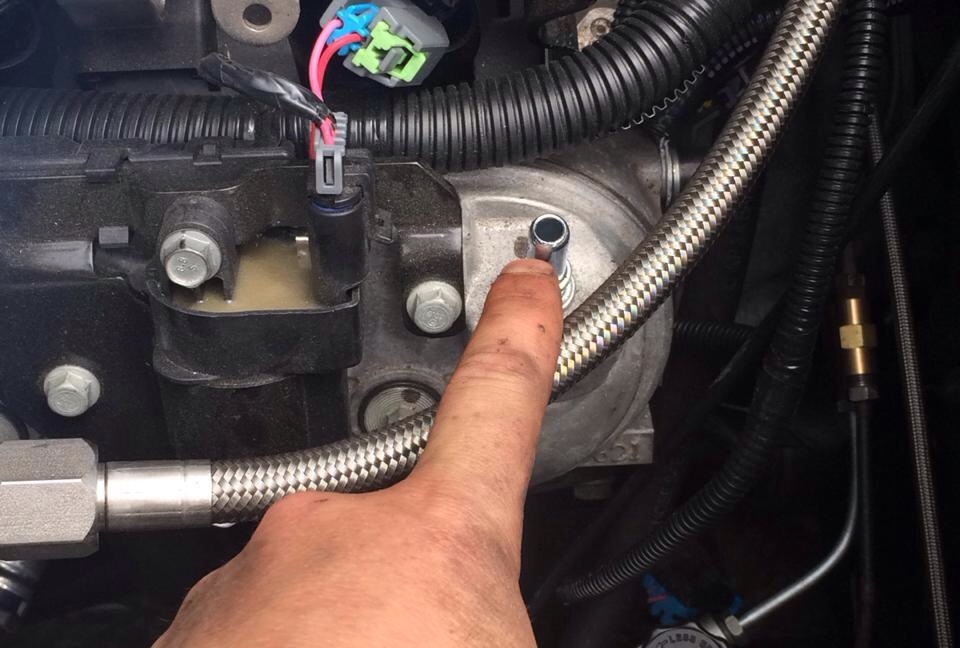
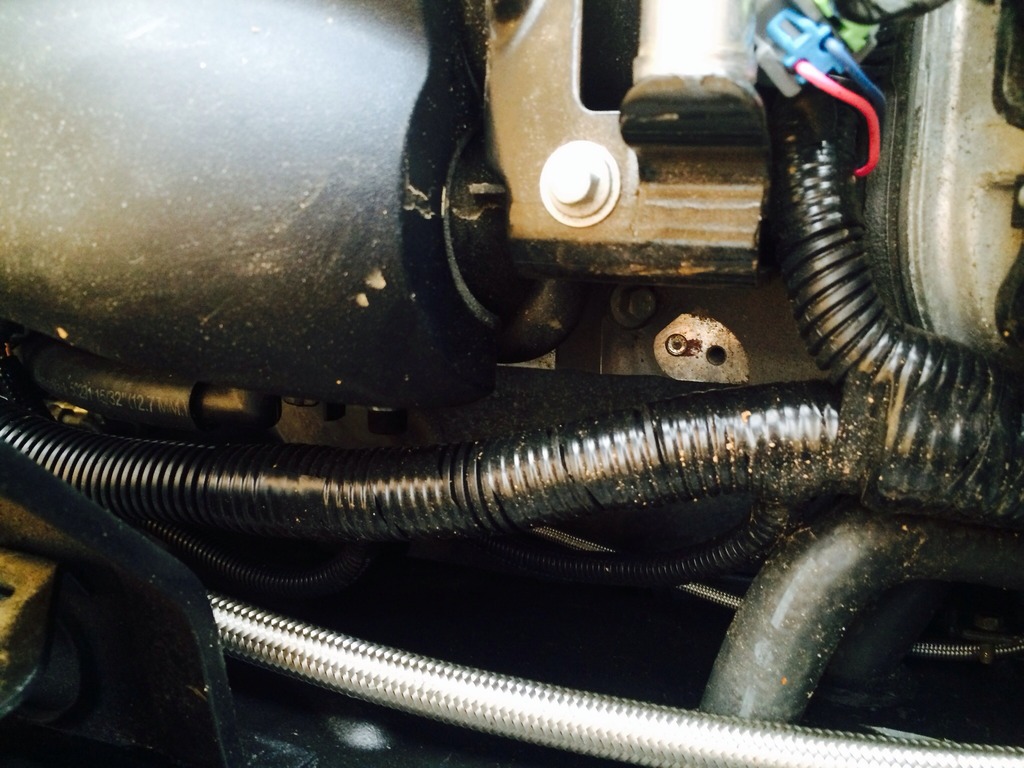
My main question is where I need to plumb this line.
I only see the one. I had completely forgot about it and was so horny to start it up that when it got up to temp it started spitting out coolant, it was then that I knew I f**ked up, lol.
I'm not running an overflow bottle, it's built into the rad, would this have to be plumbed back into the top of the rad under the cap?
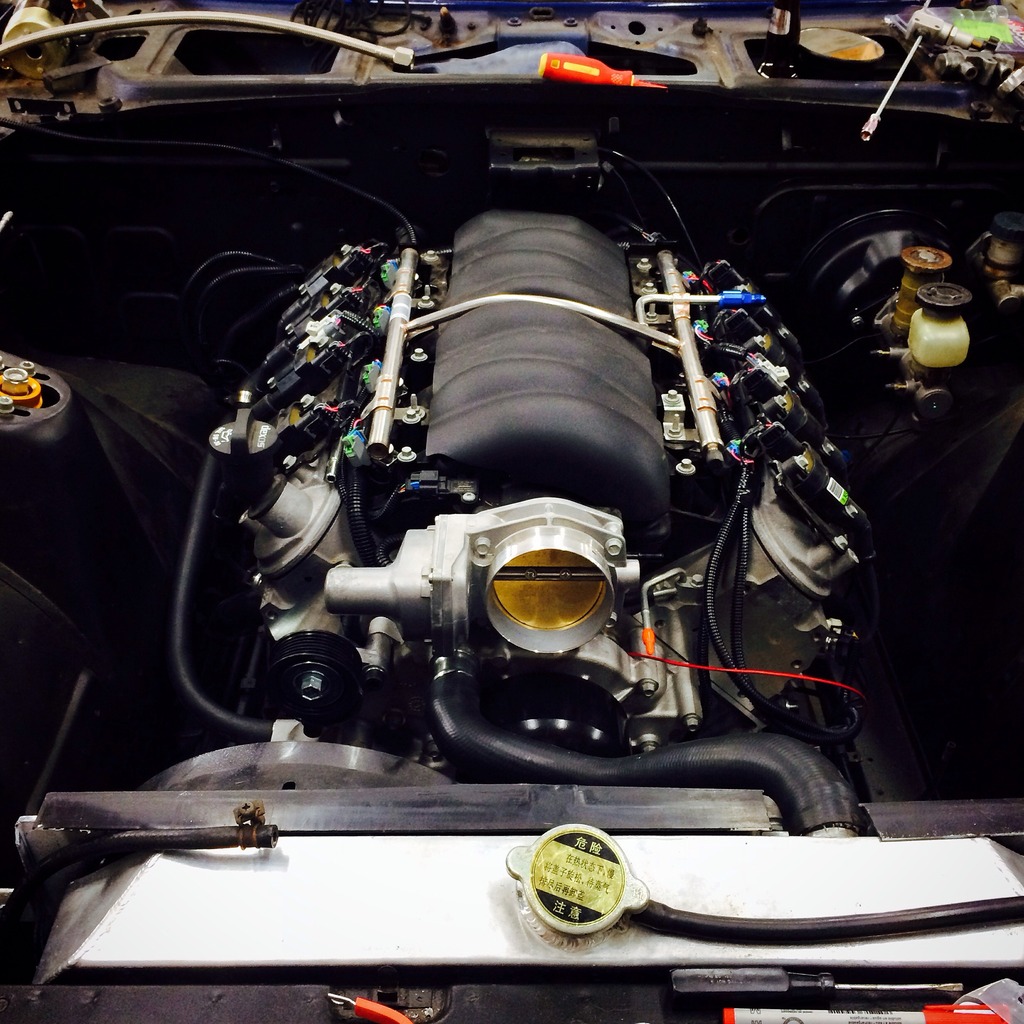
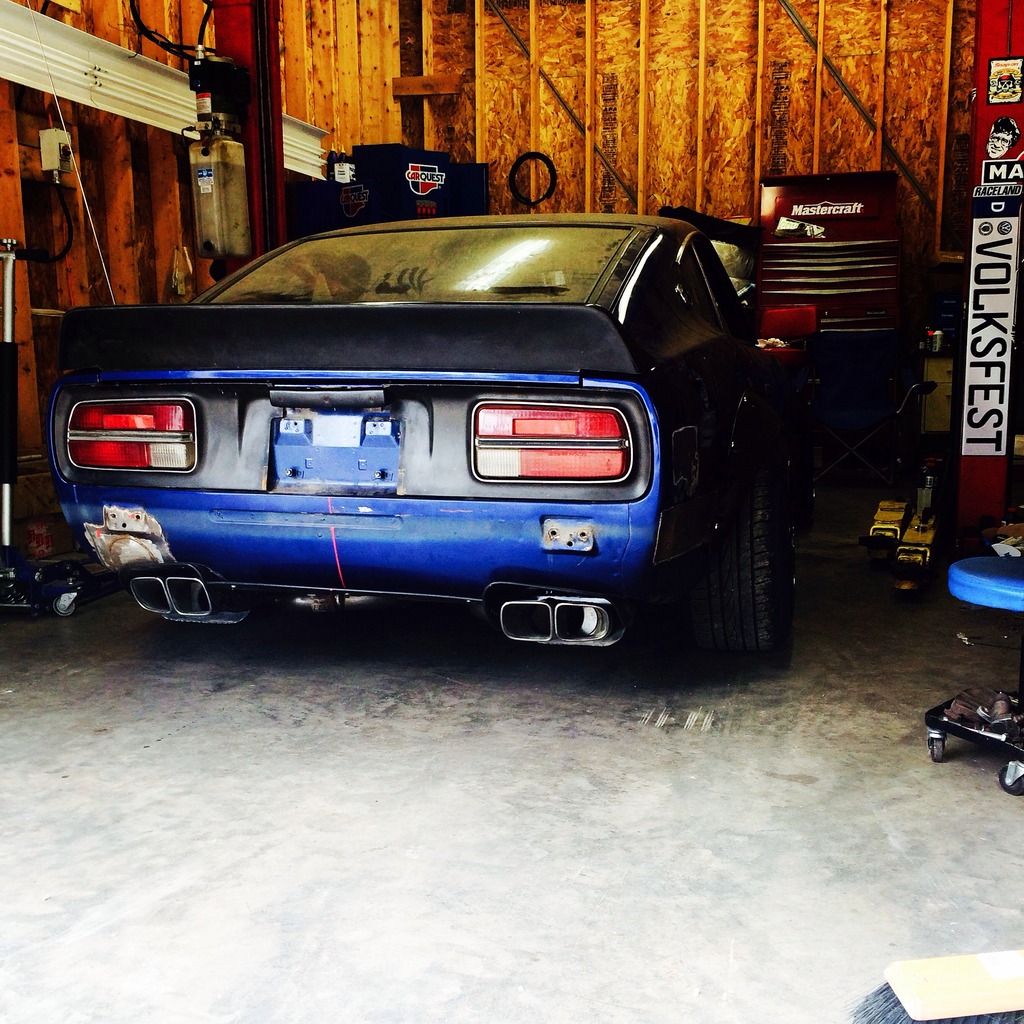
Here's my bay
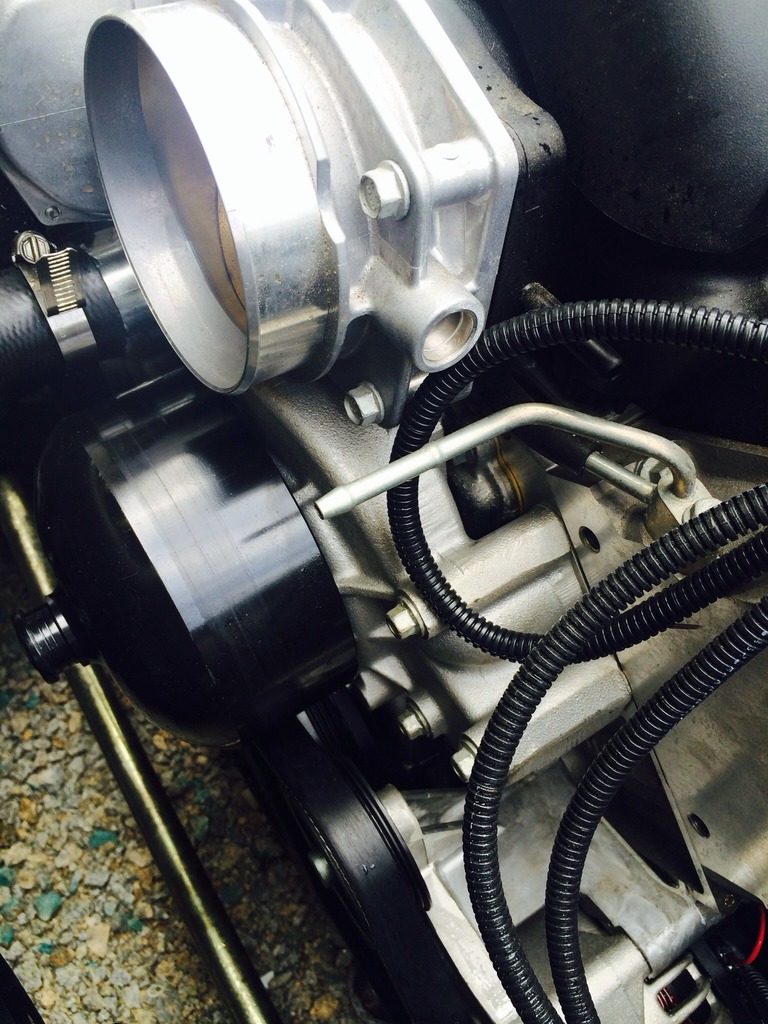
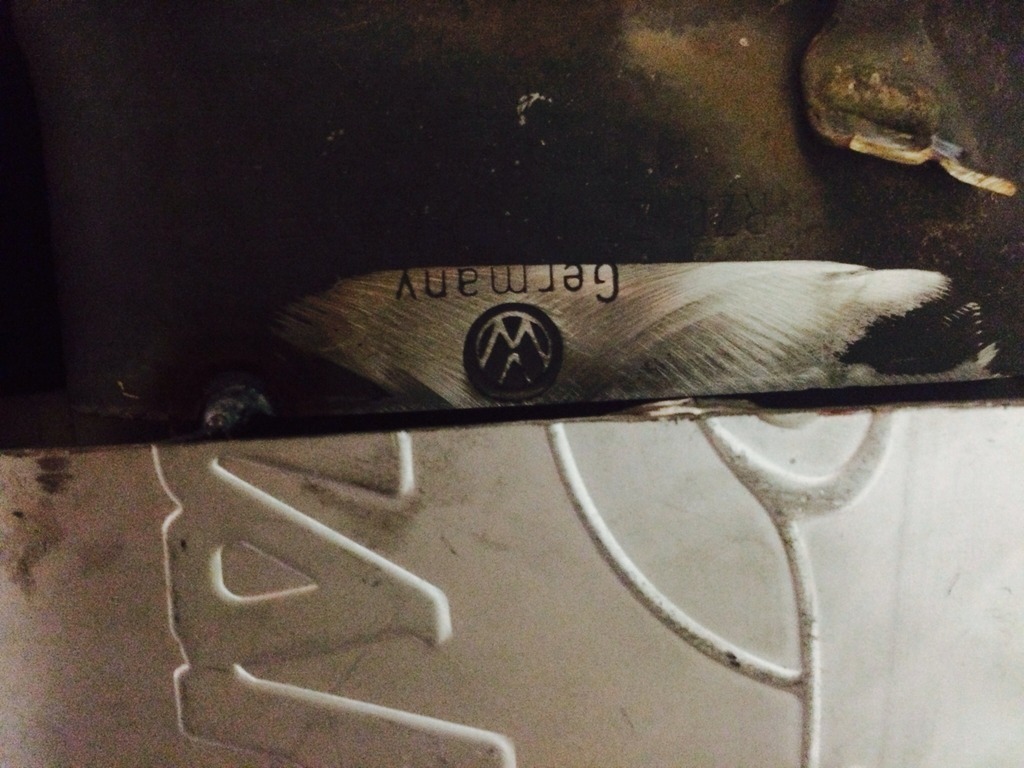
Also after that incident I got looking around and wasn't sure what these were.
Drivers side head near the back
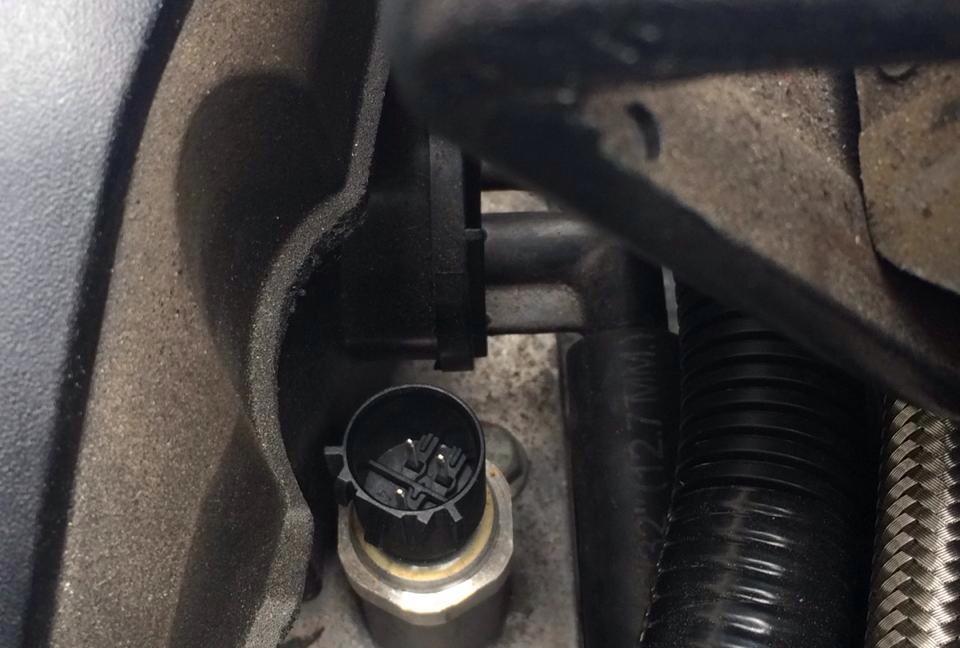
And then what sensor is this? My harness didn't come with a connector. Middle of the engine on too in the back.
Couple pics of where I'm at now.

Had some spare parts lying around from my other cars so decided to put them to use!
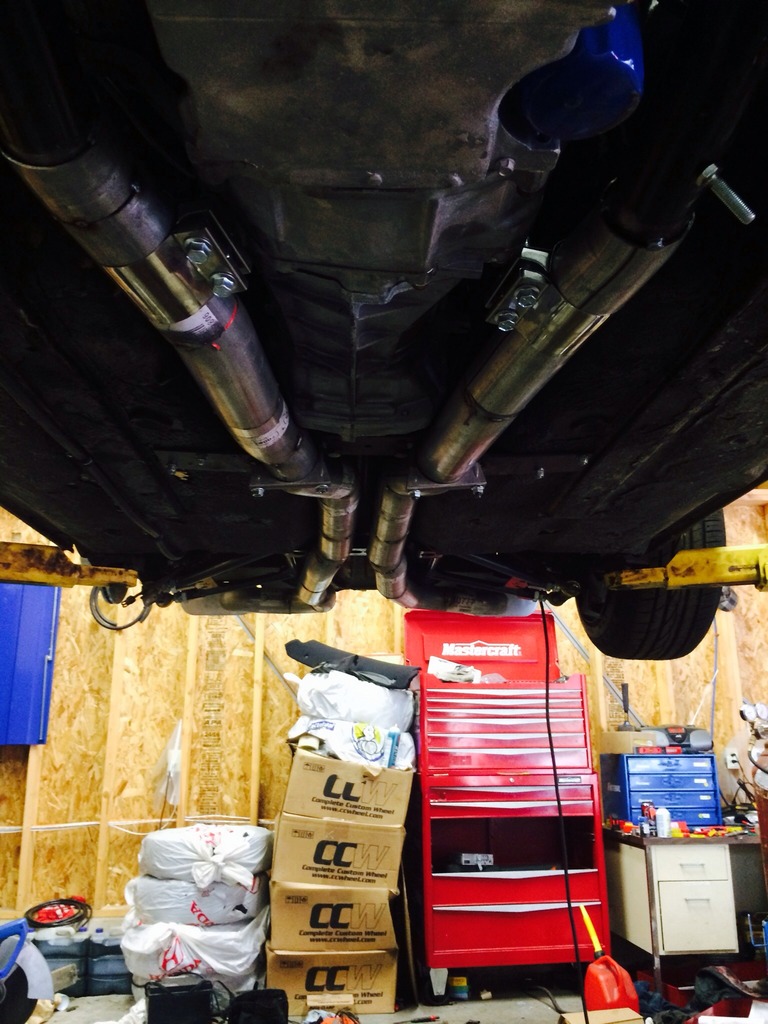
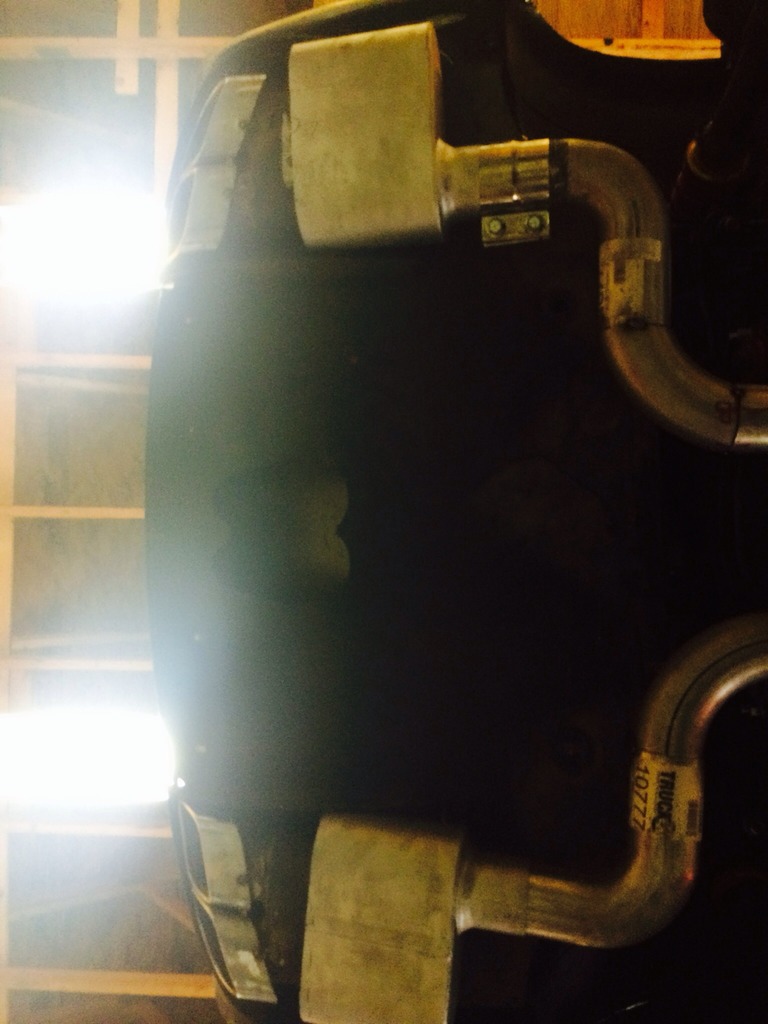
Ran my dual 3" back under my stock lotus diffuser and welded phaeton tips to my "muffler"
Passenger side tip needs some alignment but you get the idea.
Thanks again for all the advice so far guys. I'm gettin close!
My main question is where I need to plumb this line.
I only see the one. I had completely forgot about it and was so horny to start it up that when it got up to temp it started spitting out coolant, it was then that I knew I f**ked up, lol.
I'm not running an overflow bottle, it's built into the rad, would this have to be plumbed back into the top of the rad under the cap?
Here's my bay
Also after that incident I got looking around and wasn't sure what these were.
Drivers side head near the back
And then what sensor is this? My harness didn't come with a connector. Middle of the engine on too in the back.
Couple pics of where I'm at now.
Had some spare parts lying around from my other cars so decided to put them to use!
Ran my dual 3" back under my stock lotus diffuser and welded phaeton tips to my "muffler"
Passenger side tip needs some alignment but you get the idea.
Thanks again for all the advice so far guys. I'm gettin close!
08-10-2015, 03:39 PM
#24
TECH Addict
Sweet Z-car!
I believe the vacuum port on the valve cover is for your pcv system, and should definitely be connected to a catch can.
The little hose in the front, I'm not completely sure, but I believe that does get returned to the radiator under the cap.
I believe the vacuum port on the valve cover is for your pcv system, and should definitely be connected to a catch can.
The little hose in the front, I'm not completely sure, but I believe that does get returned to the radiator under the cap.
08-10-2015, 05:45 PM
#25
TECH Senior Member
iTrader: (7)

Little hose in the front is the coolant crossover tube. It needs to be plumbed either into the top radiator hose, top of the radiator tank, or into the water pump where the header hoses are, on the thermostat side.
The fittings on the valve covers is for the PCV system. The one on the driver's side is the air intake and needs to go to a filtered air source.
The sensor in the back is oil pressure.
Andrew
The fittings on the valve covers is for the PCV system. The one on the driver's side is the air intake and needs to go to a filtered air source.
The sensor in the back is oil pressure.
Andrew
08-11-2015, 06:04 AM
#26
Teching In
Thread Starter
Join Date: Feb 2014
Posts: 25
Likes: 0
Received 0 Likes
on
0 Posts
Ok great, thank you guys.
Right now I have my heater hoses just plugged off for the time being. You say running this coolant cross over to one of these should be fine?
Which one is inlet and which is outlet on water pump? Should it come back in inlet of water pump?
Would I see better results going to the top of the rad or the top rad hose?
Is catch can necessary? Or can I just stick a little filter on that PVC spout in the back?
Thanks again fellas.
08-11-2015, 10:14 AM
#27

That is one gnarly Z my friend. You have my dream build going on right no car looks great and swap looks super clean.....keep up the great work. Please share more pix of your chassis when you get a chance.
08-12-2015, 05:49 AM
#28
Teching In
Thread Starter
Join Date: Feb 2014
Posts: 25
Likes: 0
Received 0 Likes
on
0 Posts
Here's a couple more pics of random ****.
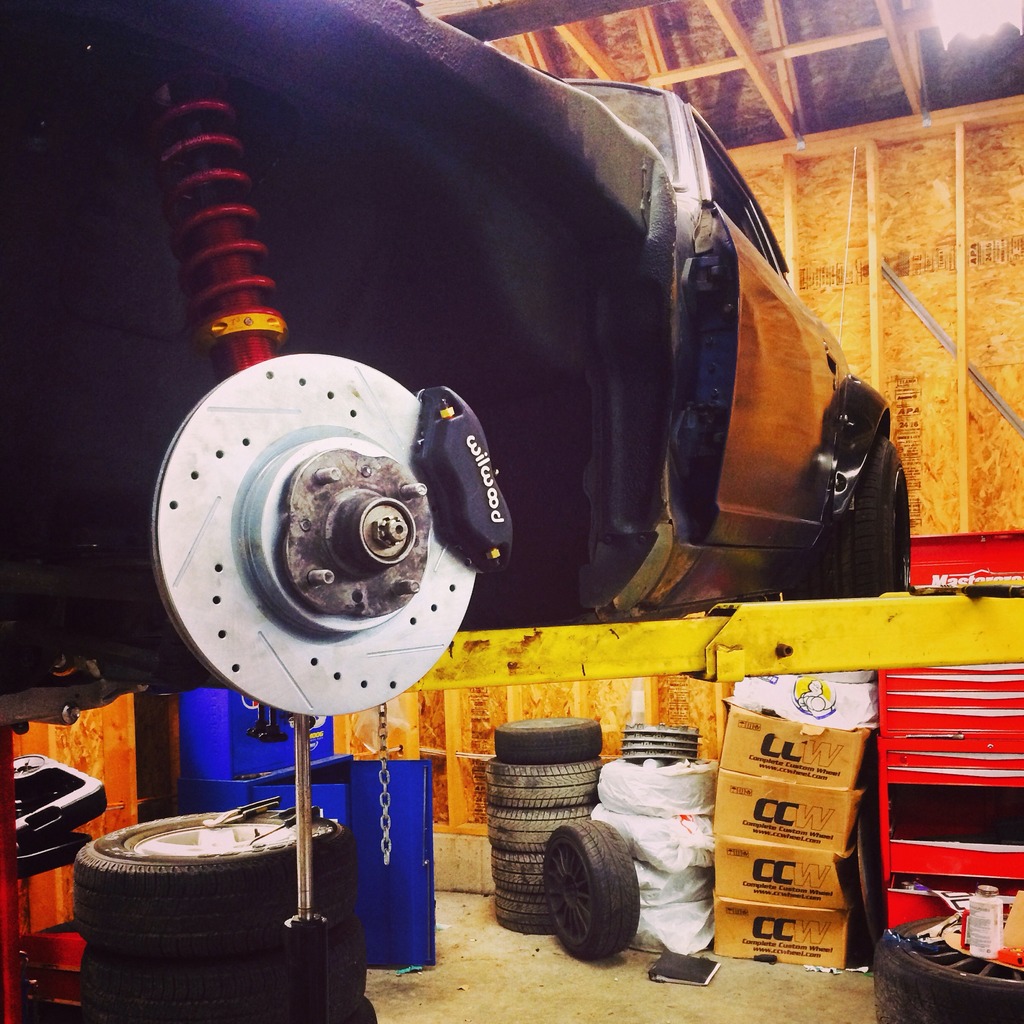
Going to replace the old **** frame rails with some 2x3 tubing or something over the winter. Just scrambling now to try and get it ready to enjoy for the last month or two before it goes away.
Still looking for advice on easiest/cleanest way to plumb my coolant crossover line.
Also is there a certain spacer or specific size washer that goes behind my idler pulley? My pulley wouldn't clear the bracket so I had to file a bit off the bracket, but now it sits in, maybe the width of one groove on the belt.
Thanks again guys.
08-12-2015, 05:52 AM
#29
Teching In
Thread Starter
Join Date: Feb 2014
Posts: 25
Likes: 0
Received 0 Likes
on
0 Posts
Also, doing some research I read that these engines have a rear coolant crossover but I didn't see anything.. Except this threaded hole here. Is it just a hole or does it lead to a passage of some kind. One on each side of engine in the back.
08-12-2015, 02:39 PM
#30
TECH Addict
iTrader: (19)
Join Date: Aug 2007
Location: Where the Navy tells me to go
Posts: 2,403
Received 106 Likes
on
88 Posts

I believe some of the early LS cars have a rear coolant cross-over, but later cars had the ports capped. (I know my '05 CTS-V LS6 just has them capped, no rear cross-over.) The heads are symmetrical, so the rear ports are in the same location as the ones in the front. If you're not pumping coolant all over the place  , then the rear plugs (GM part #12602540 on the LS6) must have been installed already when the engine came out of the crate. This is what the plugs look like - (the picture shows it upside-down - the little nipple with the o-ring goes down into the steam vent port on the head).
, then the rear plugs (GM part #12602540 on the LS6) must have been installed already when the engine came out of the crate. This is what the plugs look like - (the picture shows it upside-down - the little nipple with the o-ring goes down into the steam vent port on the head). Last edited by AAIIIC; 08-12-2015 at 03:13 PM.
08-12-2015, 02:47 PM
#31
TECH Senior Member
iTrader: (7)

This hose runs to that nipple in the previous picture.

The nipple has to be on the return side of the hater hoses, which is the 3/4" fitting.
Andrew
08-13-2015, 05:21 AM
#32
Teching In
Thread Starter
Join Date: Feb 2014
Posts: 25
Likes: 0
Received 0 Likes
on
0 Posts
Thanks for the replies guys. Andrew do you have any pics of the other side of that hose? I'm curious to see how you adapted it to the water pump return side.
Thanks again.
Thanks again.
08-13-2015, 08:15 AM
#34
Teching In
Thread Starter
Join Date: Feb 2014
Posts: 25
Likes: 0
Received 0 Likes
on
0 Posts
Is placement of where you drill/tap critical? Does this mean I'll have to take my water pump back off to effectively clean the filings out?
08-13-2015, 10:19 AM
#35
TECH Senior Member
iTrader: (7)
Andrew
08-13-2015, 02:05 PM
#36
Teching In
Thread Starter
Join Date: Feb 2014
Posts: 25
Likes: 0
Received 0 Likes
on
0 Posts
The water pump has 2 heater hoses. One is 5/8" and the other is 3/4". Those heater hose nipples go to their own cavities inside the water pump. The little nipple for the crossover must be in the cavity that is being fed by the 3/4" nipple. You don't have to take the water pump off. You can remove the thermostat housing and have a friend hold a shop vac close to where you are drilling. I drill and tap for 1/8" NPT.
Andrew
Andrew