

New Hooker G-Body LS Swap System Preview
 01-08-2015, 10:03 AM
#321
On The Tree
iTrader: (1)

Join Date: Oct 2009
Location: Philly, PA
Posts: 198
Likes: 0
Received 0 Likes
on
0 Posts

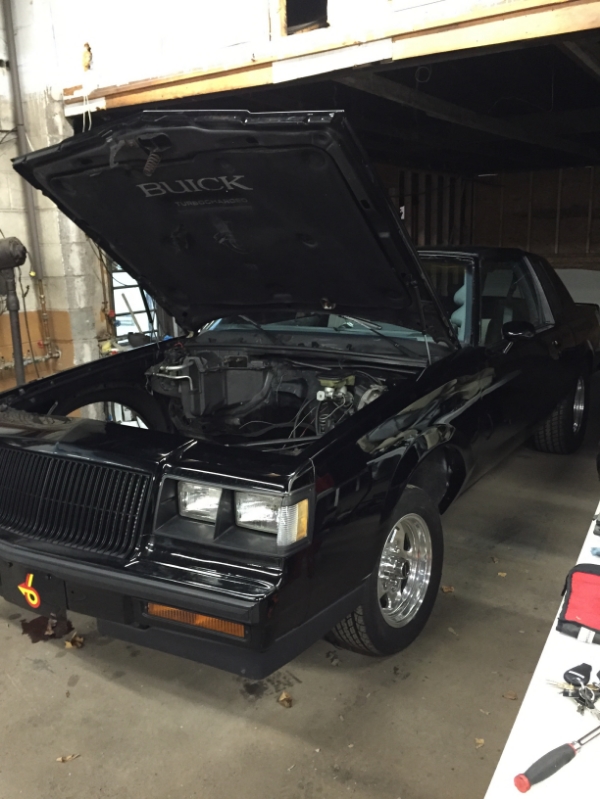
My car is a standard '87 GN. I really don't know what accessory drive I am going to use yet. That's something else i'm kind of flustered about. It's a 4.8 with a truck balancer.
I bought a new GM F-body water pump. My current thoughts are to do a corvette accessory drive which will be about $700-800 after changing tha balancer over. I'd like to have a simpler option and of course cheaper would be nice. I haven't looked into the Hooker option yet.
It would be real cool if you can make a turn key G-body turbo kit or even a hot side to work with stock truck manifolds. There a few companies making kits for F-bodys and fox bodies but no one offers a G-body Turbo kit. It would prompt more G-body swaps for sure. Mine will be a single 75/75
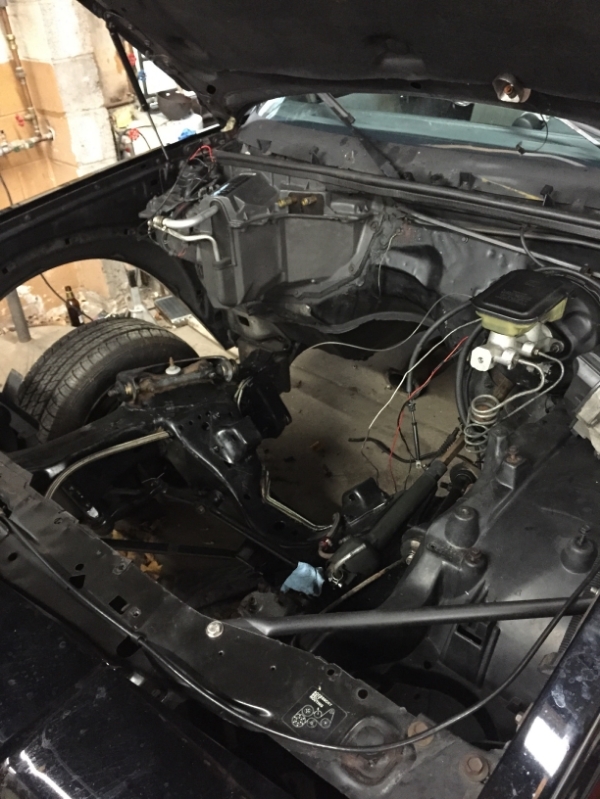
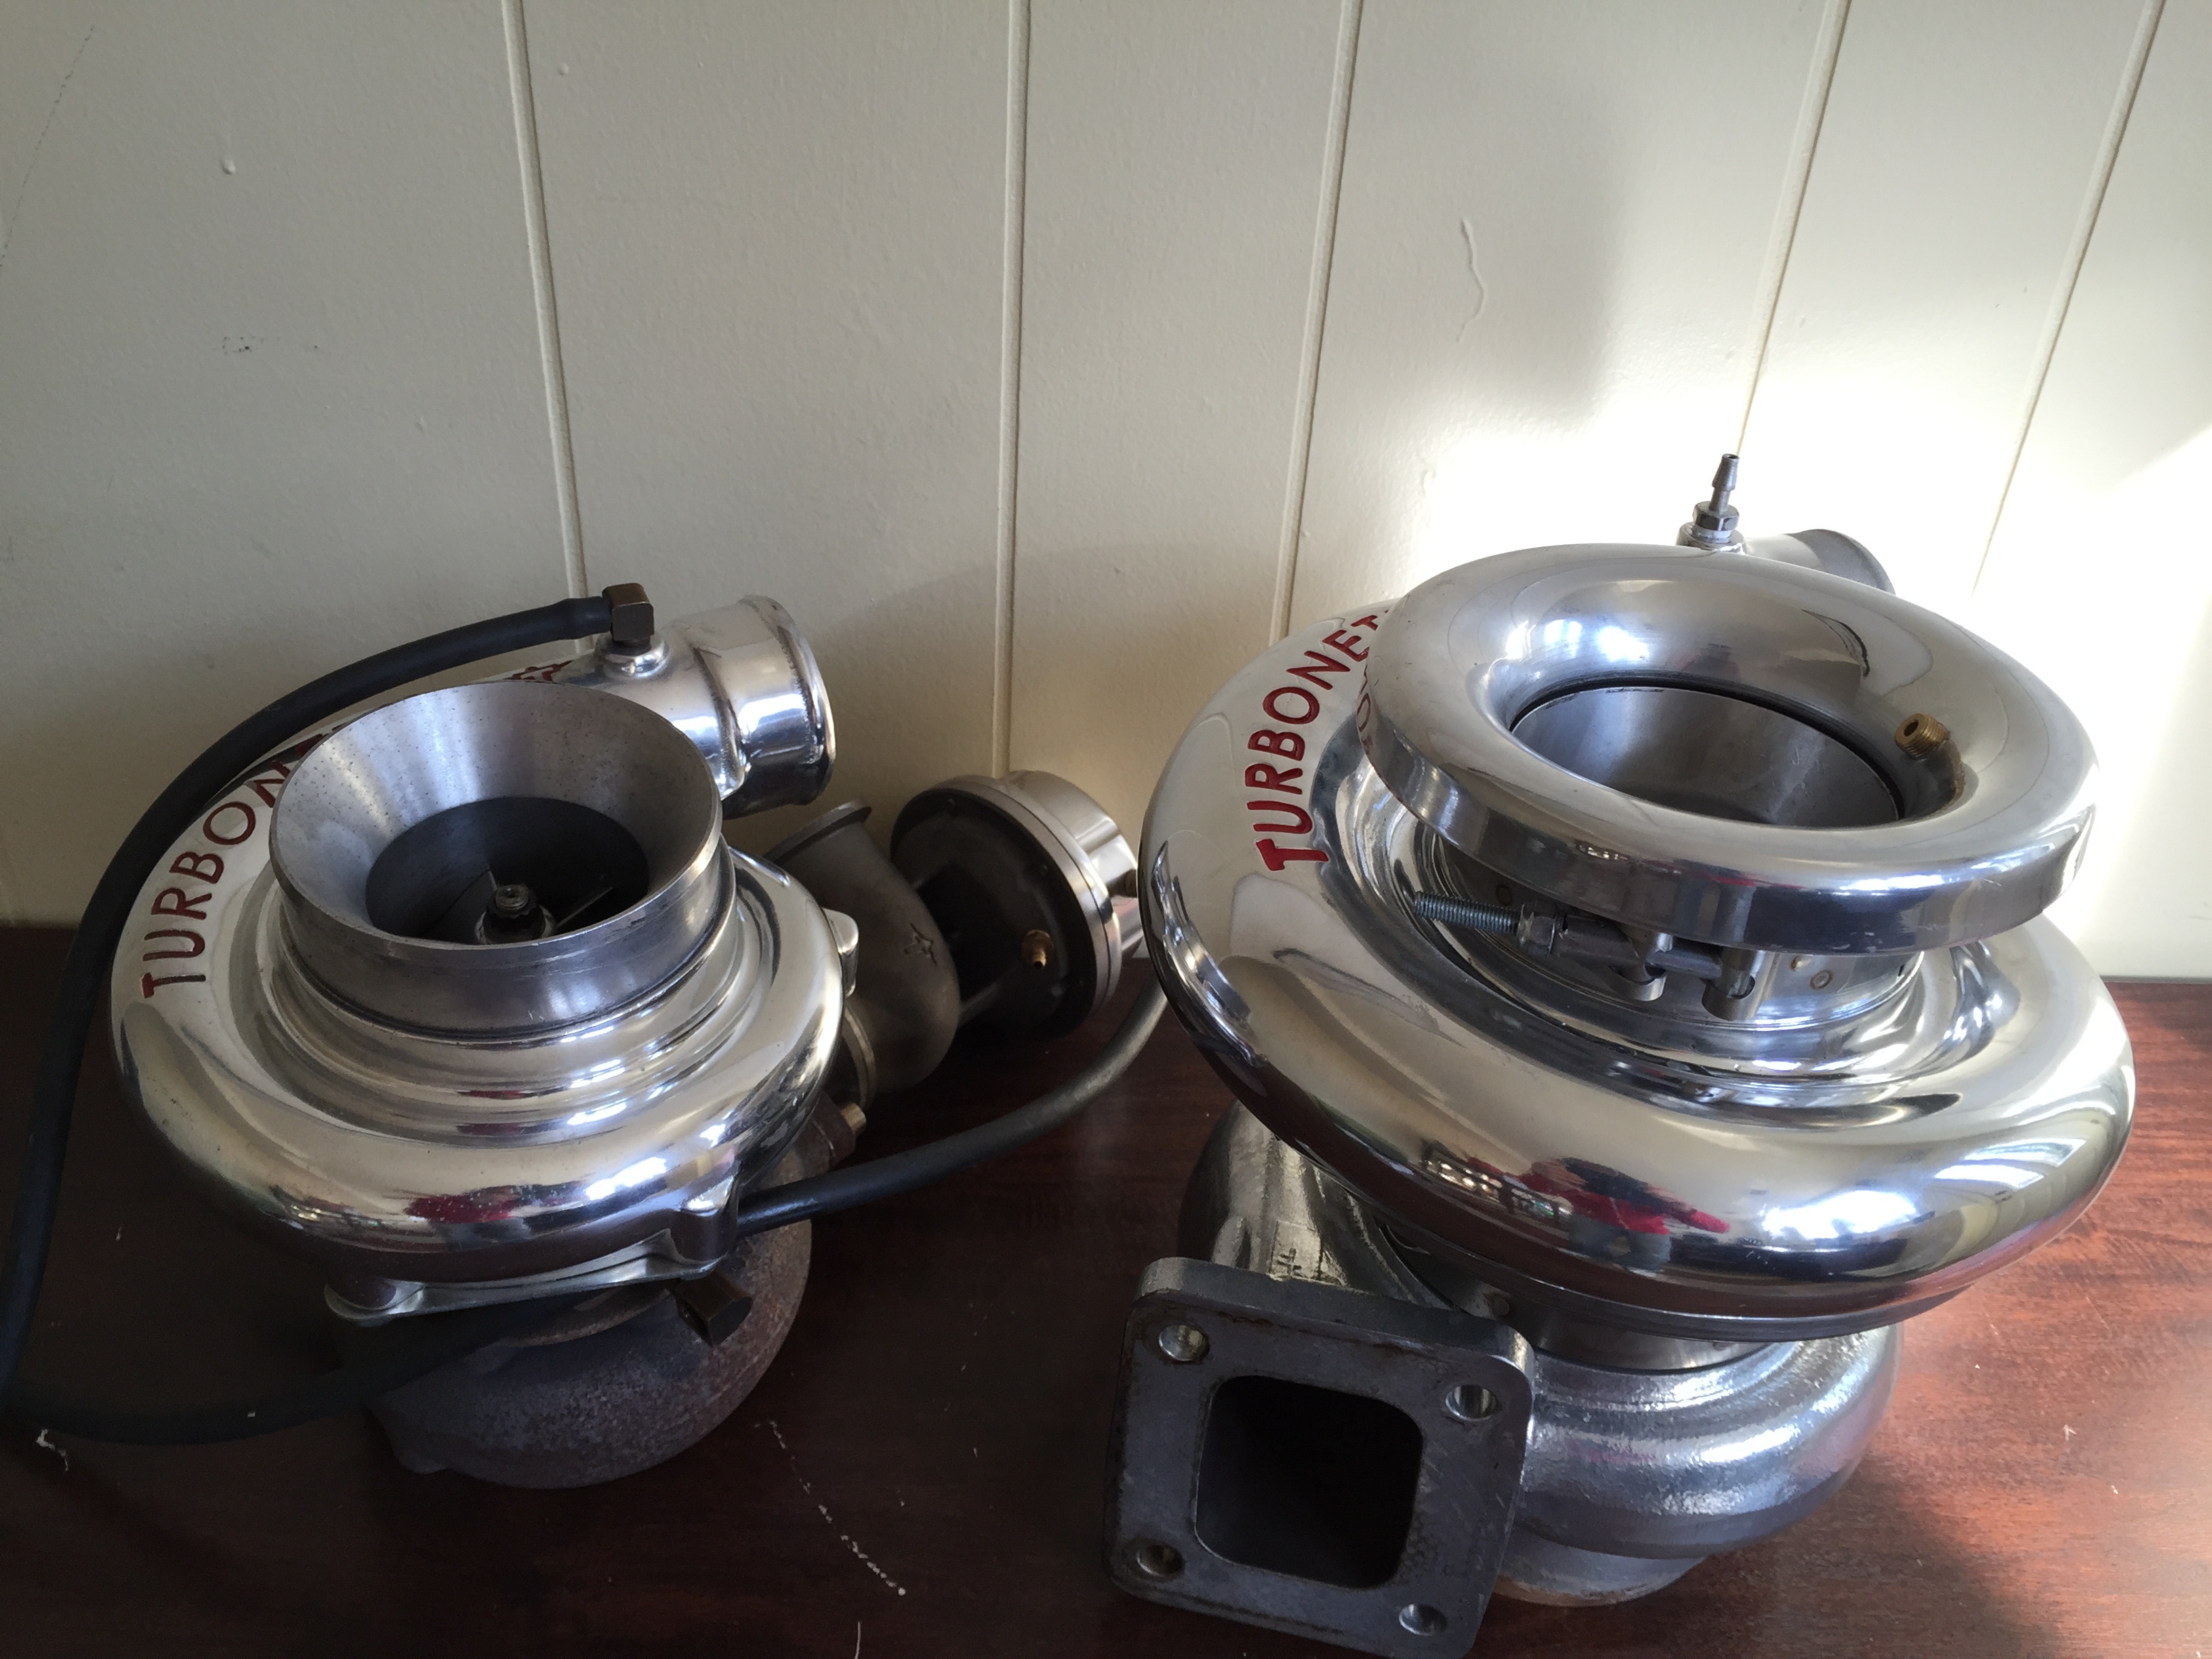
Here's my engine compartment and project the way it sits. The turbo is the new one vs: the old 66mm V6 Turbo

I bought a new GM F-body water pump. My current thoughts are to do a corvette accessory drive which will be about $700-800 after changing tha balancer over. I'd like to have a simpler option and of course cheaper would be nice. I haven't looked into the Hooker option yet.
It would be real cool if you can make a turn key G-body turbo kit or even a hot side to work with stock truck manifolds. There a few companies making kits for F-bodys and fox bodies but no one offers a G-body Turbo kit. It would prompt more G-body swaps for sure. Mine will be a single 75/75
Here's my engine compartment and project the way it sits. The turbo is the new one vs: the old 66mm V6 Turbo


 01-08-2015, 11:15 AM
#322

My car is a standard '87 GN. I really don't know what accessory drive I am going to use yet. That's something else i'm kind of flustered about. It's a 4.8 with a truck balancer.
I bought a new GM F-body water pump. My current thoughts are to do a corvette accessory drive which will be about $700-800 after changing tha balancer over. I'd like to have a simpler option and of course cheaper would be nice. I haven't looked into the Hooker option yet.
It would be real cool if you can make a turn key G-body turbo kit or even a hot side to work with stock truck manifolds. There a few companies making kits for F-bodys and fox bodies but no one offers a G-body Turbo kit. It would prompt more G-body swaps for sure. Mine will be a single 75/75
Here's my engine compartment and project the way it sits. The turbo is the new one vs: the old 66mm V6 Turbo
01-08-2015, 12:51 PM
#323
On The Tree
iTrader: (1)
Join Date: Oct 2009
Location: Philly, PA
Posts: 198
Likes: 0
Received 0 Likes
on
0 Posts
Question.
1. Does the 12643 Part number have the Lower Frame mounts and actual motor mounts? How about hardware? I don't have any of the factory mounts or hardware on my motor. Or does this assume using Factory style motor mounts.
1. Does the 12643 Part number have the Lower Frame mounts and actual motor mounts? How about hardware? I don't have any of the factory mounts or hardware on my motor. Or does this assume using Factory style motor mounts.
01-08-2015, 01:20 PM
#324
On The Tree
iTrader: (1)
Join Date: Oct 2009
Location: Philly, PA
Posts: 198
Likes: 0
Received 0 Likes
on
0 Posts
Never mind. Scratch that last question. I went back and started the thread over. It's been a while. I see that you will use a factory style bottom mount and the new mounts bolt to the motor. Does the bottom half get relocated into different holes? I'm still reading the thread over too I just wanted to correct that last question I asked.
Do you know the part number for the Lower mounts that you used? Probably a good time to change them.
Do you know the part number for the Lower mounts that you used? Probably a good time to change them.
01-08-2015, 01:33 PM
#325
Registered User

Join Date: Jan 2015
Posts: 6
Likes: 0
Received 0 Likes
on
0 Posts
The simplest way to describe it is as a "Z" shaped plate that installs between the Hooker transmission crossmember and the frame of the car. You just bolt it to the crossmember and then drill two holes in the bottom flange of your frame to attach it. Go to the Holley website and do a search for the transmission crossmember (part no. 12643HKR) and click the link for the instructions; you will see a CAD model of the crossmember and these brackets depicted in those instructions.
 01-08-2015, 03:47 PM
#326
I read the directions ..and still struggling with the directions of 2 brackets just to attach to the car and im a prototype engineering technician ..lol, So just to clarify your statement the components install same configuration ( same order) as the cad drawing at the top of the page.. Maybe it will come clear when when I get the z bracket in my hand ..but a picture of the crossmember just bolted together in your intended configuration laying on the floor would be most helpful .. Does the frame extender still remain in the middle of the crossmember and the z bracket if your your drilling holes in the bottom of the frame..Just the instruction are not real complete for the 78-82 cars ..Sorry if being a PIA but many people will struggle in this area ..As engineers we must step back and take a look at it as if we werent the ones who made it
 01-08-2015, 04:03 PM
#327
Never mind. Scratch that last question. I went back and started the thread over. It's been a while. I see that you will use a factory style bottom mount and the new mounts bolt to the motor. Does the bottom half get relocated into different holes? I'm still reading the thread over too I just wanted to correct that last question I asked.
Do you know the part number for the Lower mounts that you used? Probably a good time to change them.
Do you know the part number for the Lower mounts that you used? Probably a good time to change them.
01-08-2015, 06:11 PM
#328

For the long bolts I used 7/16x5in grade 8 bolts, nuts, lock washers then u need 6 3/8x1in bolts,nuts,lock washers grade 8 for the mounts the anchor 2292 mounts are 5$ at summit
Urethane inserts were 25$ each
Urethane inserts were 25$ each
01-08-2015, 06:41 PM
#329
Thanks for supplying independent information from your experience with the Hooker/Holley components jimmyg. The timing of your project couldn't have been better to allow people to follow along as you put your car together and see what you go through to get it done and on the road.
01-08-2015, 06:58 PM
#330
Registered User
Join Date: Jan 2015
Posts: 6
Likes: 0
Received 0 Likes
on
0 Posts

 01-08-2015, 08:39 PM
#332
I can see the low pressure fitting on the accumulator in the picture, but I can't tell where the high side gauge port is...I will have a look in the morning and report back to you.
01-08-2015, 09:17 PM
#333
On The Tree
iTrader: (1)
Join Date: Oct 2009
Location: Philly, PA
Posts: 198
Likes: 0
Received 0 Likes
on
0 Posts
Well, It's a wrap.
I just ordered the clamshells, Poly Mounts, HKR LS Motor Mounts, HKR Crossmember and 4L80 Extension.
Thanks for the push. If all goes well I hope to be on here passing on everything you guys helped me get straightened out.
I just ordered the clamshells, Poly Mounts, HKR LS Motor Mounts, HKR Crossmember and 4L80 Extension.
Thanks for the push. If all goes well I hope to be on here passing on everything you guys helped me get straightened out.
01-08-2015, 09:33 PM
#334
Glad to have you on board. If you need help with any of the parts just post up here or shoot me a PM.
01-08-2015, 10:12 PM
#335
Sure, I was impressed when I first saw the shopping list "a week ago". But clearly you are too lazy to read the whole thread to find the information yourself, and that you needed a solution (or "kit") spoon fed to you; all the while being a confrontational jerk about the products offered here - seriously, go back and re-read you posts from an objective point of view they are highly inflammatory. Toddoky is clearly a stand up guy, and represents Holley very well to deal with your nonsense with such a level head and professionalism.
 01-08-2015, 10:22 PM
#336
On The Tree
iTrader: (1)
Join Date: Oct 2009
Location: Philly, PA
Posts: 198
Likes: 0
Received 0 Likes
on
0 Posts
Where was I being confrontational? I'm a guy with $500 to spend on a swap set up. This one had me chasing part numbers and the other one did not. I raised that issue and Todd and other members clearly got me all fixed up.
I didn't pull the trigger on the BRP kit for months because I was following this thread and I wanted to give HKR the business. I made that clear in my very first post about it. Was that confrontational that I wanted to give him the business?
I didn't catch the last few pages. Clearly you did and again, were also happy to see the pictures and numbers listed in one place. That was Last week. Gimmie a break.
01-09-2015, 06:14 AM
#337
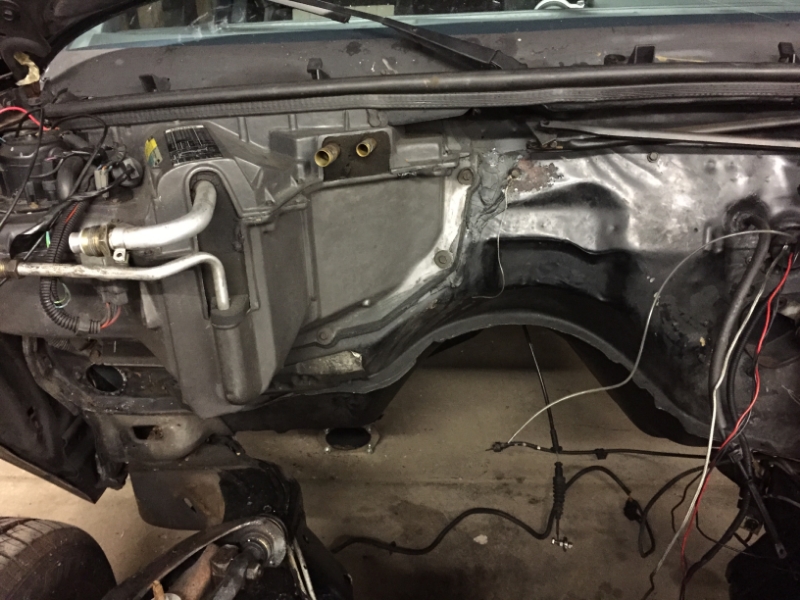
Since I've performed the installation of the Hooker G-body swap parts a few times, I'd like to save those of you retaining the stock A/C evaporator case considerable aggravation by highly recommending that you take the time to separately your engine and transmission before installing them individually in the car.
This is mentioned in the Hooker G-body swap data sheet I compiled and it's worth mentioning here as it will keep you from poking a hole into the evaporator case with the right side valve cover. With the engine and transmission separated, you don't have to angle the engine down in the back much at all to install it in the car and leaves the transmission to be installed afterwards from under the car.
I personally stabbed a whole through a perfectly good evaporator case in our Monte and had to replace it, so I know how easy it is to damage one.
01-09-2015, 06:51 AM
#338
Registered User
Join Date: Jan 2015
Posts: 6
Likes: 0
Received 0 Likes
on
0 Posts
Since I've performed the installation of the Hooker G-body swap parts a few times, I'd like to save those of you retaining the stock A/C evaporator case considerable aggravation by highly recommending that you take the time to separately your engine and transmission before installing them individually in the car.
01-09-2015, 02:37 PM
#340
It's an R134 system. The high-side gauge fitting is located just before the condenser next to the radiator. The capped fitting you see on the accumulator will be used for the low-side charge port once we install the R134 adapter fitting. We've not charged the system yet and probably won't until Spring arrives.