When you click on links to various merchants on this site and make a purchase, this can result in this site earning a commission. Affiliate programs and affiliations include, but are not limited to, the eBay Partner Network.
Yesterday I decided to finish a couple of smaller projects aimed at improving the overall drivability of my Cougar. One of the coolest features about the Cougars are the hideaway headlights. While this feature adds to the styling of the car, the stock system is vacuum actuated and consists of numerous components that are prone to failure. On top of that, with the cam that I am running in the engine, I am not even sure that there will be enough vacuum available to make the system functional.
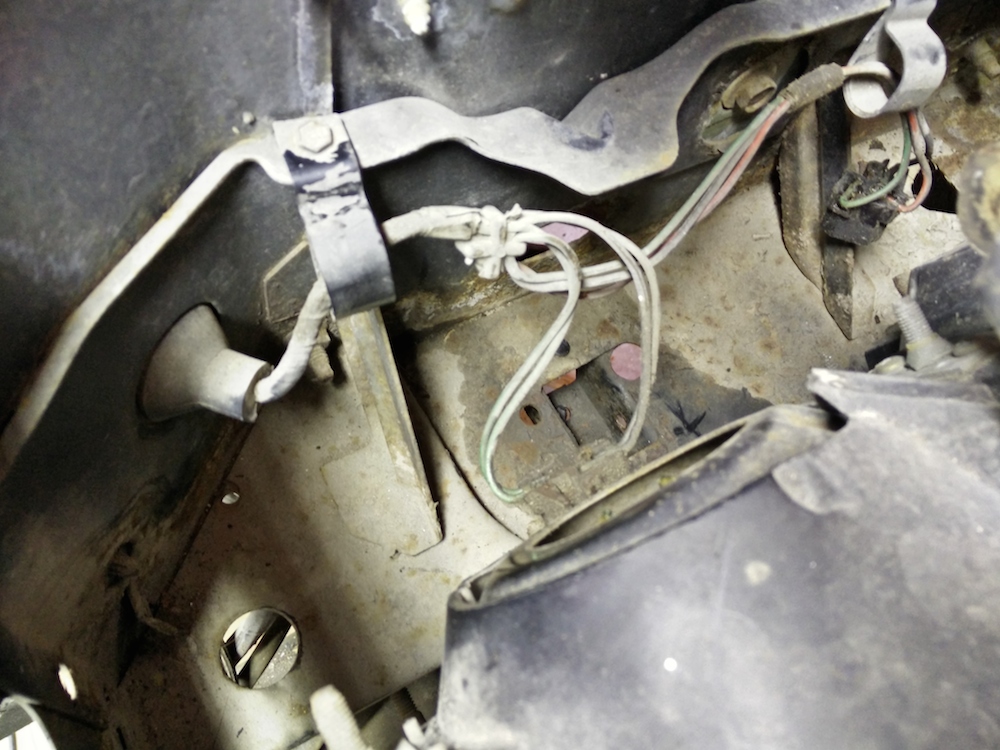
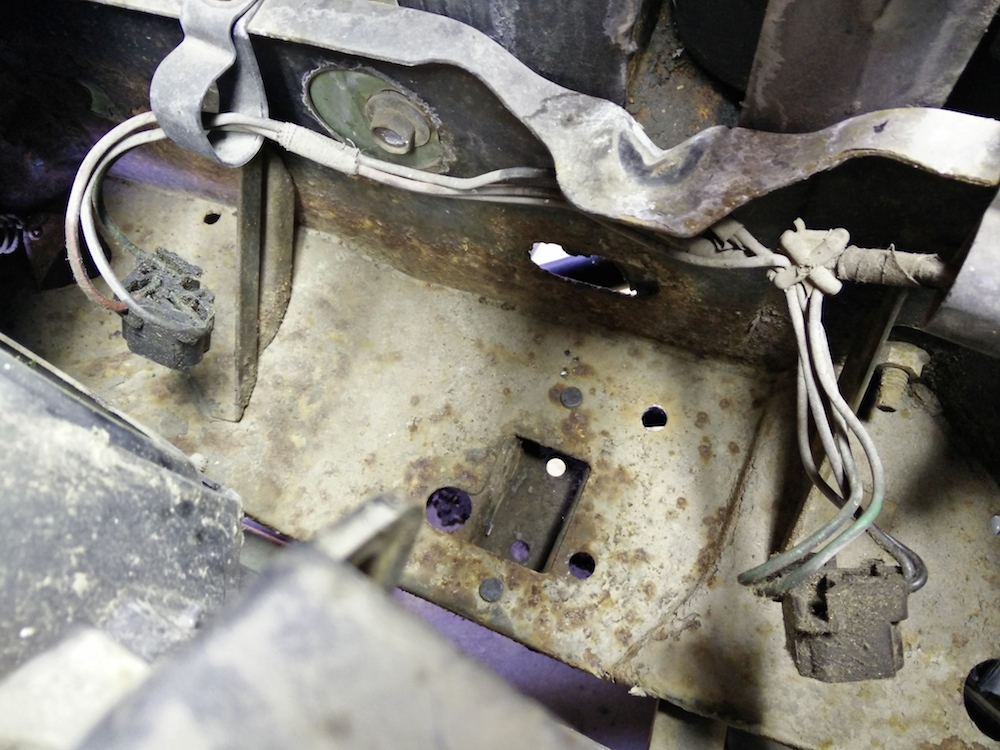
Luckily, there is a very nifty electric headlight conversion available for 67-70 Cougars. It replaces the vacuum actuators, all vacuum lines, vacuum valve, and the vacuum canister. The hardest part of the install is removing the bolt that attaches the vacuum actuators to the car, but after a little motivation with a propane torch, the actuators were taken out.
This is the space left after removing the driver's side vacuum actuator.
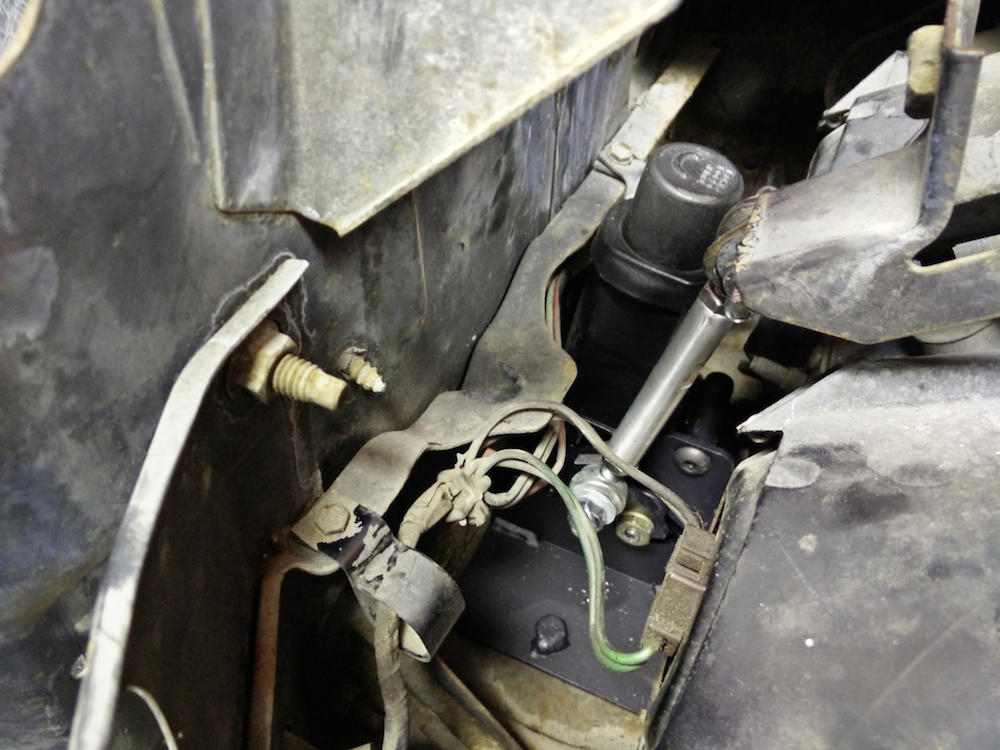
The electric motors are sourced from a Miata/Probe and are mounted using existing holes. I chose the kit that includes adjustable actuator rods, which makes adjusting the headlight cover alignment very easy.
Here is the passenger side.
Once installed and adjusted, the conversion works awesome!
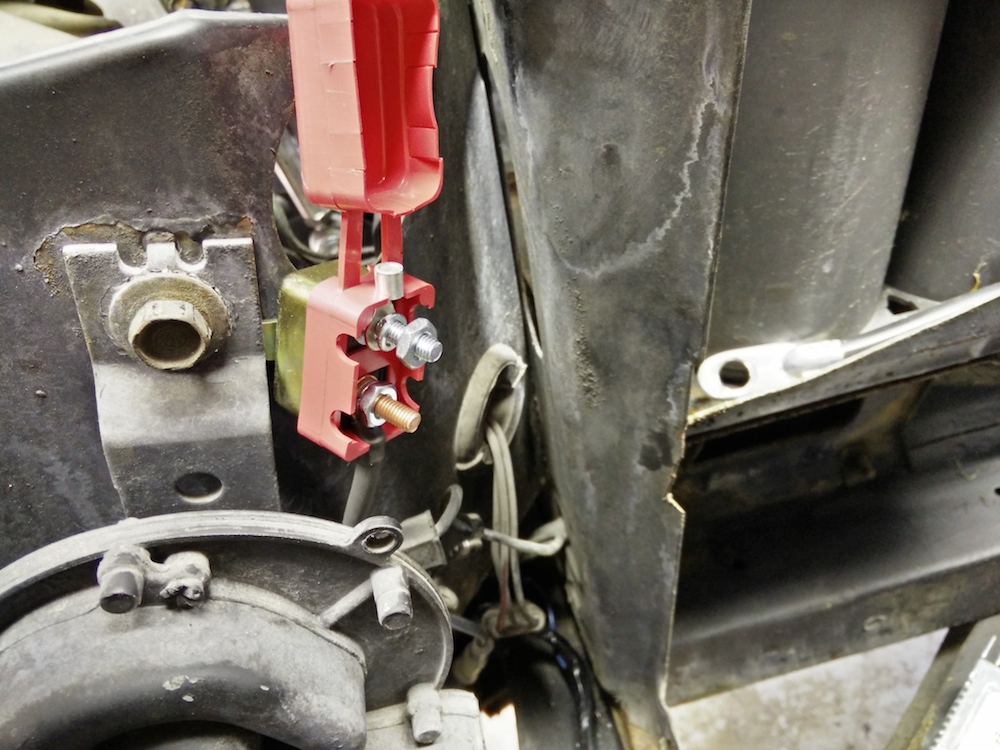
The other thing I did was install relays to power the headlights. Like many older cars, the headlights are powered through the fuse panel and the main power feed goes through the headlight switch. While functional, this isn't the best way to give the headlights full power.
Rocketman makes a super easy kit to install and it is literally plug-n-play.
Thanks! Judging by your 37 build, you are a heck of a fabricator. Any comments on my motor mounts?
Andrew
Your motor mounts will work just fine! I remember you talking about your friend coming over to help move the motor/trans around and find the best location for it, and you said you worked all day but didn't have much to show. My first thought was boy I've been there before! Keep up the good work.
One of the benefits of getting the Dominator ECU is the huge amount of user programmable inputs and outputs.
On this project I wanted to do with my current build is to have the fan be controlled via PWM. This can be done using the Dominator ECU and the C6 Corvette fan controller. I am using a C6 fan as well, but this can be done with other fans, including the popular Spal dual fan set-up.
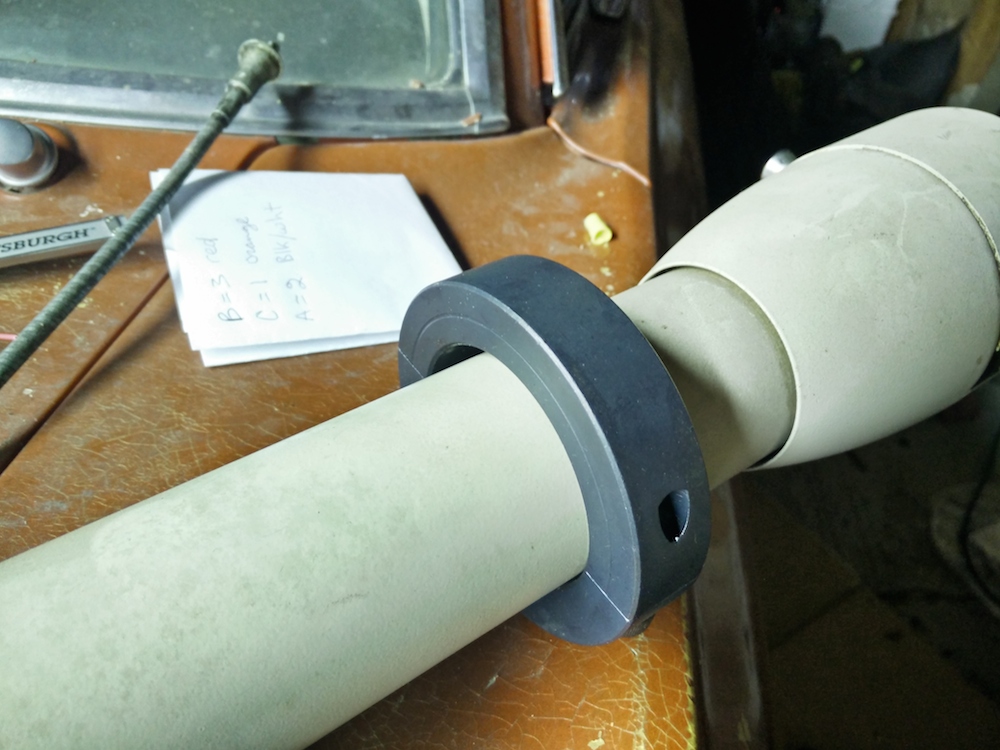
I received a bunch of goodies from McMaster Carr the other day including a bunch of Gates heat shrink hose clamps, some super high heat sleeving that I thought might come in handy for routing the heater hoses down low by the exhaust, and a steel collar to go around the steering column. Apparently I can't read a caliper or I can't remember a measurement walking between the garage and the house. Somehow I ordered a 2.5" I.D. collar, when in reality I needed a 2.25" collar. Well, instead of sending it back I wound one layer of 16 gauge wire where the collar will clamps and it made for a snug fit. Make due with what I got...
Here is the collar:
(the paper in the background is the secret decoder ring for the pinout for a LS3 MAP sensor in case any Holley EFI users want to get rid of the little adapter harness)
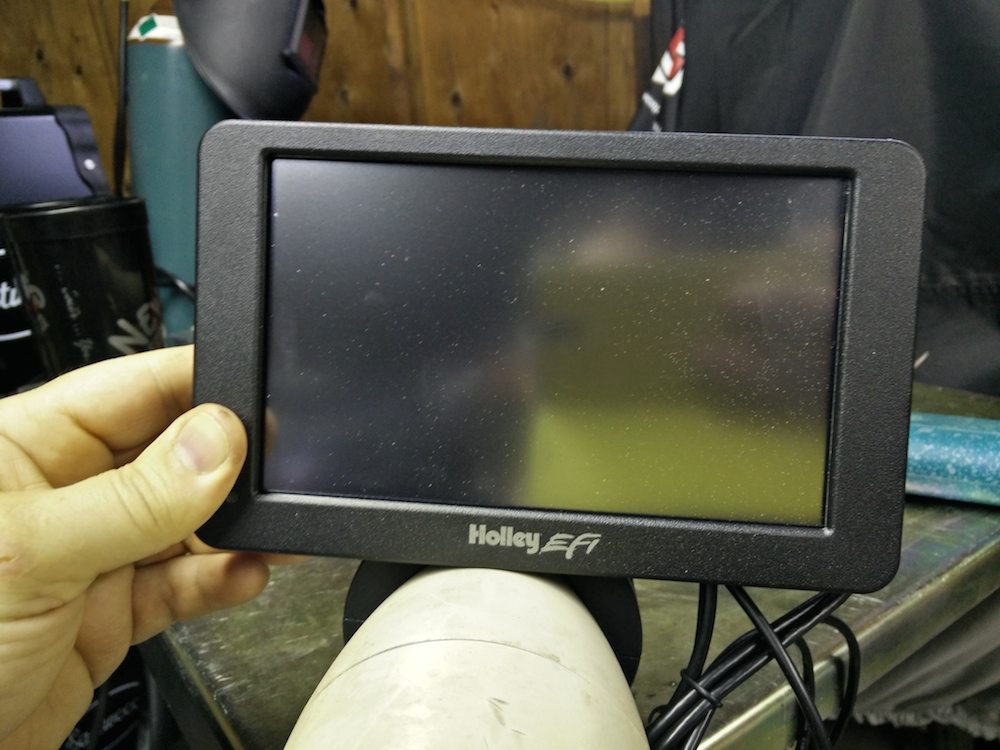
It's steel, which will make welding to it a lot easier, since I am not that great at welding aluminum. The plan is to weld some thin plate to it and mount the Holley digital dash right in front of me. Something like this:
Still waiting for TCP front suspension components, but there are plenty of things to do before tearing into the front end. I decided to keep the engine in place for now so that I can figure out how to run all the wiring that needs to be added.
I may have to add a power distribution block somewhere in the front, does anyone have any suggestions?
Are you going to have any non-LCD based gauges? like fuel or voltage?
The only analog gauge that is mounted in the dash that is functional is the fuel level gauge. There is no need for anything else, since the Dominator has input from all the sensors I could ever want and the data stream goes to the dash via CAN bus. The display can be configured to have 10 (maybe more) screens that you can easily toggle through. Each screen is fully customizable to display what you want in the style that you want with the colors that you want. So you can have a screen for street, race, monitoring, etc...It's kinda nuts...
The only analog gauge that is mounted in the dash that is functional is the fuel level gauge. There is no need for anything else, since the Dominator has input from all the sensors I could ever want and the data stream goes to the dash via CAN bus. The display can be configured to have 10 (maybe more) screens that you can easily toggle through. Each screen is fully customizable to display what you want in the style that you want with the colors that you want. So you can have a screen for street, race, monitoring, etc...It's kinda nuts...
Andrew
Got it thanks!
Ya that dominator is very cool... gona take me a while to save up for it.
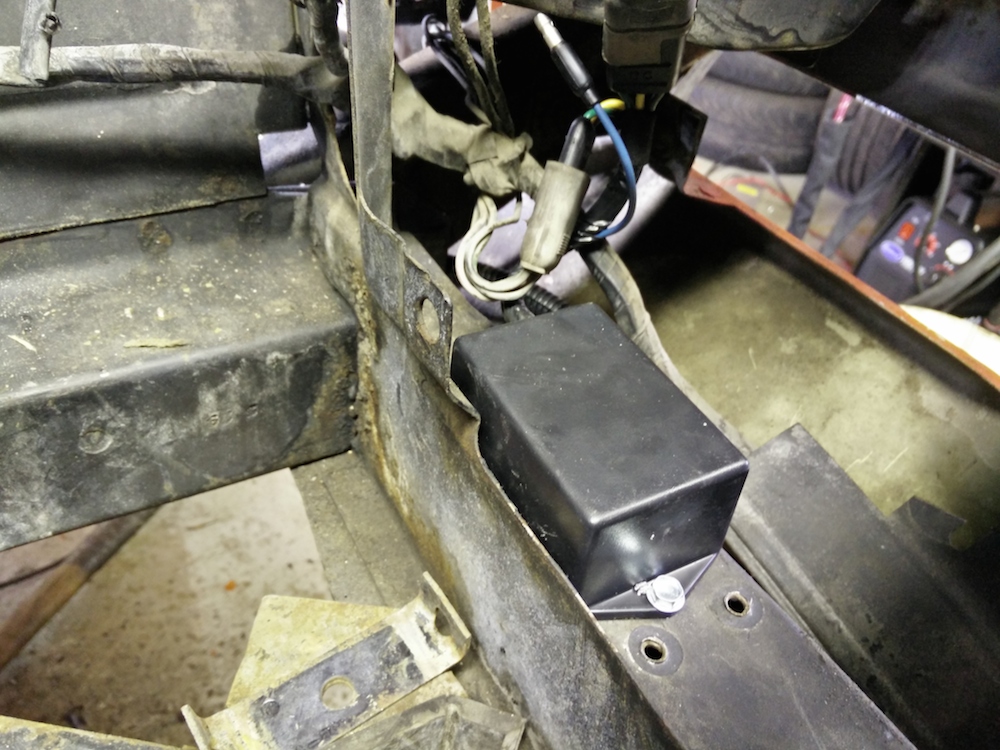
I used this distribution box. (LOWER OF THE TWO) It has a nice cover, so it is tidy after you are done. It is intended to be installed for boat trailer wiring. http://www.delcity.net/store/Stud-Ty...n-Box/p_790202
lower box is a power distribution block I bought. Happy with it. From Del City. Will find part #.
Box was originally intended for trailer wiring. It can be easily hidden along the frame rail.
will you modify the dash sheet metal to clean that up or is that not the intent of this build?
Doug
That just sounds like way too much work. I actually like the look of all those gauges, but it just didn't make any sense to make them functional given that I have a data stream available from the Dominator that will show me everything I would ever want.
If you ever want to enable the gauges, Dakota digital makes STA-1000 for about $120 that you plug to OBDII and outputs traditional waveforms to drive speedo, tach, etc. I assume holley dominator has an OBDII plug for diagnostic?
It uses that as a source. Then again the holley might have outputs to drive traditional gauges too?
Plenty of options for you!
If Dominator ECU drove the 6L80, I'd have strongly considered that setup for my conversion. I like the self tuning capabilities (with wideband O2 install) and not needing to be a tuning guru like HPTuners.
Your video on PWM fan control was really cool. Made me want to have that setup! My SPAL fan is either on or off.
Thanks for the kind words Doug. All those gauges are actually mechanical, even the tach. The old Ford engine had an old Mallory dual point tach drive distributor. I really see no value in going through the trouble to make them work.
The Dominator doesn't have a OBDII port. The laptop connects via USB and the dash is on a CAN bus.


 04-30-2015, 07:27 PM


 Keep up the good work.