69 Chevelle ls turbo build

Thread Starter
11 Second Club
iTrader: (43)
Joined: Aug 2006
Posts: 5,364
Likes: 2
From: Summerville, SC
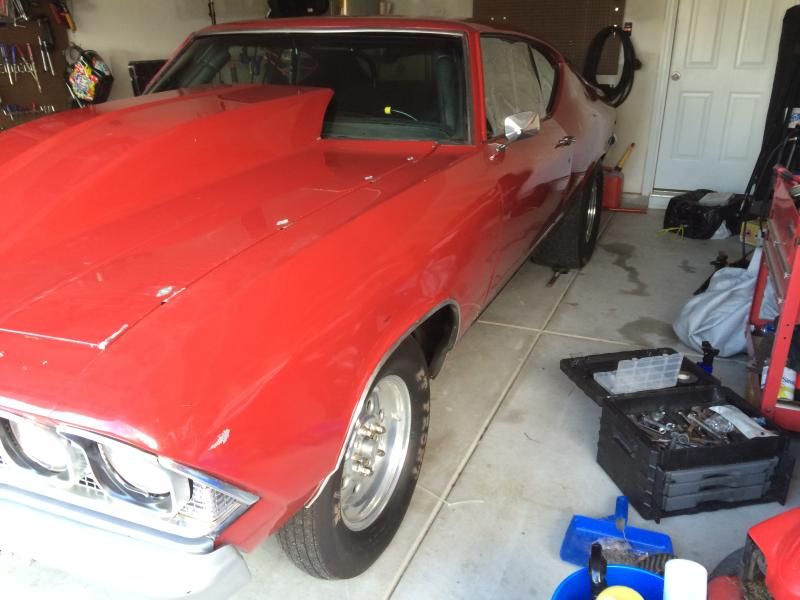
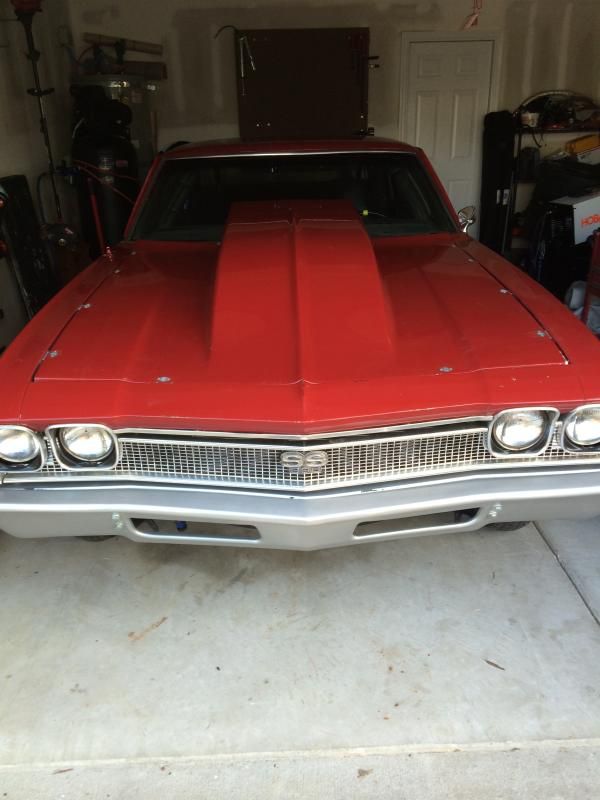
So I bought my 69 chevelle as a roller with the intentions of just putting interior in it and my motor from my 98 z/28. However after getting into it, it needed more attention than I thought.
Rundown of the car:
-Chassis Works fab 9"
-Ladder bar suspension
-Drag brakes all around
-manual rack
-fiberglass front bumper and hood
-Certified cage
It was setup for a bbc and glide and came with everything minus the engine and trans. I've sold the stuff that I can't use and started collecting parts.
As I bought the car:


Thread Starter
11 Second Club
iTrader: (43)
Joined: Aug 2006
Posts: 5,364
Likes: 2
From: Summerville, SC
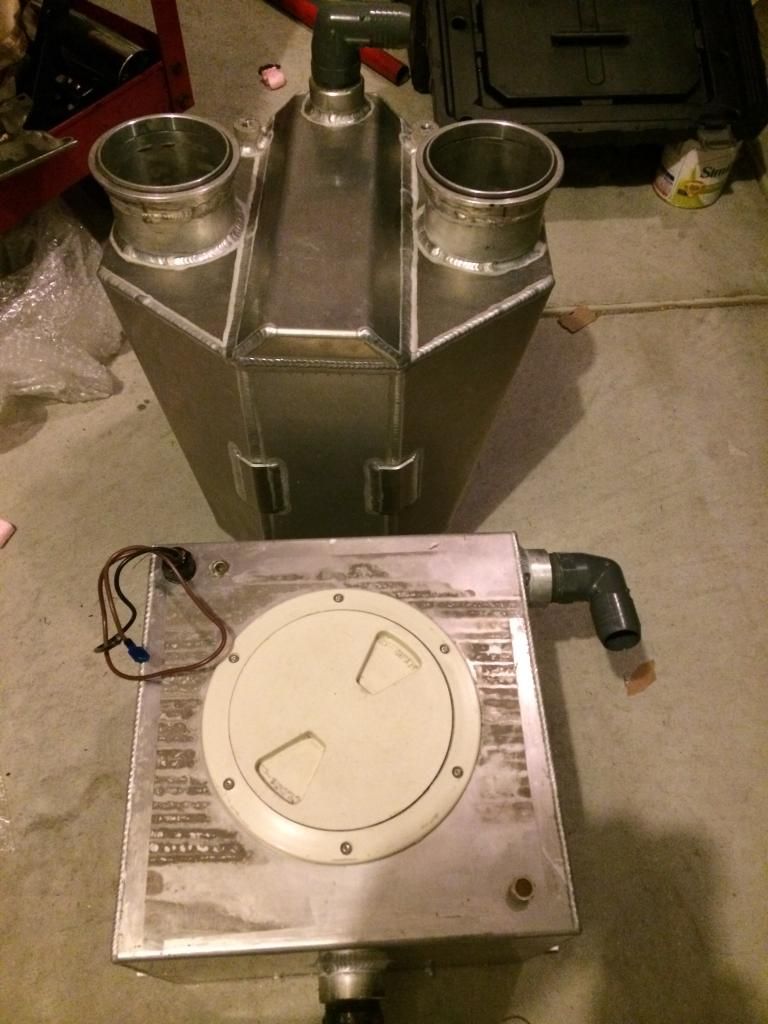
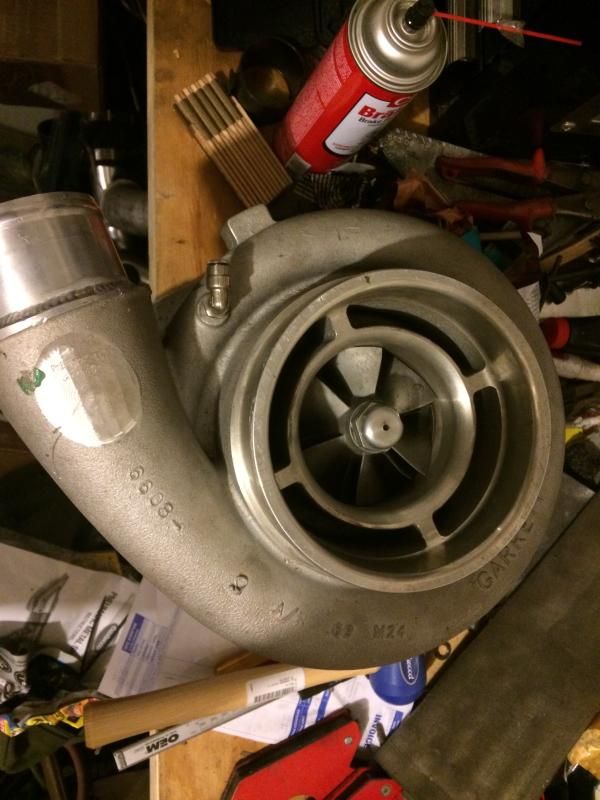
I've bought a few parts for it and haven't decided if I'm going to go with a gt4788 or the twin turbonetics 6665's.

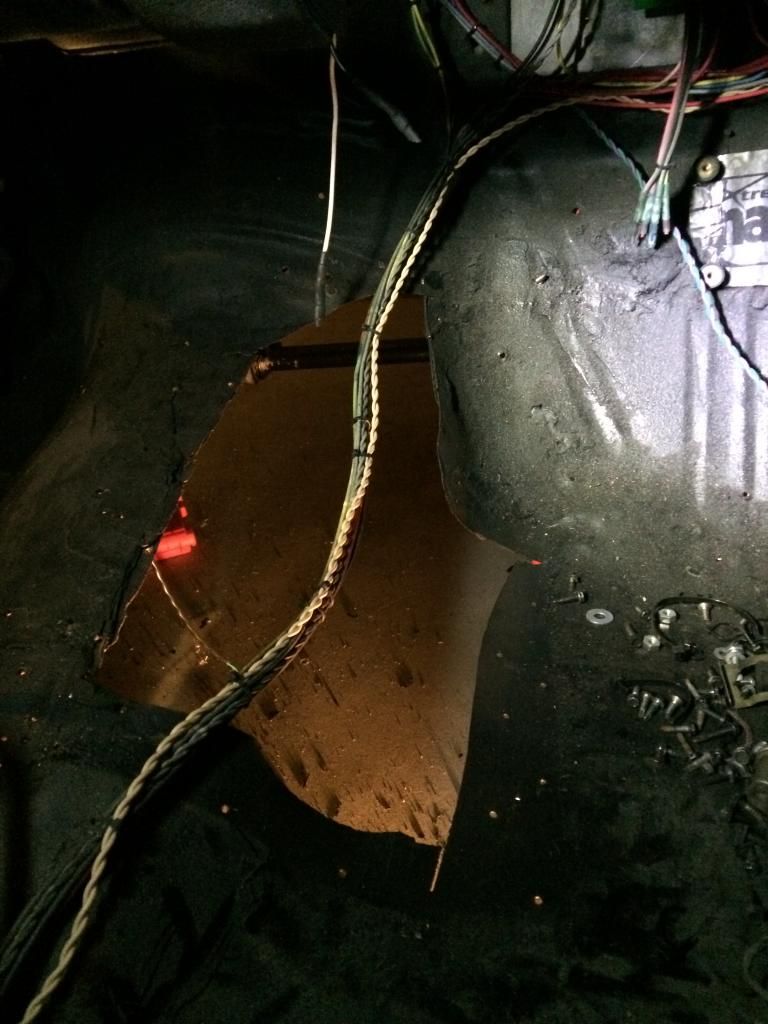
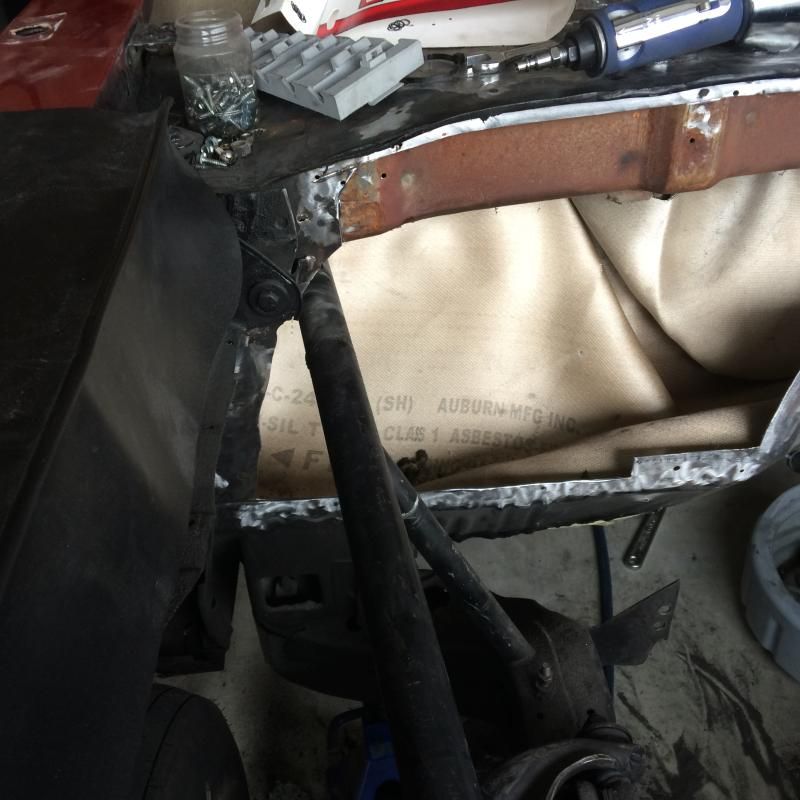
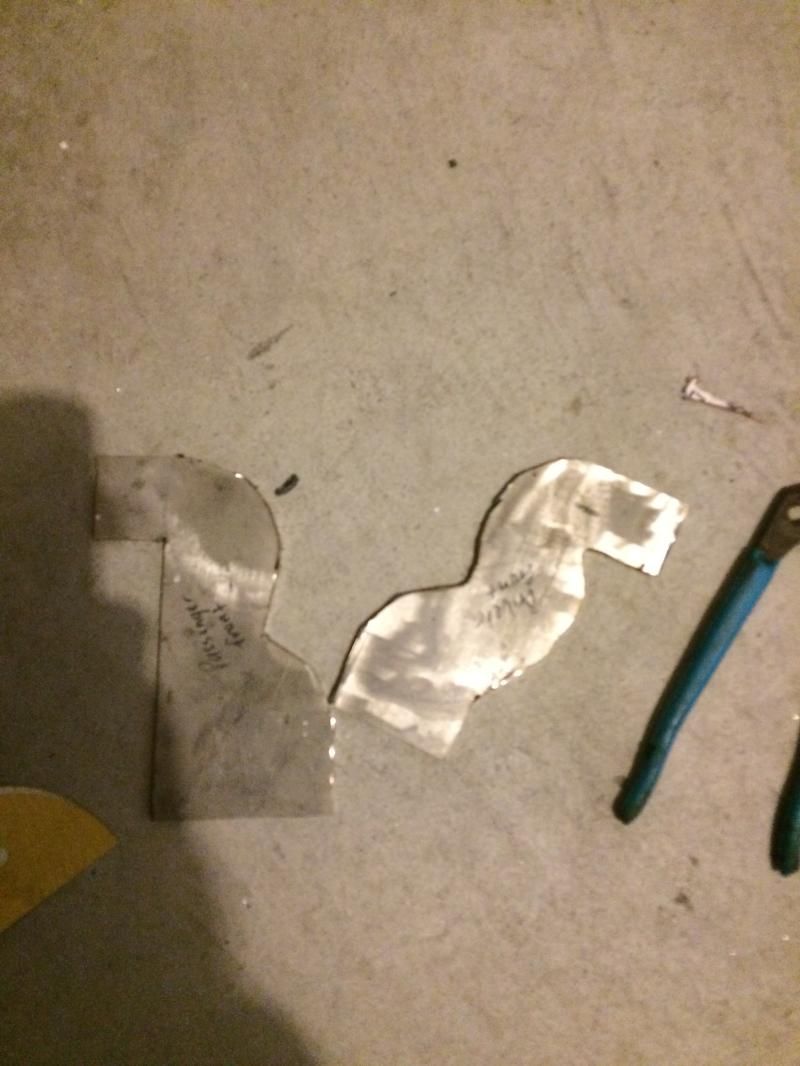
The previous owners did some lovely things to this poor car. The trans tunnel was cut up terribly, the rear outer wheelhouses were cut out and replaced with a piece of aluminum held in with self tapping screws. I couldn't see it since the entire wheel well was covered in years of rubber. Crappy patches in the inner wheelhouses as well. They used undercoating on the inside and underside, so it took me a long time to get it all scraped off. The drivers side rear window was held up with 2x4's that I could't see since they painted them black. Passenger side is fine. The really crappy thing they did is cut the actual rear fenders to fit bigger tires, the lower 10" or so on the front of each of them.


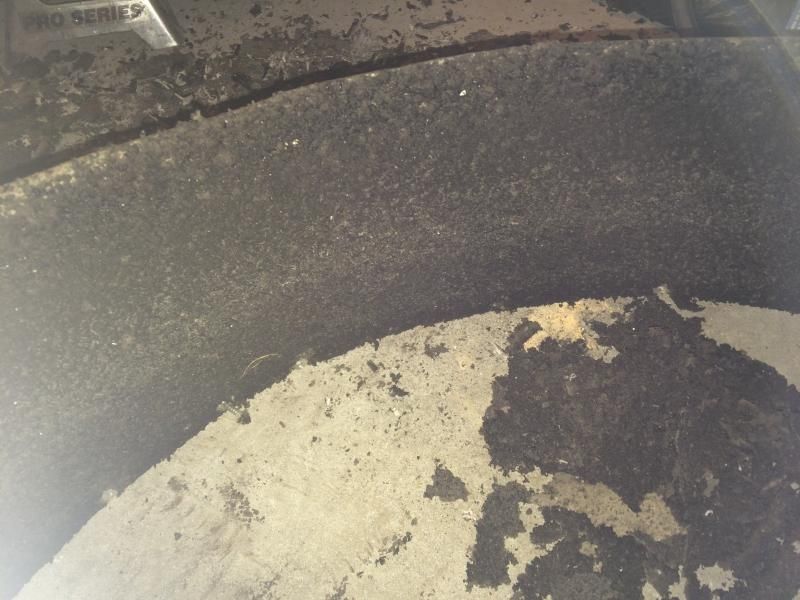


The previous owners did some lovely things to this poor car. The trans tunnel was cut up terribly, the rear outer wheelhouses were cut out and replaced with a piece of aluminum held in with self tapping screws. I couldn't see it since the entire wheel well was covered in years of rubber. Crappy patches in the inner wheelhouses as well. They used undercoating on the inside and underside, so it took me a long time to get it all scraped off. The drivers side rear window was held up with 2x4's that I could't see since they painted them black. Passenger side is fine. The really crappy thing they did is cut the actual rear fenders to fit bigger tires, the lower 10" or so on the front of each of them.


Thread Starter
11 Second Club
iTrader: (43)
Joined: Aug 2006
Posts: 5,364
Likes: 2
From: Summerville, SC
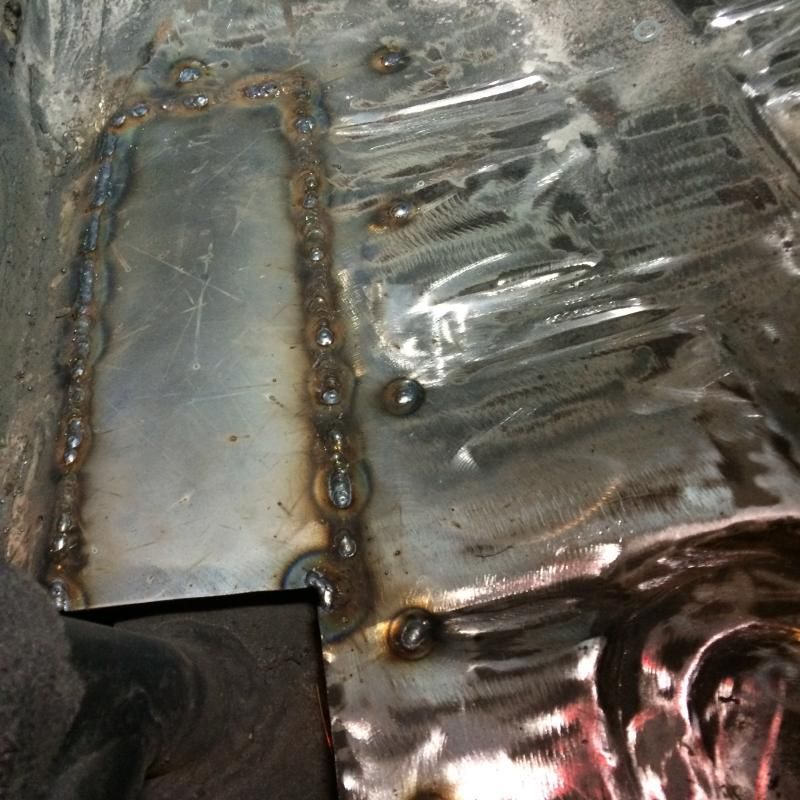
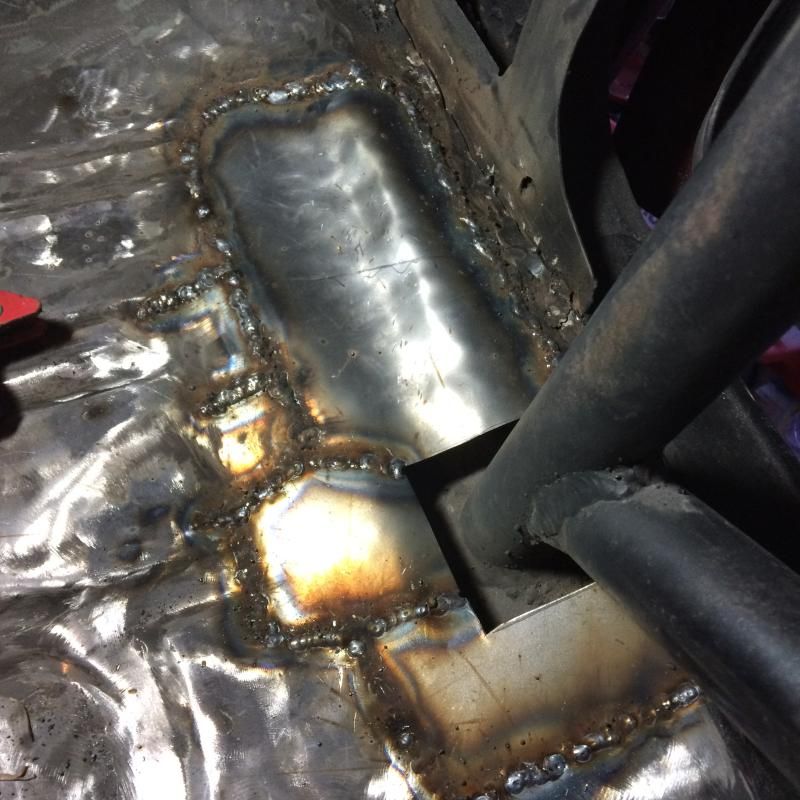
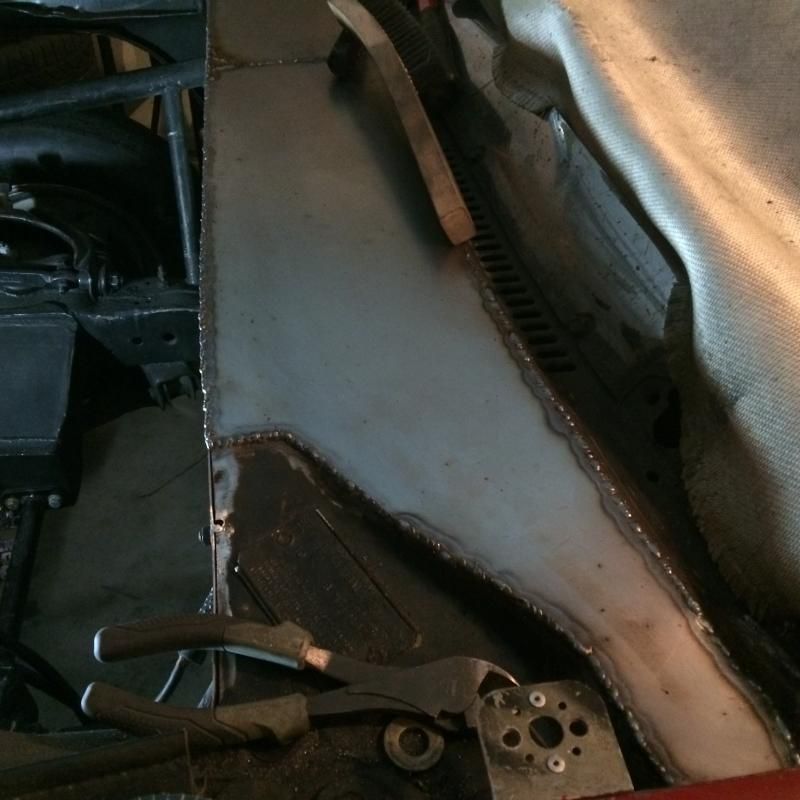
At first I made patch panels for the three wholes in the cowl, I ended up just covering all of it because it would have been too much bondo to make it flat. There was a whole in the inner wheelhouse that I patched. I cut out the old left over tunnel and welded in the new to me trans tunnel. I also made the cutouts for the cage much smaller. I'll be covering them, using rivets to hold them down and using silicone to seal them.


Thread Starter
11 Second Club
iTrader: (43)
Joined: Aug 2006
Posts: 5,364
Likes: 2
From: Summerville, SC
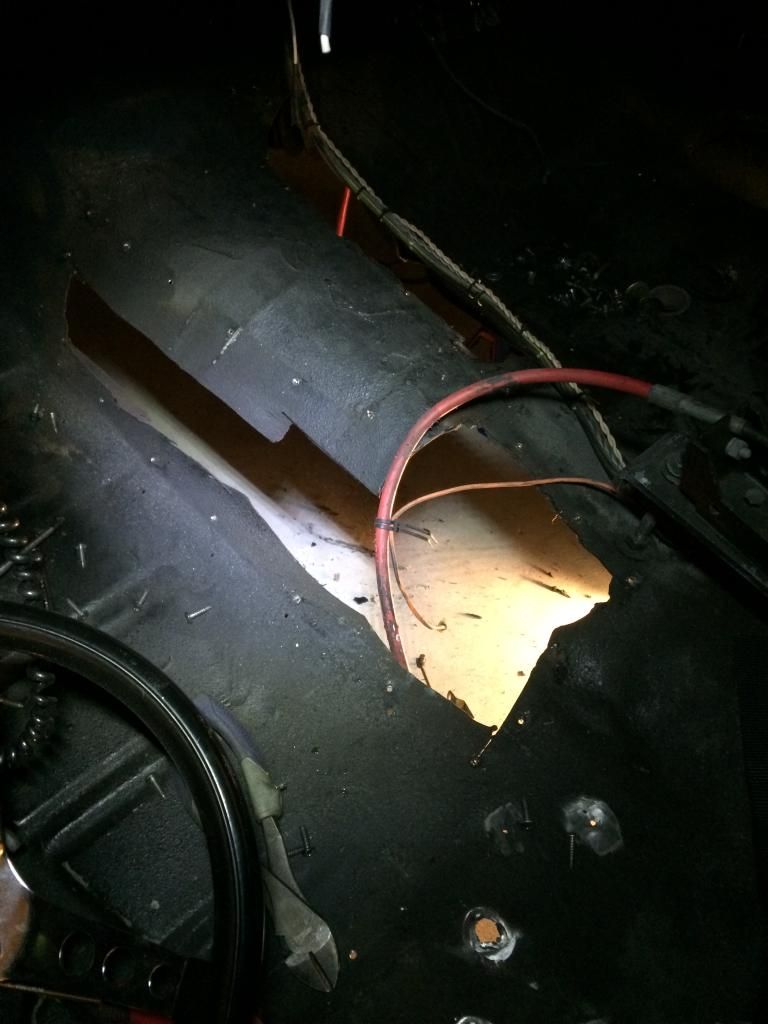
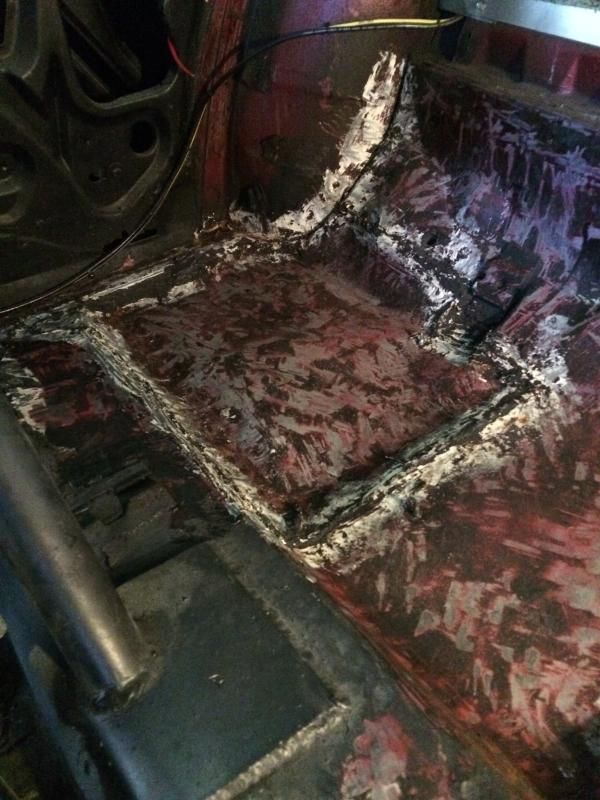
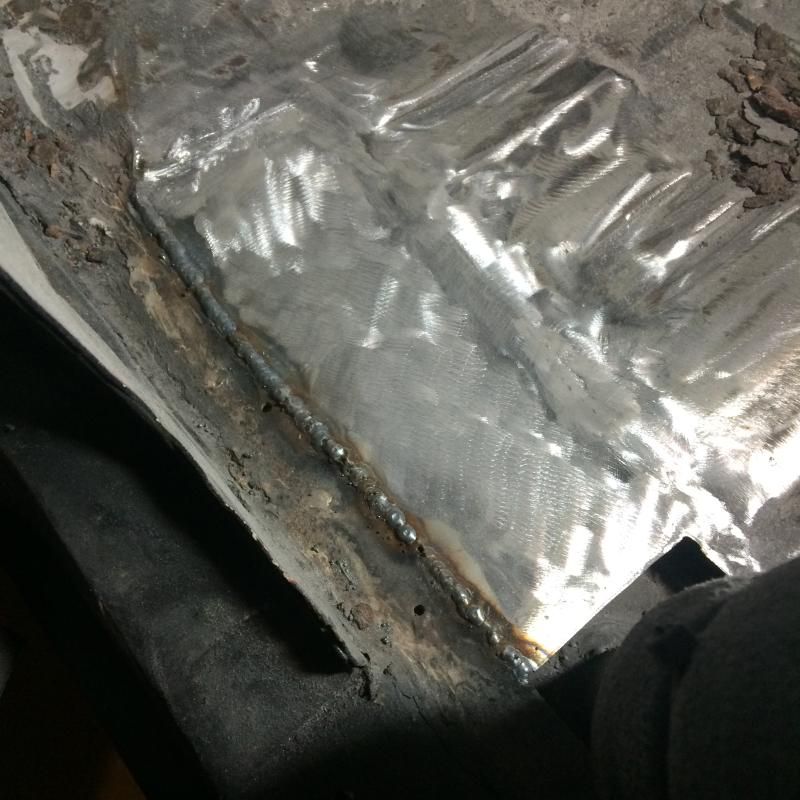
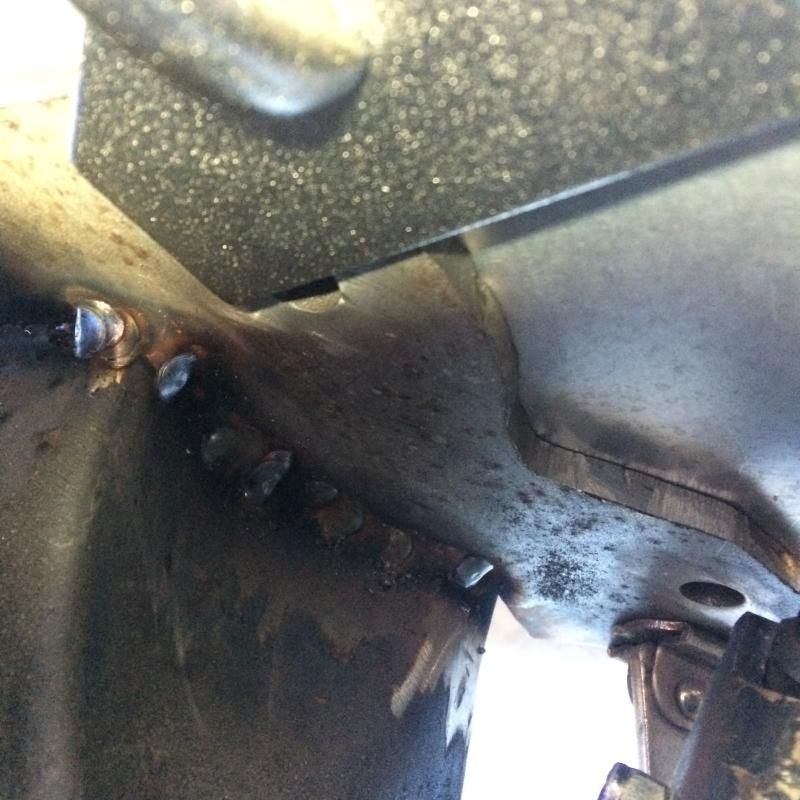
Who ever installed the floor in, used bondo to seal the seams, so all of that came out and I used some seam sealer on them. I also welded them up on the outside since they didn't butt them they overlapped them. I was finally able to coat most of the underside and interior with chassis saver. I ran out so I have to touch up some spots and finish the rest.


TECH Fanatic

Joined: May 2010
Posts: 1,081
Likes: 8
From: Atlanta, Ga
Welcome to the world of crappy race cars, where form is not even in the same zip code as it kinda works(function). When we had our shop I could not tell you how many "mods" like this we saw. At least you have the basics and are well on the path to salvation for this one.
Thread Starter
11 Second Club
iTrader: (43)
Joined: Aug 2006
Posts: 5,364
Likes: 2
From: Summerville, SC
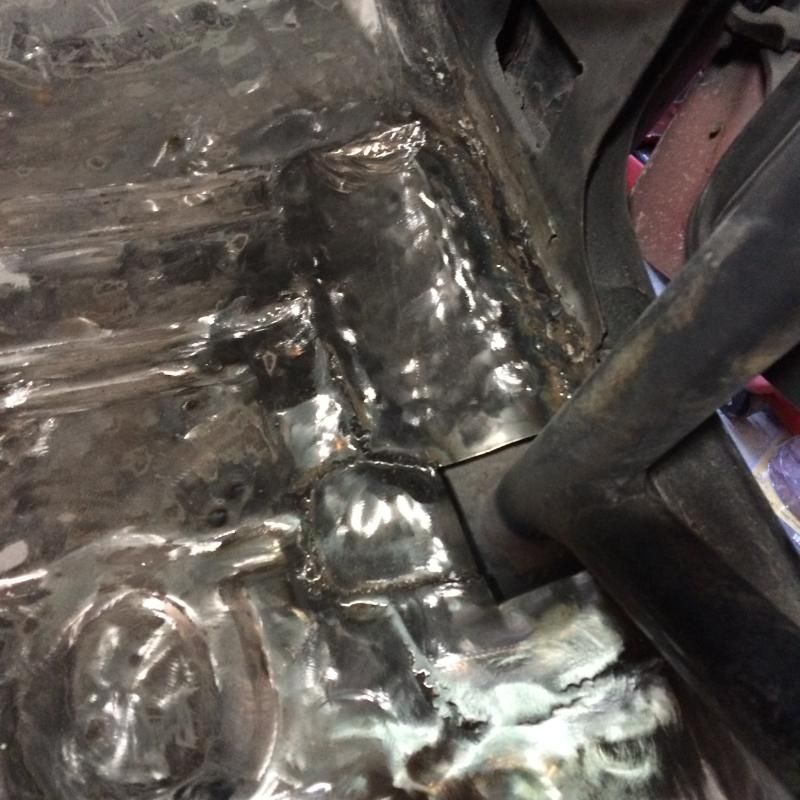
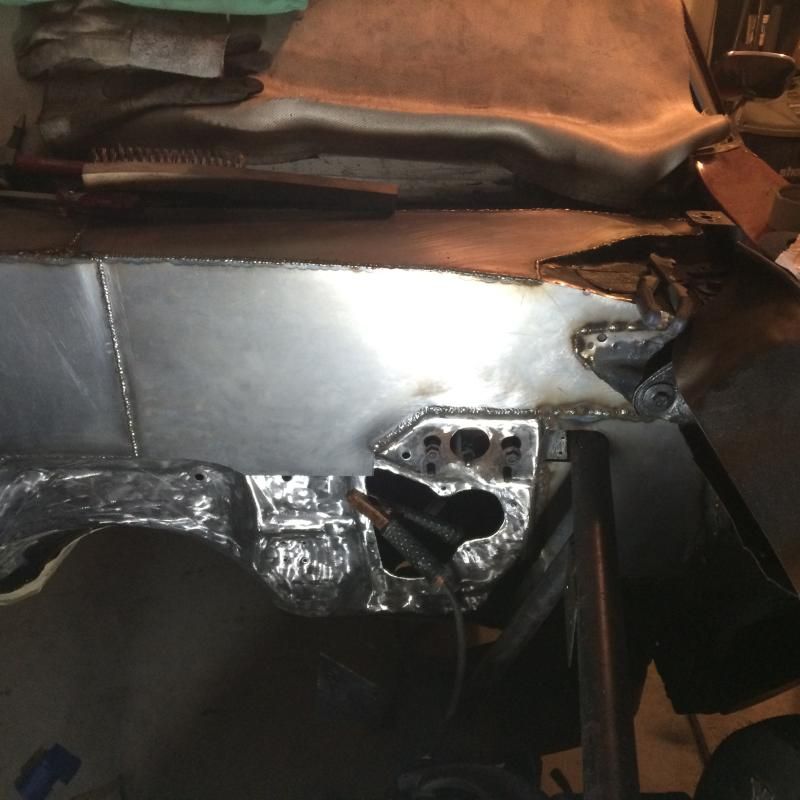
I got a little more done today before work. Took the front brake setup off, cut the BS welded on tab for the steering linkage, took the steering apart and trimmed out the passenger side of the firewall. I'll get some more done tomorrow. The plan is to get the passenger side fabbed and welded in, then move to the drivers side.


 [/QUOTE]
Have to finish up the fire wall portion and then grind everything flush. I also picked up one of the foam ls1 blocks for mock up.


 [/QUOTE]
Have to finish up the fire wall portion and then grind everything flush. I also picked up one of the foam ls1 blocks for mock up.


Thread Starter
11 Second Club
iTrader: (43)
Joined: Aug 2006
Posts: 5,364
Likes: 2
From: Summerville, SC
Welcome to the world of crappy race cars, where form is not even in the same zip code as it kinda works(function). When we had our shop I could not tell you how many "mods" like this we saw. At least you have the basics and are well on the path to salvation for this one.
Yea I didn't look the car over well enough and it's my fault. Now I'm paying for it (pun unfortunately intended). Hopefully I'll get some done on it next week. Looking to get it all ground down, get the other pieces welded on and throw some mud on it.
Trending Topics


Thread Starter
11 Second Club
iTrader: (43)
Joined: Aug 2006
Posts: 5,364
Likes: 2
From: Summerville, SC


TECH Fanatic
Joined: May 2010
Posts: 1,081
Likes: 8
From: Atlanta, Ga
Where are you planning to put the intercooler? If you are going to the inside with an ice chiller, now is the time to cut your holes where the heater box used to be.
And yeah, this is the phase where it looks like you will never get done. I always second guess myself at this point and usually redo just about everything at least once because I see a better way to go. Don't be afraid to redo. I always asked my guys in my fab shop if they were happy with what they produced so far. If the answer was just OK or not really, start over with what you learned so far. The second try is always a lot better.
And yeah, this is the phase where it looks like you will never get done. I always second guess myself at this point and usually redo just about everything at least once because I see a better way to go. Don't be afraid to redo. I always asked my guys in my fab shop if they were happy with what they produced so far. If the answer was just OK or not really, start over with what you learned so far. The second try is always a lot better.
Thread Starter
11 Second Club
iTrader: (43)
Joined: Aug 2006
Posts: 5,364
Likes: 2
From: Summerville, SC
Where are you planning to put the intercooler? If you are going to the inside with an ice chiller, now is the time to cut your holes where the heater box used to be.
And yeah, this is the phase where it looks like you will never get done. I always second guess myself at this point and usually redo just about everything at least once because I see a better way to go. Don't be afraid to redo. I always asked my guys in my fab shop if they were happy with what they produced so far. If the answer was just OK or not really, start over with what you learned so far. The second try is always a lot better.
And yeah, this is the phase where it looks like you will never get done. I always second guess myself at this point and usually redo just about everything at least once because I see a better way to go. Don't be afraid to redo. I always asked my guys in my fab shop if they were happy with what they produced so far. If the answer was just OK or not really, start over with what you learned so far. The second try is always a lot better.


Thread Starter
11 Second Club
iTrader: (43)
Joined: Aug 2006
Posts: 5,364
Likes: 2
From: Summerville, SC
I got the steering shaft sent through the firewall, just need to weld the bracket on to hold it in place. Also made a template for the motor plate mounts. I just have to cut them out. I was hoping to be able to find some 3/16" plate, but no luck. I have 1/4" stainless steel plate that is a giant bitch to cut that I'll use since is free.
I'm going to try those up and forward ebay headers out. They should work for me. I know someone tried them and said it hit on their steering shaft, but mine isn't the stock steering shaft, so it should work. I'm going to cut off the vbands and weld on transition pieces to 2.5" instead of the 3" that's on there now.
I'm going to try those up and forward ebay headers out. They should work for me. I know someone tried them and said it hit on their steering shaft, but mine isn't the stock steering shaft, so it should work. I'm going to cut off the vbands and weld on transition pieces to 2.5" instead of the 3" that's on there now.


Thread Starter
11 Second Club
iTrader: (43)
Joined: Aug 2006
Posts: 5,364
Likes: 2
From: Summerville, SC
I'm going to buy a 402 shortblock soon and will be most likely putting my afr205 heads on for the time being.
Thread Starter
11 Second Club
iTrader: (43)
Joined: Aug 2006
Posts: 5,364
Likes: 2
From: Summerville, SC
I got the brackets for the motor plates cutout. 1/4" stainless steel, sucks. I tried using a sawzall and pneumatic cutoff wheel, it worked, but sloooow. I finally swapped over to the angle grinder with a dewalt xp cutoff wheel and it made quick work of them.

Thread Starter
11 Second Club
iTrader: (43)
Joined: Aug 2006
Posts: 5,364
Likes: 2
From: Summerville, SC
I drilled the holes for the driver side motor plate mount, which took forever through the stainless plate and got it welded up. I have to drill one more hole in it, but I ordered a drill dr to sharpen the bits to hopefully cut down on the time.

Thread Starter
11 Second Club
iTrader: (43)
Joined: Aug 2006
Posts: 5,364
Likes: 2
From: Summerville, SC
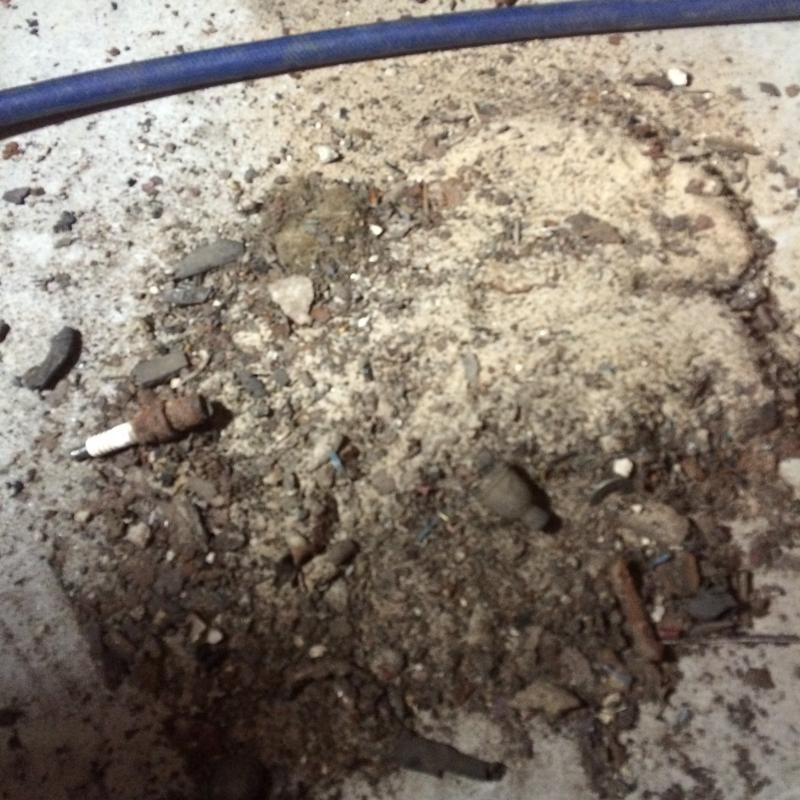
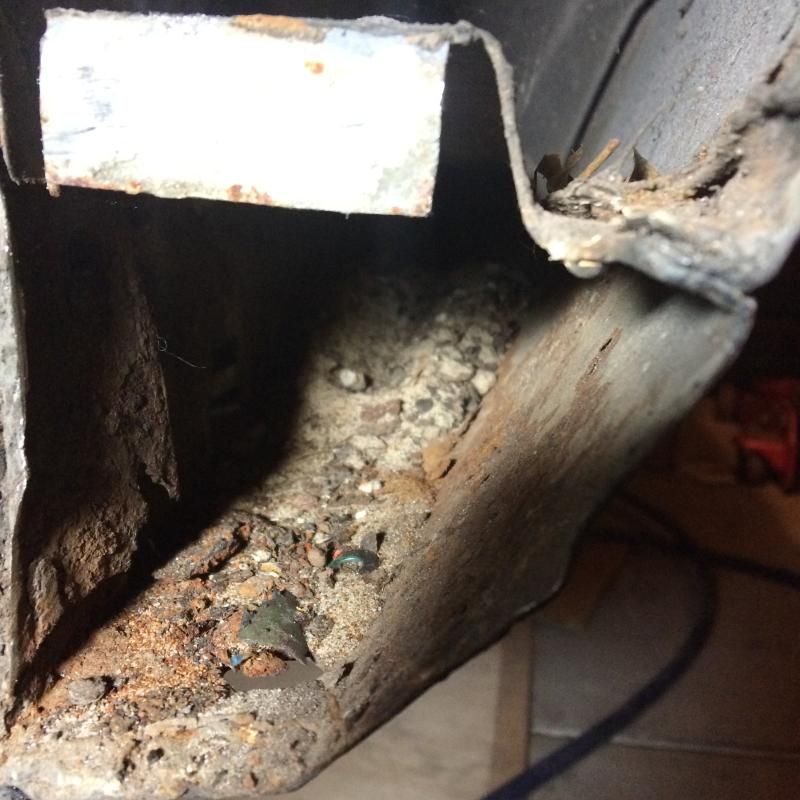
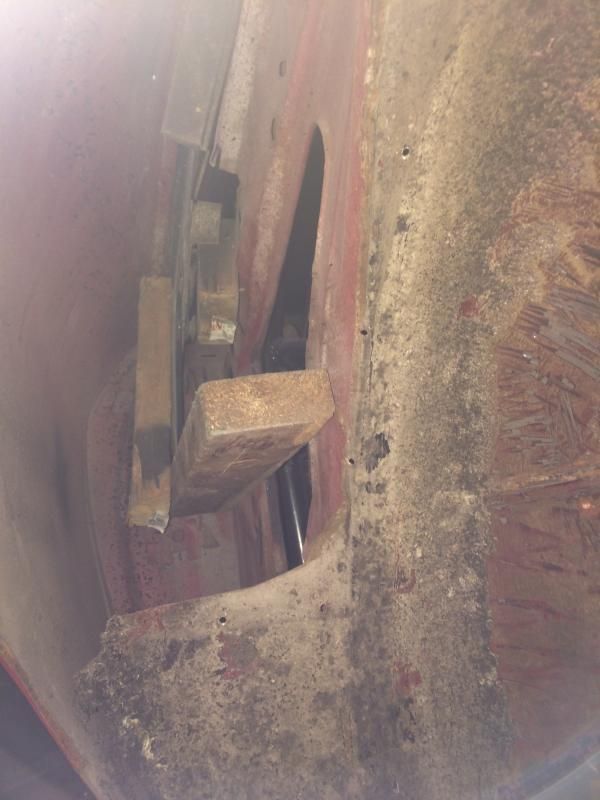
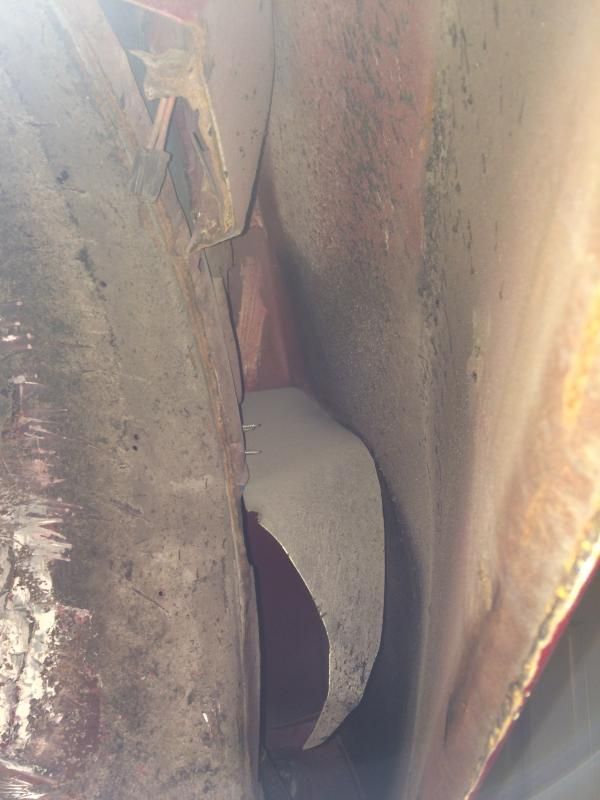
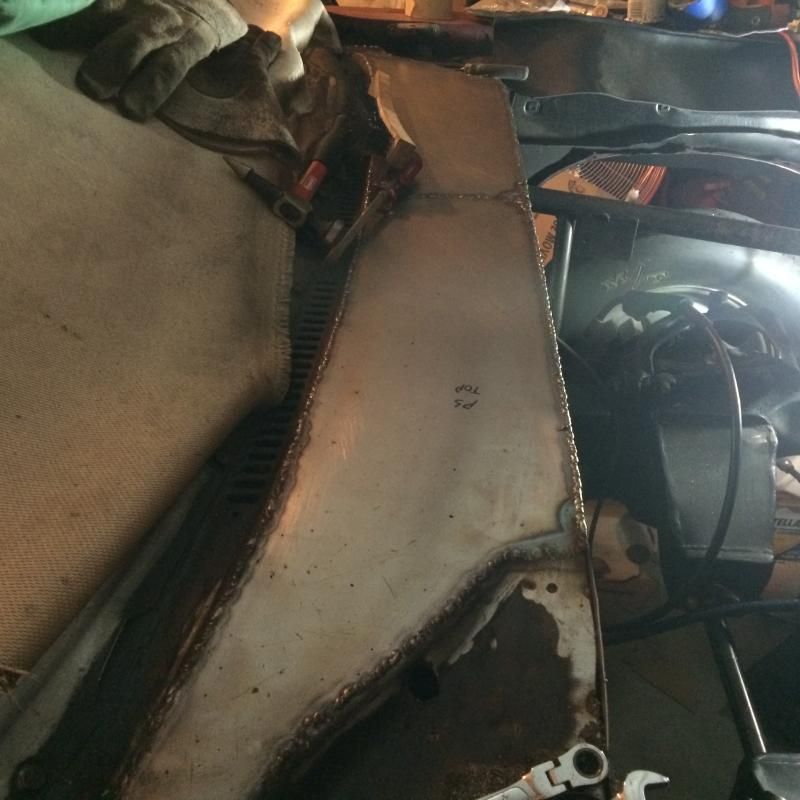
I got the other mount welded up and got the motor plates mounted up. I ordered the ebay turbo headers. I'll see how those work on here. The truck manifolds would leave the motor plate with nothing for structure. So the turbo headers will have to be made to work. I also started the install of the outer wheelhouses, and look what I found in the passenger rocker, 10lbs of sand, couple sockets, and a spark plug lol