

69 Chevelle ls turbo build

 02-16-2015 | 10:00 PM
#42
Thread Starter

Joined: Aug 2006
Posts: 5,364
Likes: 2
From: Summerville, SC
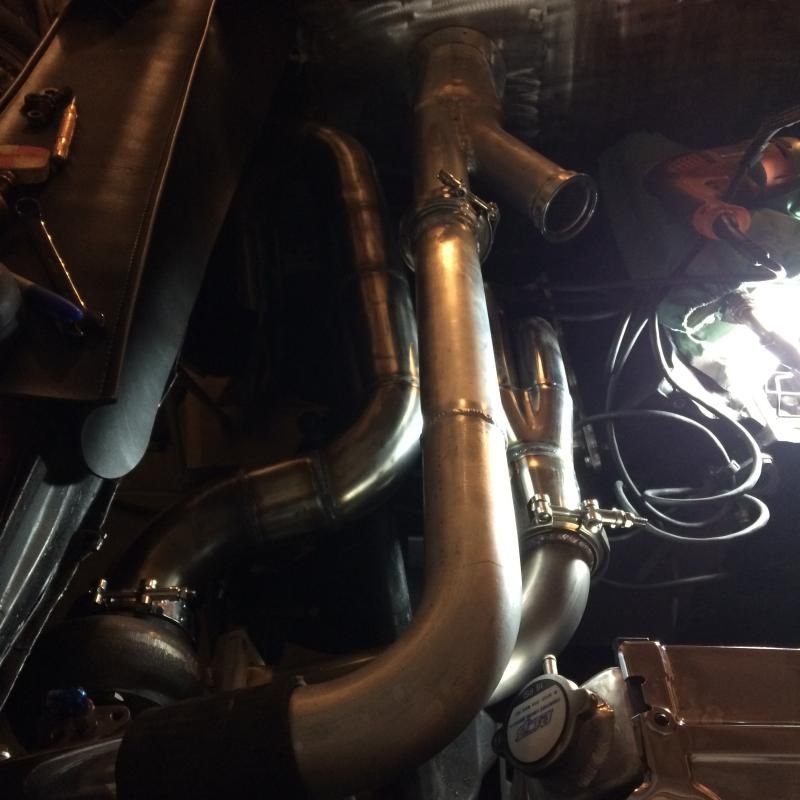
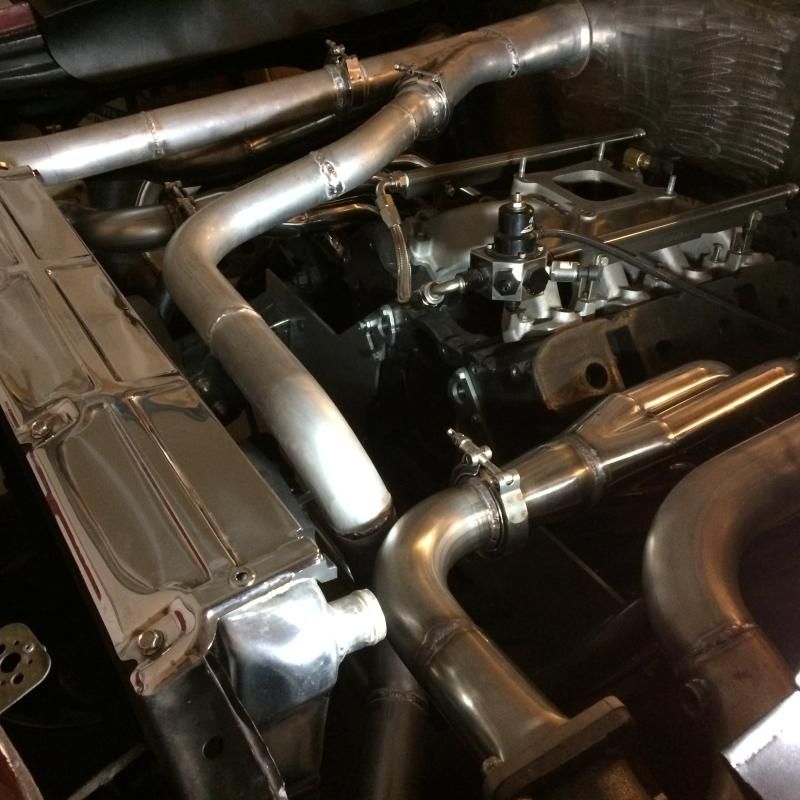
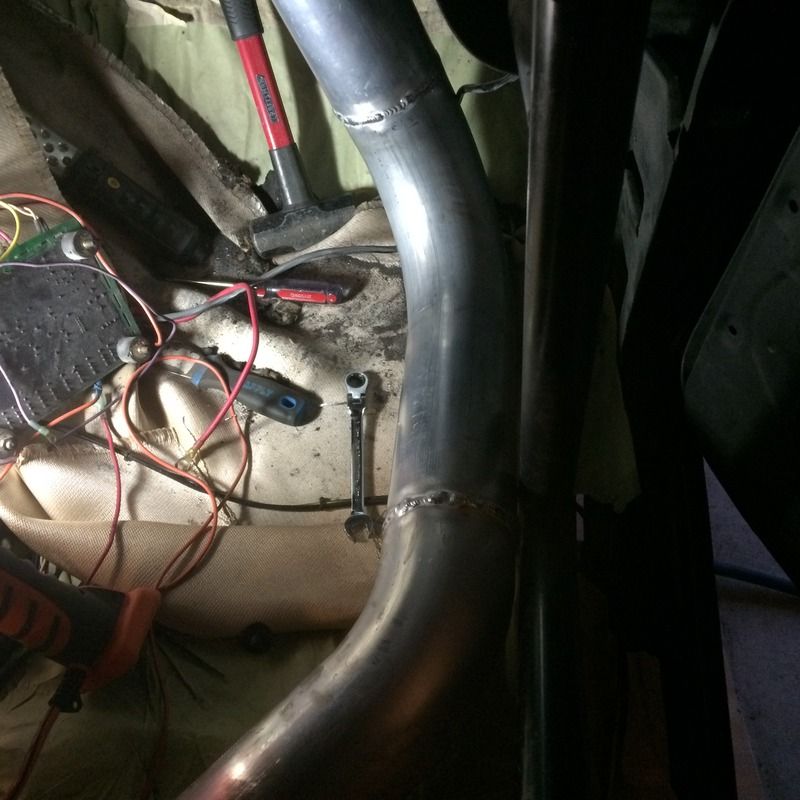
Aluminum is much less forgiving when welding. I got the turbos to firewall fabbed up. I also got my driver side seat mounted. I should have started at the v bands and went to the turbos, but did the opposite.


 02-17-2015 | 11:39 AM
#43
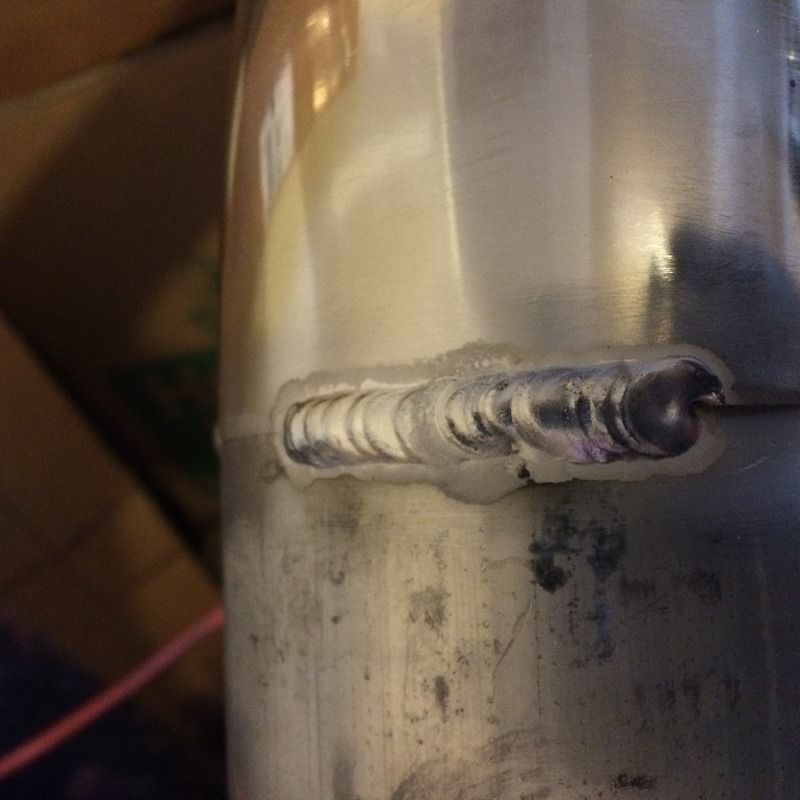
Aluminum is the hardest metal to weld that's for sure!
Best advice is you have to scrub it with a CLEAN stainless tooth brush JUST before you weld it... And wipe it with acetone...
It is soo easy to use too much heat...
That being said your welds look fine!
If you do a boost leak check when you are done and have no leaks it doesn't matter how fancy (or not) the bead looks, right?
02-17-2015 | 12:00 PM
#44
Thread Starter
Joined: Aug 2006
Posts: 5,364
Likes: 2
From: Summerville, SC
Aluminum is the hardest metal to weld that's for sure!
Best advice is you have to scrub it with a CLEAN stainless tooth brush JUST before you weld it... And wipe it with acetone...
It is soo easy to use too much heat...
That being said your welds look fine!
If you do a boost leak check when you are done and have no leaks it doesn't matter how fancy (or not) the bead looks, right?
Best advice is you have to scrub it with a CLEAN stainless tooth brush JUST before you weld it... And wipe it with acetone...
It is soo easy to use too much heat...
That being said your welds look fine!
If you do a boost leak check when you are done and have no leaks it doesn't matter how fancy (or not) the bead looks, right?
 03-22-2015 | 06:47 PM
#47
Thread Starter
Joined: Aug 2006
Posts: 5,364
Likes: 2
From: Summerville, SC
I got some stuff done. I got the brake lines all tightened, made brackets for the rear end and all of the brake lines are mounted and tight. I do have to figure out the push rod for the wilwood master cylinder.
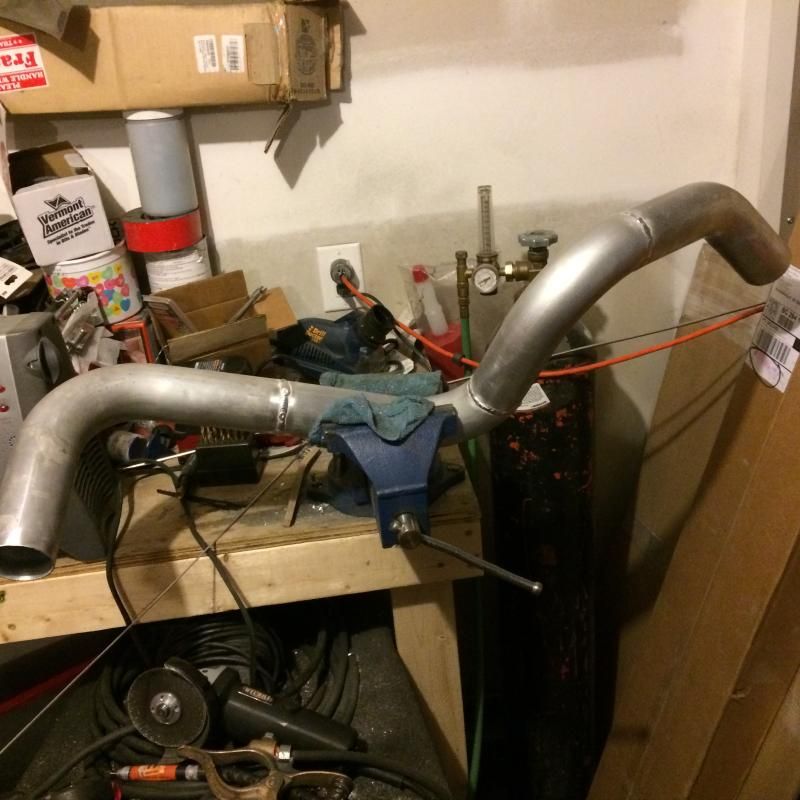
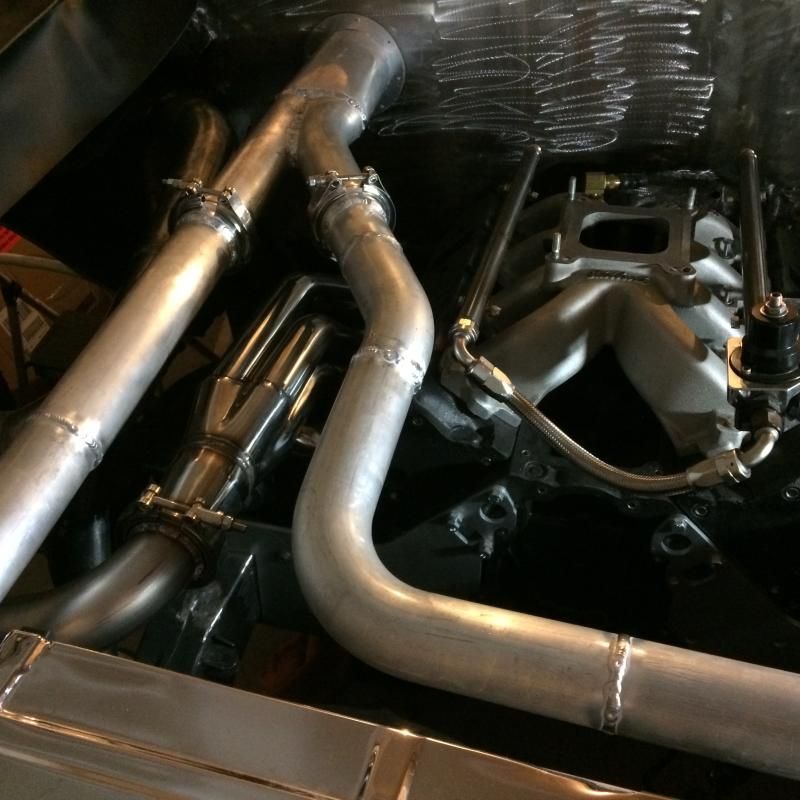
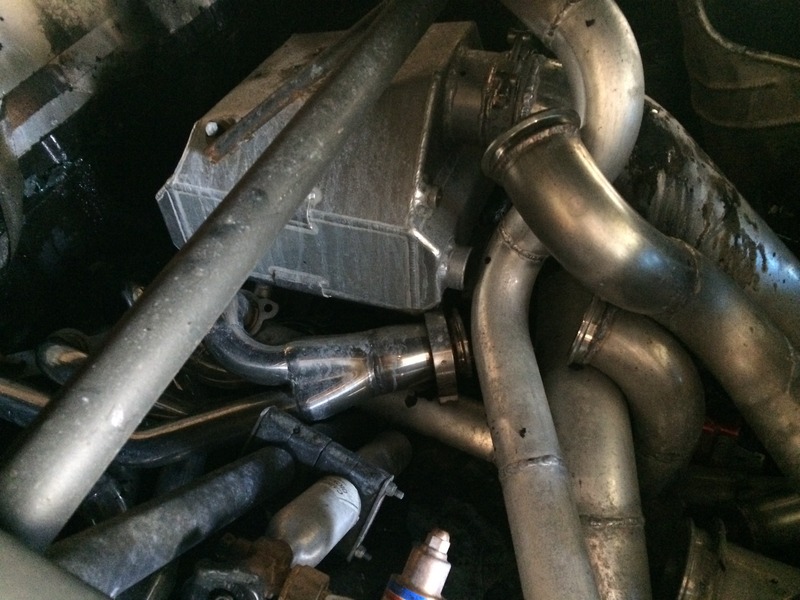
I also got some of the cold side done. I got from the firewall to behind the front seat. I have two 90's to weld on there and the vband and that will be done. Then I can mount the intercooler and then run the piece to the engine.
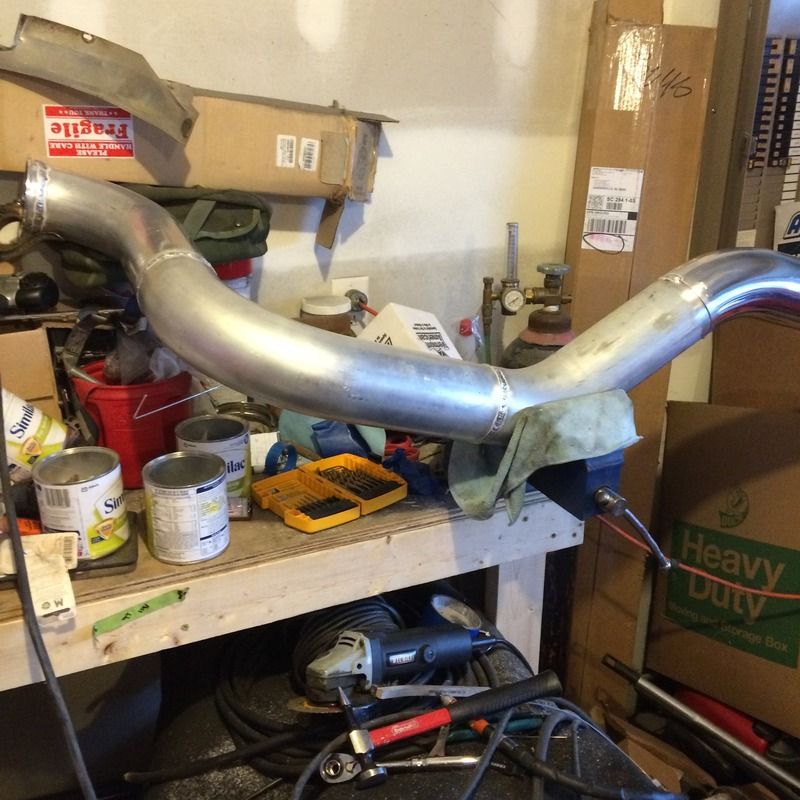
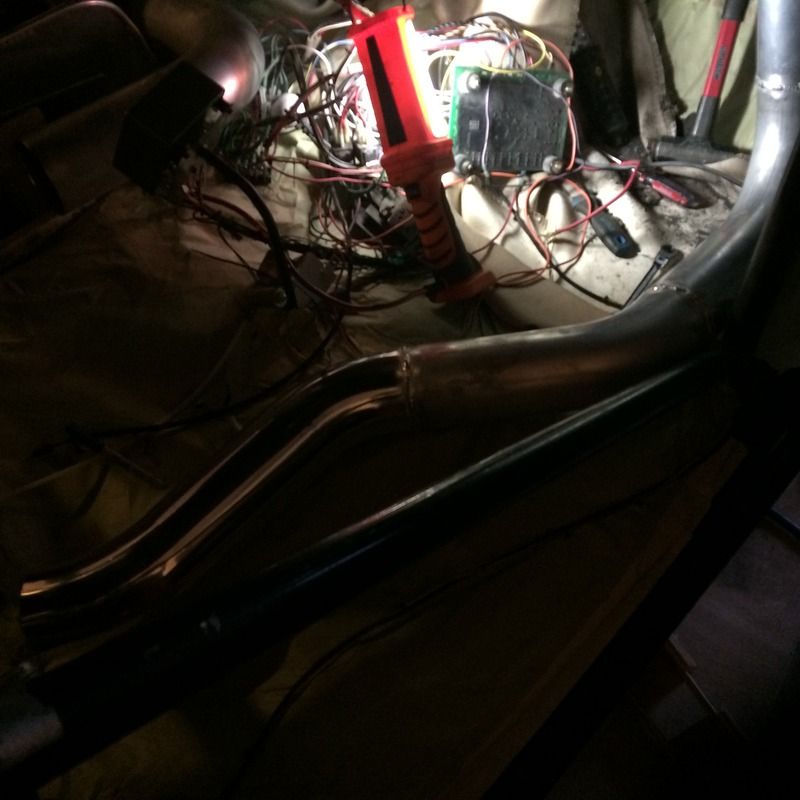

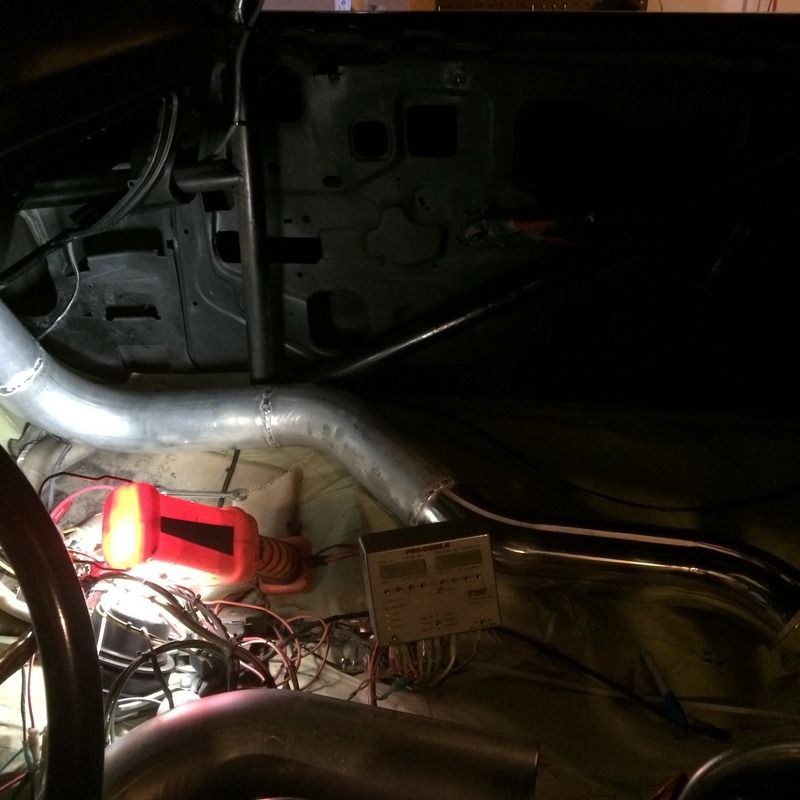
I also got some of the cold side done. I got from the firewall to behind the front seat. I have two 90's to weld on there and the vband and that will be done. Then I can mount the intercooler and then run the piece to the engine.


 03-22-2015 | 06:47 PM
#48
Thread Starter
Joined: Aug 2006
Posts: 5,364
Likes: 2
From: Summerville, SC
I got some stuff done. I got the brake lines all tightened, made brackets for the rear end and all of the brake lines are mounted and tight. I do have to figure out the push rod for the wilwood master cylinder.
I also got some of the cold side done. I got from the firewall to behind the front seat. I have two 90's to weld on there and the vband and that will be done. Then I can mount the intercooler and then run the piece to the engine.
I also got some of the cold side done. I got from the firewall to behind the front seat. I have two 90's to weld on there and the vband and that will be done. Then I can mount the intercooler and then run the piece to the engine.


 04-05-2015 | 02:59 AM
#53
Thread Starter
Joined: Aug 2006
Posts: 5,364
Likes: 2
From: Summerville, SC
12-22-2015 | 05:05 PM
#54
Thread Starter
Joined: Aug 2006
Posts: 5,364
Likes: 2
From: Summerville, SC
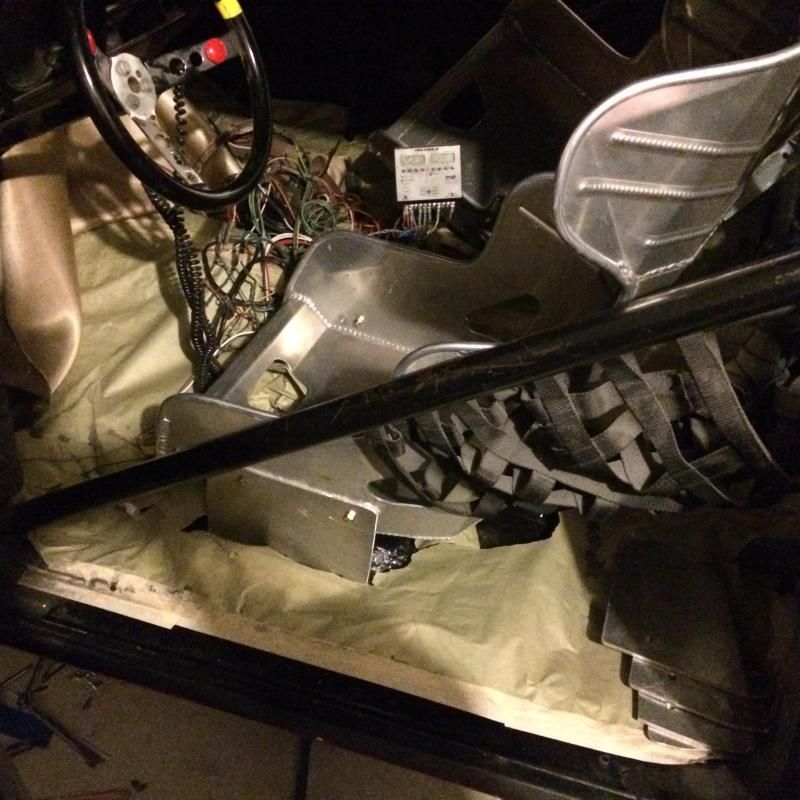
An update. On 5/31 the car was involved in a fire. I was welding in my passenger rear outer wheelhouse. It was an early morning, I finished welding and was cleaning up. My kids woke up and came downstairs and asked for some breakfast. It had been about 20 minutes since I had finished welding. I gave it a quick once over where I was welding and the inside of the car, nothing looked out of the ordinary. Well on the way in, I opened the garage door. I had parts inside the car that were covered with the fire cloth. I'm assuming that the new air and wind caused something that was smoldering under there to go up. 5 minutes later, a neighbor was banging on my door saying my garage was on fire.
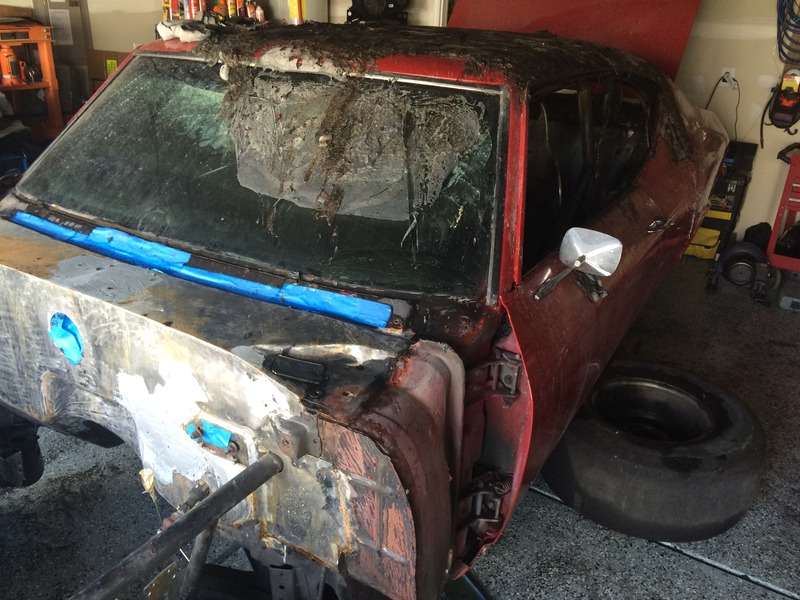
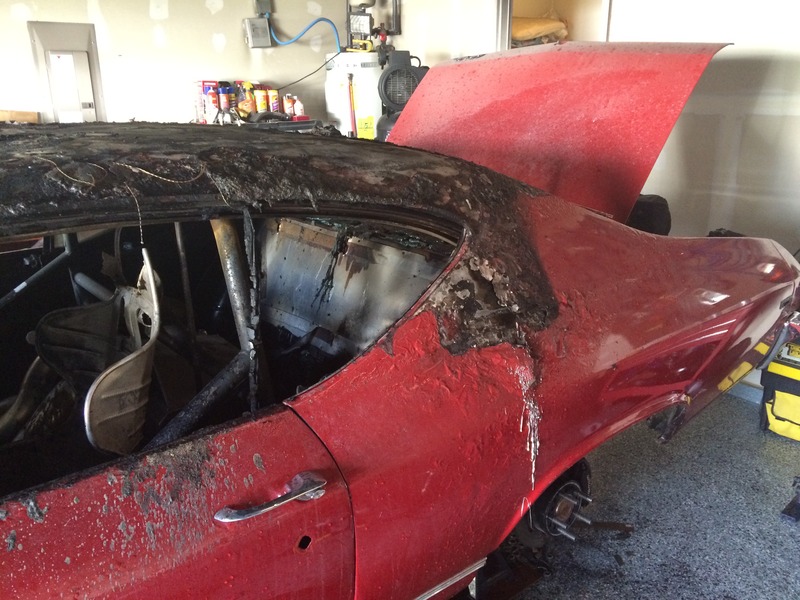
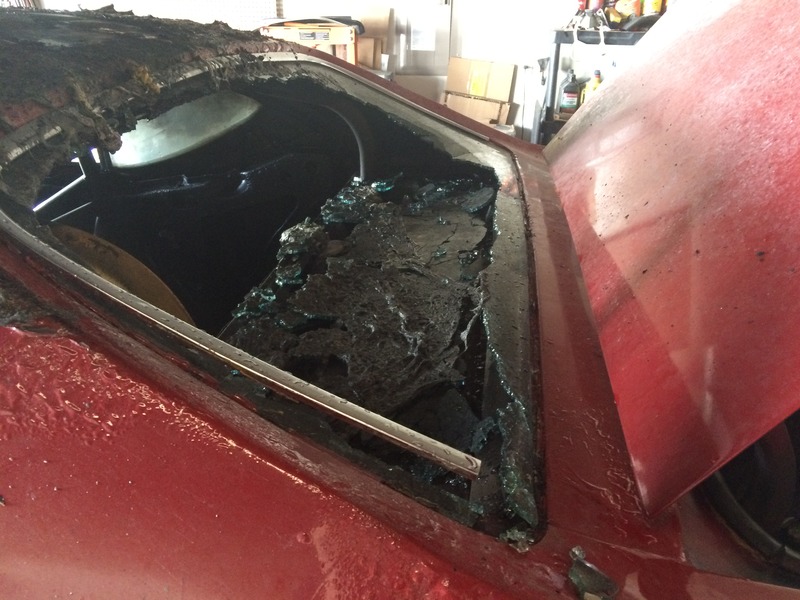
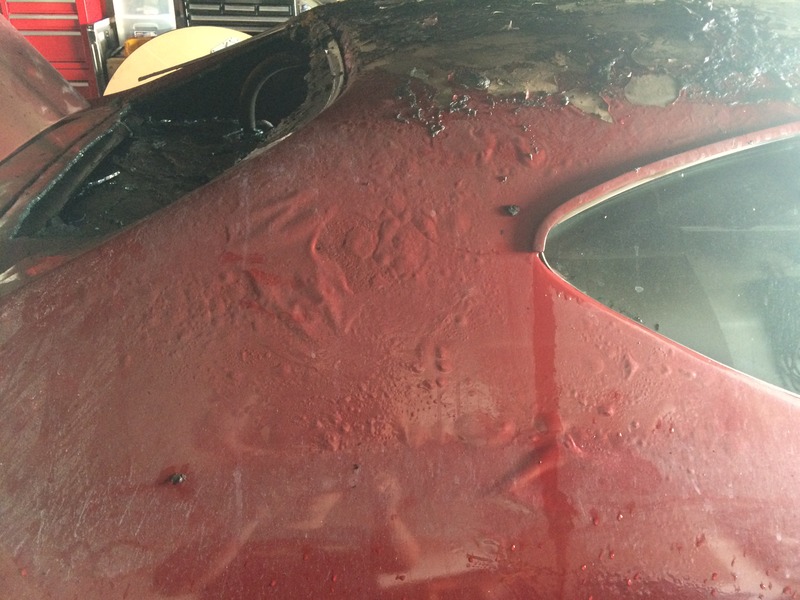

Thankfully my family wasn't harmed. I was able to put the fire out with my co2 and water hose. I thought for sure it was going to burn the entire house down. I always thought I was careful when I welded, I guess not enough. Of course I had parts in the car and they are completely screwed. I had a car cover on top and put the hood on top of that so it didn't scratch the paint, and I burnt my thumb when I threw that **** out onto the driveway.
This could have all been worse, but thankfully my neighbor was 2.5 hours late to work and saw it. The smoke detectors didn't go off until way later and the fire department didn't get there until 15 minutes after the bitch was burning. It all seemed like an eternity, watching all of my hard work going up in flames.
We did think we lost the cat though. After I got the fire to a smolder I ran back in the house which was covered in black smoke and couldn't find it. The cat recently shredded some of our new carpet, so I wasn't that mad. The dog ran out when we did lol We later found the cat meowing in the upstairs bathroom and she is fine.
I'll post some of the progress in a bit


 12-22-2015 | 05:13 PM
#59
Thread Starter
Joined: Aug 2006
Posts: 5,364
Likes: 2
From: Summerville, SC
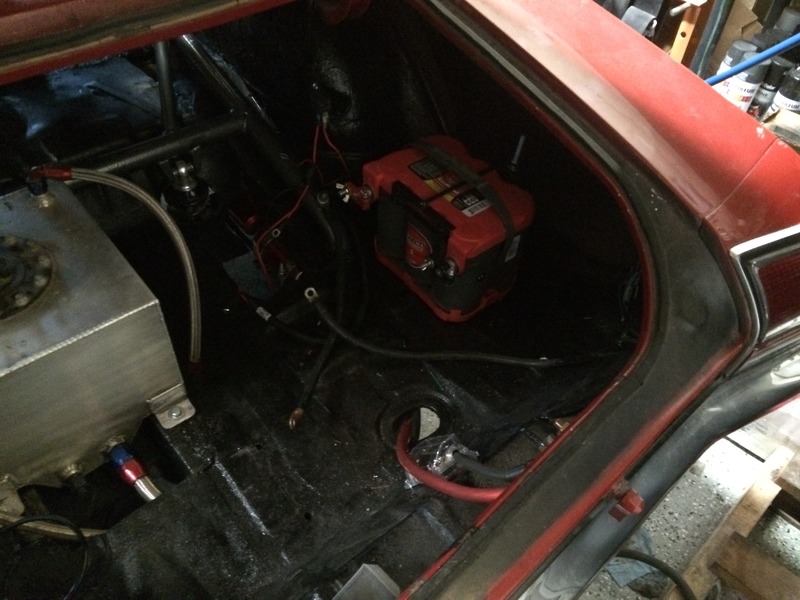
And current updates: I got the brakes bled, which I thought was going to be a nightmare but there are no leaks! I have all AN stainless lines. I used the Eastwood vice flaring tool. I also welded in a new bung for the Holley wideband. Which was indeed a nightmare. During my welding I had a plug in there to not distort the bung. Well, there were several distractions and I didn't move the plug after each weld and it ended up screwing up several of the bottom threads. Luckily the wideband doesn't use them and it was a big bitch to get it out. I ran a thread chaser down it and all is well now. I cleaned up some of the wiring and put caps on wires that I won't be using immediately. I cut out a portion of the motor plate for my alternator and need to mount that still as well as fab up a tensioner and idler pulley setup.
If anyone has the door rear guide upper mounting plates and doesn't need them, I would gladly buy them. I cannot find them any where!
Still alot left to do, but I'm getting closer. I have to figure out the electric fan wiring with the Holley, make a shifter mount, hook up the shifter, install driveshaft, install alternator, make the tensioner/idler setup, get the correct size belt, do something with the coolant vents, some sort of PCV setup, throttle cable, get a pedal, get seats, make mounts, parachute release, figure something out with the door glass, install the door panels, cranks, and armrests, test the wiring to make sure this bitch doesn't burn down, check for fuel leaks, setup the Holley system, and I'm sure there's more.


 12-24-2015 | 05:10 AM
#60


This thread was heart breaking until I saw the new progress. Good for you to keep progress moving forward and I would agree you were lucky the fire was not worse. Keep it up!