When you click on links to various merchants on this site and make a purchase, this can result in this site earning a commission. Affiliate programs and affiliations include, but are not limited to, the eBay Partner Network.
Finally have something to update. We got some nice weather and it was back into the garage.
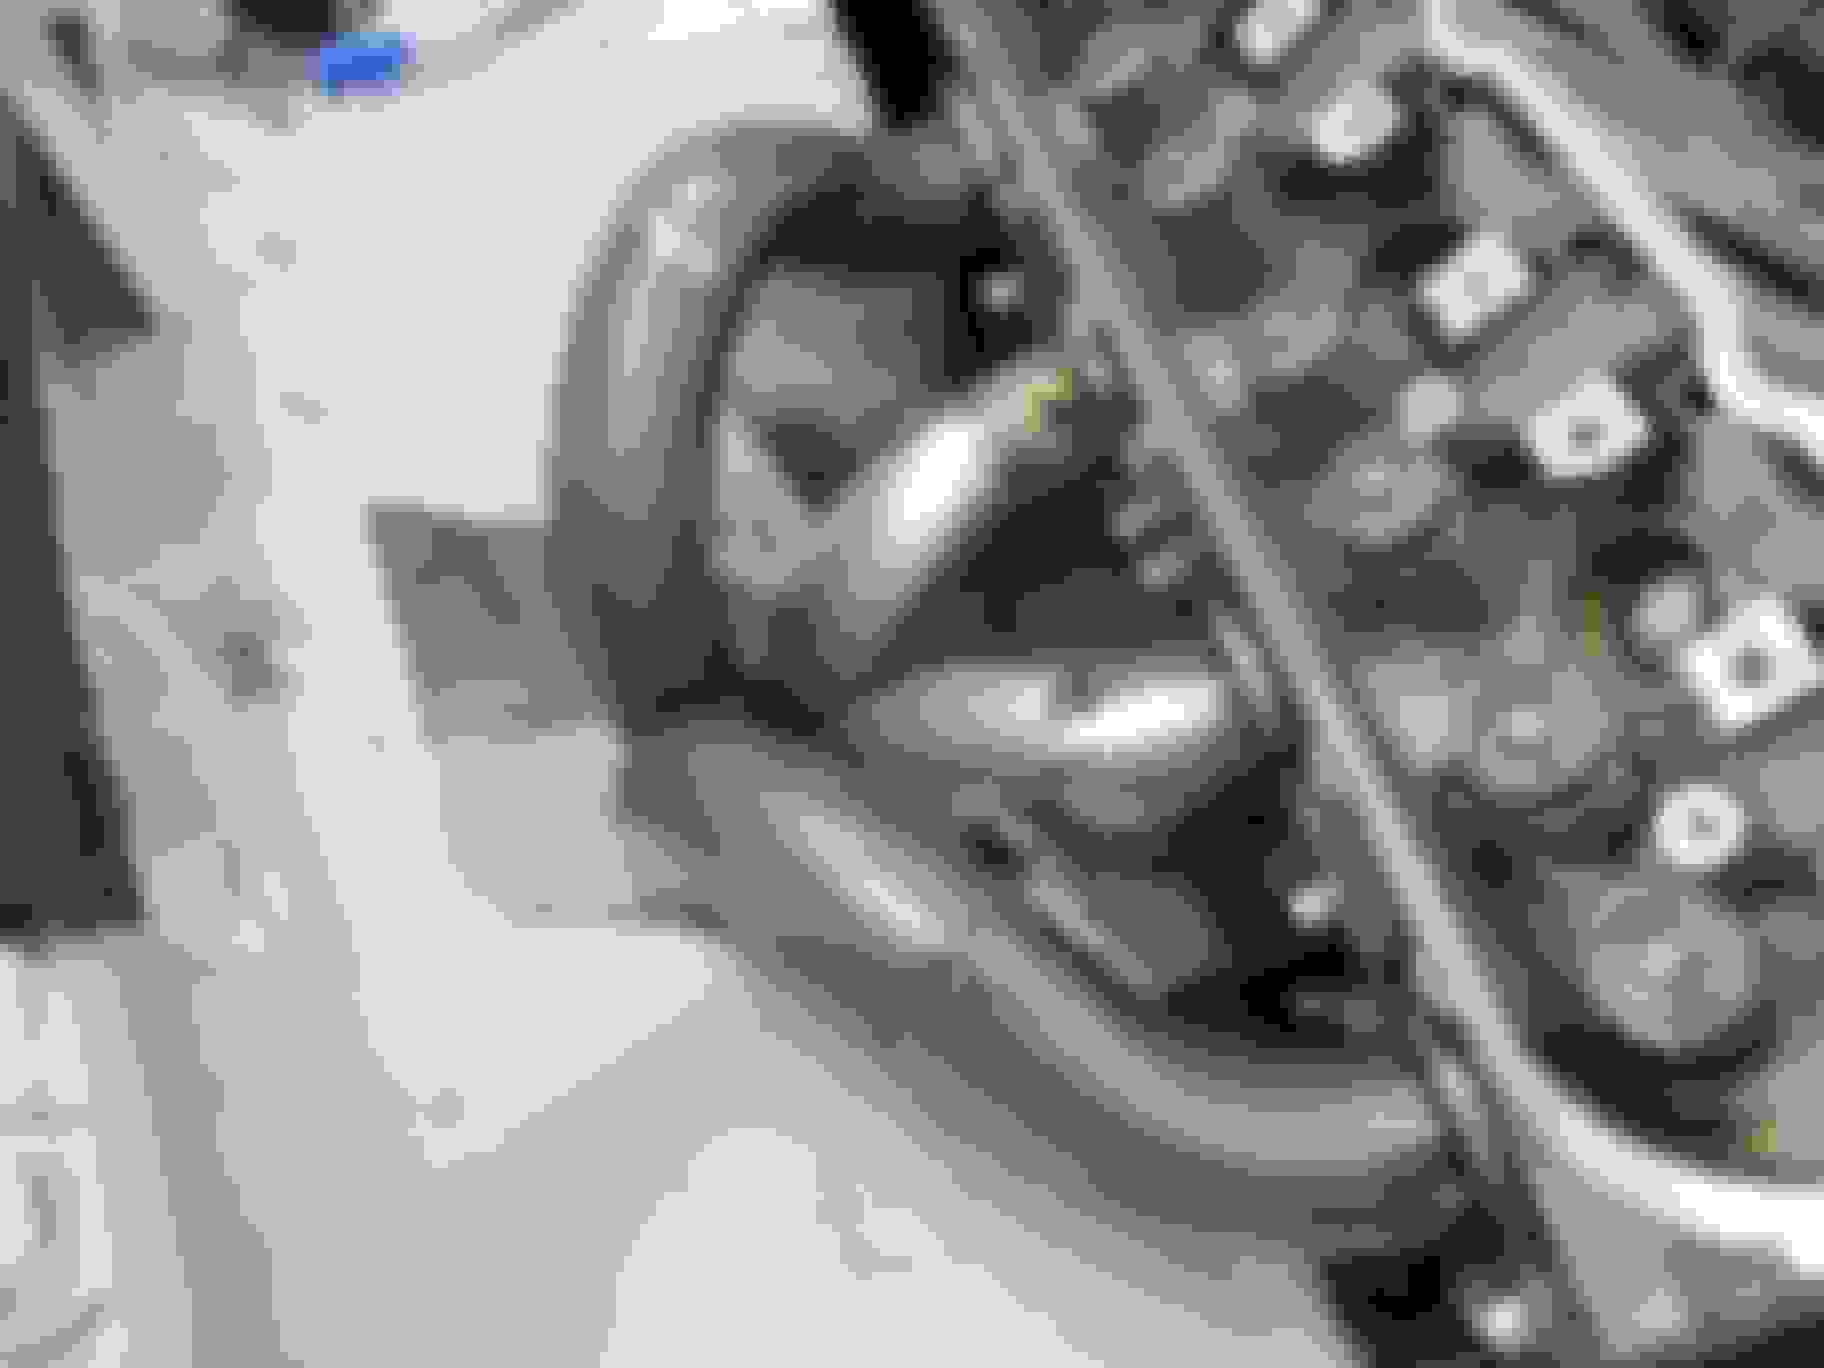
Had to modify some things on the engine-
I blocked off the heater hose ports on the water pump- going to be a fair weather car so not needed
also got a straight water neck, as both the neck and hoses ran into the frame rail of the MG
I'm using C5 Corvette accessories, so all I had to do was notch the alternator bracket and it allowed the the alt to
fit under the hood with no clearance issues
By using the Vette pump and accessories it allowed for a shorter install as they are tucked close to the block
Added the C6 pan for clearance (shallow Pan)
you can see where I cut out for the exhaust- the black template will be stainless trim rings I'm having made
started on the headers-Boy, do they take patience! Just MIG tacking them at this point and then will got back
and TIG them for a nice clean look. Hope to have them finished in a week or so and then sent out to be Jet-Coated
I got the firewall filled in and decided to install the actual engine & tranny
Got it all mocked up and installed
Headers look great with the Jet coat
Plenty of clearance all around
Now to take it apart and get the engine bay sealed and painted
Hope to fire it over in about 30 days
Decided to start going through the harness to make it a stand alone.
made up some small decals to label each wire several times along it's length
Made them blue and red for connector
This should help more then just tape and a sharpie
It's labeled on both sides of the flag
Took a while to get them all put together<br/>but have both blue & red connectors
Best thing I've seen on 02 location is around a foot at least after all the pipes collect into one.
Helped a friend stuff an old vortec 350 in one of these back in 2000 or so, digging the build. Even crazier is noticing your location, surprised I haven't seen it out with the sr20det setup.


 01-15-2015 | 07:07 AM