
68 Camaro 327/m20 to lq4/lsa/t56


 03-08-2016, 02:11 PM
#63
TECH Fanatic
iTrader: (27)

Awesome progress man! I'm in the middle of a similar swap on my 1968 Camaro too. I am very interested to see how the swap mounts and the Holley 302-2 pan fits. That is the same system I plan to go with. I bought the mounts to see just how bad the truck pan is going to be, but will buy the 302-2 when I am closer to completion. Keep us updated.
 03-14-2016, 11:59 AM
#65
Launching!
Thread Starter

Join Date: Feb 2003
Location: 08003
Posts: 205
Likes: 0
Received 0 Likes
on
0 Posts

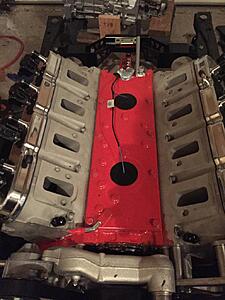
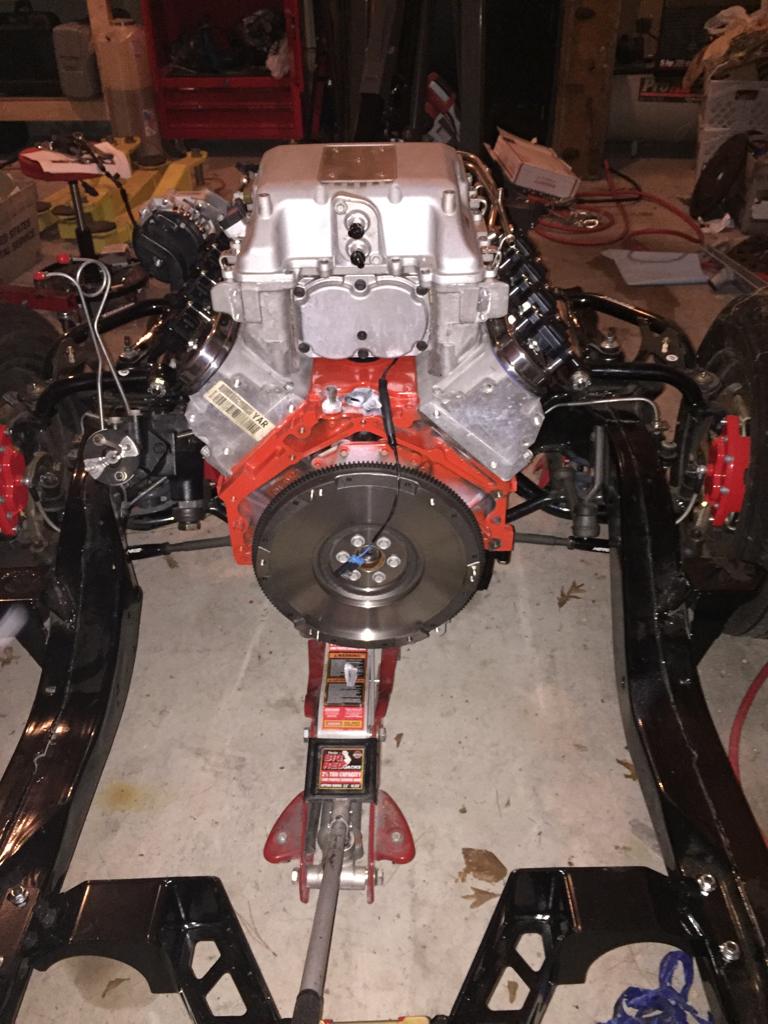
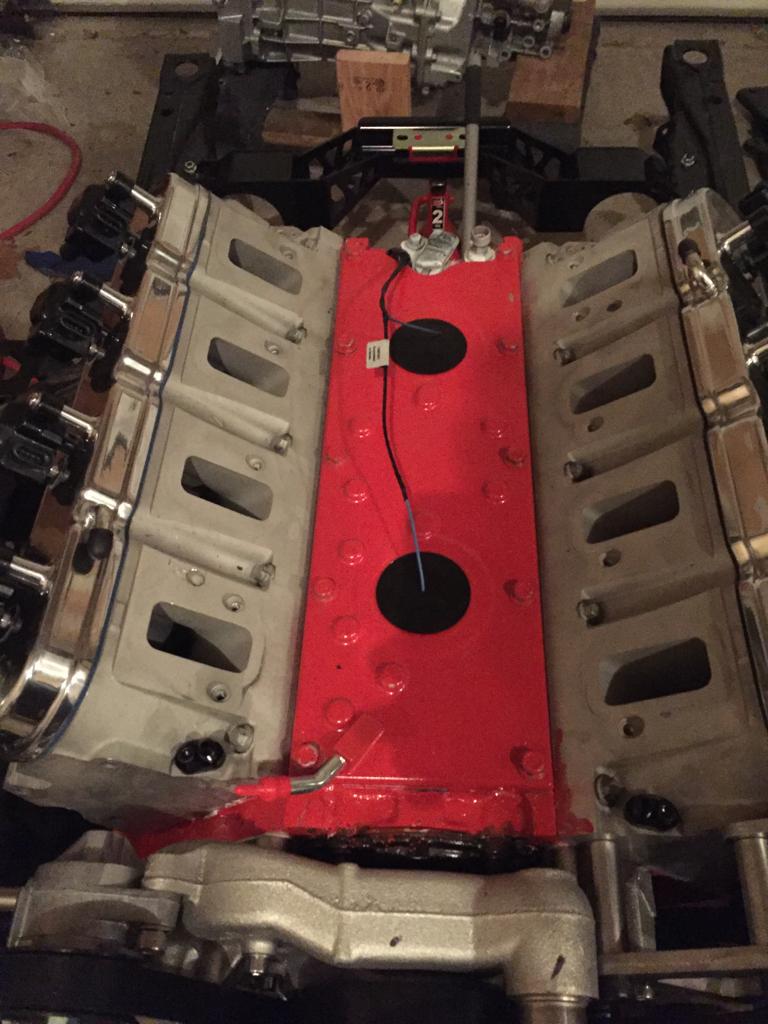
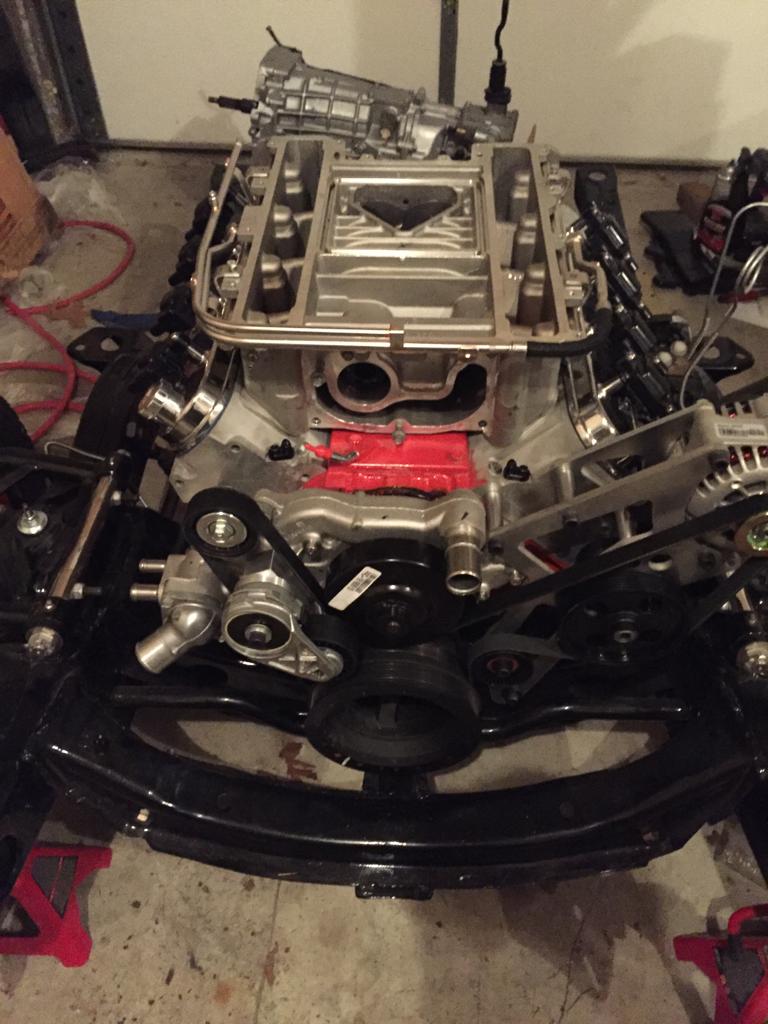
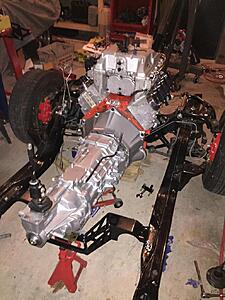
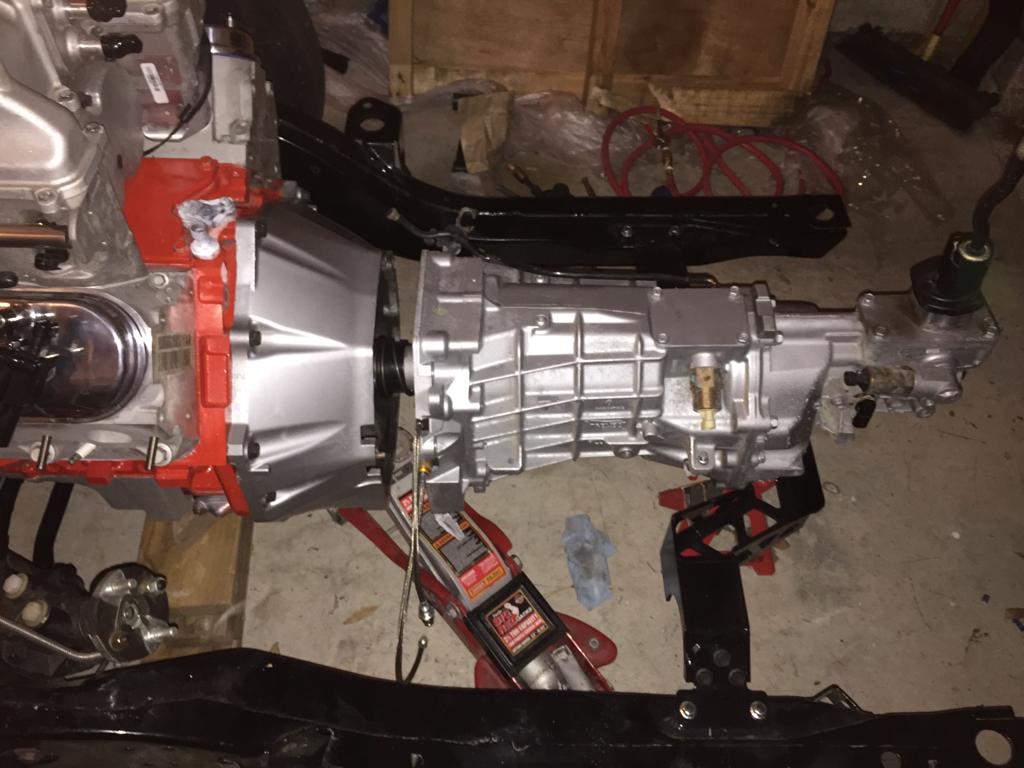
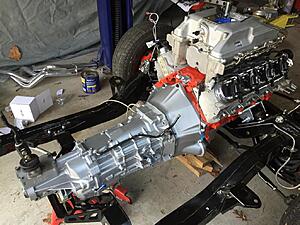
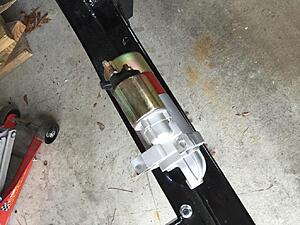
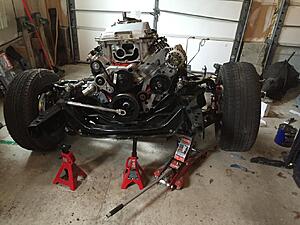
Got the valley cover, knock sensors and wiring installed. Flywheel lock came so I was able to torque the flywheel and the crank pulley down. Had to slap the blower back on even though I still don't have my snout back. I can taste it.

UPS just dropped off my hydraulic conversion kit from mcleod and my mls gaskets.
Tomorrow my clutch will finally be here along with my headers, exhaust thread cleaner and harness from PSI.
I think that's all I need to finally get this all in one piece.
UPS just dropped off my hydraulic conversion kit from mcleod and my mls gaskets.
Tomorrow my clutch will finally be here along with my headers, exhaust thread cleaner and harness from PSI.
I think that's all I need to finally get this all in one piece.
 03-15-2016, 08:13 PM
#67
Launching!
Thread Starter
Join Date: Feb 2003
Location: 08003
Posts: 205
Likes: 0
Received 0 Likes
on
0 Posts
Clutch came today along with a bunch of other stuff.

Got the Clutch/pp installed along with the throw out bearing but I'm just not strong enough to wrestle this thing in by myself so I'm waiting for a buddy to come over and help.
Also cleaned the threads on the heads for the manifold studs. Didn't want to install the headers though because I'm missing a bolt for the crank sensor and a block plug. They should be here in a few days.
Last edited by Blue89Bird; 03-16-2016 at 06:19 AM.
03-17-2016, 06:37 AM
#68
Launching!
Thread Starter
Join Date: Feb 2003
Location: 08003
Posts: 205
Likes: 0
Received 0 Likes
on
0 Posts
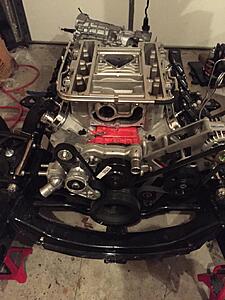
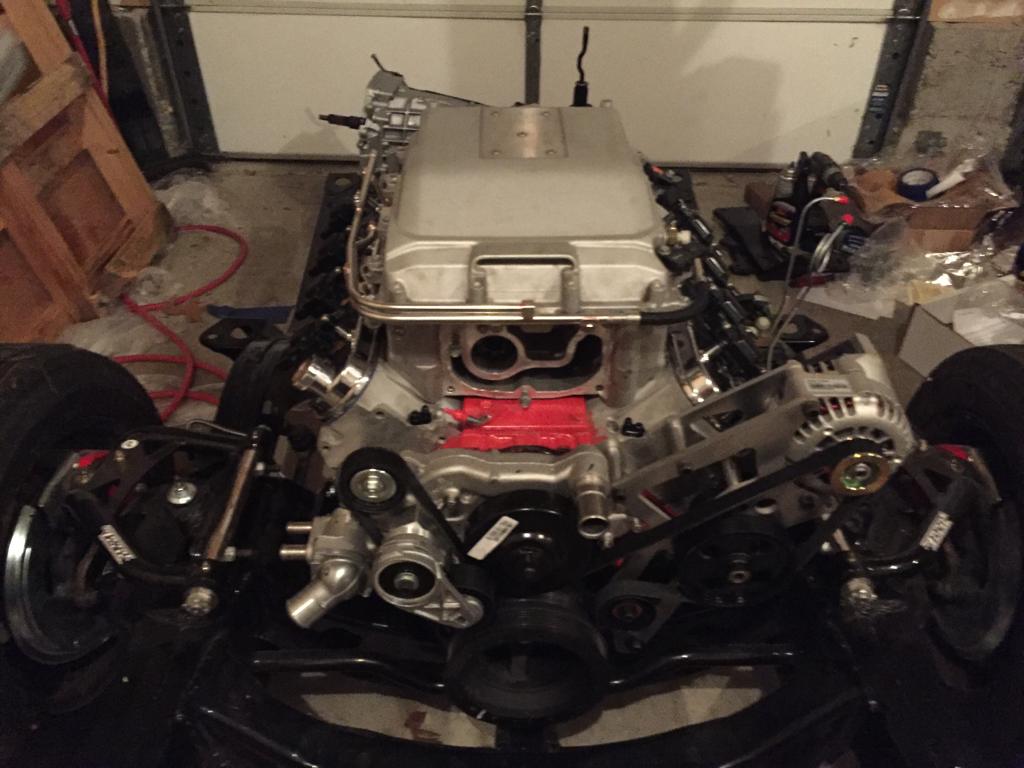
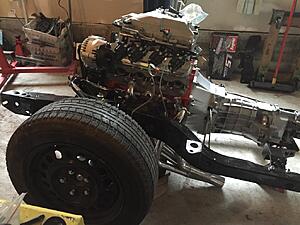
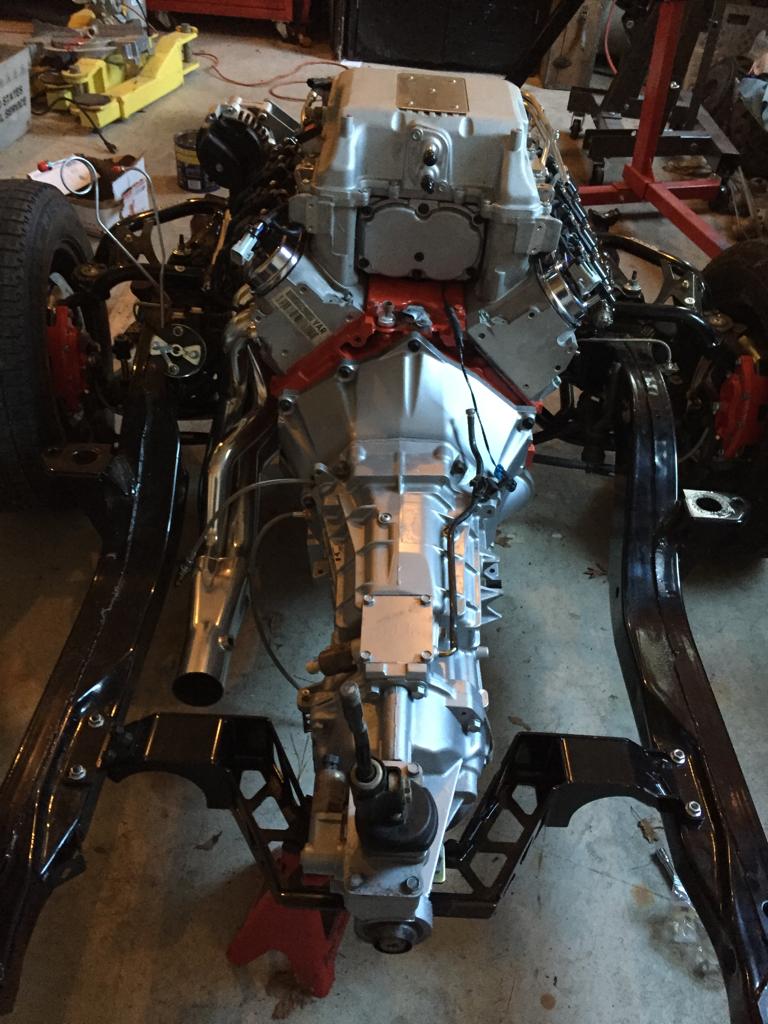
Finally got the tranny in though I seem to have lost my bolts. Good excuse to clean up anyway.
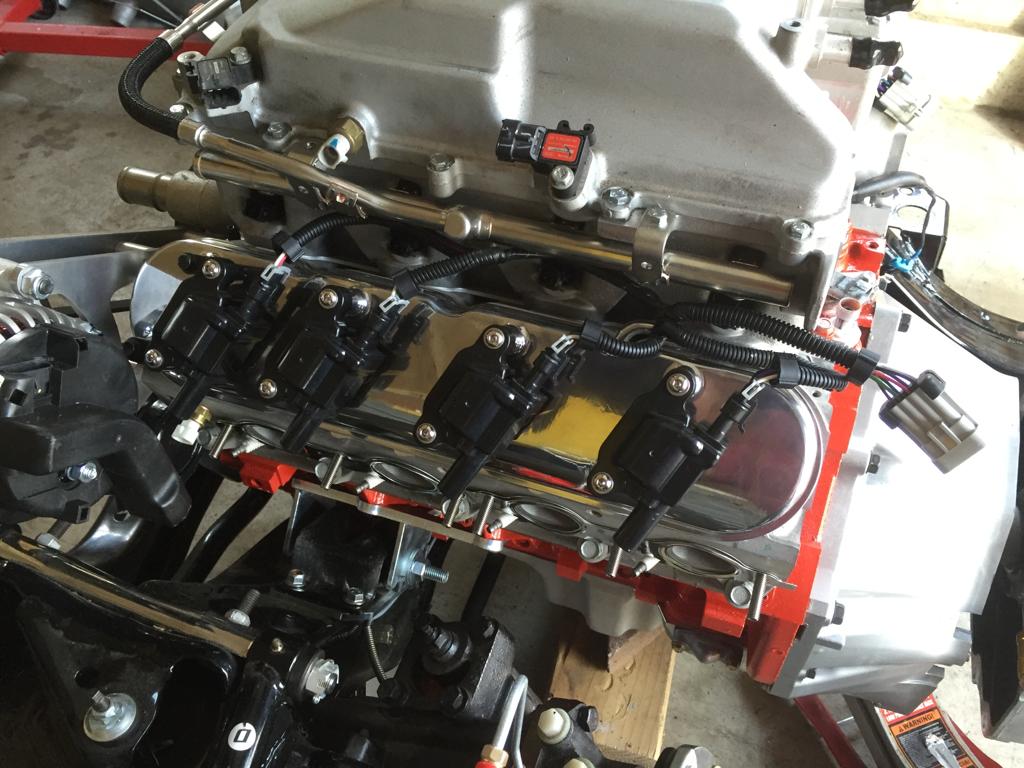
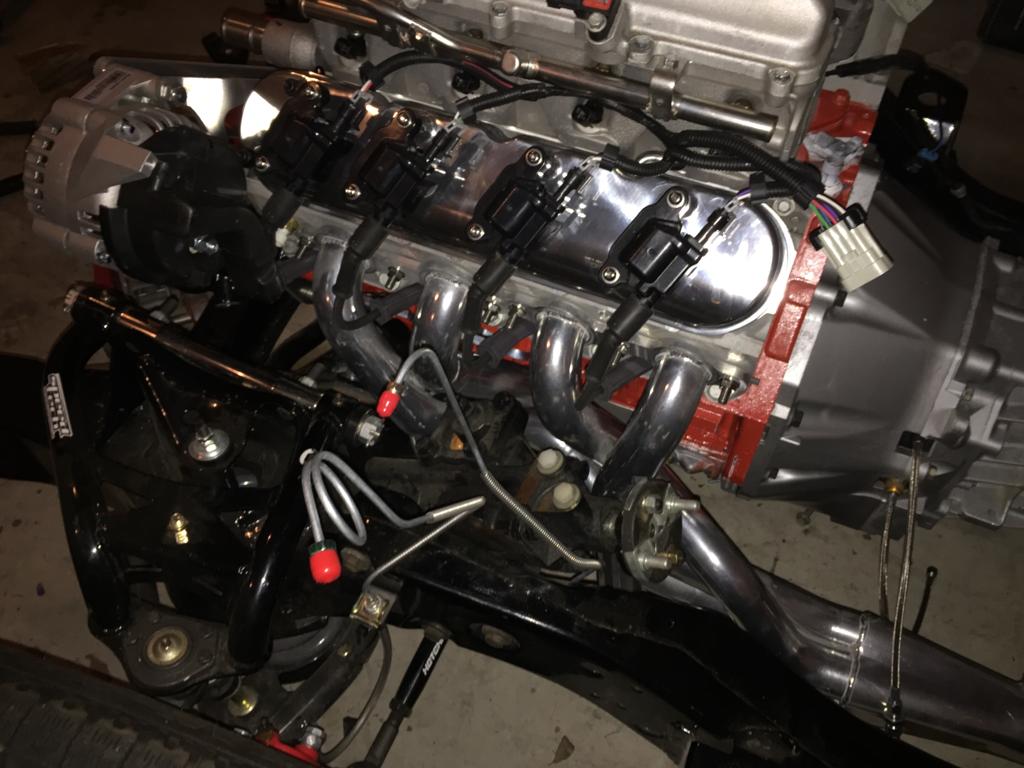
Harness showed up from PSI which looks beautiful.

As did my new coil harnesses

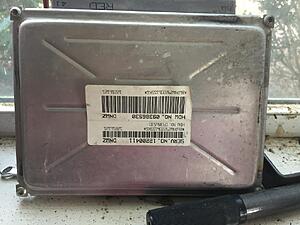
And my eBay truck started and pcm.
Next up is getting in these hooker headers which looks like a real bitch.

Harness showed up from PSI which looks beautiful.

As did my new coil harnesses
And my eBay truck started and pcm.


Next up is getting in these hooker headers which looks like a real bitch.
03-17-2016, 02:37 PM
#69
Launching!
Thread Starter
Join Date: Feb 2003
Location: 08003
Posts: 205
Likes: 0
Received 0 Likes
on
0 Posts
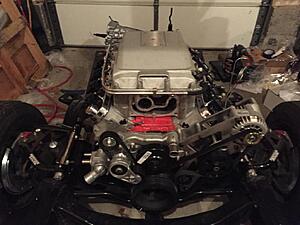
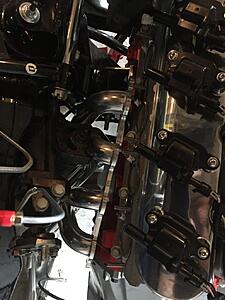
As expected these headers are proving to be a real pain. It looks like I have to remove my steering box to slide them in which doesn't seem right. Maybe todd can chime in here


 03-17-2016, 02:45 PM
#70


I just noticed you have exhaust studs installed in your cylinder heads...I don't think you're going to be able to get the headers installed with those unless you remove the steering box as you've mentioned. Remove your spark plugs also to gain more installation clearance.
Last edited by Toddoky; 03-17-2016 at 06:57 PM.
03-17-2016, 06:47 PM
#71
Launching!
Thread Starter
Join Date: Feb 2003
Location: 08003
Posts: 205
Likes: 0
Received 0 Likes
on
0 Posts
Thanks that did it. Sometimes you just need someone else's eyes. I only had to remove the front 2 studs as well. I'll post some pictures later because my phone died but they fit very well. They've got a little personality on them now as well if you know what I mean.
 03-17-2016, 07:06 PM
#73
No problem. Yeah, I know all about the "personality" scratches that come with installing ceramic coated headers...you need to wrap the headers in a protective bag/sleeve while you are installing them or use the help of another person to get them in unscathed it seems.


 04-02-2016, 06:33 PM
#79
Launching!
Thread Starter
Join Date: Feb 2003
Location: 08003
Posts: 205
Likes: 0
Received 0 Likes
on
0 Posts
Thanks guys. I wish I would have done this during the initial restoration instead of now but at the time I wanted to keep it original. That didn't last obviously. Hopefully get it over to my friends shop this week so we can start tearing the old stuff out.