When you click on links to various merchants on this site and make a purchase, this can result in this site earning a commission. Affiliate programs and affiliations include, but are not limited to, the eBay Partner Network.
Hmmmmm, works for me, but just checked my phone and it's a no go...
Trying it again....
I deleted the thumbnail last time because I didn't think it was needed, but guess it was? I wonder if there is any way to get rid of it so there isn't a big and little pic of each one???
if you want to get around the big/little picture deal, i think you could add all the pictures into an album in your user profile and then link them from there i think
if you want to get around the big/little picture deal, i think you could add all the pictures into an album in your user profile and then link them from there i think
Thanks, I'll try that.
Originally Posted by chevydarrell
Wow what a awesome job on your beautiful wagon!! Love them wagons! ;0)
Originally Posted by truckdoug
such a killer build!
Thanks guys!
Originally Posted by 243
Are you thinking about another build?
Oh I'm always thinking about the next build. I have the parts to put together another '72 C-10 short bed........
Ok, going to try another attempt at posting pics..... I fabbed up some brackets to weld on the underside of the floor to mount the seat belts. These were then plug welded to the floor.
This is the piece that covers the inside of the tailgate. I didn't have one so my buddy let me use his roached one as a pattern.
New one cut out and test fitted
The arm rest pads were pretty much rooted too, so I made some new ones, but guess I don't have any pics of them done....
Then came the fun of scraping all that crappy old insulation off the roof. Used a gasket scraper and a lot of elbow grease and got almost all of it off, clean enough to glue some new insulation on it with a good contact cement.
After the insulation was done on the roof, I decided to tackle the headliner. Seemed pretty straight forward, slip the bows through the listings, pop the bows in and pull tight and staple to the tack strip. um, yeah, right! after me and my buddy worked on it for a whole day, it just wasn't looking right. I messed with it the next day and probably made it look worse! Then another buddy talked to his upholstery guy who said he'd put it in for $150. If I'd known it was going to be that cheap, I wouldn't even of unfolded it! I would have just taken it there and said call me when its done and saved that week of wasted time. Live and learn... The upholstery shop did a nice job though.
POR15'd the rear part of the floor....
Put some more Hushmat down....
Then put the molded to fit carpet in. Notice I didn't say molded to fit a '59 Chevy! It kind of fit, but I had to call my dad who installed carpet for over 40 years to come over and make it fit a lot better! Thanks Dad!
Then put some moisture barrier up behind the door panels. I used some windshield butyl stretched real thin, then put the plastic on it and trimmed around it to fit. Worked out nice.
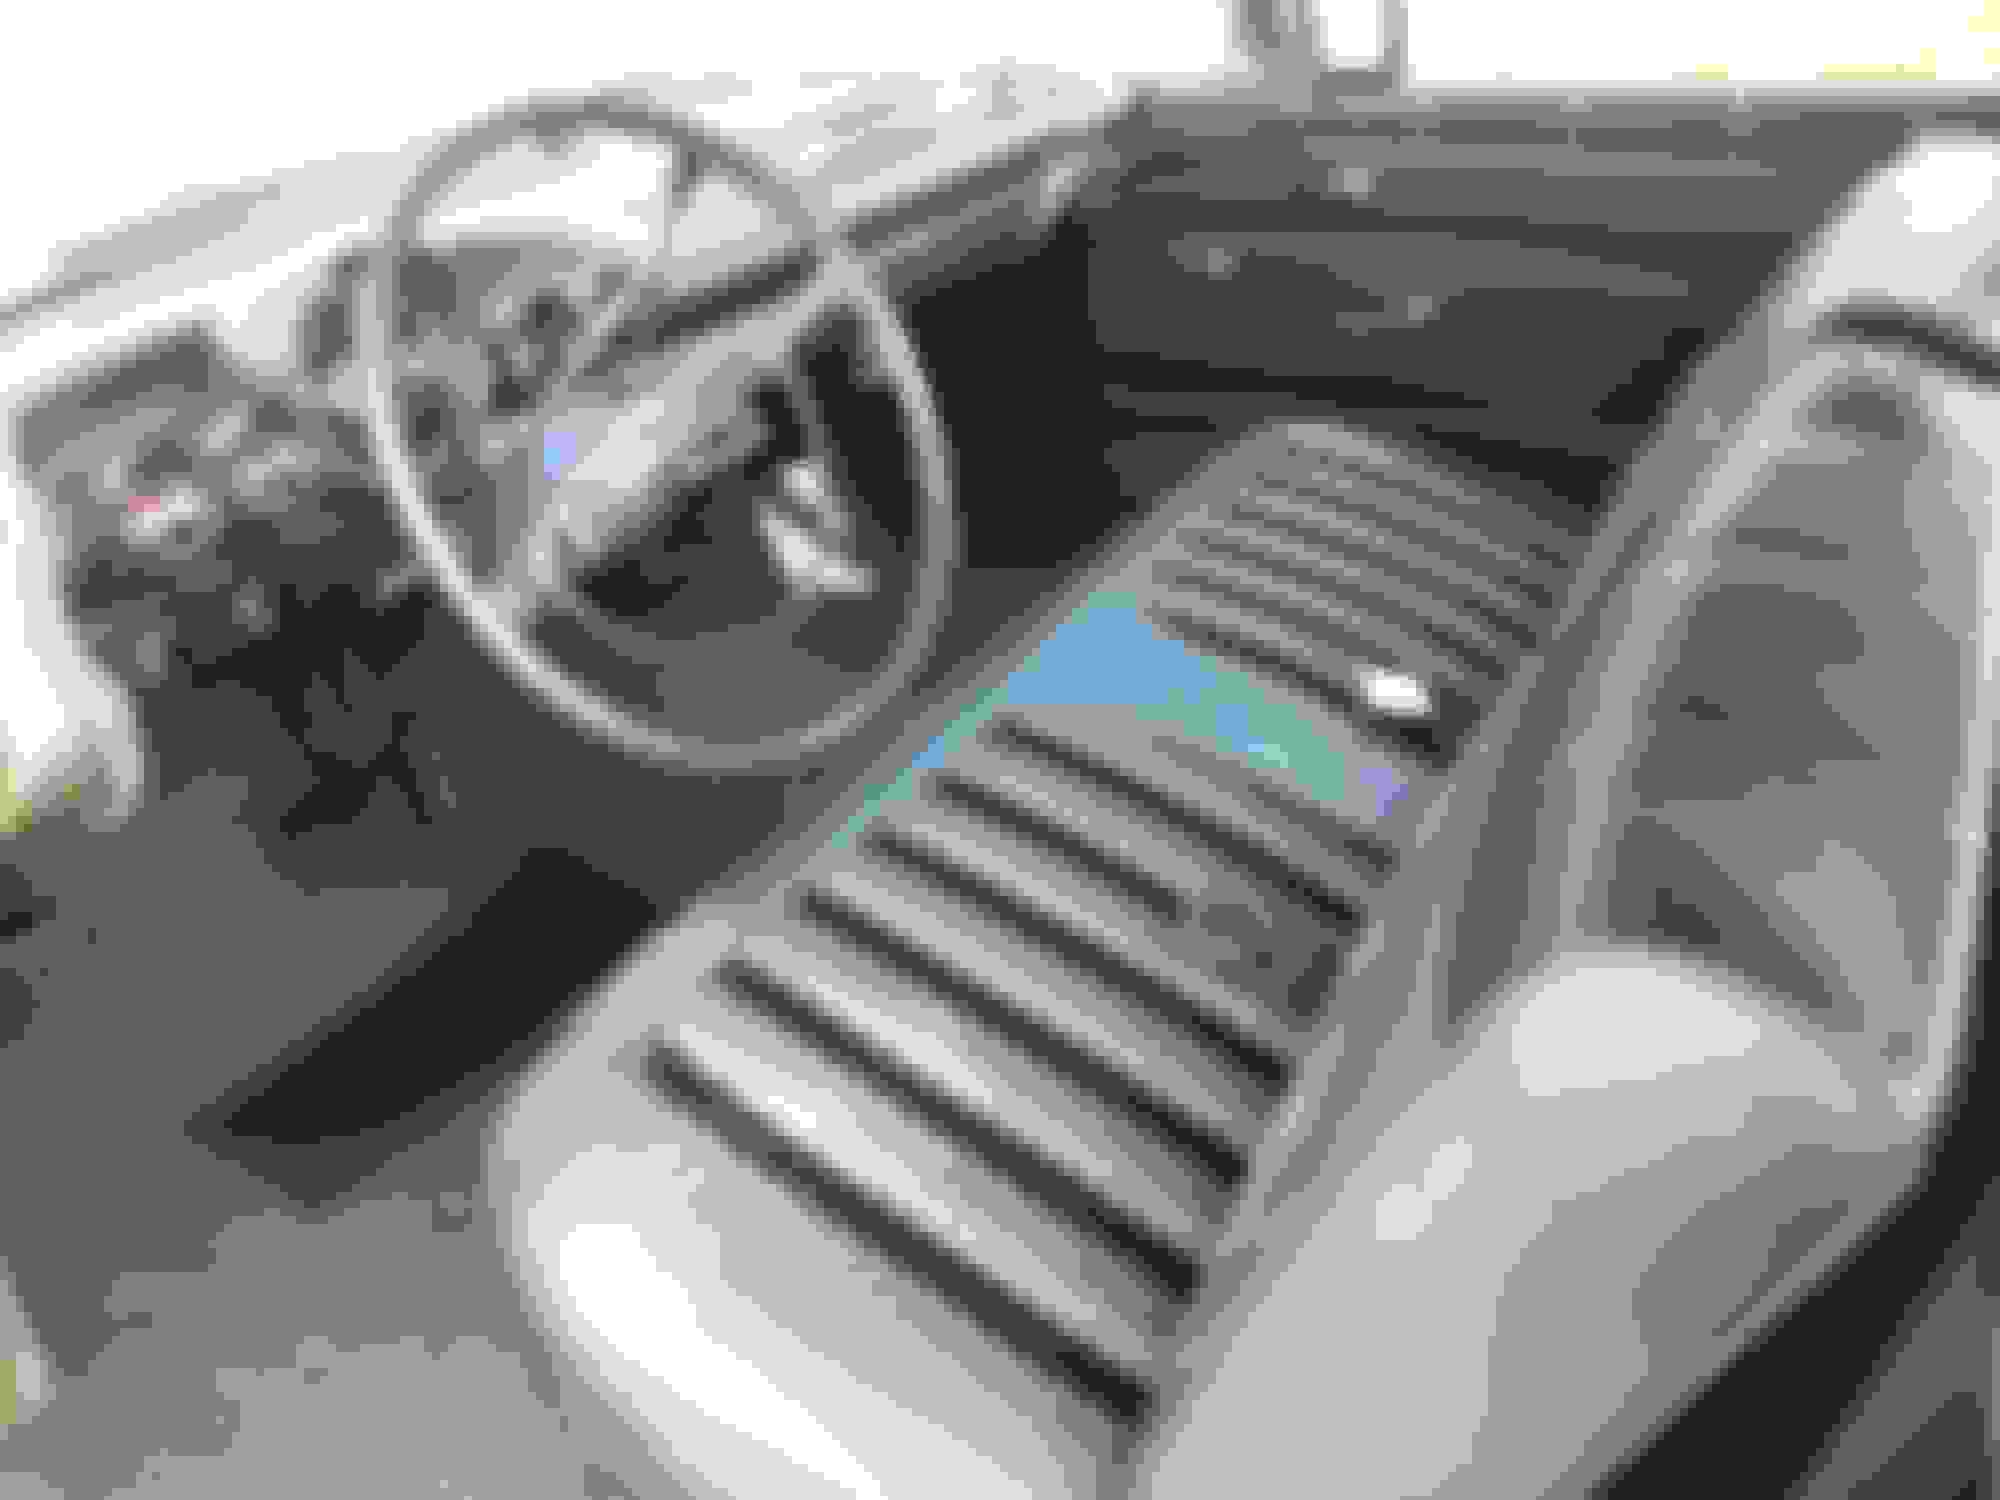
Fixed some cracks in the steering wheel and painted it.
Then just put the rest of the interior in. Door panels on, window cranks and handles installed and seats back in.
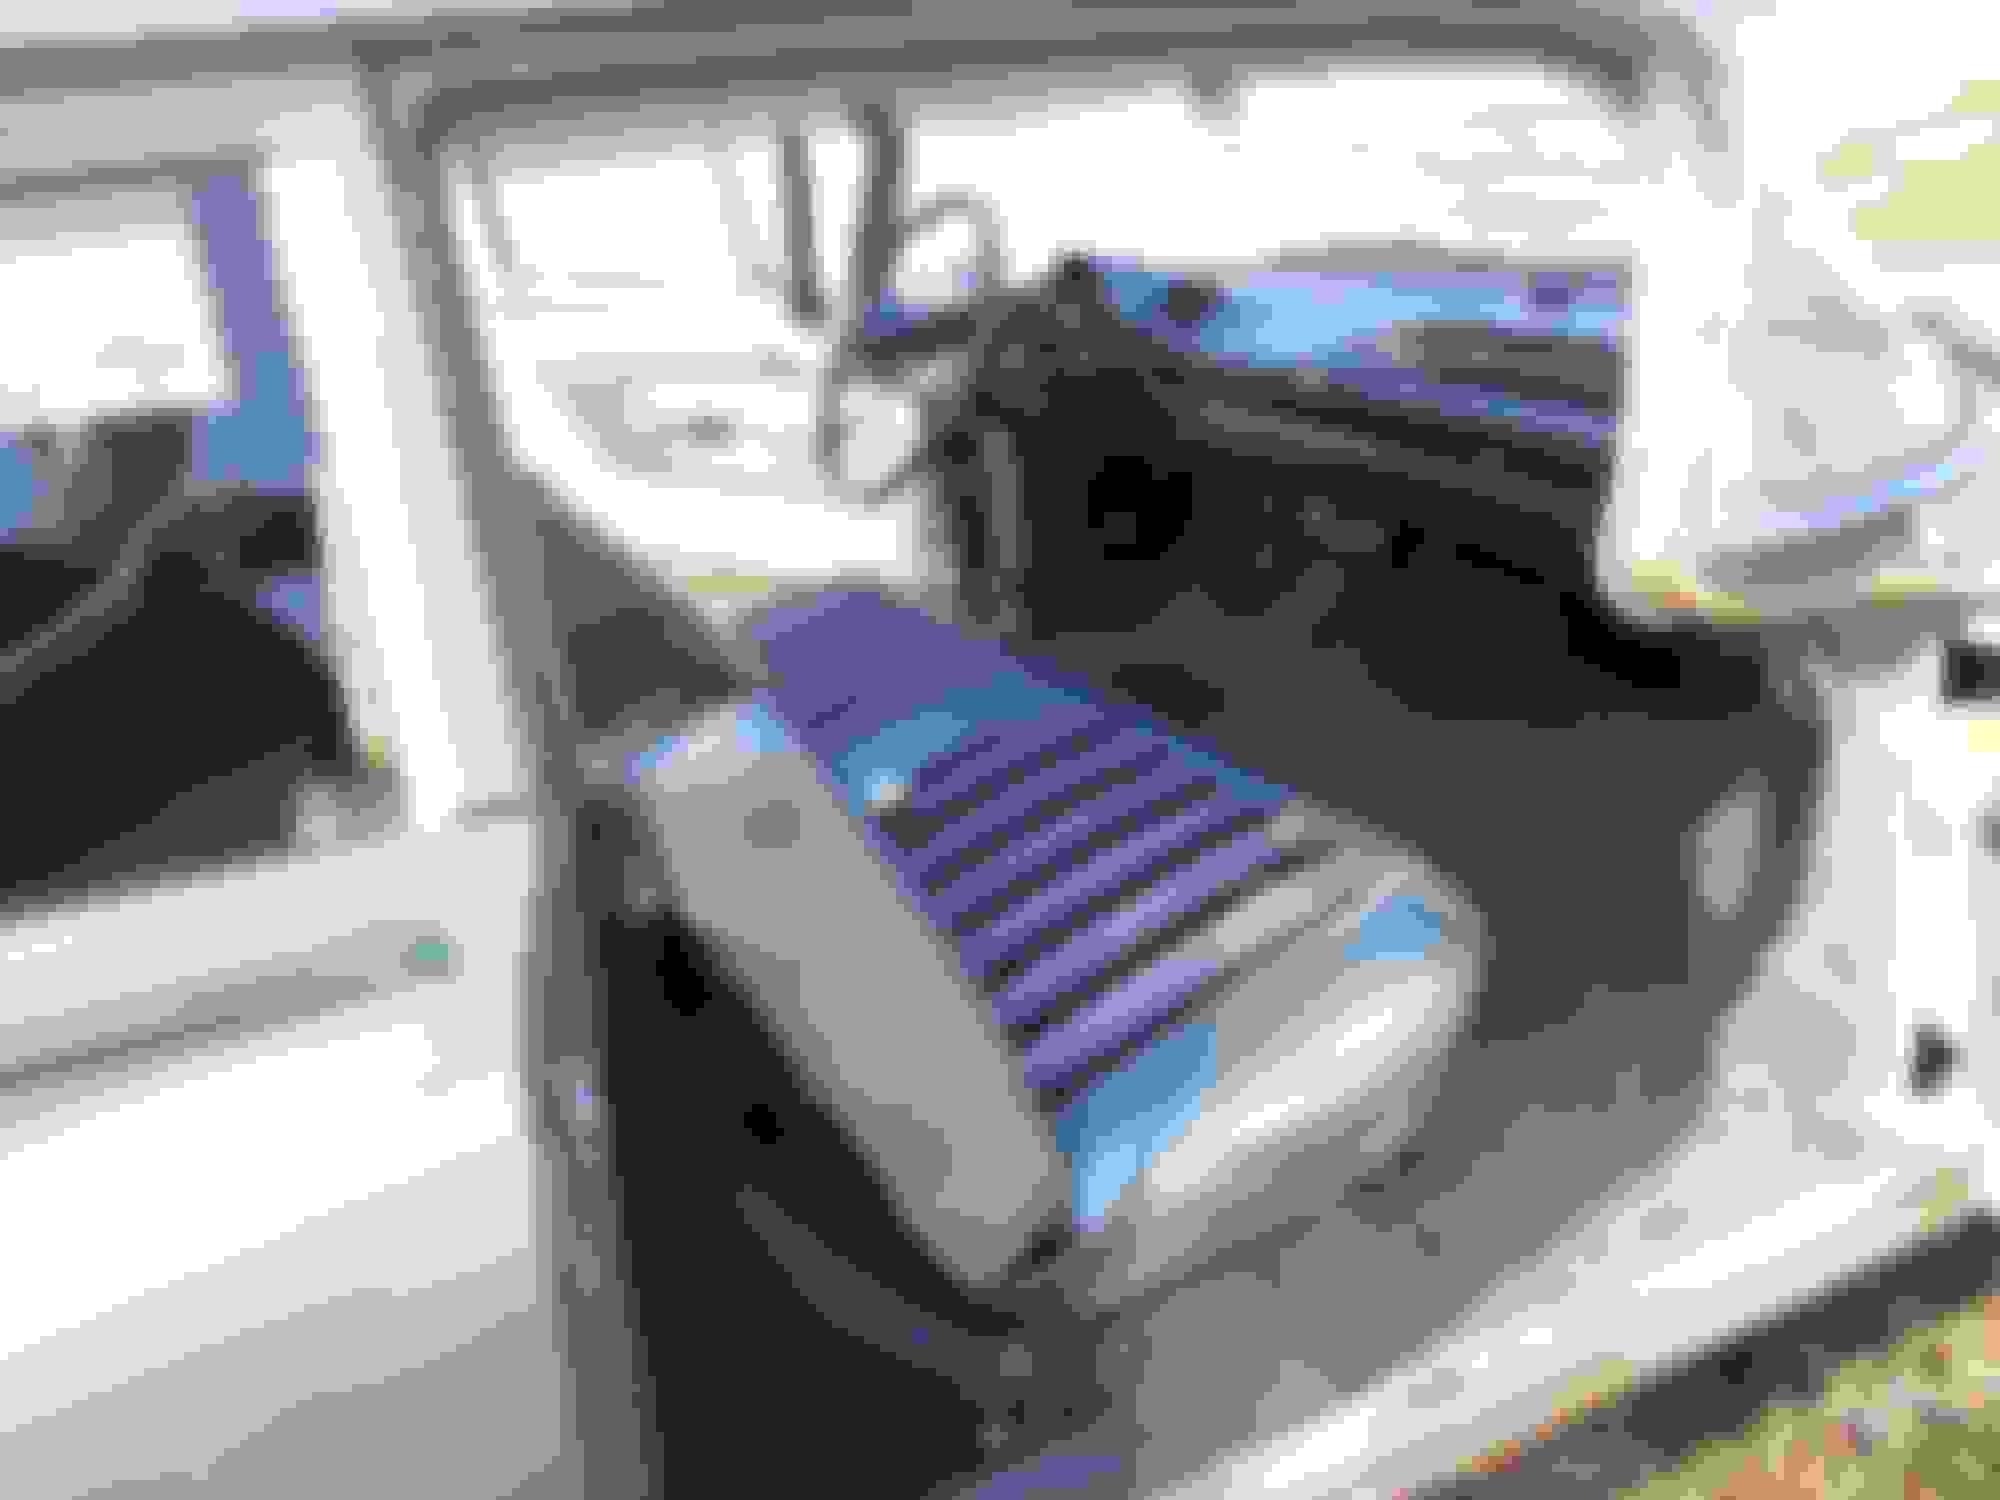
Painted all the rear floor pieces I got out of that rusty '60 back in February, and covered the inside pieces that originally had a rubber backing on them with some indoor/outdoor carpeting. I think it turned out pretty nice. Also added some speakers to the rear corner panels. I had originally planned to put them just a bit more forward (you can see where in an earlier pic) but found out the body side curved in too far for them to fit there....
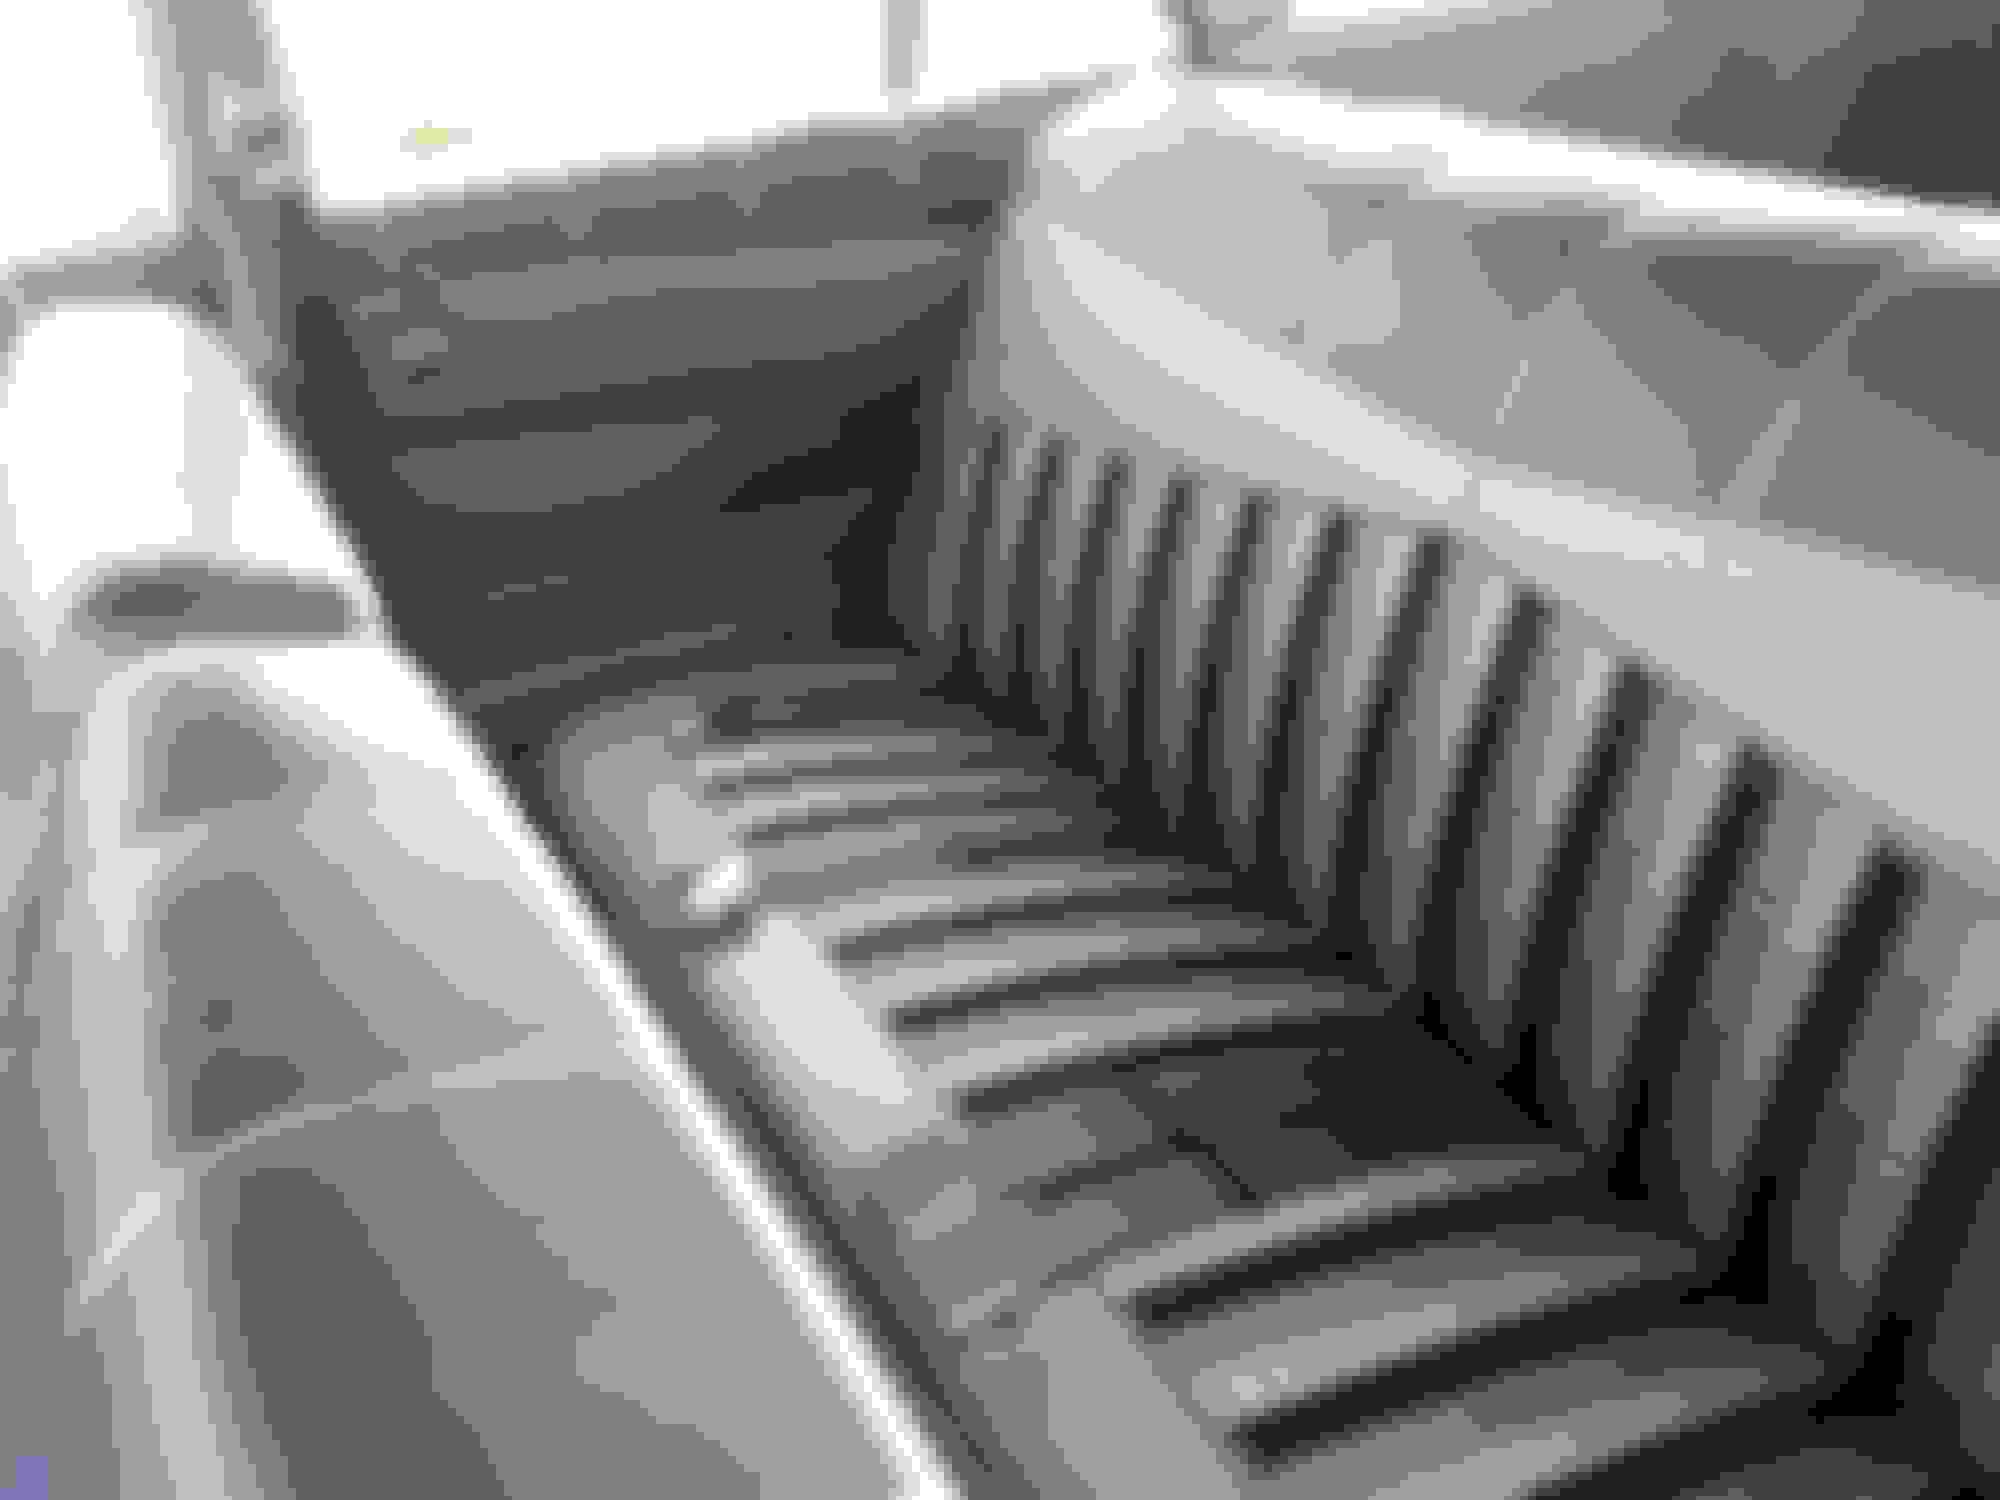
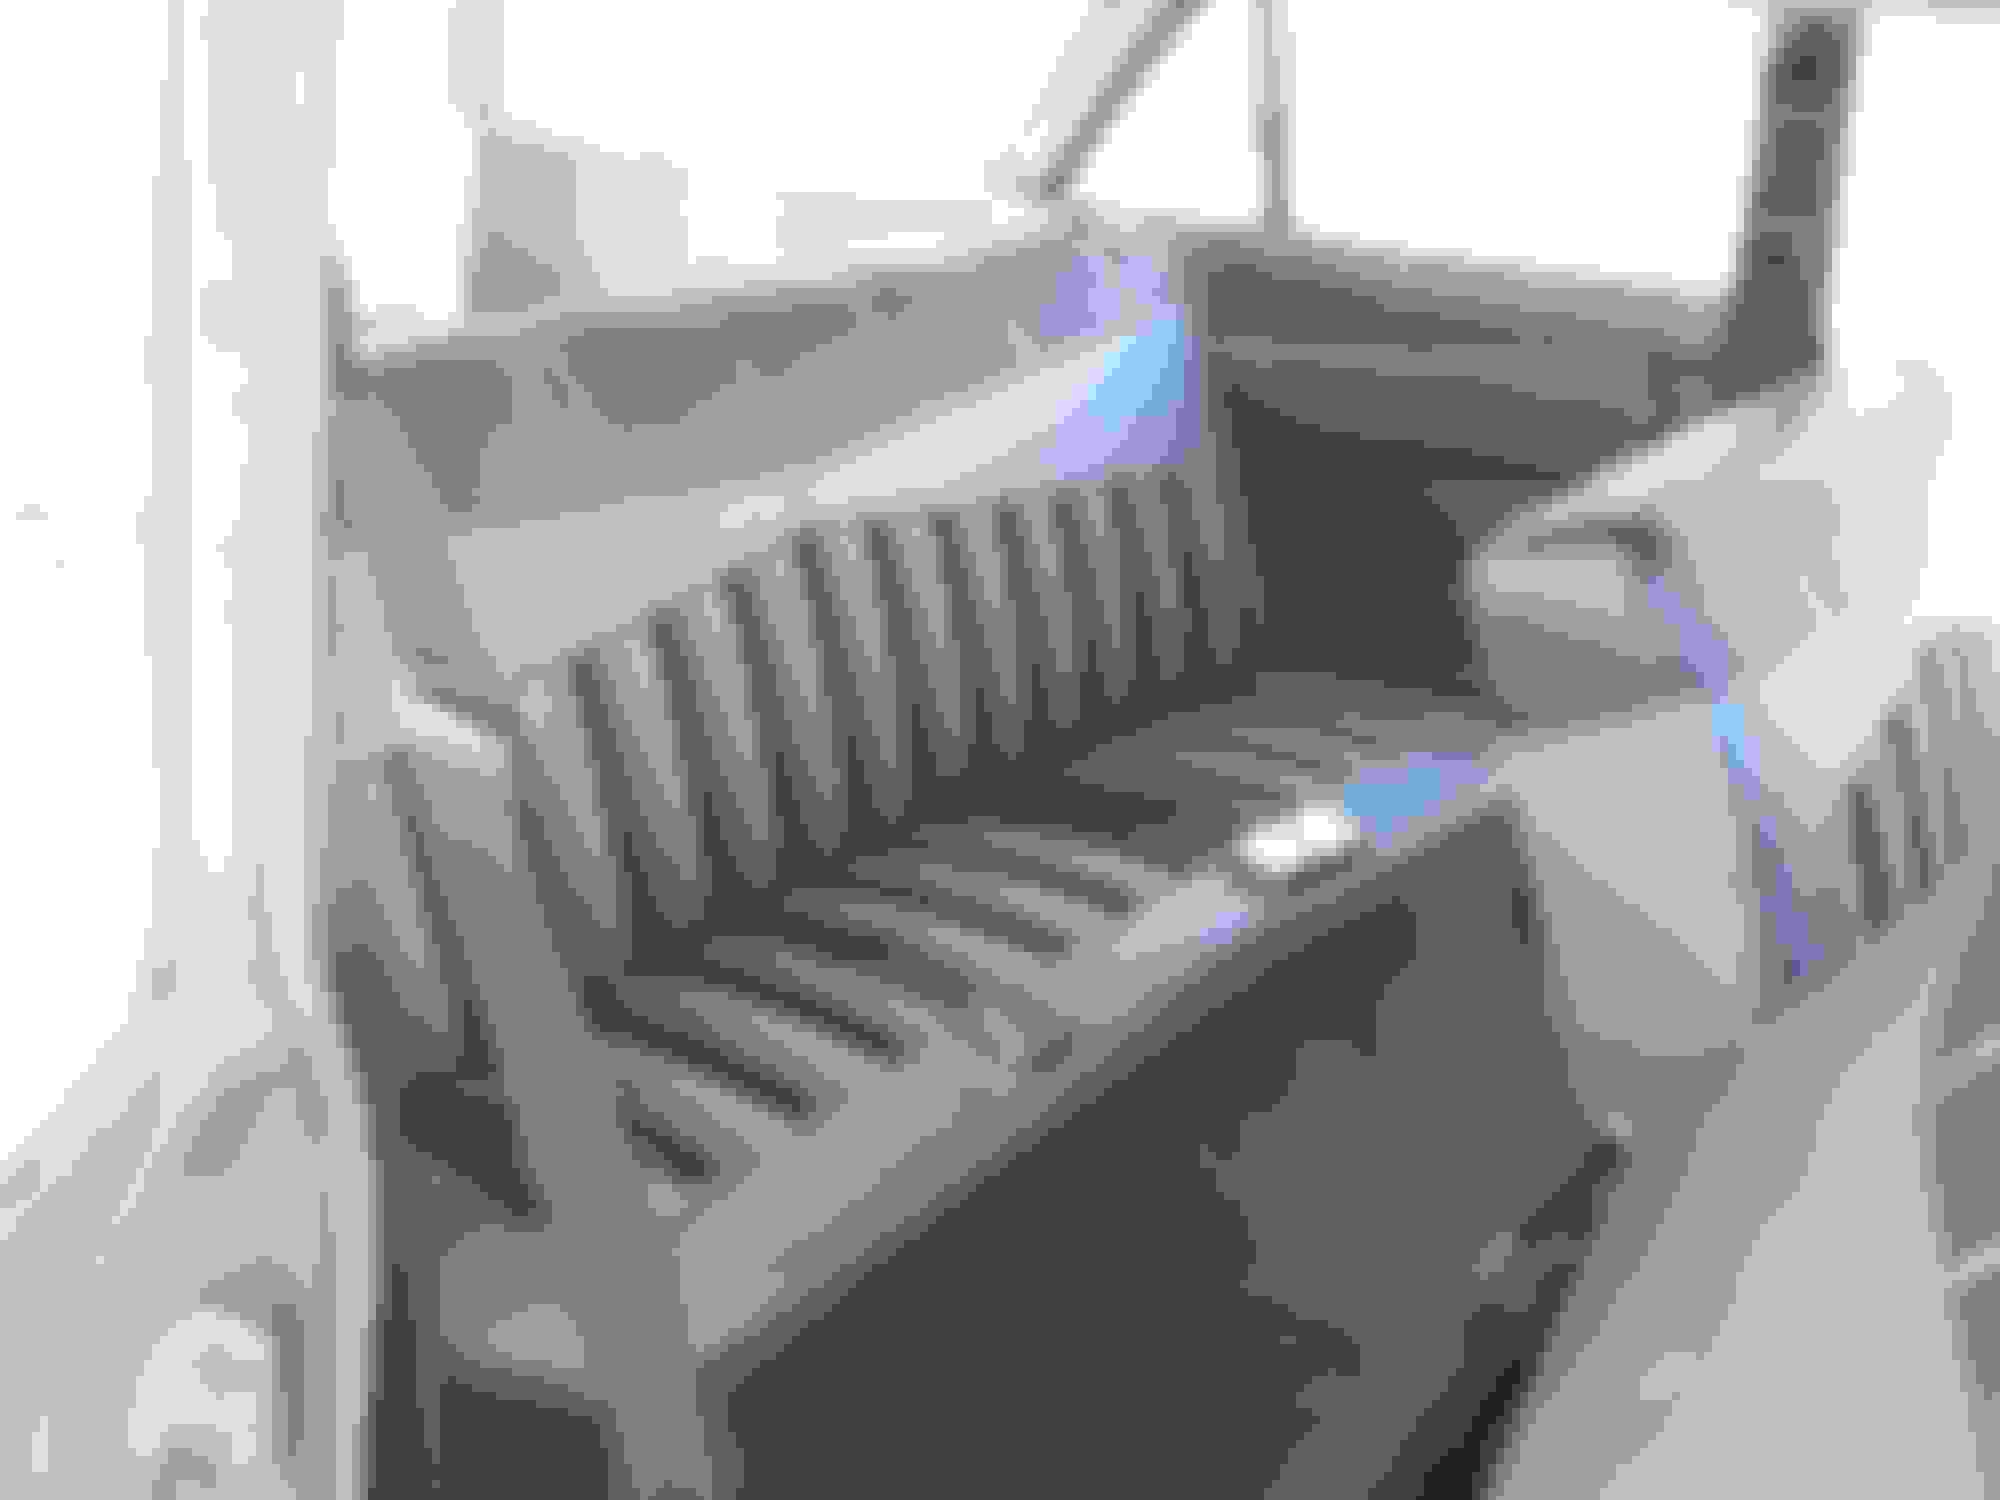
Couple more interior shots just because I like the way it turned out. Rear seat up....
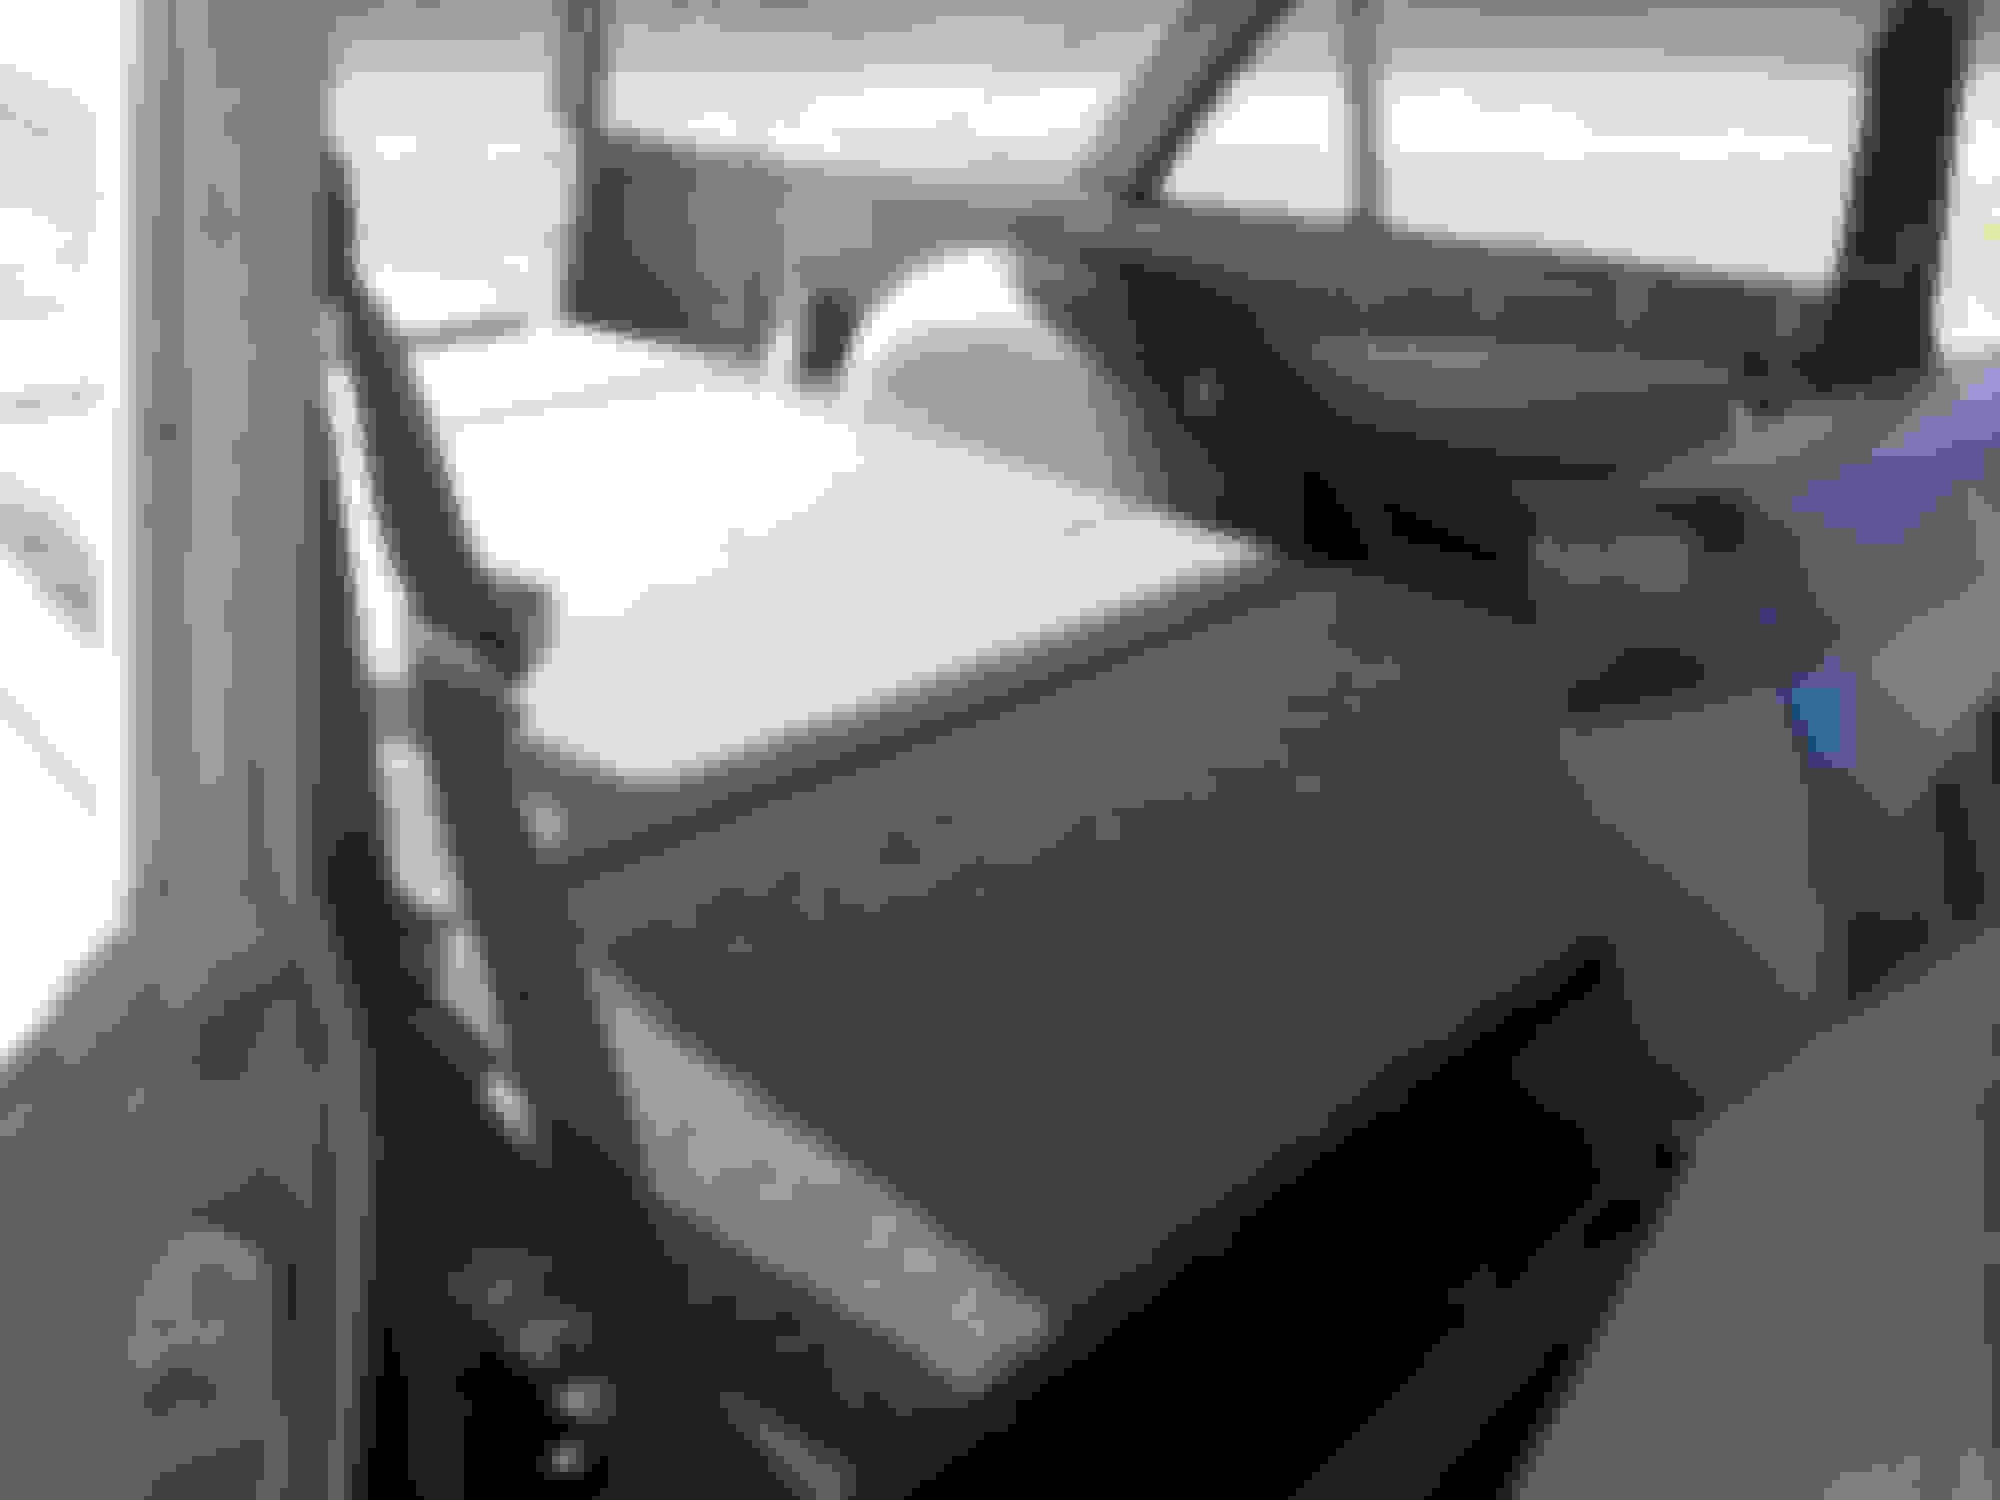
Rear seat down.
I've put a couple thousand miles on it now. Had to stop and take a pic when it reached 1959 miles.
Then my brand new Monroe OE Spectrum shocks turned to ****. They are gas charged, and you can see one rear one has no charge in it, and one of the front ones came apart.... Cant get anything quality made these days it seems.
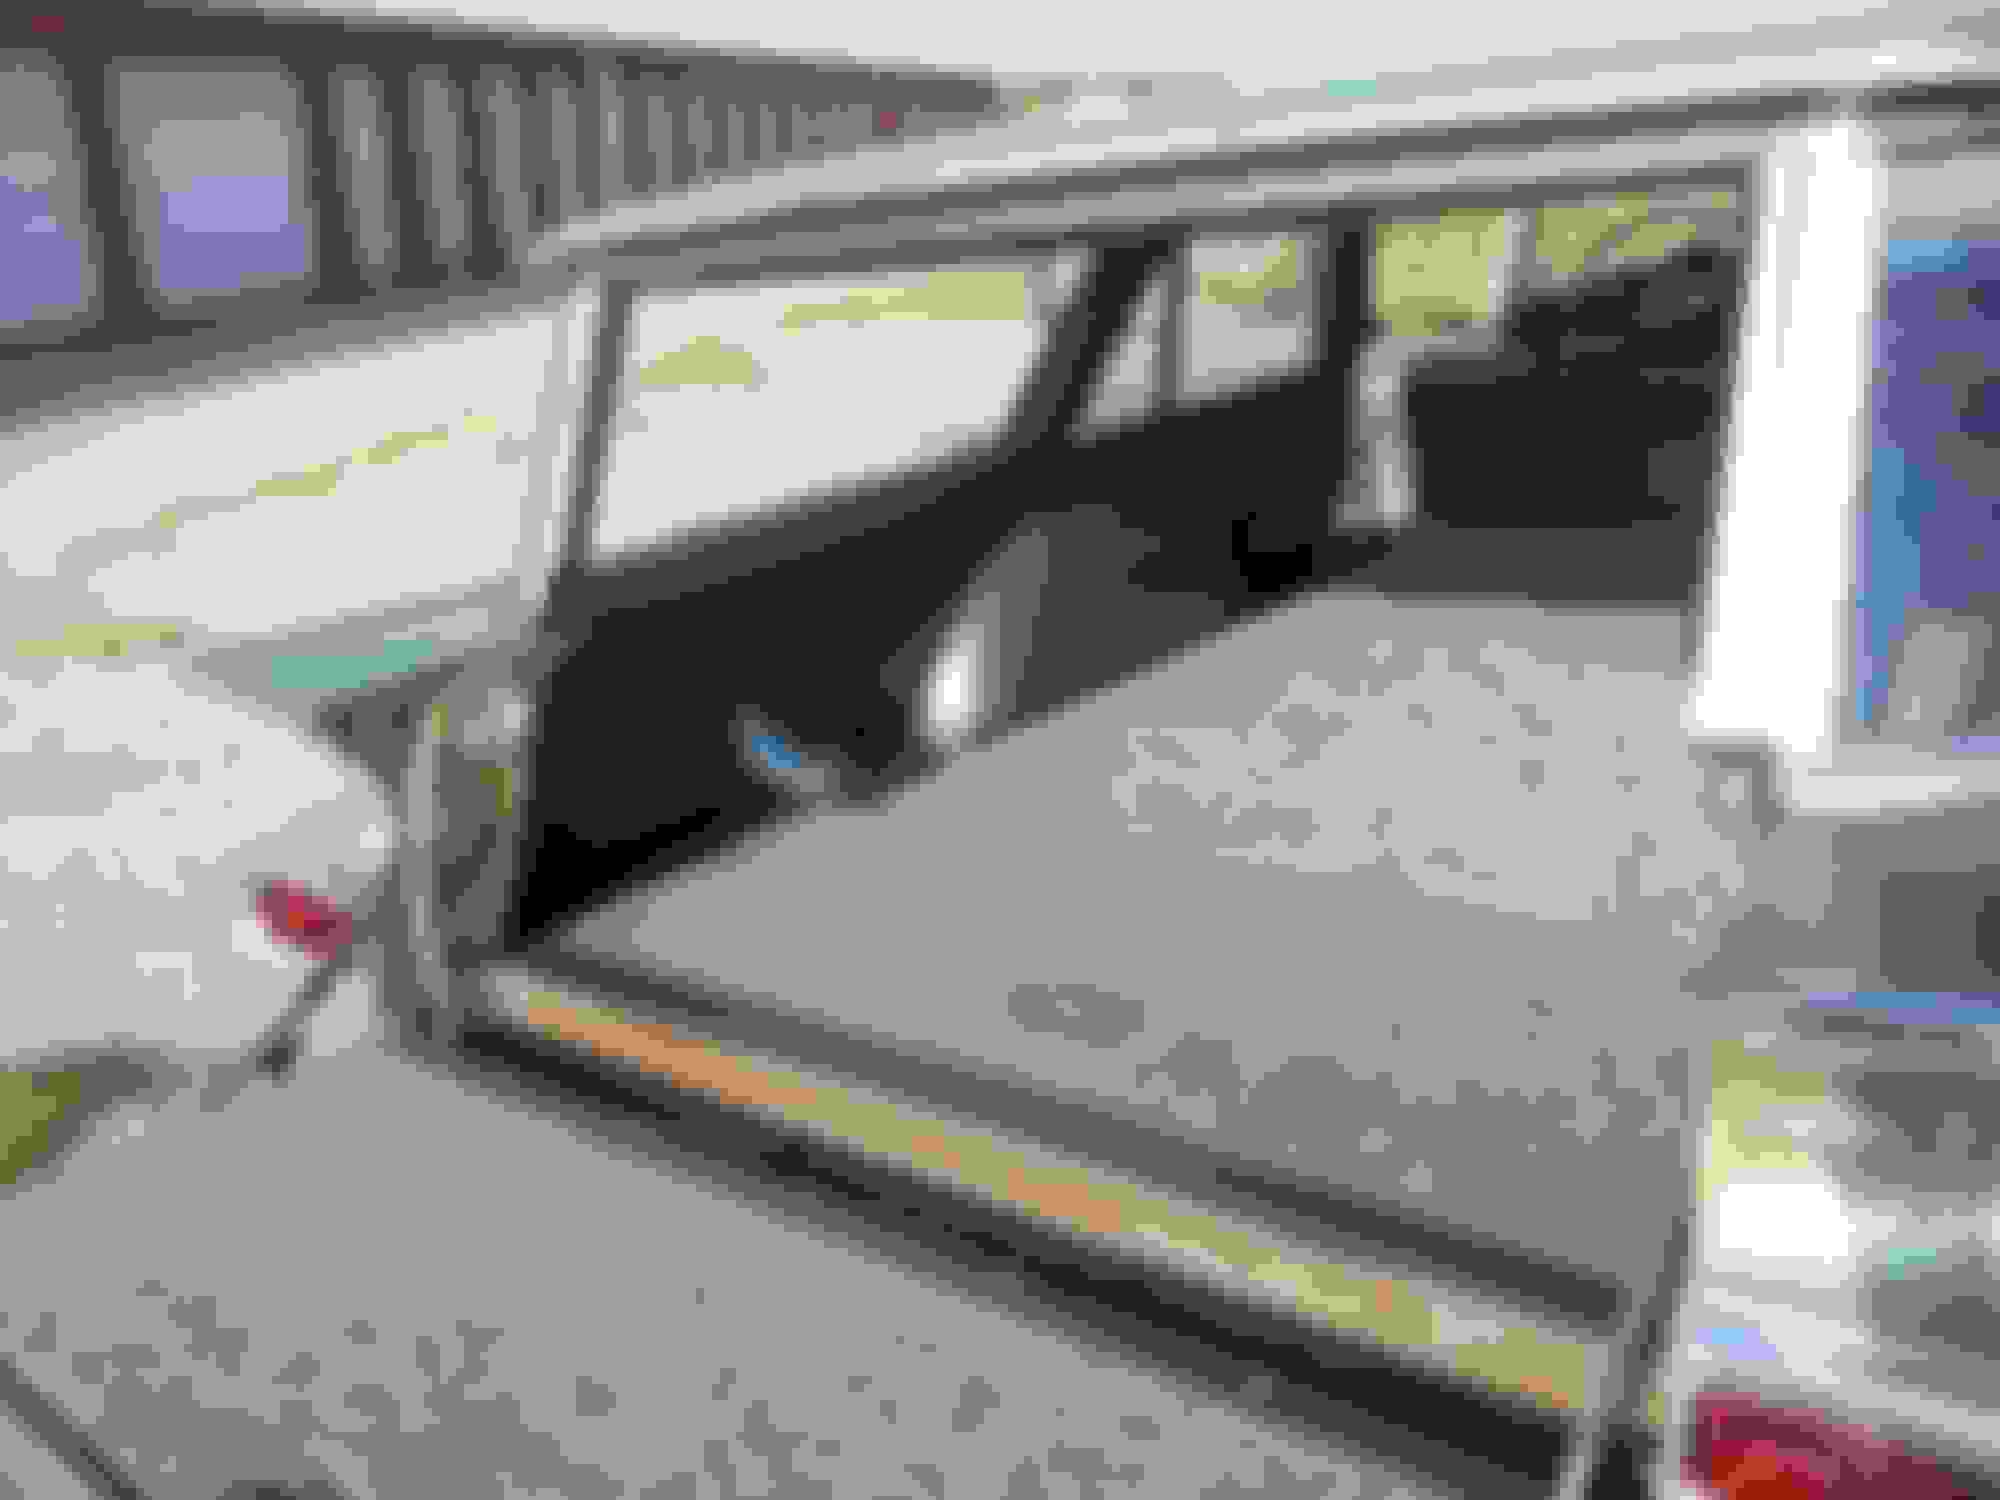
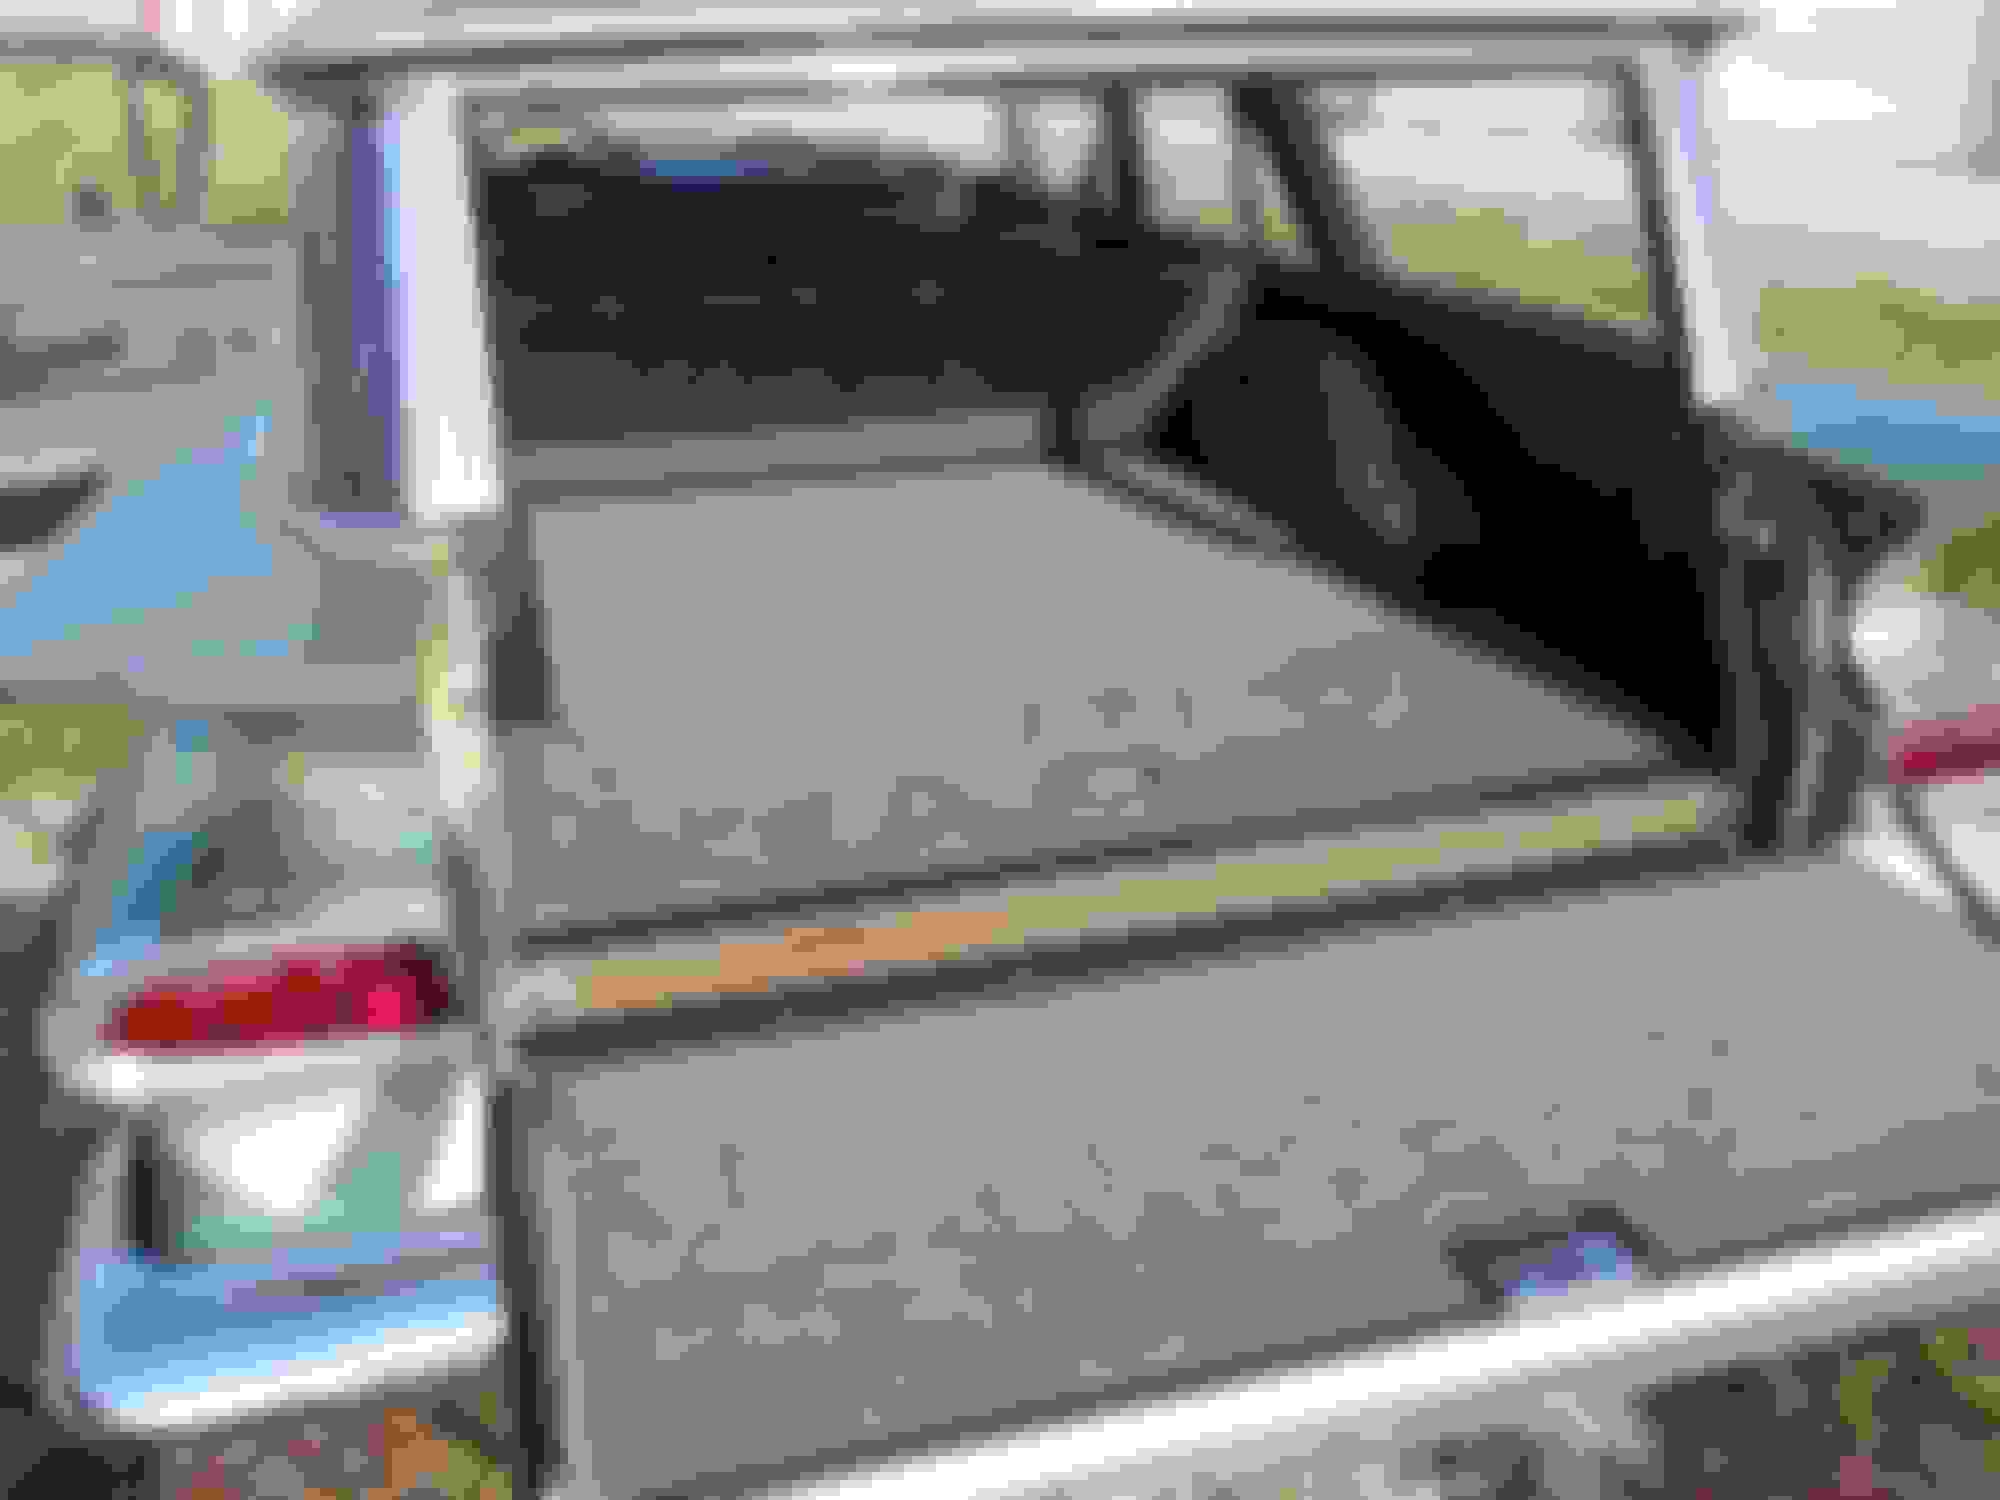
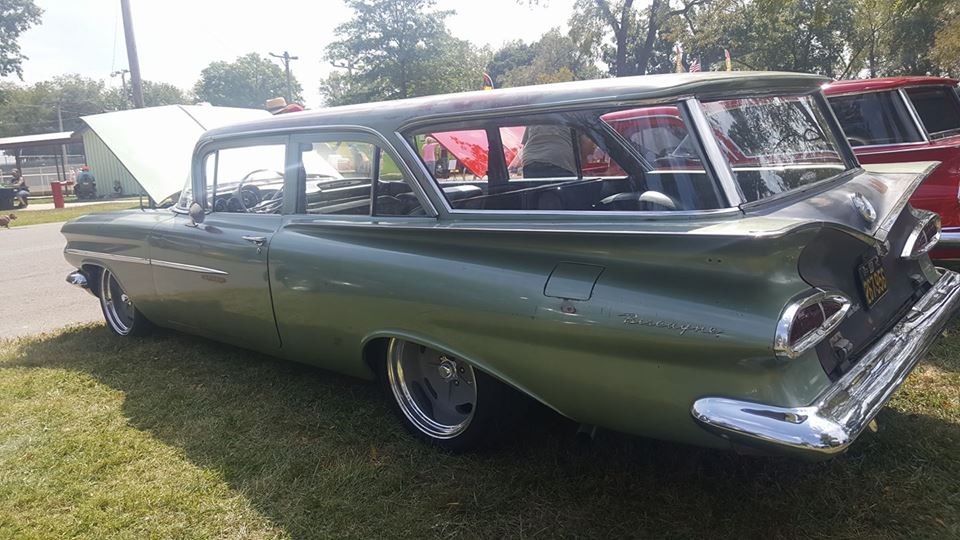
This is pretty much how it is today. I had originally planned on painting the tailgate, but not sure I'm going to mess with it now. Don't want to make it stand out that part of the car has been repainted.
That interior is looking awesome! Too bad about the shocks...:-/
Andrew
Thanks! What I did for shocks in the mean time was to dig the originals out of the scrap heap. LOL! I didn't think they were completely shot when I took them off, but figured it needed new ones. It actually rides better with the old shocks, the rear ones are even the original 1959 ones!


 09-26-2017, 10:24 PM


 Then another buddy talked to his upholstery guy who said he'd put it in for $150. If I'd known it was going to be that cheap, I wouldn't even of unfolded it! I would have just taken it there and said call me when its done and saved that week of wasted time. Live and learn... The upholstery shop did a nice job though.


 It kind of fit, but I had to call my dad who installed carpet for over 40 years to come over and make it fit a lot better! Thanks Dad!