


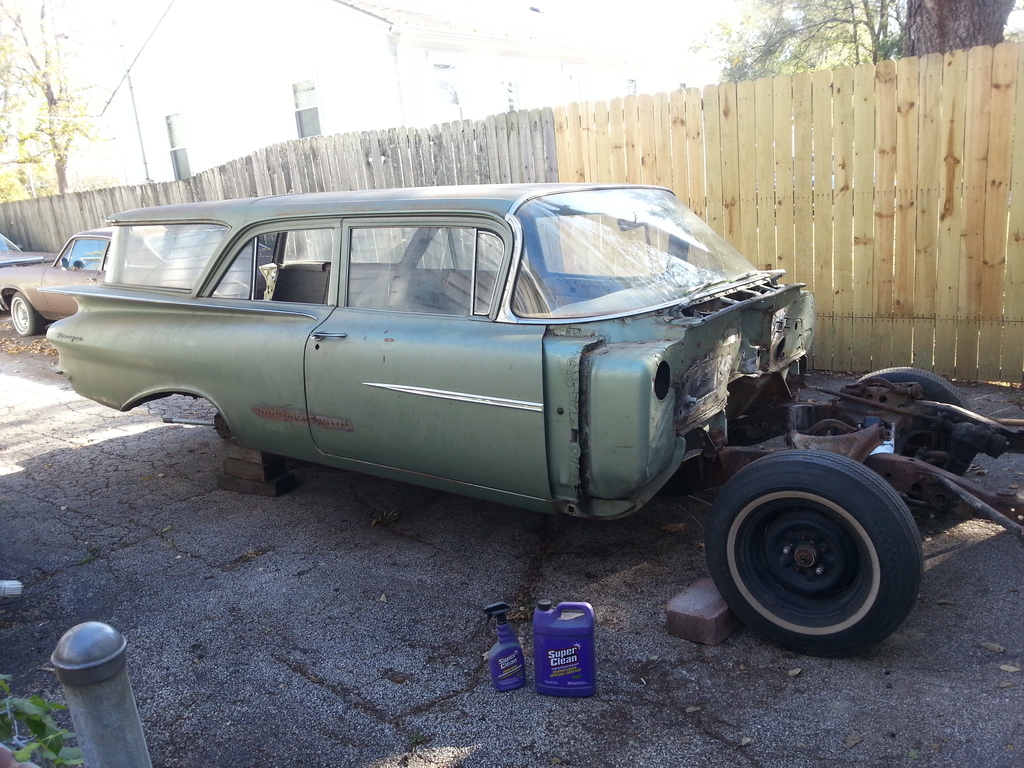
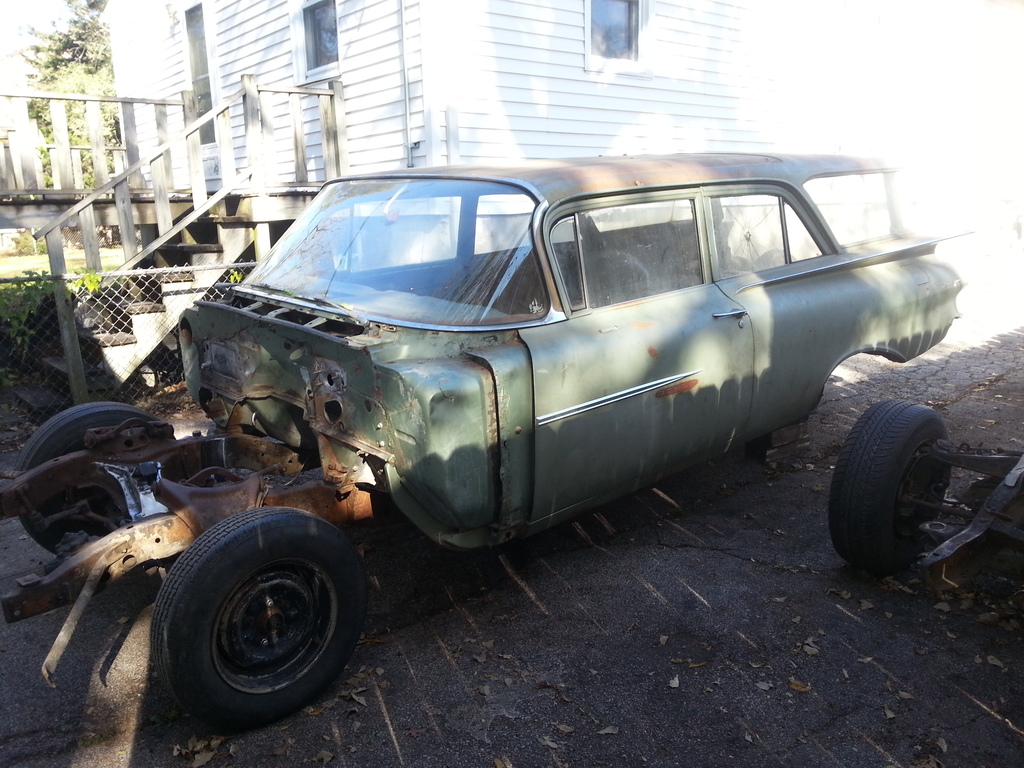
1959 Biscayne 2 door wagon
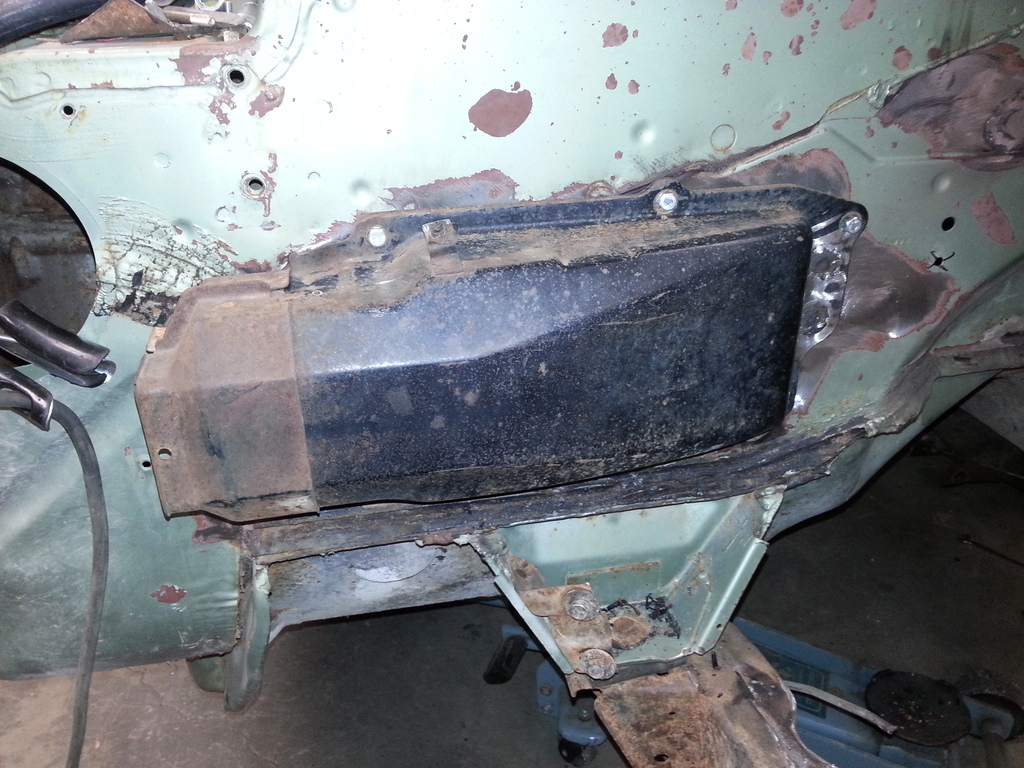
Awesome wagon! I'm doing one on a 66' and it has a similar fuel tank yours does. I just went with a tank from a different vehicle I'll be intrested to see what you do with yours.
And also screw photobucket I'm moving my images over to imageshack.
And also screw photobucket I'm moving my images over to imageshack.
The FedEx truck dropped of a present. I must be getting old because I won't build a car without A/C these days. 
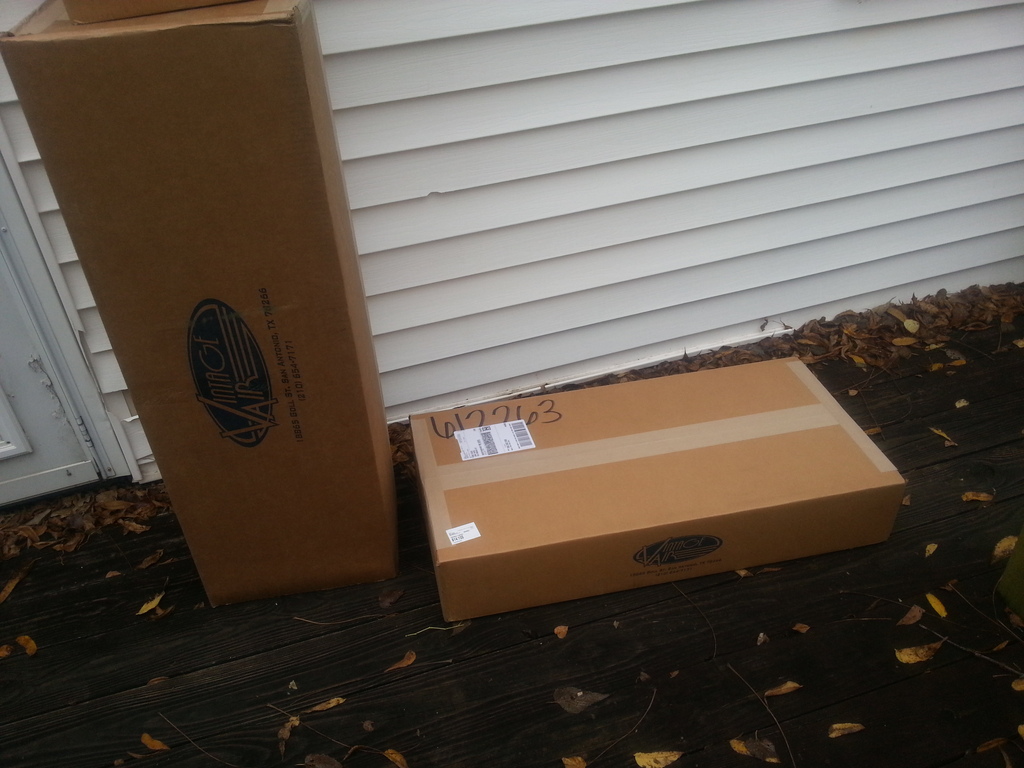
Looks nice! Its a Gen4 Sure-fit kit for a '59 Chevy
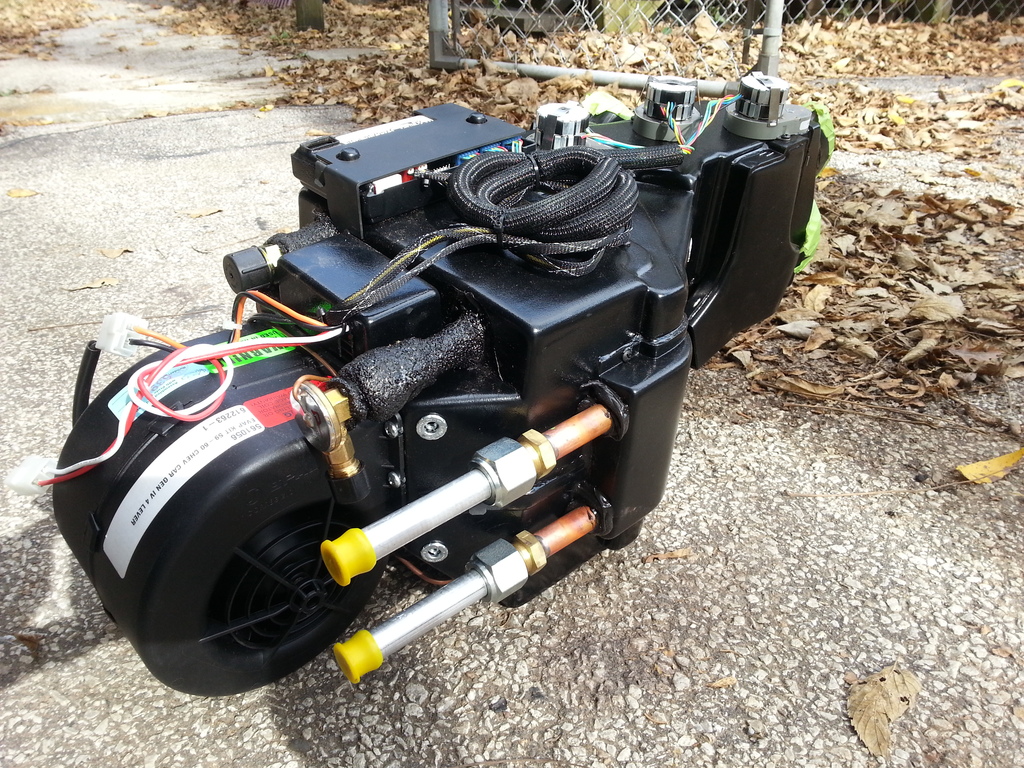
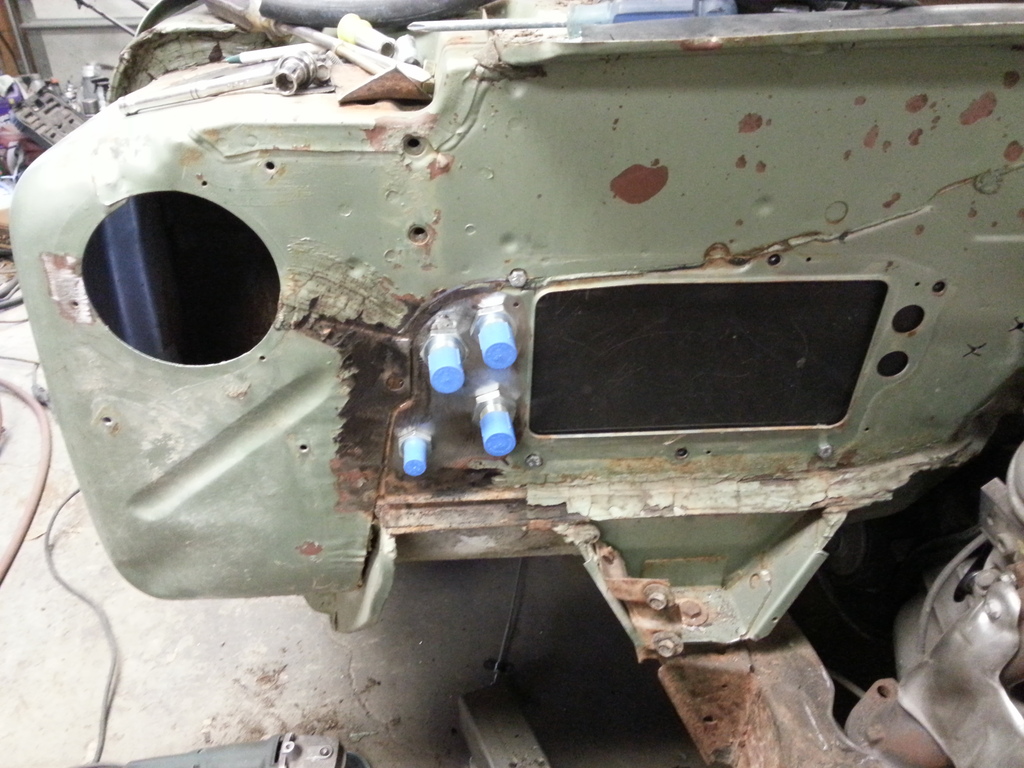
Unfortunately, this is their idea of finished. Really? Not even a cover on the outside to make it look nice, just the mounting plate bolted to the inside of the firewall.....
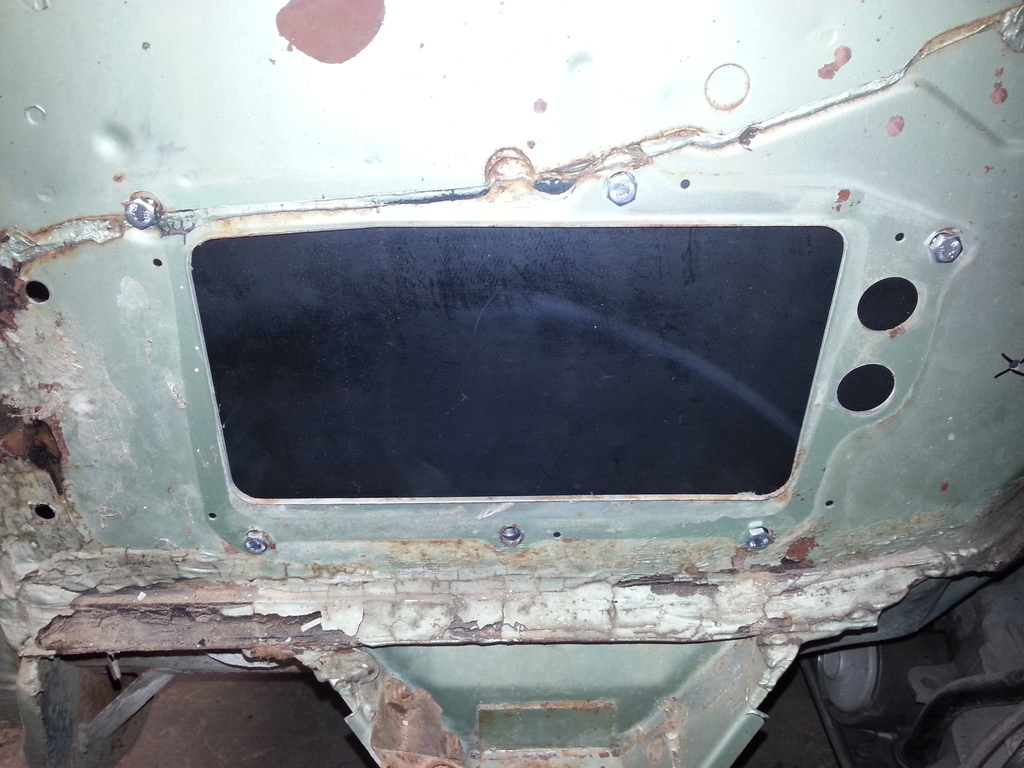
Getting it mocked up, and modified the mount a bit. Made it a little bigger and welded studs to the firewall mounting plate so I don't have to bolt it from the outside.
They also want you to remove the right kick panel vent and run the hoses through the opening. I didn't like that idea, because I don't think it looks good, and also was planning on putting speakers in there..... So, I got some bulkhead fittings and made the lines go out through the firewall.
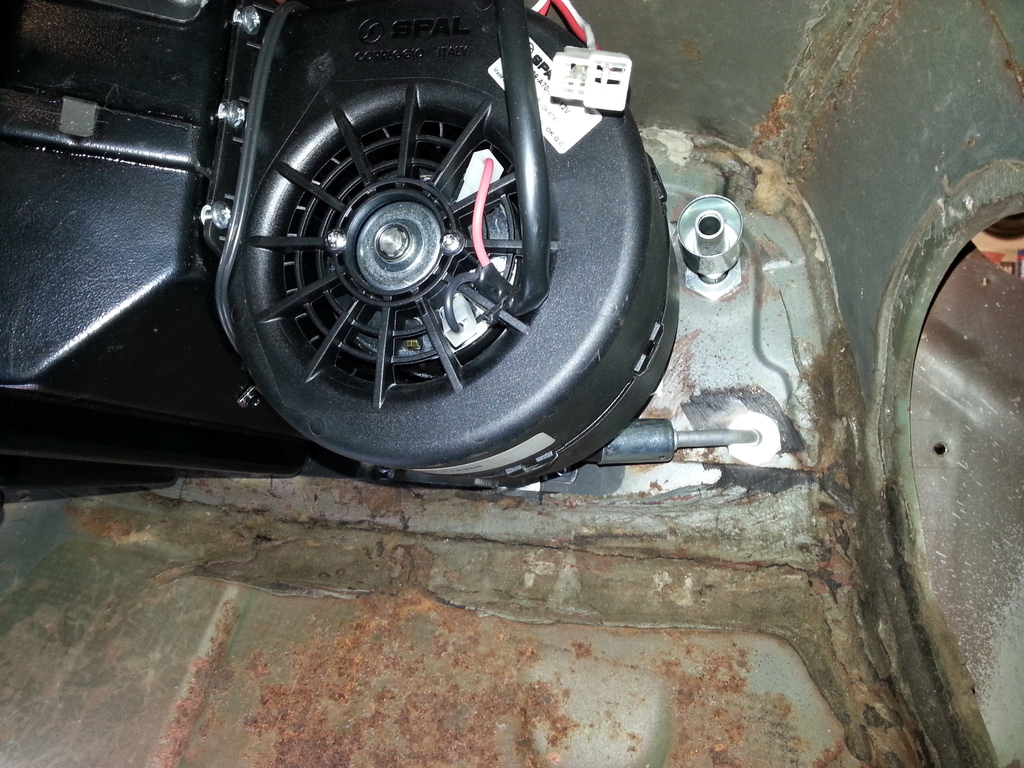
You can see the beginning of modifying the mounting bracket in this pic.
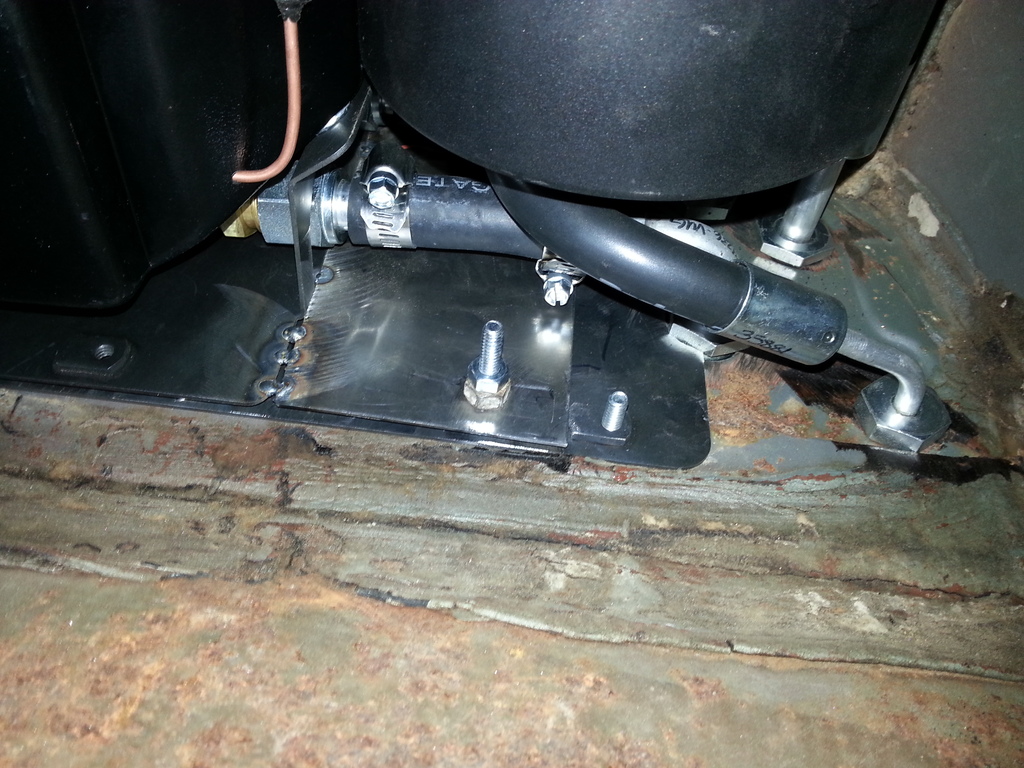
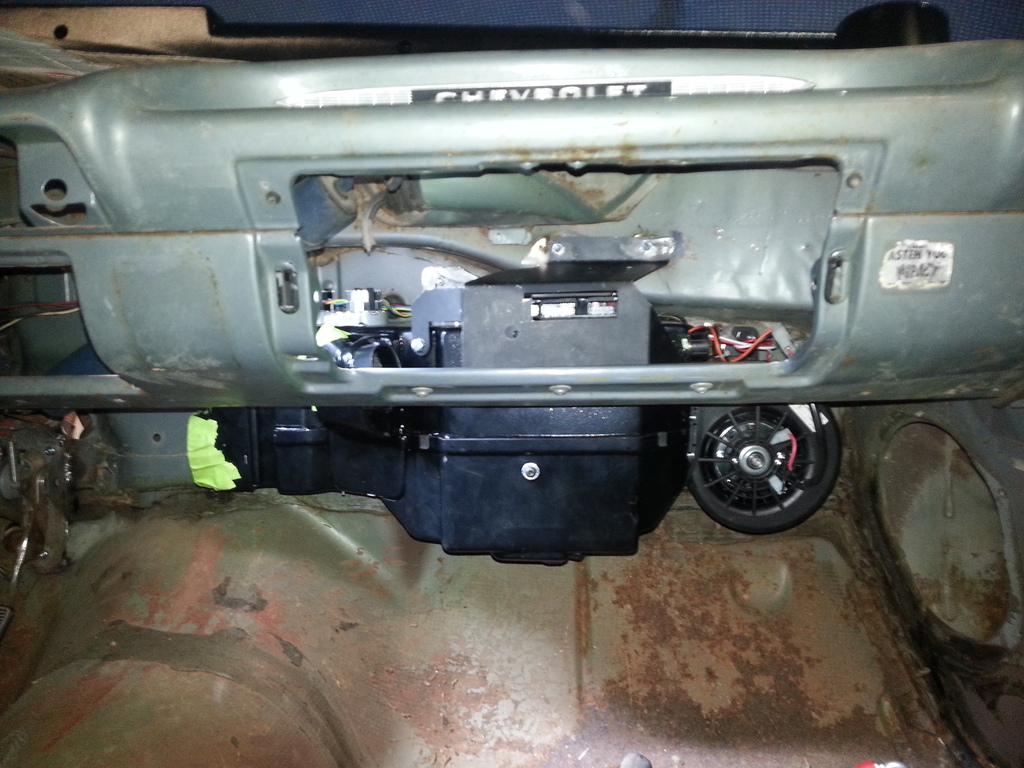
And a little modifying of the original heater box......
And the line disappear! I'll run them out through the right fender so they won't really be seen.

Looks nice! Its a Gen4 Sure-fit kit for a '59 Chevy

Unfortunately, this is their idea of finished. Really? Not even a cover on the outside to make it look nice, just the mounting plate bolted to the inside of the firewall.....

Getting it mocked up, and modified the mount a bit. Made it a little bigger and welded studs to the firewall mounting plate so I don't have to bolt it from the outside.

They also want you to remove the right kick panel vent and run the hoses through the opening. I didn't like that idea, because I don't think it looks good, and also was planning on putting speakers in there..... So, I got some bulkhead fittings and made the lines go out through the firewall.


You can see the beginning of modifying the mounting bracket in this pic.

And a little modifying of the original heater box......

And the line disappear! I'll run them out through the right fender so they won't really be seen.

After getting most of the unneeded holes welded up in the firewall, I decided I needed to pressure wash the car again. This time with no front clip, and I jacked it up and pulled the rear tires. I laid under it and sprayed the whole underside with Castrol SuperClean, then proceeded to pressure wash the bottom of the car as best I could. I resigned myself to the fact that I was going to get soaked doing it, and just did it. I figured it was going to be one of the last days it was going to be warm enough to get the job done, as it was November 10th in Missouri and it was 75 degrees!


LS1 Tech Stories
The Best V8 Stories One Small Block at Time

Gas Monkey Built a 6-Wheel Ferrari Testarossa With a Corvette LT4 Engine
Verdad Gallardo
7 Most Reliable High-Performance Engines GM Has Ever Built
Verdad Gallardo
Amazing '71 Camaro Restomod Is Modern Muscle Car Under the Skin
Verdad Gallardo
6 Common C5 Corvette Failures and What's Involved In Repairing Them
Pouria Savadkouei
Retro Modern Bandit Pontiac Trans AM Comes With Burt Reynolds' Autograph
Verdad Gallardo
Top 10 Greatest Cadillac V Series Performance Models Ever, Ranked
Pouria Savadkouei
Top 10 Most Powerful Chevy Trucks Ever Made!

Hennessey's New Supercharged Silverado ZR2 Has 700 HP
Verdad Gallardo
Coachbuilt N2A Anteros Is an LS2-Powered C6 Corvette In Italian Clothes
Verdad Gallardo I also refuse to do the no AC thing any longer... Funny, I used to drive without it all the time.
I agree, the Vintage Air firewall block off plate is pretty lame. Nice job on the disguise.
I agree, the Vintage Air firewall block off plate is pretty lame. Nice job on the disguise.
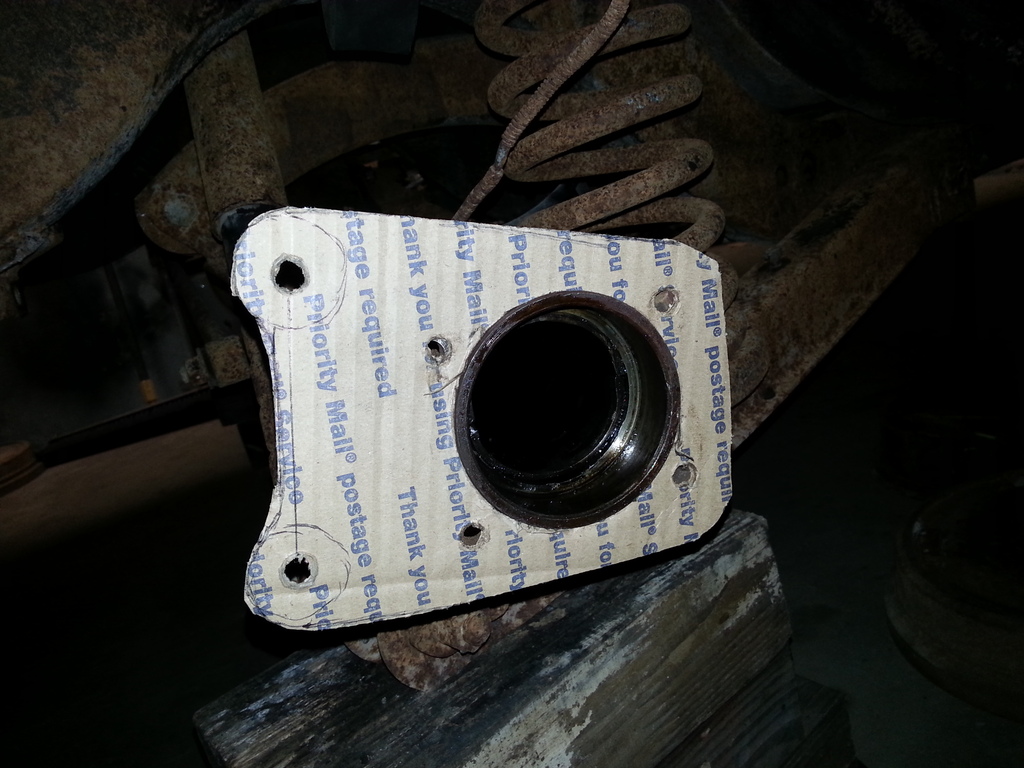
Moving right along.... I have never really been a fan of drum brakes, let alone non-self adjusting drum brakes...  So I decided to upgrade a bit. Now I know I could have bought a kit and made it easy on myself, but what fun is there in that, right? Plus, I don't really like the kind of calipers that come with the brake kit I could afford, or at least justify, so back to fabbing we go! The rear brakes I'm using are off of a 1997 TransAm, but all F body's from 93-97 are the same. I prefer this caliper over the newer 98-02 because of the park brake mechanism is built into the caliper rather than the small drum brake type built into the rotor hat on the newer ones. Anyway, I started with some cardboard....
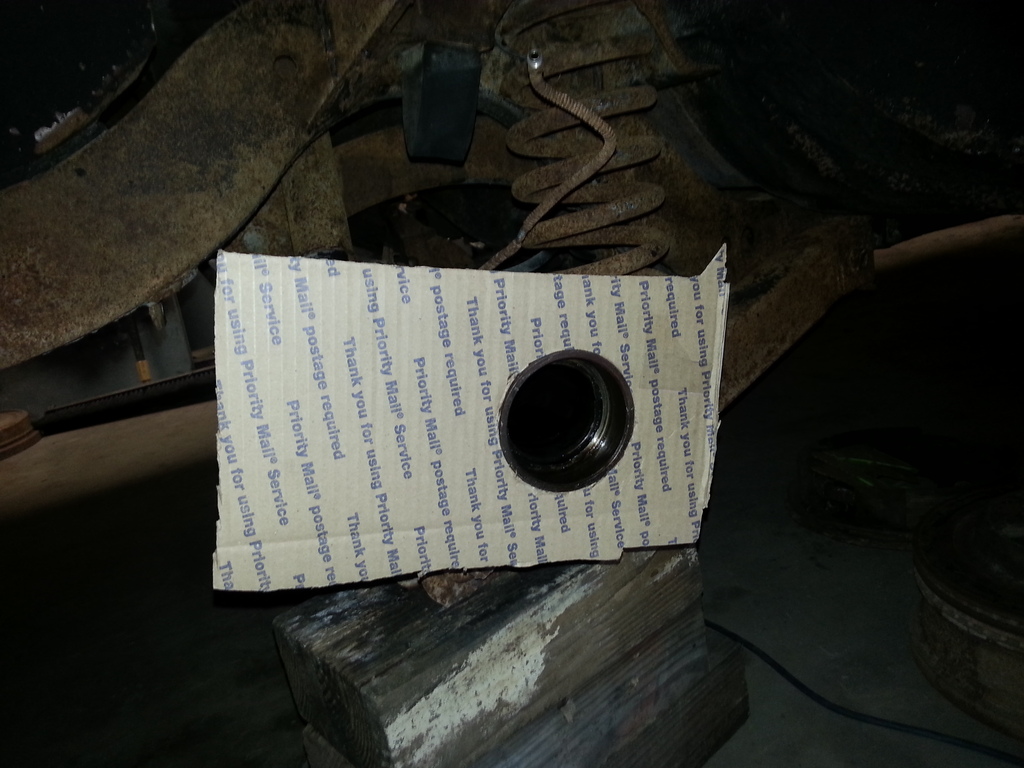
Trimmed it up and it starts looking like something. I had to clock it so that the bleeder was still pointing up, but also so that the park brake cable will clear at the bottom.
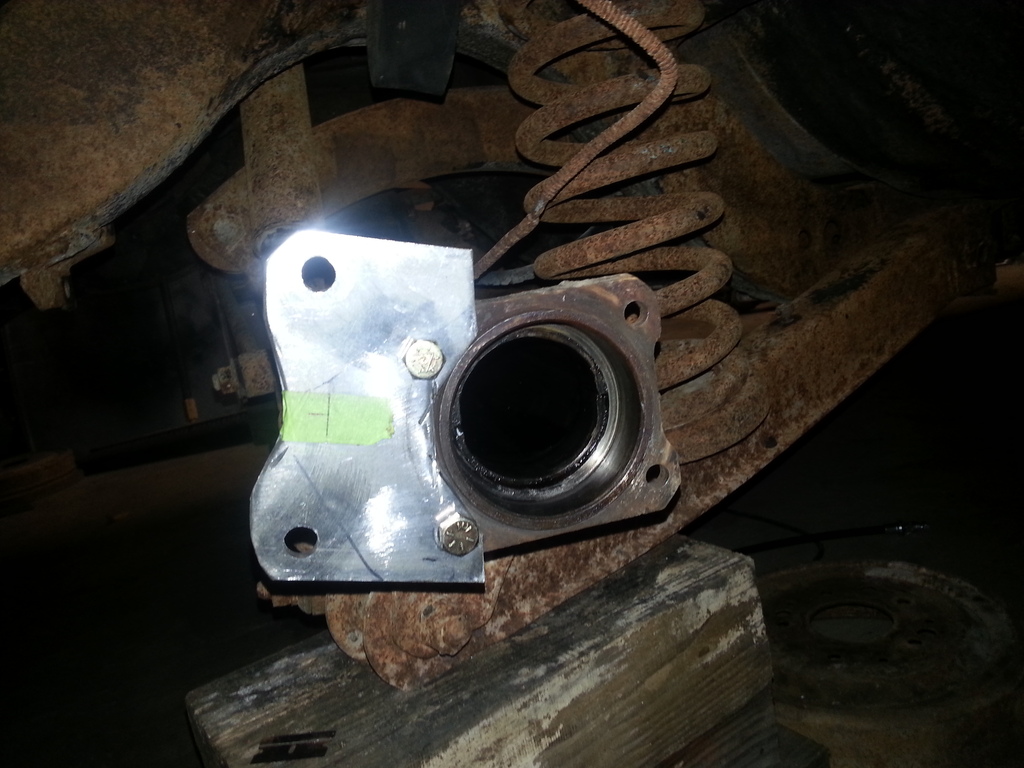
Once I had the main idea down, I started with the 1/4" steel plate.

Then I had to figure out where to mount the brake halo so that it put the pads in the right spot. I had to make a few of these before I got it just right, but they were pretty easy to make, and as you can tell, I didn't spend much time on them.
Once it was in the right spot, I bolted it to the starting of the actual bracket and drilled the halo mounting holes.
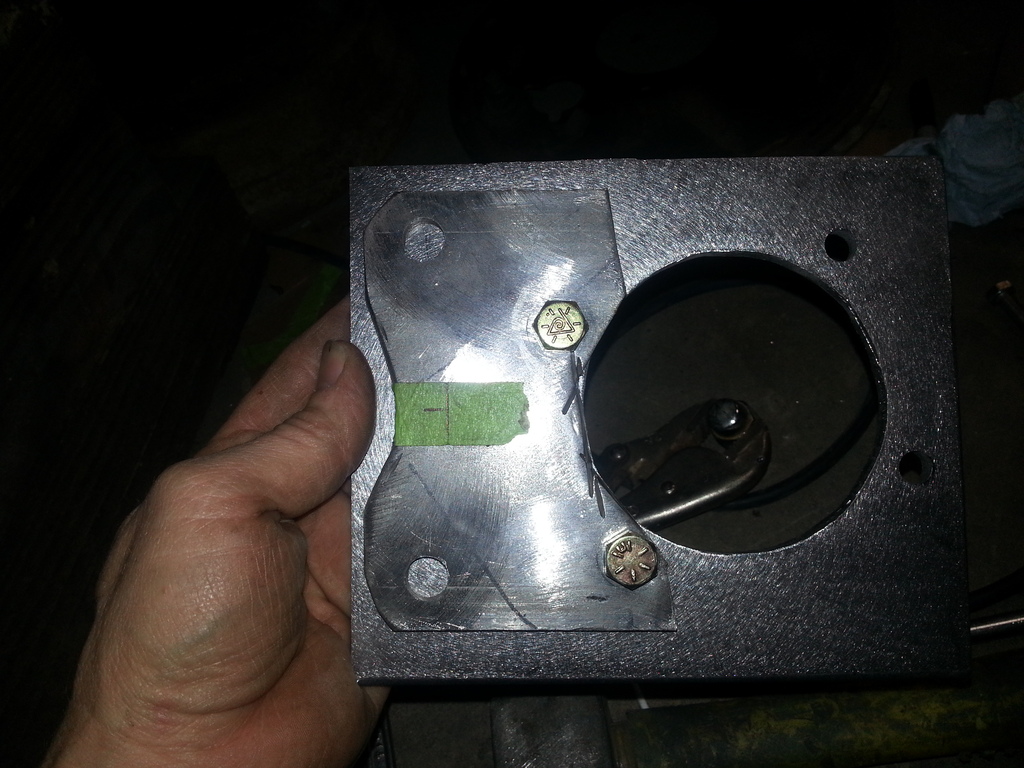
Looked like this once the holes were drilled.
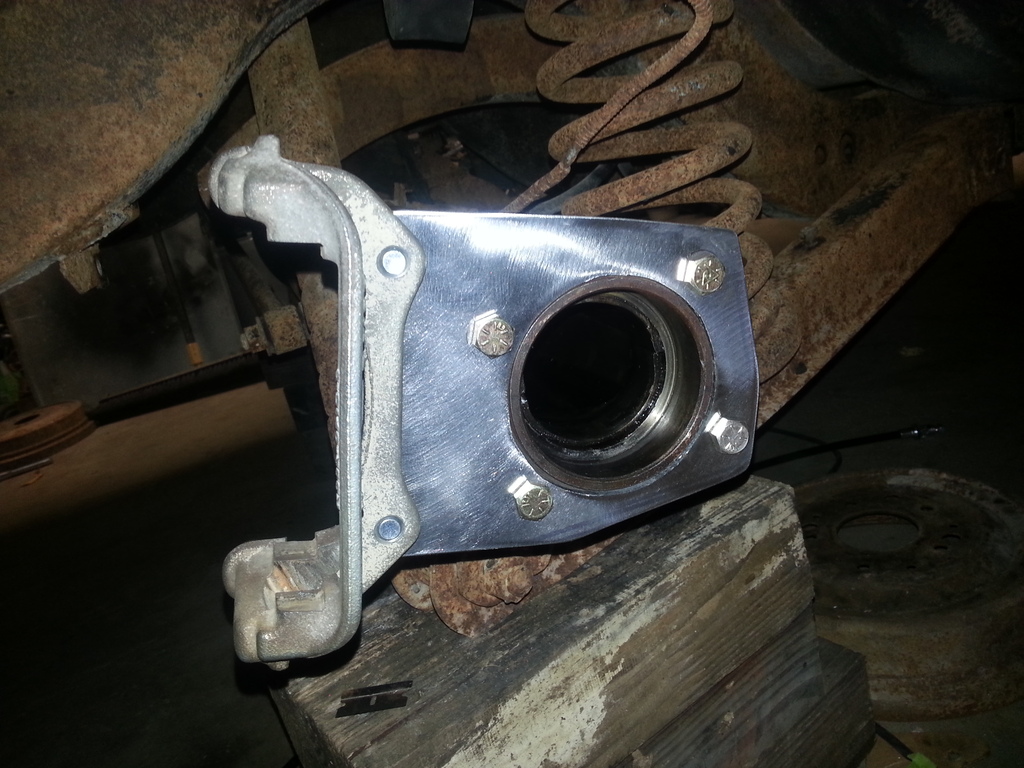
Then trimmed it into an actual bracket.
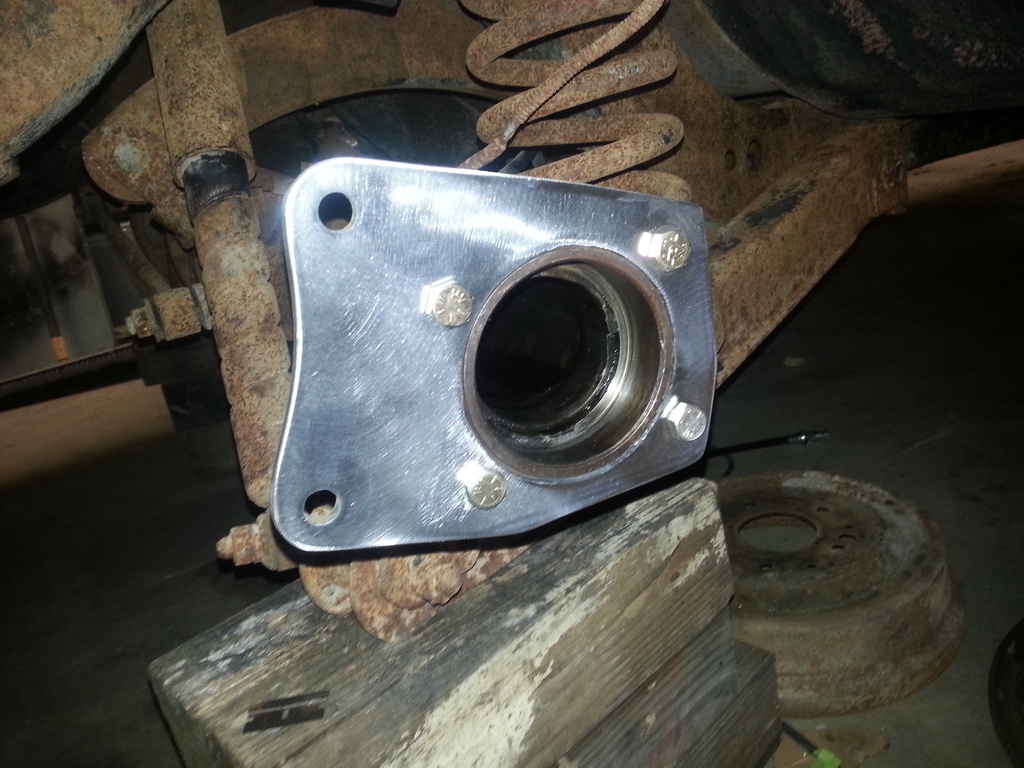
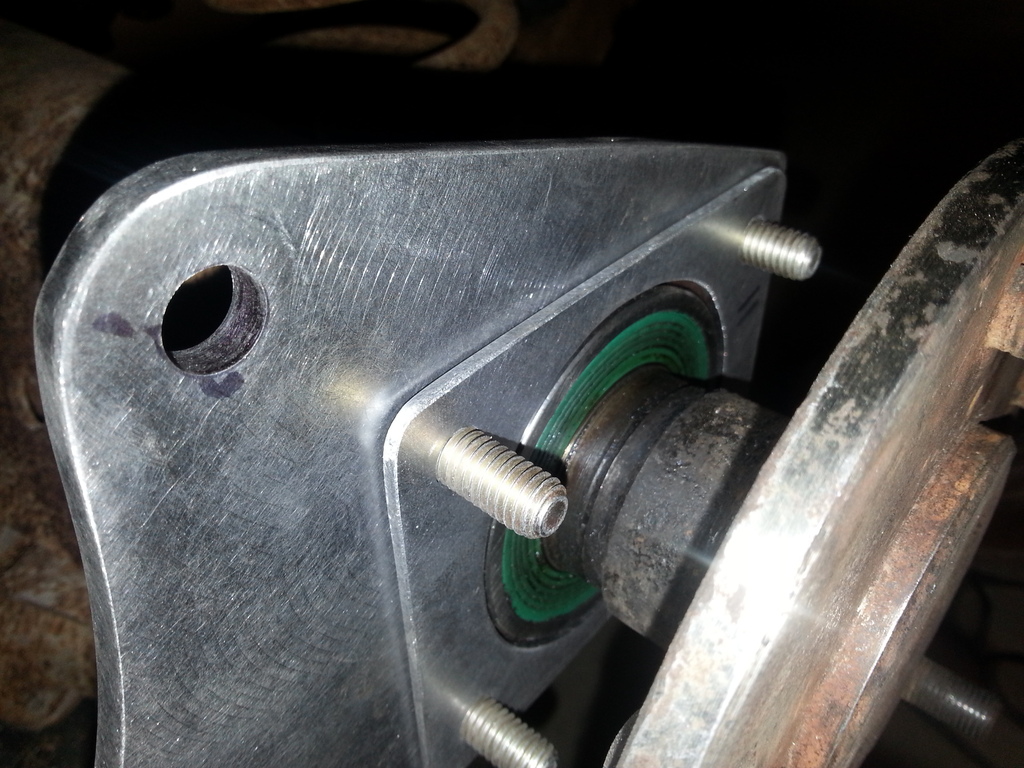
I used 1/4" thick steel for the caliper brackets, and it worked almost perfect, but the rotor was just slightly closer to the inside of the brake halo. If I would have used 3/16" for the bracket, it might have been better, but I wanted the strength of the thicker steel, overkill is my friend. So, I had to either machine a bit off the halo, or move the axle out. I decided that moving the axle out the thickness of a piece of 16 gauge would be easiest, so I made these little spacers to go inside the bearing housing, therefore shimming the axle out enough to make my gap between the rotor even on both sides.
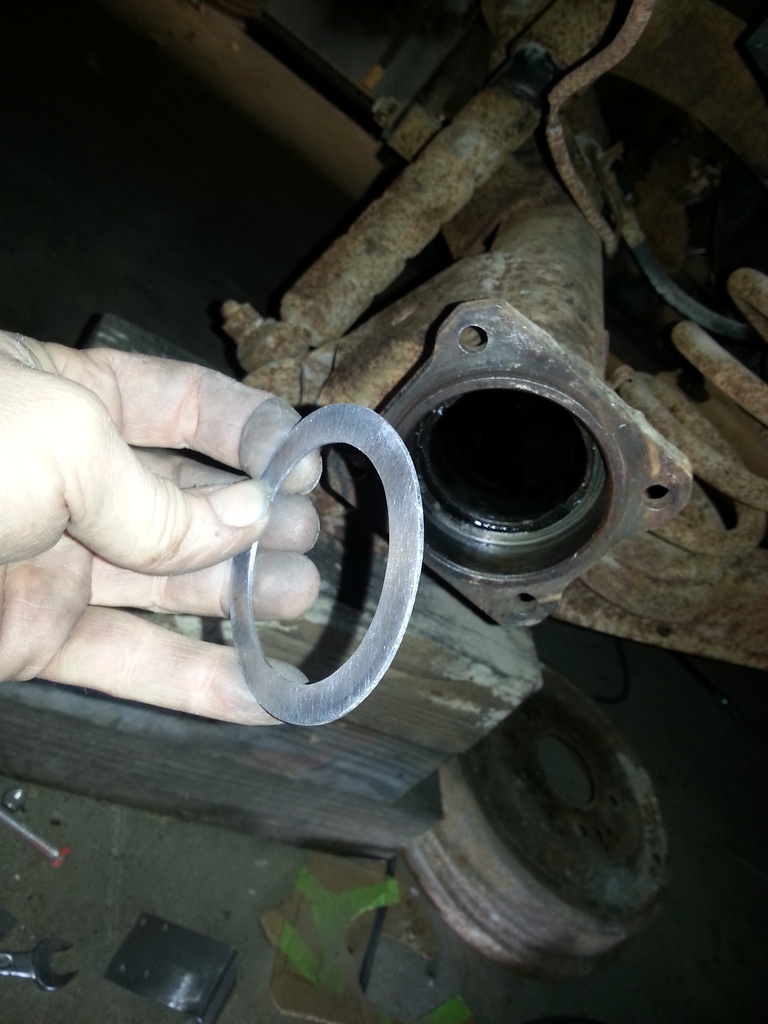
It just sits right in there....
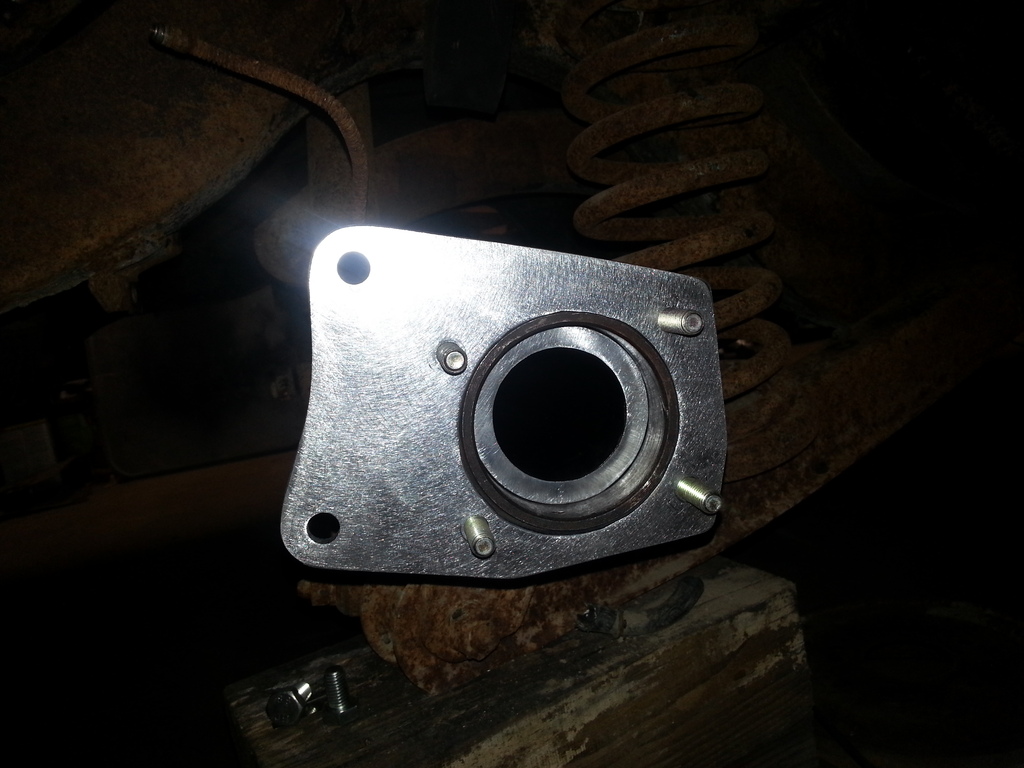
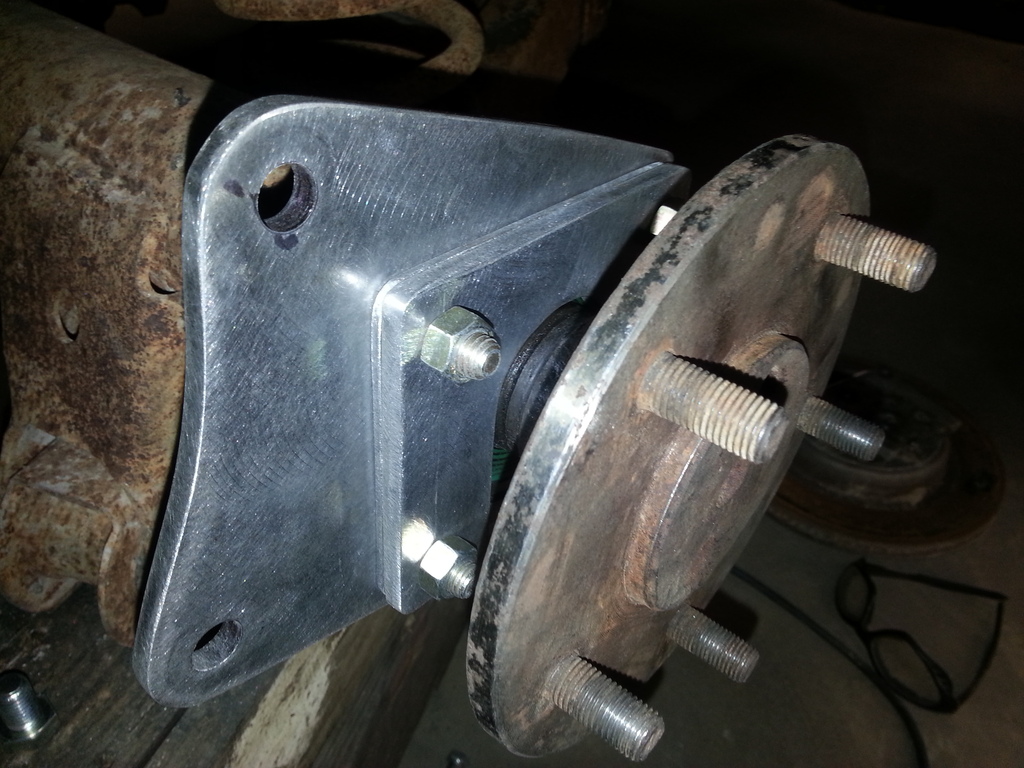
Then the axle bearing is just a bit further out than the caliper bracket, so I made another shim out of 11 gauge to take up the difference.
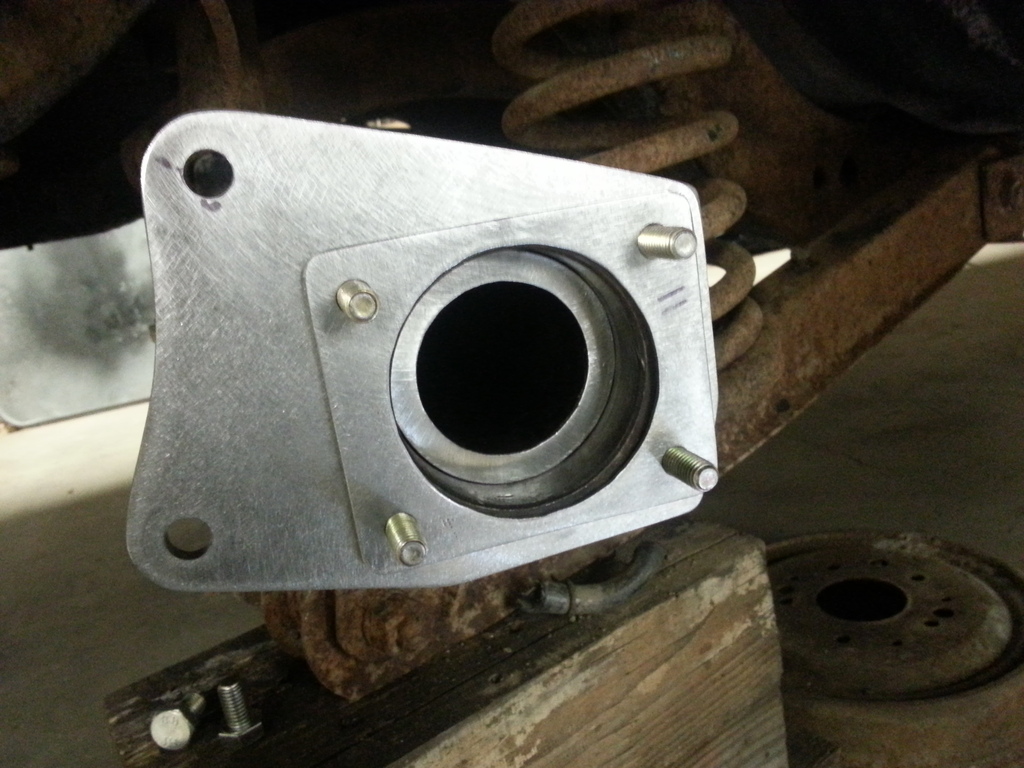
In this pic you can see the bearing is now flush.
Then I cut the original axle retainers off the axles because I didn't want to replace the bearing, and made some new ones out of more 1/4", way overkill again I'm sure, but the axles aren't going anywhere on my watch...
They are horseshoe shaped so that they can be put on without removing the axle bearings, as you can see from the bottom.
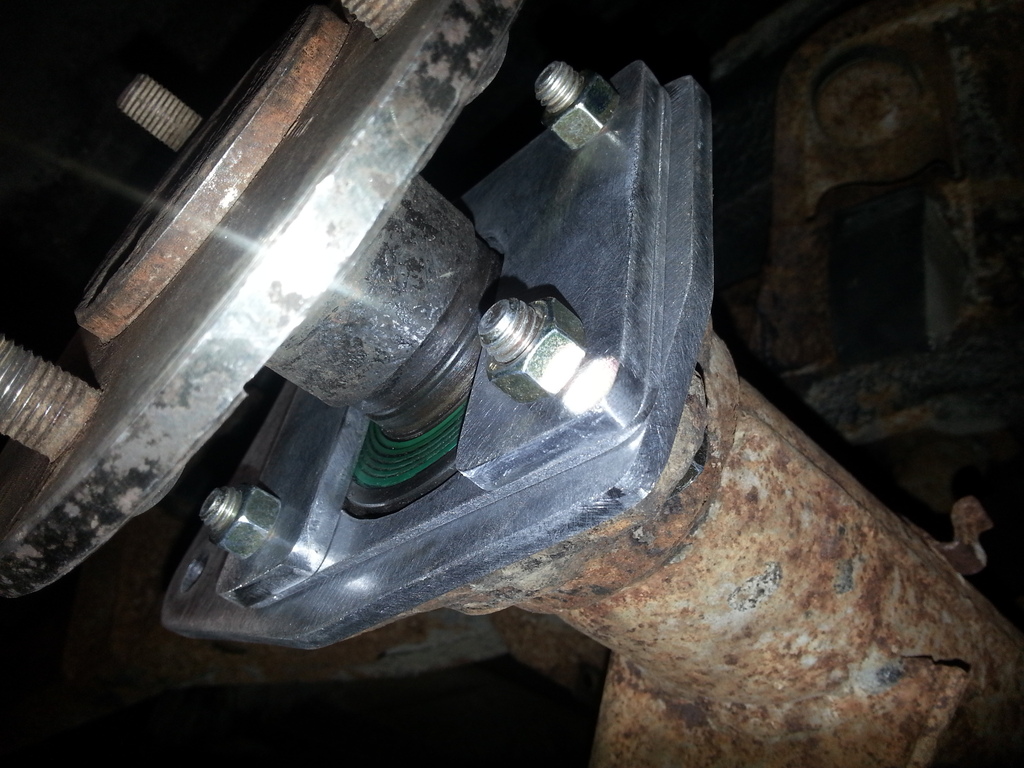
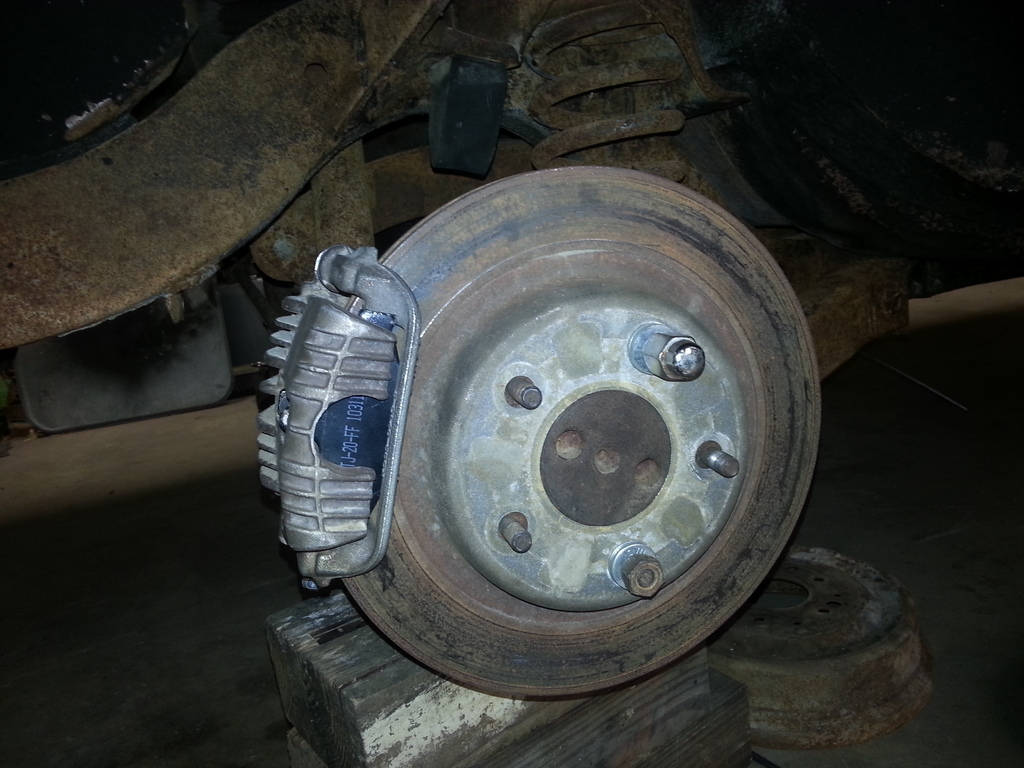
Halo centered over the rotor.
Brake pad centered on the rotor face.
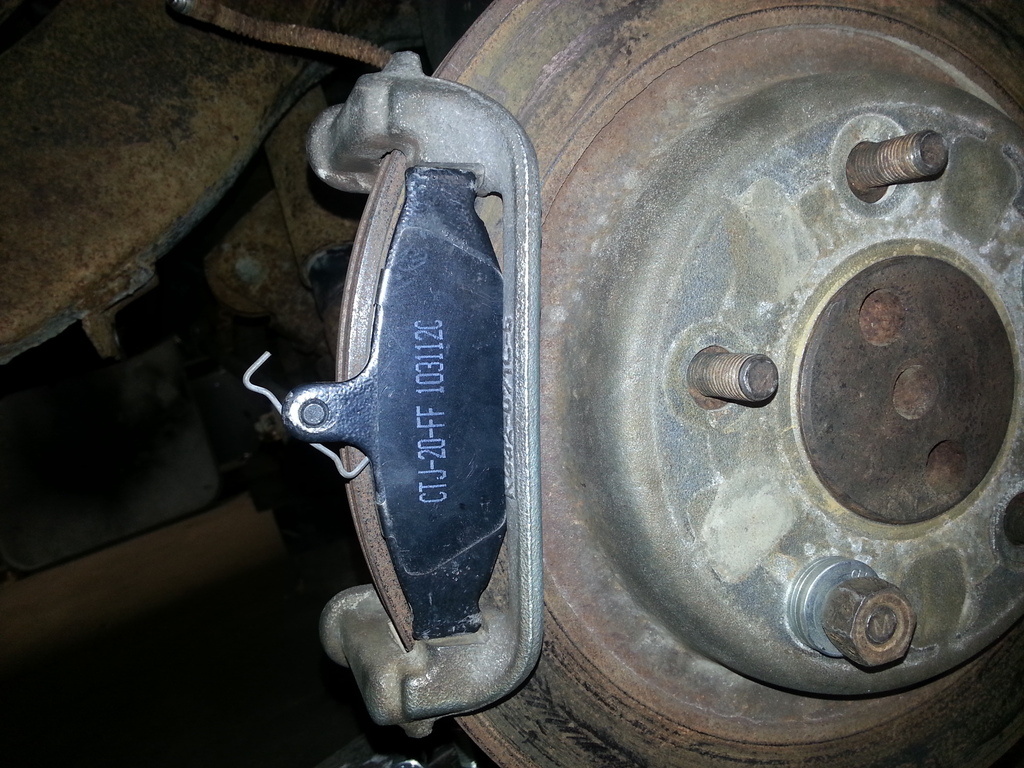
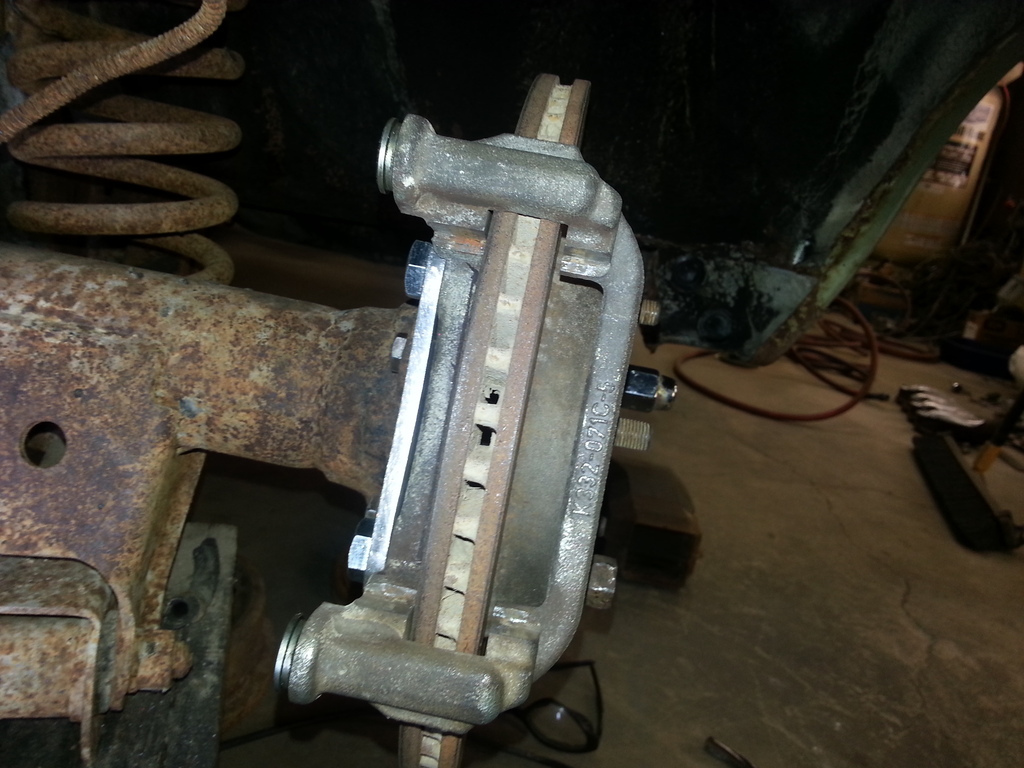
That's pretty much it. I did have to take a round file and slightly file the center of the rotor to get it to go over the center of the axle, but I did it by hand in a few minutes, didn't want to get carried away with the air die grinder because I wanted to make sure the rotor stayed true, I'm pretty confident it did. I'll either machine these rotors or get new ones when all is said and done.
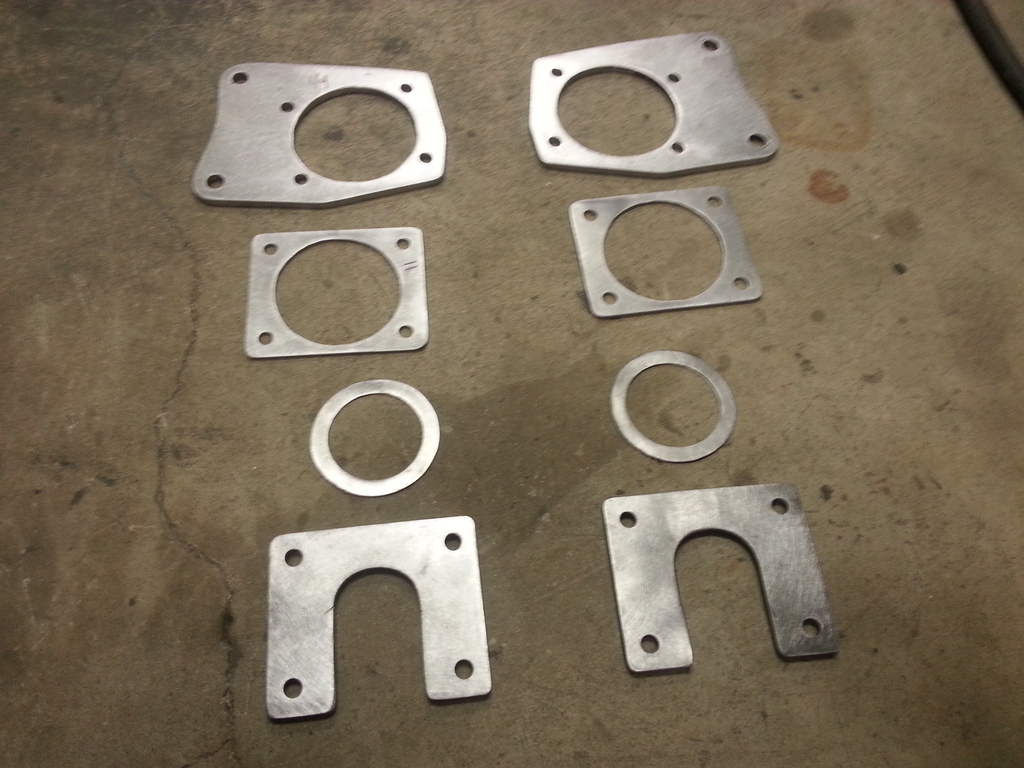
This is all the parts I made for both sides. I will also swap out the bolts for some fine threaded ones with lock nuts when it comes time for final assembly.
My next post will be hooking up the park brake.
So I decided to upgrade a bit. Now I know I could have bought a kit and made it easy on myself, but what fun is there in that, right? Plus, I don't really like the kind of calipers that come with the brake kit I could afford, or at least justify, so back to fabbing we go! The rear brakes I'm using are off of a 1997 TransAm, but all F body's from 93-97 are the same. I prefer this caliper over the newer 98-02 because of the park brake mechanism is built into the caliper rather than the small drum brake type built into the rotor hat on the newer ones. Anyway, I started with some cardboard....
Trimmed it up and it starts looking like something. I had to clock it so that the bleeder was still pointing up, but also so that the park brake cable will clear at the bottom.

Once I had the main idea down, I started with the 1/4" steel plate.

Then I had to figure out where to mount the brake halo so that it put the pads in the right spot. I had to make a few of these before I got it just right, but they were pretty easy to make, and as you can tell, I didn't spend much time on them.

Once it was in the right spot, I bolted it to the starting of the actual bracket and drilled the halo mounting holes.

Looked like this once the holes were drilled.

Then trimmed it into an actual bracket.

I used 1/4" thick steel for the caliper brackets, and it worked almost perfect, but the rotor was just slightly closer to the inside of the brake halo. If I would have used 3/16" for the bracket, it might have been better, but I wanted the strength of the thicker steel, overkill is my friend.
So, I had to either machine a bit off the halo, or move the axle out. I decided that moving the axle out the thickness of a piece of 16 gauge would be easiest, so I made these little spacers to go inside the bearing housing, therefore shimming the axle out enough to make my gap between the rotor even on both sides.
It just sits right in there....

Then the axle bearing is just a bit further out than the caliper bracket, so I made another shim out of 11 gauge to take up the difference.

In this pic you can see the bearing is now flush.

Then I cut the original axle retainers off the axles because I didn't want to replace the bearing, and made some new ones out of more 1/4", way overkill again I'm sure, but the axles aren't going anywhere on my watch...

They are horseshoe shaped so that they can be put on without removing the axle bearings, as you can see from the bottom.

Halo centered over the rotor.

Brake pad centered on the rotor face.

That's pretty much it. I did have to take a round file and slightly file the center of the rotor to get it to go over the center of the axle, but I did it by hand in a few minutes, didn't want to get carried away with the air die grinder because I wanted to make sure the rotor stayed true, I'm pretty confident it did. I'll either machine these rotors or get new ones when all is said and done.

This is all the parts I made for both sides. I will also swap out the bolts for some fine threaded ones with lock nuts when it comes time for final assembly.

My next post will be hooking up the park brake.
Last edited by ls1nova71; Nov 29, 2016 at 10:31 AM.


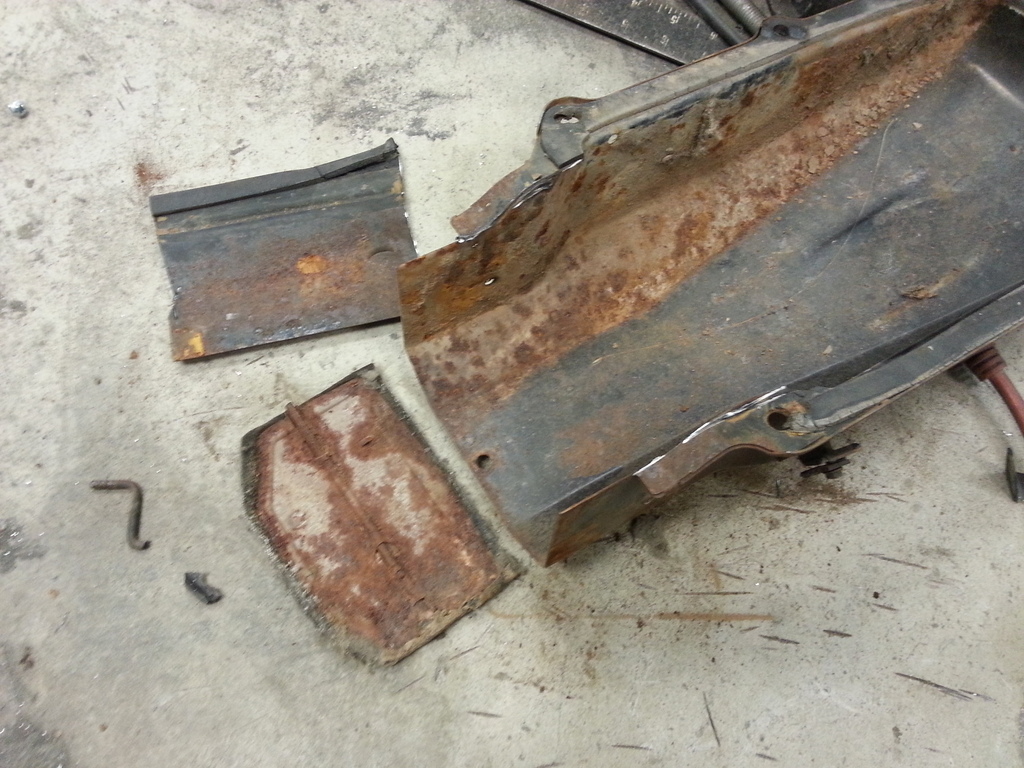
 A few weeks back, before I started the disc brake brackets, I decided I was going to break down and buy me a plasma cutter. After looking at them, and reading reviews of the overseas made ones, I realized I wouldn't be happy with one of those, and the Miller one I wanted was three times the price, I figured I'll wait a bit and get a good one. So, for now I'm back to doing it the old fashion way, with a drill press, cut off wheel and a die grinder. It takes a while, but it works, you just have to be patient. The thin stuff is easy, it's the 1/4" stuff that takes a while.