
1959 Biscayne 2 door wagon


 01-11-2017, 01:12 PM
#143
01-11-2017, 05:46 PM
#144

Eric ...........Another Freak'in Awsum build !!!!!!!!
01-15-2017, 12:30 AM
#145
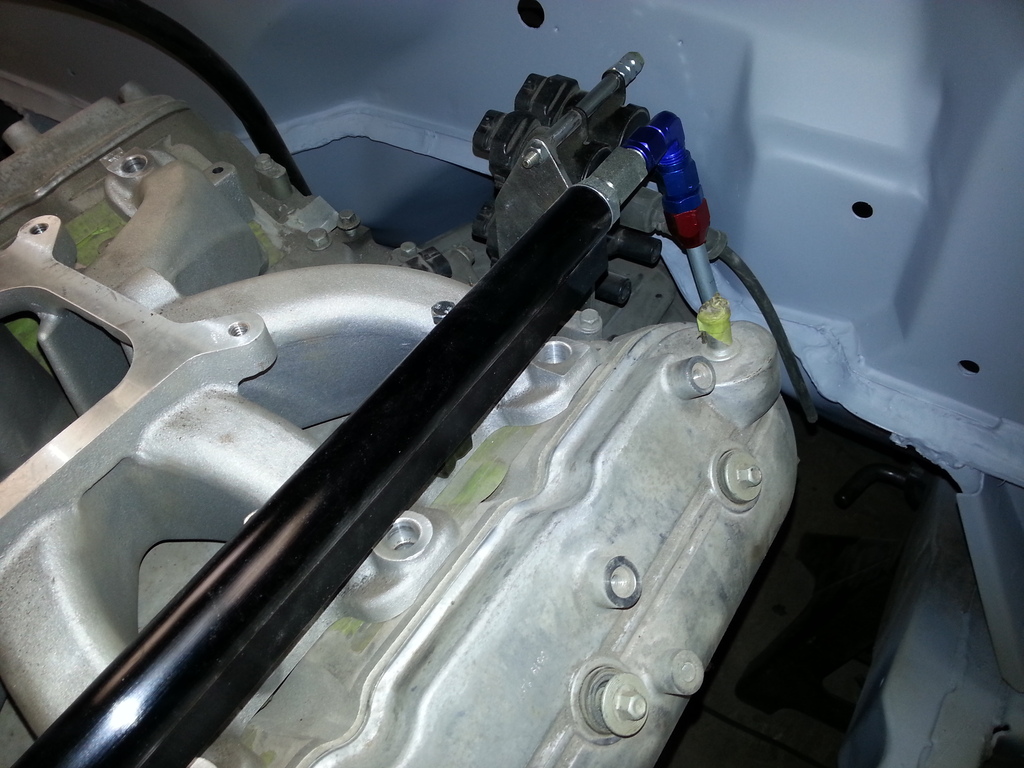
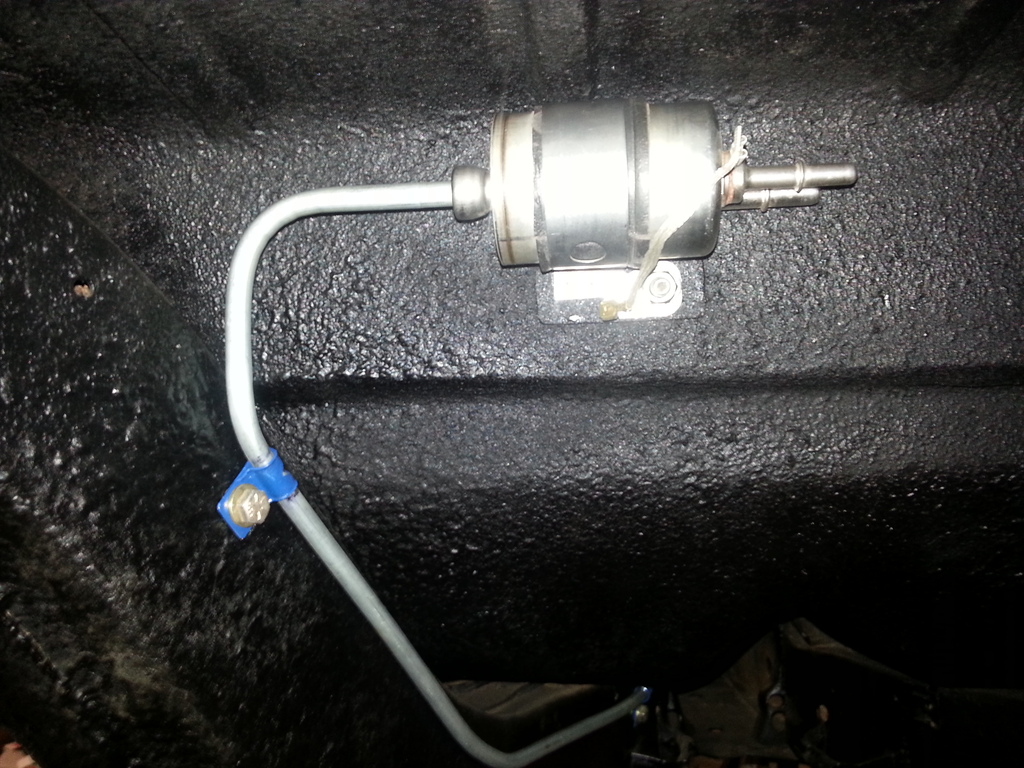
I had to reinstall the engine for about the 56th time to make the fuel line from the frame to the fuel rail.
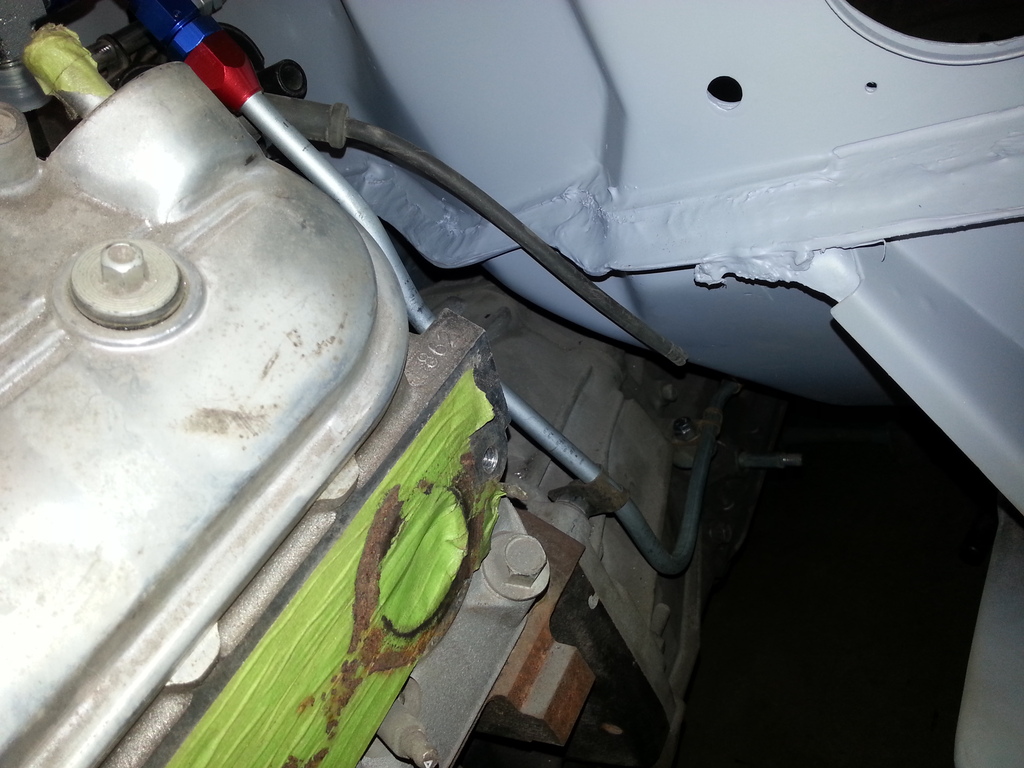
It's hardlined from the rail, down the transmission and then has a piece of nylon connecting it to the frame mounted line.
I still need to finish the nylon line, but as long as I know it will work, I can do that when I put the engine for good. Nevermind the bolt and washer holding the clamp, it will be changed, it's just all I had at the time.

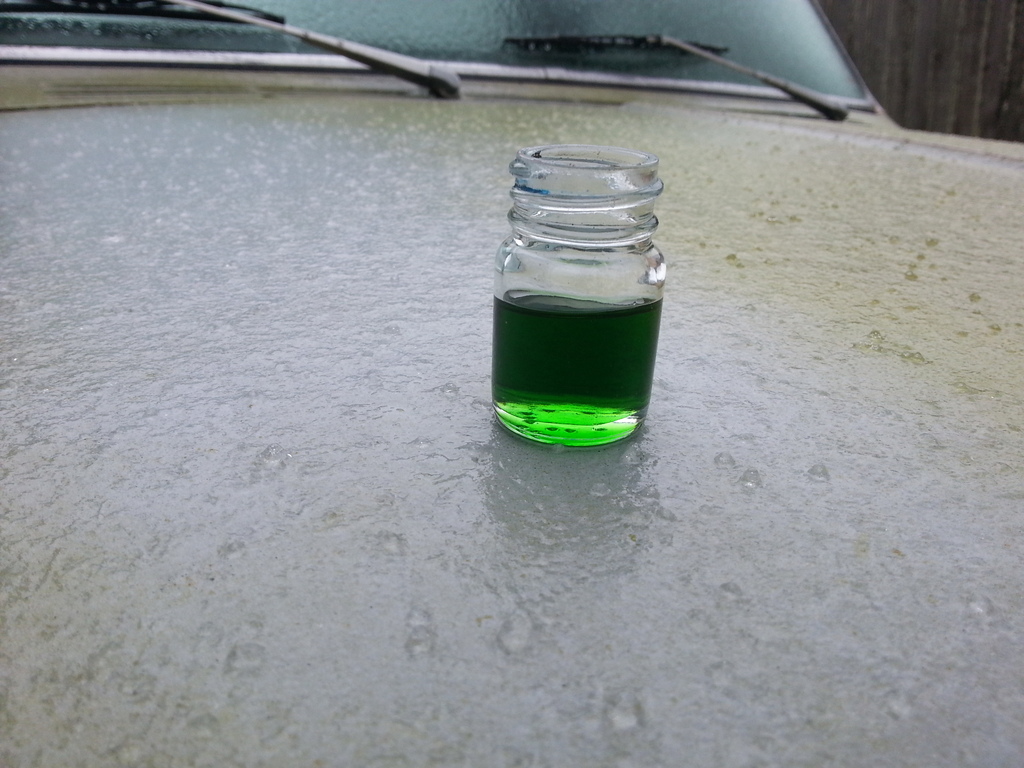
I made another thread about this, but I pulled an injector out of the intake to figure out how tall the fuel rails are going to be, and found this bright green fuel in the rail. Weird?
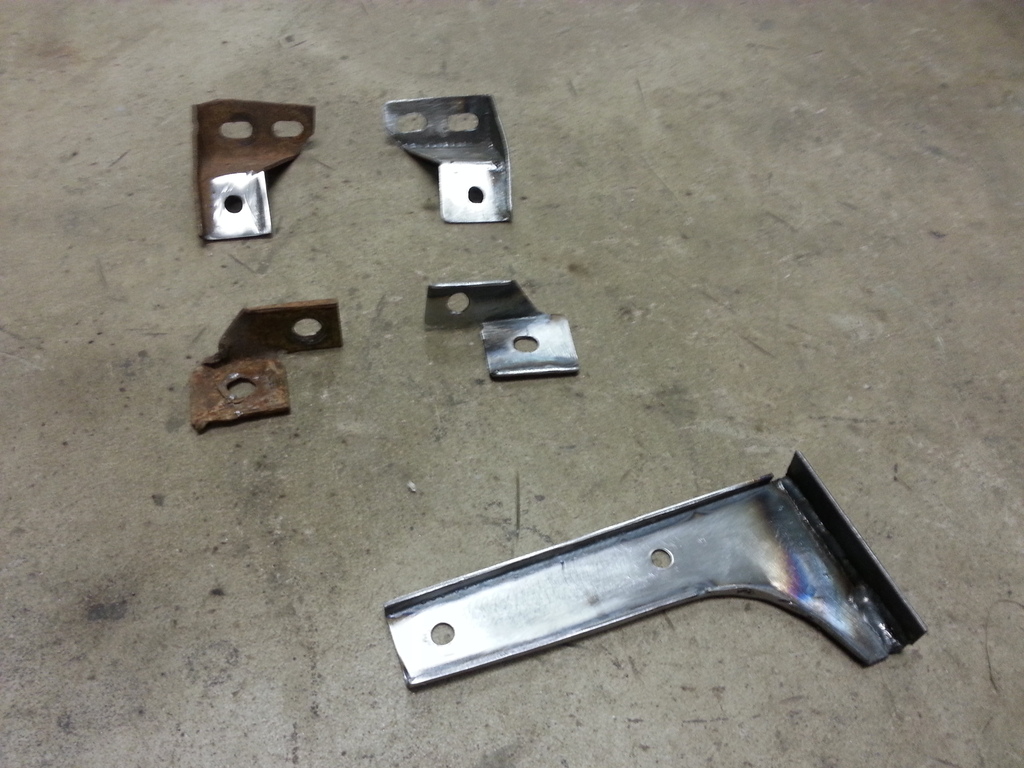
I'm getting close to painting the underside of the car and realized I only had exhaust brackets on the drivers side. Since I'll be running duals, and the exhaust guy is probably not going to be real happy having to do an X frame car anyway, I made some brackets for the passenger side. Mirror images of the drivers side. Should make the exhaust a little easier I hope?
I also was getting ready to primer the dash when I remembered I didn't like the vents that came with the Vintage Air kit. They weren't horrible, but the left one had to be further to the right due to the park brake release handle being in the way so it didn't match the right side. I don't know, maybe I'm just too picky, but that bothers me, so I made some mounts to put the vents in the dash, similar to a factory air car. I started with some left over exhaust tubing I had lying around. I cut it to fit the dash, then cut out a piece to weld on the end so I could make the 1/8" flange needed to secure the vents.
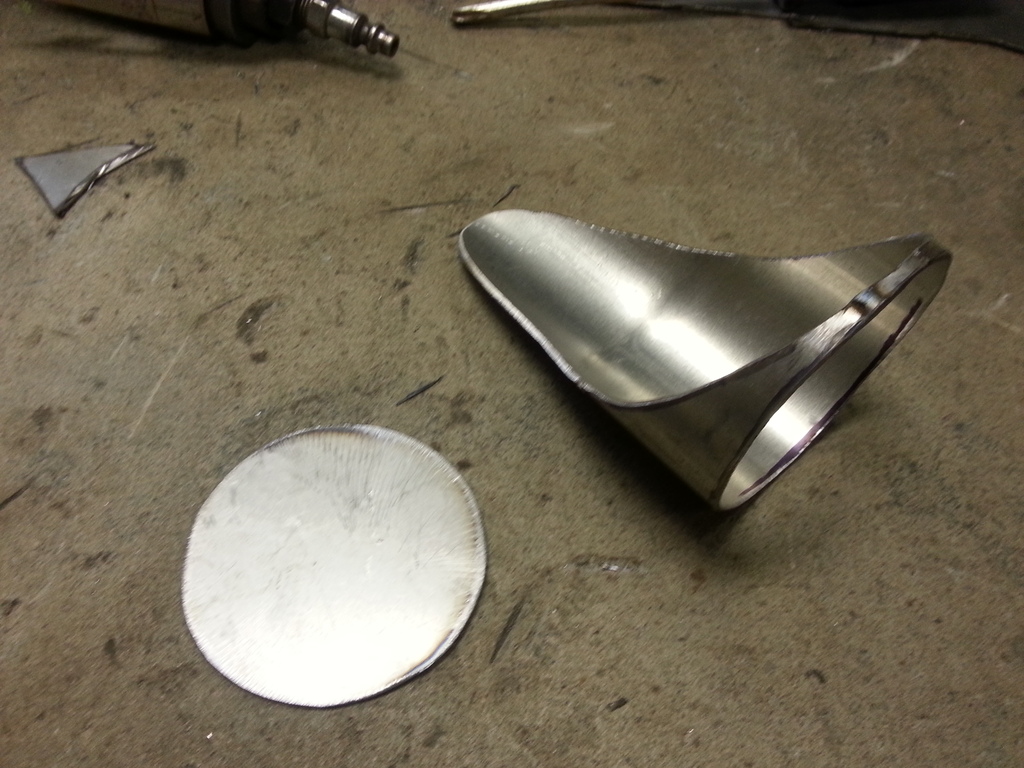
Welded the end piece on and ground it smooth.....
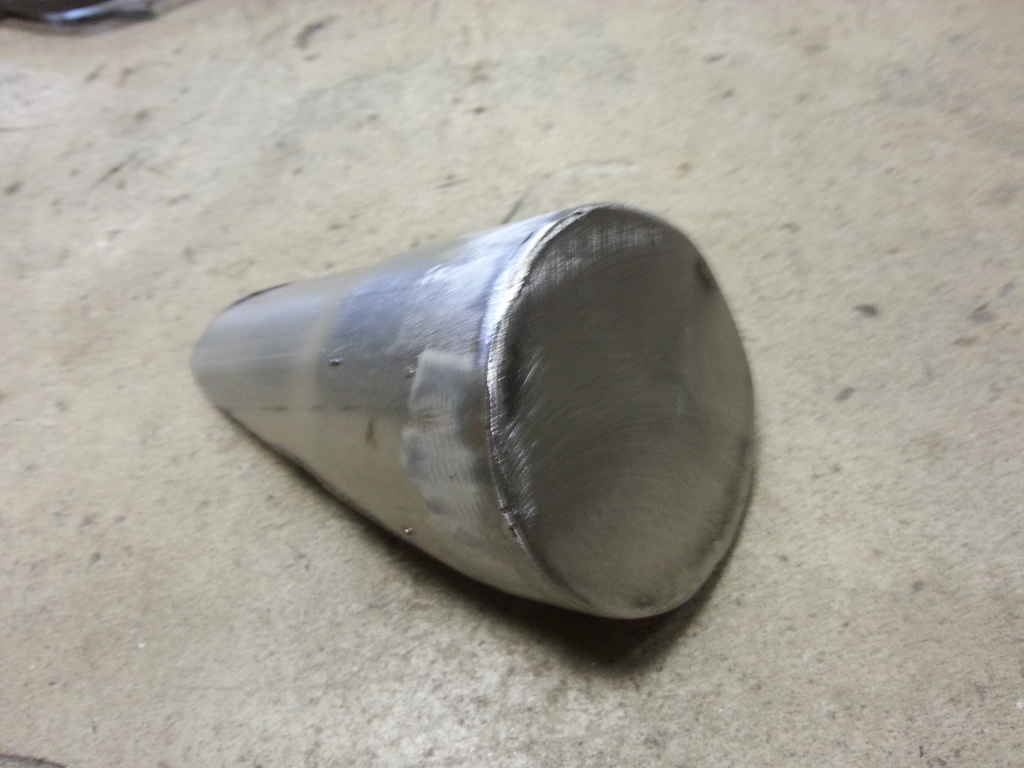
Then cut out the center leaving the 1/8" flange.

This is it with the vent installed. There's a piece that screws on from the back that holds it in.
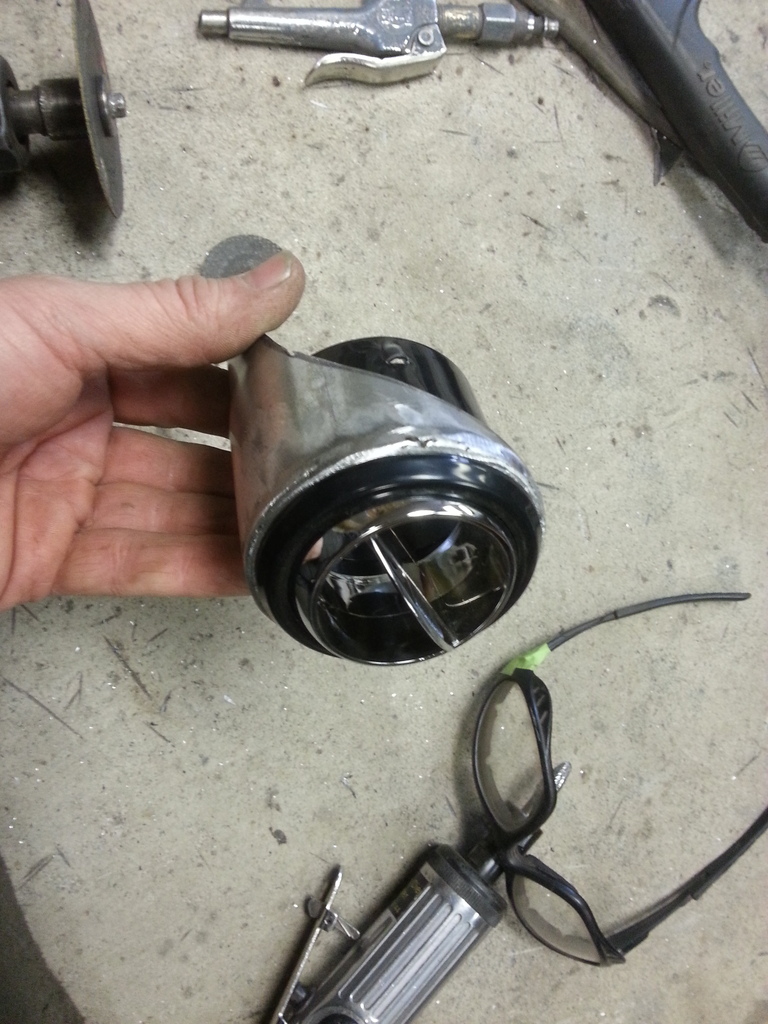
It will mount in the dash like so....
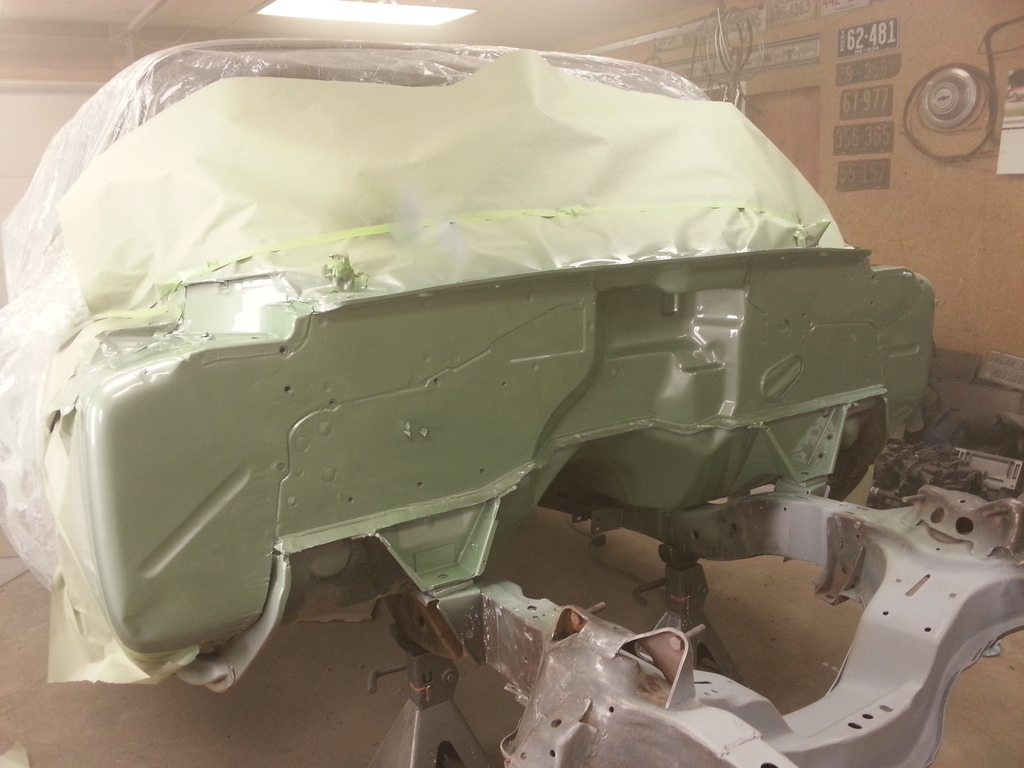
Which bring us to tonight. Got the base sprayed on the firewall.
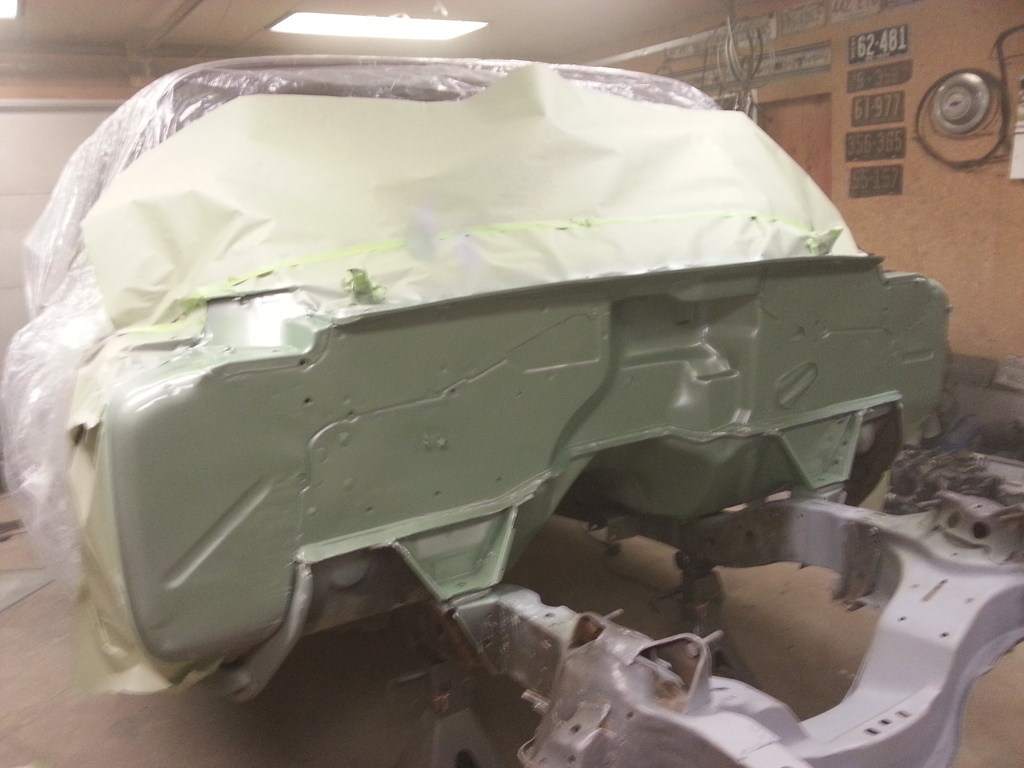
And cleared! Things are starting to come together.

It's hardlined from the rail, down the transmission and then has a piece of nylon connecting it to the frame mounted line.

I still need to finish the nylon line, but as long as I know it will work, I can do that when I put the engine for good. Nevermind the bolt and washer holding the clamp, it will be changed, it's just all I had at the time.

I made another thread about this, but I pulled an injector out of the intake to figure out how tall the fuel rails are going to be, and found this bright green fuel in the rail. Weird?

I'm getting close to painting the underside of the car and realized I only had exhaust brackets on the drivers side. Since I'll be running duals, and the exhaust guy is probably not going to be real happy having to do an X frame car anyway, I made some brackets for the passenger side. Mirror images of the drivers side. Should make the exhaust a little easier I hope?

I also was getting ready to primer the dash when I remembered I didn't like the vents that came with the Vintage Air kit. They weren't horrible, but the left one had to be further to the right due to the park brake release handle being in the way so it didn't match the right side. I don't know, maybe I'm just too picky, but that bothers me, so I made some mounts to put the vents in the dash, similar to a factory air car. I started with some left over exhaust tubing I had lying around. I cut it to fit the dash, then cut out a piece to weld on the end so I could make the 1/8" flange needed to secure the vents.

Welded the end piece on and ground it smooth.....

Then cut out the center leaving the 1/8" flange.

This is it with the vent installed. There's a piece that screws on from the back that holds it in.

It will mount in the dash like so....

Which bring us to tonight. Got the base sprayed on the firewall.

And cleared! Things are starting to come together.
 01-15-2017, 08:40 AM
#147
As usual...........Great Imagination and execution.......Nothing less to be expected......LOL.......
01-15-2017, 08:41 AM
#148

LOL. I had to go back to the original pic to see if the "eyes" were really there. LOL
 01-15-2017, 09:24 PM
#150
TECH Enthusiast
iTrader: (9)
Join Date: Mar 2008
Location: IL
Posts: 698
Likes: 0
Received 0 Likes
on
0 Posts

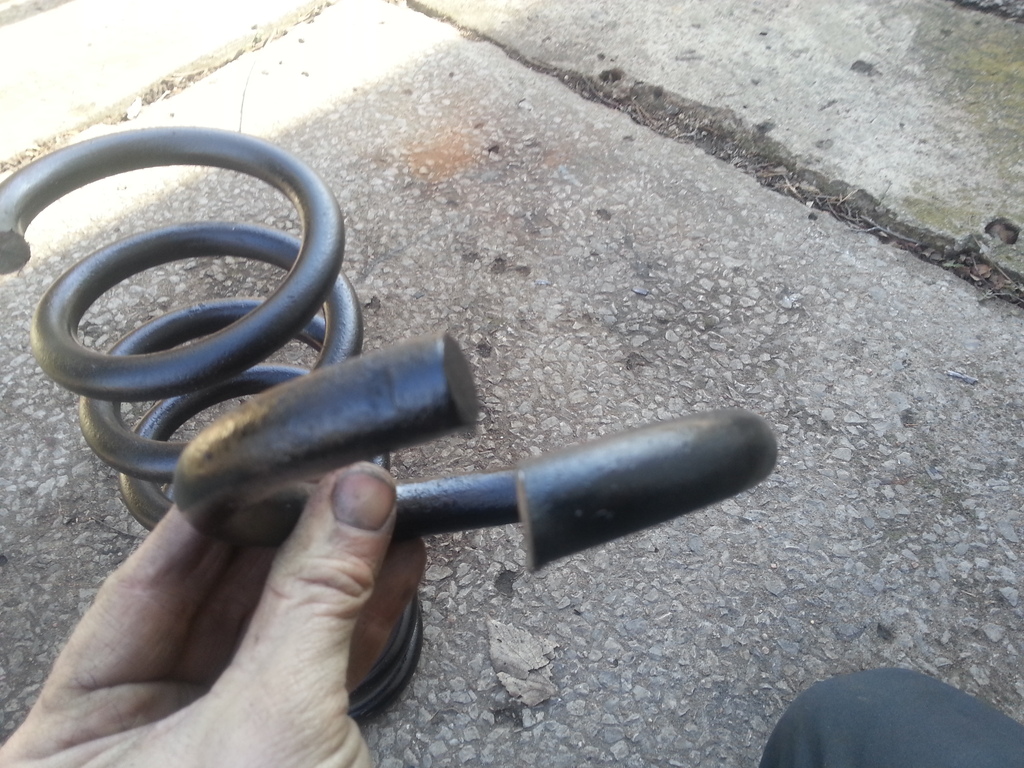
How in the hell did you get the fuel line so straight after being in a roll?
And also, did I miss where you relocated coils to the back of engine? Would like to see pics
And also, did I miss where you relocated coils to the back of engine? Would like to see pics
01-18-2017, 09:49 AM
#151


I just straightened it by hand, it really isn't all that straight. As for the coils, I haven't posted any pics of that yet, but it's coming up and I will have more pics.
01-18-2017, 10:08 AM
#152
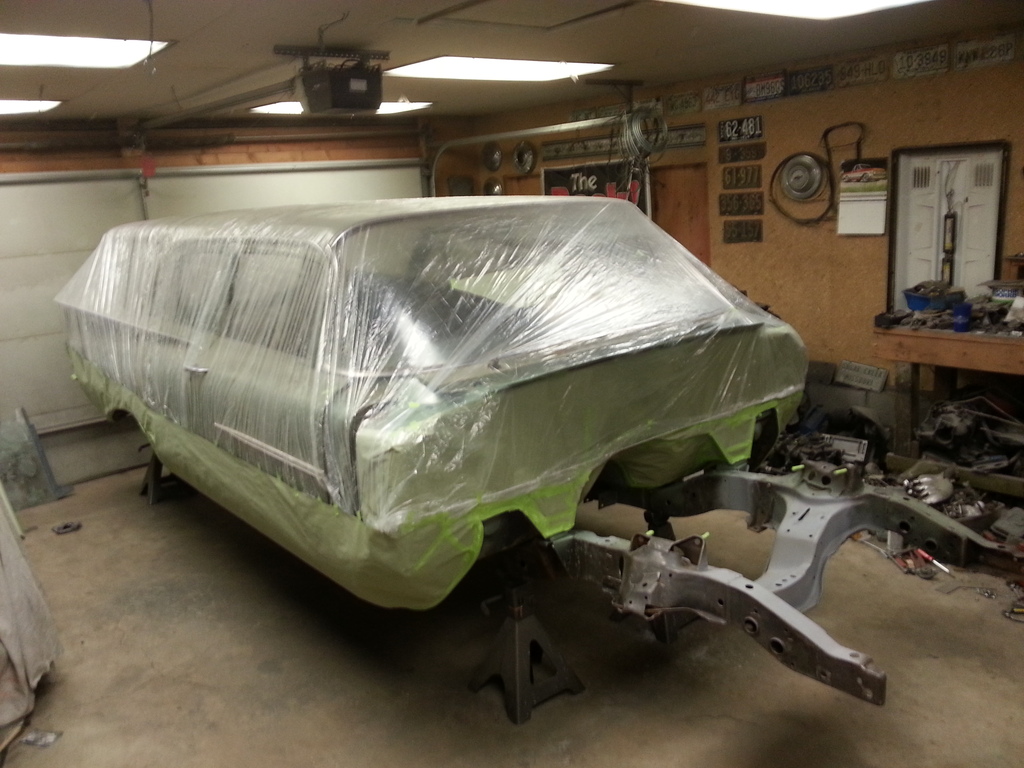
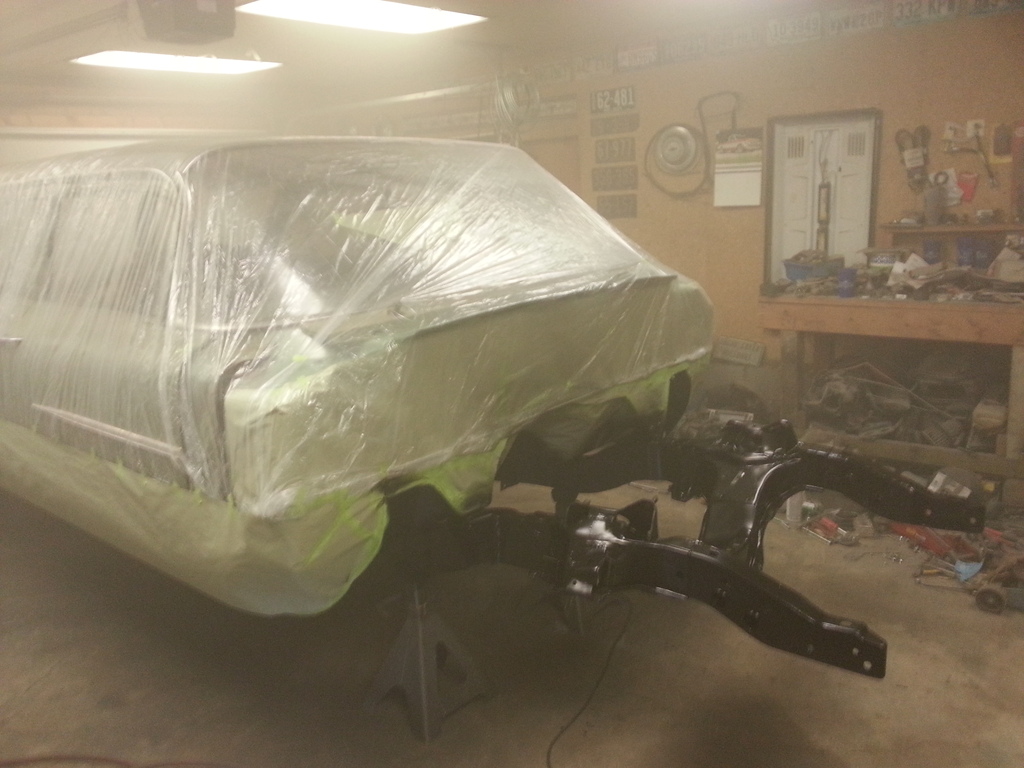
Getting ready to paint the frame and underside of the car. I covered most of it with a disposable car cover.
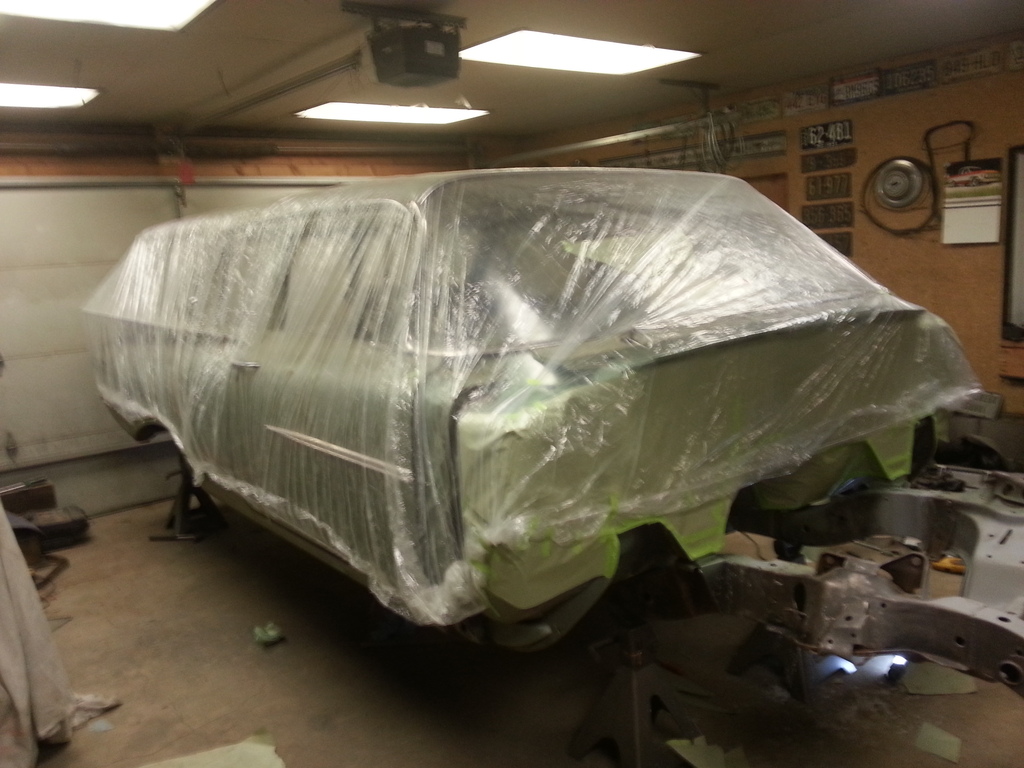
Masked the bottom with paper...
This is my best breaking bad selfie. This is proof that I'm the one doing all this...
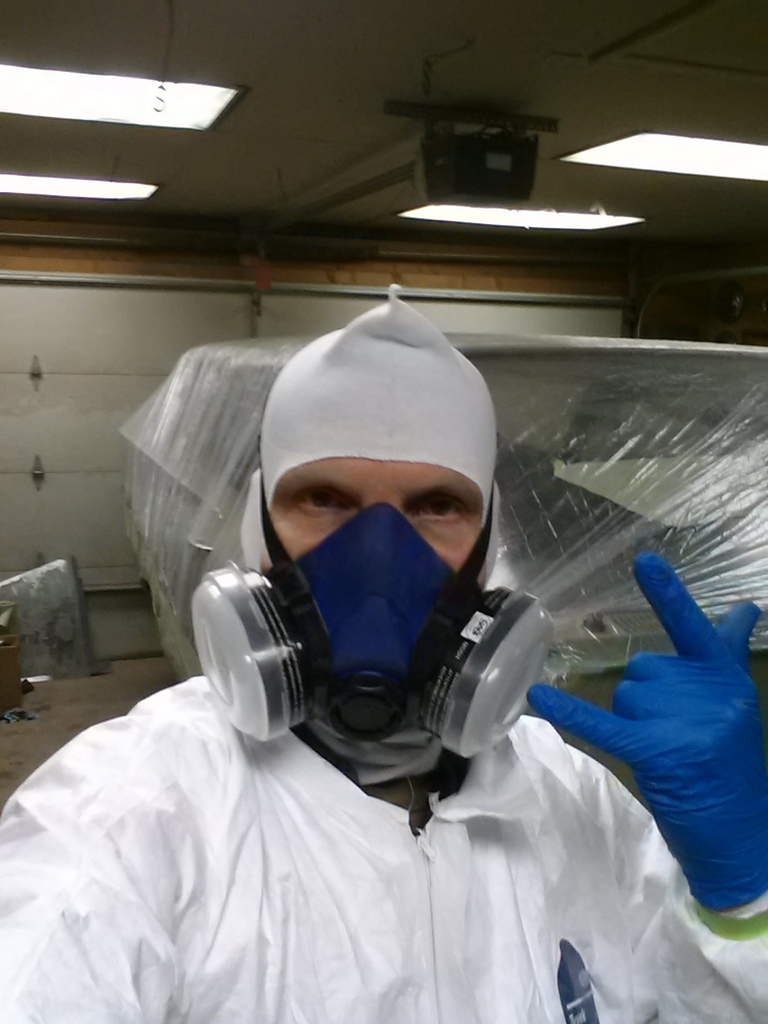
Got it done! Sucky job, I actually lost interest in doing it after about the first 17 seconds....... But I stuck it out and got a big item checked off the "to do" list.

Masked the bottom with paper...

This is my best breaking bad selfie. This is proof that I'm the one doing all this...

Got it done! Sucky job, I actually lost interest in doing it after about the first 17 seconds....... But I stuck it out and got a big item checked off the "to do" list.
 01-18-2017, 11:09 AM
#153
That mist shot looks familiar. LOL. I kinda remember you painting one of your c10. Same garage, isn't it?
01-19-2017, 03:22 AM
#155


Now if I had lottery money... I would buy a warehouse and build a living area in one corner...
I'm pretty lucky, my neighbours are cool. We're starting to believe ls1nova71 lives next to Satan.
 01-19-2017, 09:48 AM
#157
Sad news, ls1nova71 is working out of a size 9 shoe box with a single large garage door on it. I have a slightly larger size 9.5 or 10 shoe box with three smaller garage doors. These things are literally built in about the smallest possible area you can imagine with basic hand tools. :eyes
I'm pretty lucky, my neighbours are cool. We're starting to believe ls1nova71 lives next to Satan.
I'm pretty lucky, my neighbours are cool. We're starting to believe ls1nova71 lives next to Satan.
 Satan is a woman, who would have thought?
There's a lot of times I feel like I am not getting anything done too, so you're just lucky you don't have to deal with horrible neighbors!
01-23-2017, 11:03 PM
#158
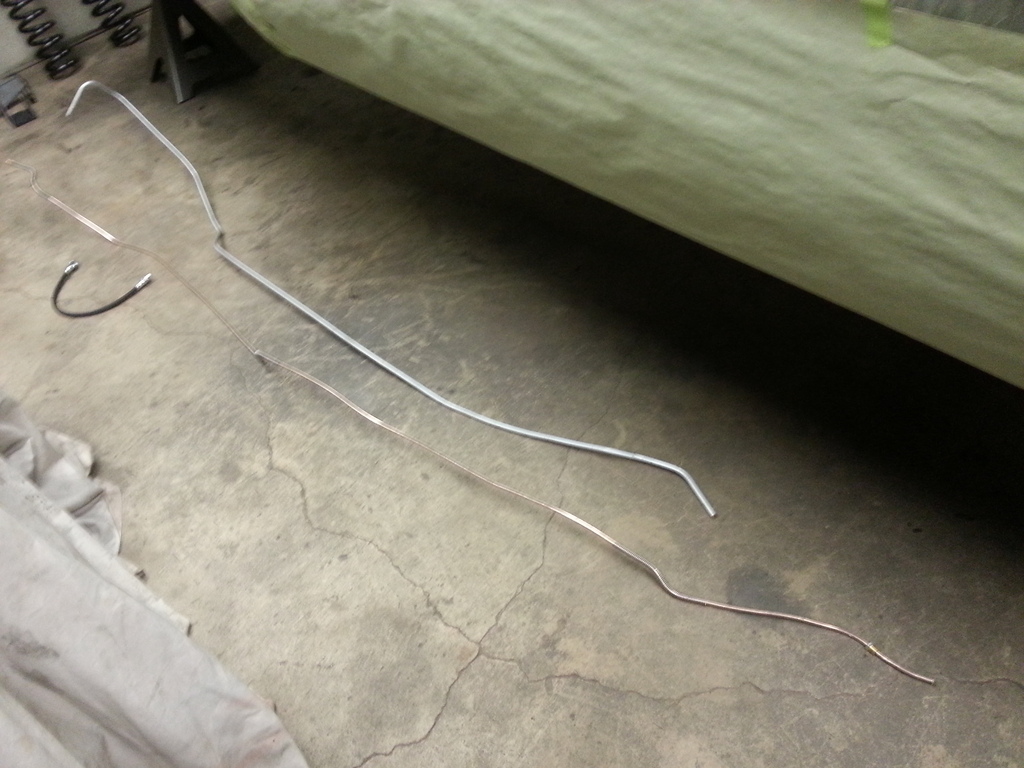
Not a lot of an update, but with the underside all painted and undercoated it was time to start putting things back together again. These are the brake and fuel lines.
Fuel line back in.
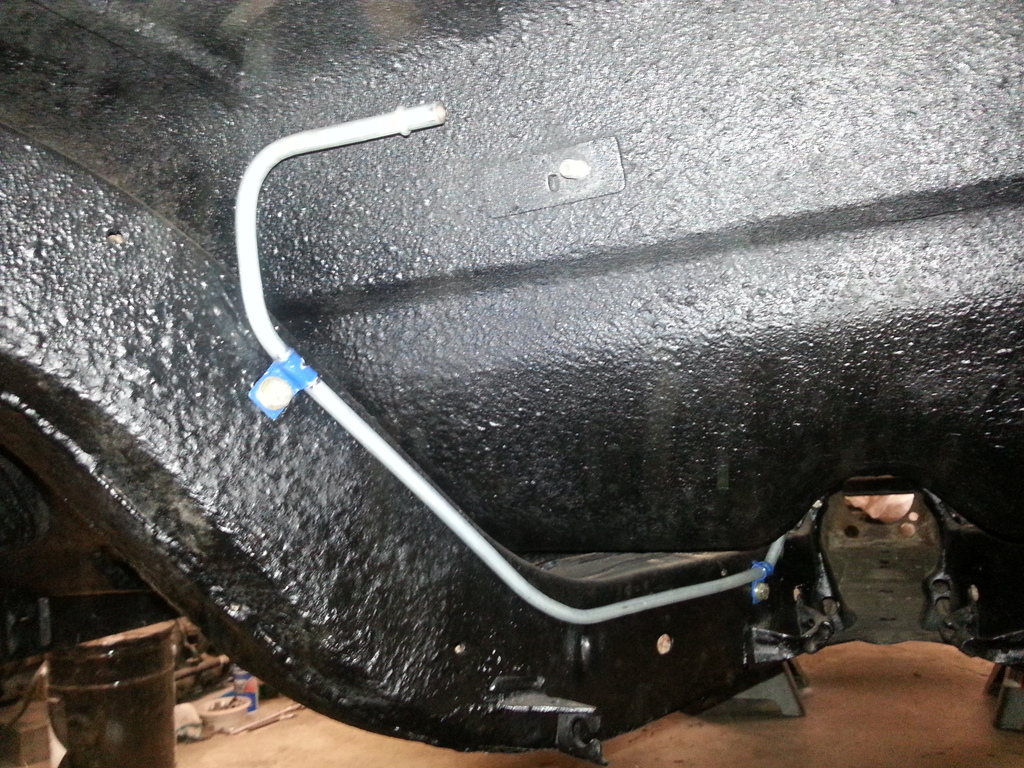
Filter bolted on and hooked to the feed line.
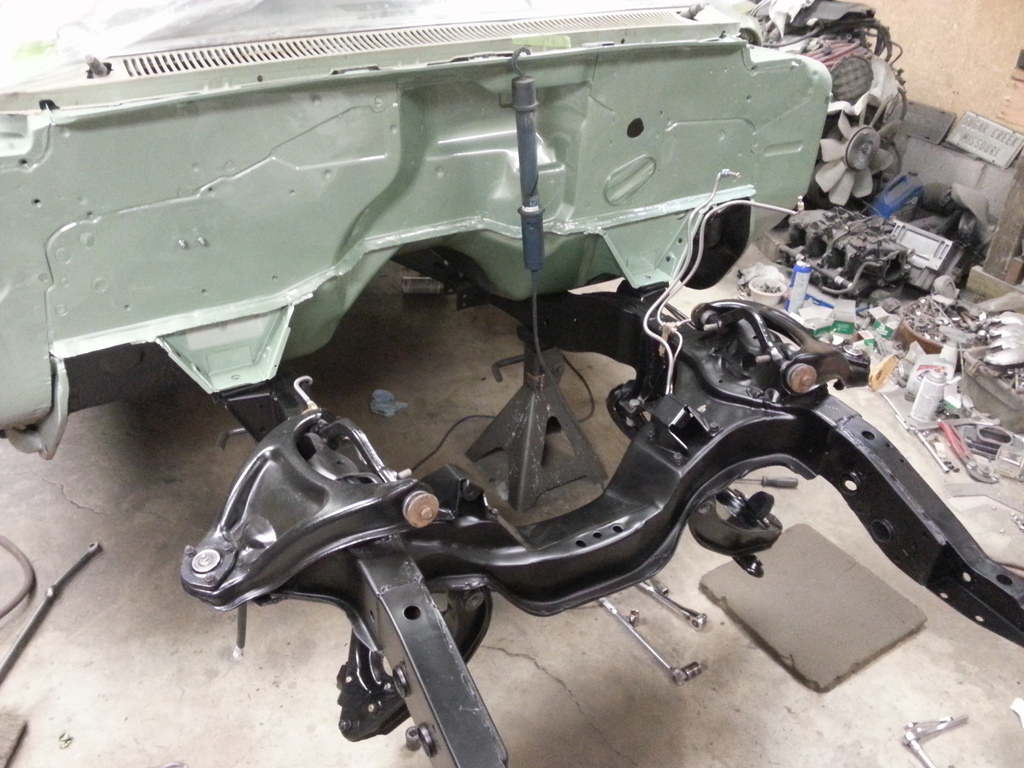
Started reassembling the front suspension.
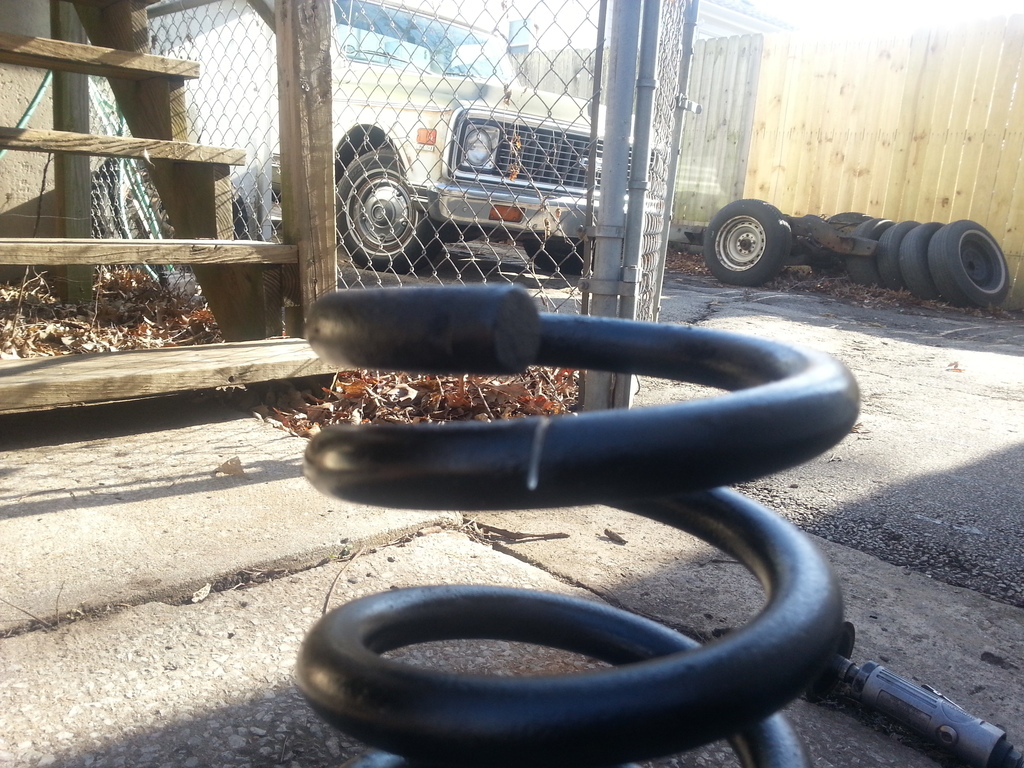
Cut the first coil off the front springs. I measured it at 1 1/2", so compressed would maybe be 1 1/4", add that to the 2" dropped spindles, I'm at 3 1/4" drop in the front. If that turns out to be too much I'll have to change the springs, but I think it should be alright.
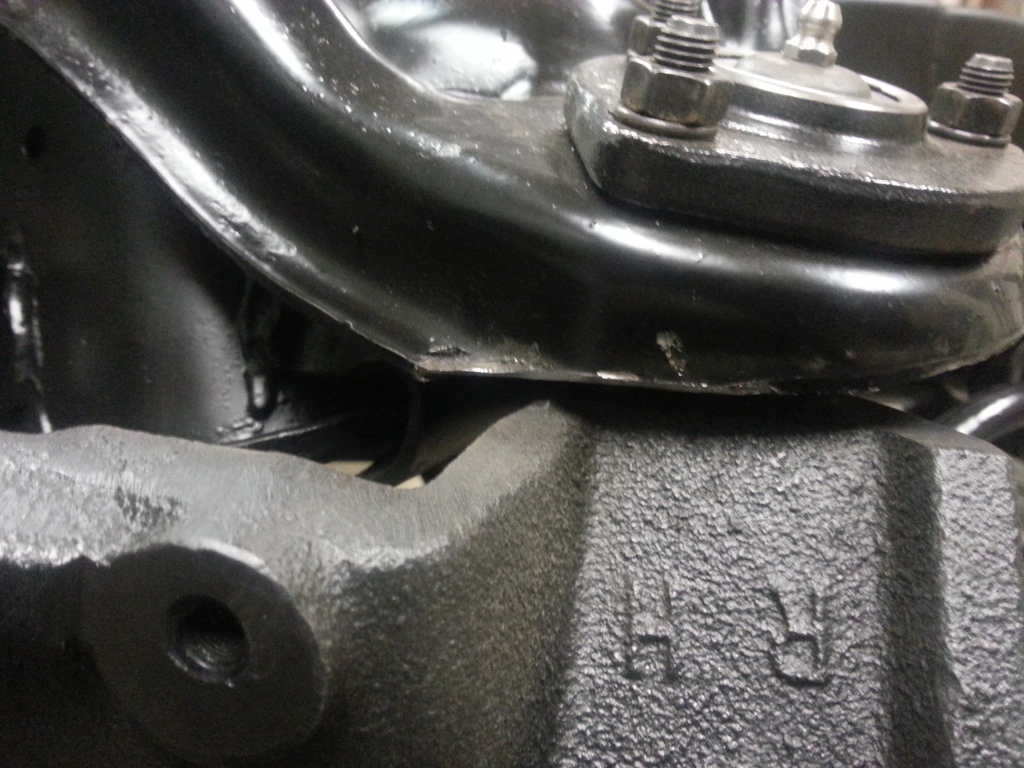
Horrible pic, but when the spindles were tightened, they made contact with the upper control arms when turning one direction. Didn't notice it when I first installed them, but may have not had them completely tight.
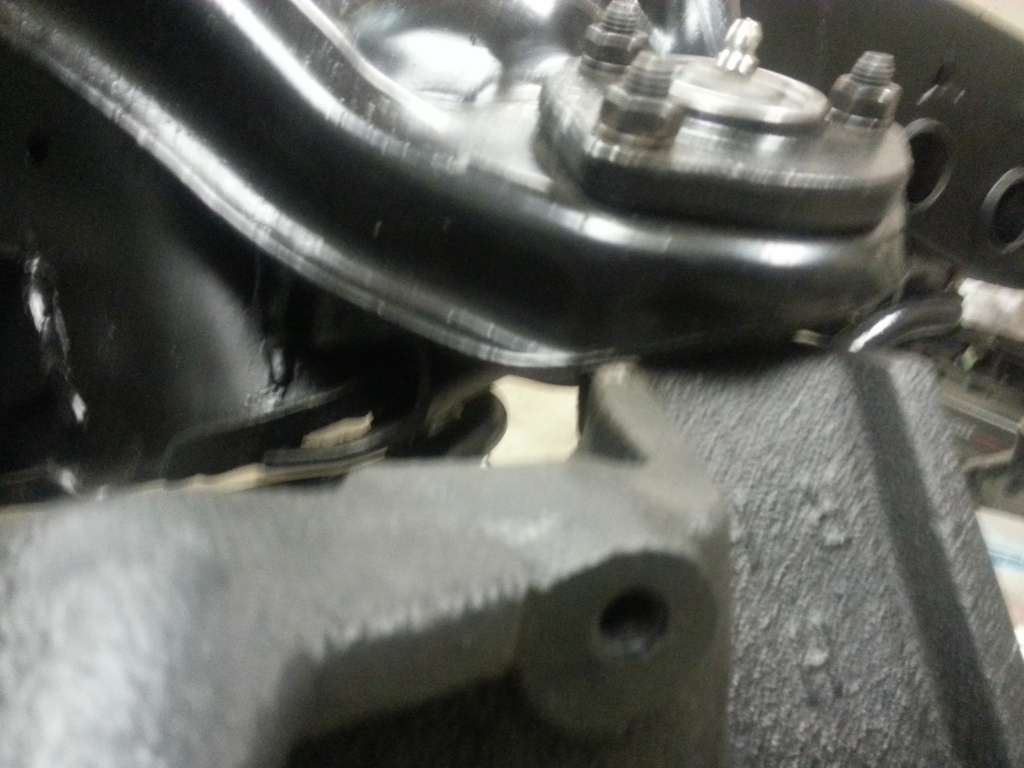
Cut off wheel made quick work of clearancing it. It was only contacting at full droop and got better with weight on it, but needed to be done to be right.
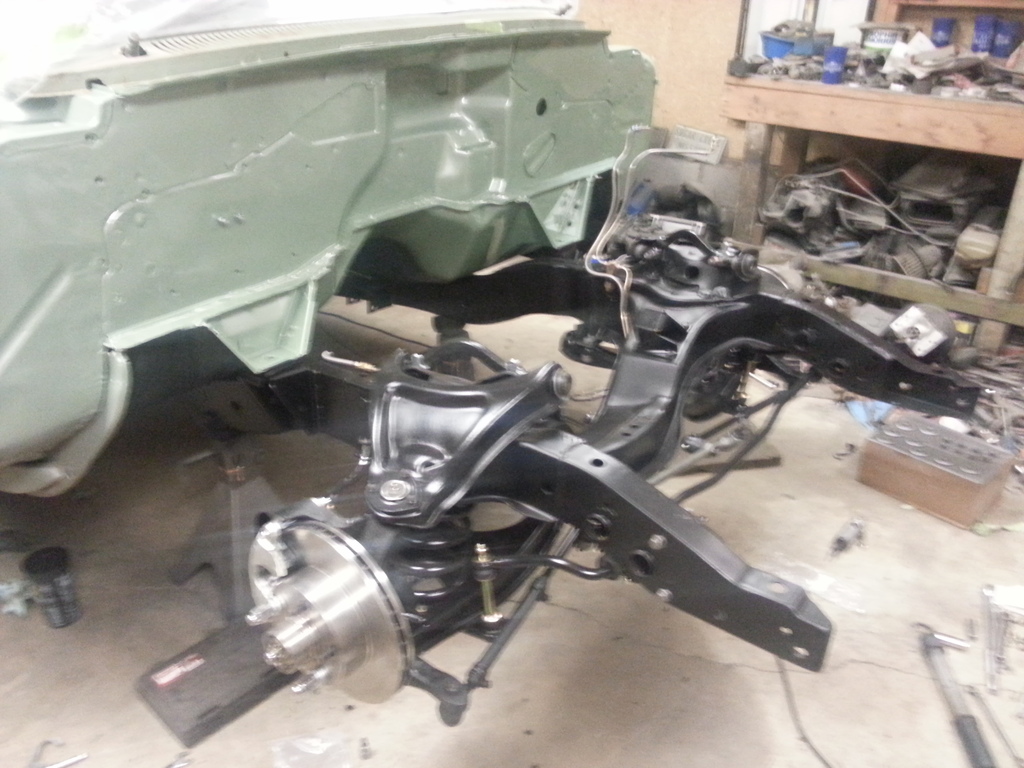
As it is now with most of the front suspension back on.

Fuel line back in.

Filter bolted on and hooked to the feed line.

Started reassembling the front suspension.

Cut the first coil off the front springs. I measured it at 1 1/2", so compressed would maybe be 1 1/4", add that to the 2" dropped spindles, I'm at 3 1/4" drop in the front. If that turns out to be too much I'll have to change the springs, but I think it should be alright.


Horrible pic, but when the spindles were tightened, they made contact with the upper control arms when turning one direction. Didn't notice it when I first installed them, but may have not had them completely tight.

Cut off wheel made quick work of clearancing it. It was only contacting at full droop and got better with weight on it, but needed to be done to be right.

As it is now with most of the front suspension back on.
