Conversions & Swaps LSX Engines in Non-LSX Vehicles
Sponsored by:
Sponsored by:

1965 Pontiac Bonneville LQ9

Thread Tools
 
Search this Thread
 
Old 06-02-2018, 05:32 PM
  #41  
Staging Lane
Thread Starter
 
Tarjaei's Avatar
 
Join Date: Nov 2016
Location: Telemark,Norway
Posts: 55
Likes: 0
Received 6 Likes on 5 Posts
Post Slow progress

I understand you ask what what happened here. It have been less time in the garage this winter /spring. I try to do something when and then, but just now ui have to be glad for the days i can escape to the garage...


After some reviews i found it best to place the ECU under the dash


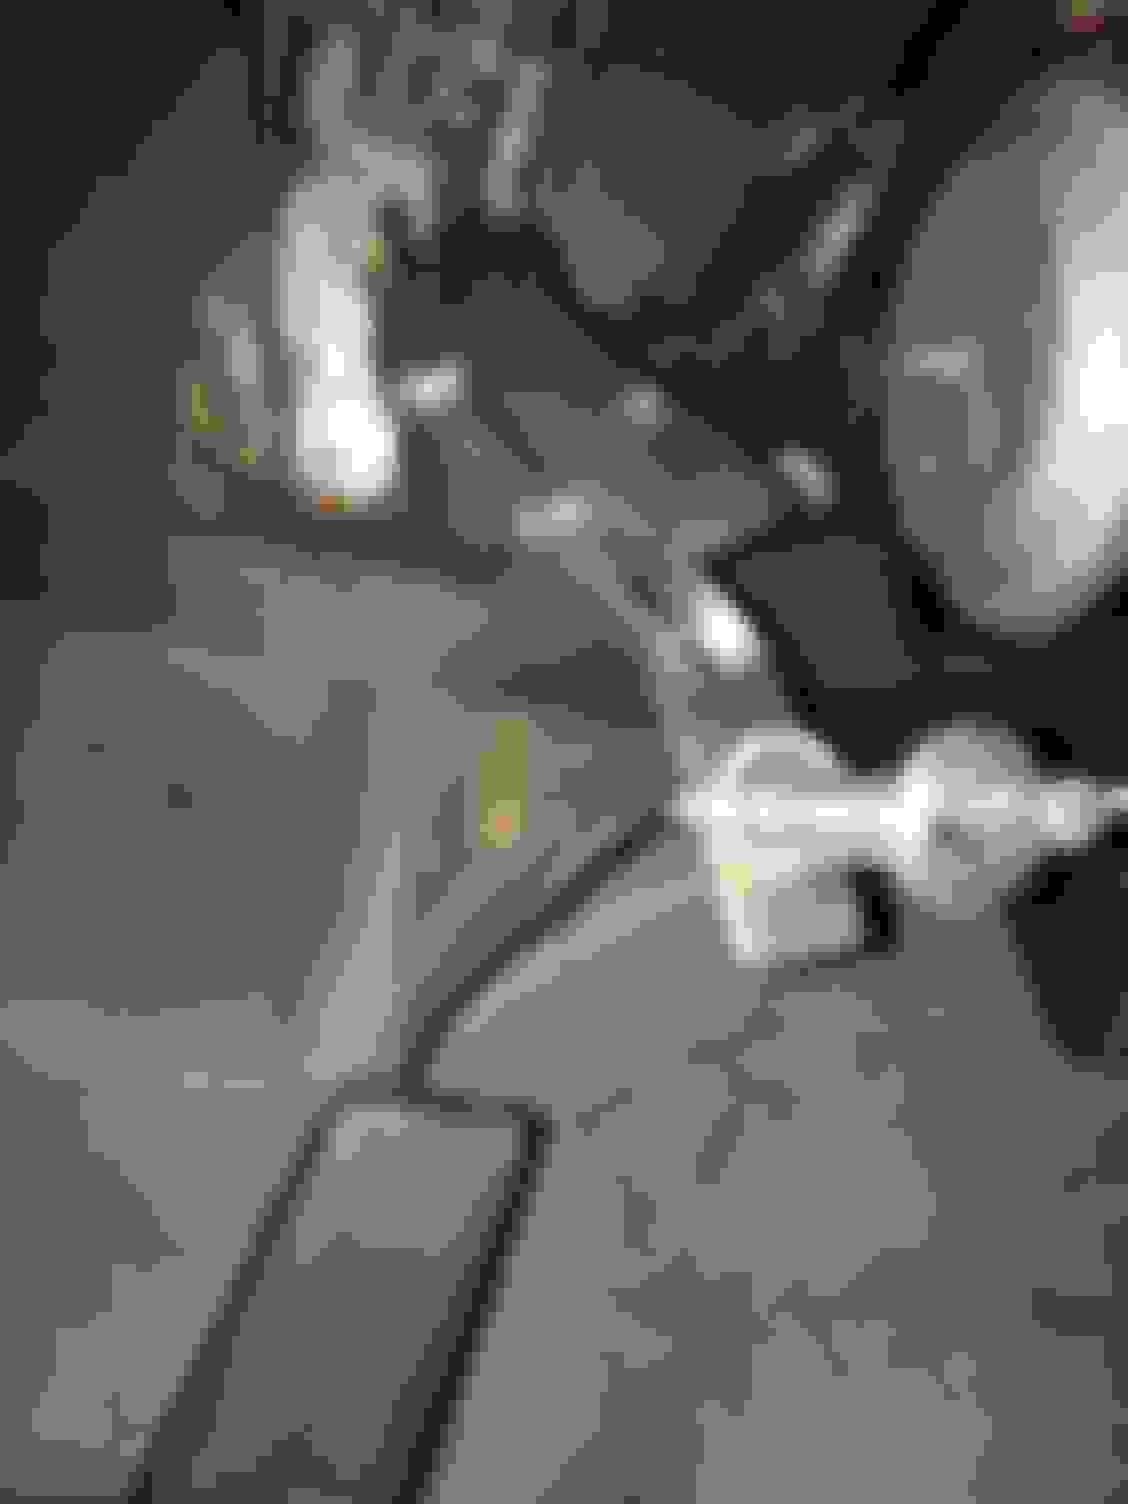
First i make an bracket for mounting the ECU in front of the fender, but afterwhile i understand it was an bad idea. Now i mount the relay to to this bracket....


Relay for monting on my homemade bracket


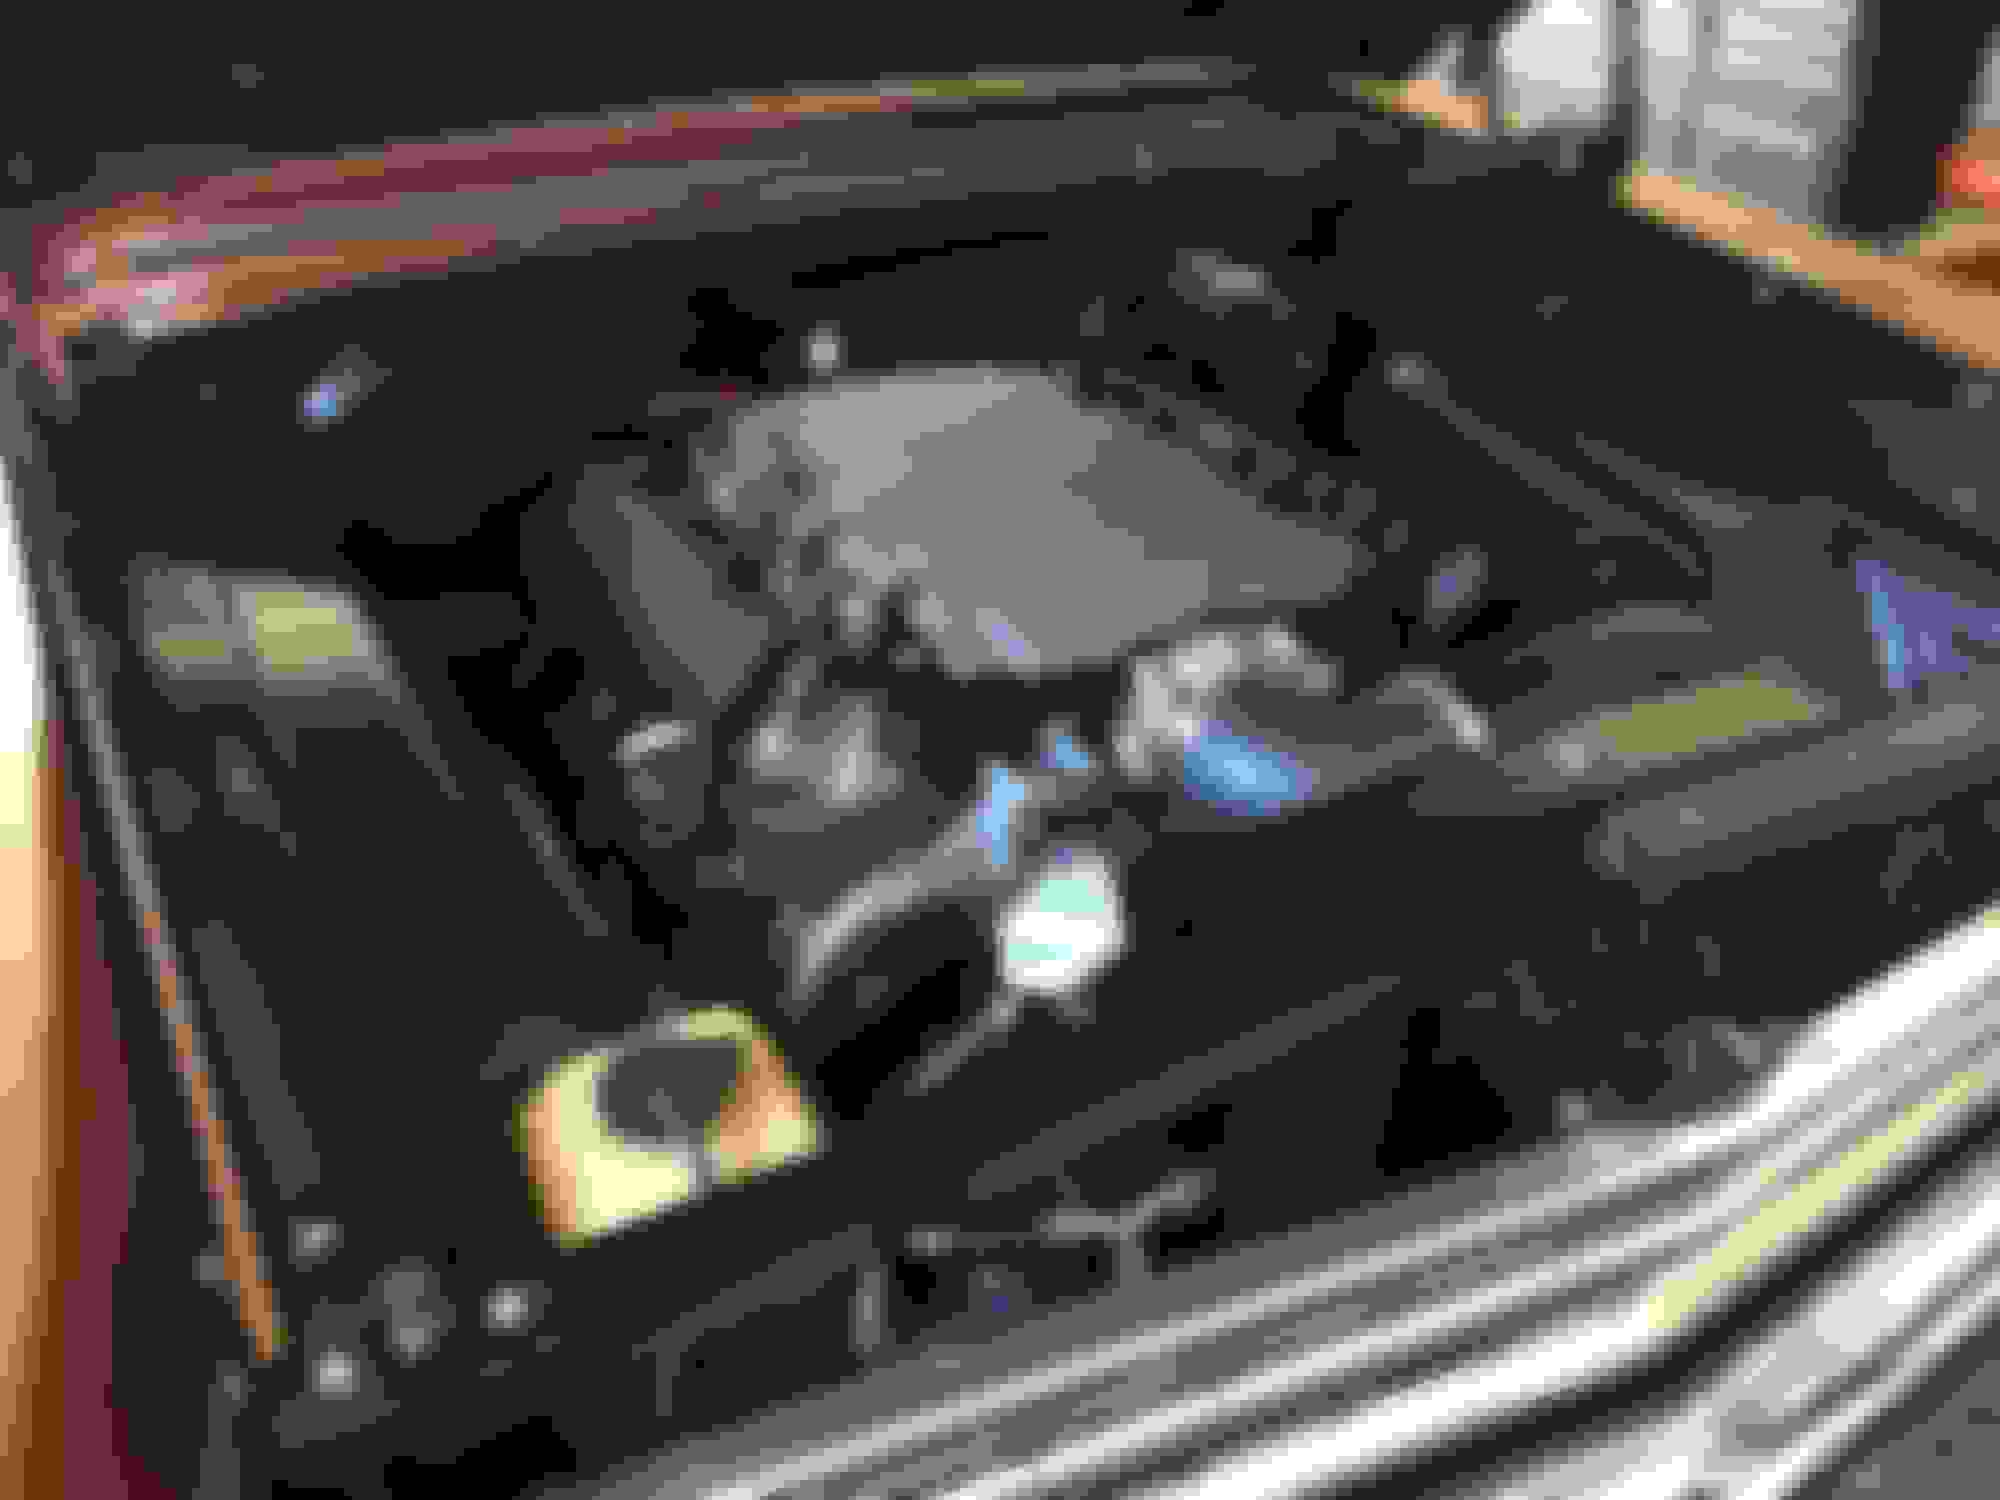
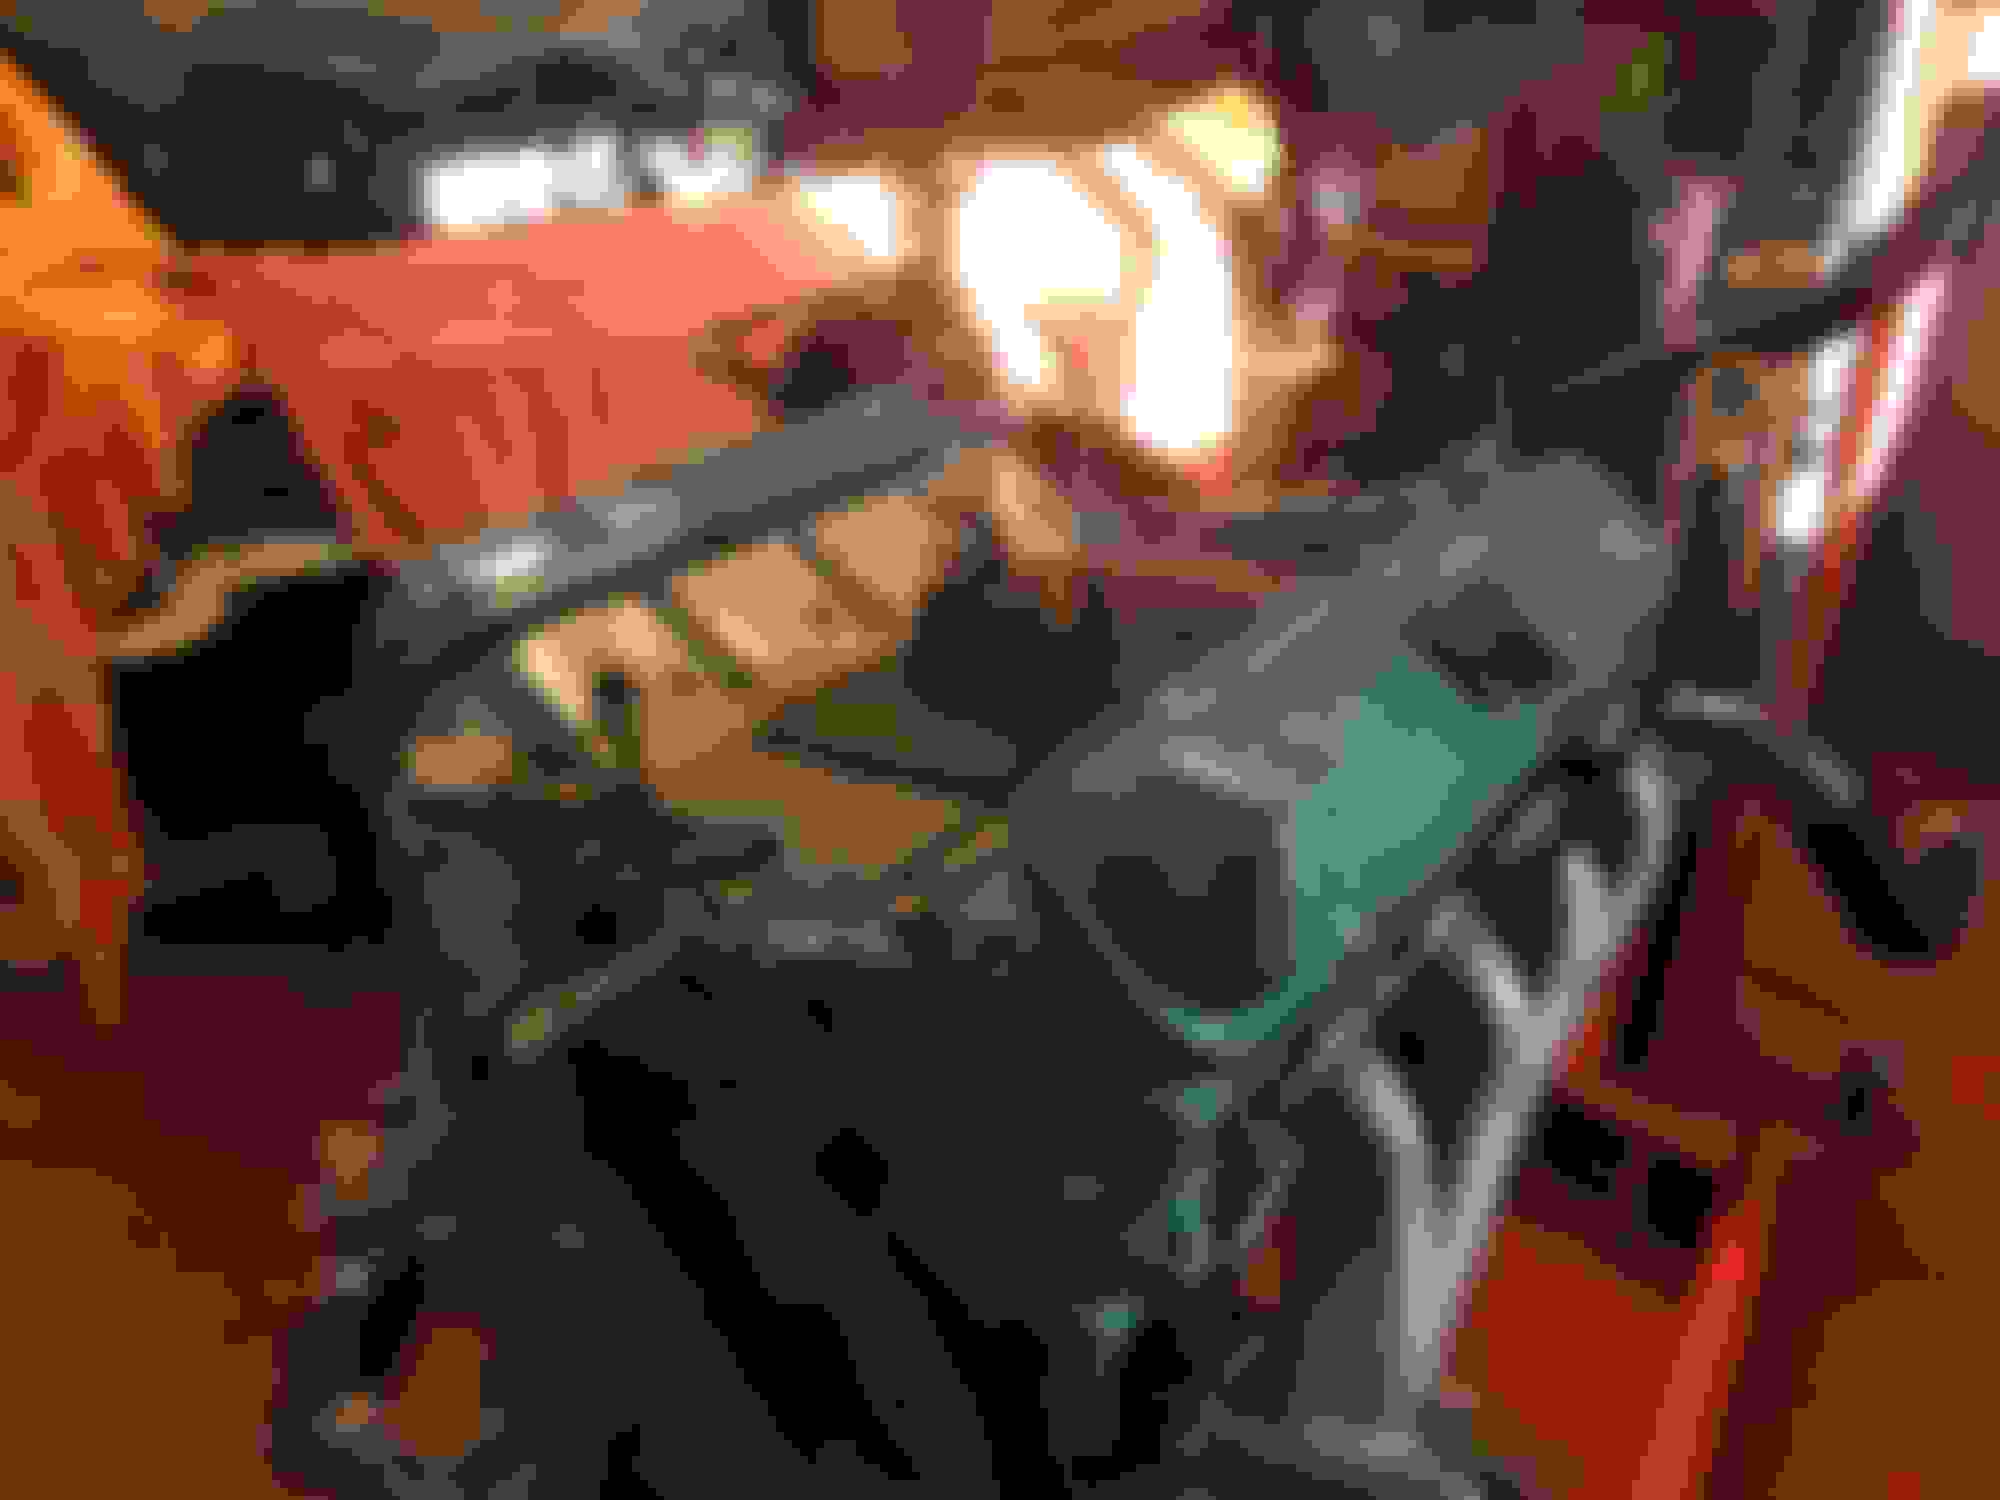
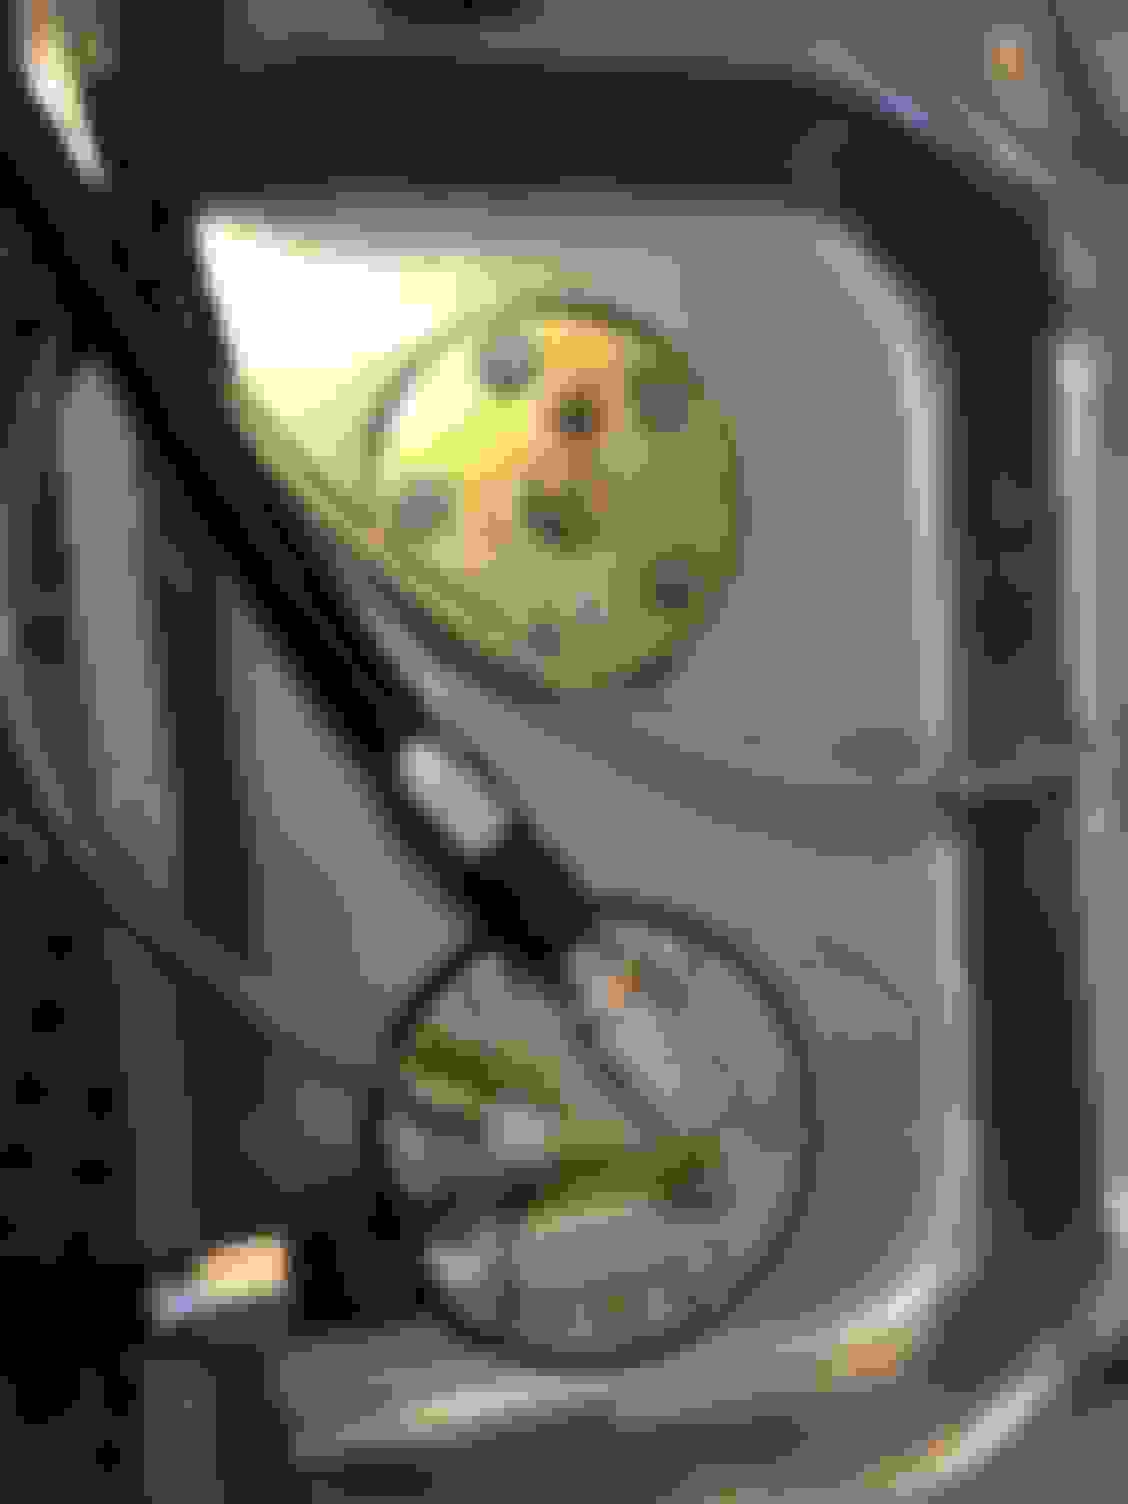
The coils mounted on the firewall. last finish with paint have to be to last..


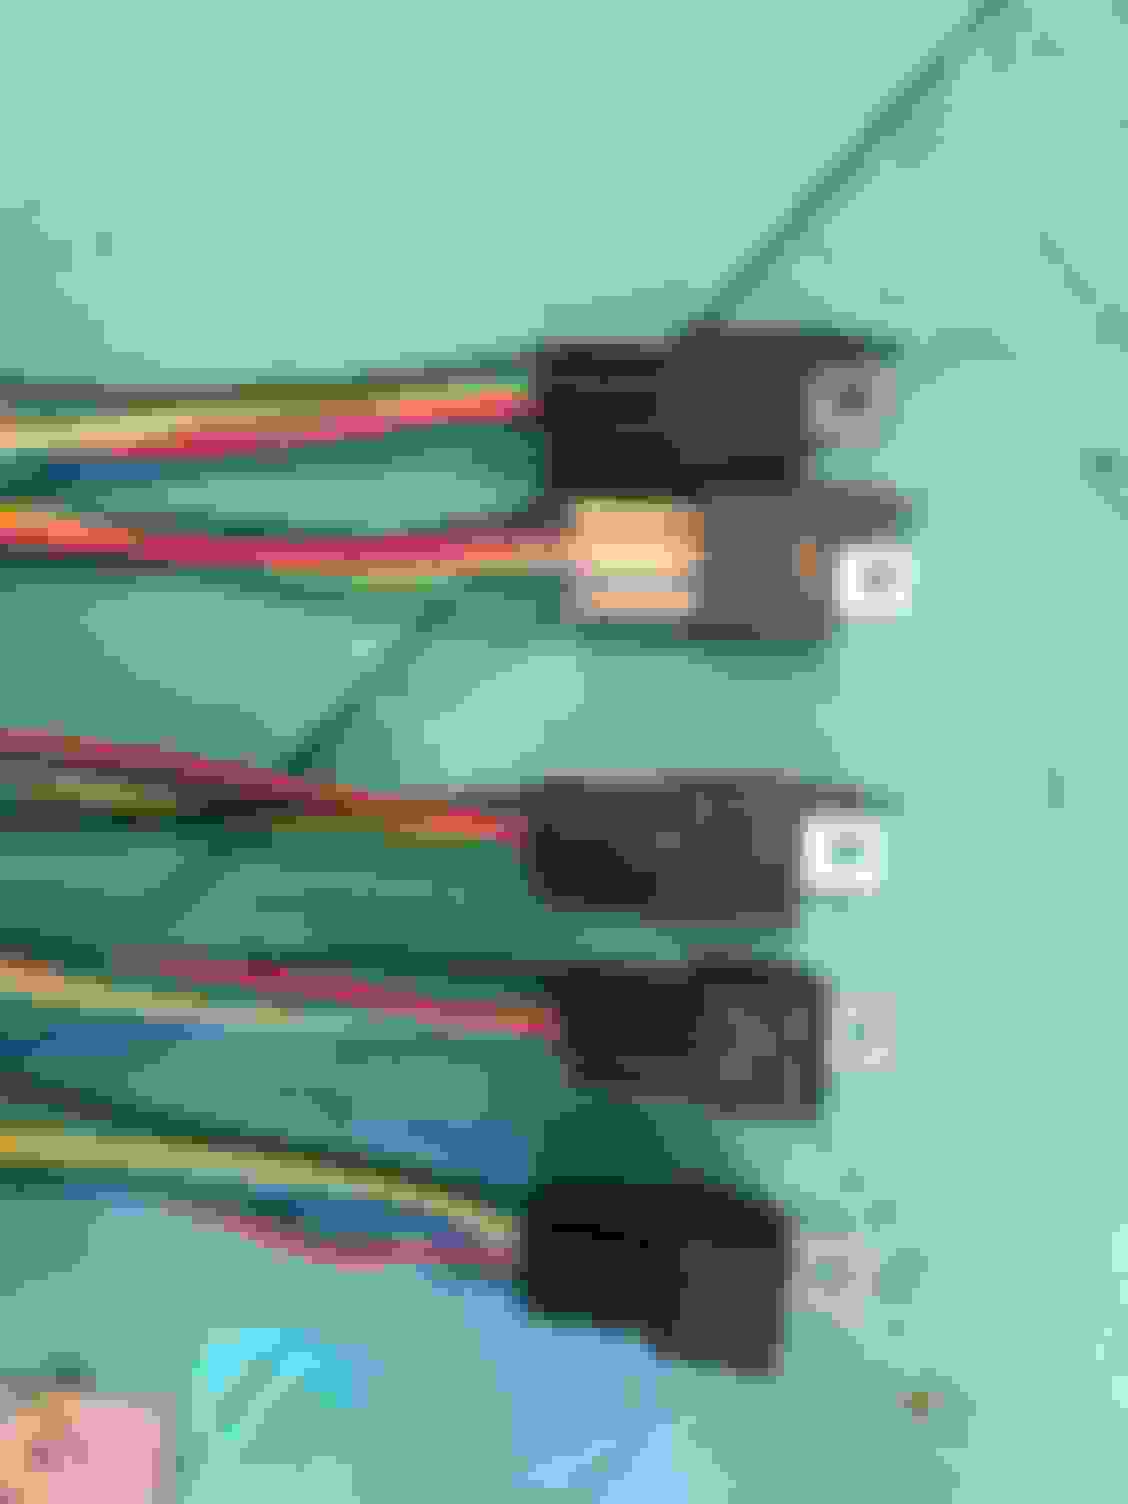
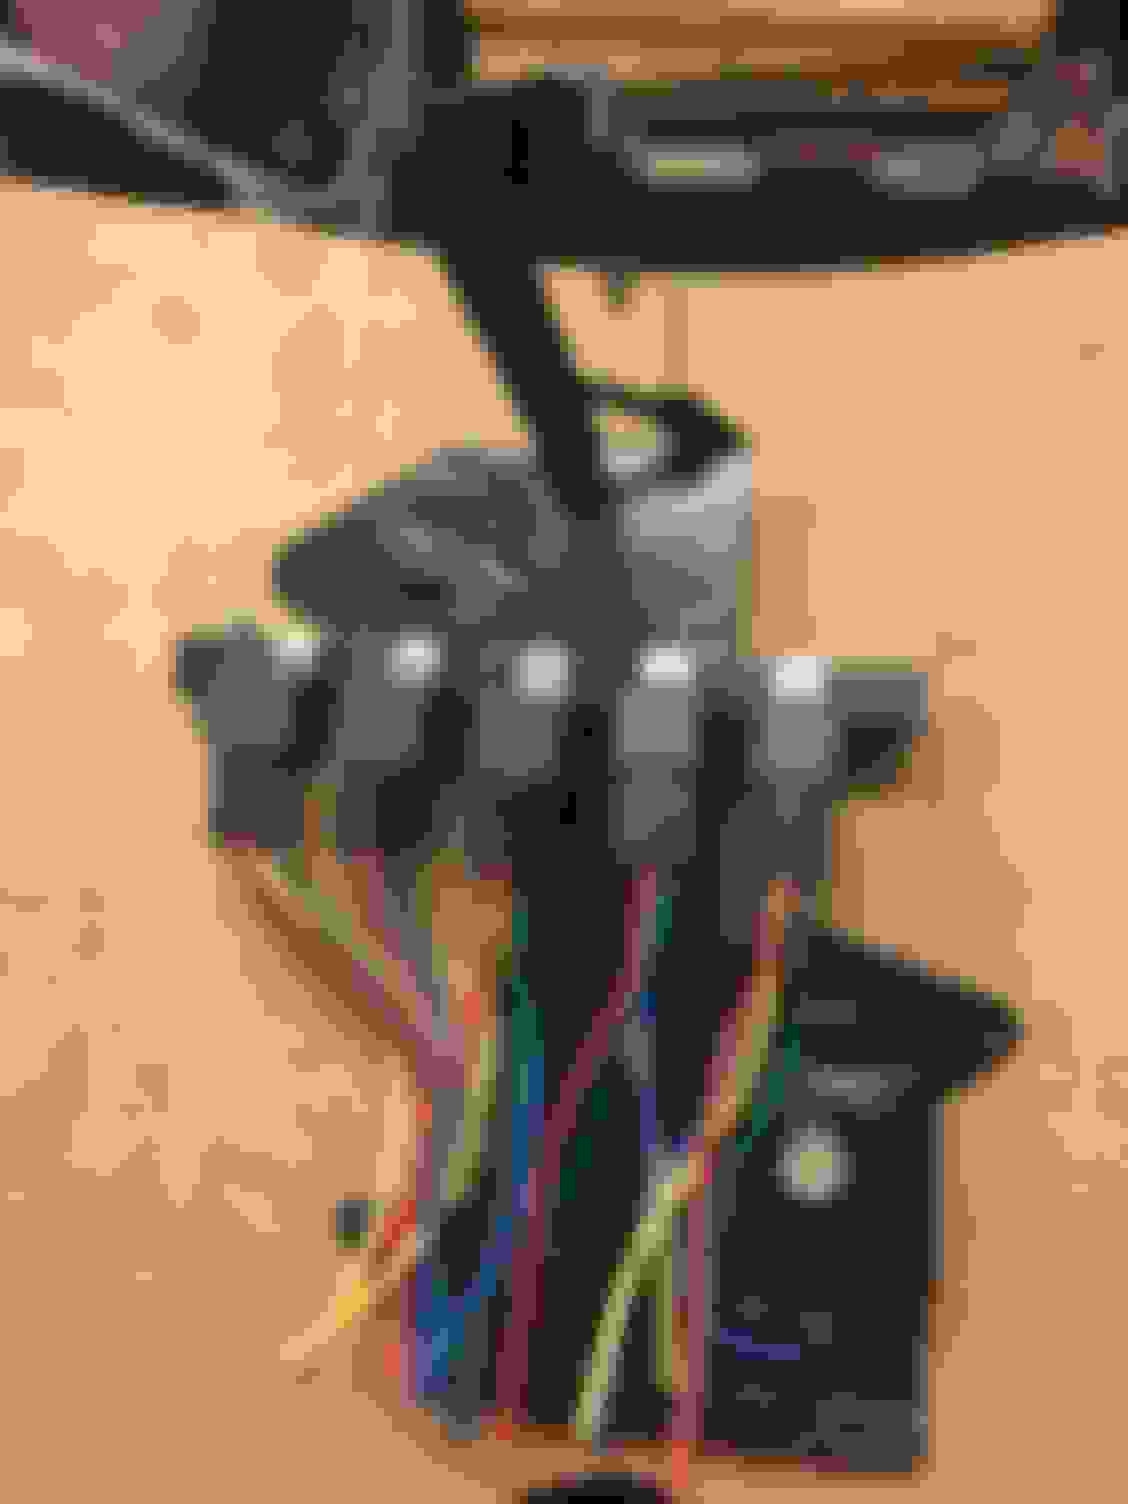
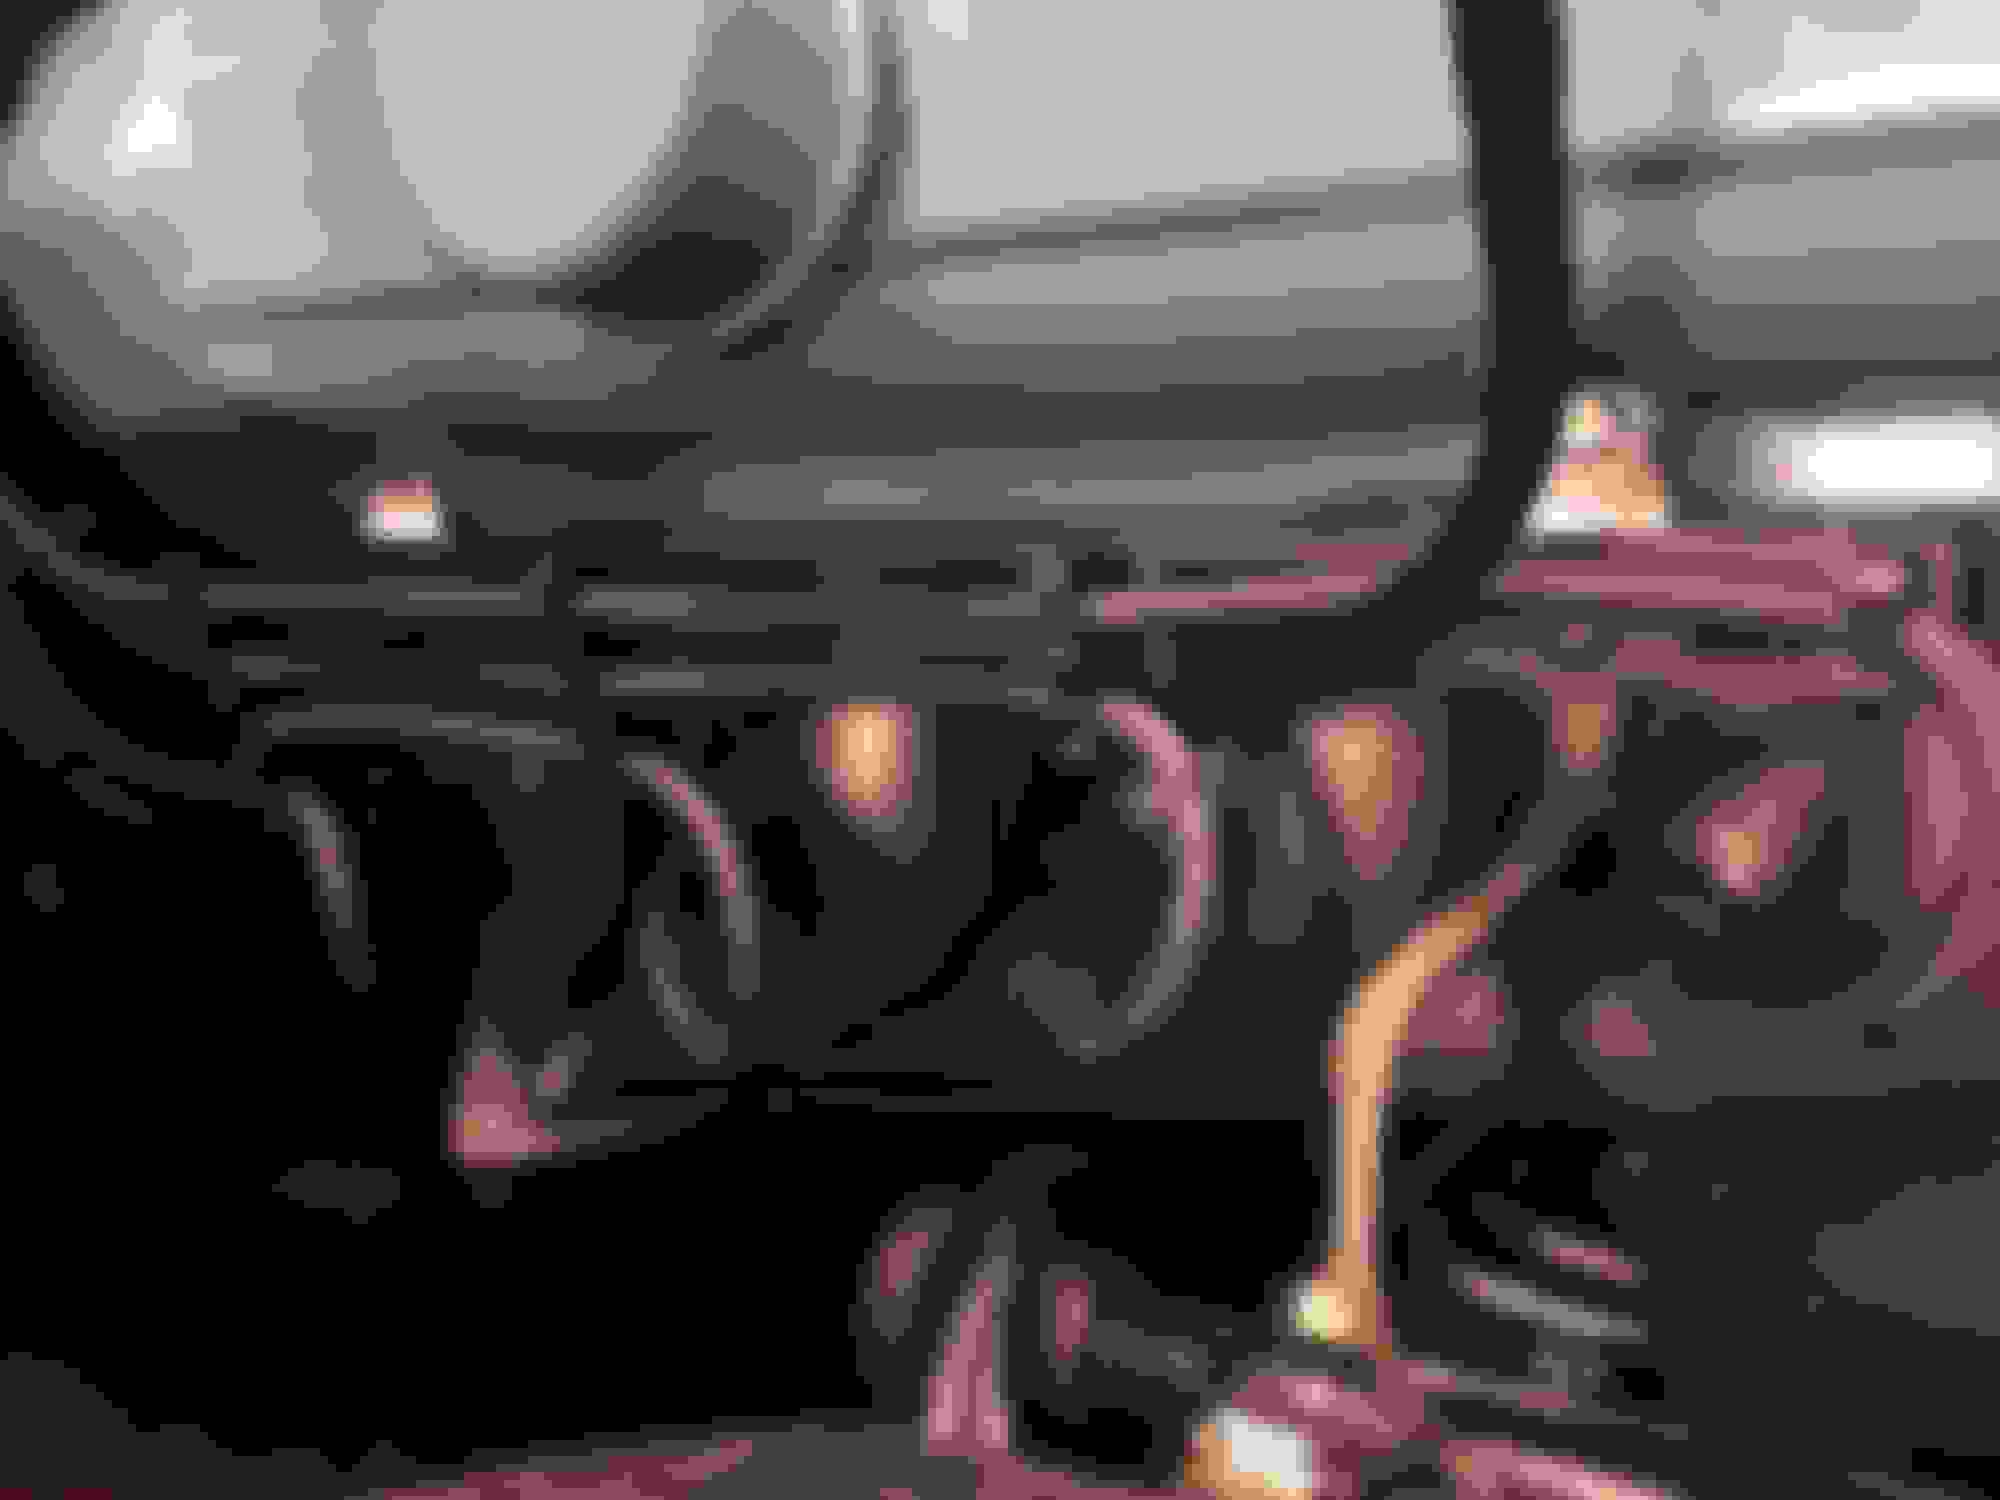
Funny to prepare the old cable,


All the cable are now fixed, ,and i will cover theme with hoses from painlessperformance


Any one who have a good idea, what should i use to cover this


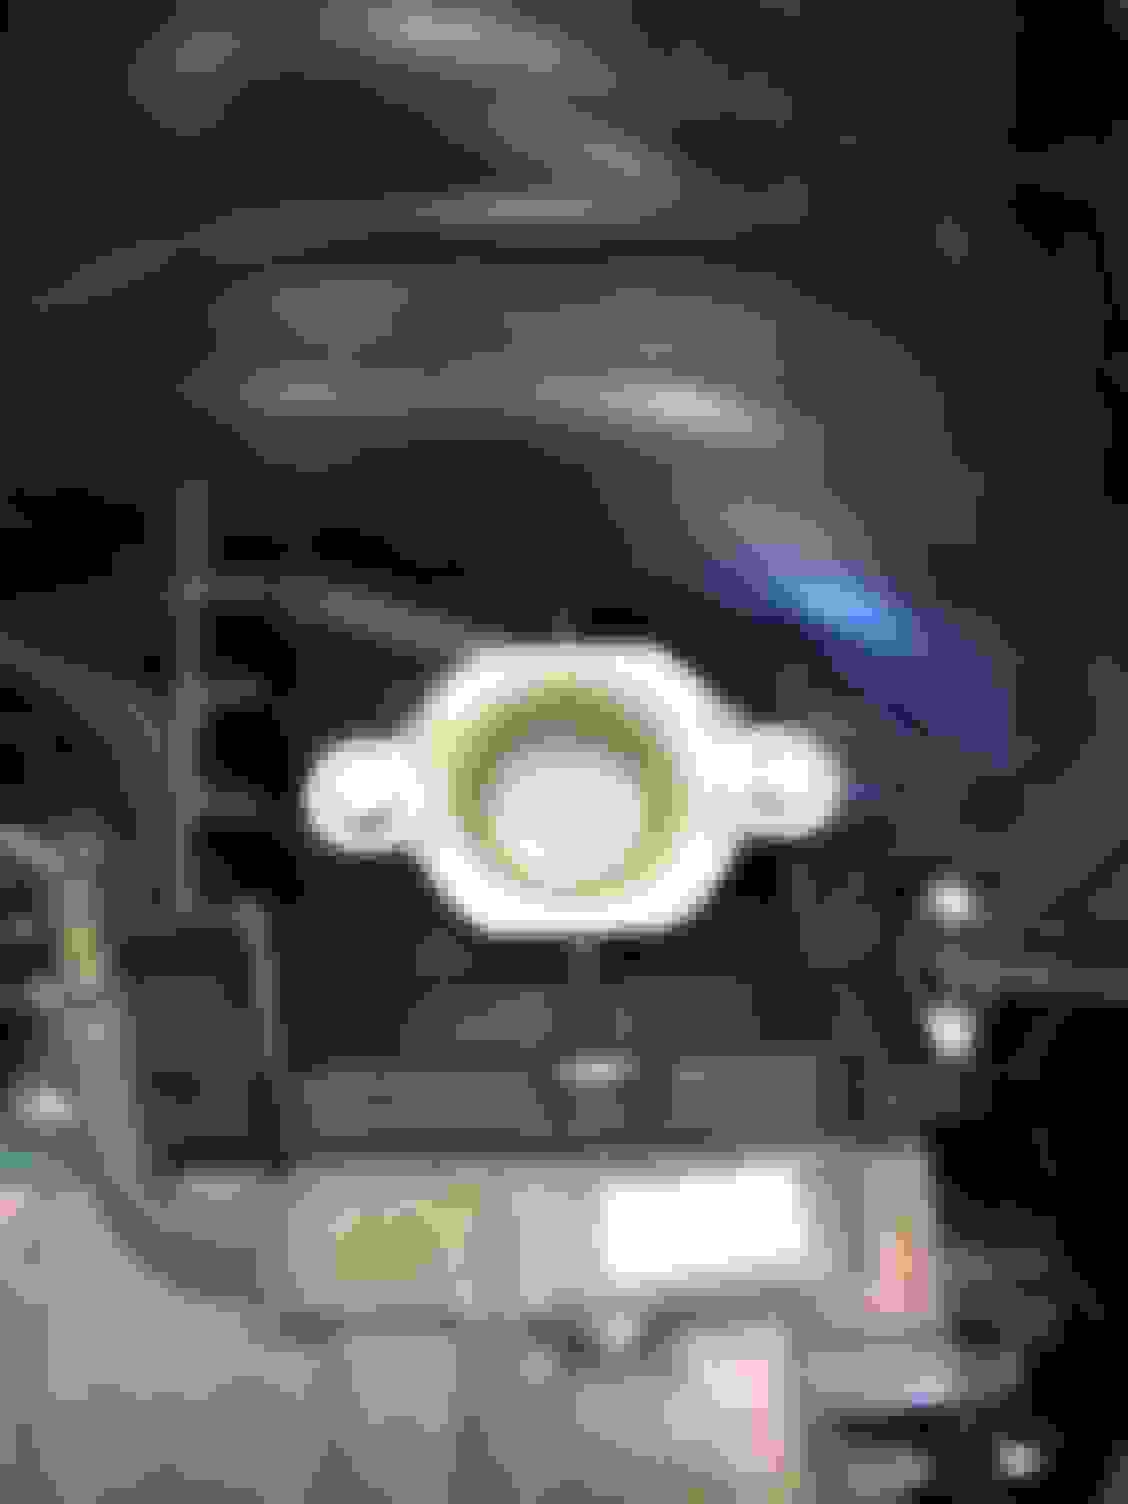
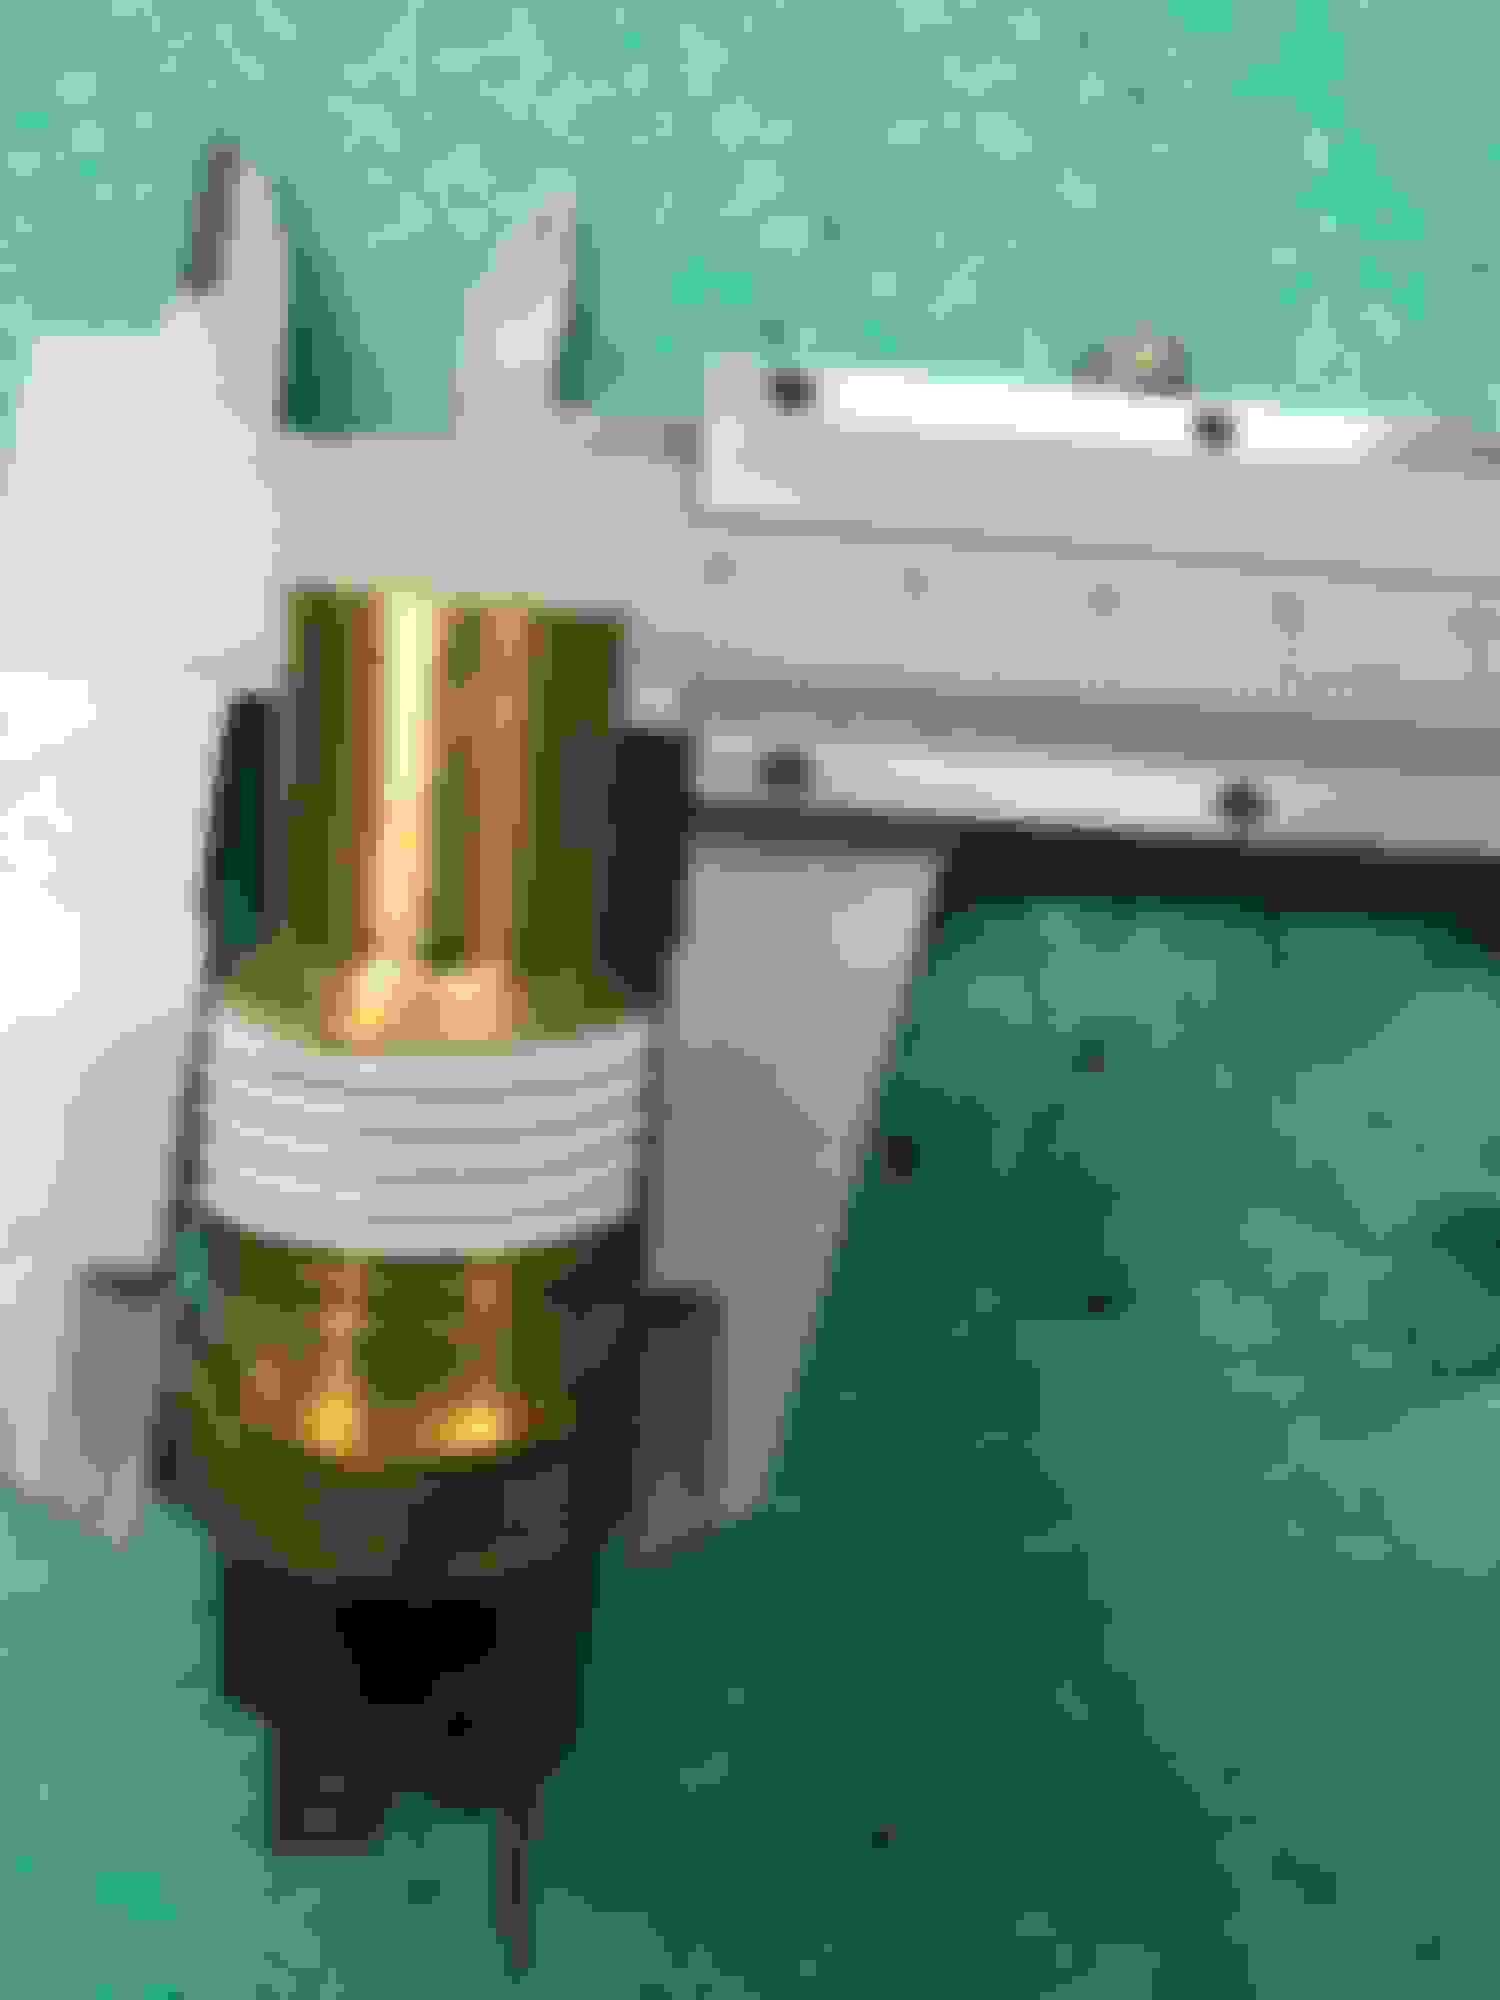
I fount this tempswitch, for mounting in the head, left side.


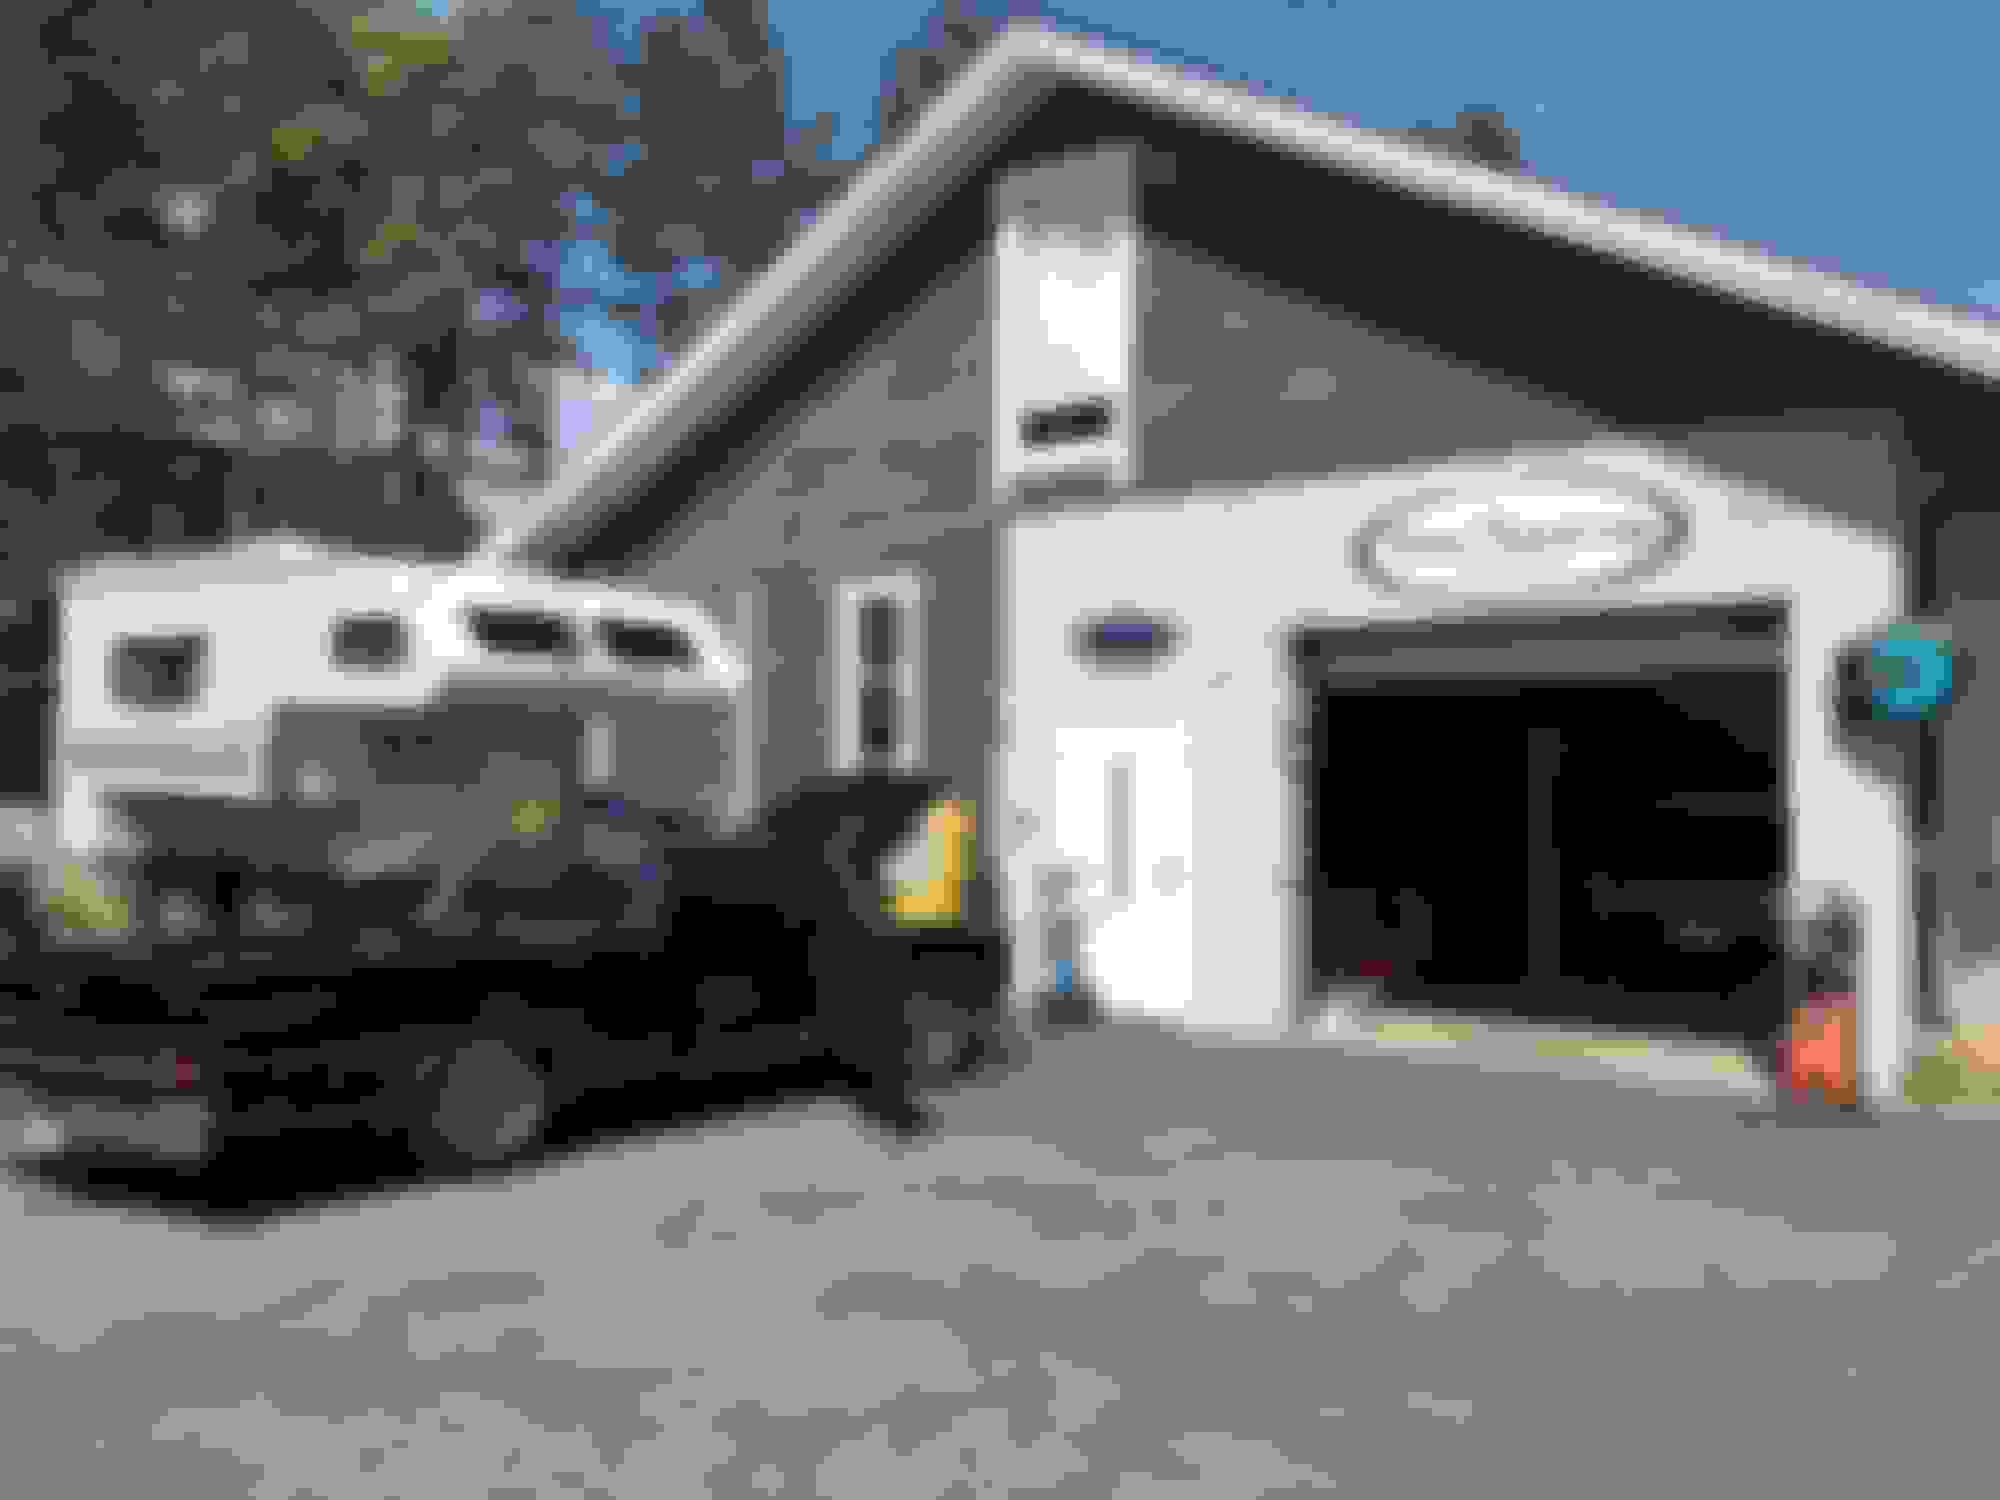
Was visiting Pro touring Norway today


Here is AN connection to trans line , and front of the fuel line


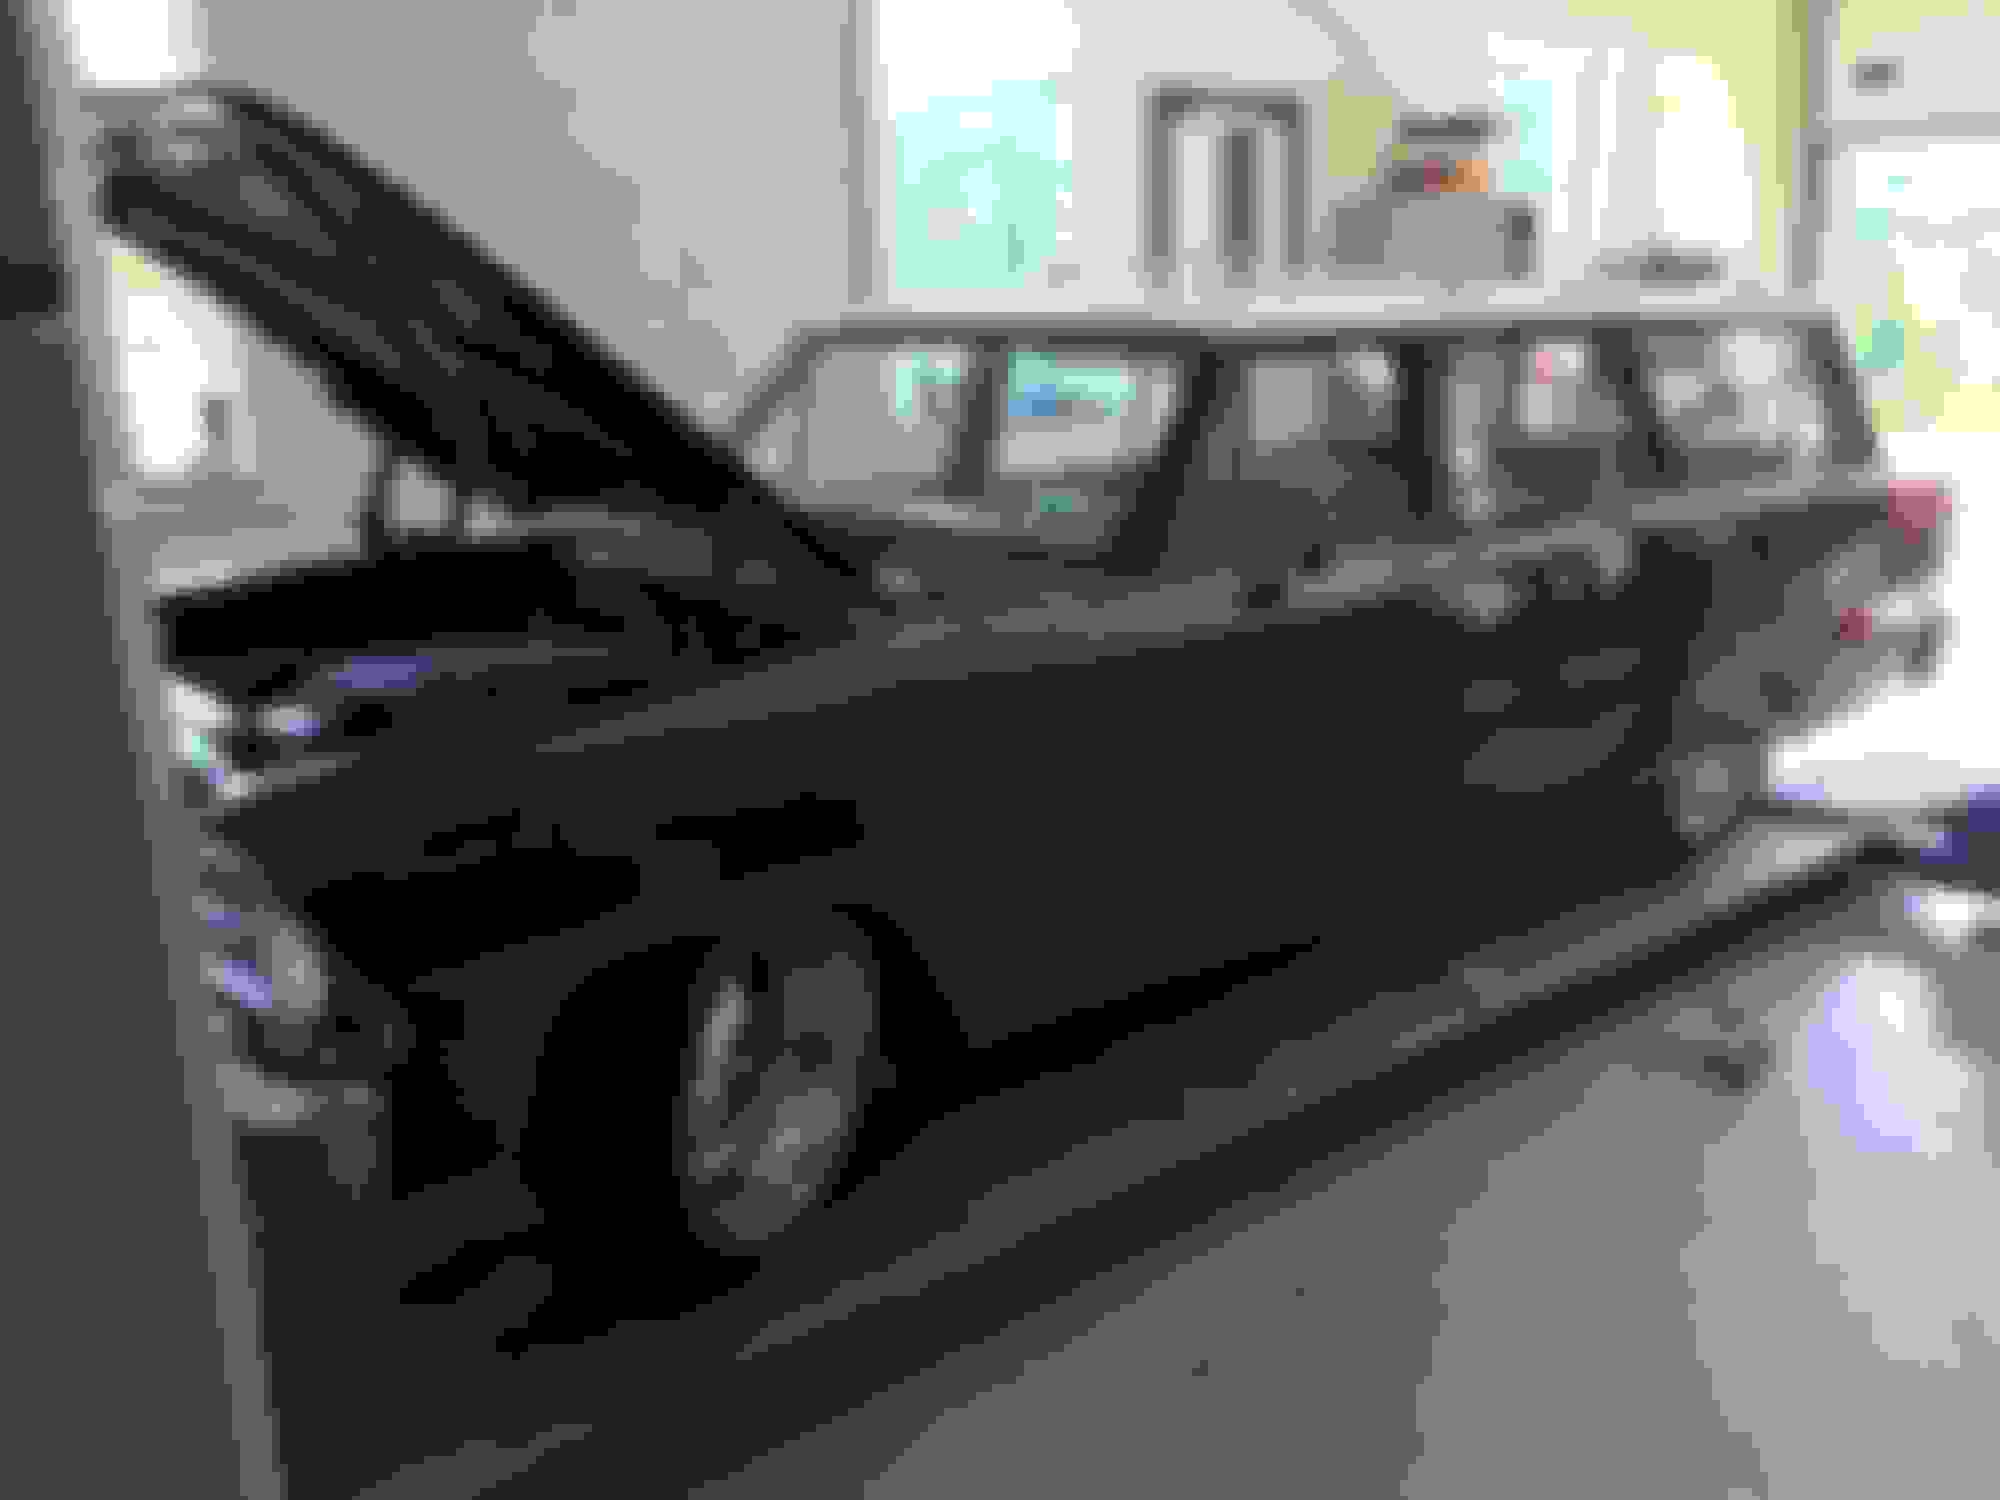
Owner of pro touring Norway have just build this Amazing Nova wagon. A real pro touring car with LT1 engine form 2014
Old 07-27-2018, 02:17 PM
  #42  
Staging Lane
Thread Starter
 
Tarjaei's Avatar
 
Join Date: Nov 2016
Location: Telemark,Norway
Posts: 55
Likes: 0
Received 6 Likes on 5 Posts
Default Slow progress #6


Homemade oil liner


buddy Tor jakob is a good pipe fitter..


I fount some AN connection with side outlet for minimal space


ready for cooler


45 mm hole need a biog grommet, or perhaps i make something self


R1/4 thread to the temp switch


Here is a tank to Catalina . It is shorter than Bonneville, but it seems to work


Before i monted thank, i mounted some lead mats for less noice..


new tank mounted


Soon ready for semething new
Old 07-28-2018, 03:18 PM
  #43  
TECH Enthusiast
 
Tramminc's Avatar
 
Join Date: Jul 2010
Location: Florida
Posts: 580
Received 26 Likes on 21 Posts

Default

Where did you get the body mounts?
Old 07-29-2018, 10:28 AM
  #44  
Staging Lane
Thread Starter
 
Tarjaei's Avatar
 
Join Date: Nov 2016
Location: Telemark,Norway
Posts: 55
Likes: 0
Received 6 Likes on 5 Posts
Default

https://www.rockauto.com/en/moreinfo...=1379976&jsn=3
Old 08-13-2018, 04:46 PM
  #45  
Staging Lane
Thread Starter
 
Tarjaei's Avatar
 
Join Date: Nov 2016
Location: Telemark,Norway
Posts: 55
Likes: 0
Received 6 Likes on 5 Posts
Default Progress and small steps

Get some garage time just after holiday, and some small step when and then
Next step now is to make all electrical finished, and connect all the cable to the ecu before i place the engine in car.


Homemade bracket for relay and fuse box


A bracket make necesarry space to bbrake/steering bracket


extended cabel to gas pedal


much homemade here.. When i get optimalised the position i think it need to be reinforced..


Coil and bracket fasten to firewall.


Time for painting the coils and bracket. Bracket is reuse from the original valve cover bracket..


Old 09-02-2018, 04:39 PM
  #46  
Staging Lane
Thread Starter
 
Tarjaei's Avatar
 
Join Date: Nov 2016
Location: Telemark,Norway
Posts: 55
Likes: 0
Received 6 Likes on 5 Posts
Default


Check list for the cable work is done.. Good feeling to see this "todo" post...


Nice to have.. An old under dash harnes to a 70`s Buick , . Cable.. connector..make this instalation easier for me


i found a nice place under dash for the speedo x box.. I understand it will be som adjusting here before it show correct mph..


here i mount a relay to the starter.We live in 2018 now..


As near as cable to fan, mostly should be innstalled now. I need to clean up/ adjust. I plan to make a cover to hide this homemade installation..


Gauges turn to driver...

Old 10-27-2018, 02:27 PM
  #47  
Staging Lane
Thread Starter
 
Tarjaei's Avatar
 
Join Date: Nov 2016
Location: Telemark,Norway
Posts: 55
Likes: 0
Received 6 Likes on 5 Posts
Default Slow progress go forward !!

As i have write many times i have 2 challenges.. 1. My Garage time is limited 2. I want to do so much as possible self. Since last i do something "underwear" and mount upgrade sway bar front 1 1/8 inch,and adjustable koni shocks. The engine and parts is painted, and today i drop the engine to the car.


Old 10-28-2018, 03:14 PM
  #48  
Staging Lane
Thread Starter
 
Tarjaei's Avatar
 
Join Date: Nov 2016
Location: Telemark,Norway
Posts: 55
Likes: 0
Received 6 Likes on 5 Posts
Default More Garage time....


Old 10-28-2018, 03:33 PM
  #49  
TECH Senior Member
iTrader: (7)
 
Project GatTagO's Avatar
 
Join Date: Mar 2003
Location: The City of Fountains
Posts: 10,155
Received 1,434 Likes on 904 Posts

Default

Love your attention to detail! Now do something about that yellow dip stick handle. :-)

Andrew
Old 10-28-2018, 03:37 PM
  #50  
Staging Lane
Thread Starter
 
Tarjaei's Avatar
 
Join Date: Nov 2016
Location: Telemark,Norway
Posts: 55
Likes: 0
Received 6 Likes on 5 Posts
Default

i promisse.. I look at i today.. decide that i have to find a better looking handle,,
Old 10-30-2018, 12:32 PM
  #51  
TECH Fanatic
iTrader: (27)
 
ryeguy2006a's Avatar
 
Join Date: Apr 2012
Location: Ruckersville, VA
Posts: 1,961
Received 532 Likes on 336 Posts

Default

Great project and I second your attention to detail. Very clean engine bay.
Old 11-04-2018, 06:16 PM
  #52  
Staging Lane
 
Advanced Design's Avatar
 
Join Date: Mar 2014
Location: Oblong, IL
Posts: 66
Likes: 0
Received 0 Likes on 0 Posts
Default

Impressive! Really like the look and you’ve captured how it would be if factory had done that originally. Well done!
Old 11-17-2018, 08:48 AM
  #53  
Staging Lane
Thread Starter
 
Tarjaei's Avatar
 
Join Date: Nov 2016
Location: Telemark,Norway
Posts: 55
Likes: 0
Received 6 Likes on 5 Posts
Default


I havent done anything with Air intake, or intake pipe/filter
I have look at difference kit, but i have no experience with this, and perhaps some of the forum member ave any pict or advice, how to do this smoothy
I think it will be best to buy pipe for welding and modify self.. My plan is to take the air inlet out, forward innerfender at pass side. Perhaps make a shield
If someone have some tips, where and best stuff to buy i will enjoy that...

Last edited by Tarjaei; 11-17-2018 at 04:50 PM. Reason: new pict
Old 12-04-2018, 05:15 PM
  #54  
TECH Enthusiast
 
Tramminc's Avatar
 
Join Date: Jul 2010
Location: Florida
Posts: 580
Received 26 Likes on 21 Posts

Default

It's allot more nearer than mine.
Old 12-04-2018, 06:02 PM
  #55  
Teching In
 
1962Cat's Avatar
 
Join Date: Sep 2018
Location: Hermiston, OR
Posts: 9
Likes: 0
Received 0 Likes on 0 Posts
Default

Just saw your thread. Very impressive. There probably aren't many of these going into Pontiacs!

You make me wish I had painted mine pontiac engine blue.

(I am putting an LM7 into a 1962 Catalina convertible)
Old 12-05-2018, 07:28 AM
  #56  
TECH Enthusiast
 
Tramminc's Avatar
 
Join Date: Jul 2010
Location: Florida
Posts: 580
Received 26 Likes on 21 Posts

Default

I may have missed it but where did you find the gas tank?
Old 01-05-2019, 02:29 PM
  #57  
Staging Lane
Thread Starter
 
Tarjaei's Avatar
 
Join Date: Nov 2016
Location: Telemark,Norway
Posts: 55
Likes: 0
Received 6 Likes on 5 Posts
Default

Sorry for late reply,,, I use this http://www.tanksinc.com/index.cfm/pa...rod/prd421.htm
It is 4" shorter, but i use this place for fuel filter etc


Old 01-05-2019, 04:12 PM
  #58  
Staging Lane
Thread Starter
 
Tarjaei's Avatar
 
Join Date: Nov 2016
Location: Telemark,Norway
Posts: 55
Likes: 0
Received 6 Likes on 5 Posts
Default Some days in the garage

I plan to do a lot of work in x-mas, but my body have other plan for me, and i was in bed with flu most of the last week in 2018...
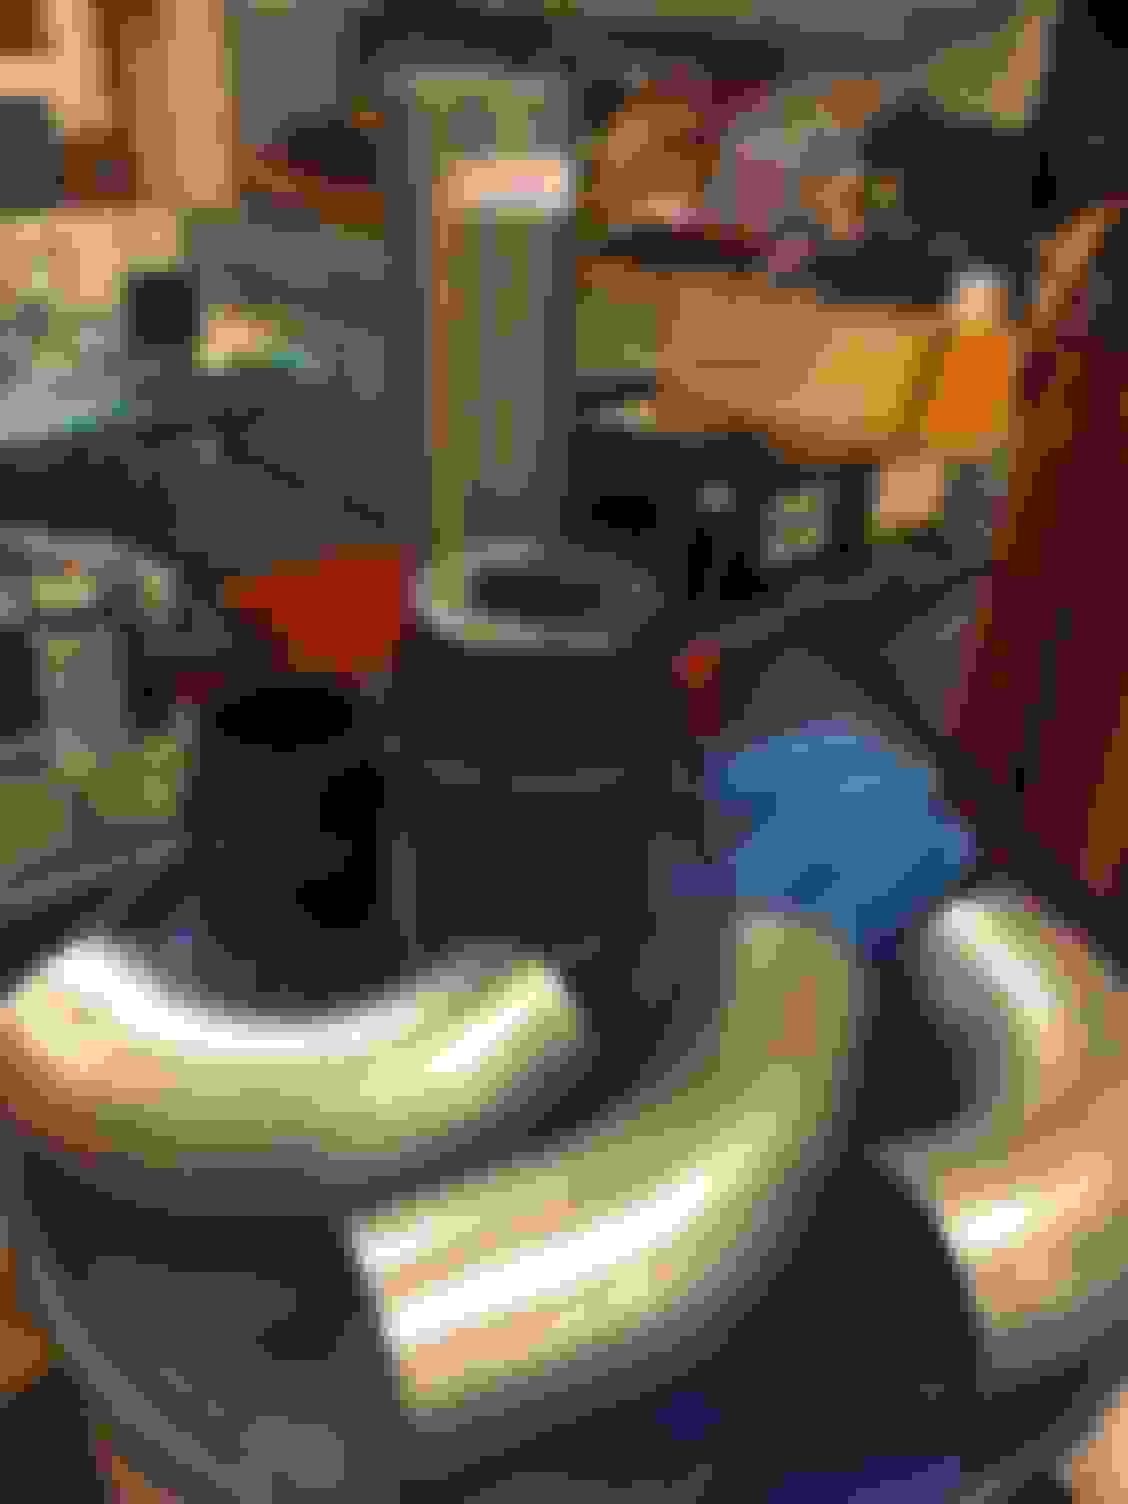
last days i have make an custom cold air intake. i use 4# exhaus pipe and bends. Enclosed is some pic\s with som comment below each pic.

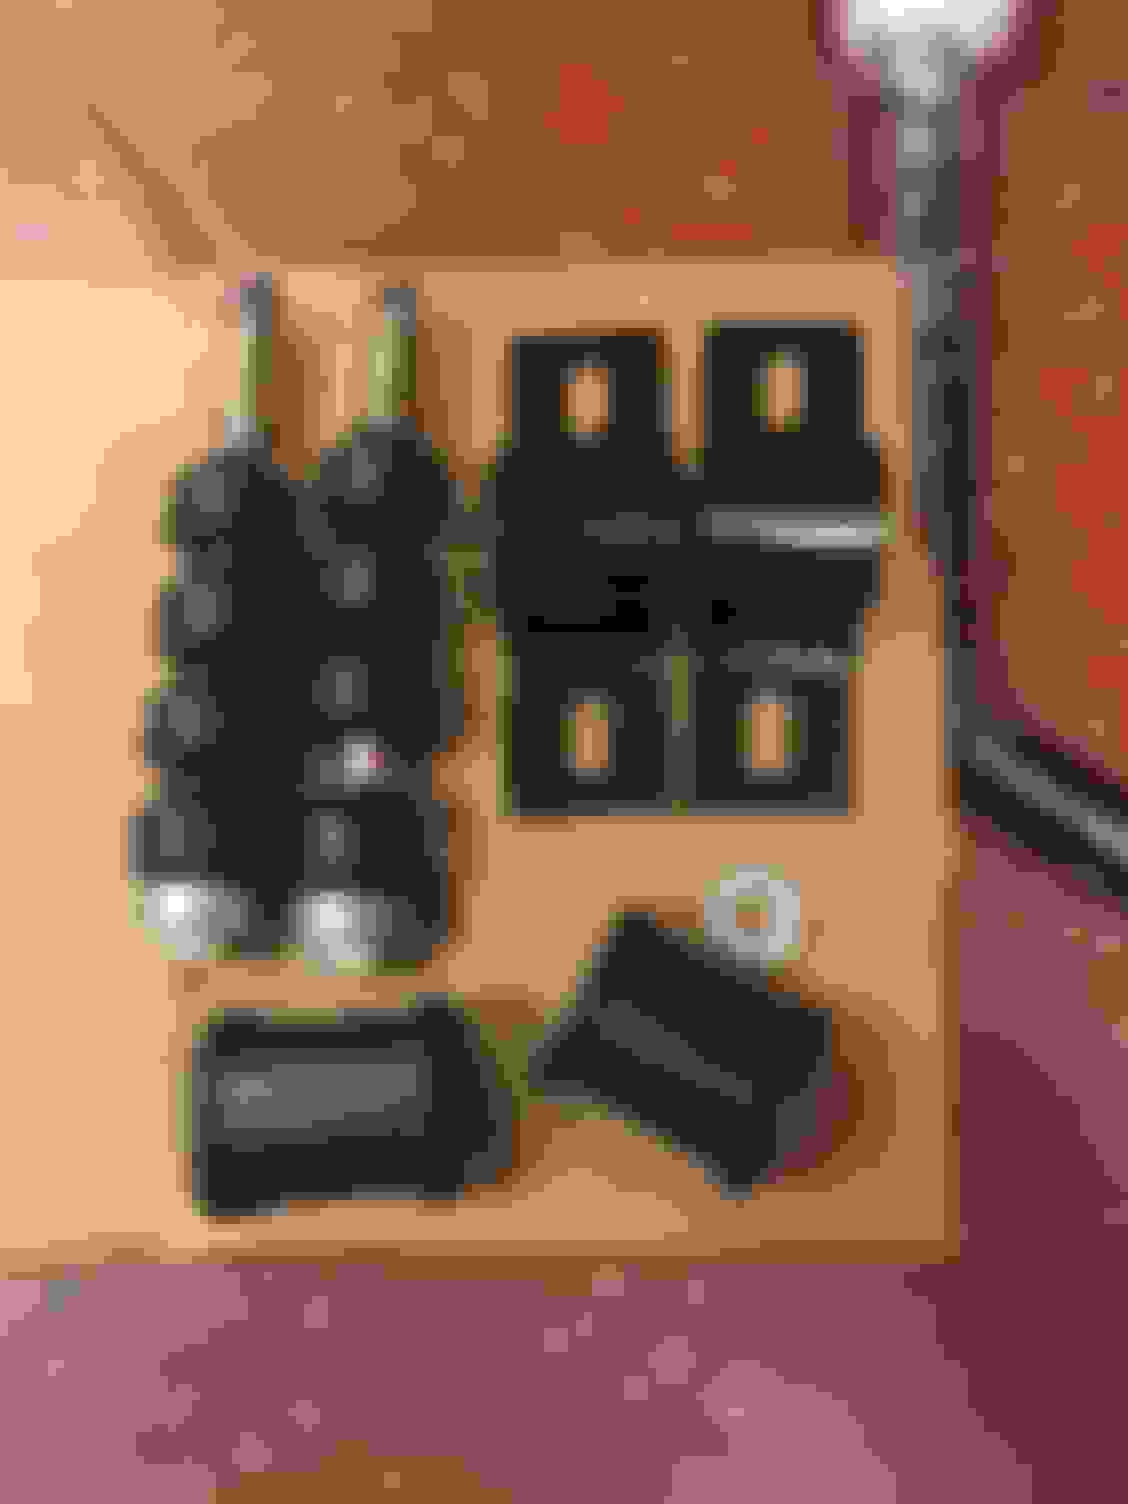
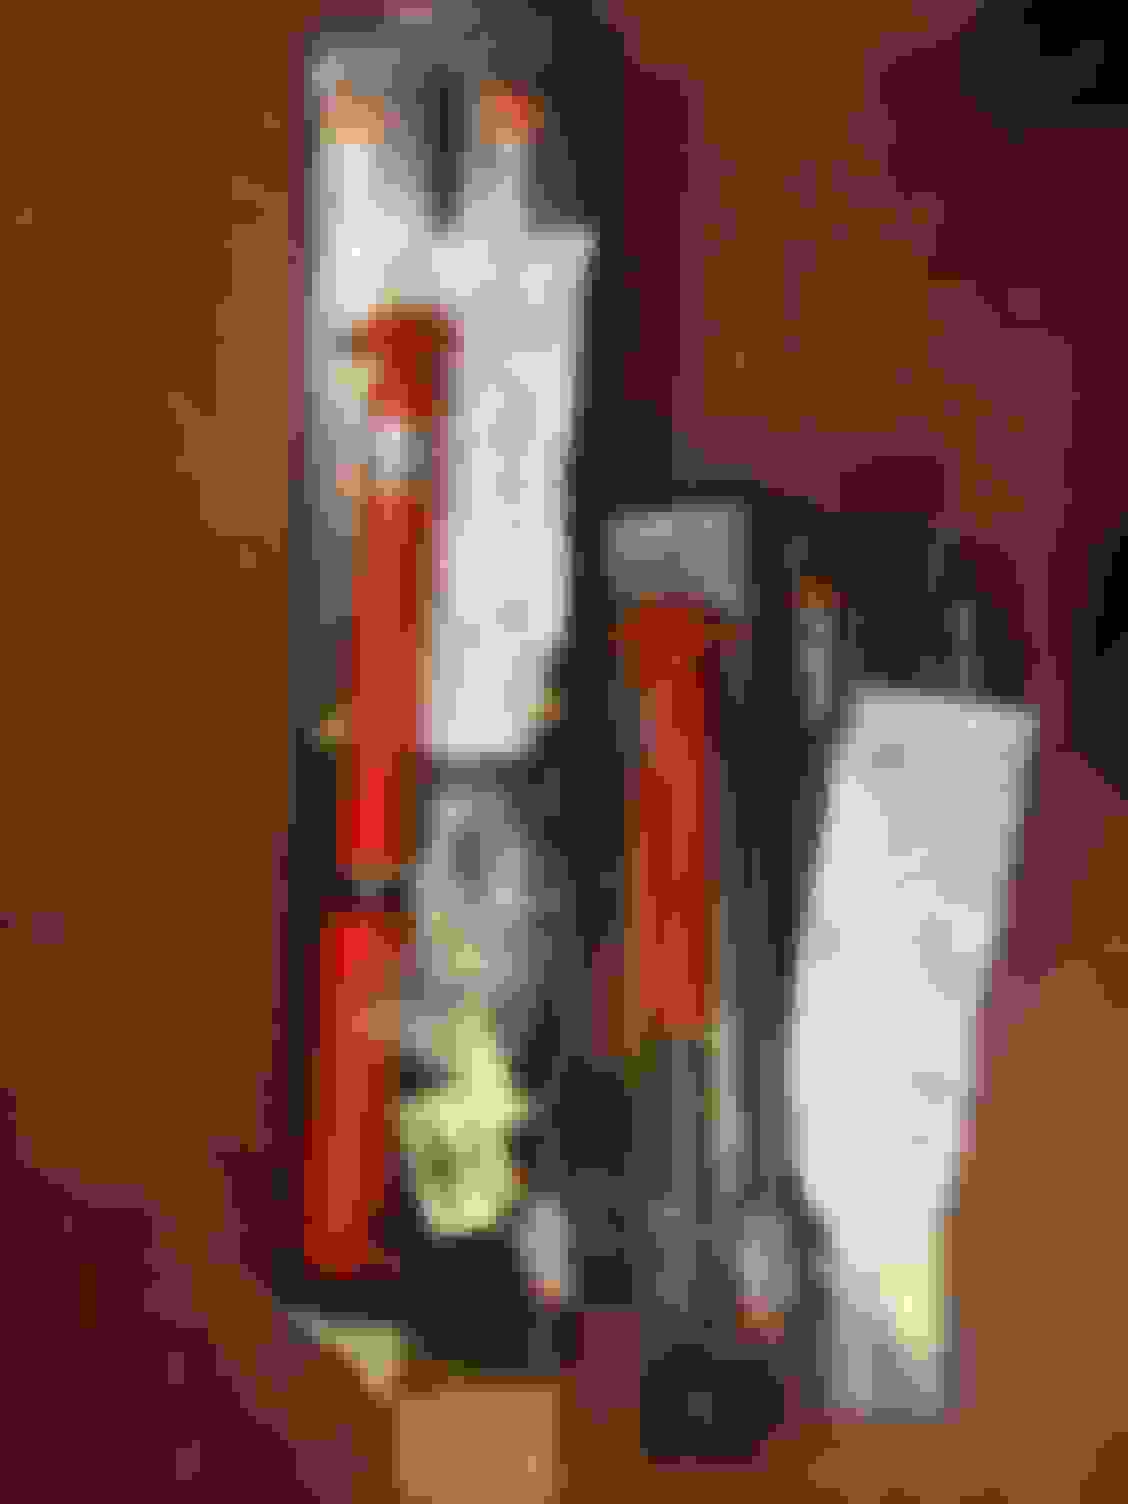
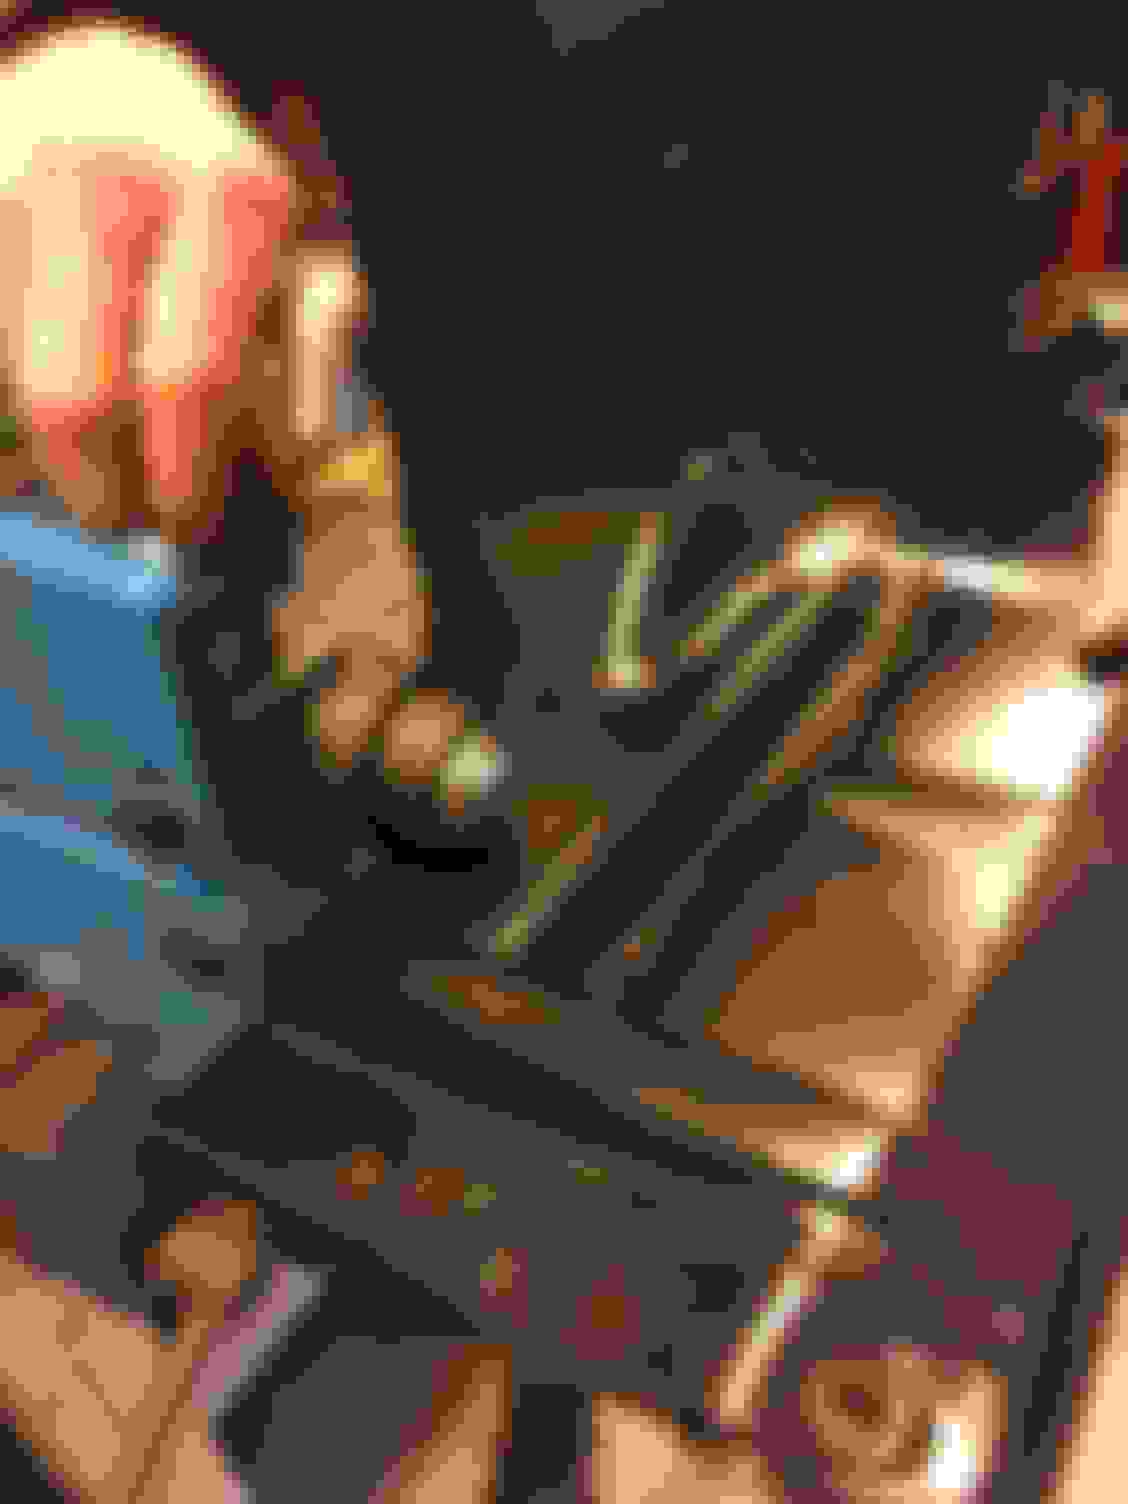
I found som universal spark plug holder... I use some grey senotherm paint from my stove shop...we have to see how it will look in 3 year..


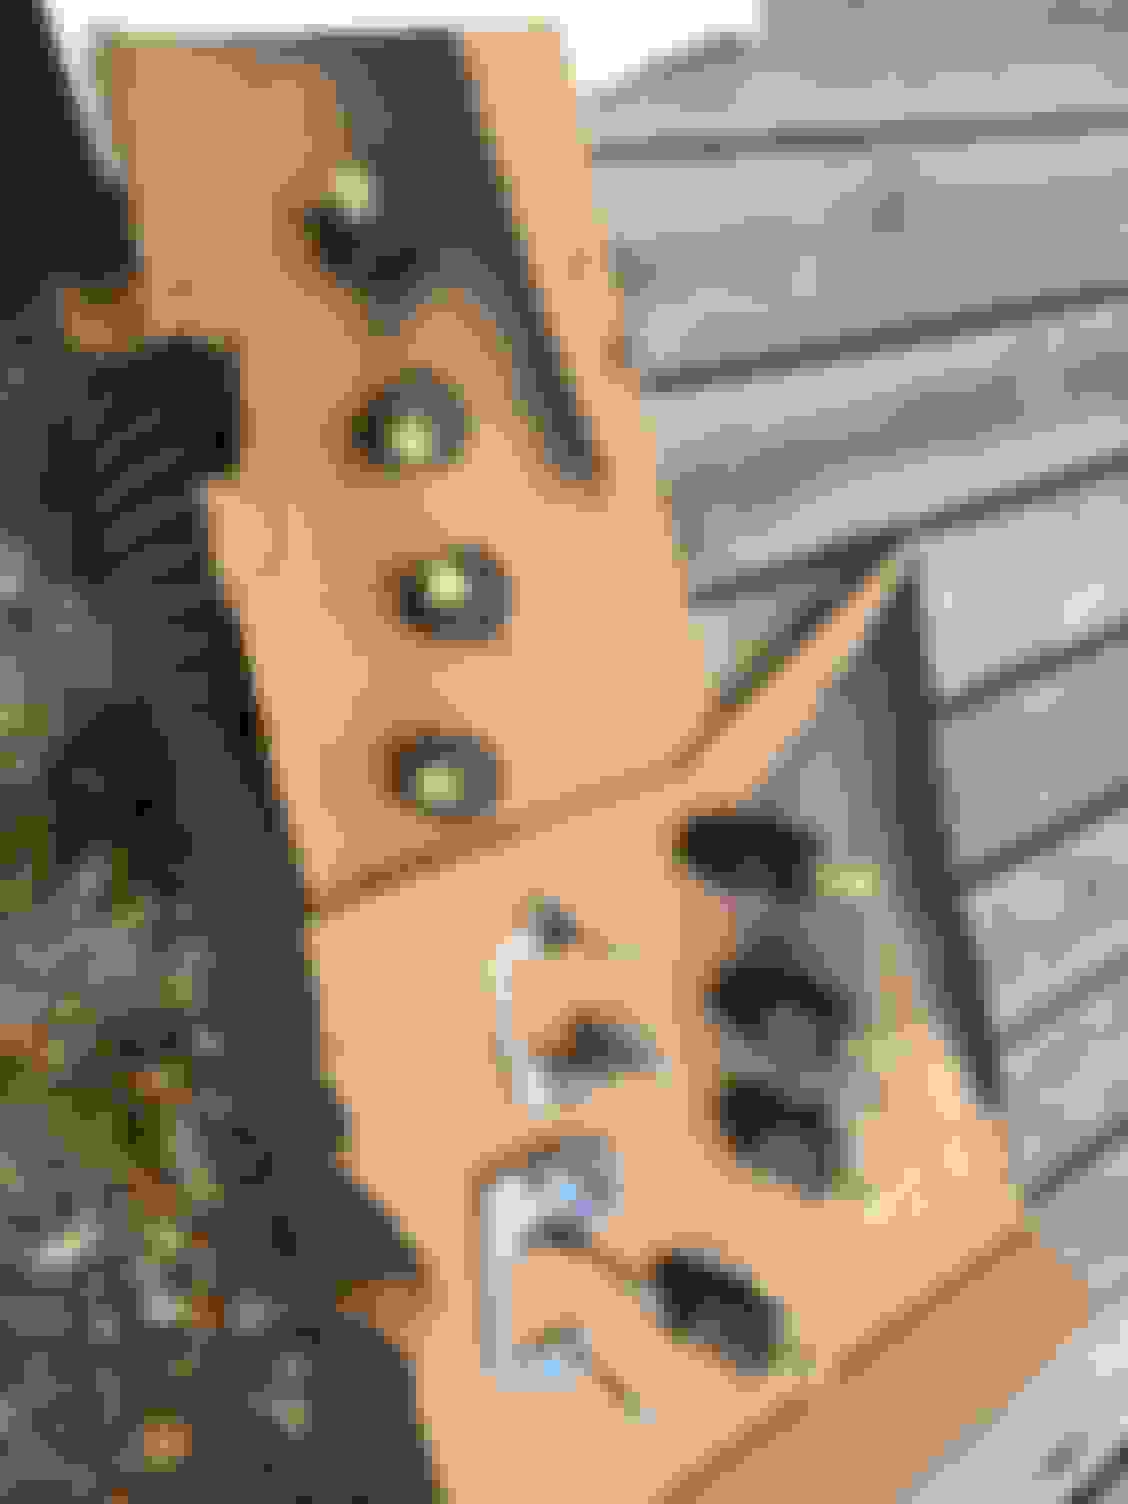
I use 4" exhaust bend pipe and bends to make cold air intake . After finishing i plan to paint it black, probably semi gloss


I found an Air filter with low building height here.... https://www.spectreperformance.com/s...aspx?prod=8161 . I place it between radiator support and grill


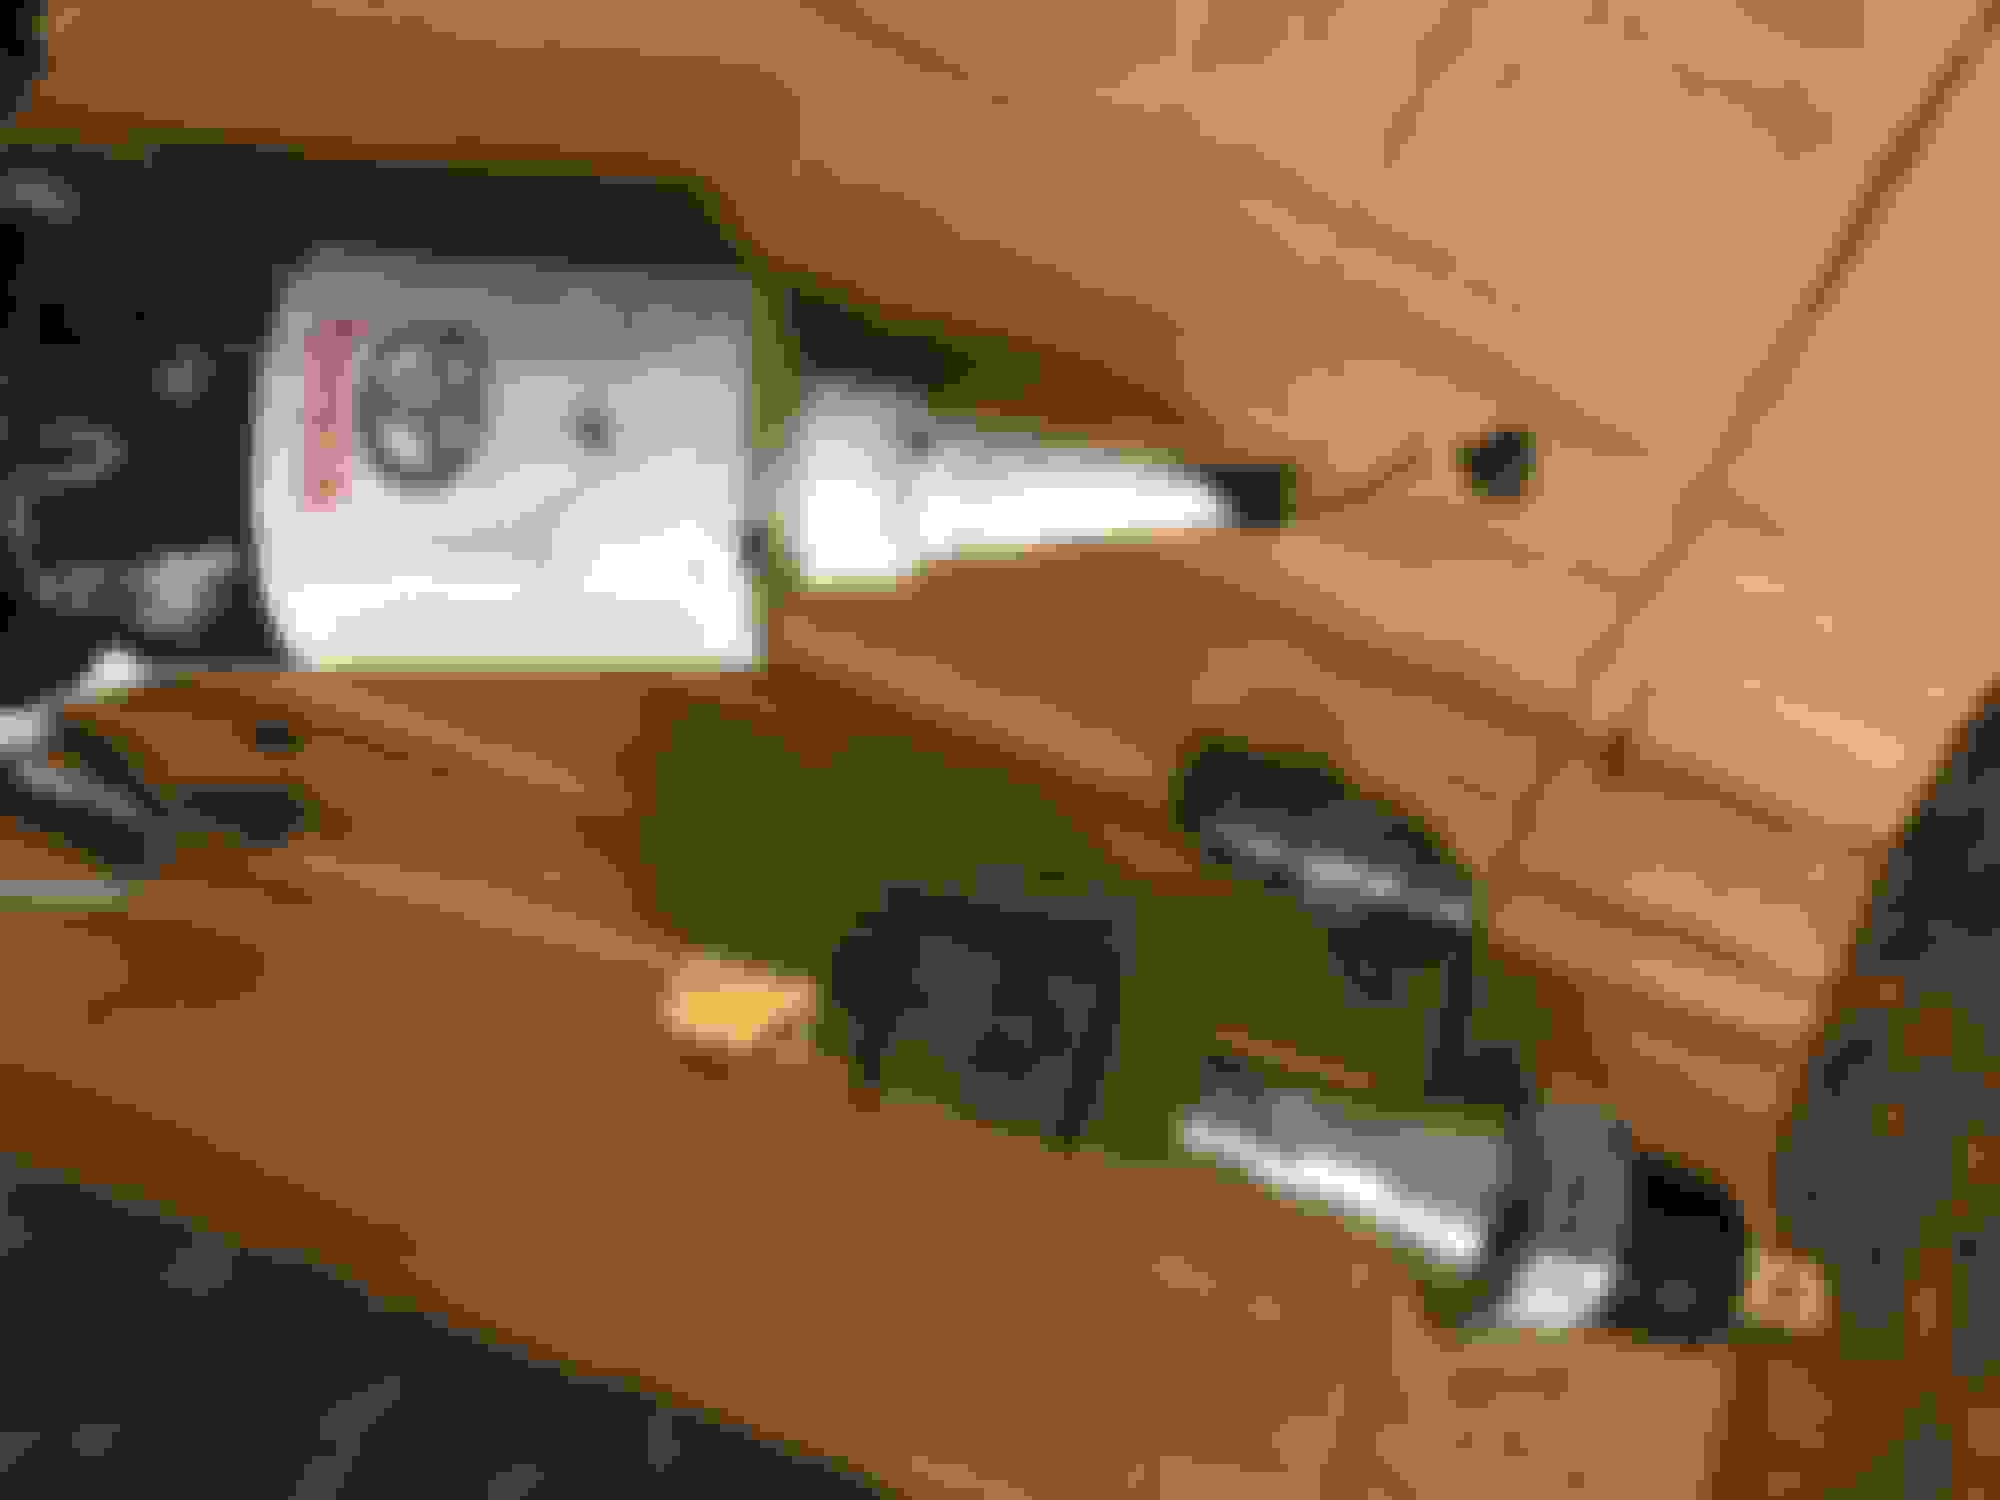
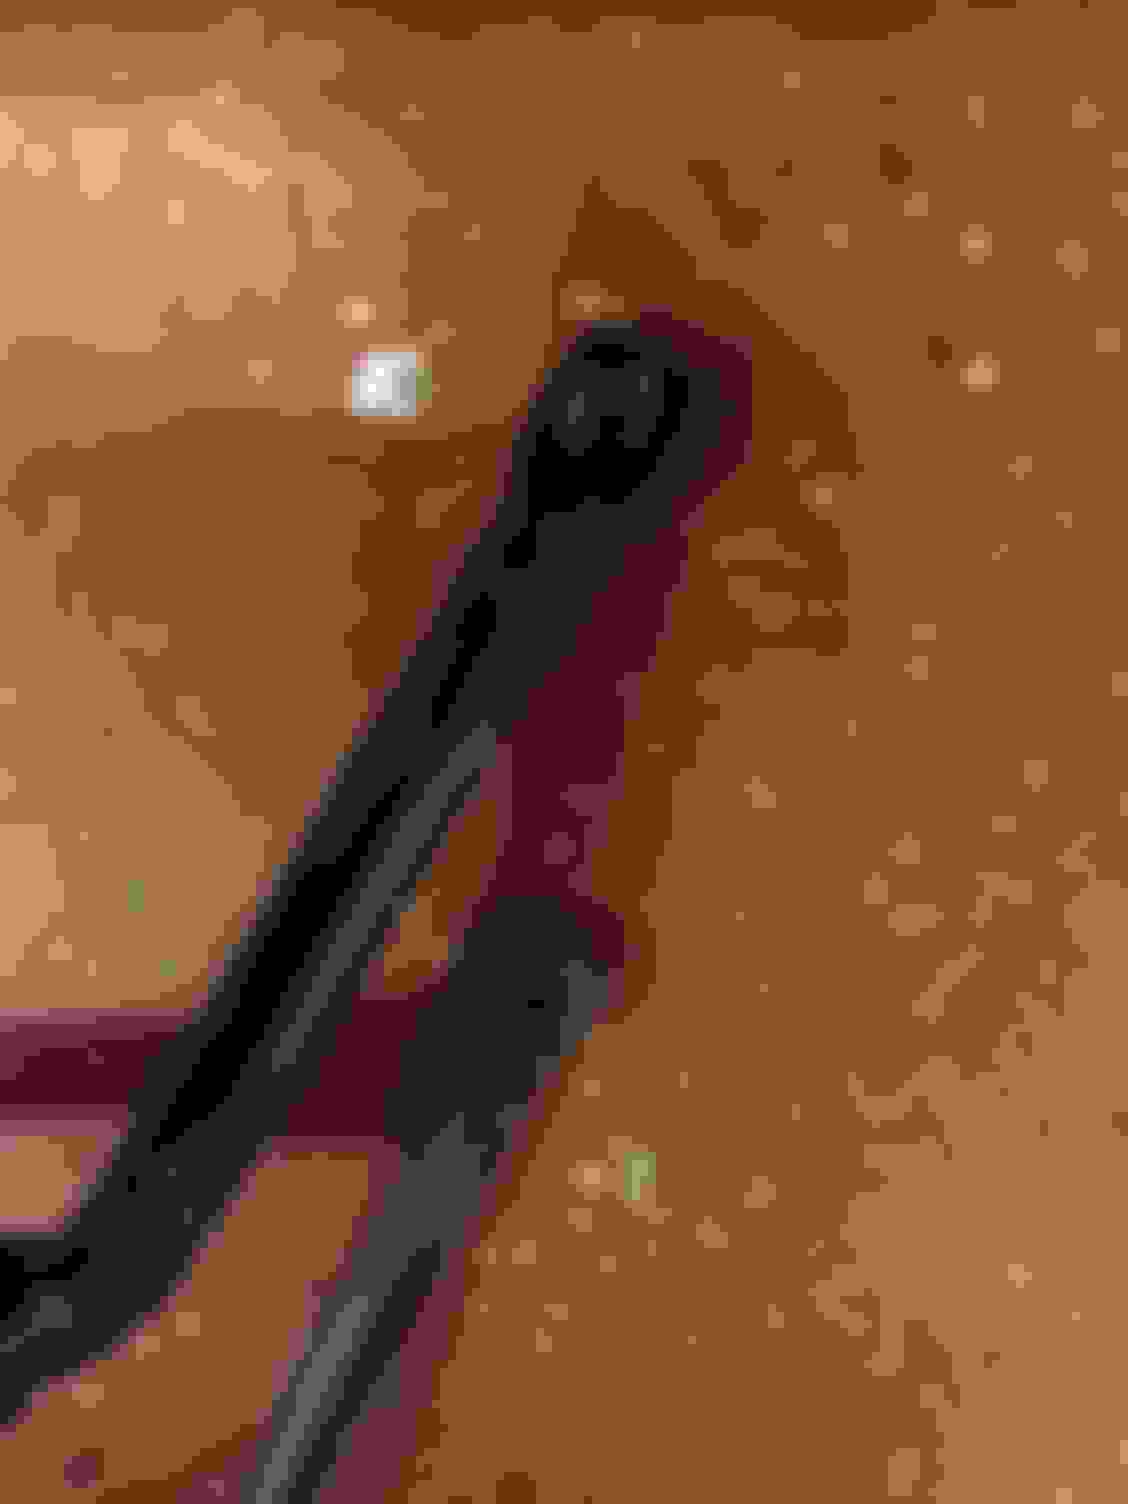
From MAF sensdor to steel pipe, i plan to use the rubber below from the original LQ9 intake. The main question is about it is enaugh to offset the vibration ,,


Next step is to make som holder or bracket to the Air filter..


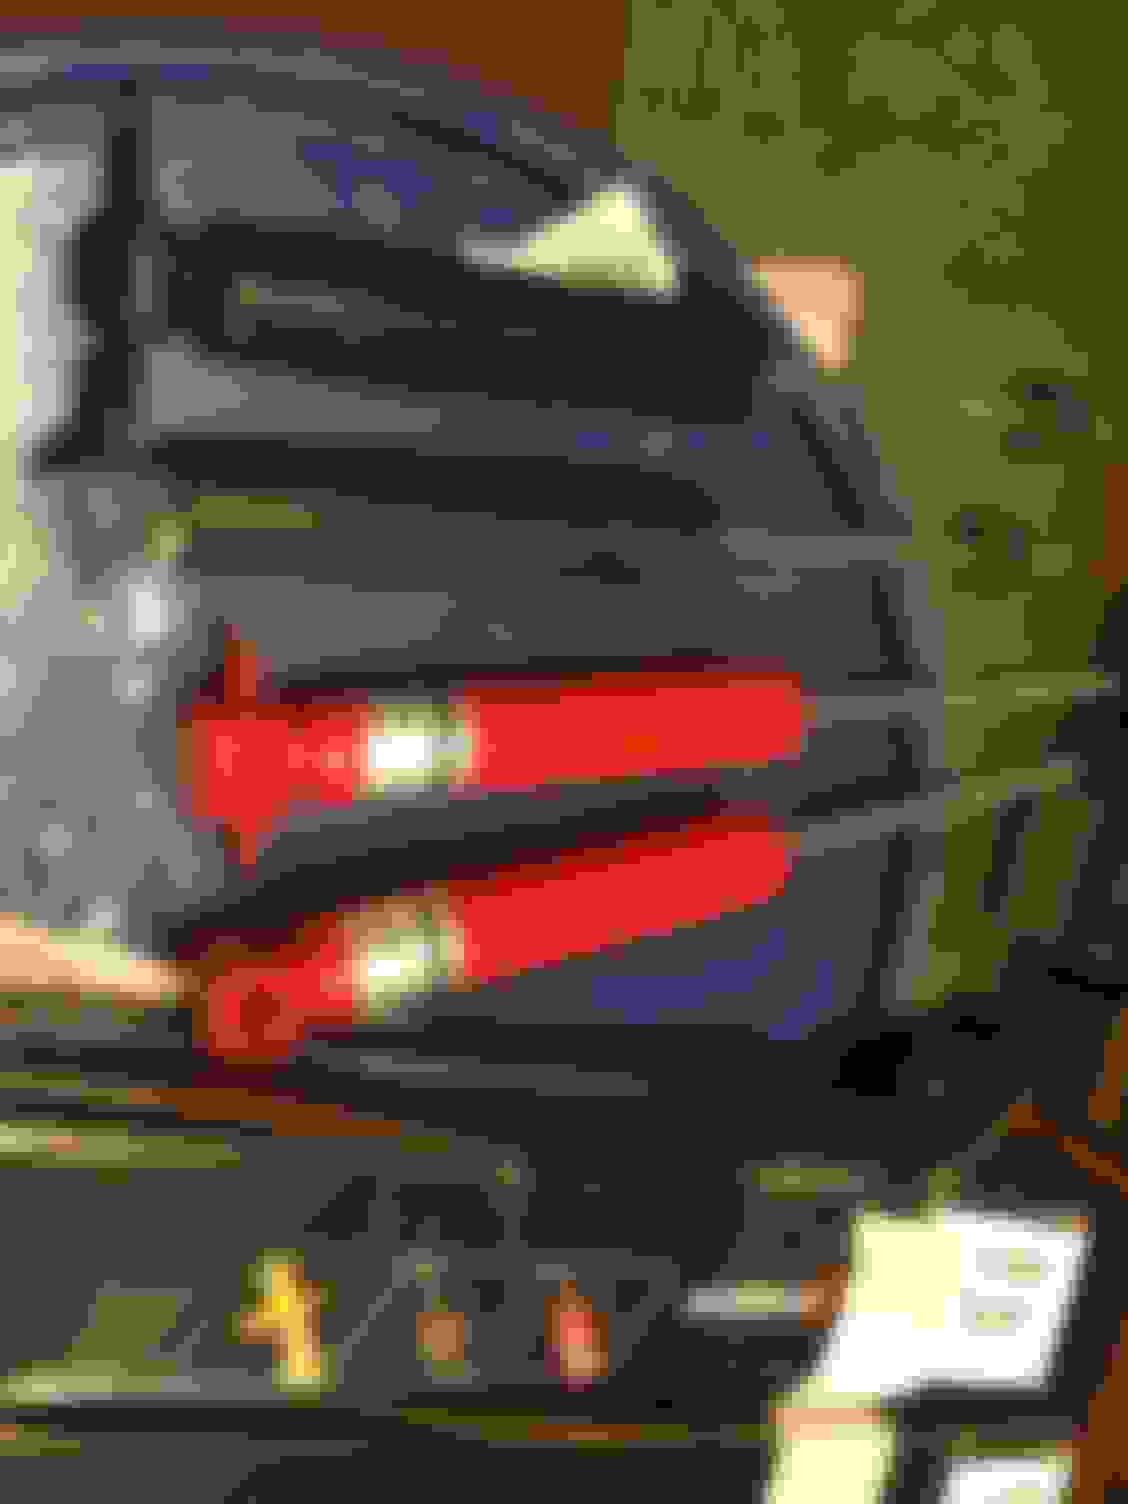
A friend helped me with customizing the " radiator/fan cover", so it fit the new 4" air intake tube


Homemade support/carrying , in addition i will make a rubber fastener/spring under cover, int the center of the cover.. .- The challenge here is to avoid vibration from the engine to the sheet metall
I will fasten rubber inside the support


the local paint shop Momrak verkstad will do the paint work on pipe and cover.. http://www.momrak-verkstad.no/

Last edited by Tarjaei; 01-05-2019 at 04:28 PM. Reason: more picture
Old 01-05-2019, 04:31 PM
  #59  
Staging Lane
Thread Starter
 
Tarjaei's Avatar
 
Join Date: Nov 2016
Location: Telemark,Norway
Posts: 55
Likes: 0
Received 6 Likes on 5 Posts
Default


I make this adapter to air filter from some chimney/pipe parts...


Ready for paint


Last edited by Tarjaei; 01-06-2019 at 02:23 PM. Reason: more pics
Old 02-15-2019, 04:50 PM
  #60  
Staging Lane
Thread Starter
 
Tarjaei's Avatar
 
Join Date: Nov 2016
Location: Telemark,Norway
Posts: 55
Likes: 0
Received 6 Likes on 5 Posts
Default


I am excited if the map sensor will work correct, with so long air intake..


I make this cover., for hiding relay and fuse box


The newest family member, a bernaise puppy with name... Bonnie

It was a good feeling to mont the bumper again..

Last edited by Tarjaei; 02-23-2019 at 04:01 AM.


Quick Reply: 1965 Pontiac Bonneville LQ9


All times are GMT -5. The time now is 08:34 PM.