

1978 Chevy K20 longbed with nearly 500,000 miles! LS Swap begins!
 11-13-2021 | 02:34 PM
#141
Thread Starter
TECH Regular

Joined: Oct 2011
Posts: 413
Likes: 159
From: Alaska
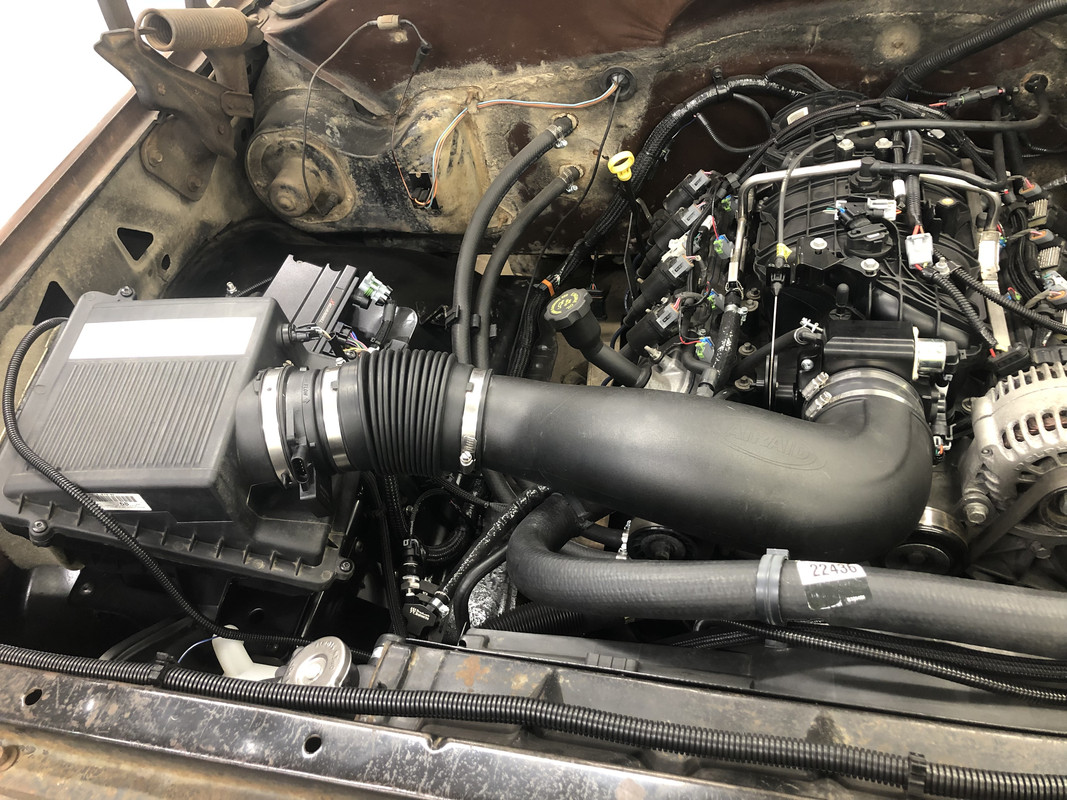
After a few test fits with the exhaust reducers, I determined they weren’t going to work. So, I ended up just ordering a new, cheap MAF sensor to be the adapter. At $25, the quality definitely wasn’t there for its intended purpose, but since I’m not using it for anything other than an adapter, it’ll work just fine.

Installed! The intake is finally done!
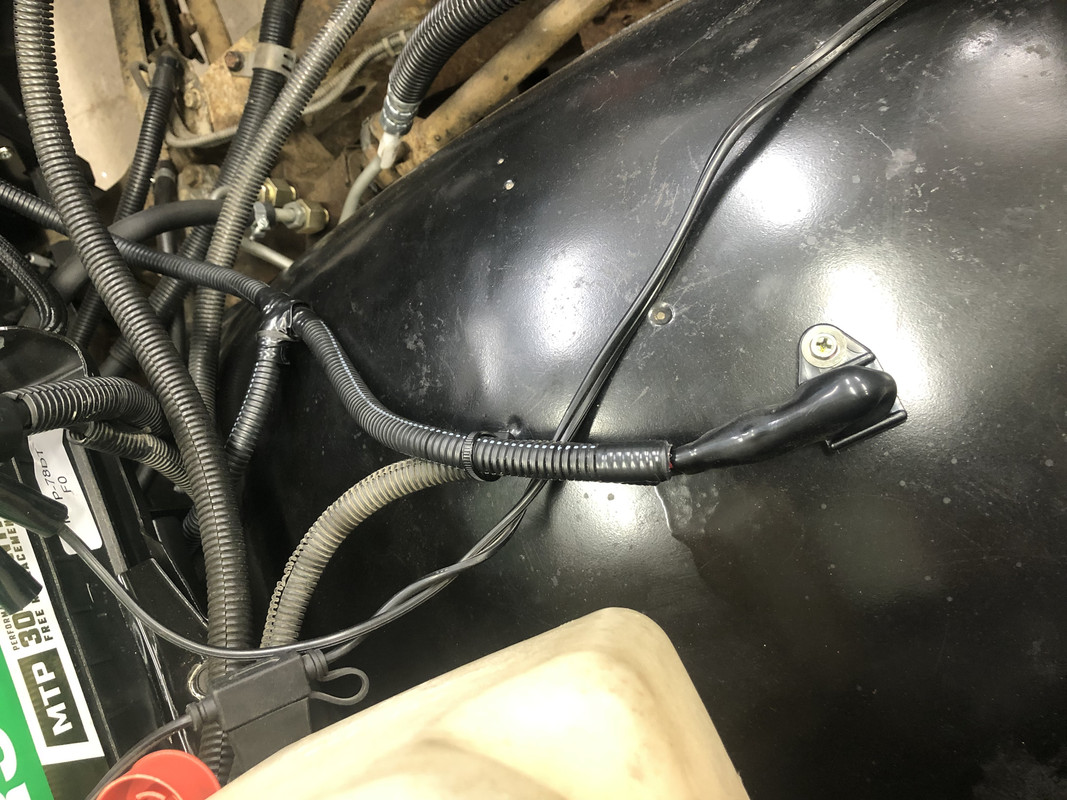
I also made the electric fan harness, which runs to the battery and will be controlled by the Terminator X.


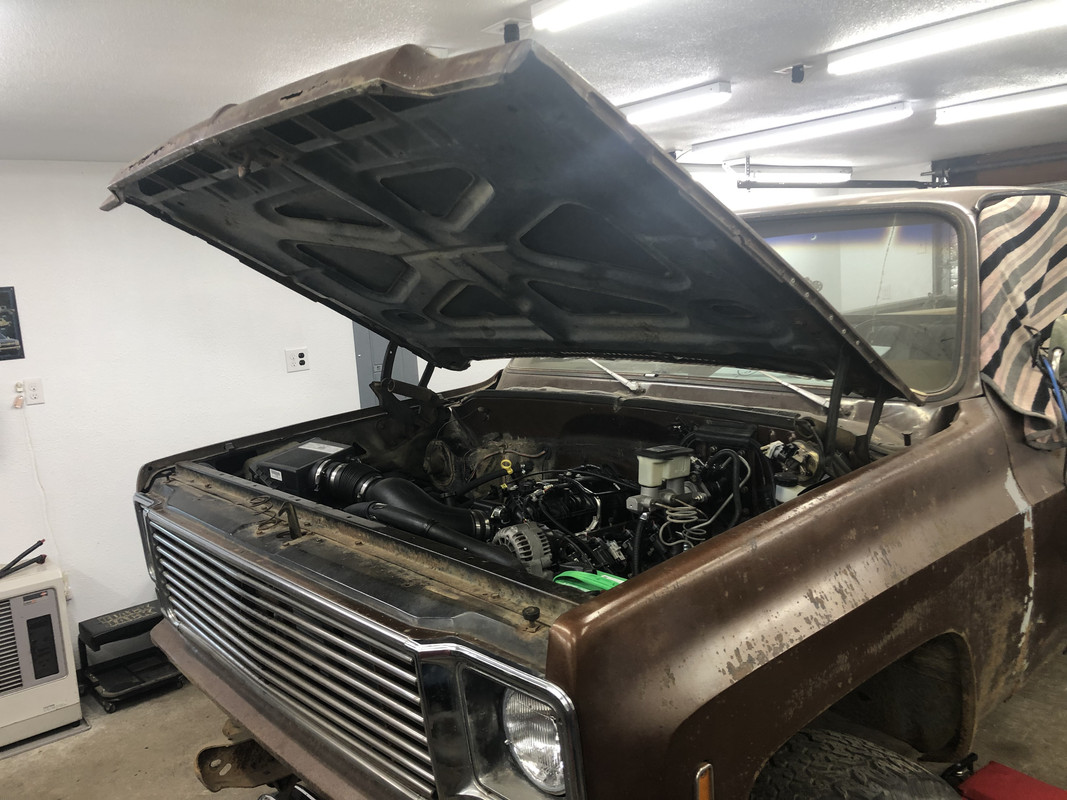
And finally, the (just about) complete engine bay!

At this point, I believe the to-do list has gotten pretty short.
I know I still need:
• New front and rear driveshafts made
• Install O2 sensor
• Run wiring for and install rear speakers and dome light
• Install new glove box door
• Diagnose non-functional oil pressure gauge (pretty sure it’s the gauge itself)
• Shim master cylinder from hydroboost
• Eventually go through the front axle and steering components
• New tires
Getting close!
Installed! The intake is finally done!
I also made the electric fan harness, which runs to the battery and will be controlled by the Terminator X.
And finally, the (just about) complete engine bay!
At this point, I believe the to-do list has gotten pretty short.
I know I still need:
• New front and rear driveshafts made
• Install O2 sensor
• Run wiring for and install rear speakers and dome light
• Install new glove box door
• Diagnose non-functional oil pressure gauge (pretty sure it’s the gauge itself)
• Shim master cylinder from hydroboost
• Eventually go through the front axle and steering components
• New tires
Getting close!


 11-20-2021 | 10:52 PM
#146
Thread Starter
TECH Regular
Joined: Oct 2011
Posts: 413
Likes: 159
From: Alaska
Thank you!
Well, here’s the biggest update yet! IT RUNS! I brought my laptop home and temporarily installed the O2 sensor, set a basic profile in the Holley software, and it fired up immediately! I ran into a few initial setup issues, including a fuel leak, but it runs great and holds 45 psi of oil pressure at idle! This video doesn’t do it justice, but it runs!
I also ran into a weird issue before starting the truck, I had an odd smell that seemed like a burnt electrical smell, but I couldn’t pinpoint it. After watching for a while, I finally noticed a faint puff of smoke from the wiper assembly. I popped the cover off and it seems like a coil melted! I’m not sure what would cause this, except maybe just an old part?
The following users liked this post:
y5mgisi (11-09-2022)
The following users liked this post:
kipps (11-22-2021)

 06-18-2022 | 10:31 PM
#152
Thread Starter
TECH Regular
Joined: Oct 2011
Posts: 413
Likes: 159
From: Alaska
Thanks guys! It’s been a real busy summer, and finally found some time to get back to it!
Finished up the last bit of wiring and cable routing, securing the O2 sensor lead, clutch bleed line, and speedo cable.

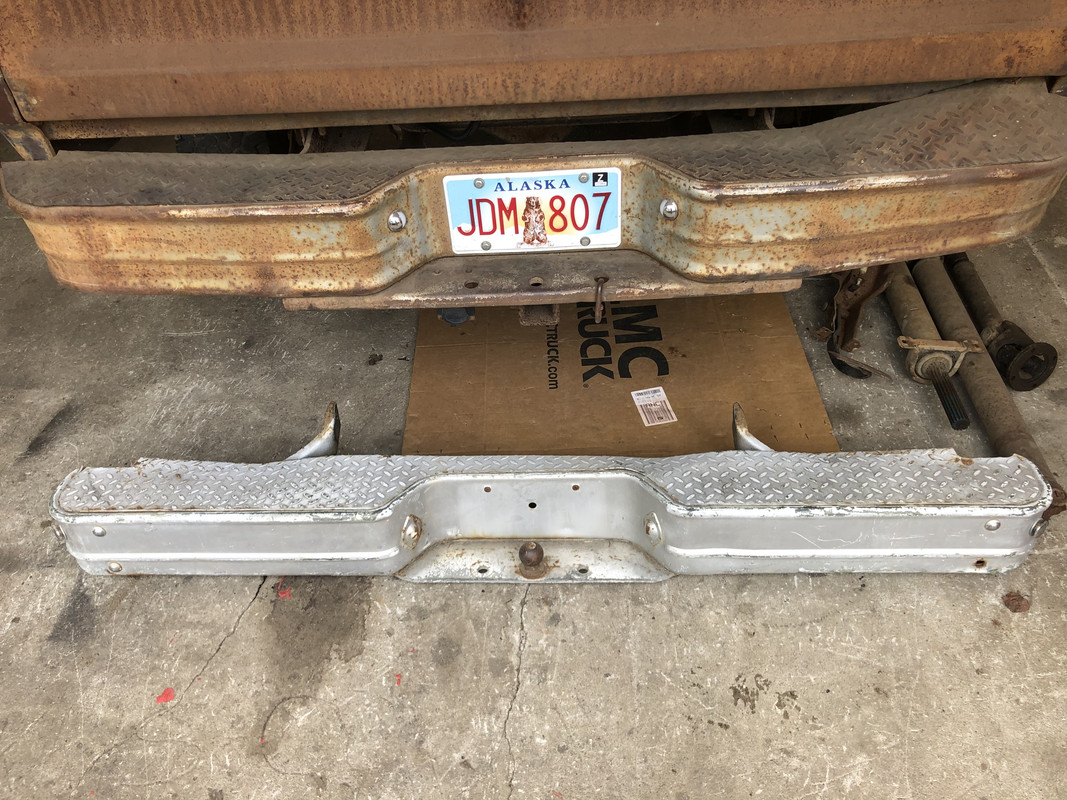
Sourced a cleaner and straighter bumper for the rear!
Drivelines are being brought into town for either a rebuild or replacement.

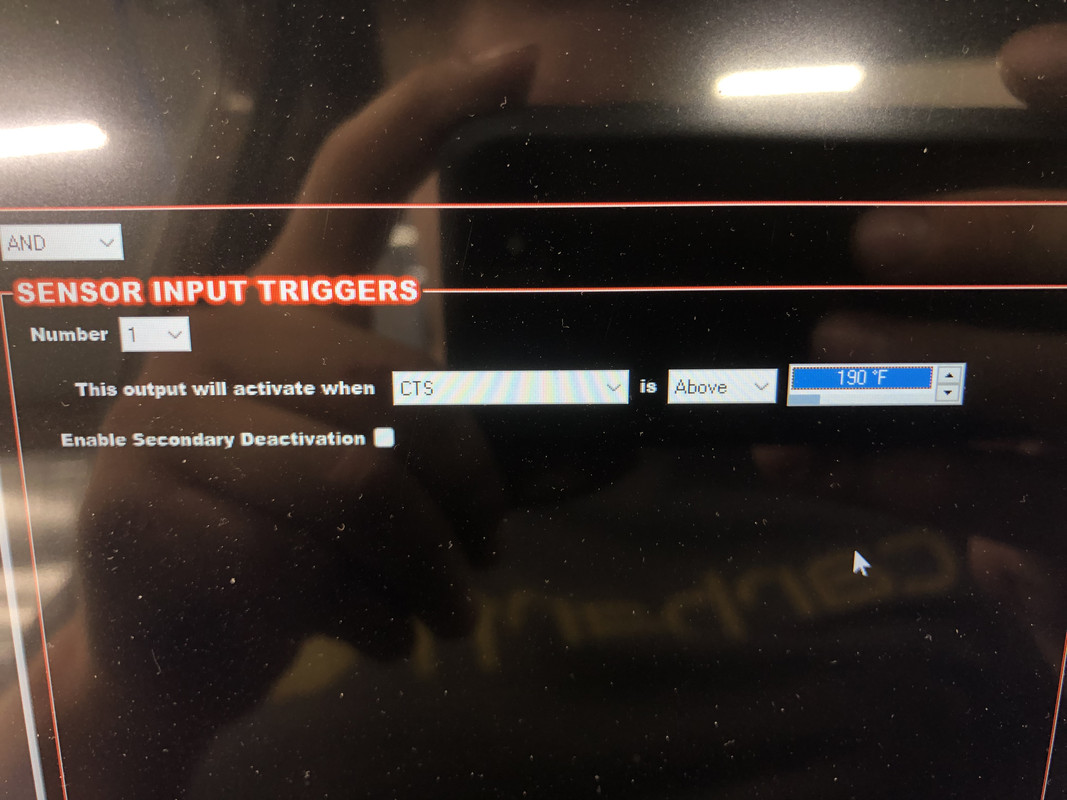
The biggest part, updated the tune to include PWM fan control logic! Andrew (or others), care to critique my setup? I watched your video, and set it up the best way I could think, seeing as I don’t have a speed sensor on this truck. My thought process is that the fan should be off at 195F (thermostat temp) and running progressively faster at speeds above 200F, and ramping up significantly above 220F. I did RPM based instead of speed, one, because I don’t have a speed sensor, two, because the fan should remain off while moving anyway due to airflow over the radiator, and three, it acts as a safeguard to kick the fan on regardless of speed or engine running if the temp is that excessive. I haven’t tested this out with the engine running yet, as I wanted some feedback in case I screwed up.
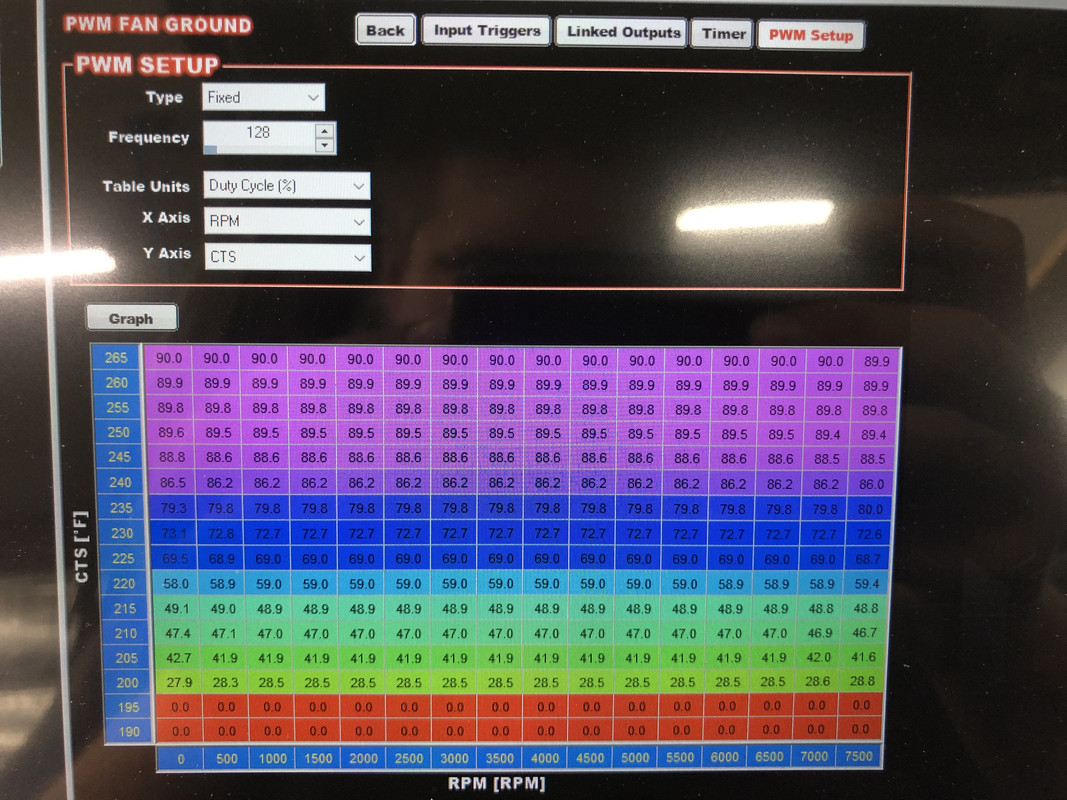
I used Holley’s default Electric Fan #1 pin but repurposed it to PWM-

This box pops up when I click ‘Where Used’. Does the port have to be actively functioning (fan on), or did I screw up?

I set this to 190F just to ensure no need for the fan below that temp.
Finished up the last bit of wiring and cable routing, securing the O2 sensor lead, clutch bleed line, and speedo cable.
Sourced a cleaner and straighter bumper for the rear!
Drivelines are being brought into town for either a rebuild or replacement.
The biggest part, updated the tune to include PWM fan control logic! Andrew (or others), care to critique my setup? I watched your video, and set it up the best way I could think, seeing as I don’t have a speed sensor on this truck. My thought process is that the fan should be off at 195F (thermostat temp) and running progressively faster at speeds above 200F, and ramping up significantly above 220F. I did RPM based instead of speed, one, because I don’t have a speed sensor, two, because the fan should remain off while moving anyway due to airflow over the radiator, and three, it acts as a safeguard to kick the fan on regardless of speed or engine running if the temp is that excessive. I haven’t tested this out with the engine running yet, as I wanted some feedback in case I screwed up.
I used Holley’s default Electric Fan #1 pin but repurposed it to PWM-
This box pops up when I click ‘Where Used’. Does the port have to be actively functioning (fan on), or did I screw up?
I set this to 190F just to ensure no need for the fan below that temp.
The following users liked this post:
y5mgisi (11-09-2022)
07-30-2022 | 10:45 PM
#153
Thread Starter
TECH Regular
Joined: Oct 2011
Posts: 413
Likes: 159
From: Alaska
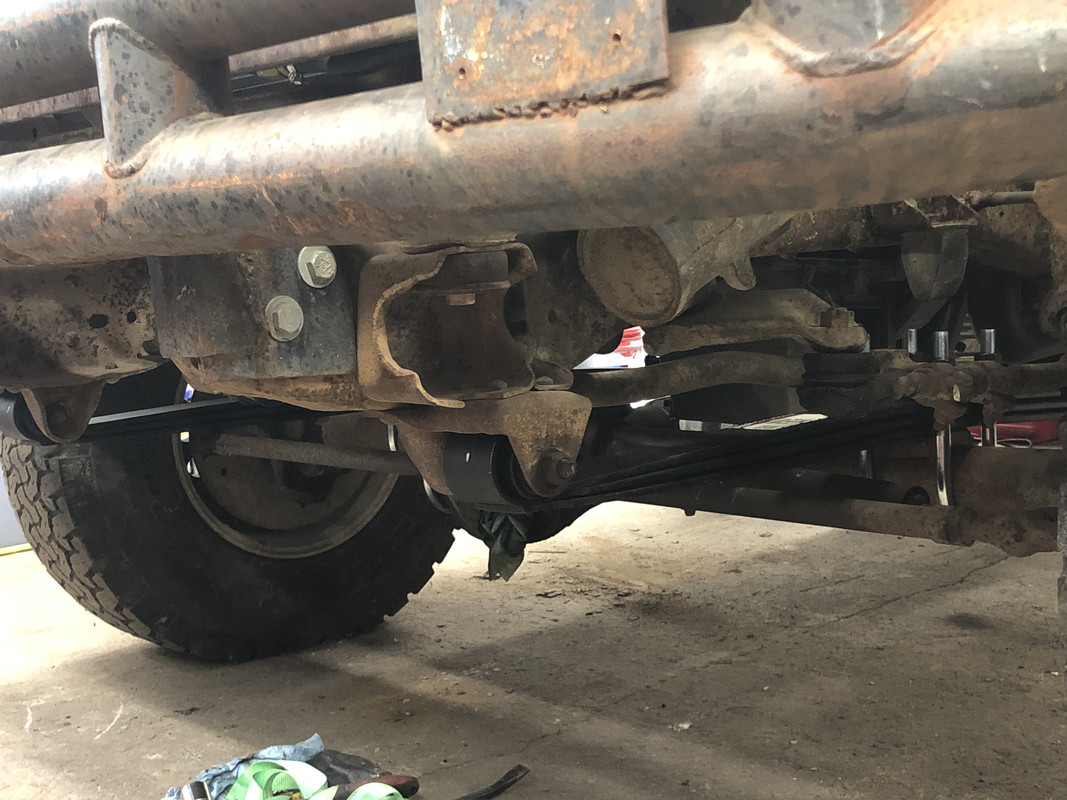
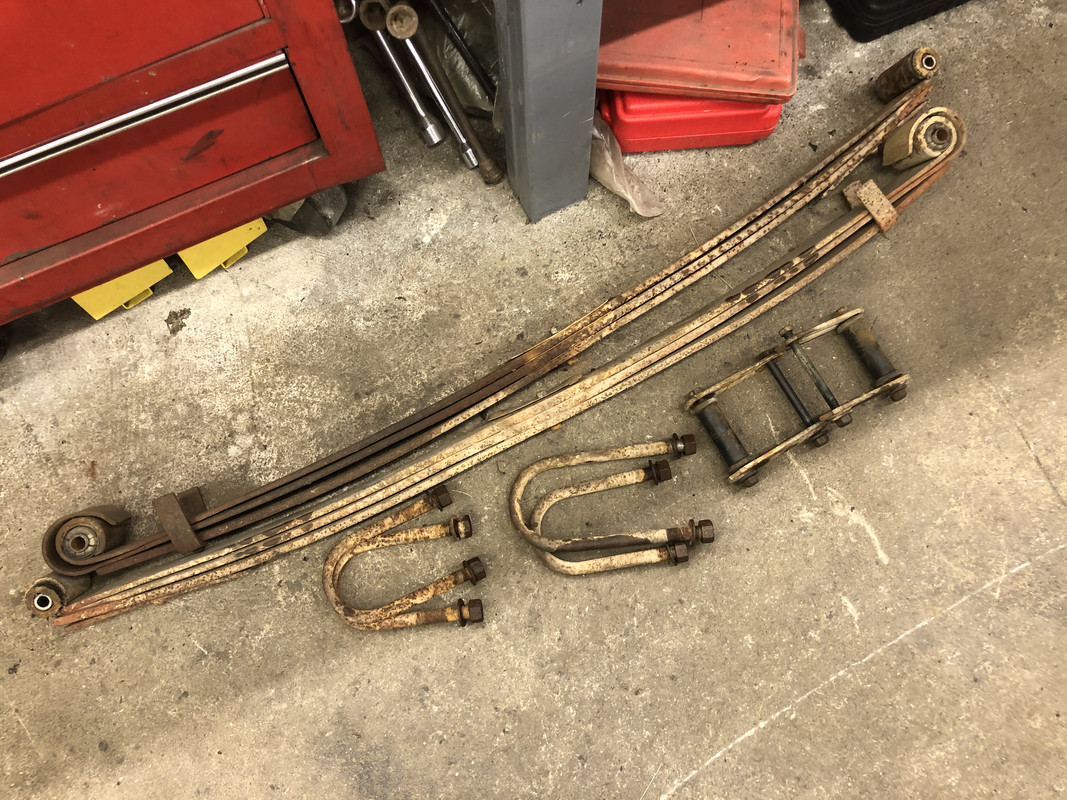
Got into the suspension a bit since it’s been raining the last few weekends. New front springs, went to 8600lb GVWR since the rear was already done long ago.

Out with the old!

In with the new!
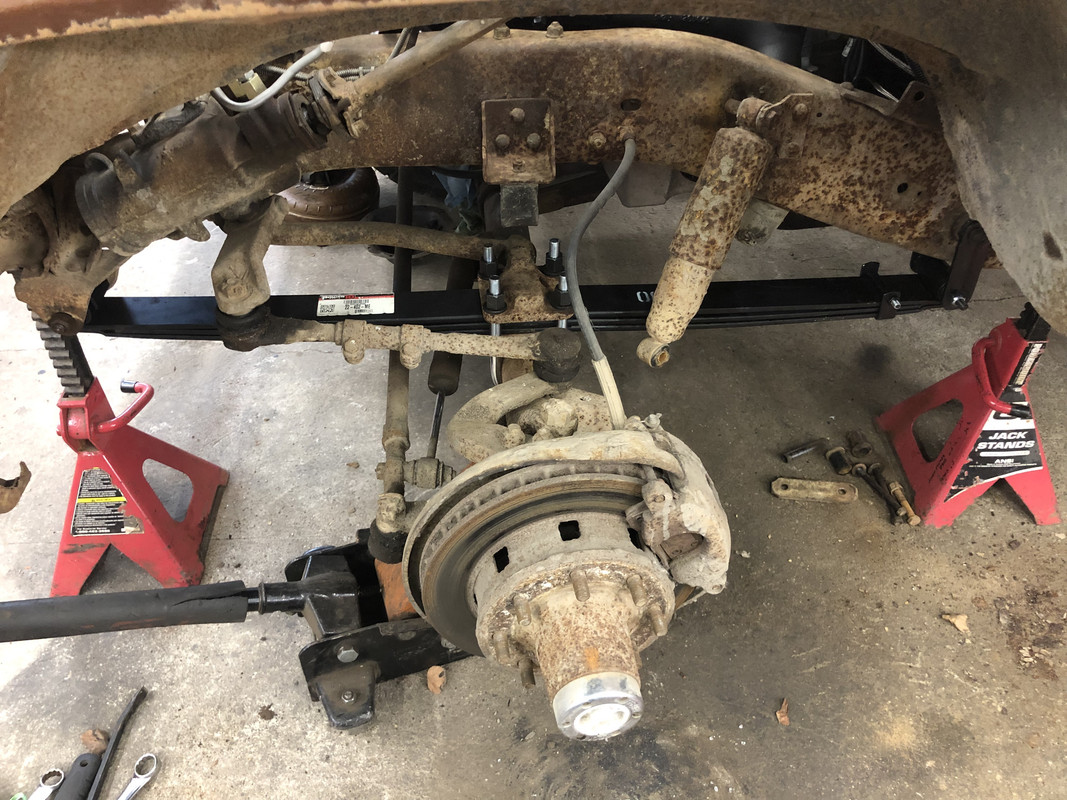
Passenger side

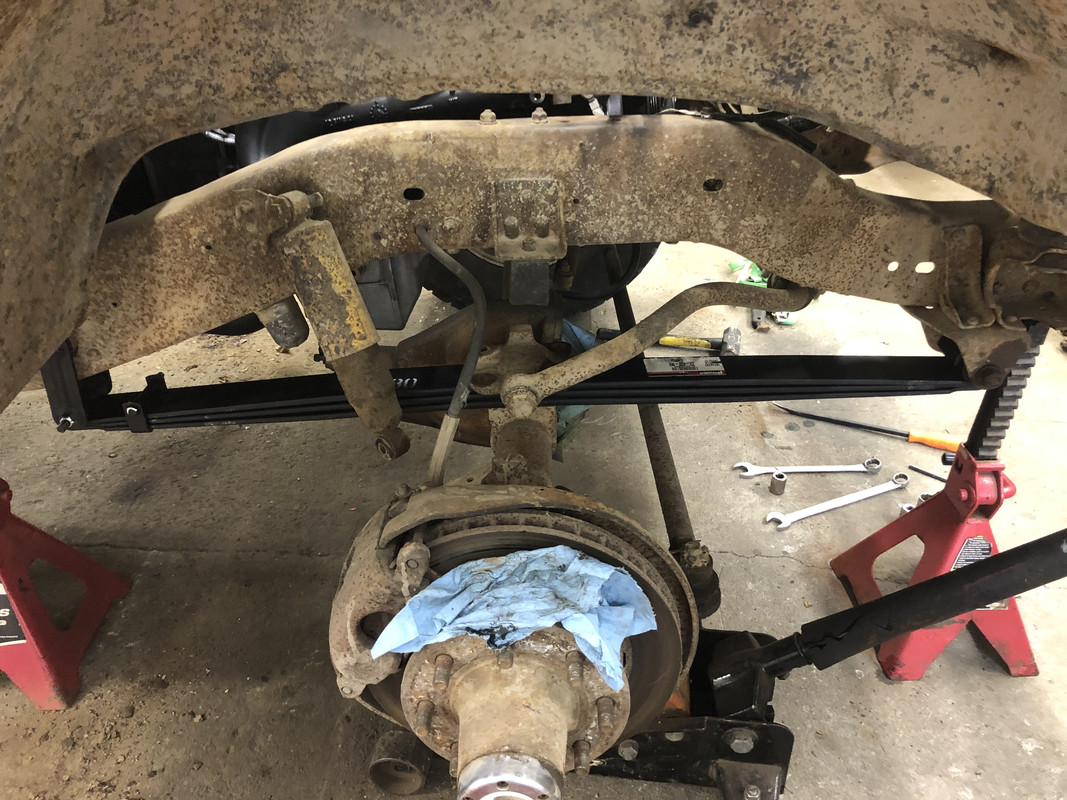
All installed!
Out with the old!
In with the new!
Passenger side
All installed!
08-12-2022 | 06:56 PM
#154
Thread Starter
TECH Regular
Joined: Oct 2011
Posts: 413
Likes: 159
From: Alaska
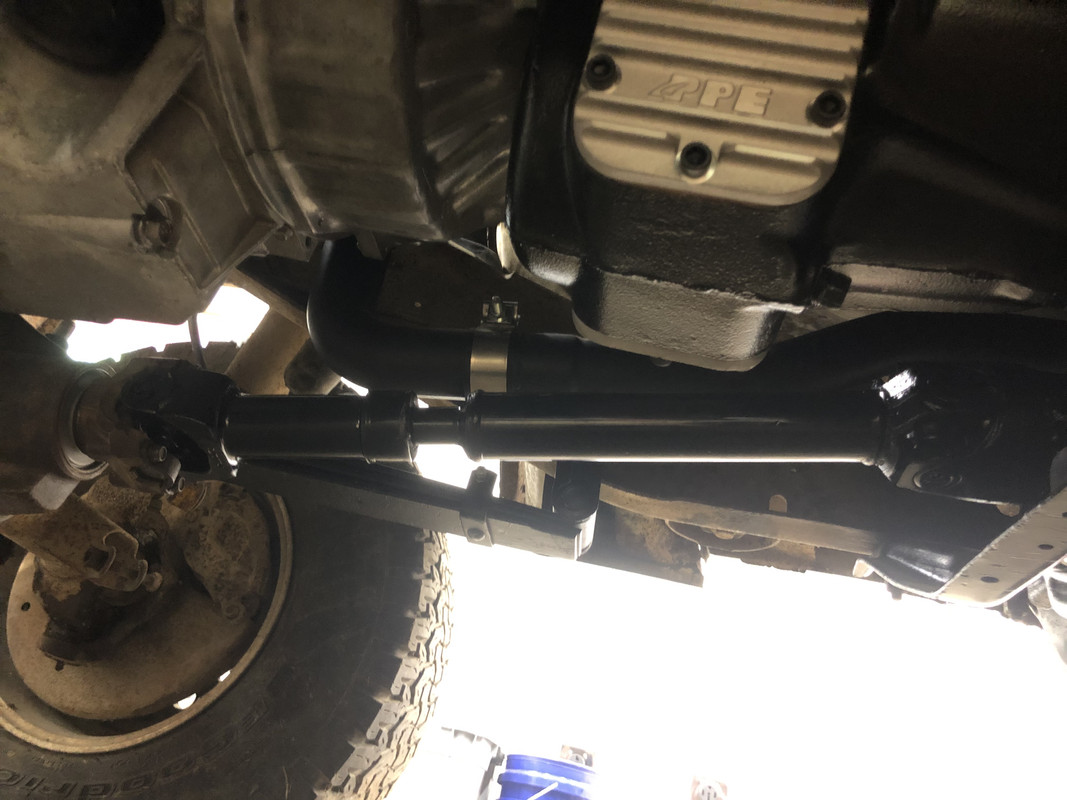
Finally! Both driveshafts are finished. The rear was rebuilt, the front is nearly all new. It might actually drive!

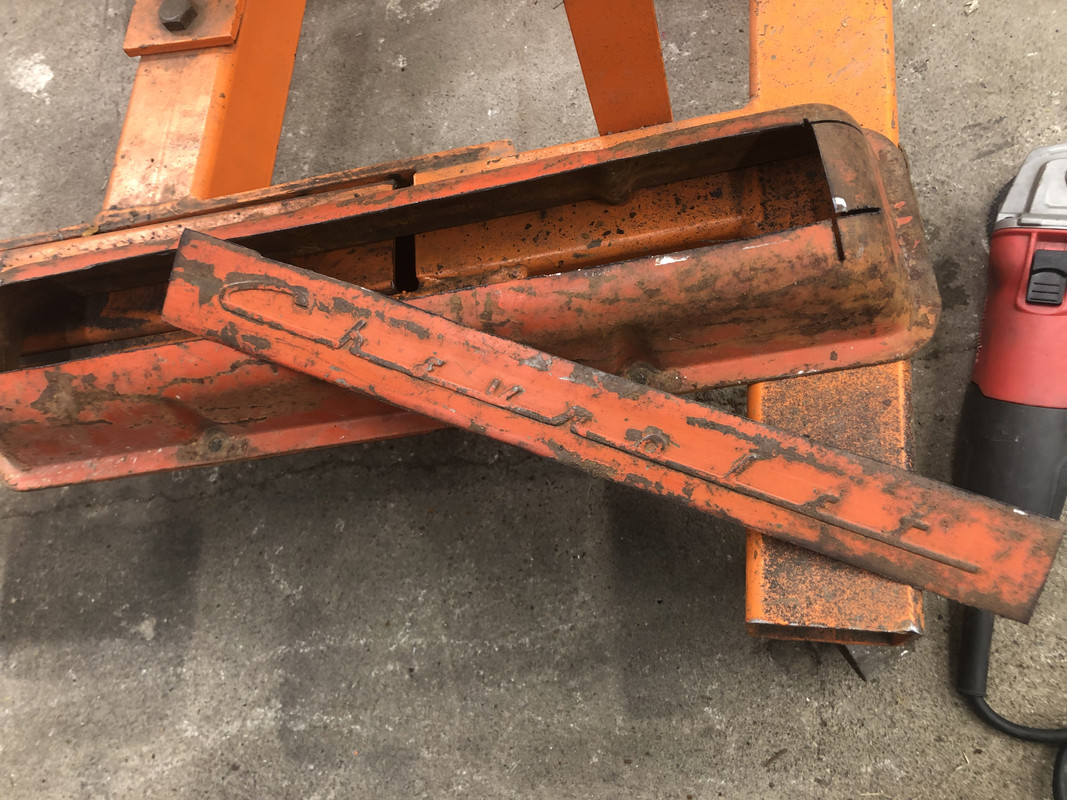
The front axle needs to be rebuilt before any serious movement happens. It’ll be getting new ball joints, new brakes, new axle seals, and new wheel bearings. I scored this OTC axle socket kit for $50 on FB!


The front axle needs to be rebuilt before any serious movement happens. It’ll be getting new ball joints, new brakes, new axle seals, and new wheel bearings. I scored this OTC axle socket kit for $50 on FB!
The following users liked this post:
y5mgisi (11-09-2022)
 08-28-2022 | 12:04 PM
#157
Thread Starter
TECH Regular
Joined: Oct 2011
Posts: 413
Likes: 159
From: Alaska
Down to buttoning up a lot of the little things now.
Installed the hood back on, and aligned!
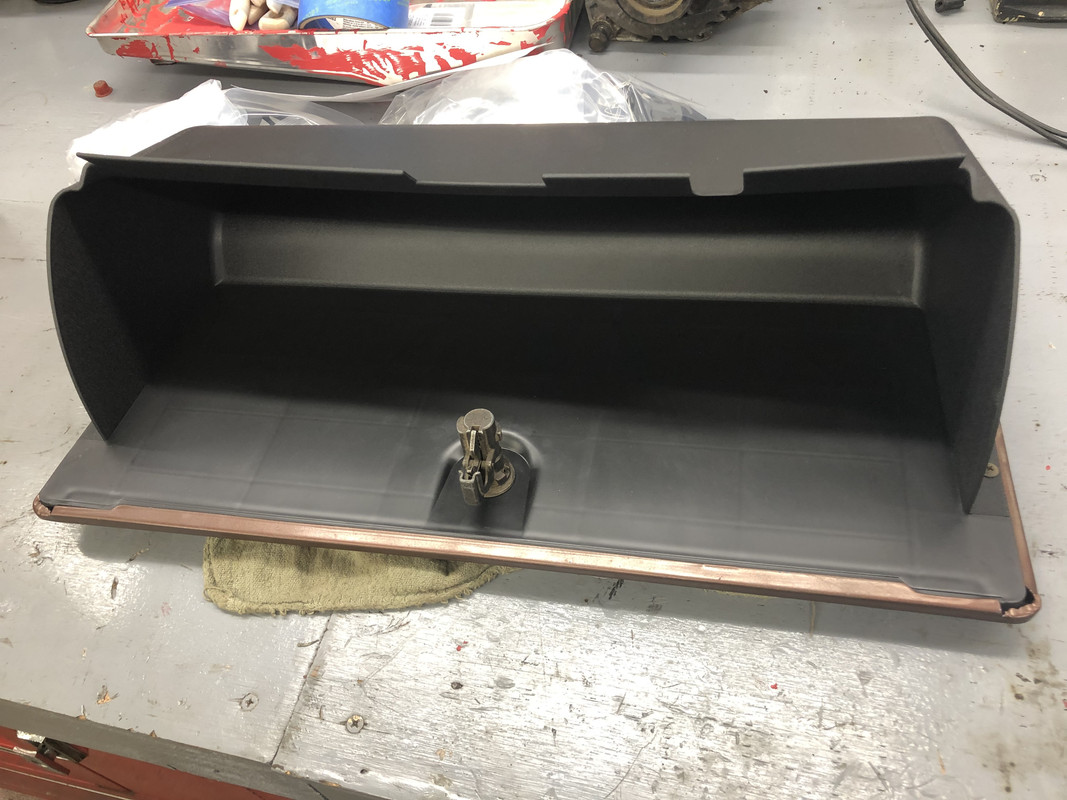
The glove box door was broken off at the hinge, so it’s getting a new one.
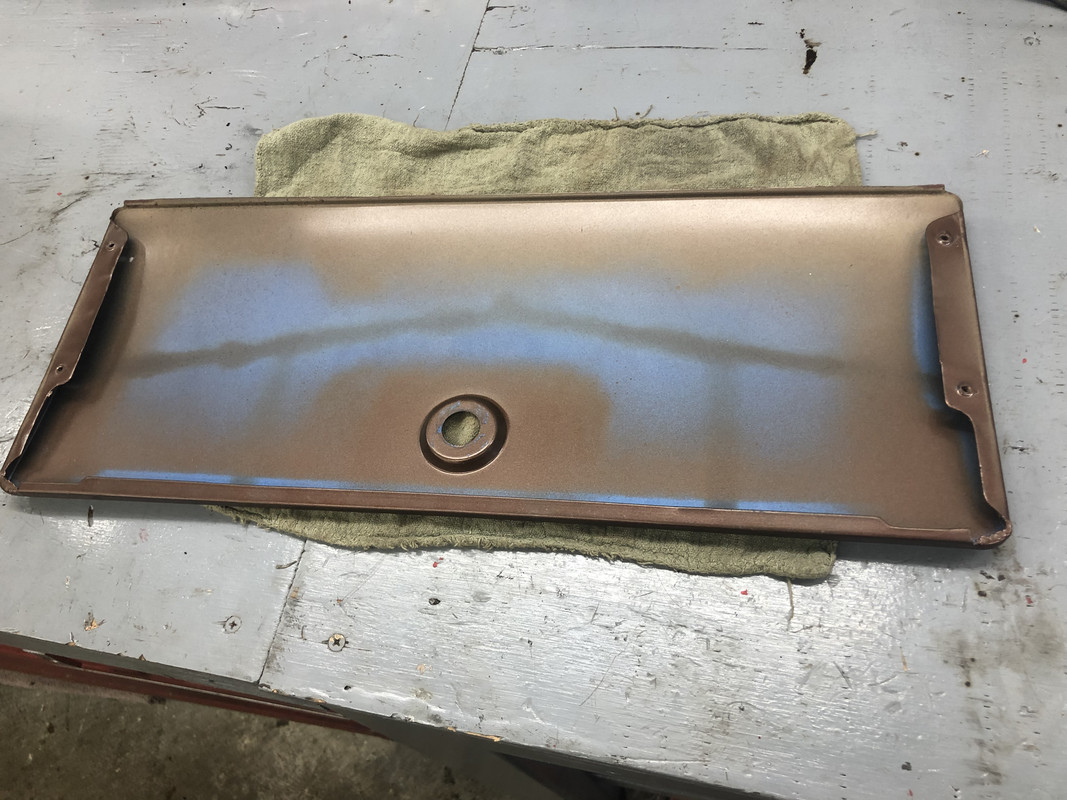
New part in!
Utilizing one of the cutouts for the Holley USB cable.


And with the final touch of the original Owner’s Manual, it’s done!

Installed the floor mounted high beam switch.

Ran the wires for the speakers and dome light.

Mounting the new rear speakers in their housings.


Left and right rear speakers installed!


Installed the hood back on, and aligned!
The glove box door was broken off at the hinge, so it’s getting a new one.
New part in!
Utilizing one of the cutouts for the Holley USB cable.
And with the final touch of the original Owner’s Manual, it’s done!
Installed the floor mounted high beam switch.
Ran the wires for the speakers and dome light.
Mounting the new rear speakers in their housings.
Left and right rear speakers installed!
10-10-2022 | 03:17 PM
#160
Thread Starter
TECH Regular
Joined: Oct 2011
Posts: 413
Likes: 159
From: Alaska
Thanks guys!
Getting even closer here!
New front bumper brackets showed up from LMC. Very good fit and quality!
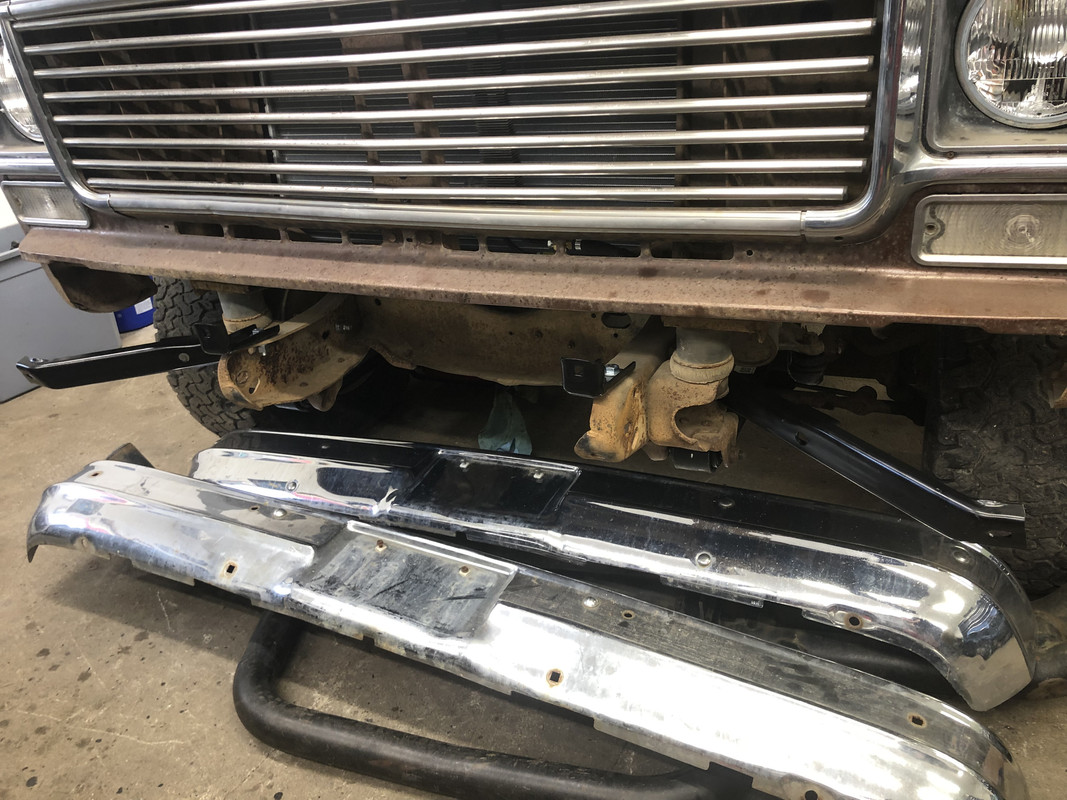
Picked up some stainless carriage bolts and hardware and mounted the bumper.

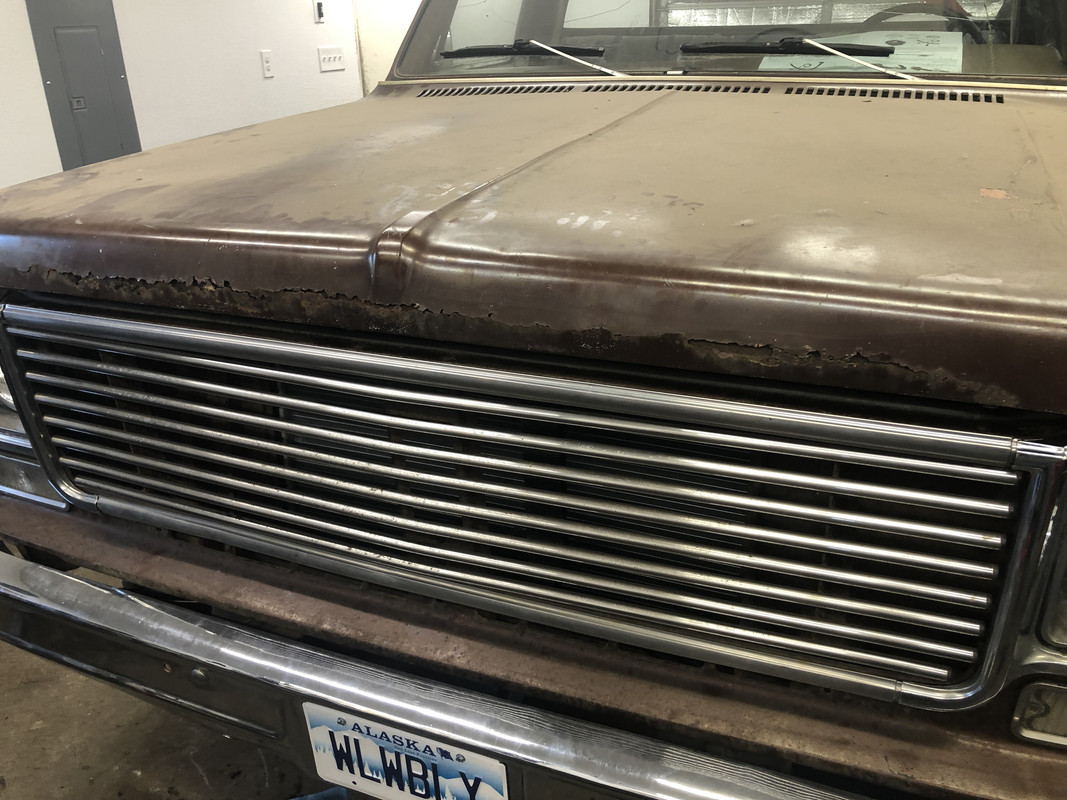
The hood is looking pretty ratty with the rusted out front section, but we’re going to make it look slightly better in the meantime before I replace it.
Desecrating some old valve covers.
One side in!

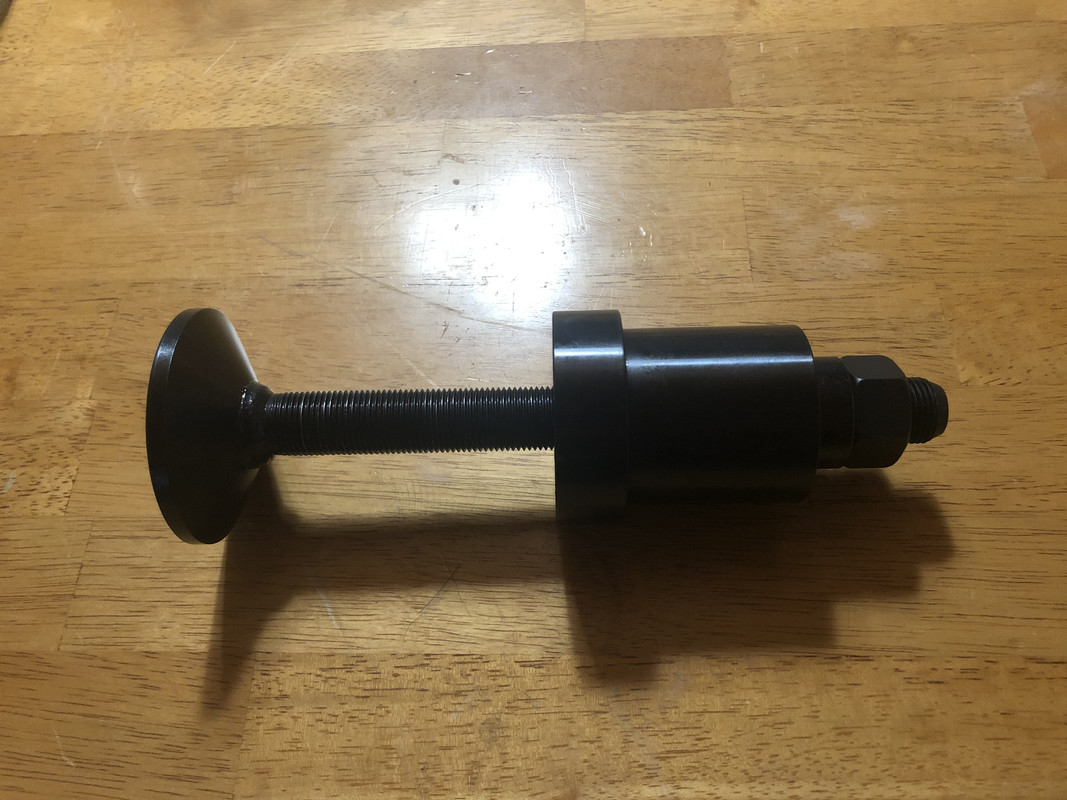
Also ordered a front axle seal install tool. For $31, it wasn’t worth screwing around without it.
Getting even closer here!
New front bumper brackets showed up from LMC. Very good fit and quality!
Picked up some stainless carriage bolts and hardware and mounted the bumper.
The hood is looking pretty ratty with the rusted out front section, but we’re going to make it look slightly better in the meantime before I replace it.
Desecrating some old valve covers.
One side in!
Also ordered a front axle seal install tool. For $31, it wasn’t worth screwing around without it.