When you click on links to various merchants on this site and make a purchase, this can result in this site earning a commission. Affiliate programs and affiliations include, but are not limited to, the eBay Partner Network.
Last year I bit the bullet and picked up an LQ4 that came out of a 2002 Chevy 2500 to replace the 383 I built in my 1978 Nova. Originally I was planning on doing a T56 magnum because I really like driving a manual, but it proved too cost prohibitive for me. I decided to get a used 4L80 that I would rebuild with a few upgrades to handle most anything I can throw at it naturally aspirated.
On to the fun stuff. Here is the car as it was earlier this year:
Here is the 383 I put together with Dart SHP heads, Howards roller cam (233/241, 0.530/0.545 on a 112 LSA) scorpion rockers, Holley 3310 carb:
A couple details on what I have done to the car so far:
17x9.5 wheels out back with 275/40R17 Nitto 555�s
17x8 wheels up front with 245/45R17 Nitto 555�s
3.73 gears with an Eaton posi and 30 spline Moser axles and a summit aluminum cover in the 8.5� 10 bolt
Hotchkis front springs
1.25� front stabilizer bar
poly body bushings
Vintage Air gen 2 compac
4th gen Camaro seats
1973 olds cutlas center console
sound deadening
1975 Nova SS grille and park lamps
dual sport mirrors
Autometer gauge setup
LQ4 plans:
basic rebuild/refresh
706 heads with PAC1218 springs
sloppy stage 2 cam
TBSS/NNBS intake
92mm cable throttle body
LS2 timing chain and tensioner
Speed engineering headers
Top Street Performance oil pan (81074)
Top Street Performance engine swap plates
FEAD - undecided at this point
4L80 plans:
CK Performance rebuild kit
CK Performance Master shift recalibration kit
dual fed direct
Total Transmission Chicago 3000 stall converter
Nice looking car. I can see you've been banging this idea around for a while since you joined this site over 5 years ago, but just now made a first post. I don't think you'll regret the decision!
Nice looking car. I can see you've been banging this idea around for a while since you joined this site over 5 years ago, but just now made a first post. I don't think you'll regret the decision!
Thanks for the compliment, I joined back then hoping that I was going to be picking up an LS at that point, but it ended up not working out at that time. I had my 383 tuned up pretty good with my highly modified Holley 3310 VS carb. I drilled and tapped both the High and Low speed air bleeds for set screws that I drilled out to different sizes and the metering blocks were drilled and tapped for set screws in the idle feed restrictor circuit to give me more control over the fuel curve. It was idling at 13.5 AFR in park/neutral, 12.5 AFR in gear, cruised at 13.7-14.2 AFR, and WOT was 12.5 AFR. I had no stumbles, and both hot and cold start were pretty good. That said though, any change in the weather would send the AFR up or down, and it wasn't too much fun to drive in hot weather even after I added a return line back to the tank - I still was fighting vapor lock if I got in traffic or sat at a light for too long.
What tipped me over the edge was my blown front seal on my 200-4r 2x in a row. It wasn't a hard fix, but it confirmed my suspicions that the torque convertor hub had excessive run-out because even with the drain-back hole enlarged to 1/4", the pump bushing held in place with sleeve retainer and the seal held with a seal retaining clip, the pump bushing walked out and destroyed my front seal dumping most of the ATF out of the trans. Rather than drop the cash on a new torque converter and probably new pump, I decided to use it as an opportunity to make the switch to an LS and finally get EFI.
Here's the 200-4r I built to handle 550hp - it was pretty simple to do considering it was my first transmission build. I did have a really good manual to follow (CK Performance book - well worth the money)
Here is the carnage from the first time the pump bushing walked forward:
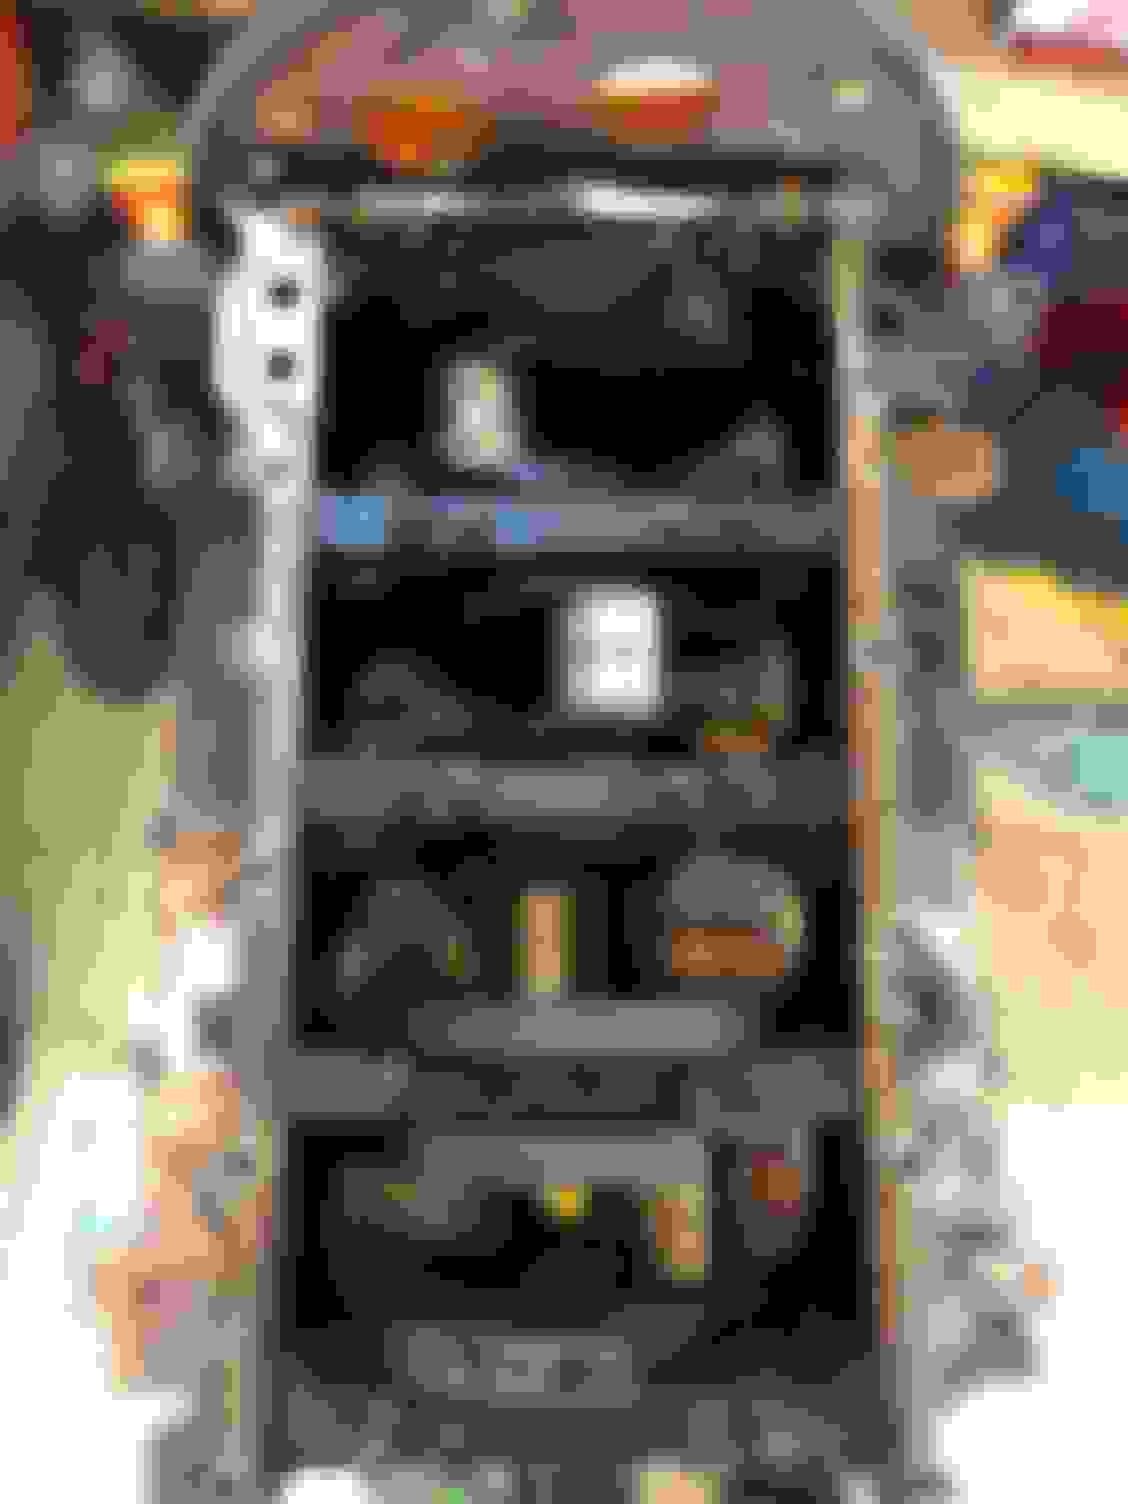
Anyways, both the 383 and the 200-4r are off to new owners. I was able to get the 4L80 and the LQ4 tore down and my garage is full of parts:
The 4L80 was supposedly from a running, driving van. However, the forward clutch pack was completely welded together and the inside tangs on the clutches were all bent over. The forward piston is also toast. I'm guessing one or more of the bushings in this area are in need of replacement because it appears that it was possibly starved of ATF at one point leading to excessive heat.
Good looking Nova...what trans are you running now??
I'm a big manual trans fan. I hope you still have that on the backburner in your mind...
Thanks CattleAC, I had a fairly length post typed out with a bunch of pics, but looks like it got flagged as spam (guessing it has something to do with my total number of posts) since that was Saturday I tried posting and it hasn't gotten posted yet. I was running a 200-4r that I built to handle 550hp with CK Performance parts and his rebuild manual. It was my first automatic transmission build, but honestly it was pretty simple. It developed a leak at the front seal 2x this year (first in end of September, and then again maybe within 10miles of fixing it). Both times it was the same thing - pump bushing walked forward and took out the front seal. The second time I even used sleeve retainer on it and followed the directions to a T. even bought the activator spray and waited the recommended flash time and had the surfaces prepped and clean.
Here is the bushing that walked forward the first time.
Pump drain-back hole was enlarged to 1/4", so the only thing I can think of is my converter hub had excessive run-out and caused the bushing to walk out. The bushing bore was probably out of spec as well for it to fail again with sleeve retainer on the bushing.
If I had a spare $5k burning a hole in my pocket, I'd have the T56 magnum in a heartbeat, but I can build the 4L80 for less than a grand including the cost of the trans, so kind of hard to beat the price.
Good looking Nova...what trans are you running now??
I'm a big manual trans fan. I hope you still have that on the backburner in your mind...
Twice now my reply has been flagged for further review - very frustrating when I have a nice flowing post with good pics and it disappears.
EDIT: my previous posts have now been approved - I found the correct forum to request post approval
Thanks for the compliment CattleAC, I was running a 200-4r built to handle 550hp. Hopefully at least one of the other posts get approved so my other pics and progress can be documented.
Last edited by Nova1978; 11-18-2020 at 06:09 AM.
Reason: updating message to reflect prior post approval
Getting closer to having a bare block on my hands. Hope to be able to hone the cylinders and clean the block tomorrow as it is supposed to be relatively warm (60 or so). Just have to pull the main caps, the flexplate and the rear cover, then the crank can come out too.
Got the pistons out, and I can see why everyone wants the gen 4 rods, these gen 3 LS rods seem smaller than I remember the gen 1 rods being, but maybe it's just an optical illusion.
In any event, I have a lot of cleaning to do both on the outside of the block and on the pistons, rods and crank. Seems to be a lot of baked on crap on everything internal to the engine. Got a lot of parts on order now too. I decided to go with a new Melling m295 oil pump and some new rings since I will be honing the cylinders. Everyone I have talked to has said to just clean and re-use the old bearings in the engine if it was running and driving, had no noises, had good oil pressure and there's no chunks out of them. These all look brand new - no polishing, scratches or copper showing on any of them that I can see. I also put an order in for a 2008 TBSS intake manifold and some flex fuel injectors. I just need to source the fuel rails and figure out what I'm going to do for a throttle body.
2008 TBSS intake manifold - 12580420
2008 TBSS fuel rails - 12660709 (has mounting tabs toward center of manifold, 12660710 has mounting tabs away from center of manifold)
Flex Fuel injectors (50 lb/hr) - 12613412
Oil pump - Melling M295
Piston Rings - E-921K
Oil Pan - Top Street Performance 81074
Engine Mount adapters - Top Street Performance 81100
Knock Sensors - Delphi AS10017
Knock Sensor Harness - Dorman 917-033
LS6 Lifter Valley Plate - 12577927
I'm hoping to document a little bit more of how to get the LS into a 4th gen Nova than what is out there. A lot of the builds that are out there (just a handful that I can find) say they are doing this or that, and then just skip right to the end result without going through what they did and what parts are being used. There are a lot of similarities to the later 2nd gen Camaro's when it comes to the front suspension & subframe, but I'm hoping to do a low mount AC compressor that I can't seem to find documentation on if it fits or not - even in the later 2nd gen Camaro's (1975-81).
Low mount AC does fit for 2nd gen fbody. Try a SEARCH for ALANGROOVES I had to notch the subframe though. Now HOLLEY Offers a compact low mount AC. I THink this lowmount has the best chance to fit a subframe without notching it.
Try going on HOLLEYS website as they recently did a turbo L33 in a Olds Omega( 4th gen) I don�t recal if it had AC, but they would know if their compact lowmount would work or not
Jimbo1367, I have only seen the early 70's Camaro's with low mount AC where, like you said, people had to notch the subframe. Looking at where the engine side brackets end up even in the forward most holes (farthest rearward engine location), I can still access most of the mounting bolts for the stock AC bracket. I think the rearmost low hole has to go away, but still gives a few mounting locations. That coupled with a compressor like the compact SD7 design, should allow everything to fit there. After all, on the gen 1 small block, the fuel pump was in that location and it had quite a bit of clearance all around it to the subframe cross-over. Hopefully I'll be able to swing the engine in there soon and take some measurements / pics of it to determine what can fit. I think the biggest hurdle will be getting the fittings to not hit the control arm bolts.
I do remember seeing some YouTube stuff on the 72 Nova and 77 Omega that Holley was trying out, but never heard what came out of it or what happened to them. Perhaps they have some build documented somewhere - I know they have done that kind of thing on other R&D projects they have.
No. I�ve never seen anything about Holley on YouTube with their Omega swap. I just recall seeing it in a magazine and being surprised how simple the swap was and how quick it was.
I�ll have to remember to look for all of their swaps by them. Thanks for the heads up
Are you using an aftermarket controller or a factory PCM like the P01 (0411)
On the TBSS intake... have you decided if you are going to use the return line to the tank you added? The Trailblazer has the fuel pressure regulator in the pump assembly itself and is a non return system. A Corvette filter/regulator mounted anywhere in the system or an aftermarket FPR will be needed if using the return line. Both are a non vacuum referenced regulators which needs to be reflected in the tunes injector flow rate table as a progressive scaled number. The early LQ4 has a vacuum referenced regulator on the return type fuel rail that uses a static flow rate (single) number in the tunes IFR table.
Those injectors are from the gen 4 flex trucks and the injector data needs to be scaled to gen 3 data in the tune. I'm running the same injectors with a TBSS intake along with a Nick Williams 92mm cable throttle body in my gen3 LQ9. I found the converted injector data in the Injector Data Sticky and it works well in my gen 3 tune. The IFR data (in that link) is set for a non vacuum referenced regulator.
Us gen3 truck guys using the TBSS intake with a return fuel system usually use the Corvette regulator. On our setup the regulator kinks the fuel lines against the firewall so we have to mount the regulator forward using some type of adapter hose. You can mount the regulator anywhere in the system for aesthetic reasons because the regulator is kinda ugly. A cable throttle bracket will have to be fabbed or simply use the Glen's TBSS aftermarket bracket.
You can see the looped fuel line to setback the regulator for clearance issues. That line is a oem fuel line from a Corvette... ugly yes but works well.
Are you using an aftermarket controller or a factory PCM like the P01 (0411)
On the TBSS intake... have you decided if you are going to use the return line to the tank you added? The Trailblazer has the fuel pressure regulator in the pump assembly itself and is a non return system. A Corvette filter/regulator mounted anywhere in the system or an aftermarket FPR will be needed if using the return line. Both are a non vacuum referenced regulators which needs to be reflected in the tunes injector flow rate table as a progressive scaled number. The early LQ4 has a vacuum referenced regulator on the return type fuel rail that uses a static flow rate (single) number in the tunes IFR table.
Those injectors are from the gen 4 flex trucks and the injector data needs to be scaled to gen 3 data in the tune. I'm running the same injectors with a TBSS intake along with a Nick Williams 92mm cable throttle body in my gen3 LQ9. I found the converted injector data in the Injector Data Sticky and it works well in my gen 3 tune. The IFR data (in that link) is set for a non vacuum referenced regulator.
Us gen3 truck guys using the TBSS intake with a return fuel system usually use the Corvette regulator. On our setup the regulator kinks the fuel lines against the firewall so we have to mount the regulator forward using some type of adapter hose. You can mount the regulator anywhere in the system for aesthetic reasons because the regulator is kinda ugly. A cable throttle bracket will have to be fabbed or simply use the Glen's TBSS aftermarket bracket.
Hi RedXray, thank for the kind words on my car. I am going to be running a returnless setup using the corvette filter/regulator mounted close to the tank (really it's still a return style system, just doesn't go all the way to the engine). I want to have as few lines as possible running the length of the car. I have seen where people do the conversion using the setup like you have and while there isn't anything wrong with it, it's just my preference to have the filter regulator mounted back close to the tank since I don't have the high pressure fuel lines run yet.
I am going to be running the factory 411 PCM that was originally on a 2002 3/4 ton truck with the 6L LQ4 and a 4L80 so I don't need to do any segment swaps or anything like that - just modify what's already there for my setup. My local auto salvage has them for what I consider to be a pretty good price and I have already pulled the tune file from it so I know it at least will power up. I was wondering where to find the injector flow data for these new injectors, and that's a good reference point for my base tune - I'll have to check it out and make the adjustments in my tune file.
Strangely enough, I already have the Glenn's Auto Performance bracket on the way to my house - I ordered it the same day I ordered the TBSS manifold. Now I need to figure out what to do about a throttle cable. I have heard that an NBS truck throttle cable might work in an older car, but I don't have access to one to check it out. Another option is something aftermarket, but I'm open to suggestions on what people have used on their 70's car LS conversions for a throttle cable.
Today I made some pretty good headway on the 6L teardown and cleanup. This thing looked like it went bogging regularly and was leaking from every seal it had! Oil, mud, rocks, etc was everywhere. Oh yeah, I had a heck of a time getting the flexplate off the crank - it was really stuck on there. I'm used to the gen 1 SBC's where they practically fall off after you get the bolts out. I figured something was wrong when I couldn't get it off and my reference book said a few light taps from a hammer will free up the most stubborn flexplates - BS. I had to use two bolts in the extra threaded holes to extract the flexplate since it has the pressed on spacer/register for the 4L80 converter hub. Heck, removing the main caps was easier than this darn flexplate! Alright, on to some more pics (pics or it didn't happen?):
I broke out the full arsenal of cleaning products on this one - simple green, super clean, brake clean, carb clean, dish soap, etc. And the pressure washer and a stiff bristled brush.
After a long day of cleaning and prepping, I got to spray some primer and color. I'm going for the same color scheme I had with my 383 - orange block, aluminum heads, black valve covers.
While I was waiting for the coats to flash, I disassembled my 706 heads and began to clean them up too, as you can see on the bench in the background of the previous pic. Still needs more work on the intake runners, probably need to break down and get some oven cleaner, but they are 100% better than they were.
I did confirm that my Howards springs I ordered for my Dart heads on the 383 I had were actually spec'd for an LS head. They are nearly identical in diameter and height but with a much higher rate (still for hydraulic roller though). I think I just saved myself a couple hundred dollars there from having to buy the PAC1218 springs or the comp springs, but we will see how they fit when I try one out after my valve spring compressor tool gets here. I think the springs I have are a Howards 98113 - they are a beehive design that came in a kit with locks and retainers. Next up will be cleaning the pistons, rods, crankshaft, rockers, pushrods and main caps.
Last edited by Nova1978; 11-20-2020 at 08:30 PM.
Reason: clarification on cylinder head cleaning
I don't know how old your springs are, but you might want to test them just to be sure.
Better safe than sorry, and now is a good time.
The Howards springs are new in the package - never been used. The ones in the pics above next to the heads are the original 706 head valve springs. I won't be going back with the stockers that's for sure - I don't really know anything about these heads in terms of how many miles are on them, but there was only 1 broken exhaust manifold bolt in the 1 head. The 317's I pulled off my 6L had 4 or 5 broken bolts at least for reference. I bought them for my dart shp heads with the plan of swapping them out at some point. The dual springs in the heads worked very well for my setup and according to dart and howards cams both, they were actually spec'd right for the cam I was running so I just held on to the valve springs I purchased. I have an inquiry in at Summit right now about it to find out for sure what P/N they are.

 11-13-2020, 09:47 AM