When you click on links to various merchants on this site and make a purchase, this can result in this site earning a commission. Affiliate programs and affiliations include, but are not limited to, the eBay Partner Network.
Been many years since I posted something on the board here, but a couple years ago a got a new prime candidate for ls swappage, and began the breakdown this weekend in my garage. After a couple frustrated days of ebay parts not fitting, I decided maybe I should catalog some of this.
The car is a mostly rust free flat black 65 lemans sedan, great survivor car, but want it to have some more juice than the old 326 can do and getting rid of the Buick 2-speed is an added bonus.
To begin, the car got a last rites meal at a local bar and cruise around town, then while the block was still warm, we unceremoniously gutted the tank, trans and engine in 3 hours flat.
Then the dry fit of the new equipment.
Engine is a good looking junkyard 04 4.8 with a Summit 8701 cam, LS6 springs, BTR pushrods, new wearables all dolled up in pointiac blue.
Trans is a rebuilt unit from an 03 Silverado I bought second hand.
Fuel tank is CPP/Tanks inc kit for a 64-67 Chevelle, Walbro 255 pump, Vette regulator
Cooling is Be Cool 65 GTO radiator (non ls diameter) with electric fans wired up.
EFI is a Holley Terminator X Max DBW kit (after splicing 3 different LS1 harnesses I've finally learned my lesson lol)
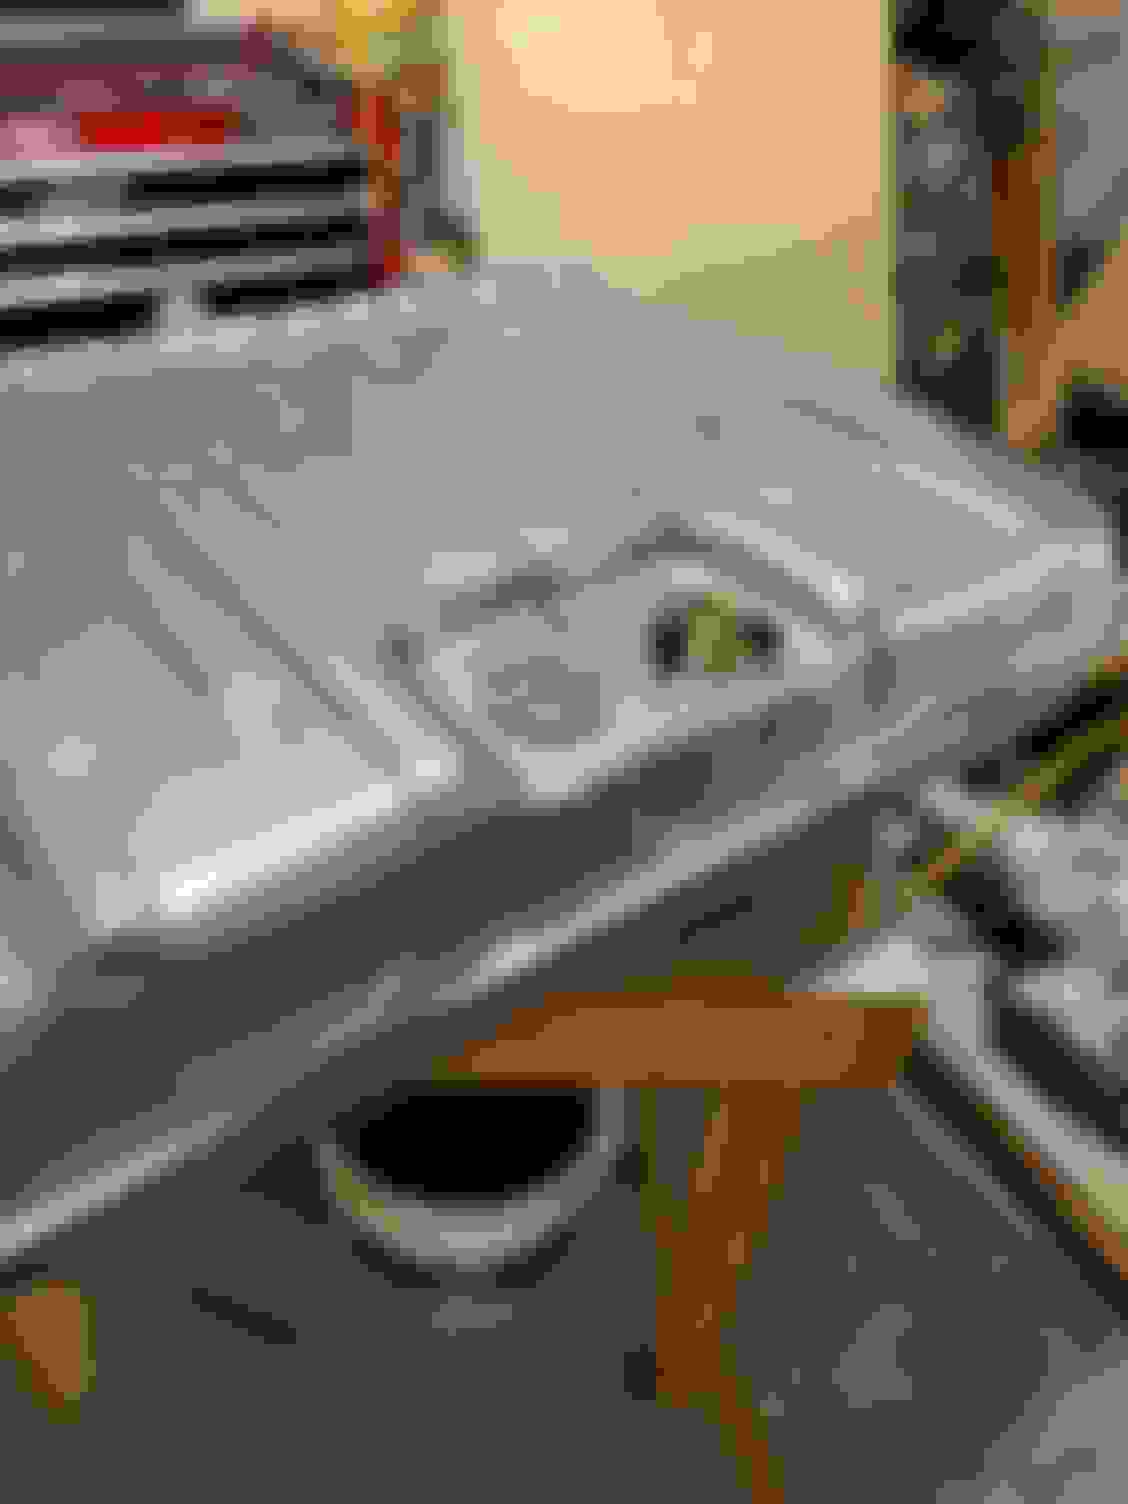
My first dry fit was using BOP/SBC conversion mount plates to tall and narrow energy suspension, with a TSP 81073 oil pan (the one ebay always wants to sell you for 100$ less). Transmission had to be mated under the car, both could not swing in together with this setup. About 2 -3/4 in clearance of bellhousing to firewall on first couple attempts, but the oil pan is just too snug to crossmember, and resting partially on passenger side, even after attempting a spacer on mount and frame.
And this point I swallowed sadness, got out my credit card and bought the hooker mount plates for clamshells and a 302-3 pan, waiting on delivery as I write this post.
Nice! I really want to know about that fuel tank. Been looking at one for my 66 lemans but they’re $200 more then the 66-67 chevelle tanks. Figured they’d fit just the same. And I did same thing as you with the motor mounts. Had the right pan wrong mounts had to get the Holley/hooker ones. Still deciding on what headers or do single turbo. Great build. Looking forward to more of this.
I'll take some more pictures of it, it's from Tanks Inc. which is pretty highly recommended on the internet. I bought it through CPP, who sells some add on pieces like the sending unit, in tank pump and fuel lines as a package.
Hey Project GatTagO, I do have a question about where you put the ECU and if you moved the battery to the passenger side, since Pontiac had the starter on the driver's to begin with.
302-3 oil pan and mounts came in this weekend. Night and day difference! After making the windage tray modifications, I re-mated the engine and trans and the drivetrain slid into place in 30 seconds flat. Everything is mocked in position so I can tap the 2nd set of bolt holes for g-force crossmember, but looks like I need a winch to bring the frame back to 53 inches to align. Once I have that fixed permanently I'll make my drive shaft measurements and get it to the local shop.
Hey Project GatTagO, I do have a question about where you put the ECU and if you moved the battery to the passenger side, since Pontiac had the starter on the driver's to begin with.
I actually have a trunk mounted battery, but that creates issues of its own. I am still in the process of mounting my Terminator X system, but the ECU will most likely end up in the passenger compartment, under the dash.
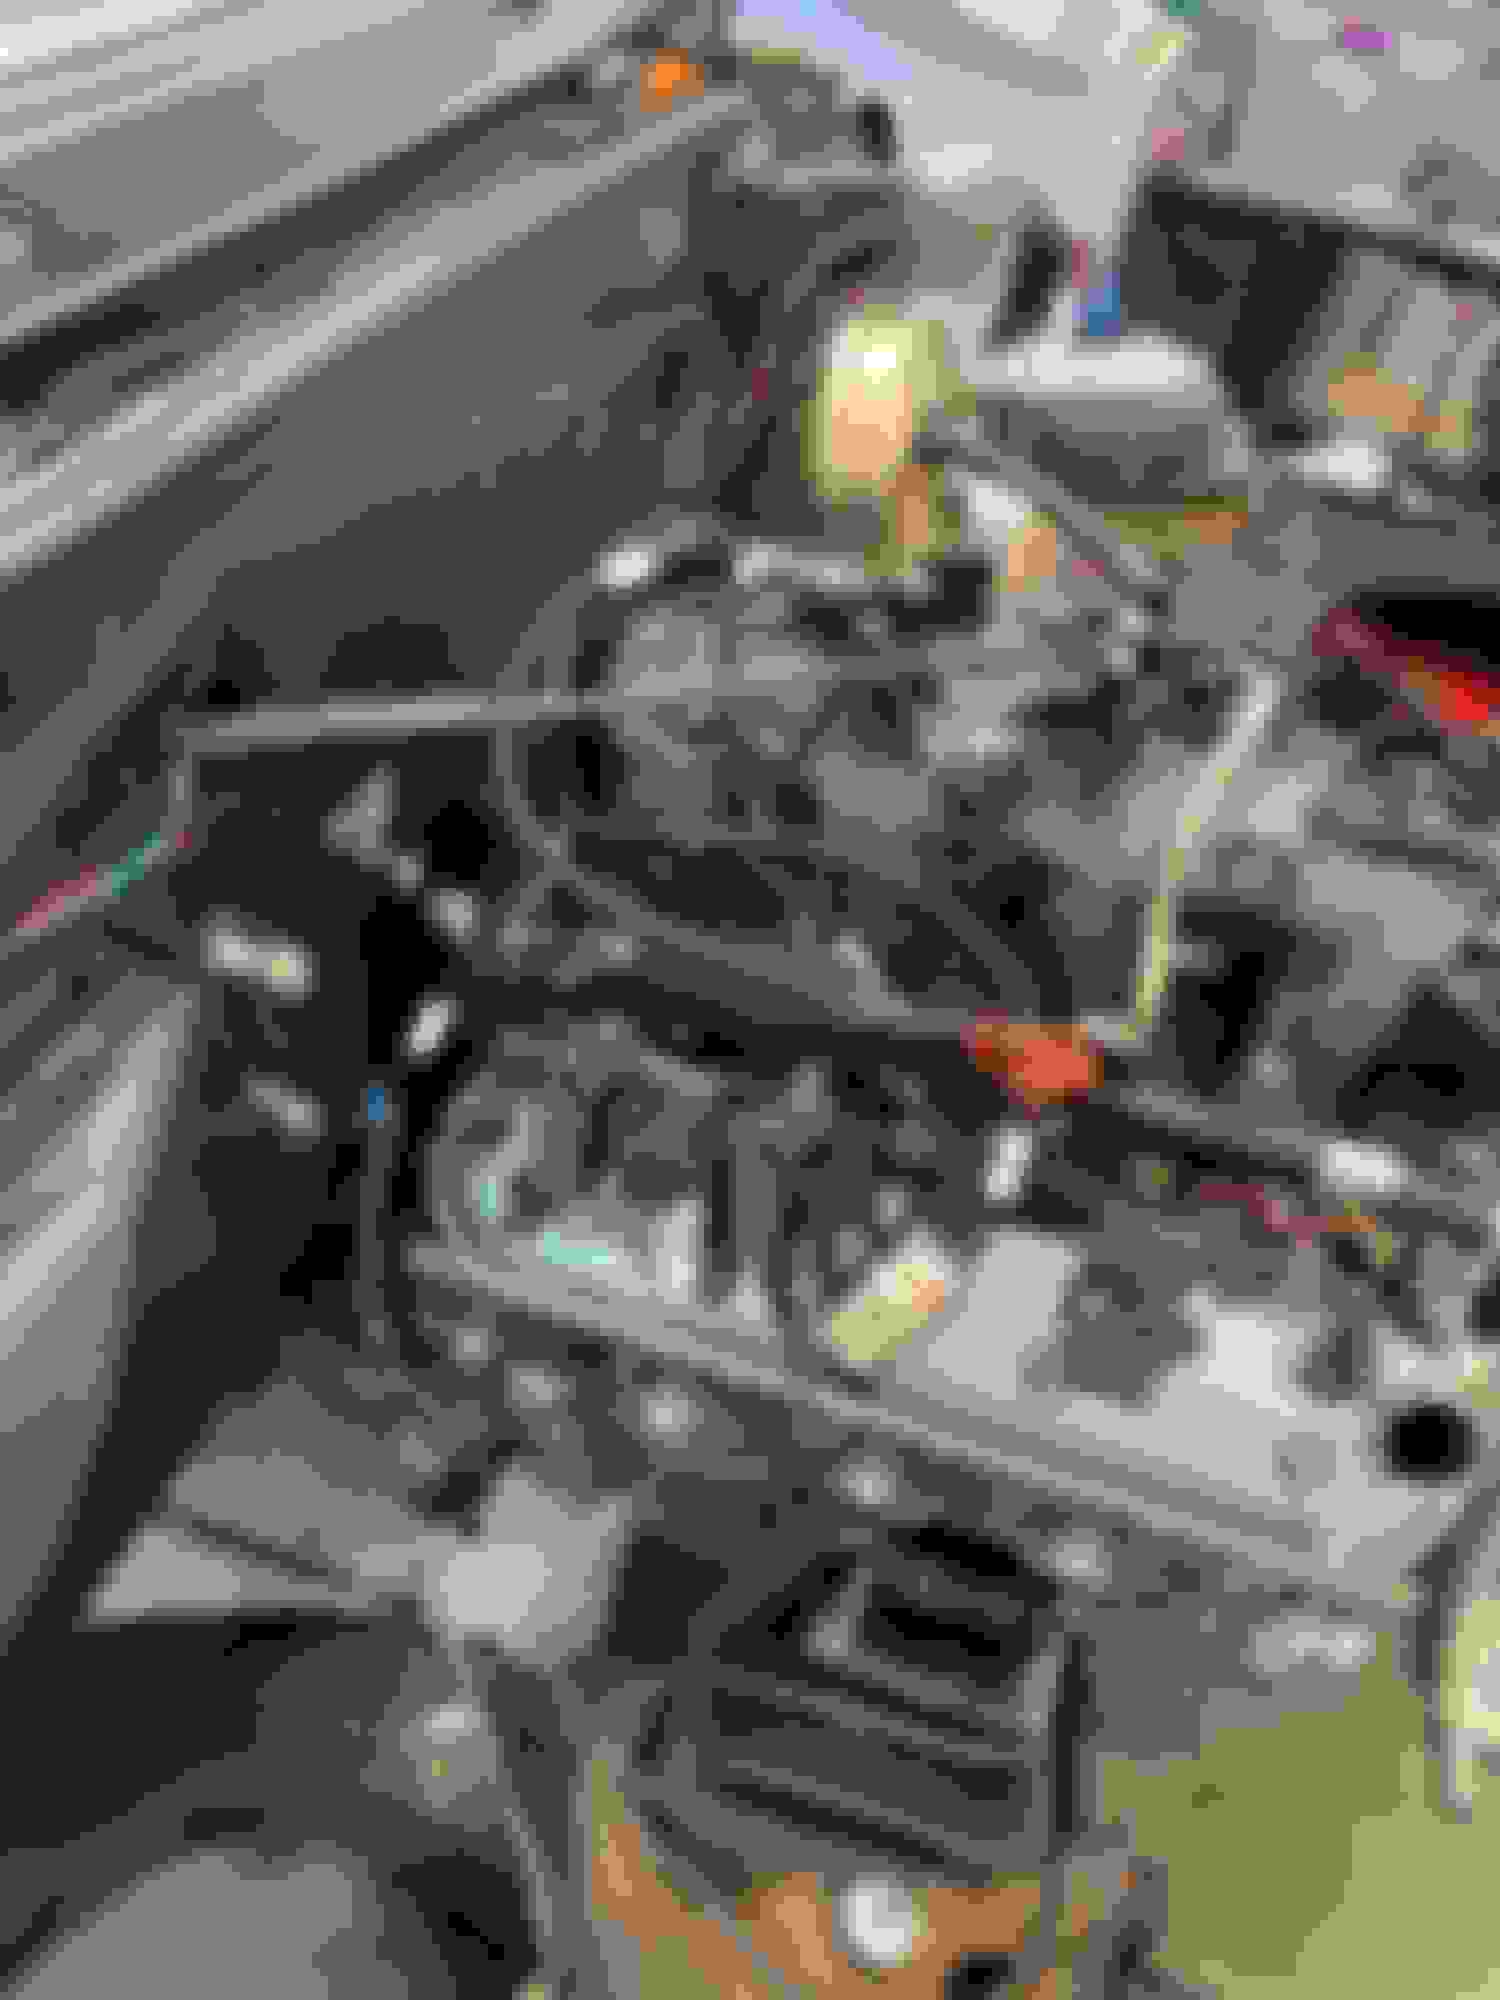
Fun Friday afternoon, test fit and cut to size the Shiftworks/CPP column shift lever, re-attached my steering to a new Grand Cherokee box, and test fit the headers. Also punched a 2" hole in firewall to pass through the wiring for terminator box, waiting on grommet in the mail.
The headers are speed engineering a-body stainless swap headers, and I'm pretty excited for 270$ how well they cleared almost everything. Driver's side control arm tab needed a couple hammer marks and a little grinding to make an 1/8" gap, but everywhere else tucks in nice and clears the firewall, starter and shifter. Passenger side brake line from factory passes a little close for my taste, but i'm going to try some heat shielding that's on it's way.
Awesome build. Keep us posted. Fond memories of my first car - 65 2Dr Lemans Nightwatch Blue back in 1976. Too bad I was a dumbass and it didn't survive the riggers of a 16yo.
Build post back from the dead! project stalled because I became a proud daddy to a beautiful daughter. I sneak out to the garage an hour a week to keep the dream alive.
Since last post:
All the terminator x wiring is in place, routed through firewall grommet.
Fenders and core support back on, radiator and fans back in place. Everything needs to be adjusted still with car on ground.
Headers have been test fit for the last time and everything is clearing.
Trans coolers lines test fit to clear the long tubes.
ICT Billet accessory drive to clear the steering box. Looks like i have a metric line that will work for pump side, just need to bend and clear a little more.
Battery tray moved to passenger side, alternator and starter on passenger side as well to make it cleaner to wire.
Start, Ign and Bat wires from original cab extended to get to passenger side starter, alternator exciter wire back to the original test lamp
Coming down the final stretch, we test fired the motor this weekend. Couple chassis ground connections fixed and everything roared to life on open headers. immediate 75 psi on the oil pump made me breathe a sigh of relief. No major leaks, no real drama getting it to run. I believe my throttle body isn't 100%, something seems off when i TPS autoset, i get a fluttering sound when key goes to ign before start, also noticed the TPS housing is cracked, so we're waiting on a replacement and going to confirm my 12v brake switch wiring isn't limping it. Also threw a optima red top and new starter in, because we were having strange grounding issues, which I attributed to low crank voltage and bad/grounding solenoid. They're already installed so they get to stick around.
Exhaust arrives this week, and just need to get driveshaft cut, should be on the road for a shakedown soon.
Nice project, I looked at your first post and saw the stock alternator mount and was about to suggest the ICT billet mounts...scrolled down to more pictures and saw you upgraded. Nothing wrong with the stock stuff but the stock truck setup looks like it belongs on a truck lol
I had an issue with my DBC setup that did the same fluttering you described with a brand new GM LS3 throttle body, Then after a few starts it went full throttle at first crank...not a pleasant feeling when it's a nearly new supercharged 6.0 and it revved to 7,500rpms for about three seconds. I replaced the throttle body with a used one and it's been fine ever since.
Yea, I'm not a huge fan of the turnbuckle without idler setup, but the ICT stuff is great looking, affordable and it put the alternator on the same side as the starter, so I mirror what the Lemans used to have for power cables, just on the passenger side instead of driver's.
I have a Delphi branded replacement TB showing up today, so hopefully i'll hook it right up and get throttle response after a TPS autoset.
I was able to track down a cosmetically damaged ls6 intake for a good price, so hopefully with a little elbow grease and time we can make it presentable, I'd love to get rid of all the truck intake stuff cause its uglier than sin lol. Switch to a prettier valve cover and ls3 style coil packs.
I was able to track down a cosmetically damaged ls6 intake for a good price, so hopefully with a little elbow grease and time we can make it presentable, I'd love to get rid of all the truck intake stuff cause its uglier than sin lol. Switch to a prettier valve cover and ls3 style coil packs.
Take a look at the covers this guy makes for the truck intakes, They actually look better and you'll have something different than everyone else. BH Customs.
Take a look at the covers this guy makes for the truck intakes, They actually look better and you'll have something different than everyone else. BH Customs.

 03-08-2021, 12:09 PM