When you click on links to various merchants on this site and make a purchase, this can result in this site earning a commission. Affiliate programs and affiliations include, but are not limited to, the eBay Partner Network.
You're pushing a big heavy wagon around. You WANT low end torque, and I think you now realize that.
Unless you can get a killer deal on a FAST manifold, an LS6 or Dorman copy (though not cheap anymore either, it seems) might be your best shot here.
Oh its not lost on me that its a big girl. By comparison its in the ball park of a 99-07 reg cab short box curb weight. The car scaled at 4300# with the previous combo. Your not wrong though, hopefully I can find a decently priced used ls6 or even just an ls1version for the time being. If I�m patient enough hopefully a good deal finds me lol.
Any updates on this build? I'm looking to put an LS into my '65 Galaxie 500XL Convertible. What was the part number of the engine mounts? Do you have any more pictures of how your mounts look? Did you find exhaust manifolds that fit? Any issues with the transmission cross member? Thanks in advance!
I priced out a Dorman 915-601 and its $1750 CDN my cost ?!?!
FWIW, Rock Auto has the 615-901 for ~CAD$1150, and that's before the 5% discount code that you can find online. I have no idea what shipping runs to get it up to you, but I would hope it's less than $600! So, still not the great deal it was in the past, but should be better than the $1750 you were seeing.
Any updates on this build? I'm looking to put an LS into my '65 Galaxie 500XL Convertible. What was the part number of the engine mounts? Do you have any more pictures of how your mounts look? Did you find exhaust manifolds that fit? Any issues with the transmission cross member? Thanks in advance!
- Jesse
Hey, ya I have been making progress, just need to catch up! The mounts are trans dapt 4205. I found a set of shorty headers which look like S10 swap headers to me. I am in the process of cutting up the drivers side header to work around the steering gear. I swapped in a saginaw box in my car instead of factory ford sector box so my exhaust fitment may be different. With the engine moved back i had to build a new trans crossmember also.
FWIW, Rock Auto has the 615-901 for ~CAD$1150, and that's before the 5% discount code that you can find online. I have no idea what shipping runs to get it up to you, but I would hope it's less than $600! So, still not the great deal it was in the past, but should be better than the $1750 you were seeing.
Thanks! The interior luckily was pretty clean, but the carpets are faded. I may dye them to try and bring them back since they are in decent shape. I might also swap in buckets and console down the road since the bench is a little soft and uncomfortable on long trips. I ended up going with a 4rth gen truck intake and saved a bunch of money. I would have put money on the hood not closing with the truck intake but surprisingly it fits.
The only interior picture I have lol. I think I was teasing a friend about taking his car out for a cruise.
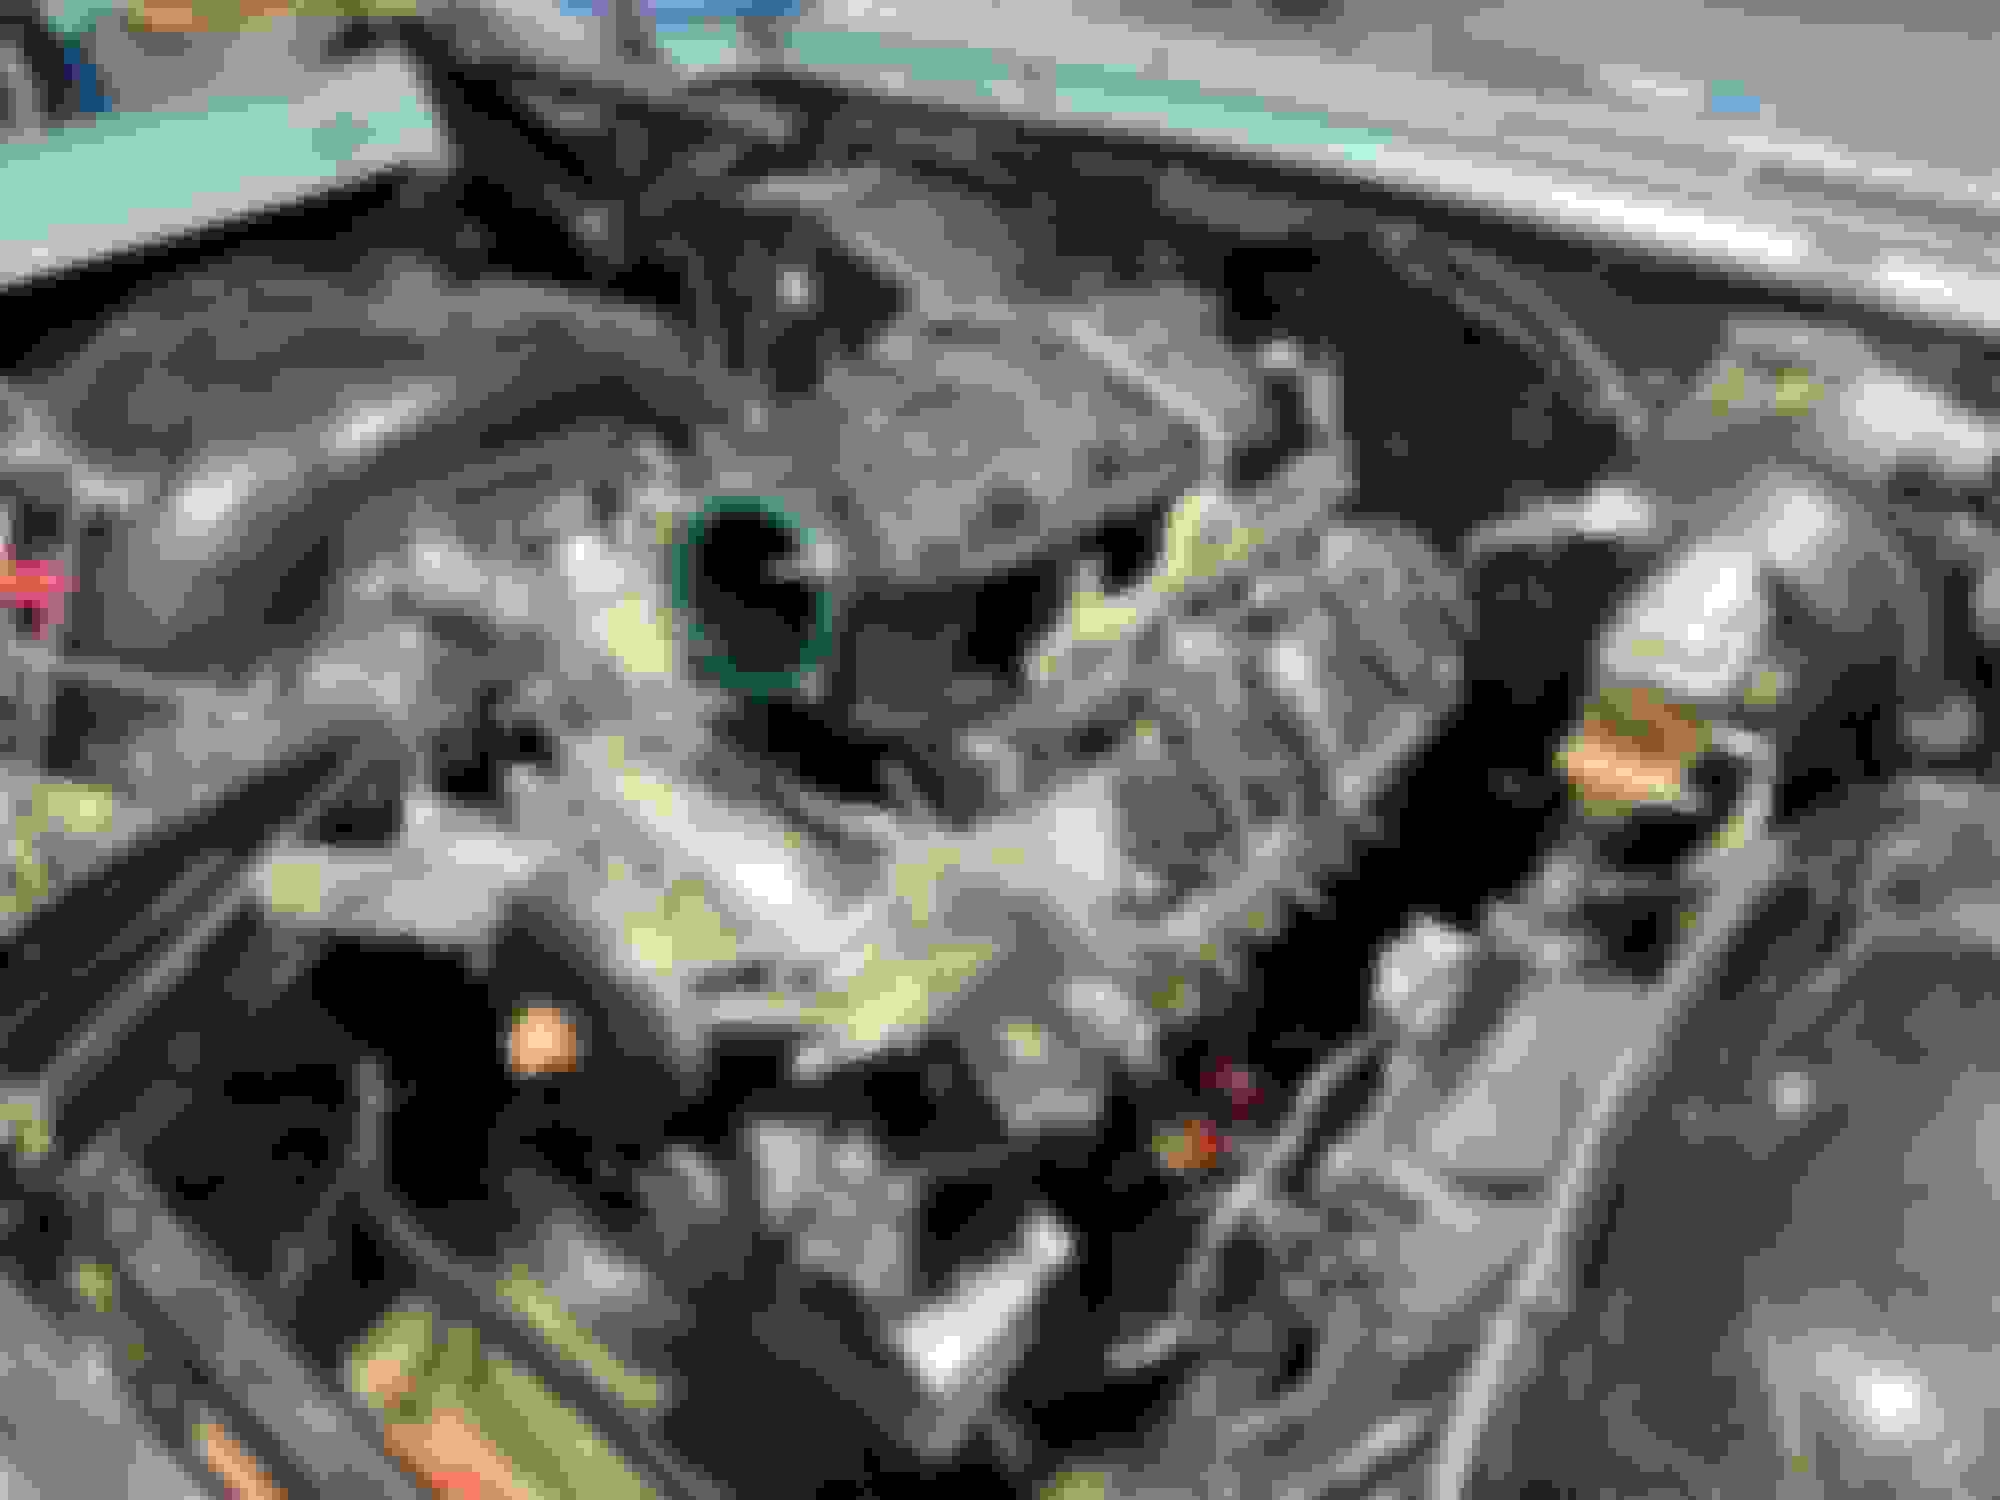
Had a bit of a break from posting, but lots has happened in the last few weeks. The cam and valve springs and new seals and comp trunions are installed. The truck windage tray only needed minor clearance at the back of the block to fit the pan. There was no issues with the pickup tube. Before the motor went in I replaced the proportioning valve as the car had issues with the ford one I used in the disk swap. I used earls -3 fittings with flex hoses to make life a little easier with install, and re-did the front brake lines. The motor is now installed in the car. I found a cheap 4rth gen truck intake as mentioned, and am working on the header fitment on the drivers side. The floor patch is finished on the trans tunnel and seam sealed also. I broke down and purchased a stand alone swap harness as I was a little frustrated with reworking mine. I also picked up adapter AN PTFE fittings and hose for the truck saginaw PS pump to my saginaw box. I started plugging in the harness last night and got brace and put the hood on. I was convinced It wasn't going to fit, but Im sure glad it does and I dont have to start cutting anything. Here�s a few updated pics. Tunnel patch done. Splash of POR15 before seam sealing. Chopacabra going in. Cam bearings were perfect. First one I�ve worked on that didn�t need new ones installed, or the 3rd cam bearing didn�t fall out when pulling the stock cam. Minor clearance to the back of the truck tray for the pan. Grabbed an LS fabrication cup holder at the last show I was at in Radium BC. Motor undergoing final assembly. Showing off the itty bitty fuse box on the swap harness lol. Trying on the 4rth gen intake. Did some minor shaving to the top. Has 36lb injectors currently, not 100% sure if these will cut it or not yet. Hood on ready for the moment of truth It fits!!! Trying the rad before any trimming on the rad support Very snug to the hood, but I have room to make improvements at the bottom of the rad support to move everything down.
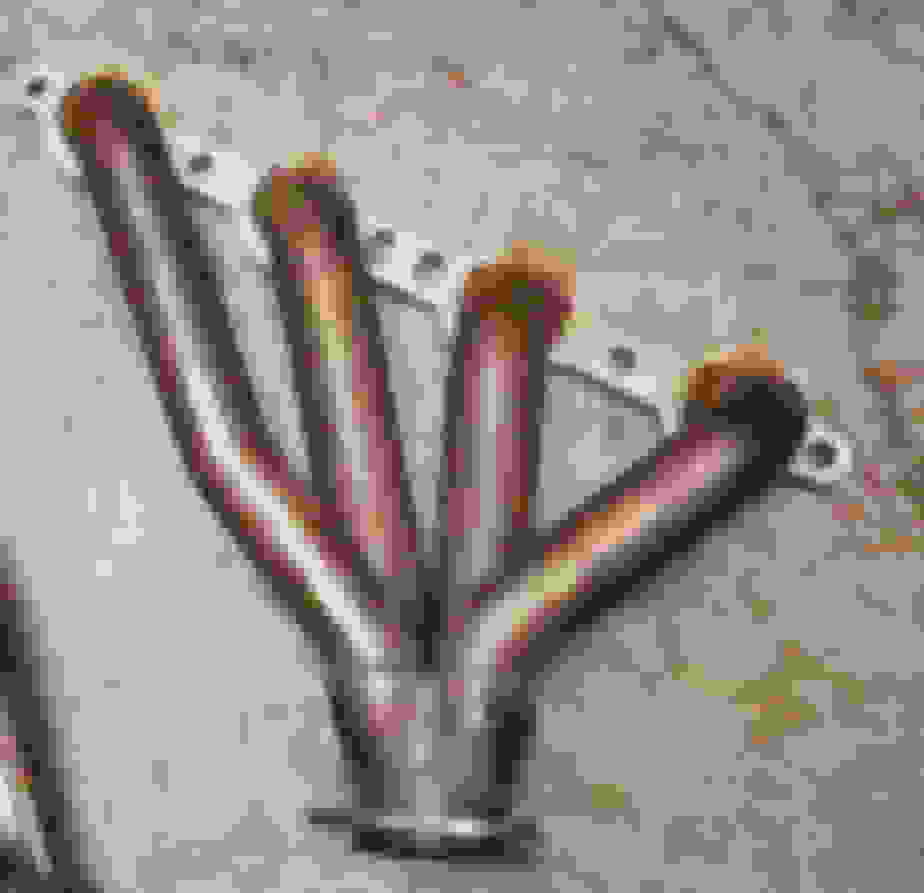
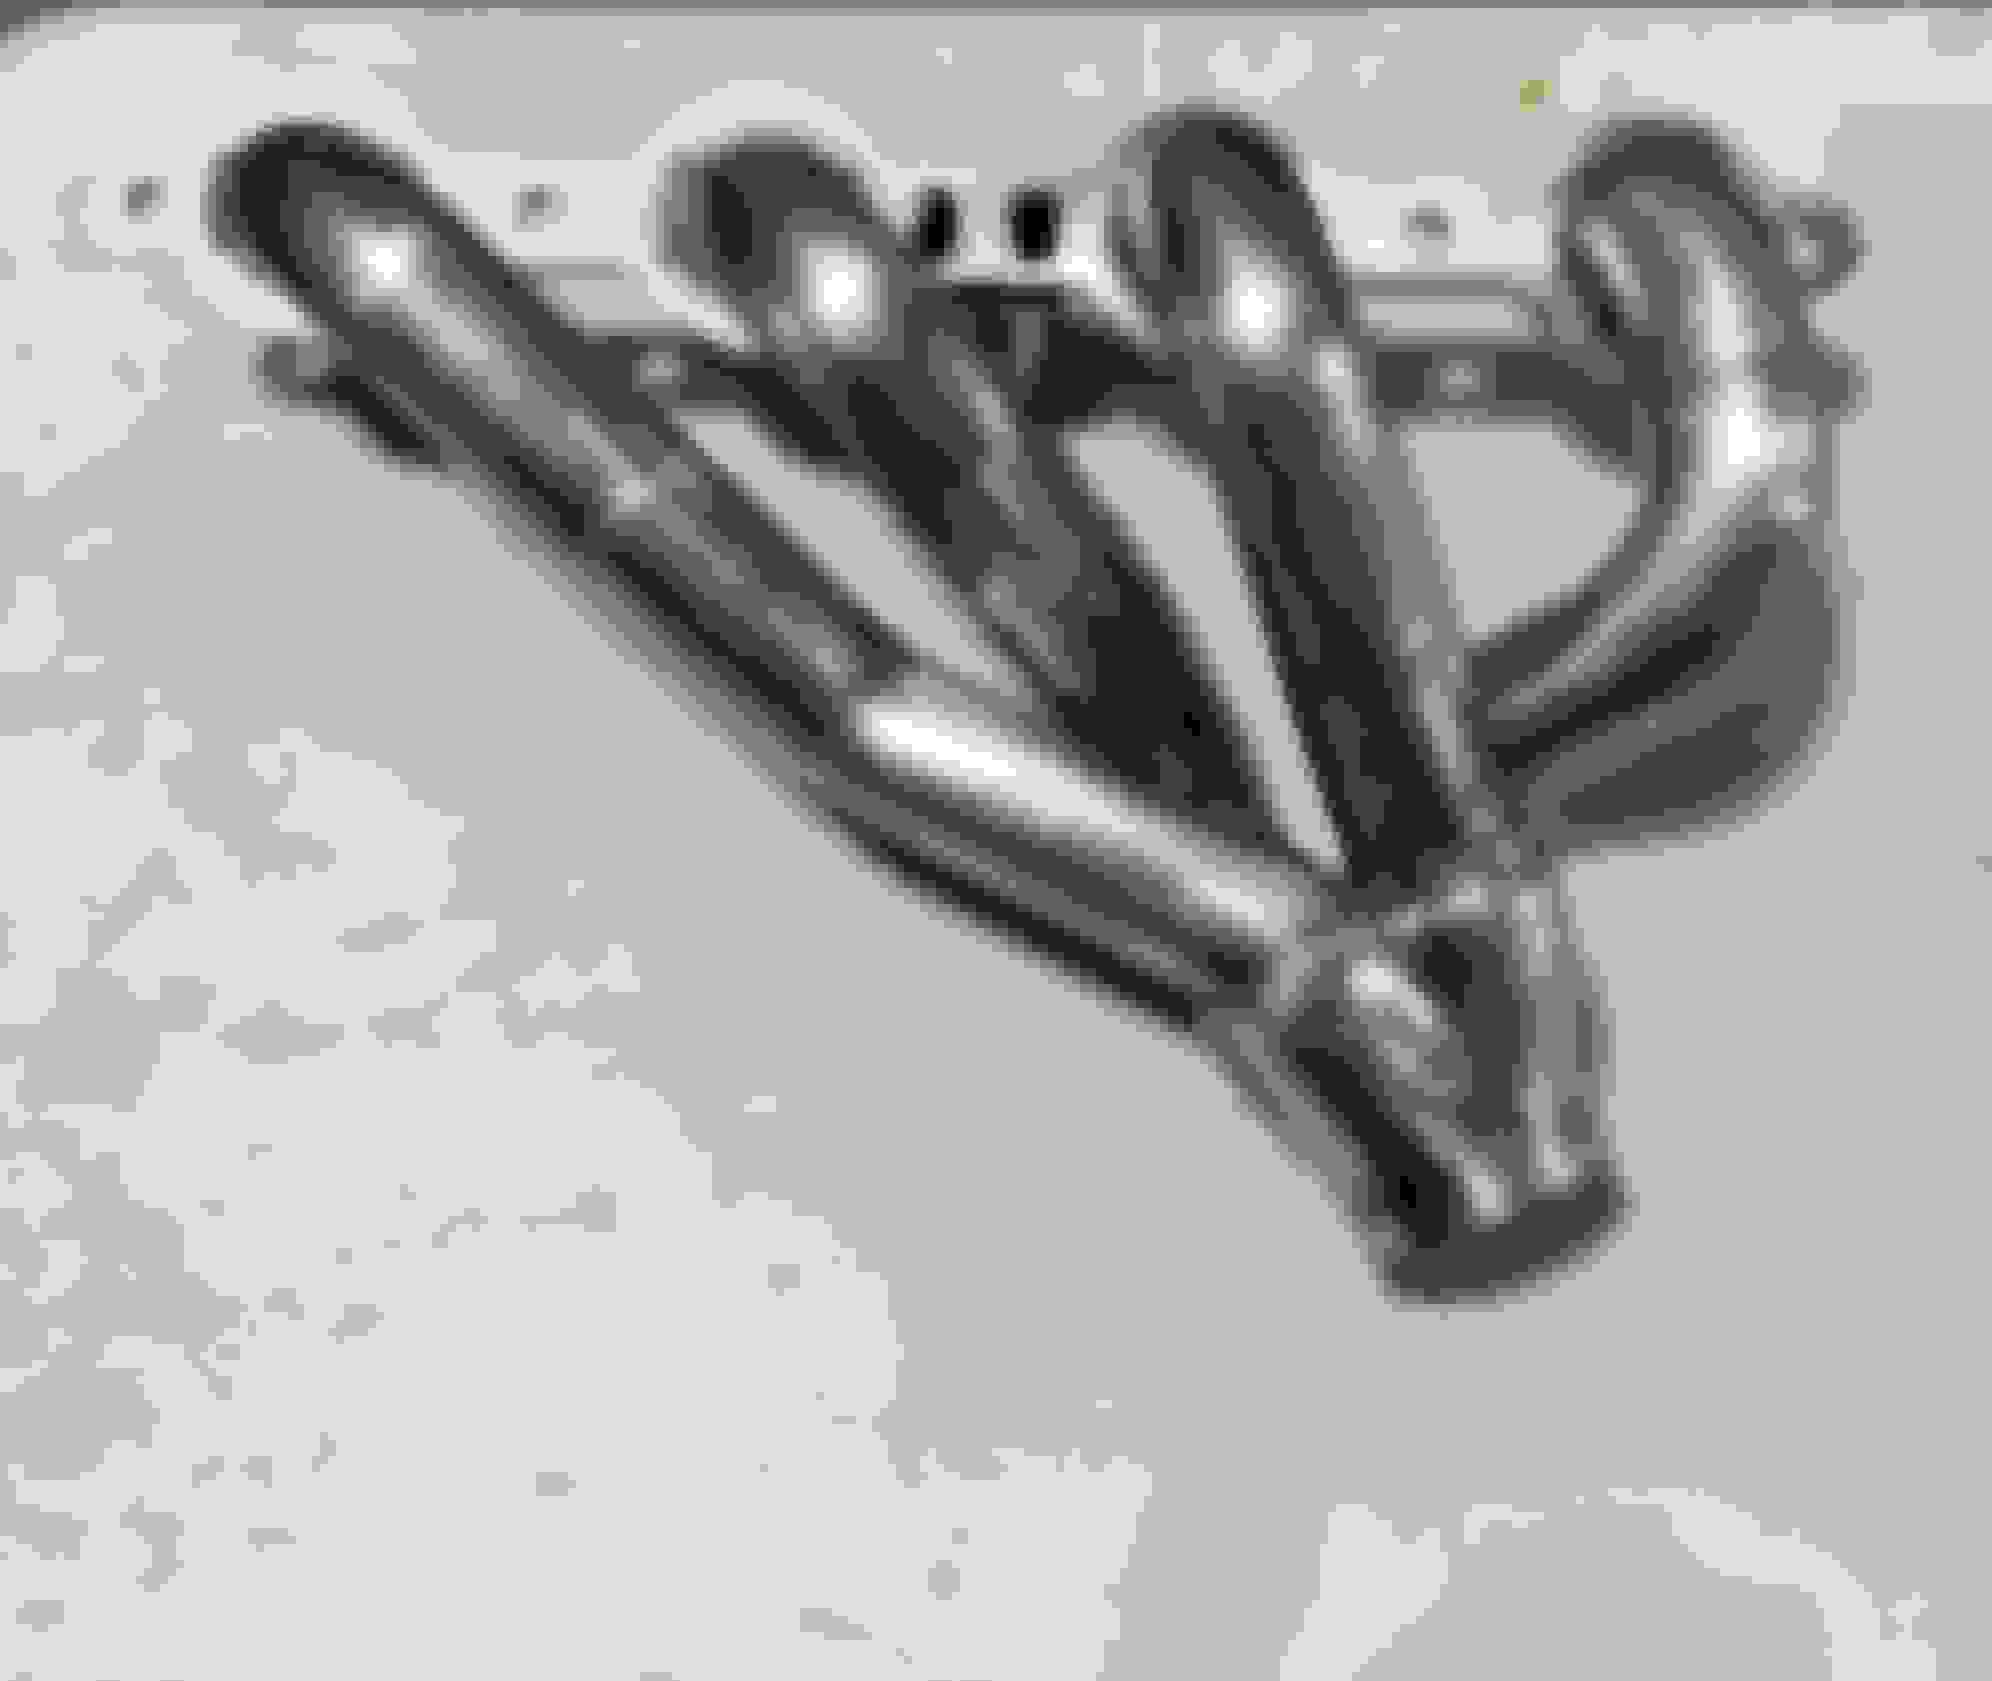
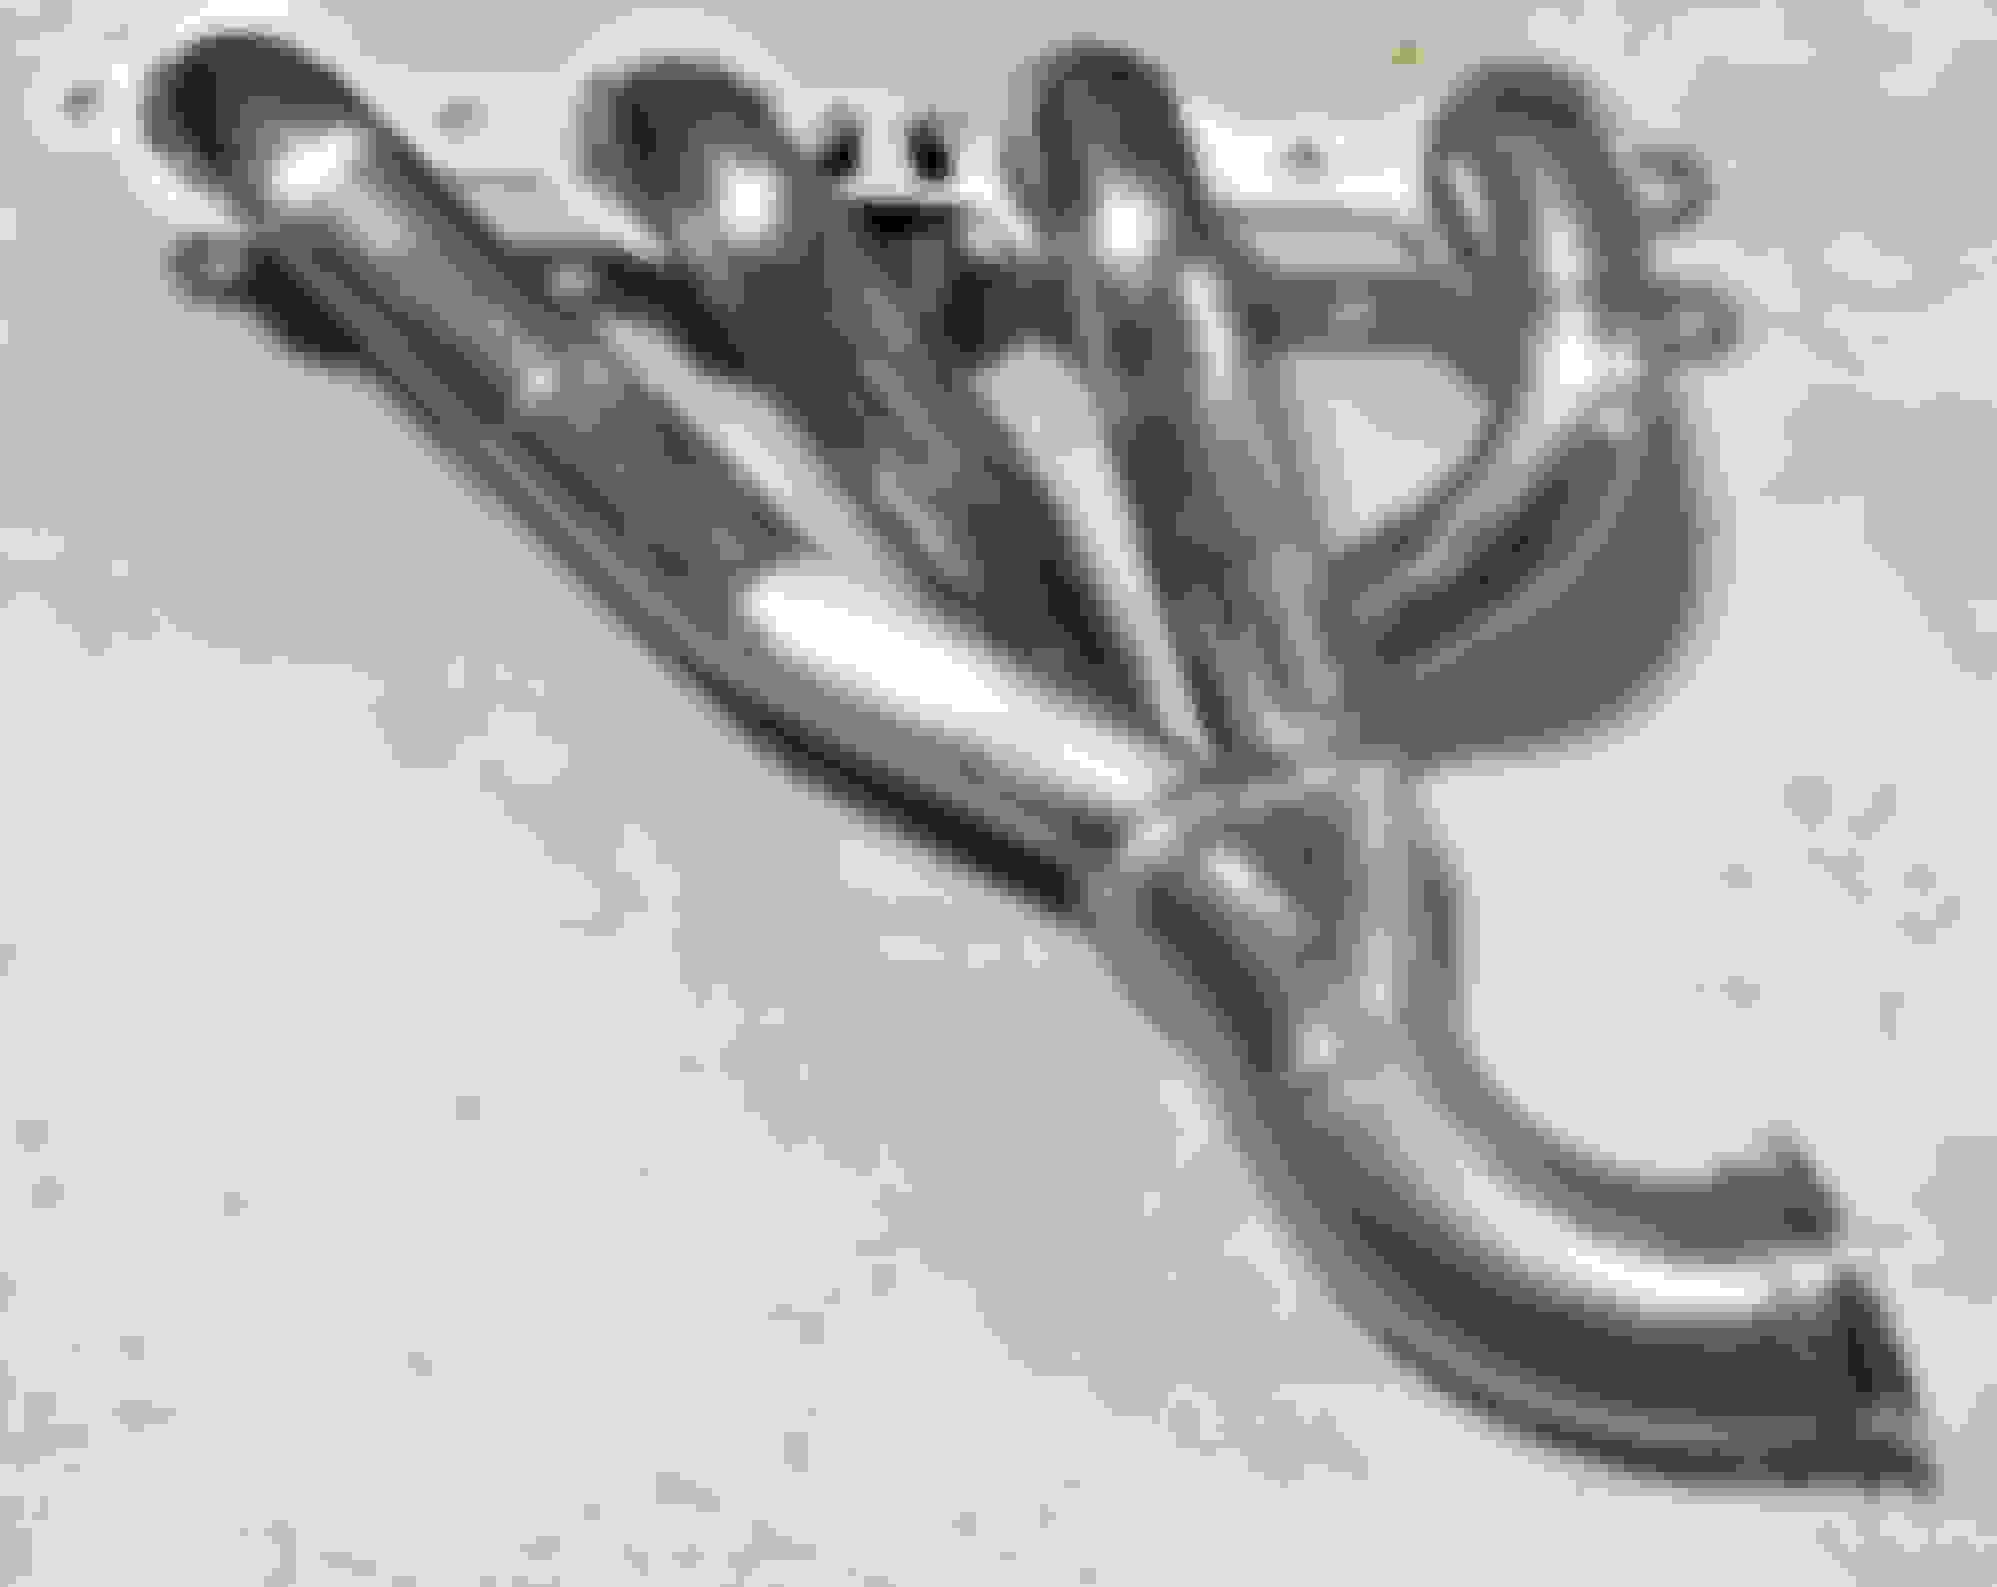
Made a bit of progress on my headers. The pass side fits great, but as mentioned the drivers side #7 tube hit the top cover of the steering box and could not be bolted up. There was really no way around chopping it up, so off went #5 and #7 tubes, and half of #3 tube. I had to reposition the collector rotating it counter clockwise towards the block, as well as swap the tube location in the collector between #5 and #7 tubes, putting #7 to the inside now to get around the steering box. To make exhaust bolt up a little more bearable underneath the car I added a 90 elbow to the collector with a v-band clamp. It was my first ever attempt at building headers, and was a lot or work (borderline painful) but I think it was worth the trouble to save a few bucks. Its not the prettiest thing by any means but at least it has clearance to everything now which is all I need. Now to follow suit on the passenger side with a v-band, then I can cross this off the list! Before the hacking and slashing commenced. Tubes starting to bite the dust and clocking the collector to its new position. Back together again. Done with elbow and v-band Fitment is great now Collector exit. This is full lock left turn which is the least amount of exhaust space available. Full lock right has mucho space.
Im not sure if they would go back far enough to go around the steering box. A guy would have to try one to know for sure. The tubes would not be able to angle down until after #7 tube.
Wiring harness update: I had some trouble with Performance World with their harnesses. The first one was a drive be cable boxed up as a DBW. I returned that one, got the right one only to find out its red/blue pcm connections. As it turns out all of their harnesses are red/blue and require an 0411 pcm. I already have the truck pedal / tac module and green /blue pcm, so it wasnt worth the trouble to try and make this harness work. I returned it today, but while it was in my possession I was able to lay it out, and cut the firewall for a pass through. I will make a new metal insert for the glove box to mount the pcm and fuse box. I have another stand alone harness lined up in a few weeks and will come with a tune once I drop off my pcm. I also had time to finish up the exhaust today also. The dumps are short term, and will build tail pipes later, with Vbands to make dropping the exhaust easier. This was necessary for now to drop the fuel tank as it mounts inside the drivers rear quarter which is where I had the tail pipes previously exitting on each side behind the back tires. Now that the tank is out I can work on new fuel line connections and figure out where I should mount the pump etc. Not much for harness visible besides ignition and fuel connections once the harness was routed. Grommet location in the firewall Harness pass through Pcm mounted to tin box (borrowed from the interwebs). This is basically what im after. Should work well mounted in the glove box.
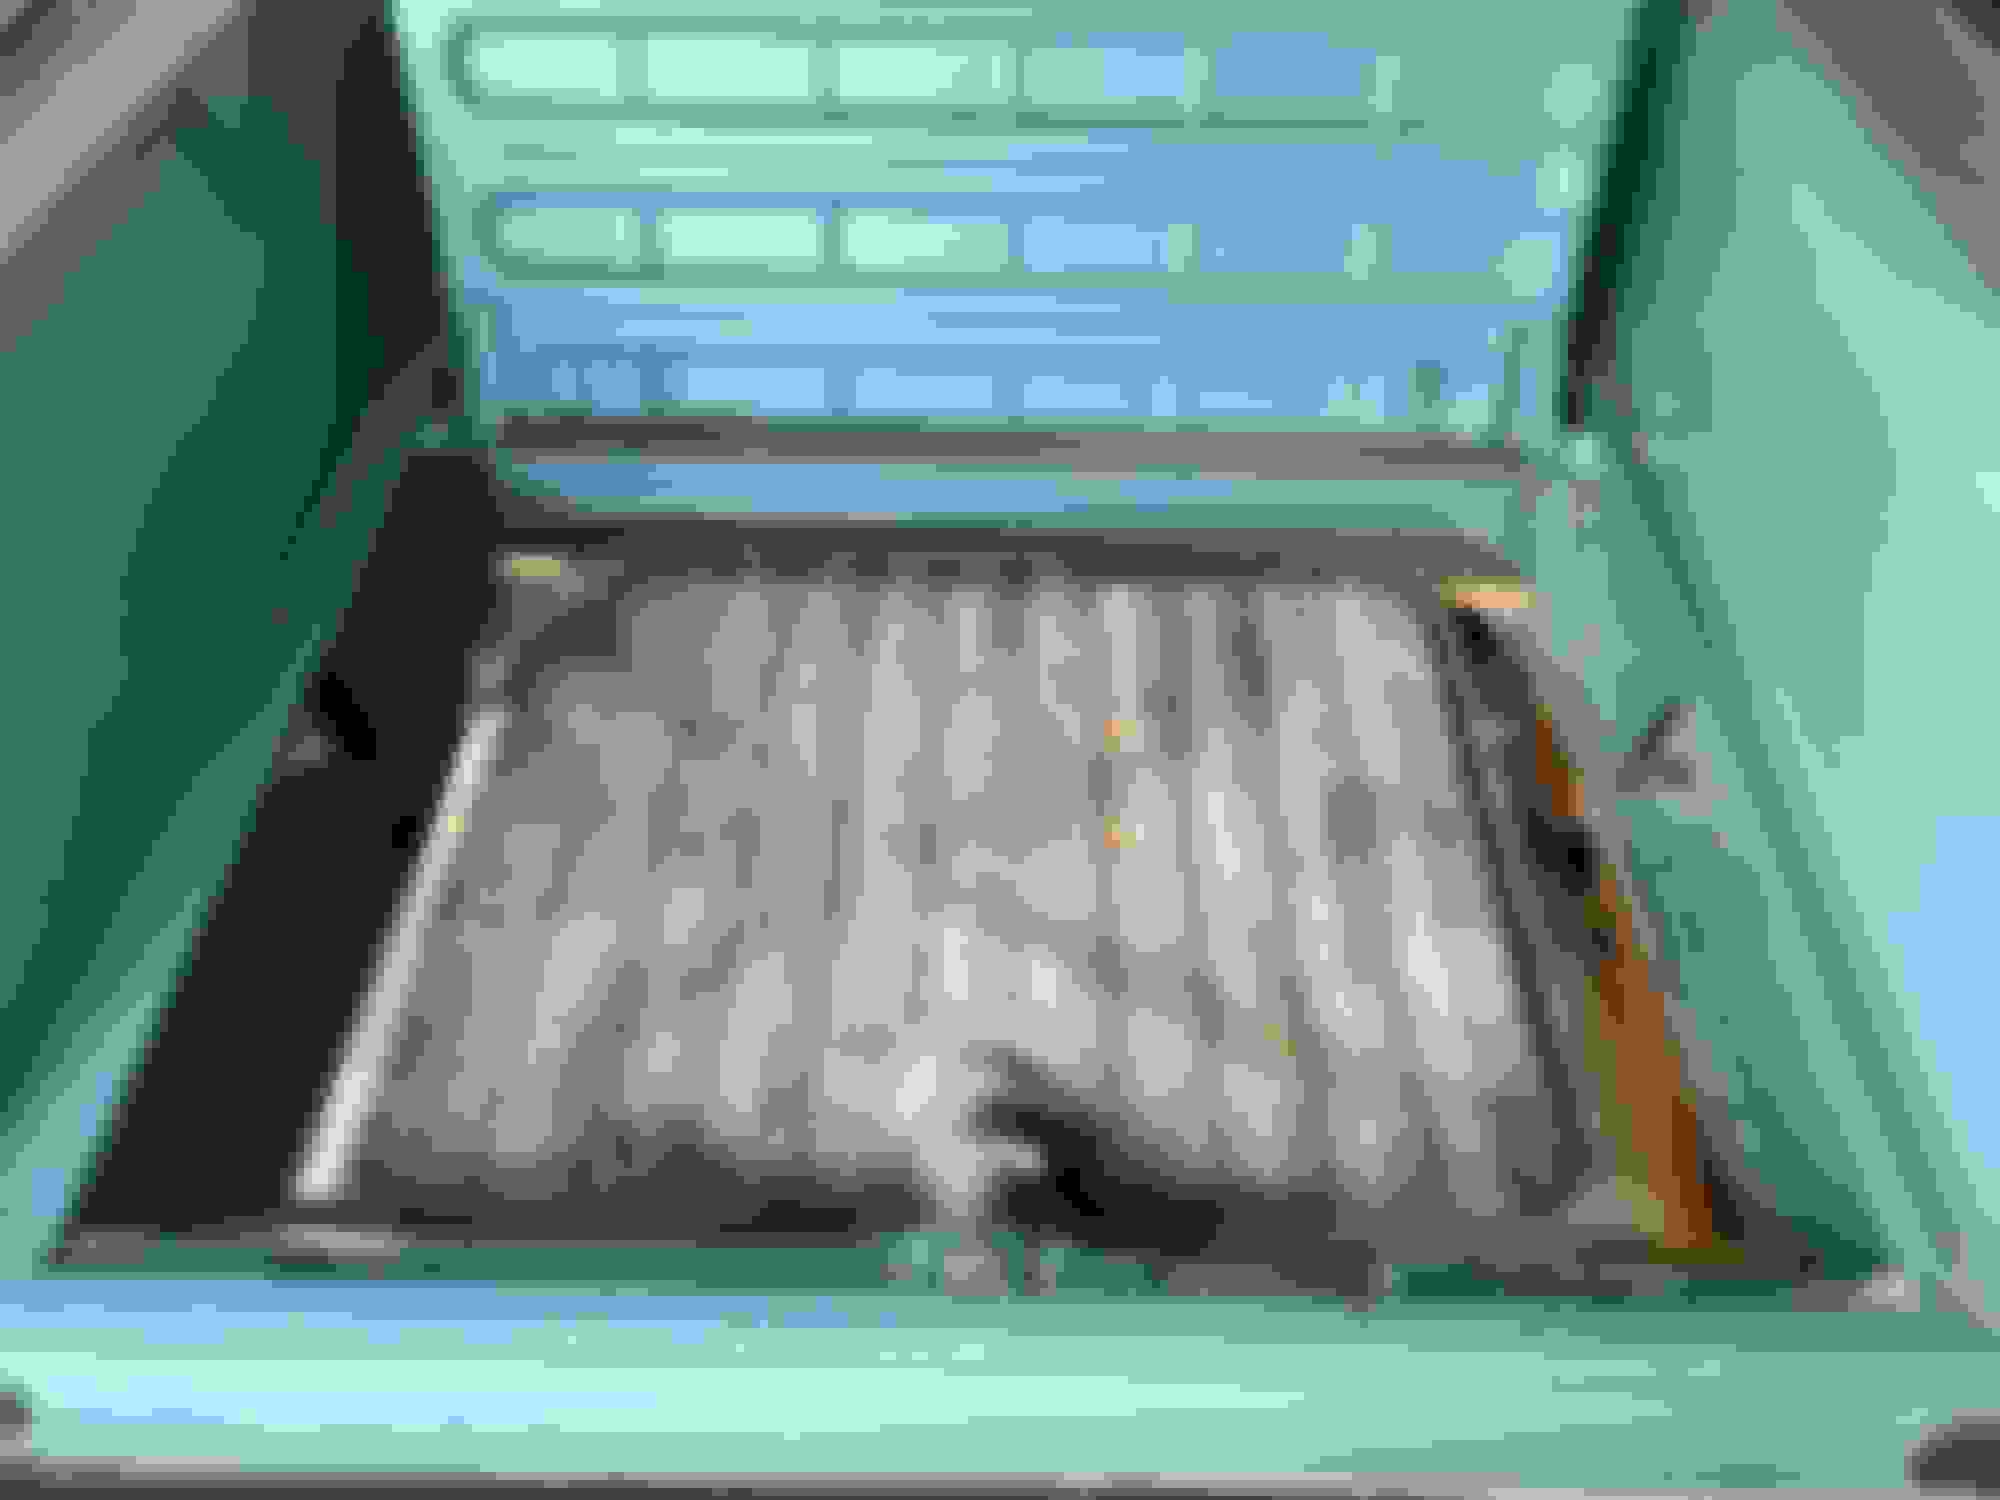
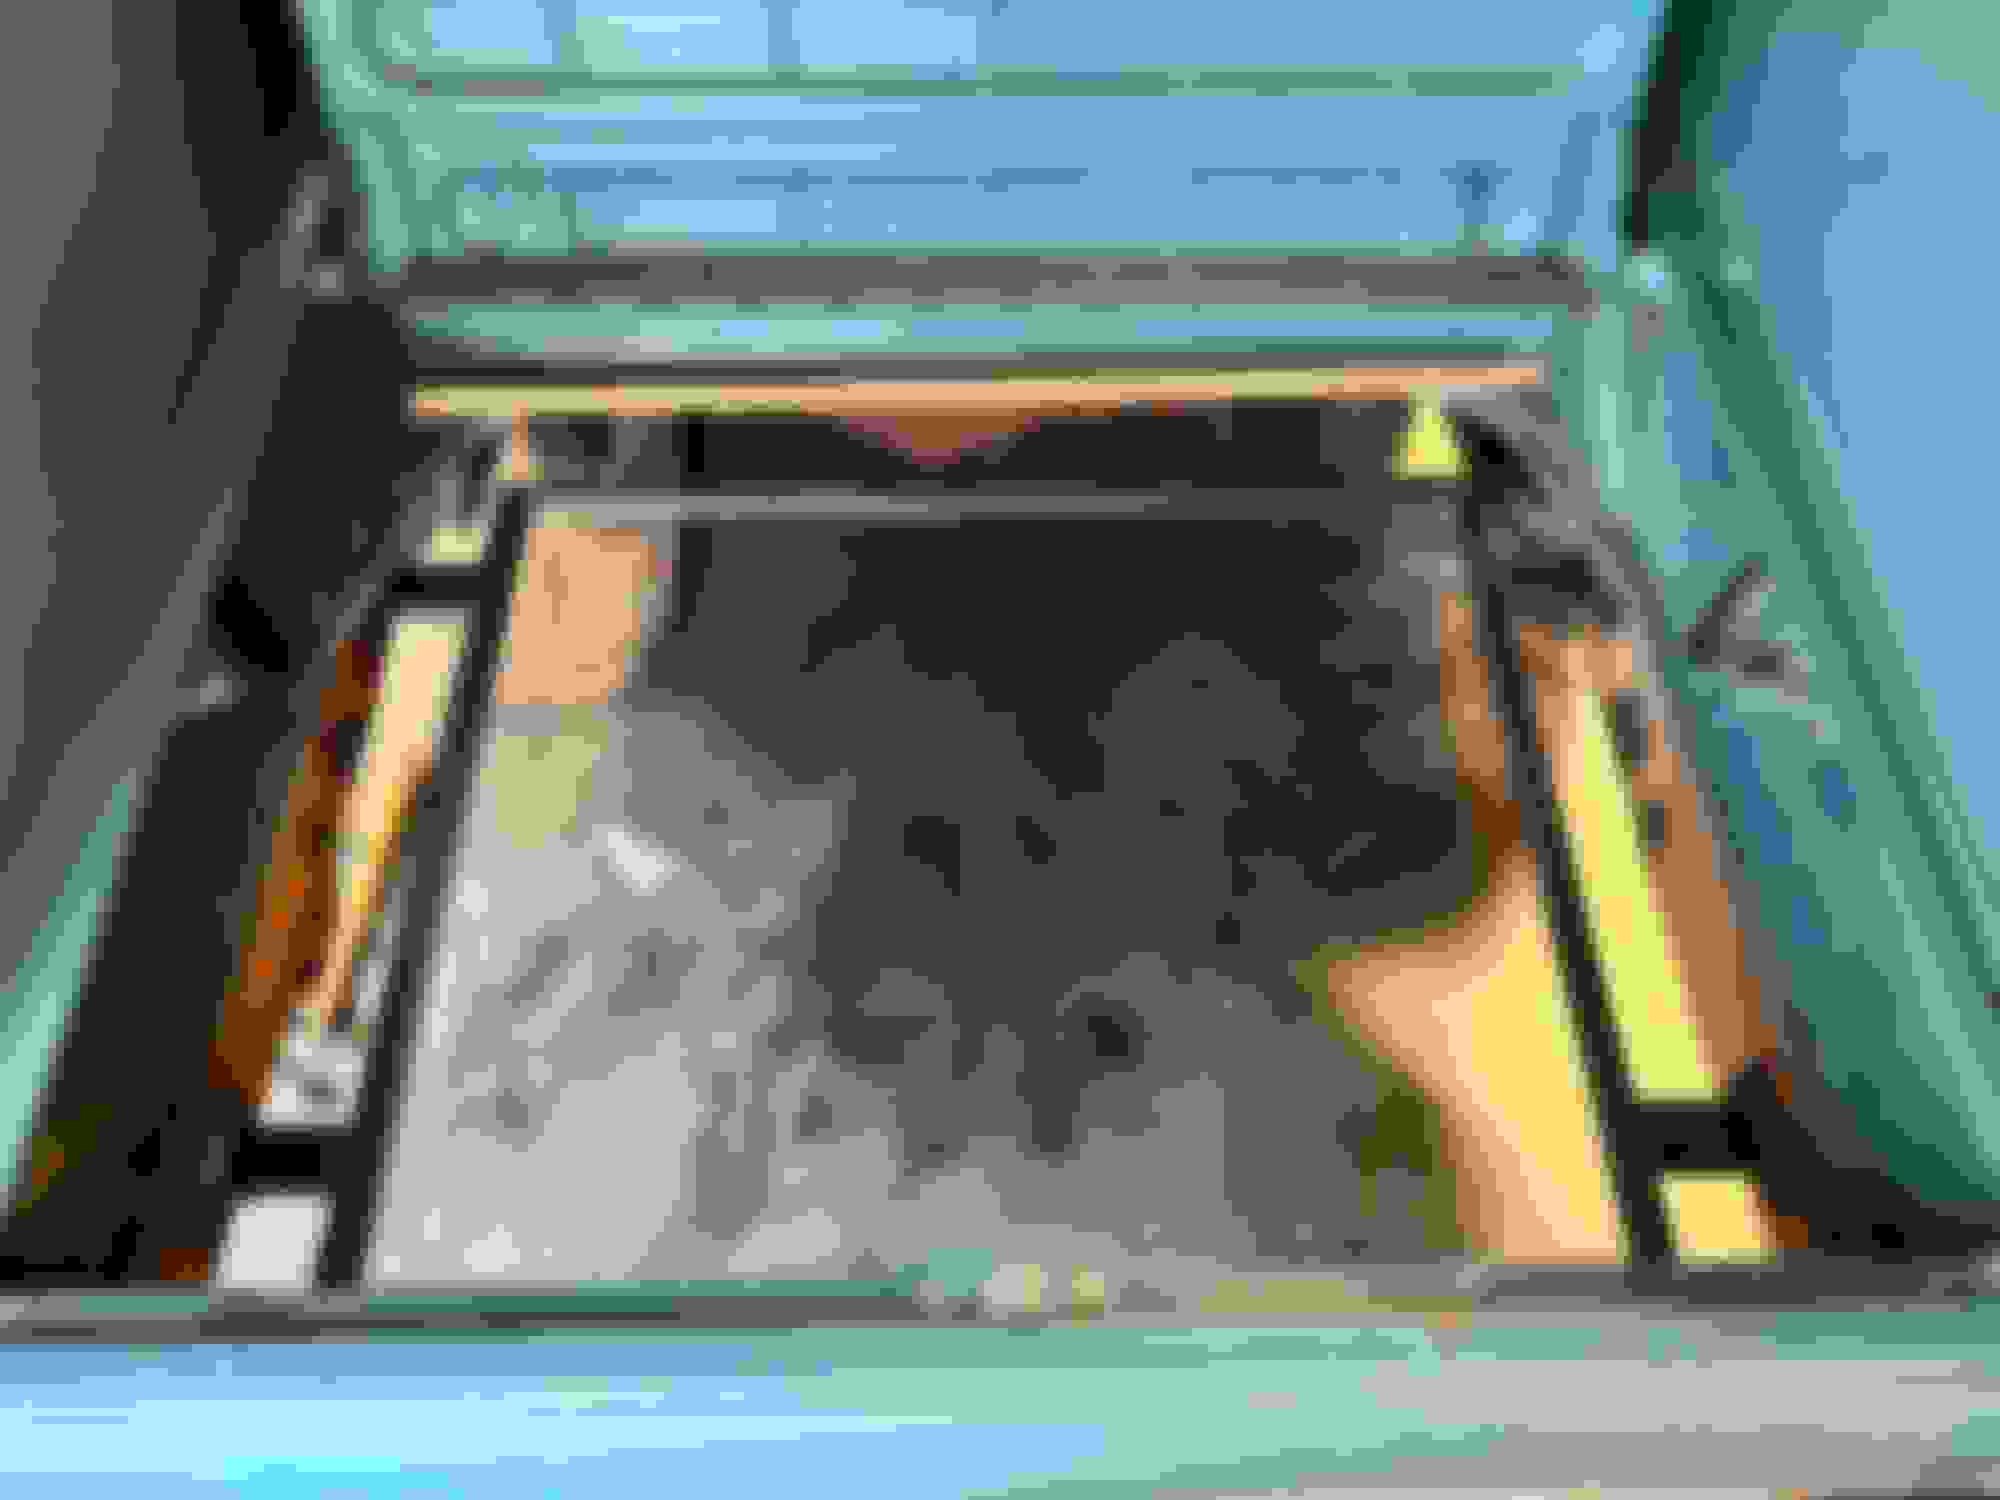
Well Im not gonna lie, fuel system improvements had me feeling a little defeated the last two weeks. Long story short the factory tank (vertical tank positioned inside the drivers 1/4) had some dangerously thin metal once the undercoating was removed to add new outlet / return bungs and had to be scrapped. Instead of trying to build a new tank to reside in the factory location, I did the next resourceful thing and elected to use one of my Fairlane tanks. Its a 20gal tank from my 66 vert parts car, and should work pretty good once I relocate the filler neck. I had to cut out the rear storage compartment and build a cradle for the tank which is bolted to the rear frame sections. A new floor panel will be built to seal the storage compartment back up (bought a new bead roller to try out). I will still be left with a little bit of storage beneath the load floor so its not a total loss, and hopefully when Im done it looks sort of factory. I didn�t want to install the tank with the exposed top like original Fairlane design since the wagon has no rear seat firewall (god forbid we ever get rear ended). For pump suction I am considering just using the factory sending unit for now since the pump to only has to overcome a very short column of fluid with the stock sending unit location already being on the bottom half of the tank. I could sump it, just not sure yet if thats really required. On another note, old man winter has arrived this week so I have have to switch gears and install a new garage heater before getting back to the car. Weeeee!
Hard to believe 2023 is almost a wrap! Work has been a little crazy but i�ve been able to make some fuel tank / fuel system progress. I added a 6an return to the tank, as well as the new filler / breather neck since it has to cover some distance to the quarter panel now. The prefilter is a 30 micron amazon special, followed by a bosch 250 lph pump to the vette regulator. The barb fitting on the pump discharge will be replaced with AN, just didnt have the right fitting for mock up. I still need to run the fuel line to the engine, but I'm using aeroquip socketless hose for everything. As far fuel system mounting I used some flat stock bolted to the fuel tank cradle. The last item to get sorted out before I make a new floor panel is to make the close out panel for the filler neck to the cabin quarter. Another small victory is the tuned pcm and new harness have arrived. The harness is installed, just working on mounting the fuse box and pcm (waiting on a pcm mount).
Well after searching for quite a while I was finally able to find a donor driveshaft for the car. Most of wrecking yards around here usually wreck any potential donors while moving the vehicle around with a forklift. The odd one pops up but they have gotten really pricey for a decent used one that I have to cut anyways. The shaft I picked is not exactly what I had in mind, but I was able to pick it up for 60 bucks so it wasn�t a big deal if it didn�t work out. The donor was an 03 reg cab long box 2wd so it�s aluminum construction, 72-1/8� in length and already has the 4l60 yoke. The catch is it�s 5� O.D. which is quite large. I removed 11-5/8� from it and popped the rear yoke back in to test fit and surprisingly it has plenty of space in the tunnel with room for travel (kinda shocked me since the car is already pretty low). It even has the right ujoint series for my 9� which was handy to verify fitment. Now I just have to send it in to get welded / balanced before its a permanent fixture.
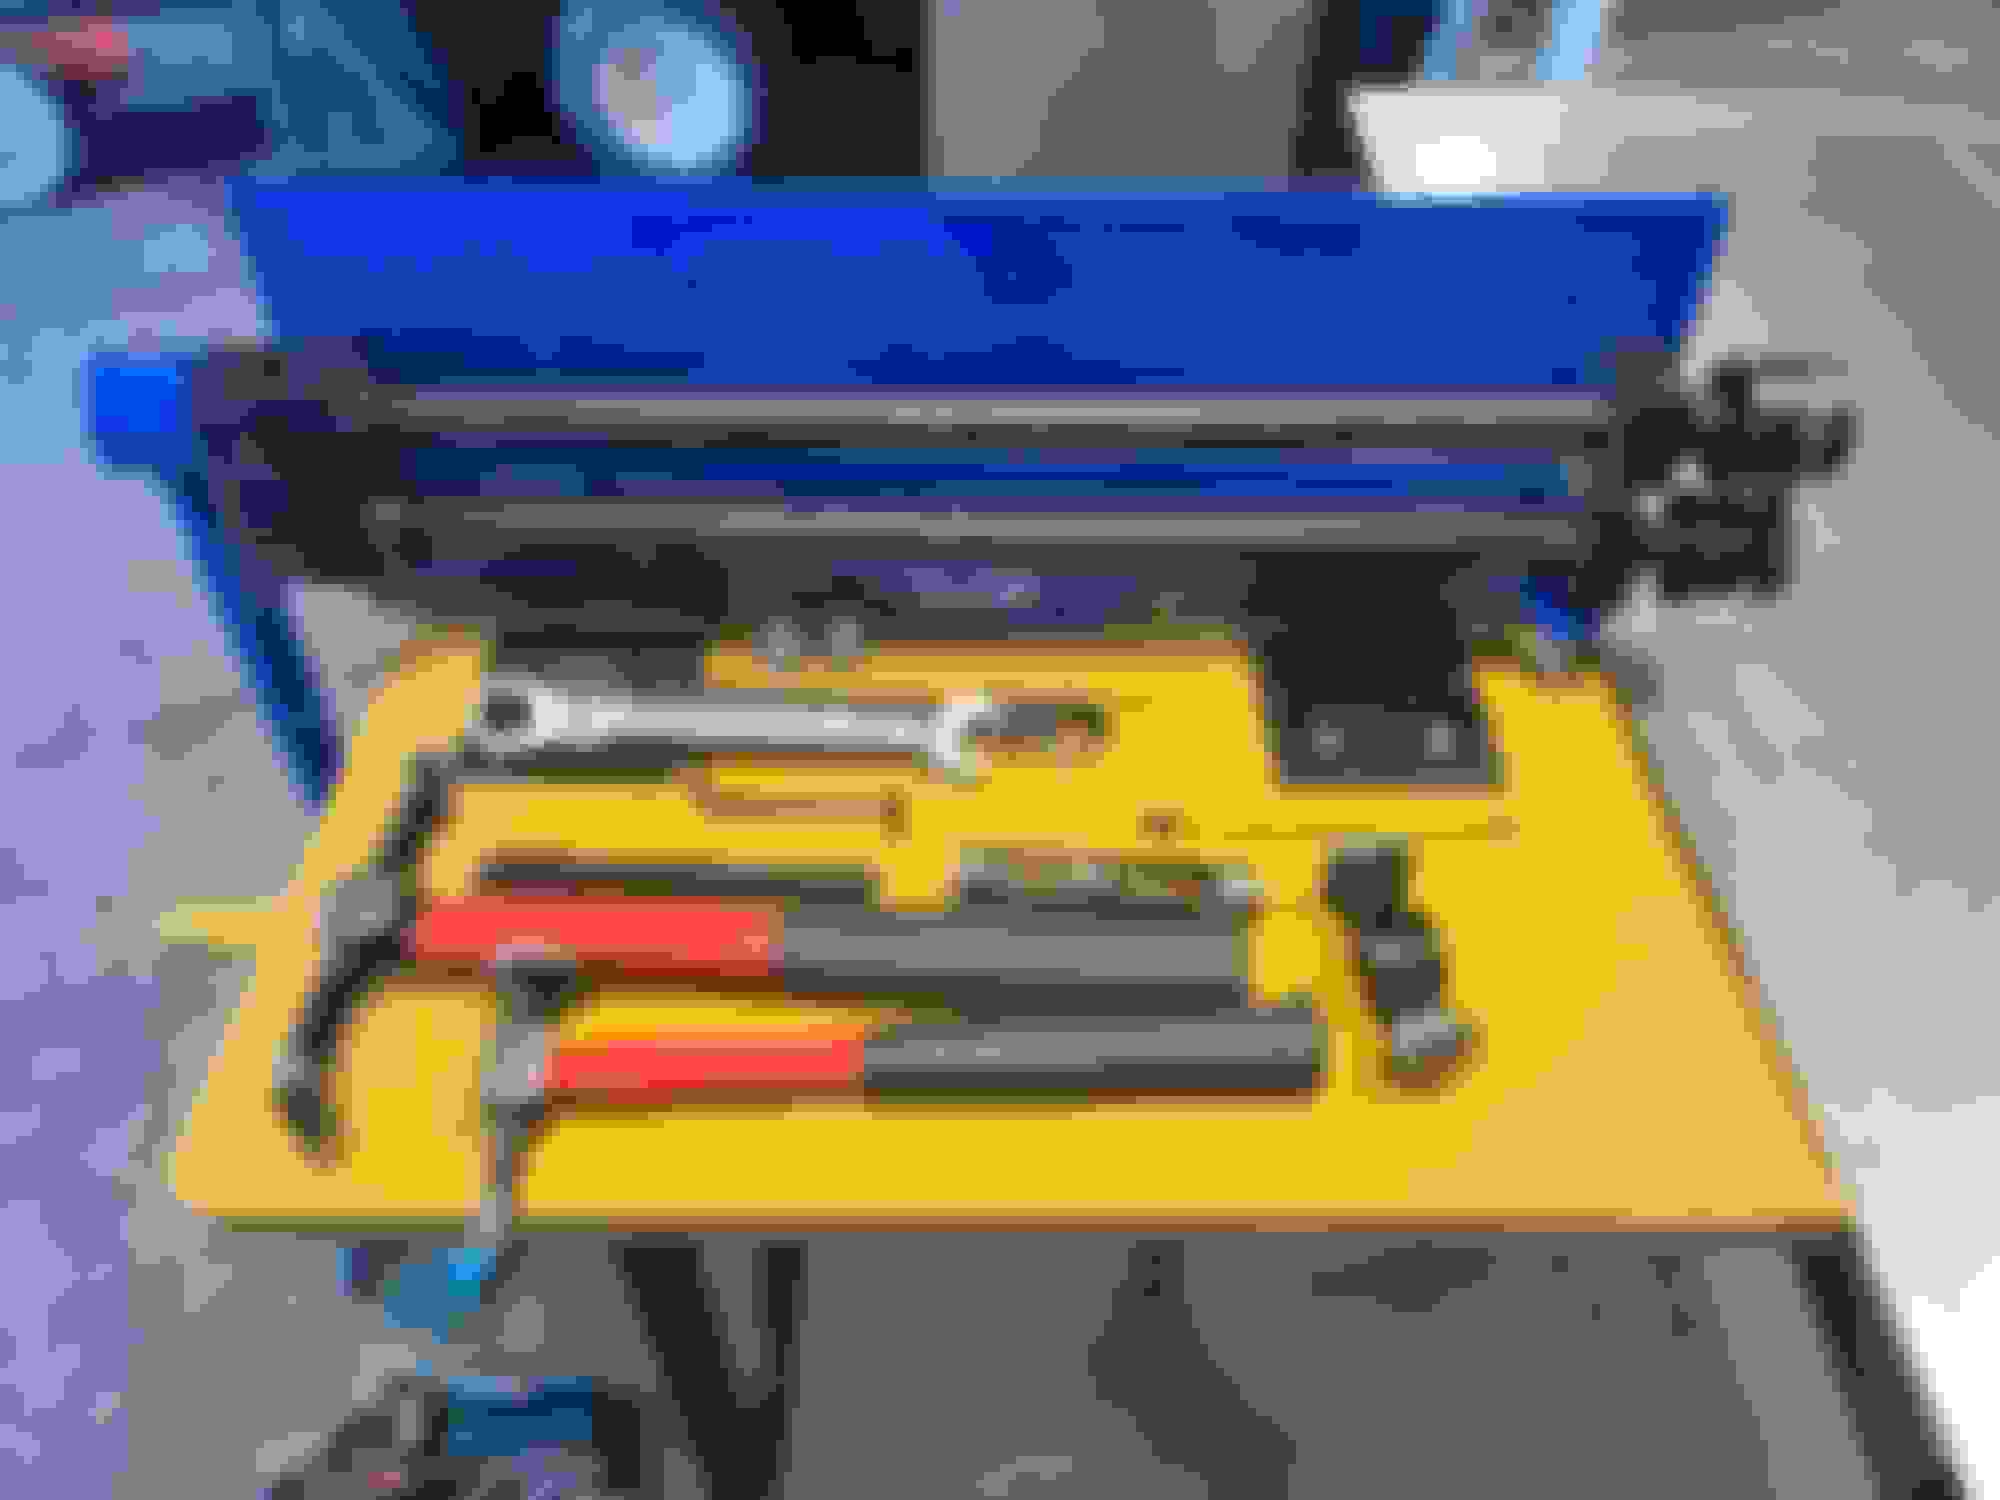
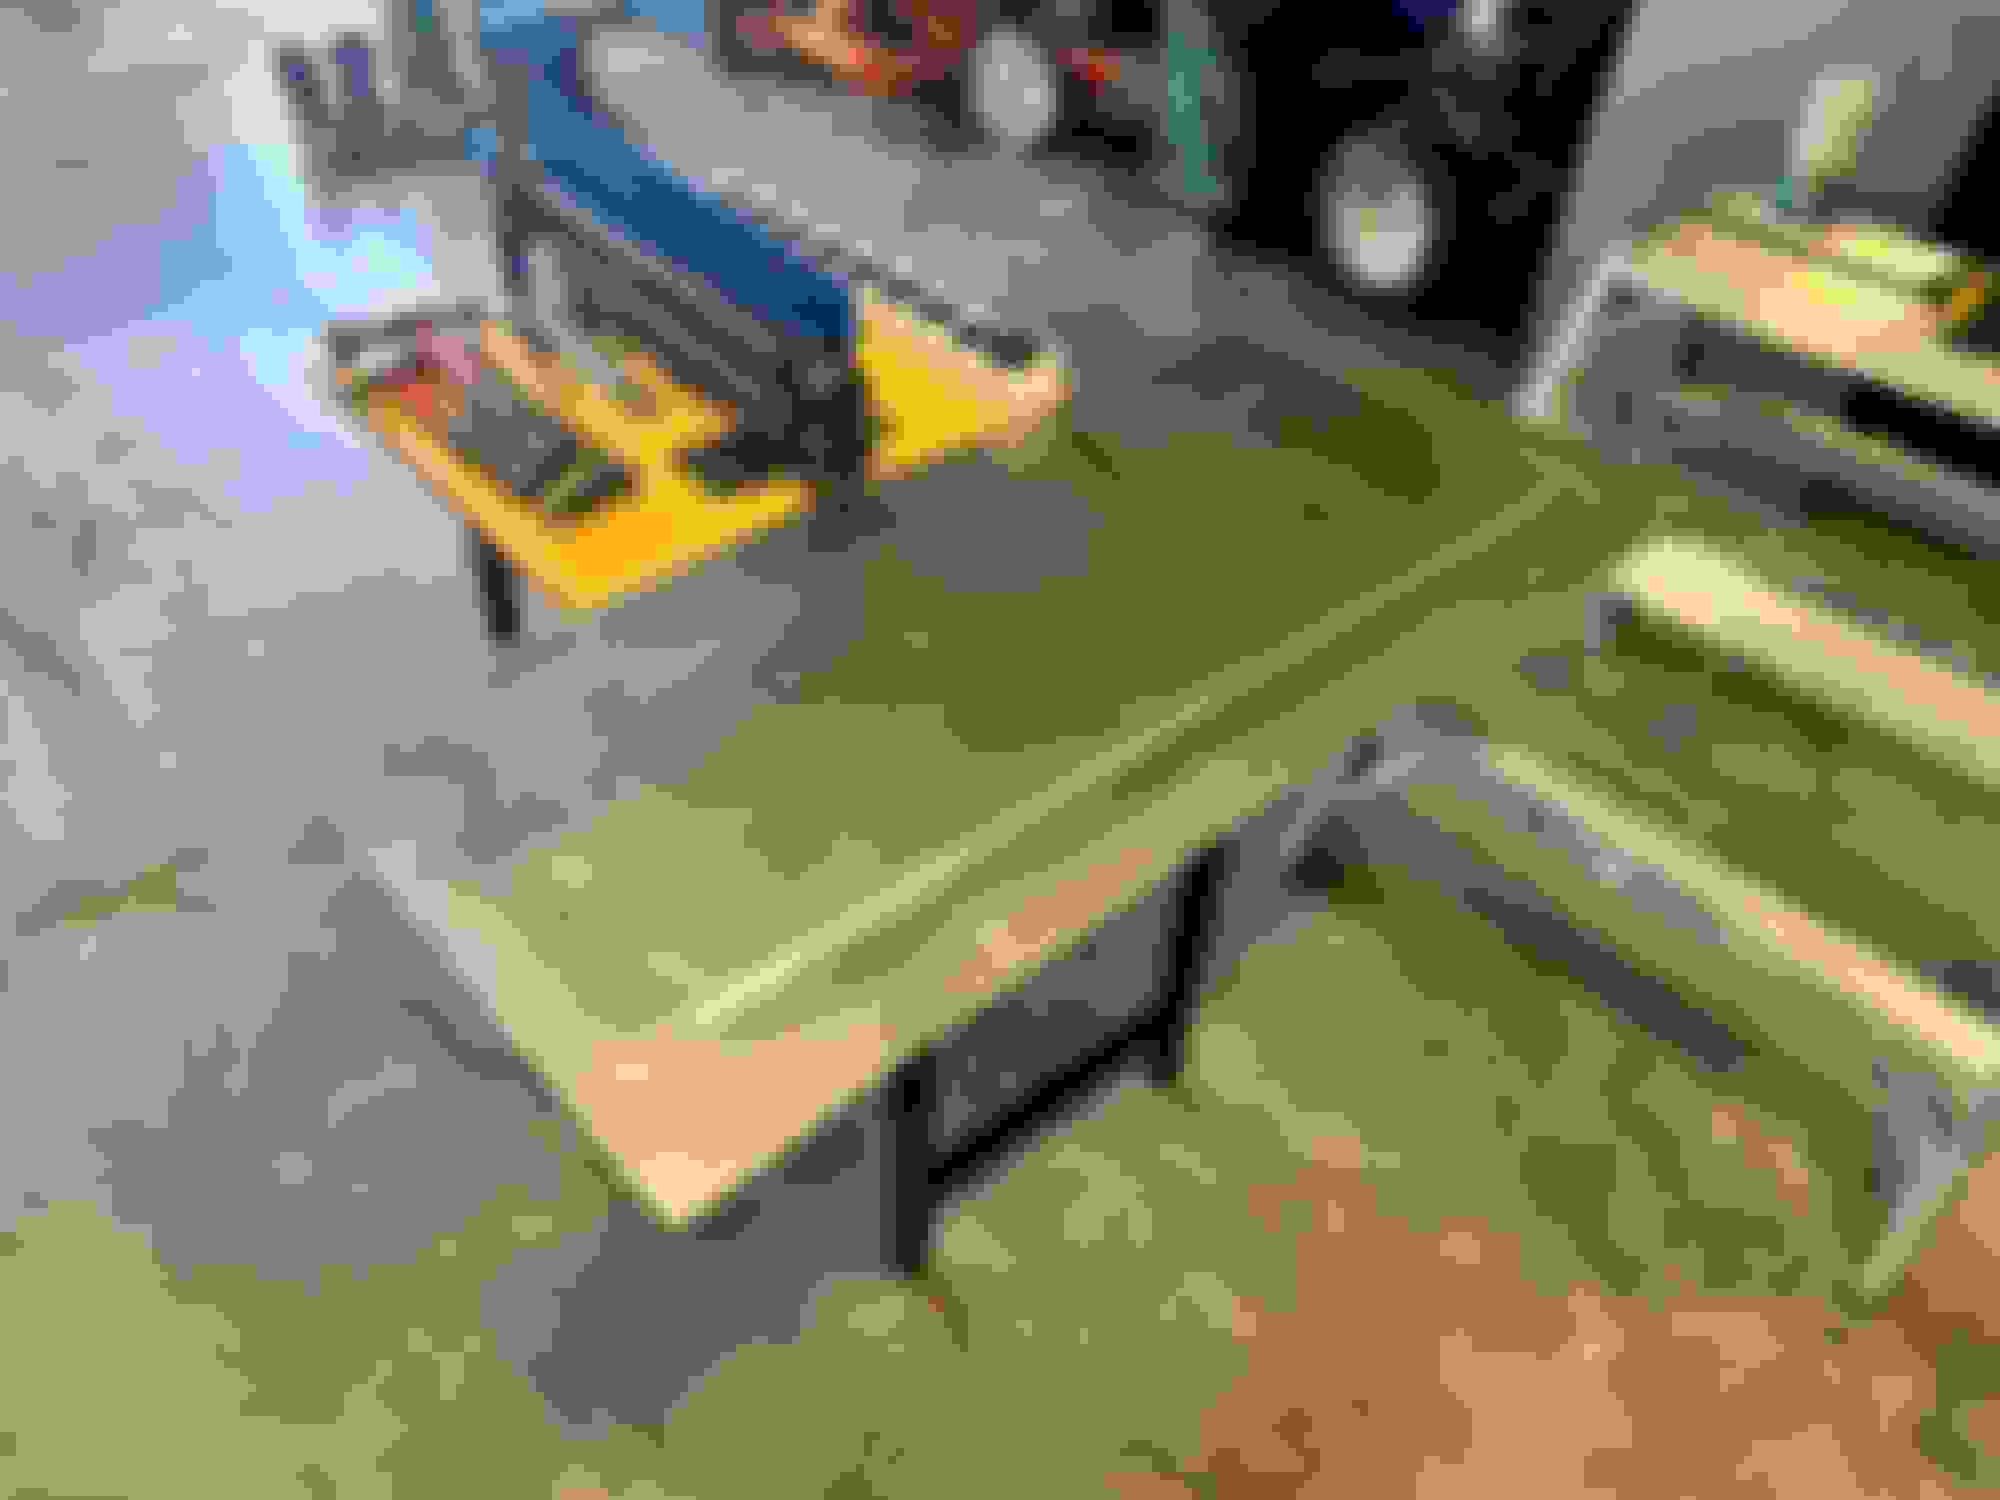
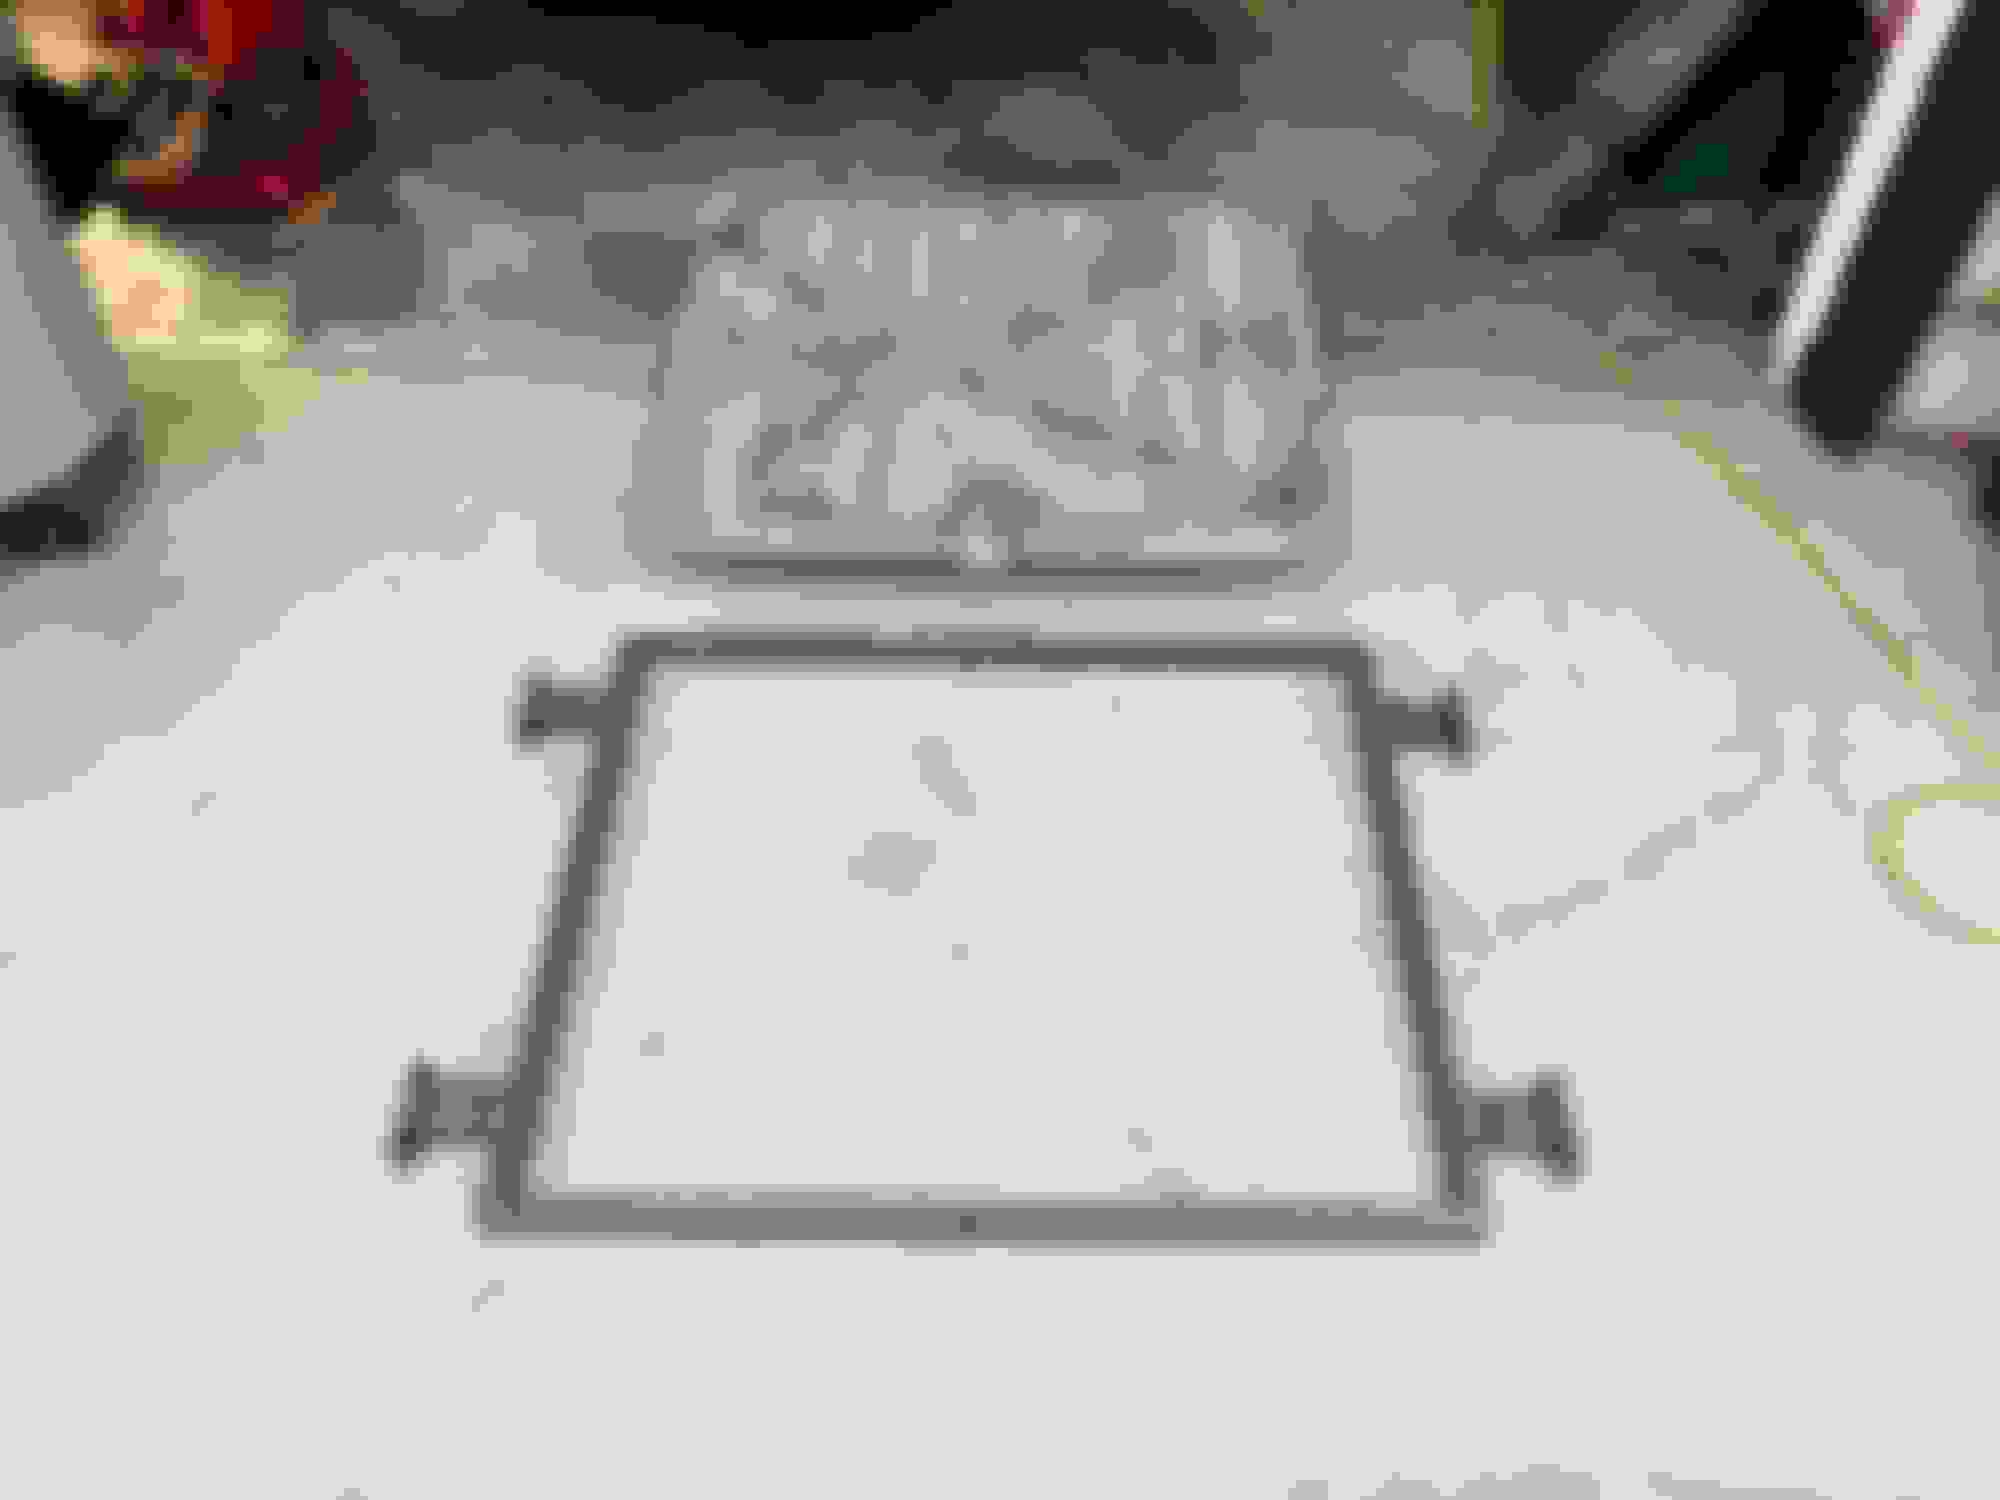
Finally we have had a break in the weather (-40 celcius here a couple weeks ago) and I had a chance to set up my el cheapo Princess Auto bead roller in anticipation of building the new trunk floor. I bought a small table to set it up as well, but comically I welded tabs upside down to mount it. It wasn't until I started my first panel that I realized the preload was on the wrong side (bottom instead of top) . Thankfully I was able to work around it this time, but will upgrade it for next time. Once I ruined a couple test pieces I mustered up the courage to start on the floor. I build it in two pieces, as my thought process is to make the floor removable for ease of working on the fuel system in the future. Other than fighting deflection which created a little warping, the panels turned out ok. The handle made it hard to operate, so I will have to build a �wheel� to rotate the dies as it was hard to keep the panel supported for turns and keep decently straight lines. It also needs some bracing to help the deflection. All in all for the price of the tools I cannot complain, it got the job done. I need to build a cover for the filler neck and add a flange, and mid panel brace next, then pull everything apart to paint before installing permanently. Here�s a couple pics.
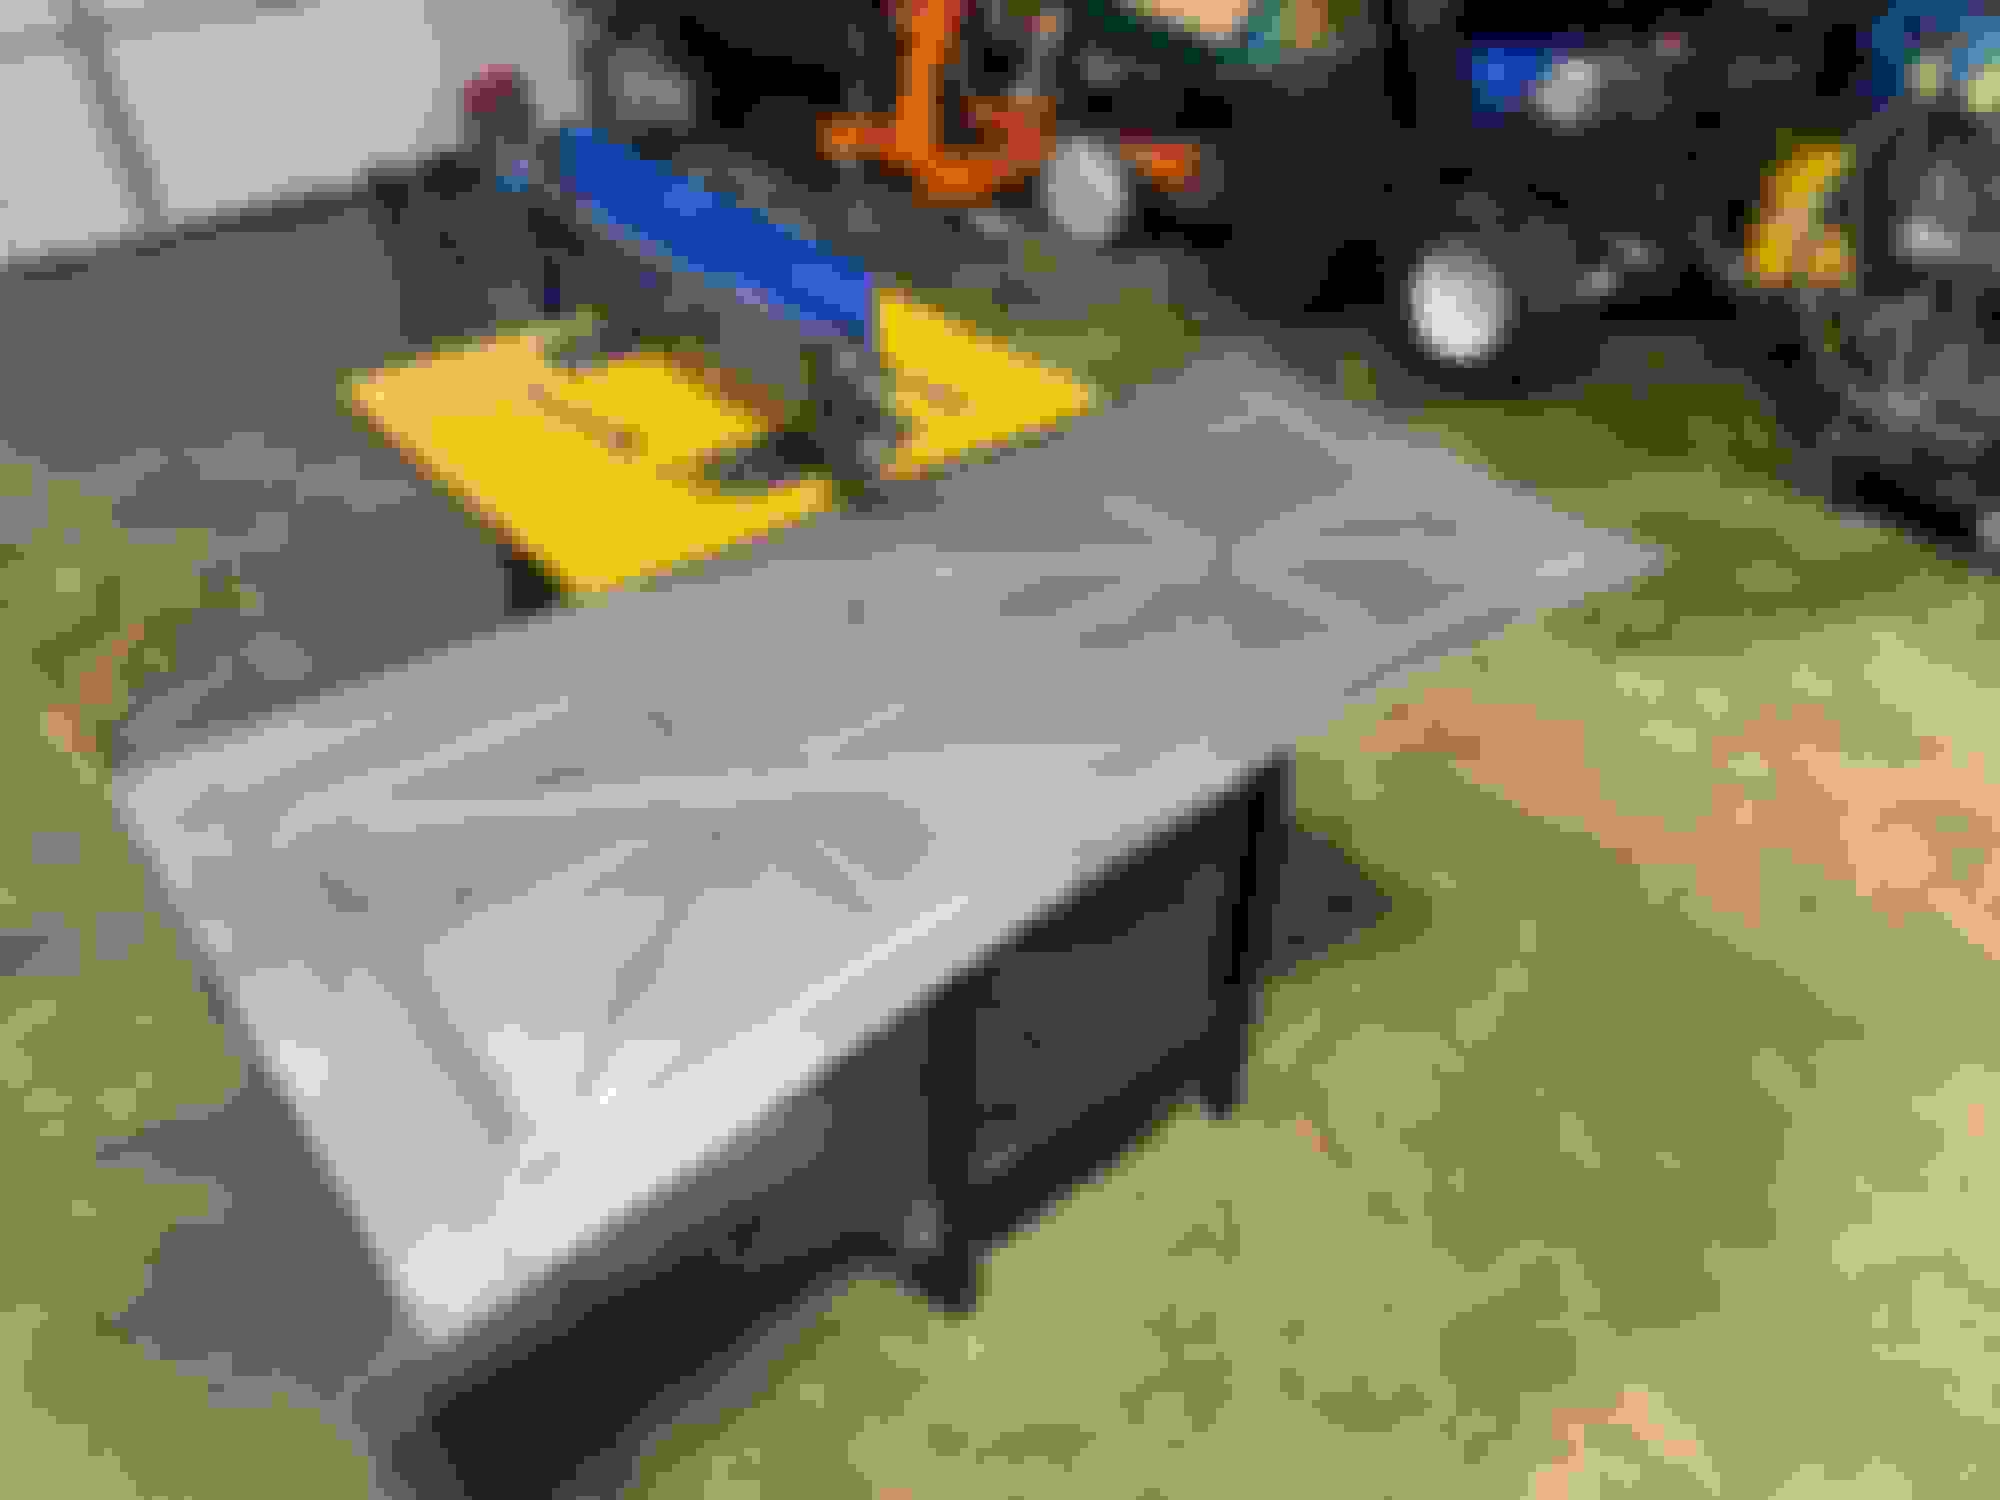
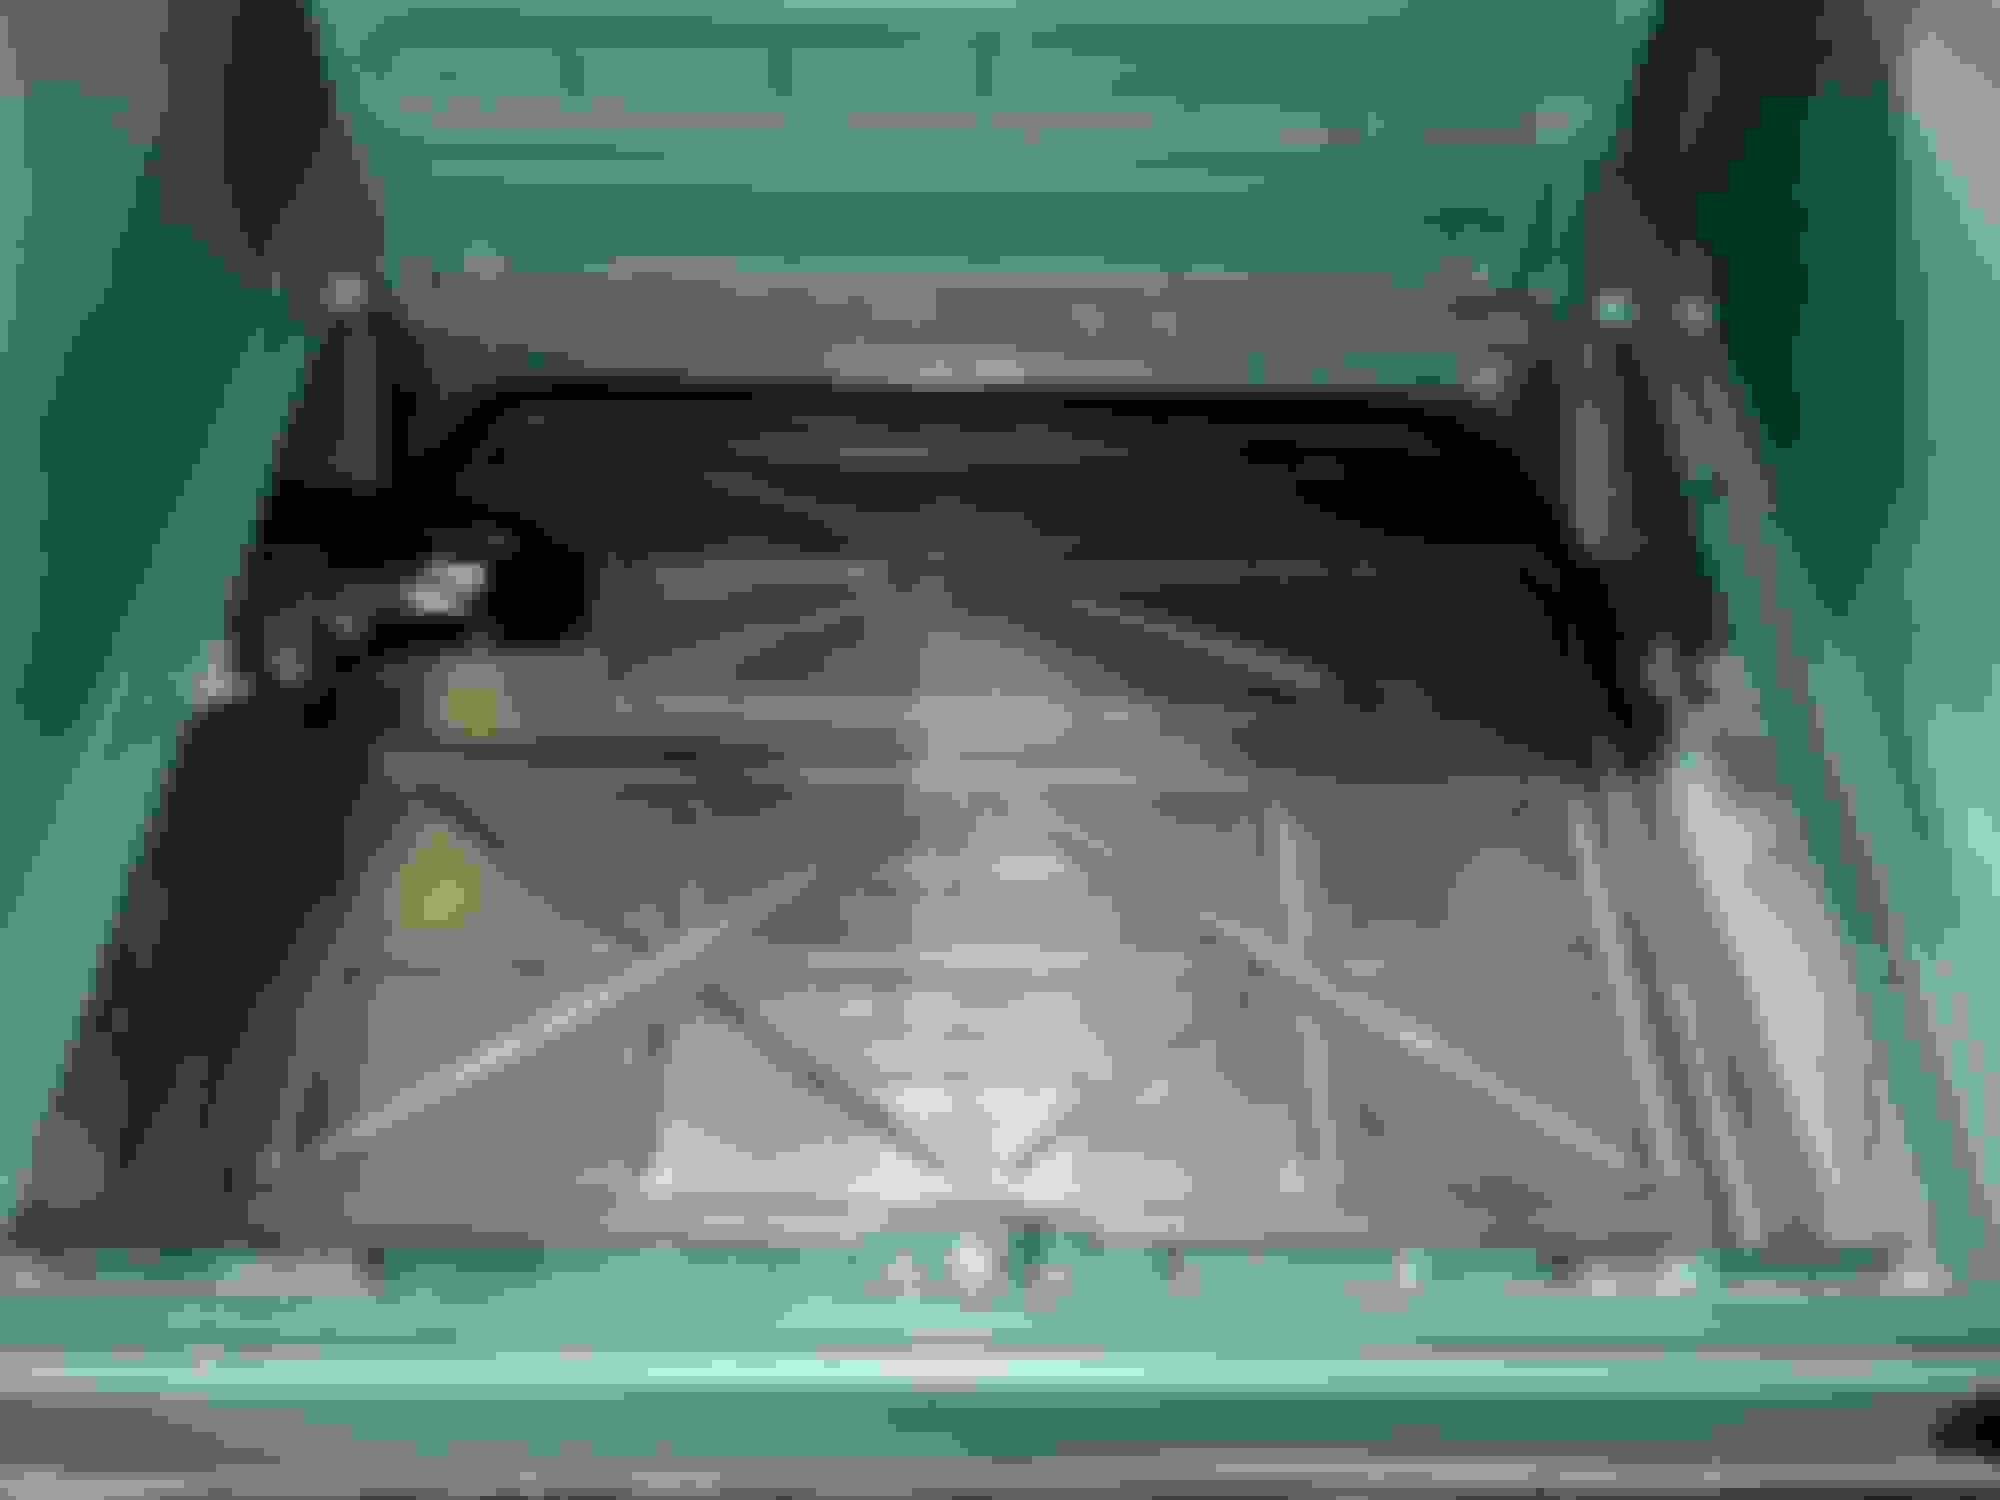
Making a bit of progress on the fuel neck cover this weekend. The creation of this thing put some serious hurting on my sheet metal inventory. I felt like a dollar store version of chip foose trying to do origami blindfolded. The final product is like version 4.0 or maybe worse lol, but it seems to be coming together decent now. After a lot of staring, and a little brainstorming I think I have finally decided against making the floor modular / bolt in. Its kind of tough to get in and out now even in the two sections with just the addition of the filler neck cover. Its probably for the best, and it will be sturdier with a few cross braces, and welded in. I still have to do some work where I cut through the cabin quarter to get the filler neck through so the body bolt can still be accessed but is weather tight. I may also make some sort of rubber gasket to seal up the neck from inside the wheel tub so debris and road crap doesnt blow through there on top of the tank. This probably doesn�t make any sense until I can blow it back apart and get some pictures with the back tire out, but for now here�s a few pics of the floor work.


 09-02-2023, 07:48 PM


 . Thankfully I was able to work around it this time, but will upgrade it for next time. Once I ruined a couple test pieces I mustered up the courage to start on the floor. I build it in two pieces, as my thought process is to make the floor removable for ease of working on the fuel system in the future. Other than fighting deflection which created a little warping, the panels turned out ok. The handle made it hard to operate, so I will have to build a �wheel� to rotate the dies as it was hard to keep the panel supported for turns and keep decently straight lines. It also needs some bracing to help the deflection. All in all for the price of the tools I cannot complain, it got the job done. I need to build a cover for the filler neck and add a flange, and mid panel brace next, then pull everything apart to paint before installing permanently. Here�s a couple pics.