When you click on links to various merchants on this site and make a purchase, this can result in this site earning a commission. Affiliate programs and affiliations include, but are not limited to, the eBay Partner Network.
I've been lurking for quite a while since last posting about an nbs chevy swap years ago, but I thought my current build would be cool to document. There aren't too many full size Ford LS swaps out there on forums a guy can reference information on, so hopefully by sharing this build it can help a few guys out along the way.
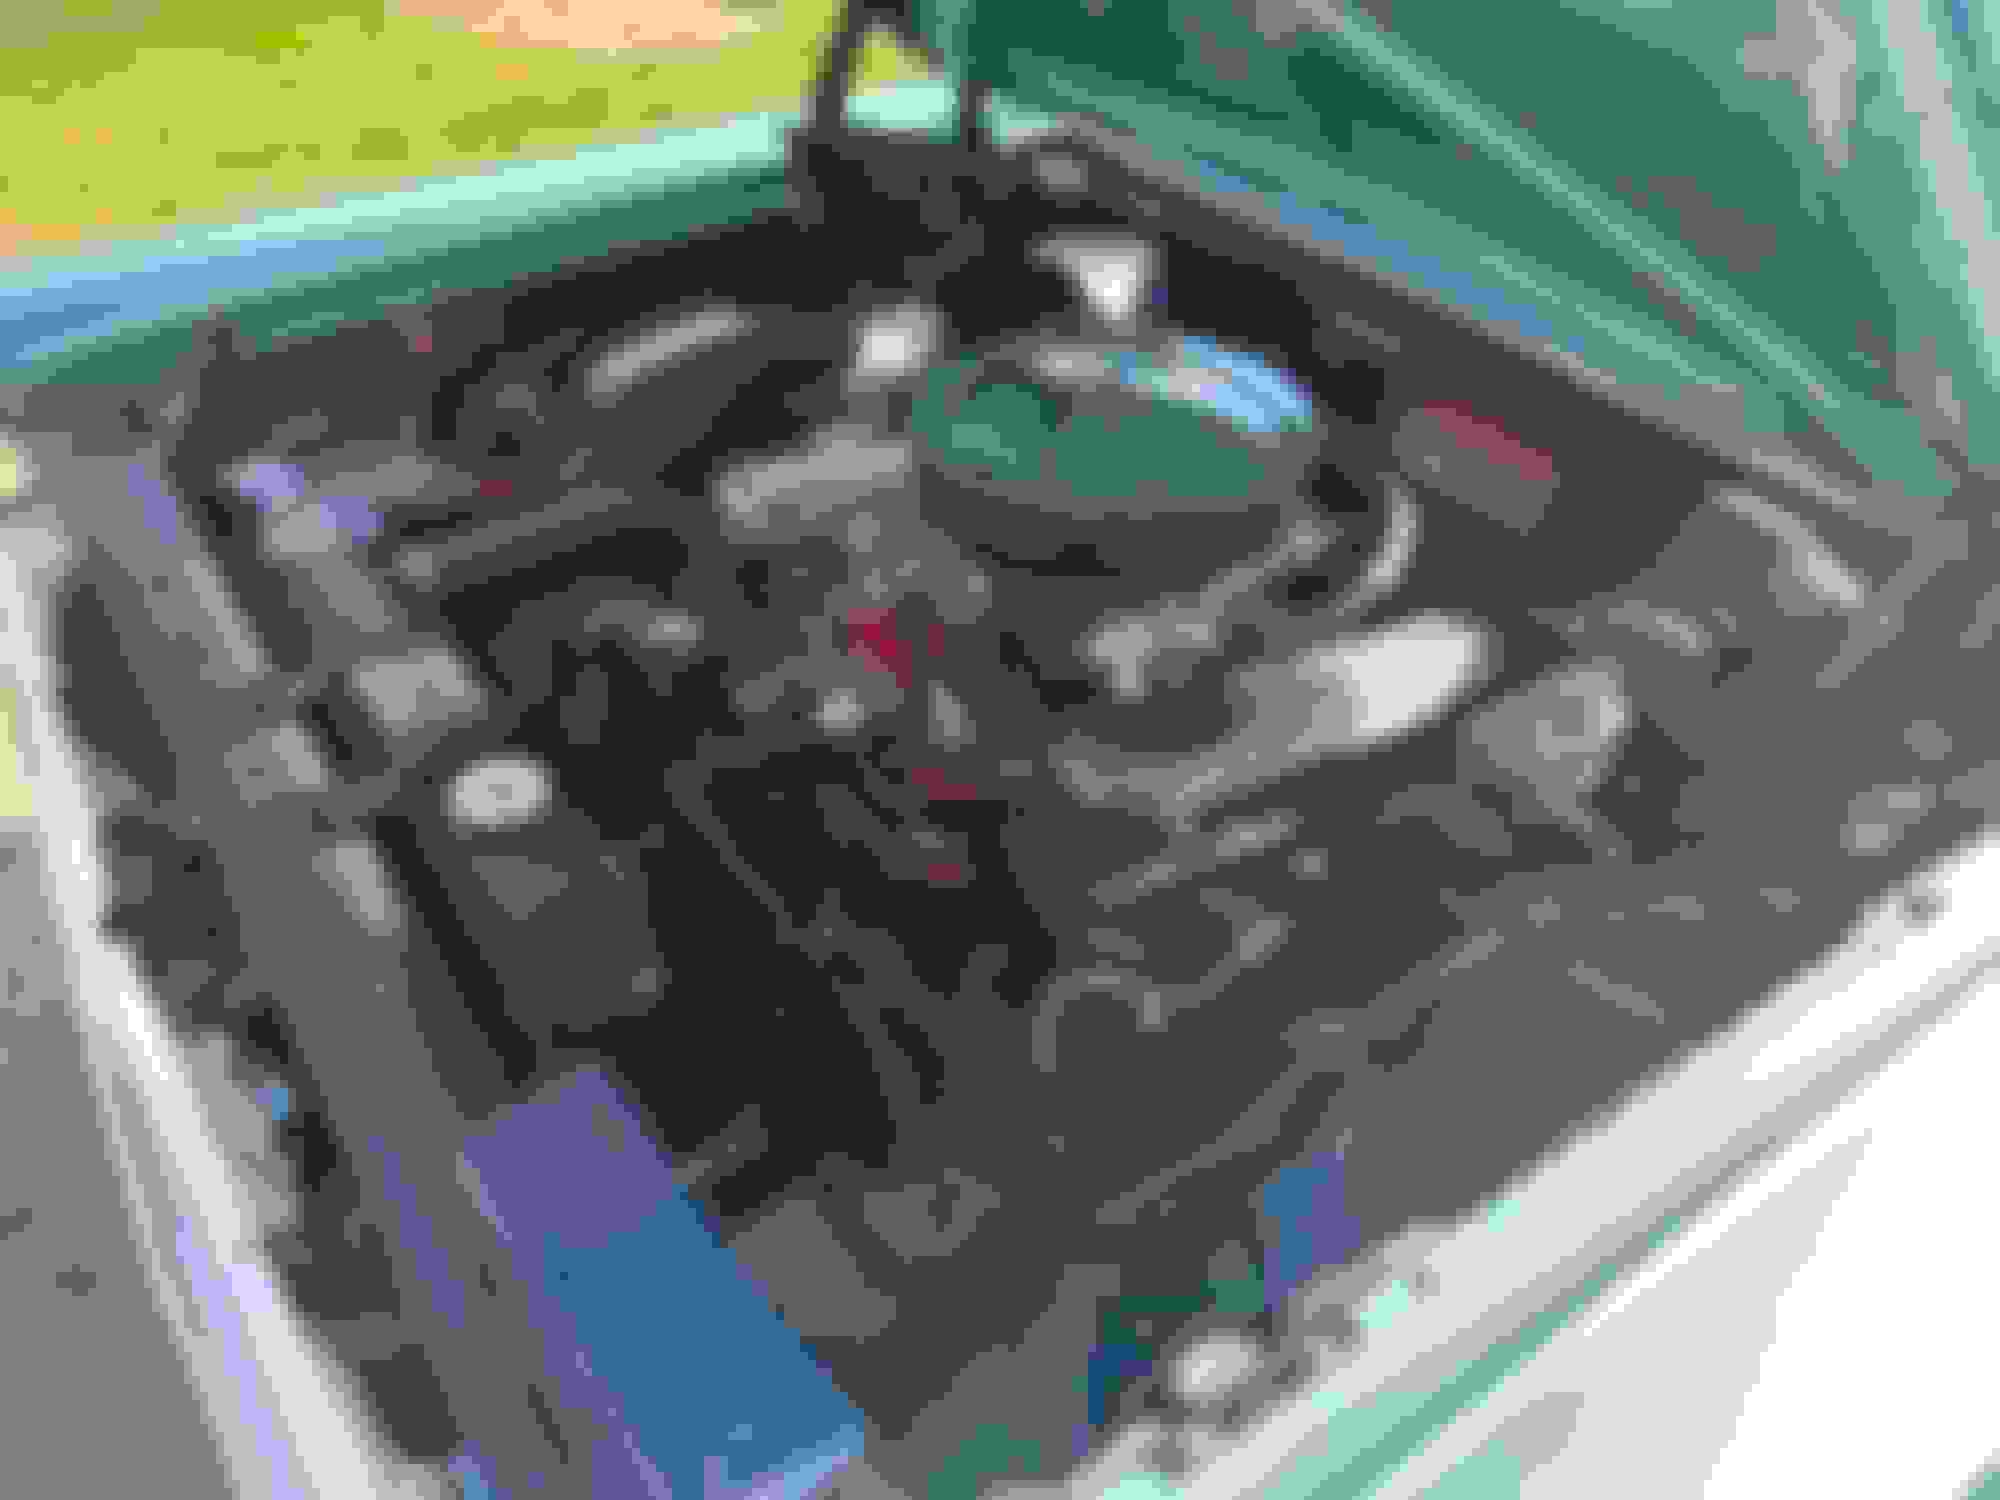
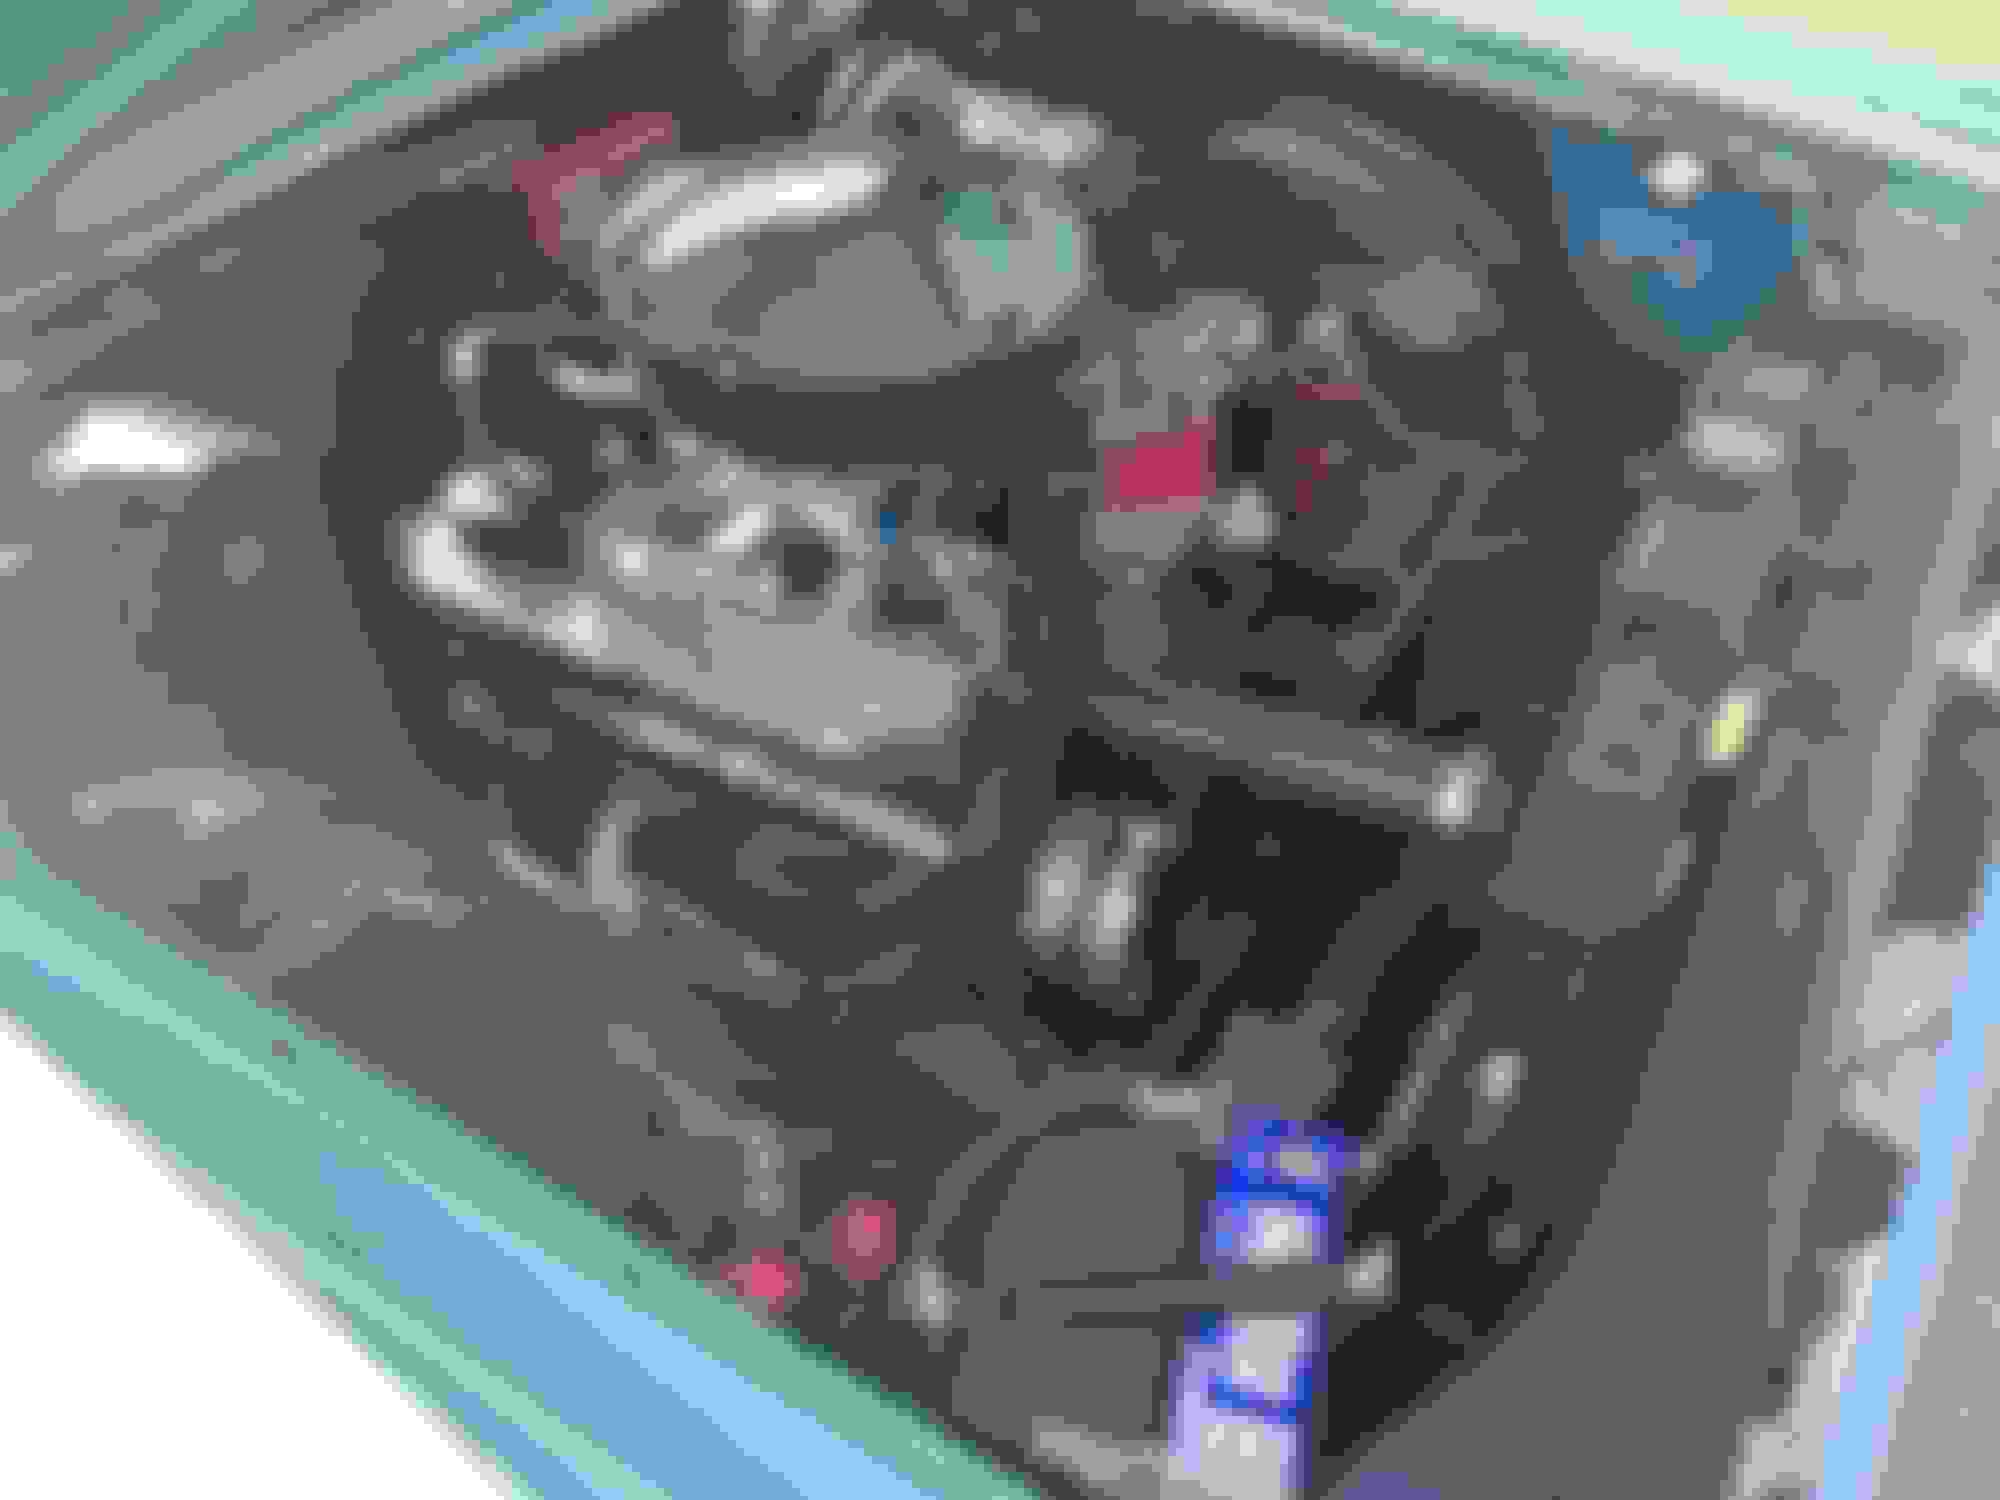
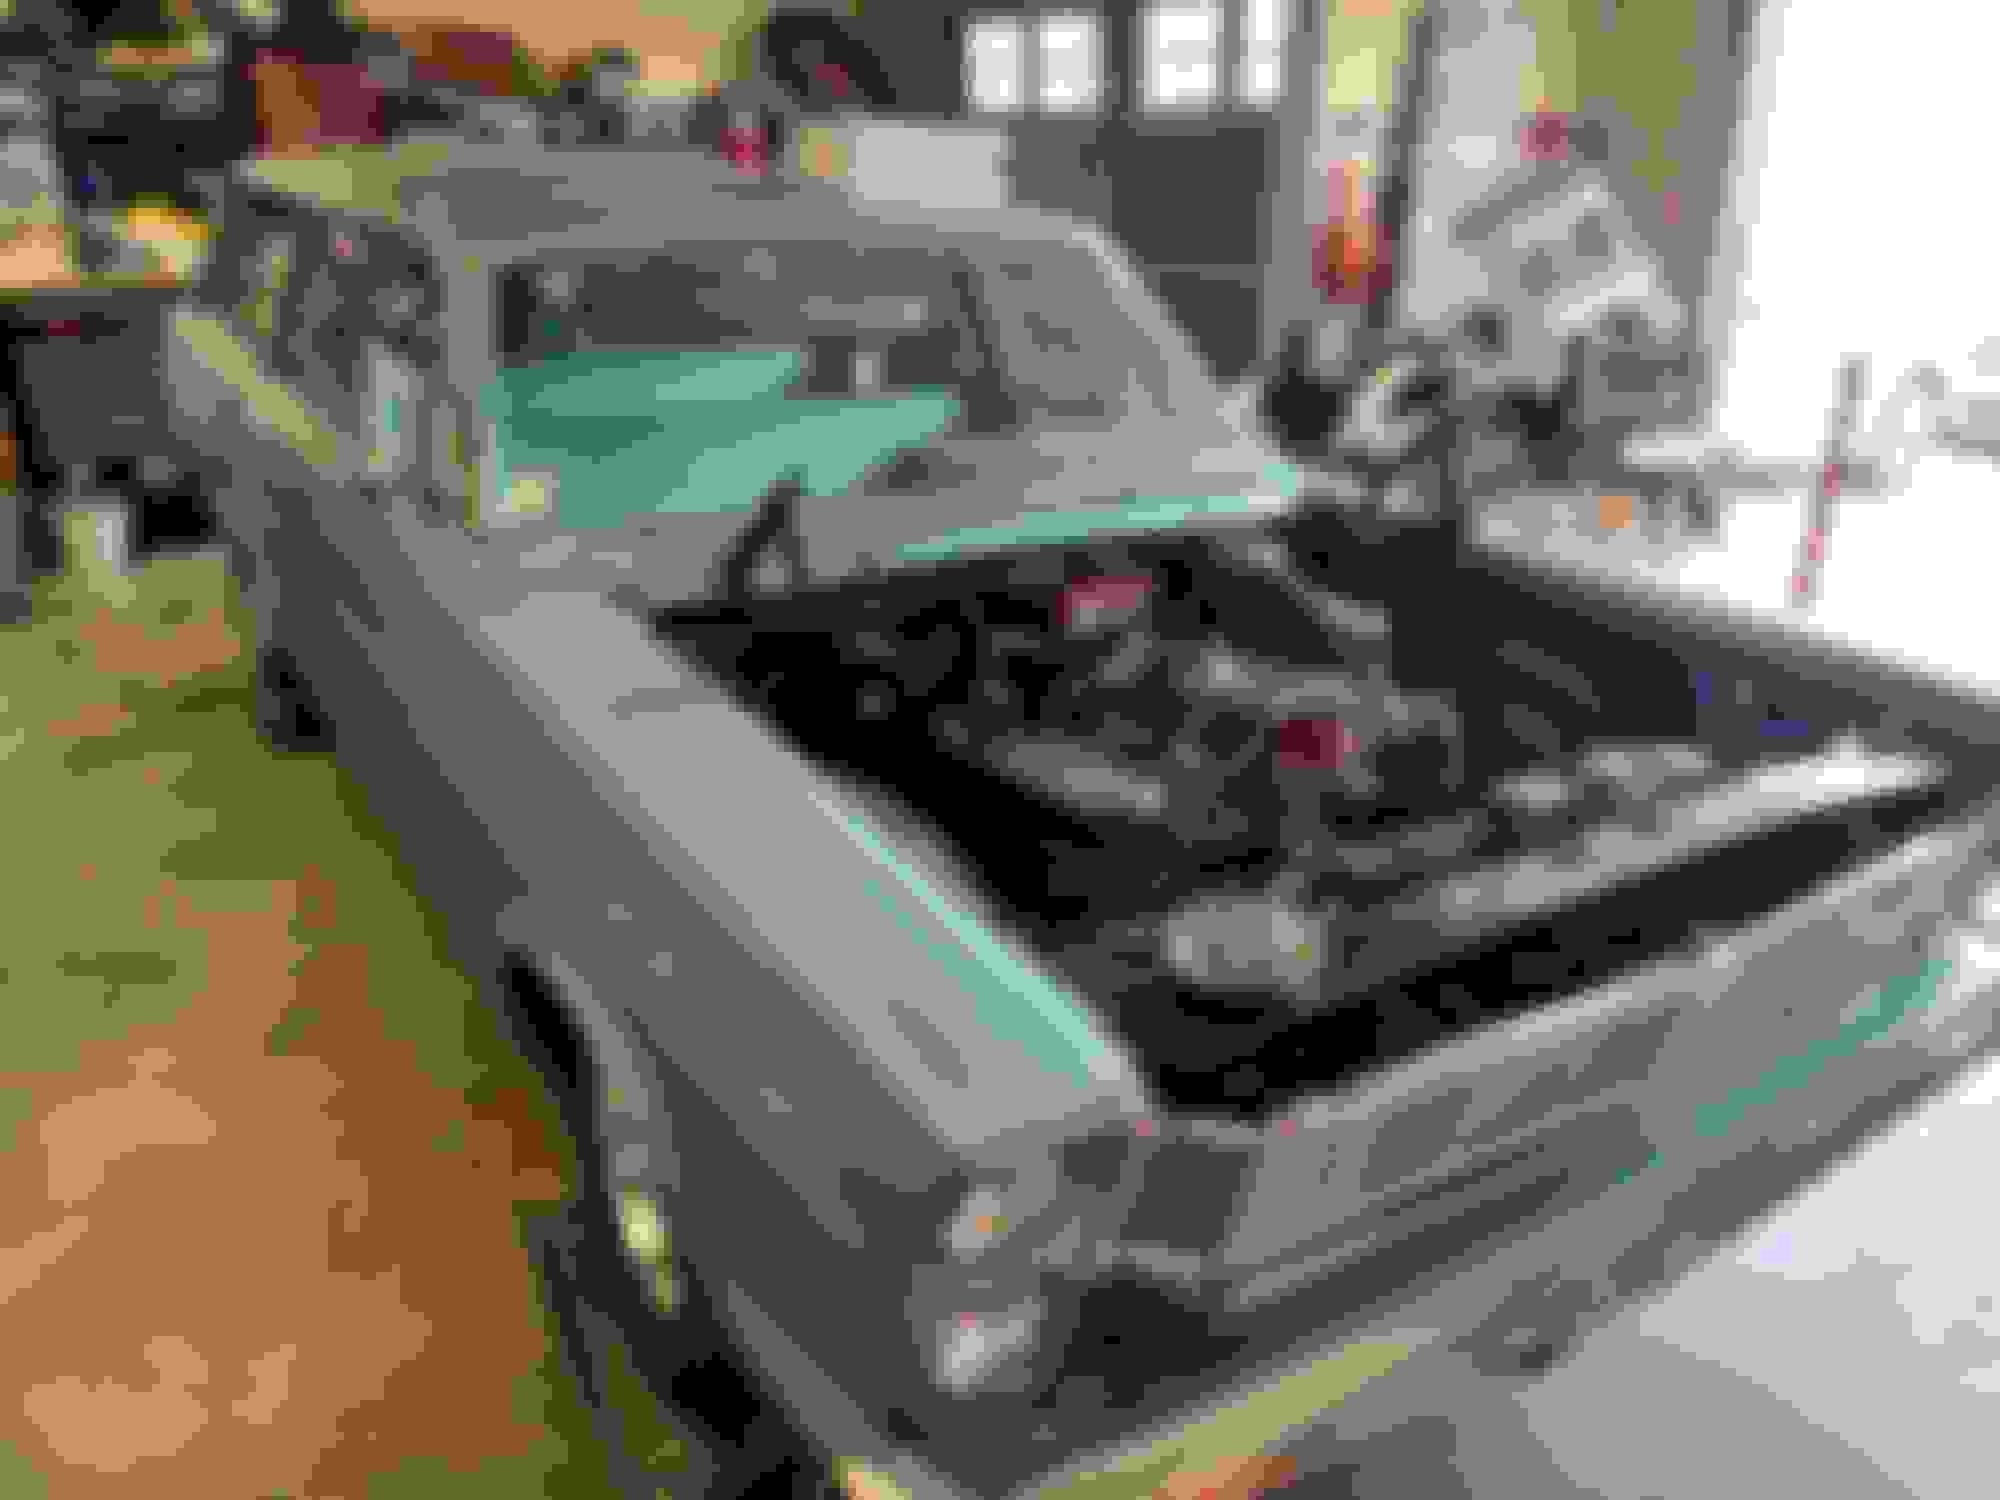
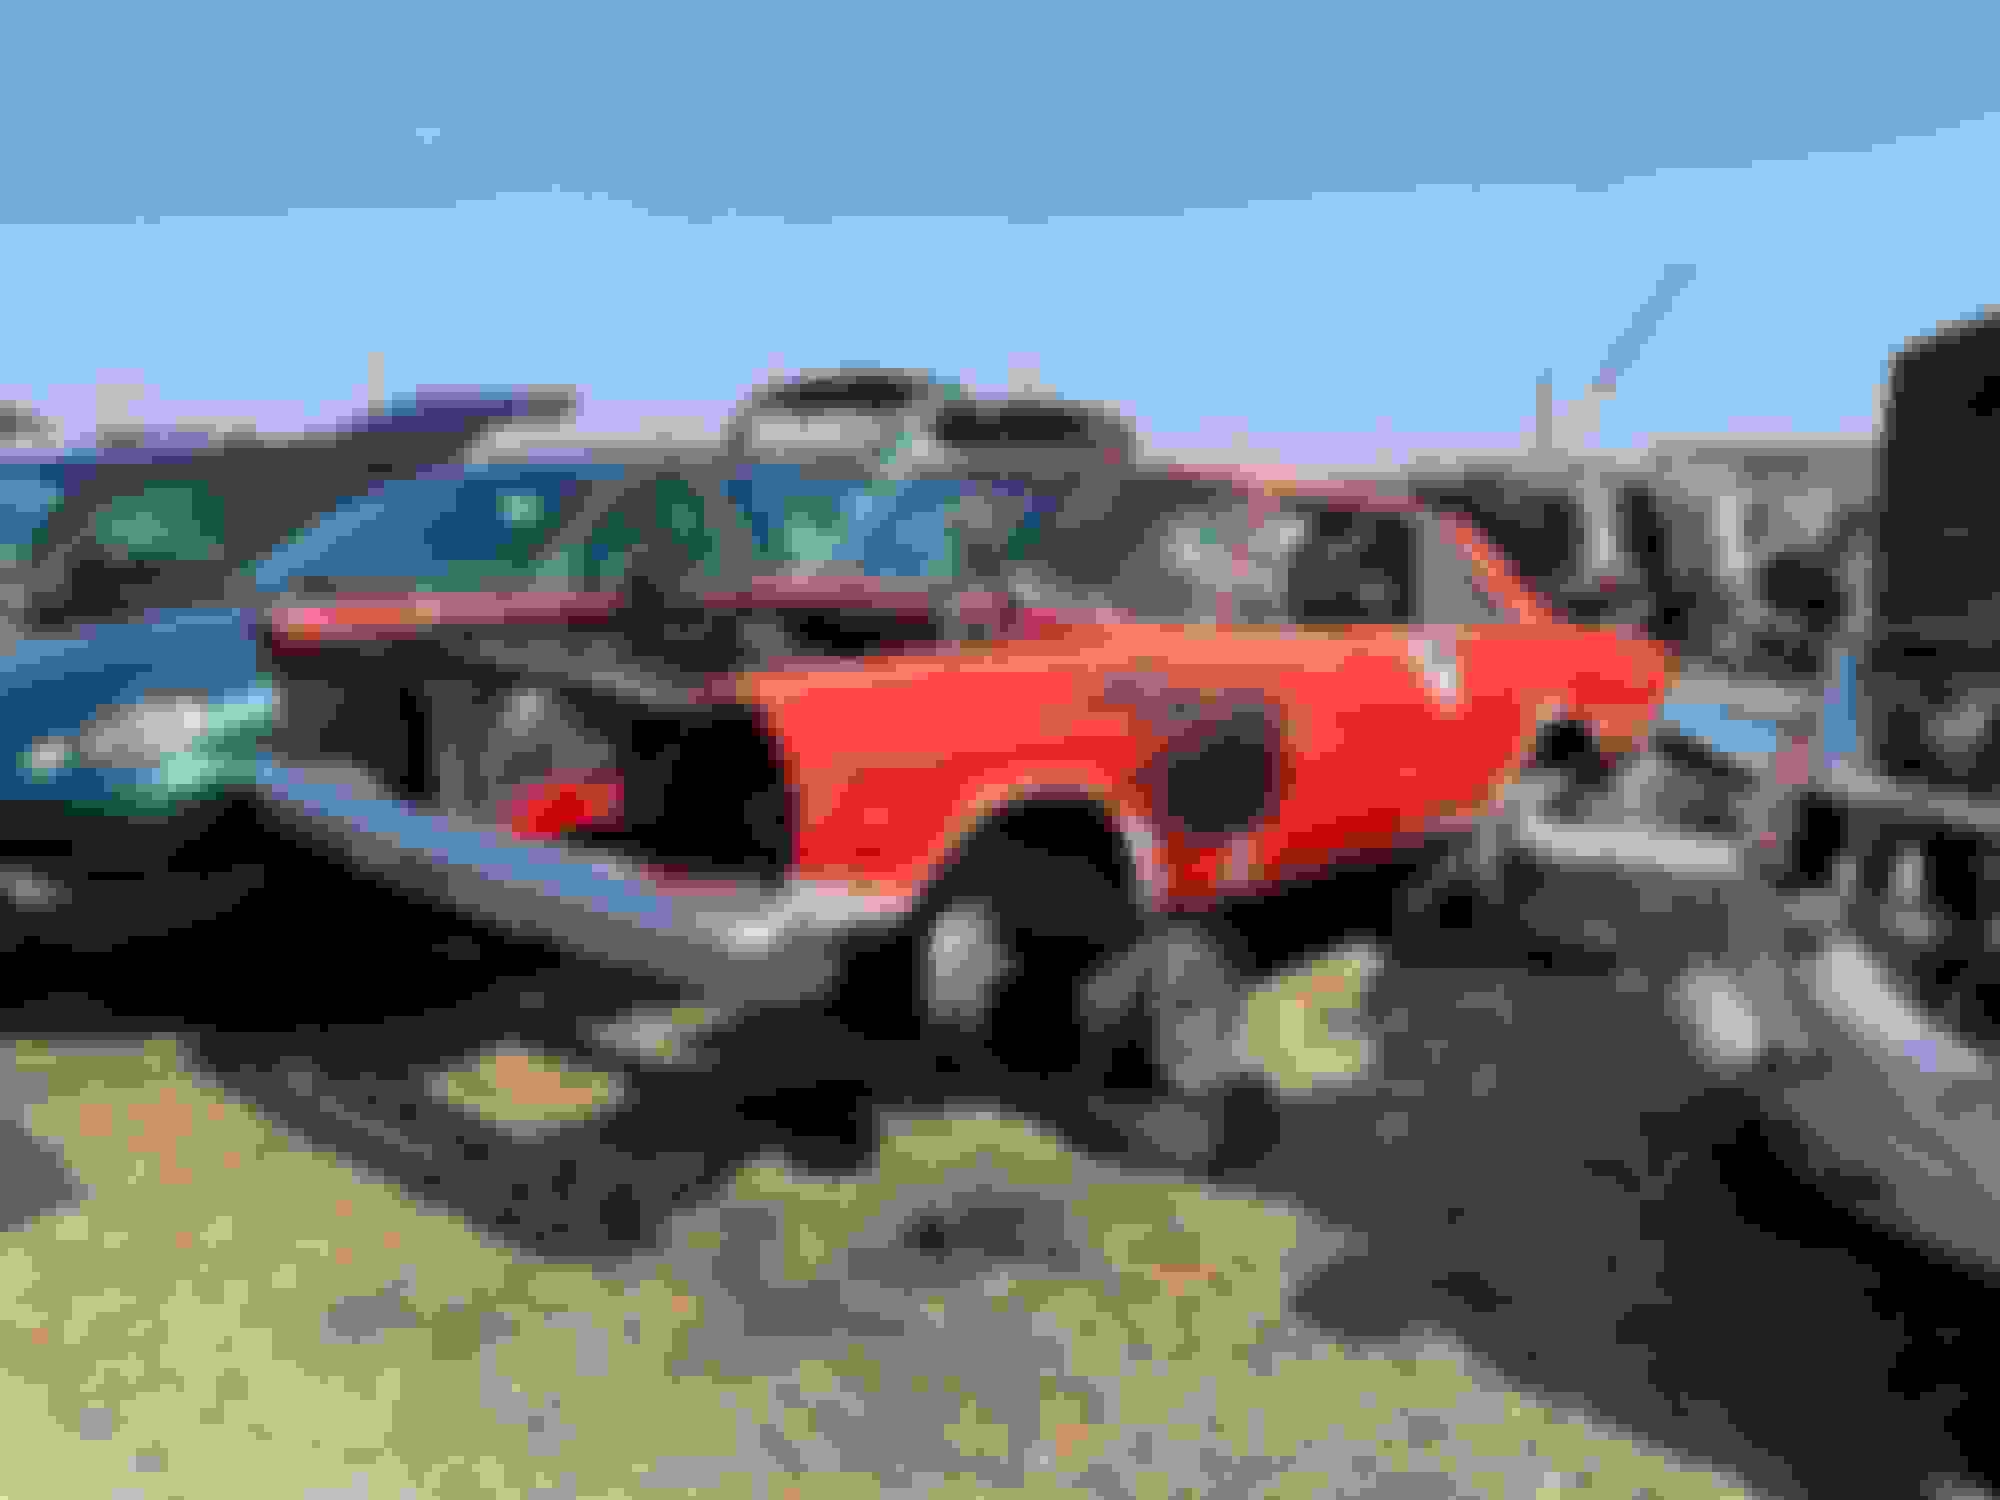
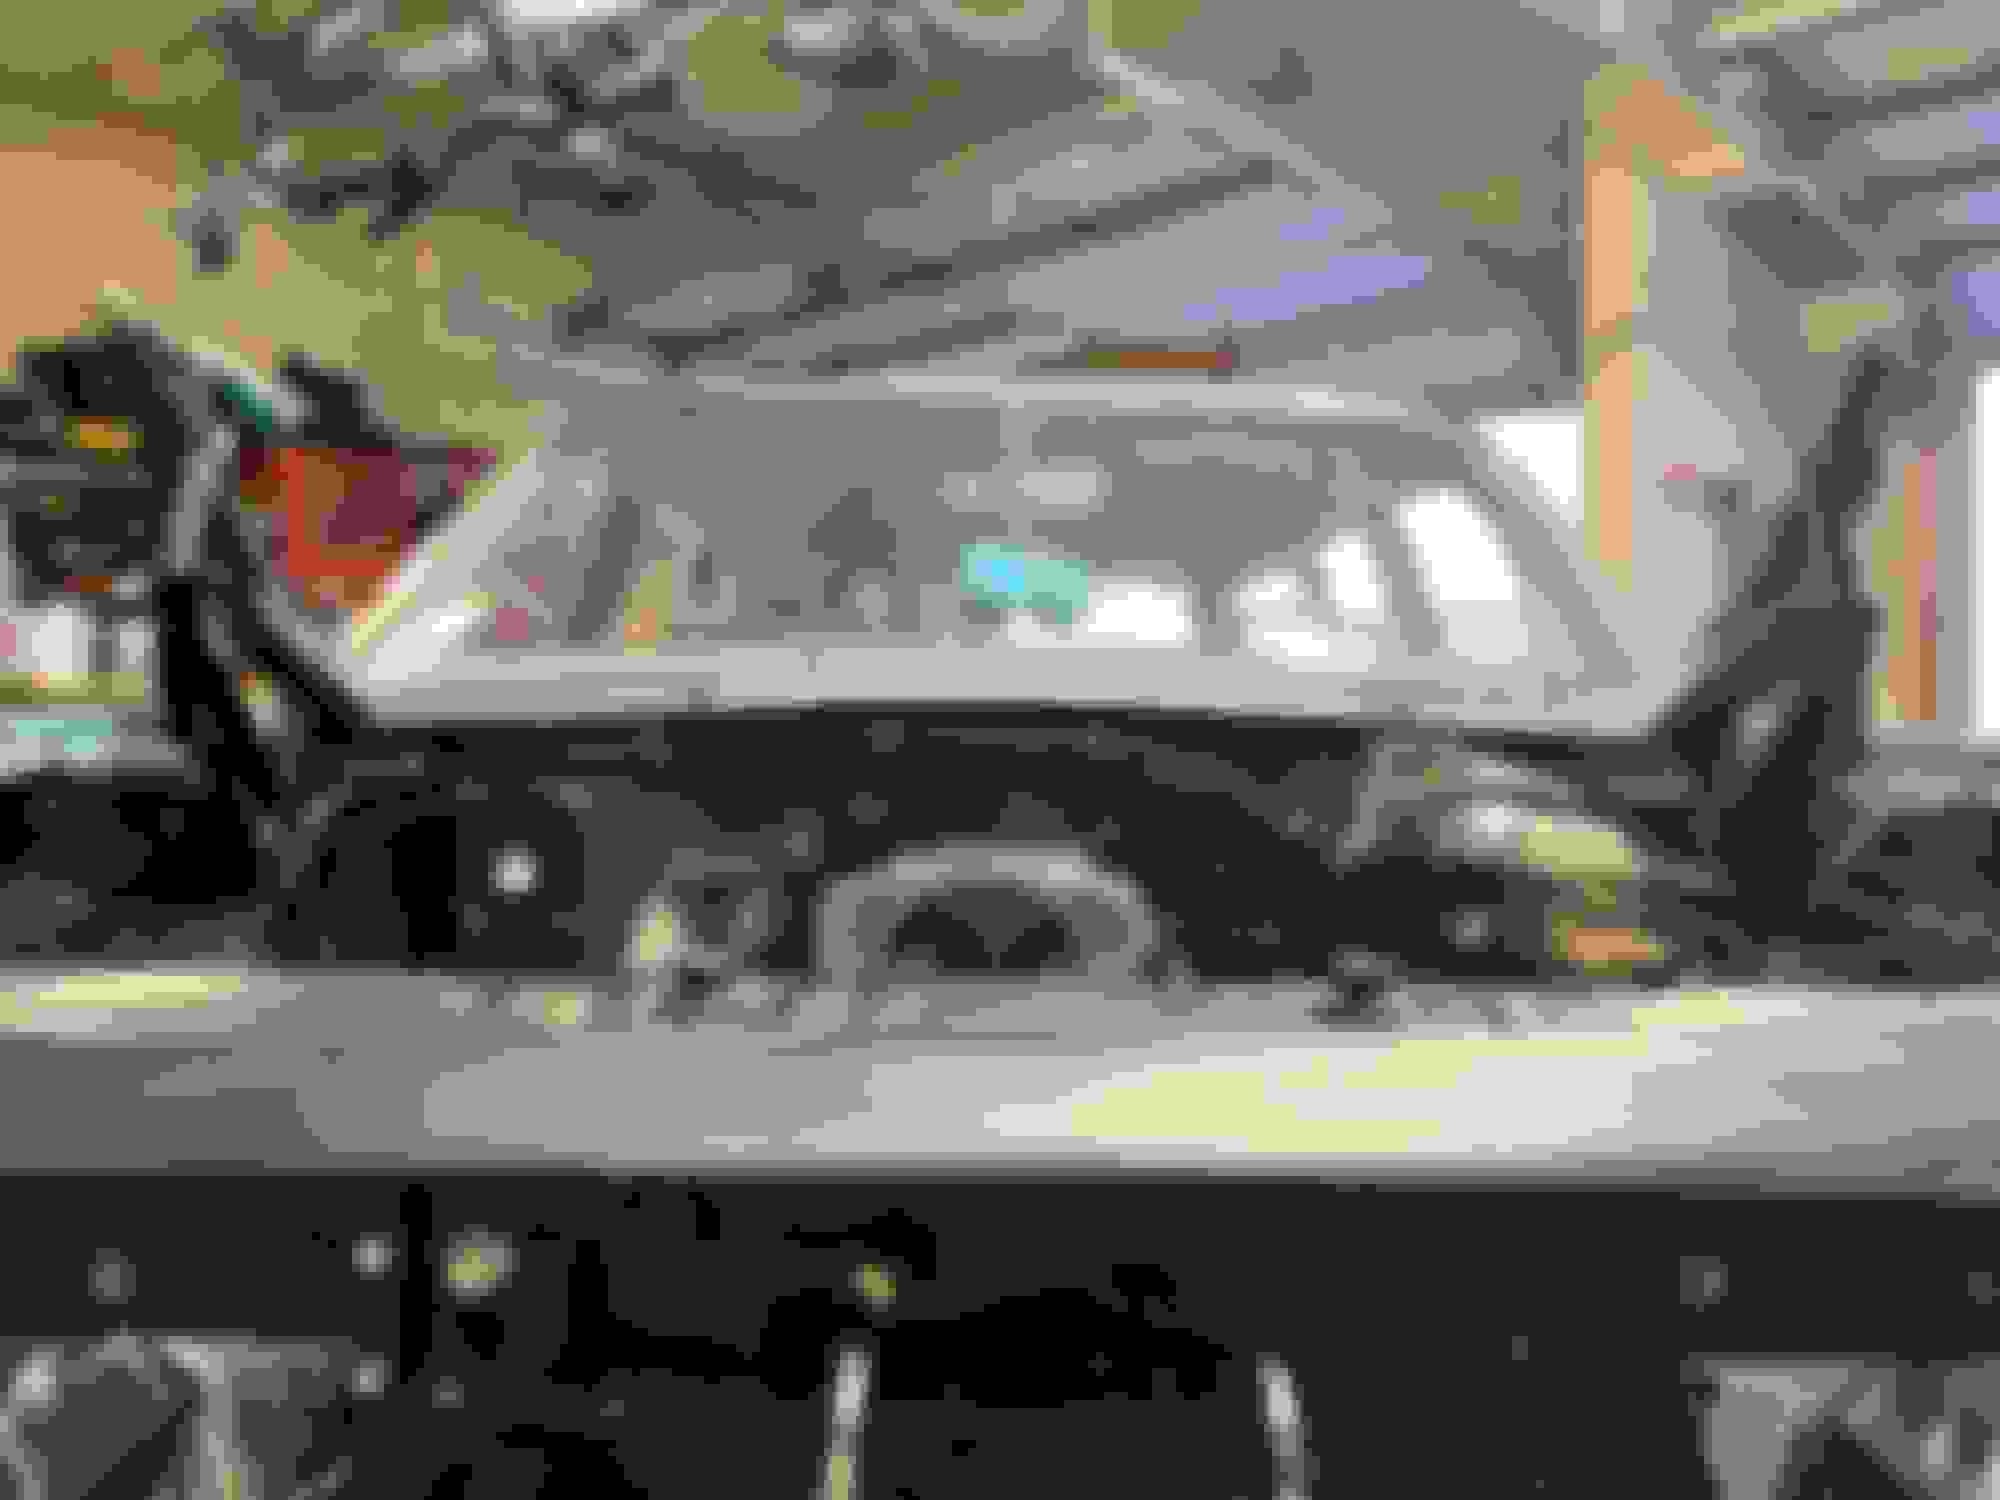
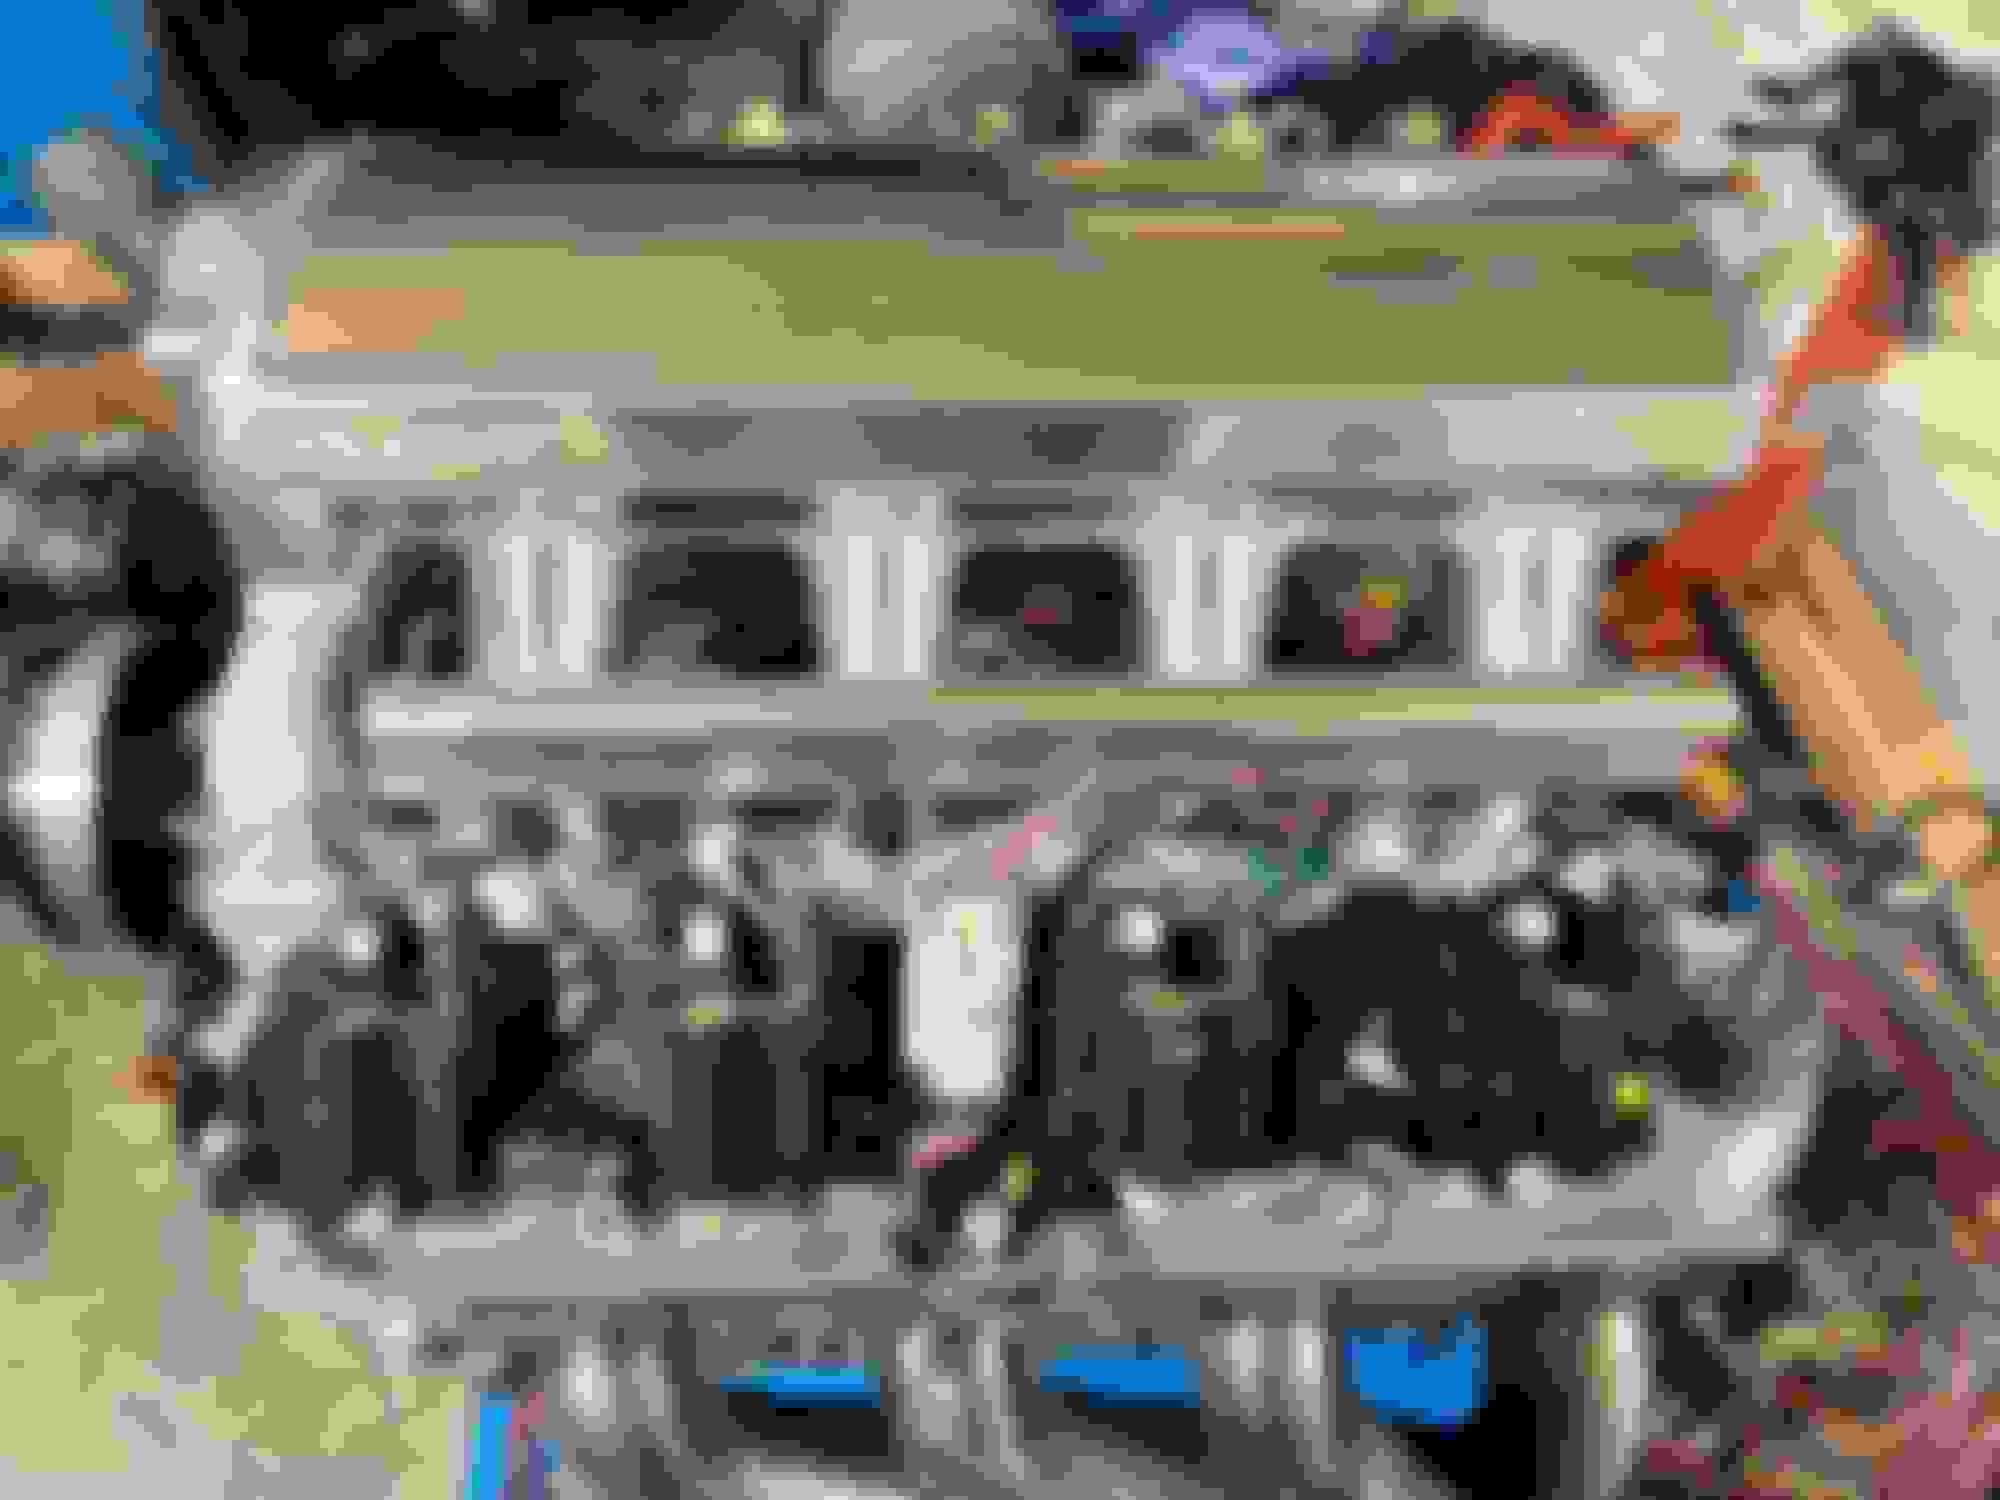
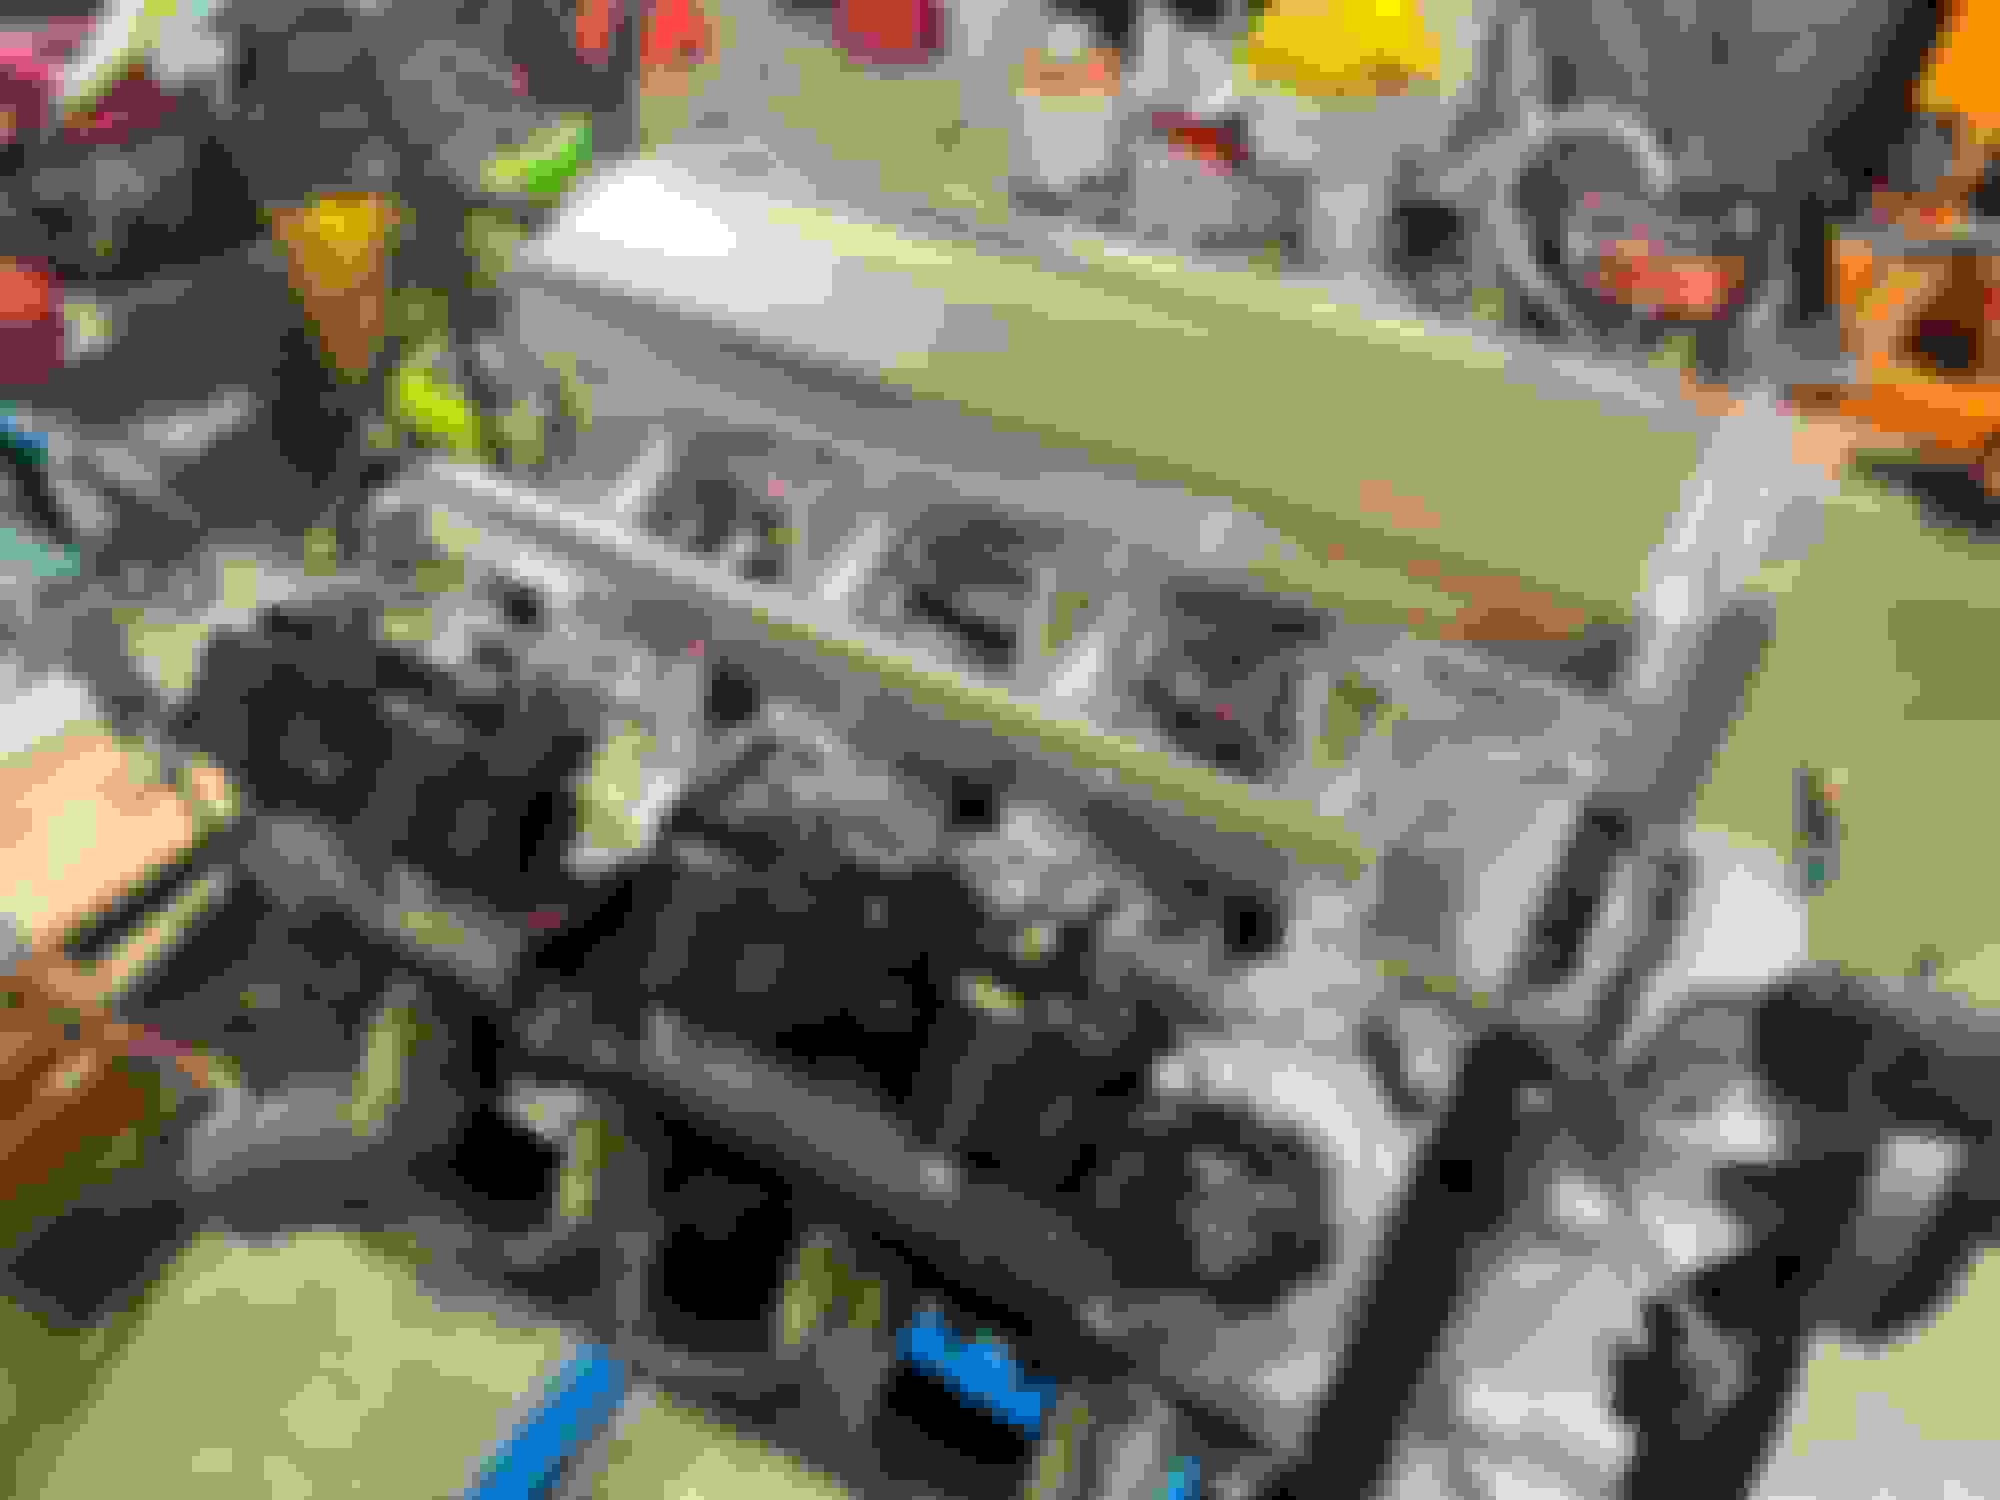
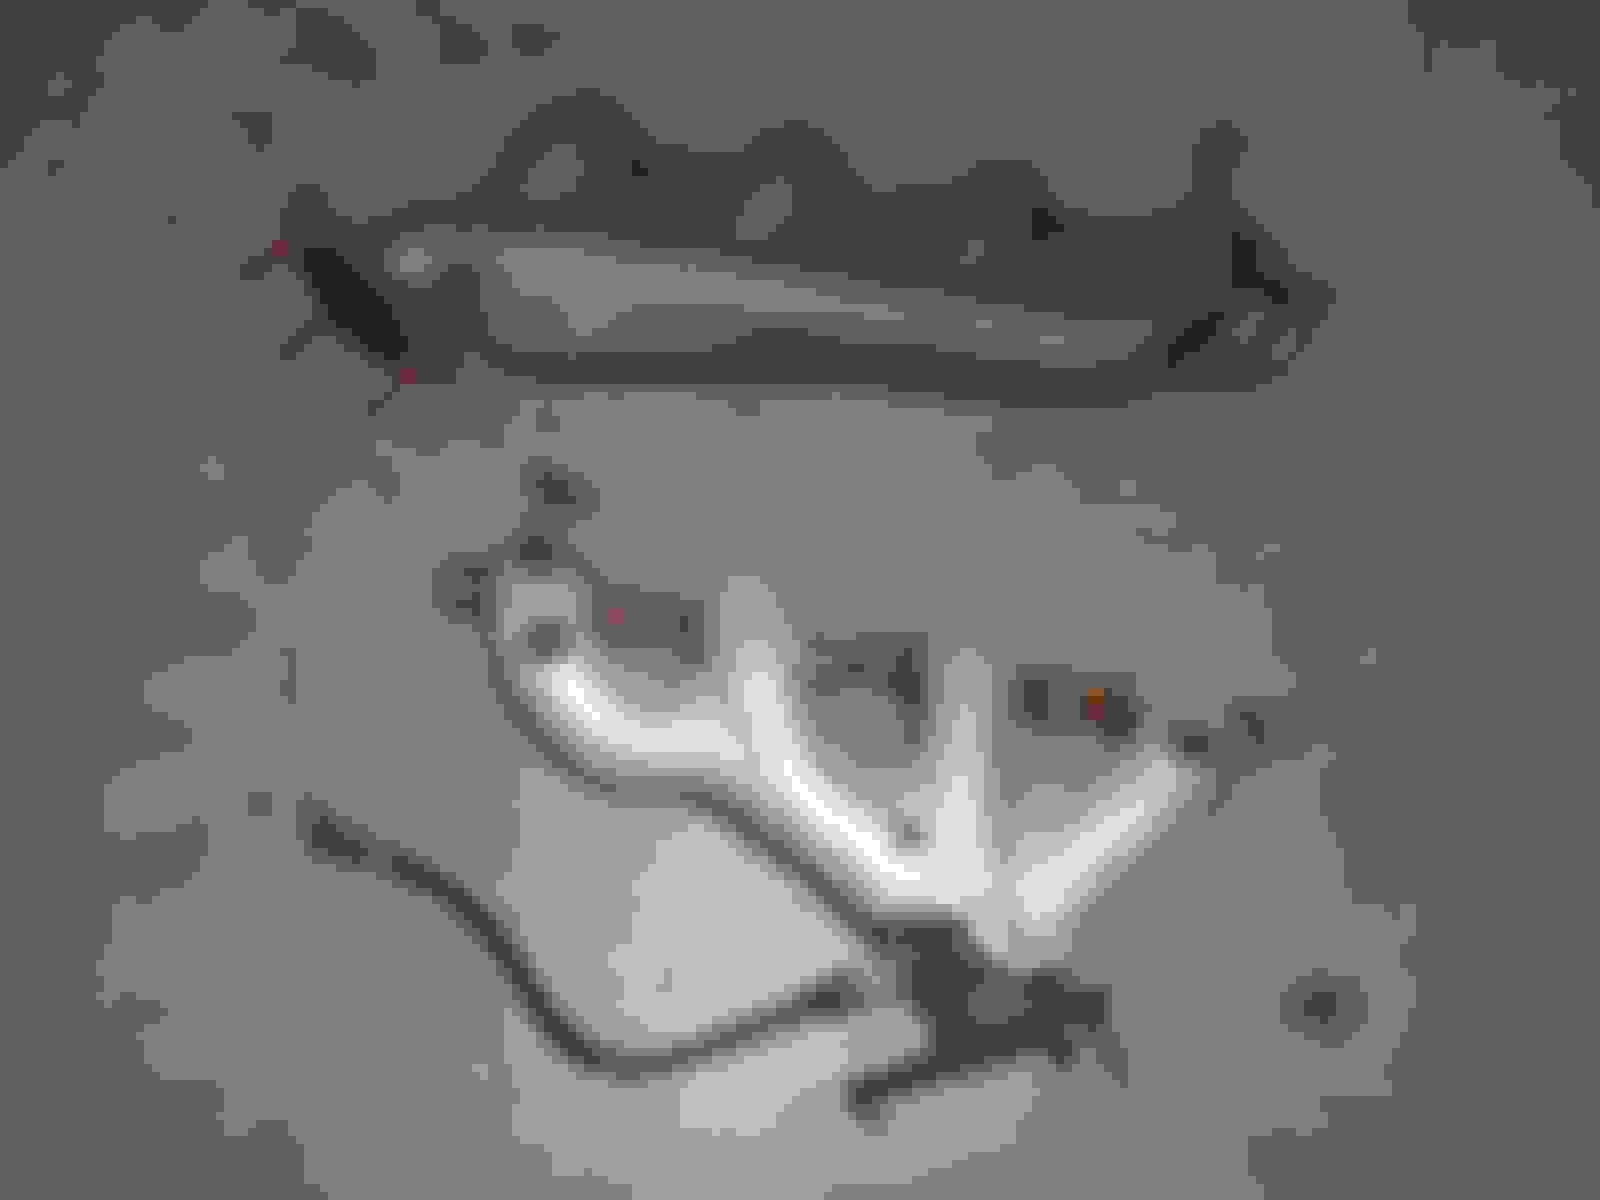
A little history on the car: Originally purchased at Maclin Ford in Calgary, my Father in law found the car for sale in a storage compound completely original with 39000 miles for $1900 (roughly 12 years ago). The drivetrain was a 2bbl 352 / 3 speed toploader, complete with manual brakes and steering. It was pretty utilitarian, but it was in unbelievable shape and still super cool! Over the years he did a few upgrades like a 4bbl intake, installed a set of mustang bullet wheels, and a little exhaust work. He even daily drove the car to work in the summer (had a mechanical shop in Strathmore briefly). We were able to borrow the car a few times and take on a few road trips and do some of the larger car shows in High River, and Radium BC. Sadly not long afterwards he passed away, but he left the car to us in his will. He always talked about building a bigger FE for it, so as a tribute to him we decided to give the car a bit of an overhaul. I found a 428 / C6 from a 66 t-bird, and did a mild re-build with comp 270H cam, dominator intake, holley 750 (3310-2), msd ignition, and sanderson headers with 2.5" dual exhaust. We also lowered the car, did a front disk upgrade with late 70's ranchero spindles, and installed the torq thrust - d's. I put about 5000 miles on this combo and it worked ok, but the gear and the intake made it a bit underwhelming. In the spirit of my late father in law and continuous improvement, we sold the 428/C6 complete to another local guy who is building a 68 Fairlane in July and started hunting for a new combo. A couple weeks ago I found a decent running LQ9 then slowly started picking up the rest of the pieces. A few days later I found a 4L60 with a vette servo already installed, then took to Amazon to start ordering stuff. I ordered a Moroso 20138 front sump pan, and most of the fuel system (walbro 255 / vette FPR / aeroquip fittings and -6 socketless hose, pre filter etc). I'm considering something like the Chopacabra or Truck Norris for a cam upgrade but I haven't decided on anything just yet. Currently the car has 3.25 gears, but I may go 3.55 or even 3.73 now with the addition of overdrive. Rear tire size is 26x10 (255/60R15). Other items I have to purchase yet are the harness, radiator & e-fans, motor mounts / trans mount, and possibly different manifolds. I have a friends bare 5.3 block awaiting machining which I plan on use for mock up, but my pan won't arrive until the first week of September. I am interested to see if the truck pan could work and may try test fitting, but I'm guessing the rear steering components may push everything back too far with a rear sump pan, and I don't want to cut up the firewall or trans tunnel if I don't have to. For now I plan on running the factory truck manifolds cleaned up and will weld on v-band clamps if it clears the steering box. Here are a few pictures of the car after its first overhaul, the start of the tear down, and a few pics of the new combo. New Horizon Car Show in Balzac Mall 2022 428 prior to pullout July 2023 More 428 Overhaul 2.0 starting 428/C6 ready awaiting its new owner / home New LQ9/4L60 cleaned up More LQ9/4L60 detailed up Cleaned up truck manifolds for mock up. Providing they fit, they will get 2.5" v-band collectors.
Thanks! Besides springs and disk conversion nothing else has been done yet. I handles like a mattress to say the least. I was considering clipping the front frame section / k member from a 03-11 P71 crown vic, but the track width would really limit wheel choice / offset, not to mention a ton of work. I will probably start with rebuilding / bracing the factory control arms with upgraded bushings. One day air bags would be nice too instead of the static drop.
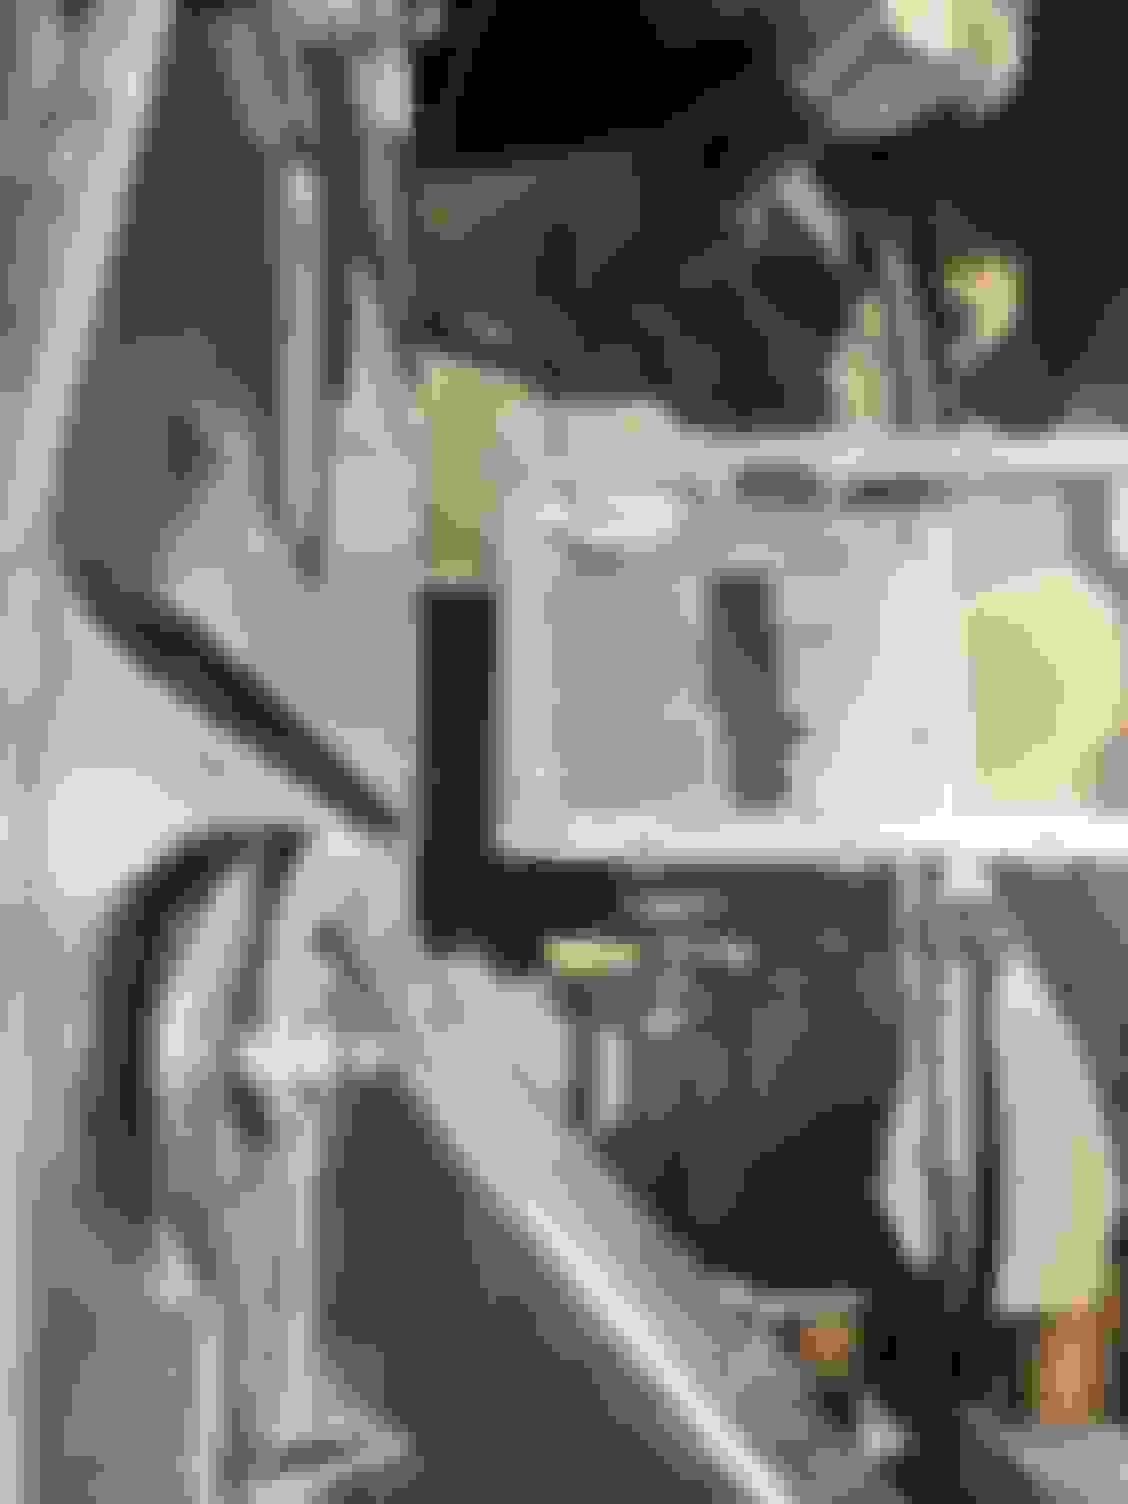
Had a free afternoon and made a trip to pick n pull. I scored at complete uncut harness from a Denali, as well as a safety neutral switch, early style 4 corner steam vent, and driveshaft yoke for the 4l60. I looked around to see what was there for Crown Vics, incase there was a P71 with a motor pulled already to yank the k-member for cheap but no luck. I was shocked to see a 66 Galaxie 2 door hard top there, but there weren't any parts it needed from it. I got the harness home and stripped it down to delete the un-used sensors (evap, a/c, and rear O2's). After a little bit of re-routing I should be able to hide most of the harness and pass through the firewall with the fusebox and pcm to mount inside the car.
My friend was over last night to help start working on his harness for his LM7 (going into a 66 chevelle sedan) and brought his swap pan with him. Its a knock off Holley 302-2 pan so we checked it for fitment and it looks ok on my motor. While its in my possession I did a little mock up on the wagon vs the truck pan just to get an idea of how far it would set back the motor. Surprisingly with either pan I have roughly +/- 2� of firewall clearance. The truck pan sump is too deep, but the knock off sump is perfect. I don�t think I would have enough trans clearance being that close to the firewall as these cars have a small opening into the tunnel. The back of the FE fords sits almost flush with the back of the brake booster so this is sort of radical set back in comparison. I am really curious how far forward the Moroso pan will sit, and wonder if I need to notch the crossmember to move it back if it sits too far forward. Guess I will have to wait until Sept 7 to find out according to Amazon. Here are a couple pics. I still plan to mount a block to the 4l60 and set it in to see what it looks like. For now here is a couple pics of the two pans Truck pan Firewall clearance approx 2� Pan hangs down to far for current ride height Holley knock off pan Firewall clearance 1.75� approx Pan is flush with bottom of crossmember Lots of room to work mounts on the crossmember
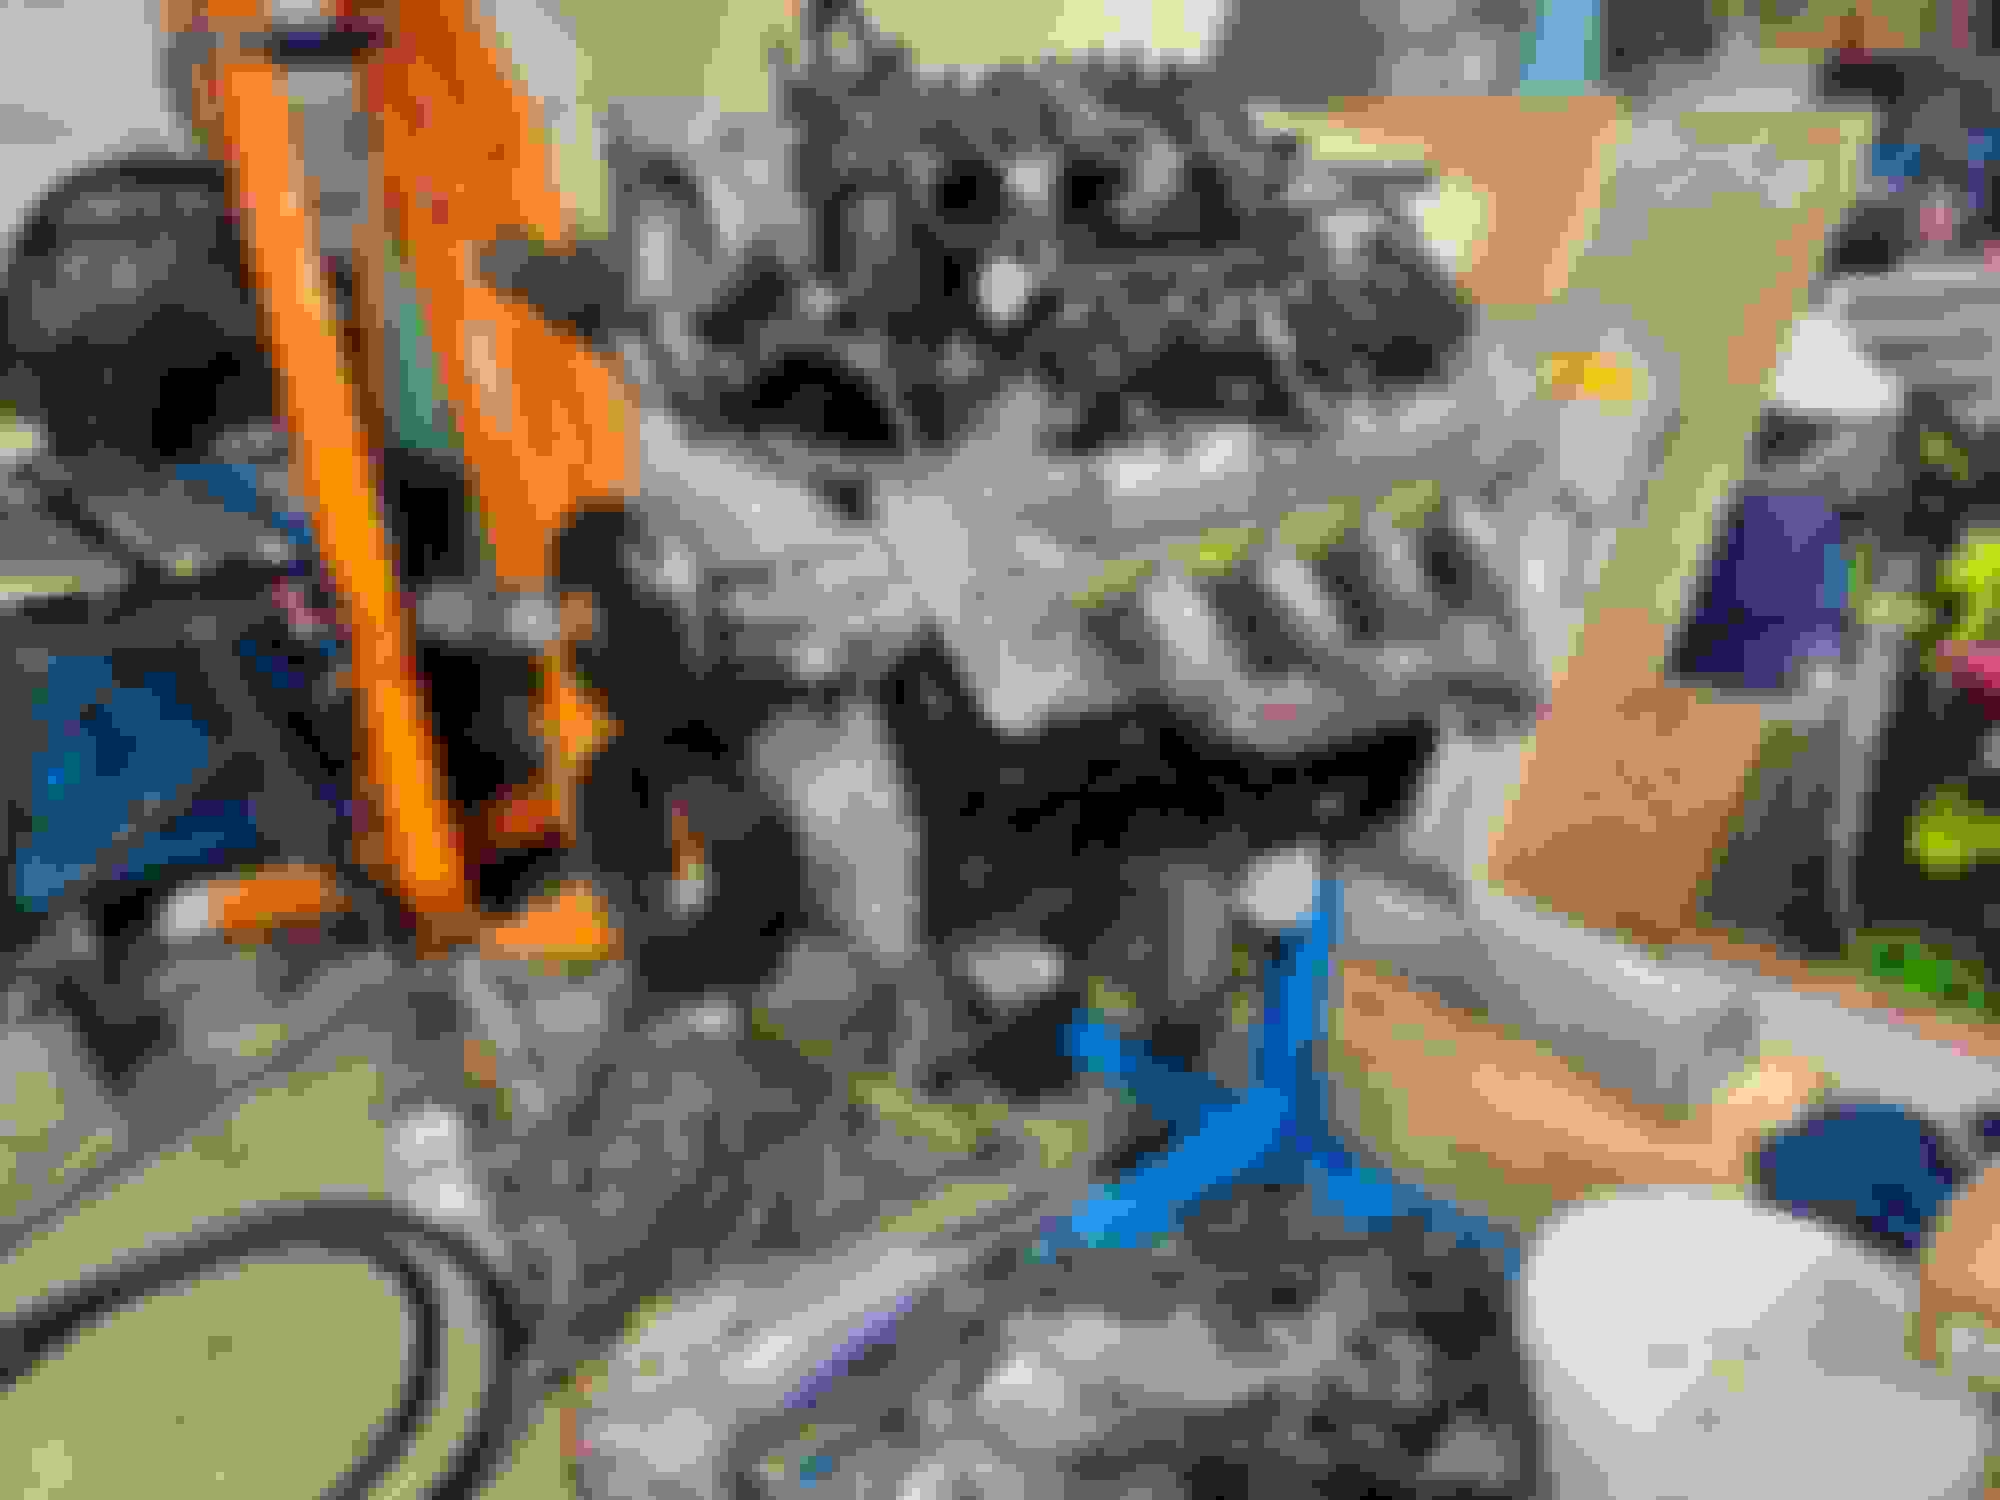
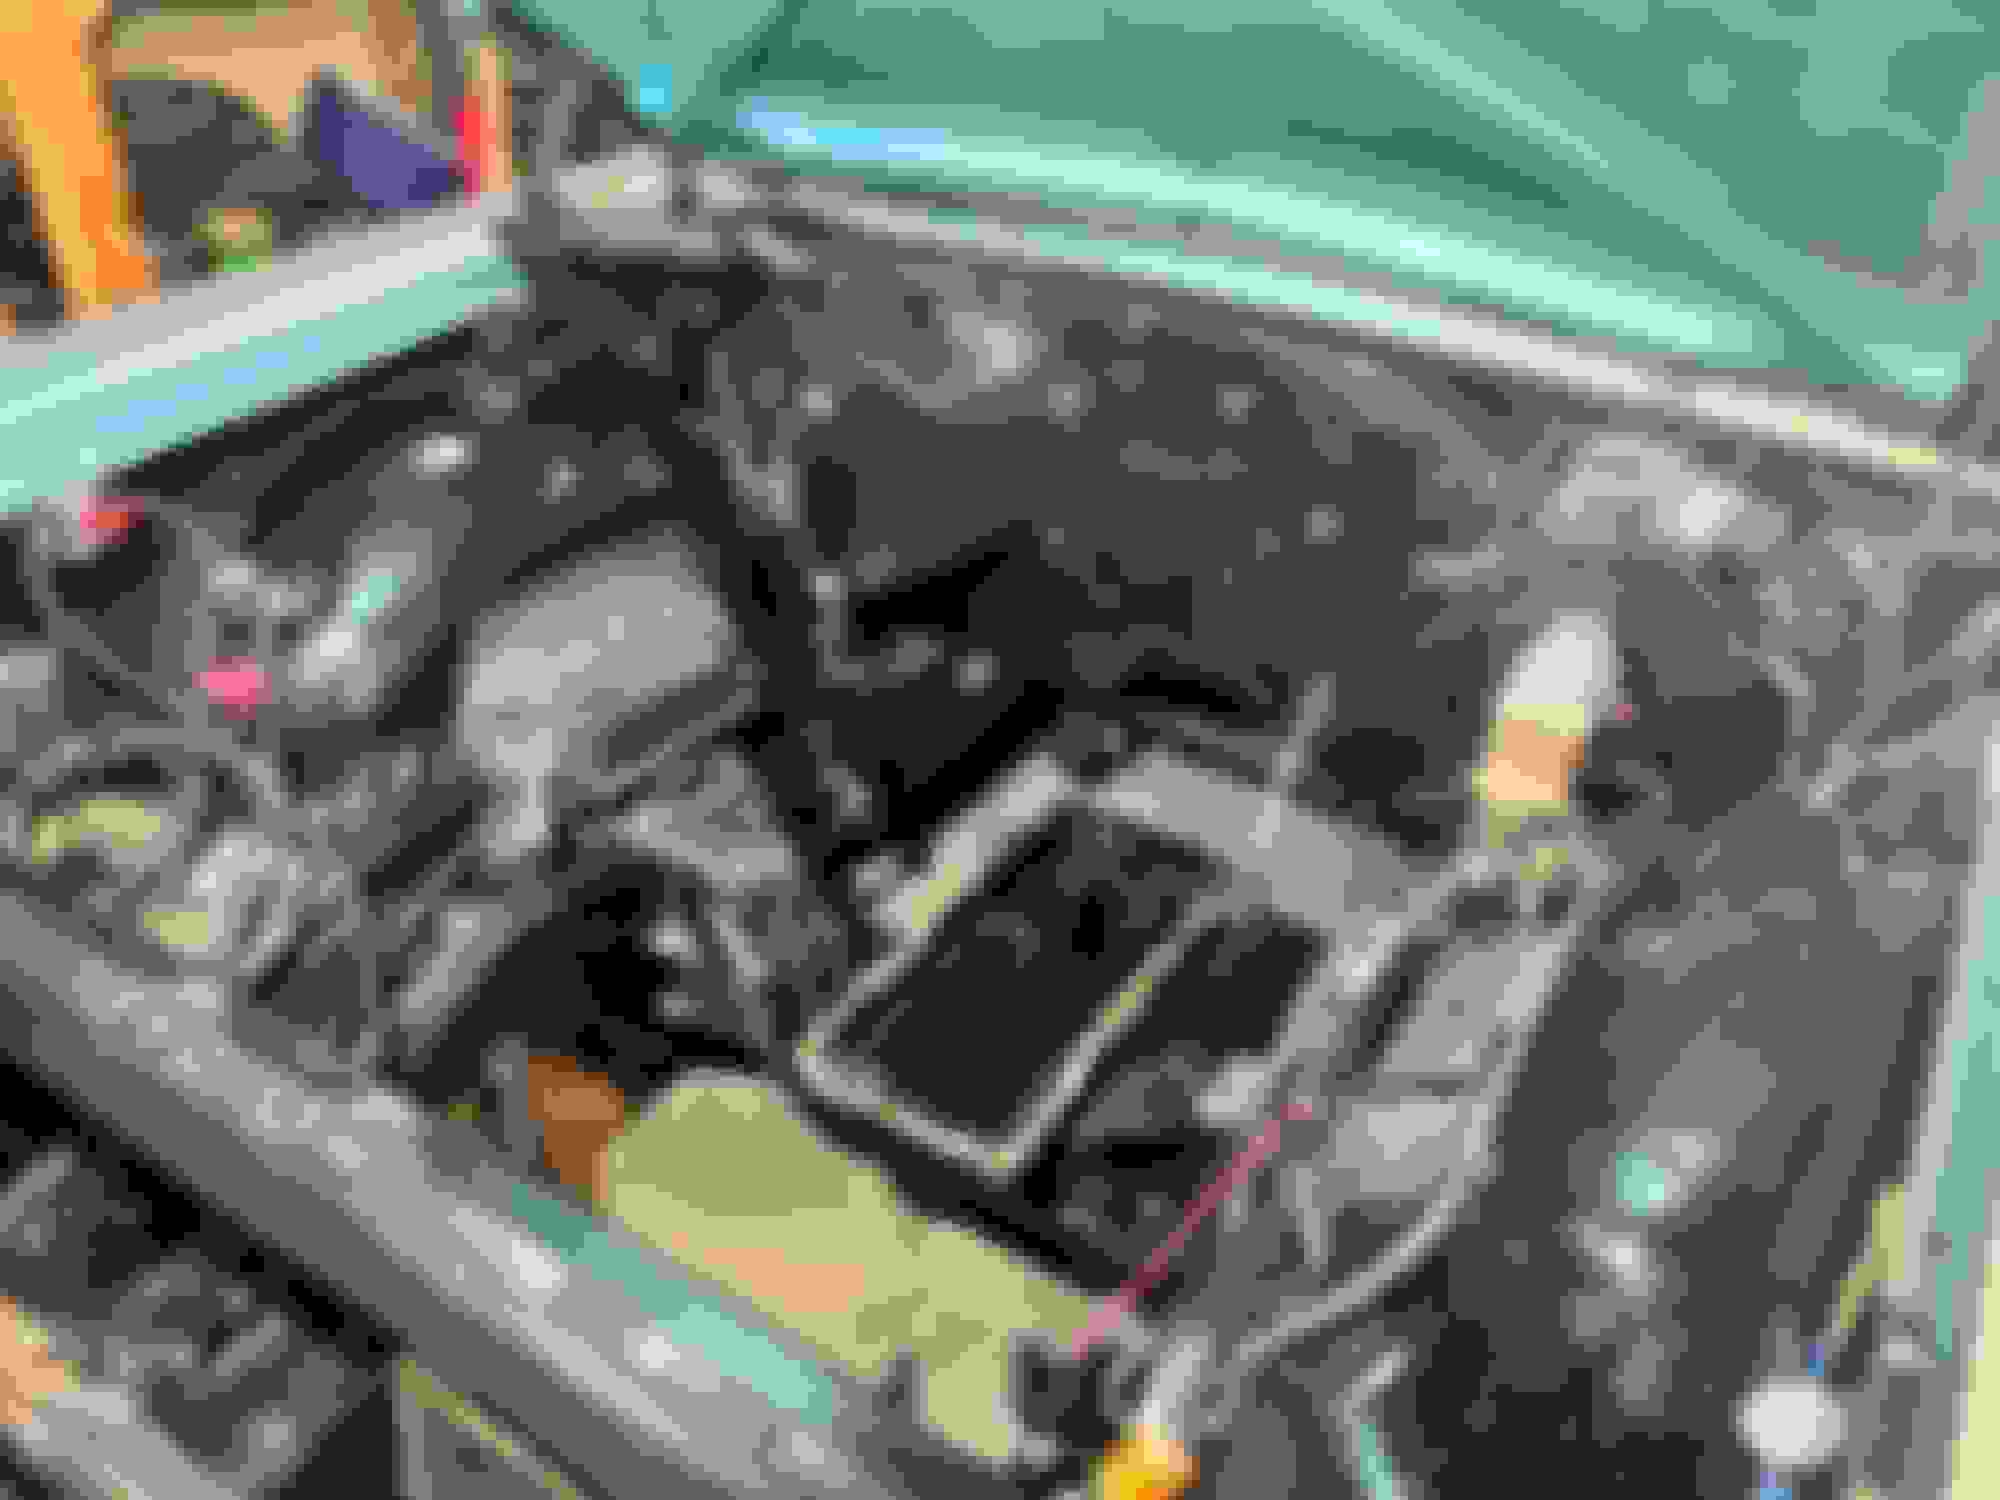
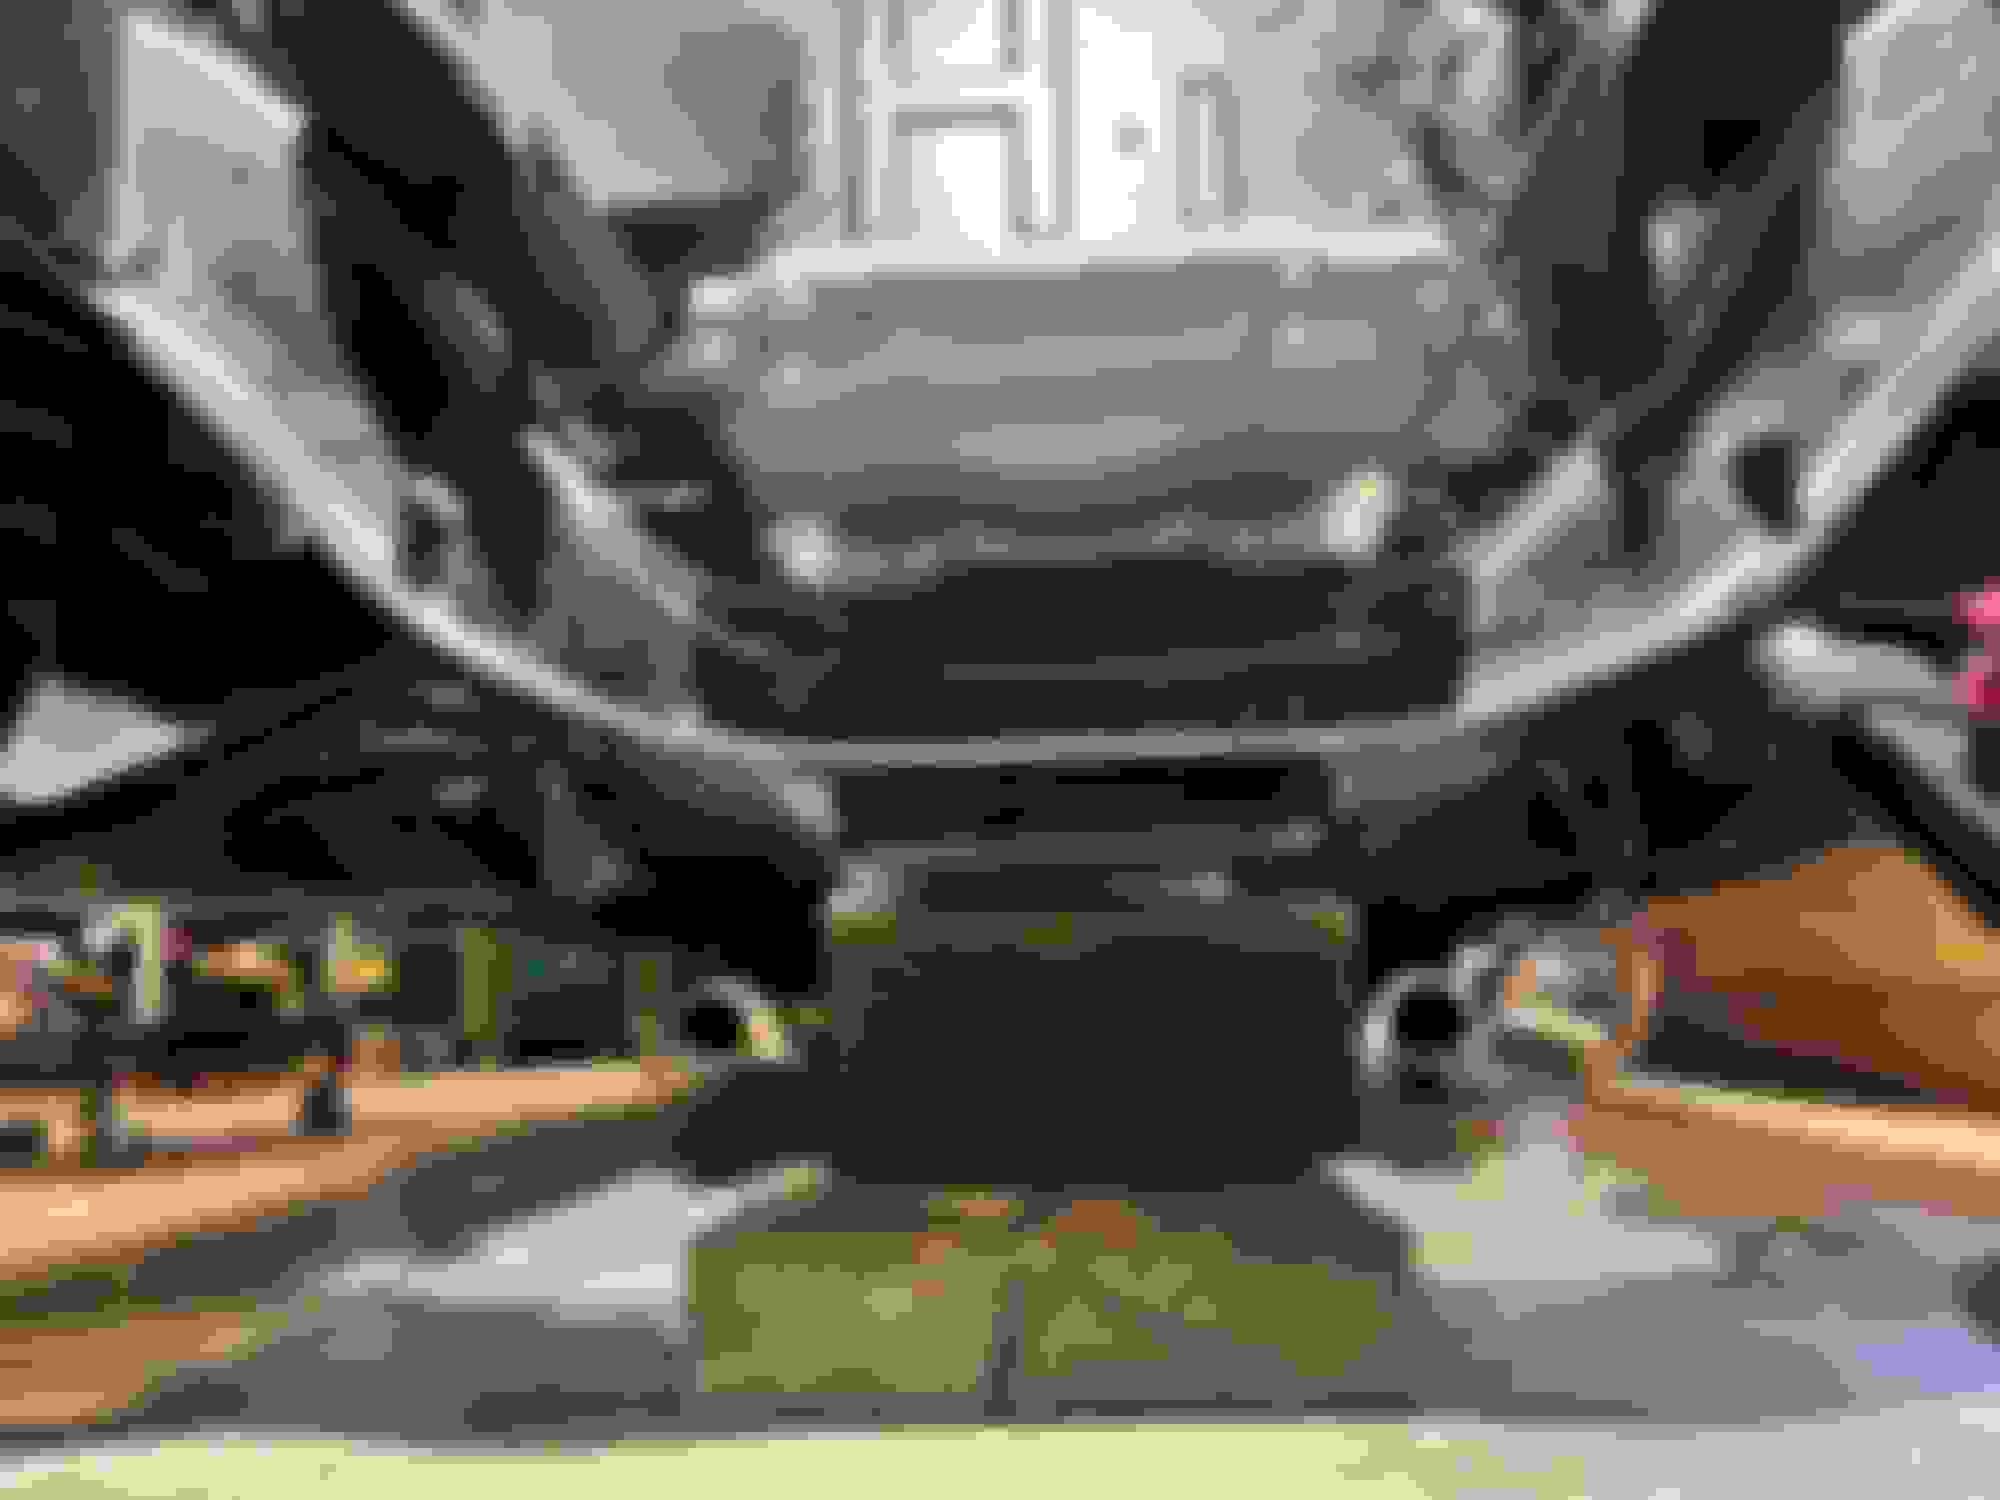
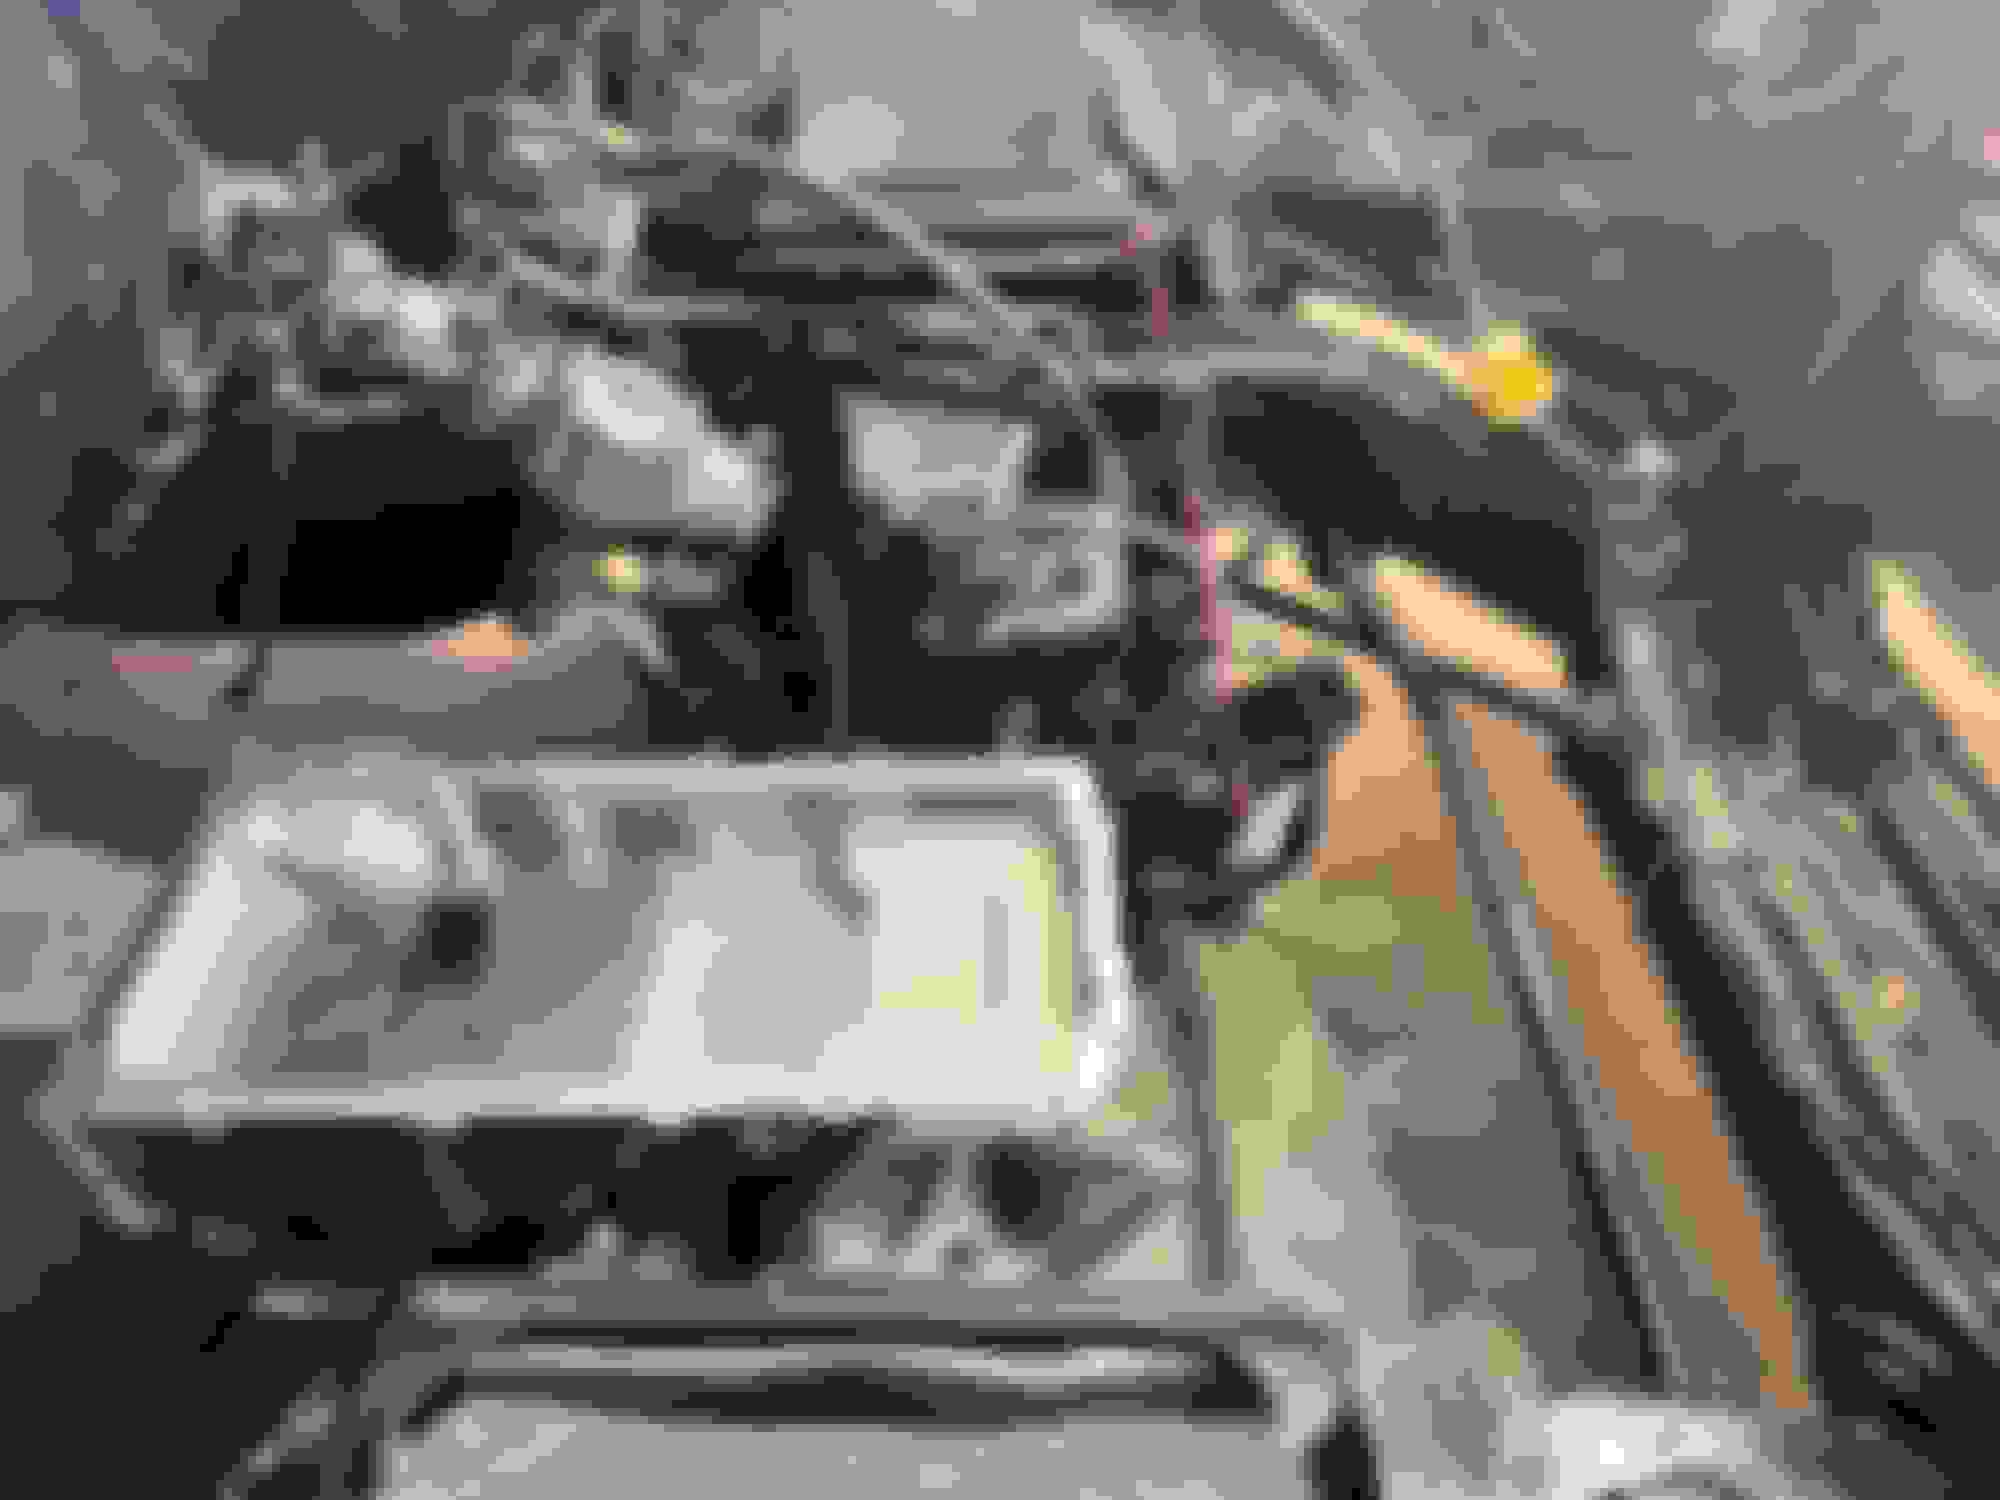
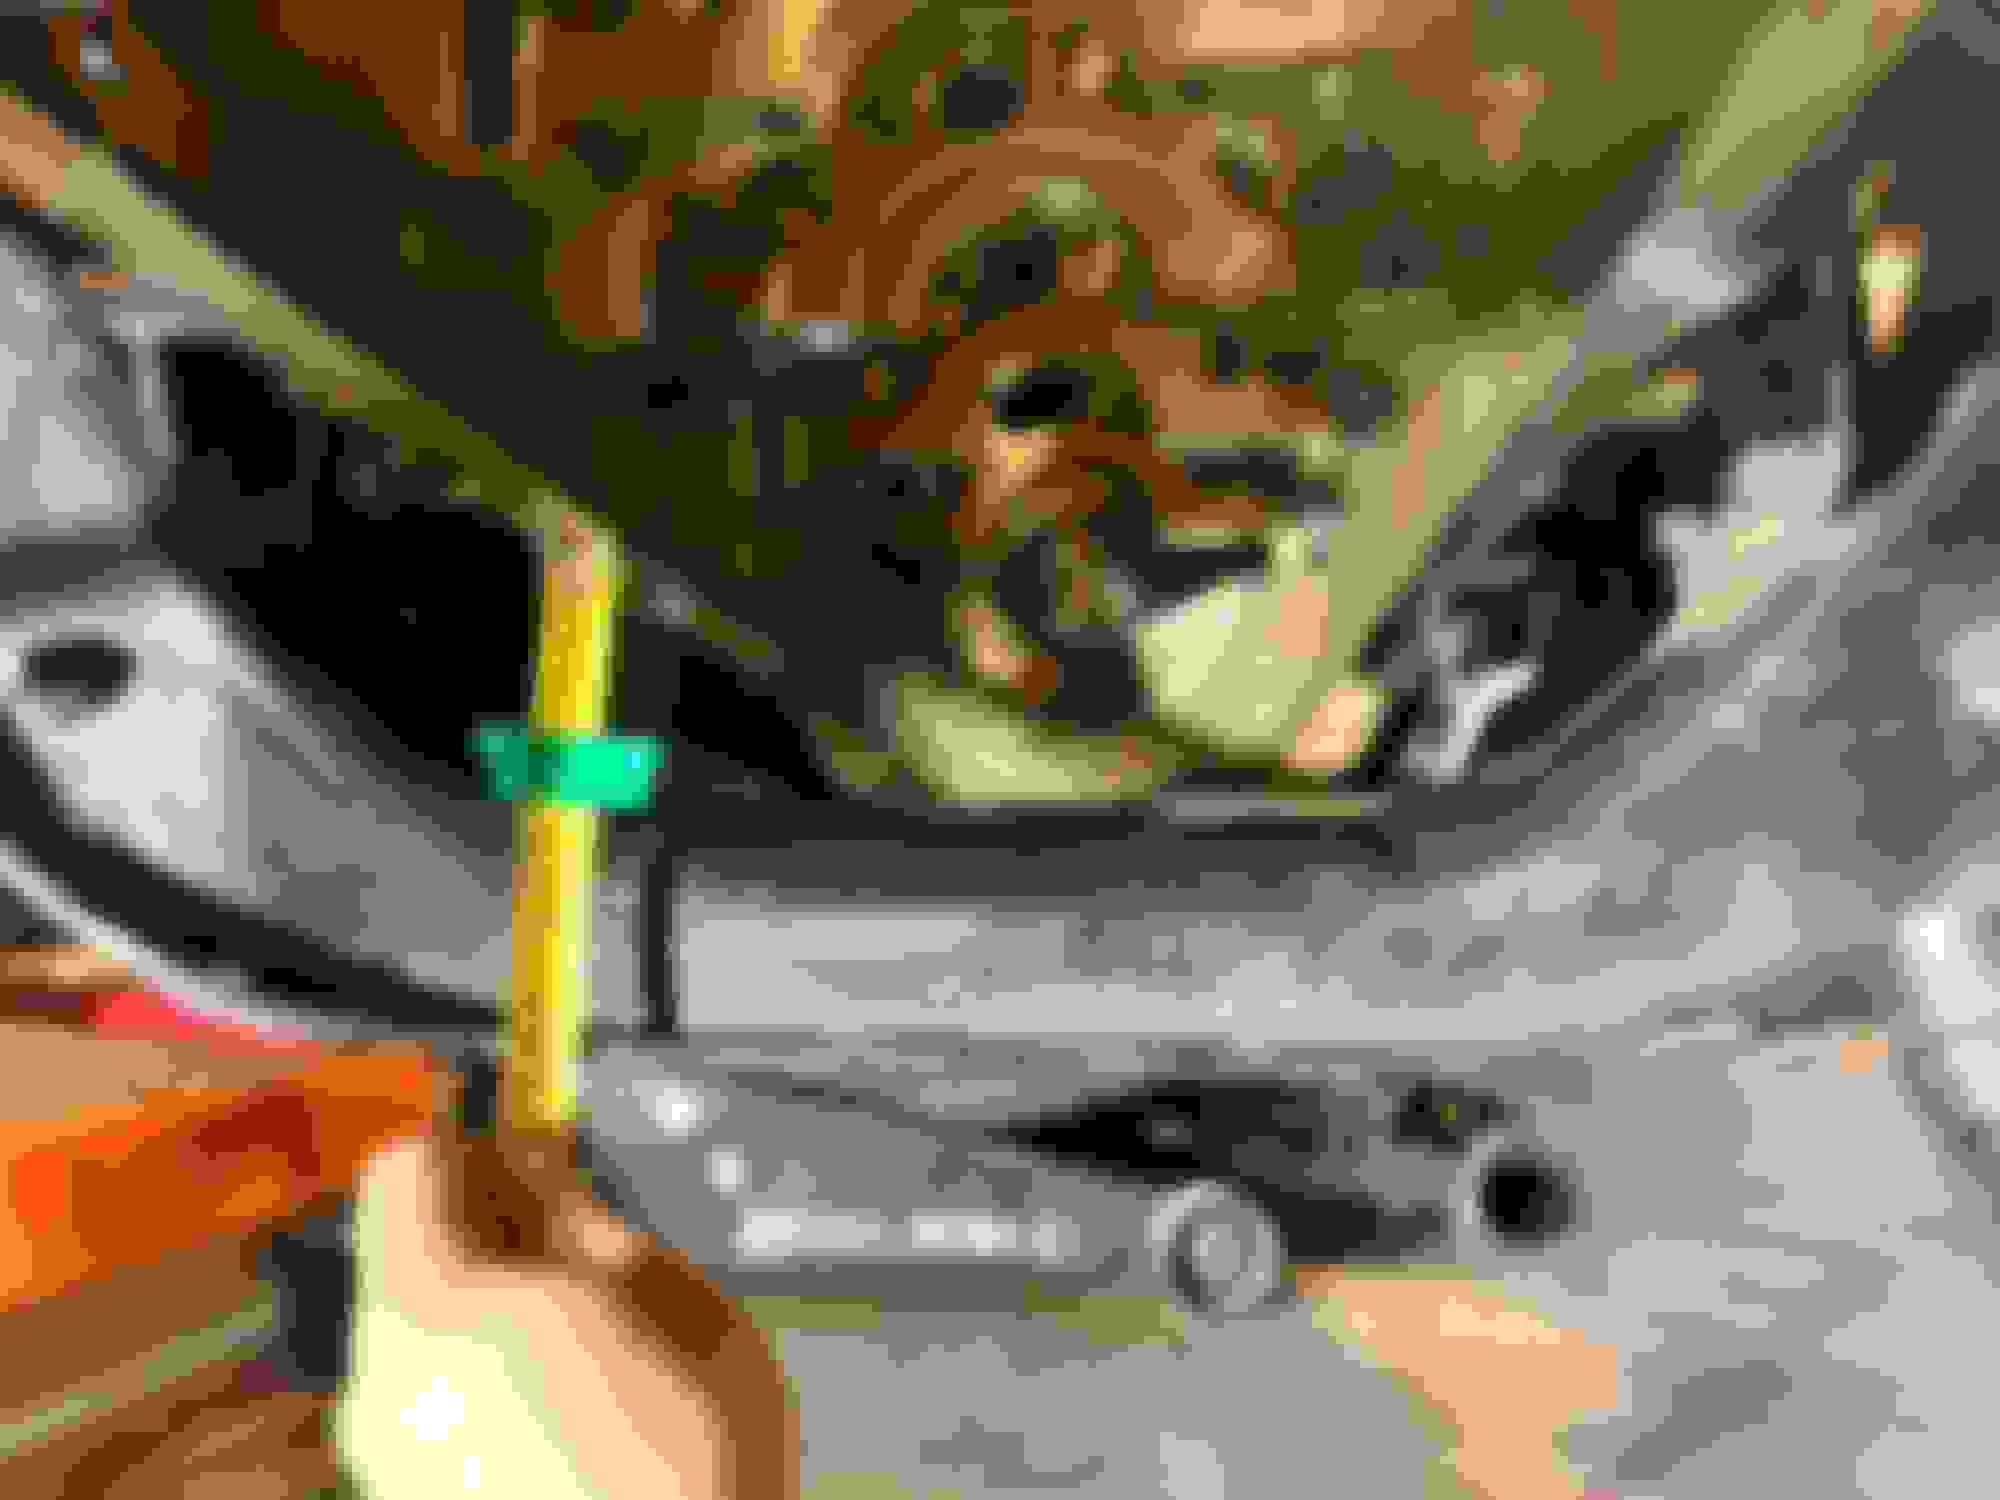
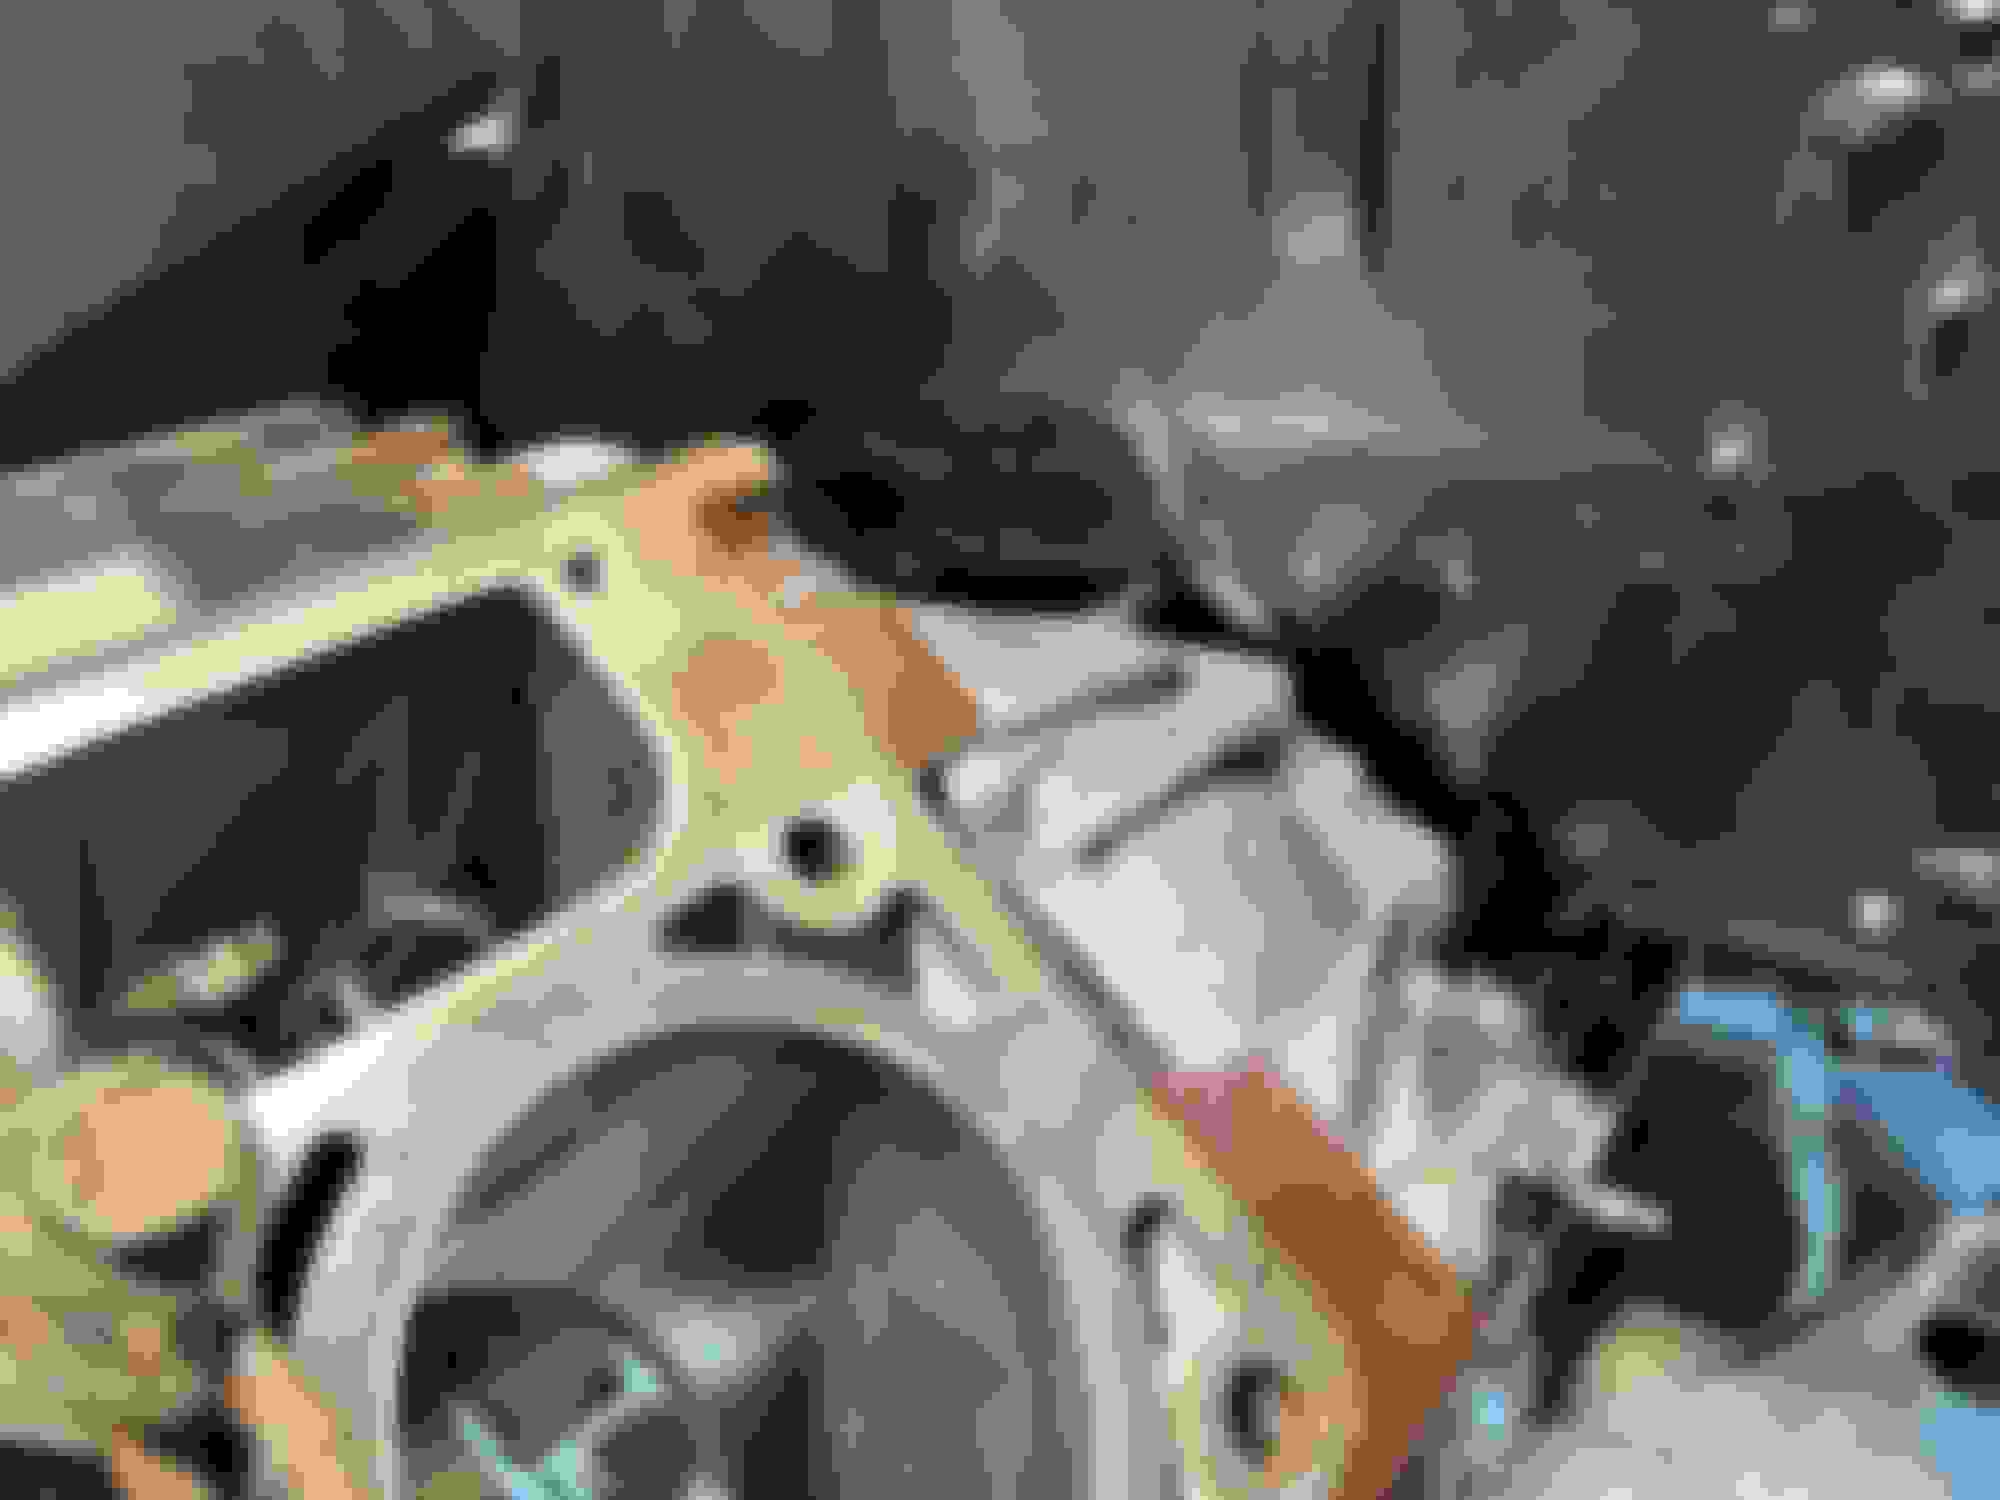
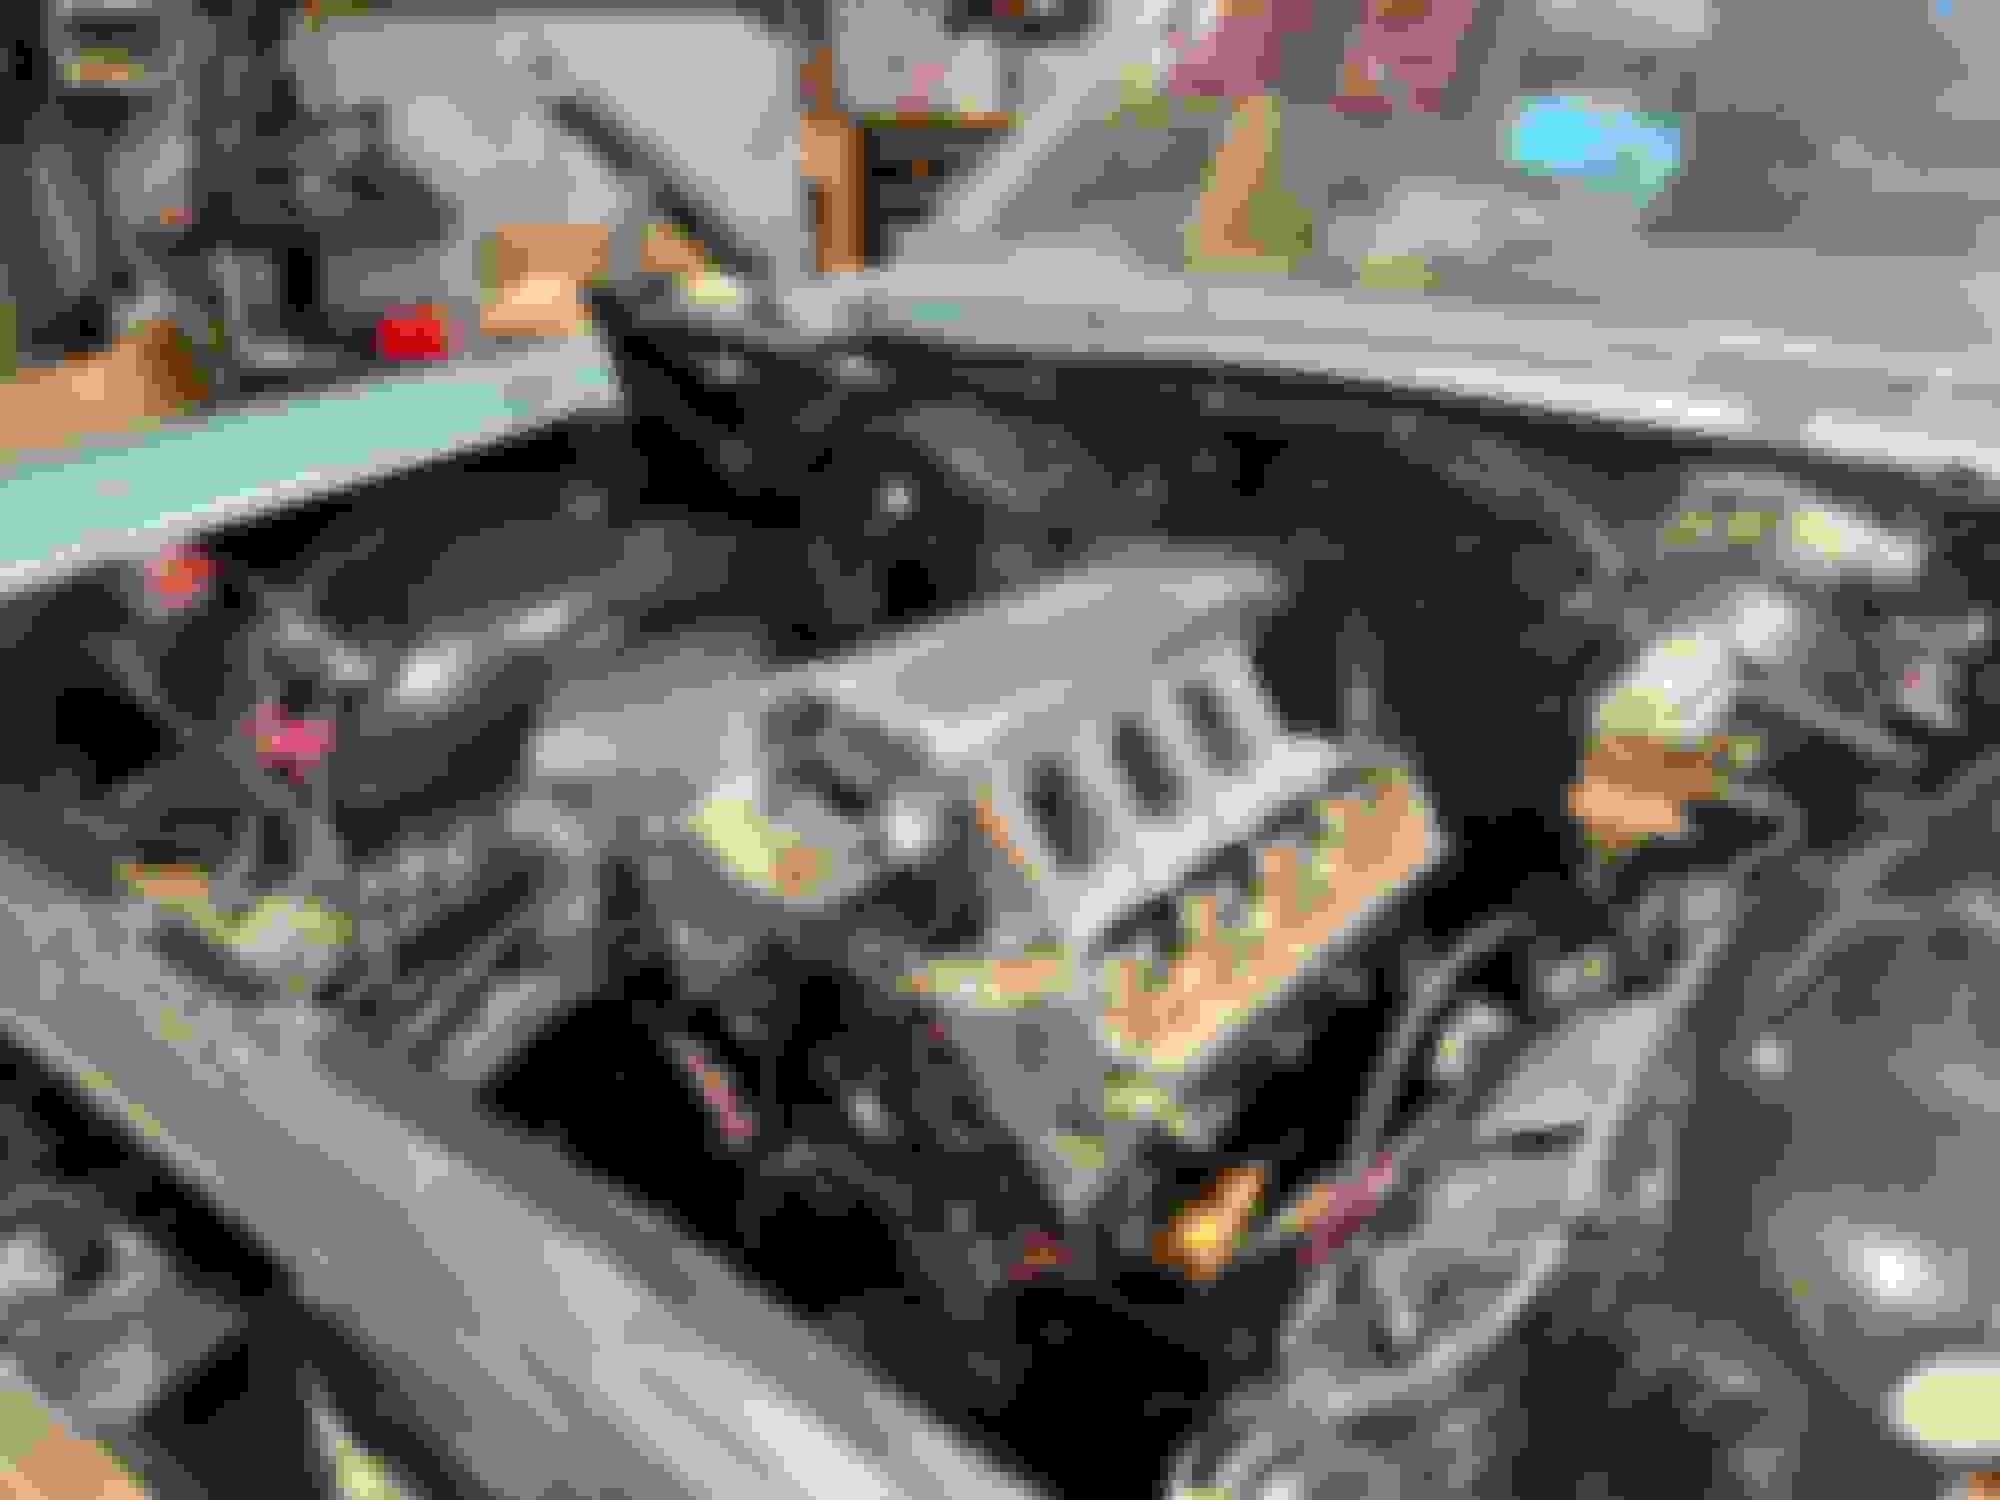
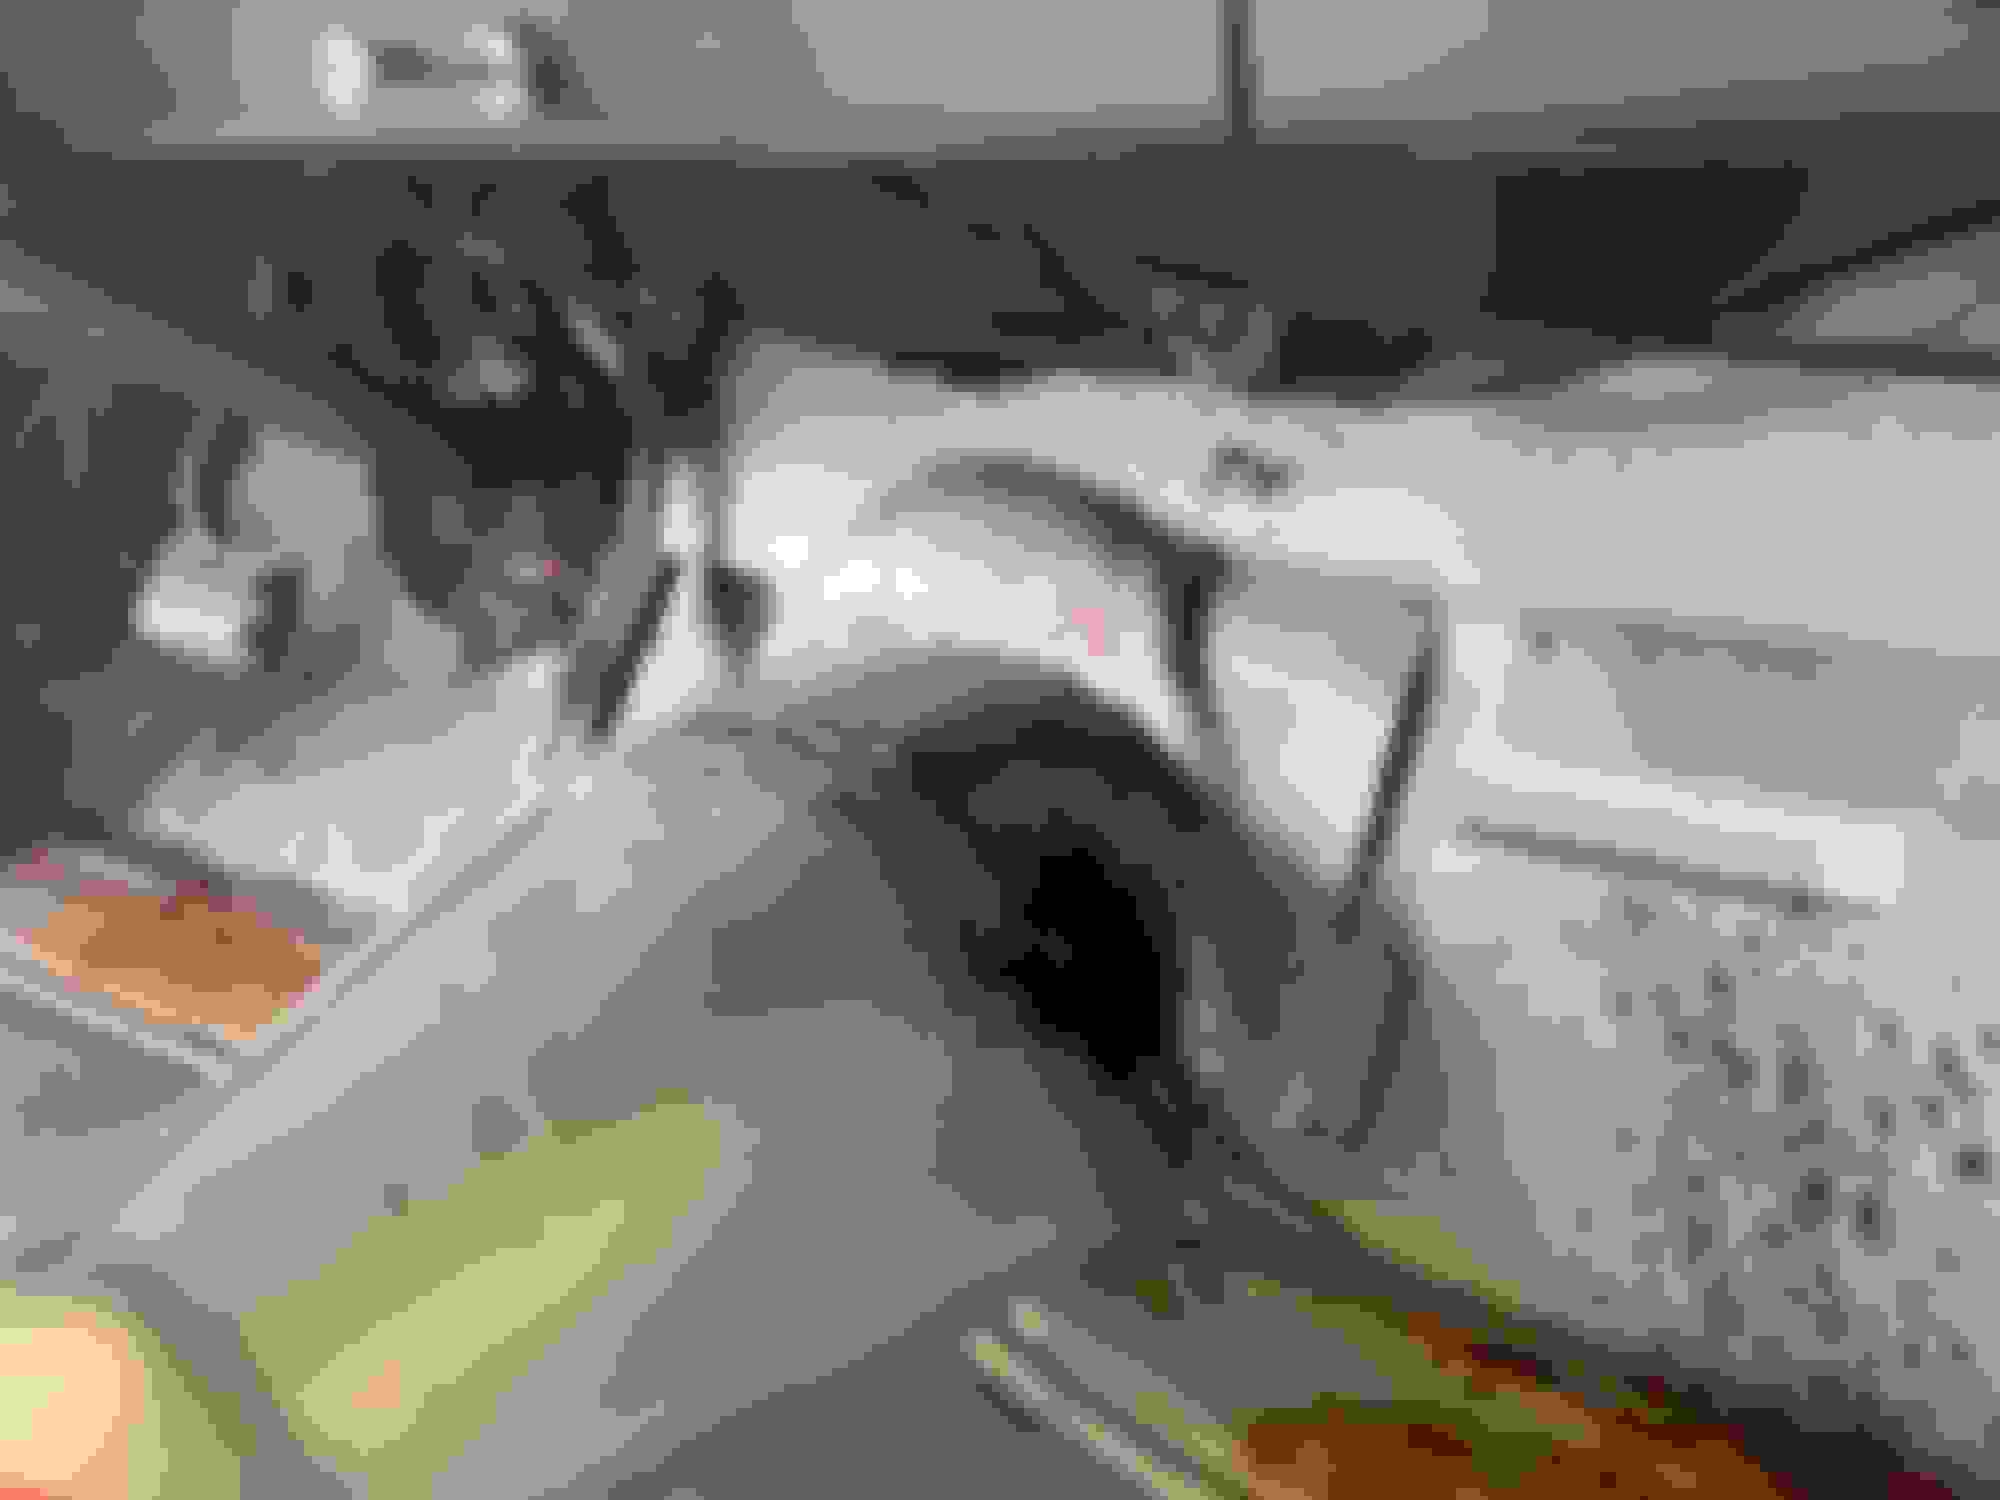
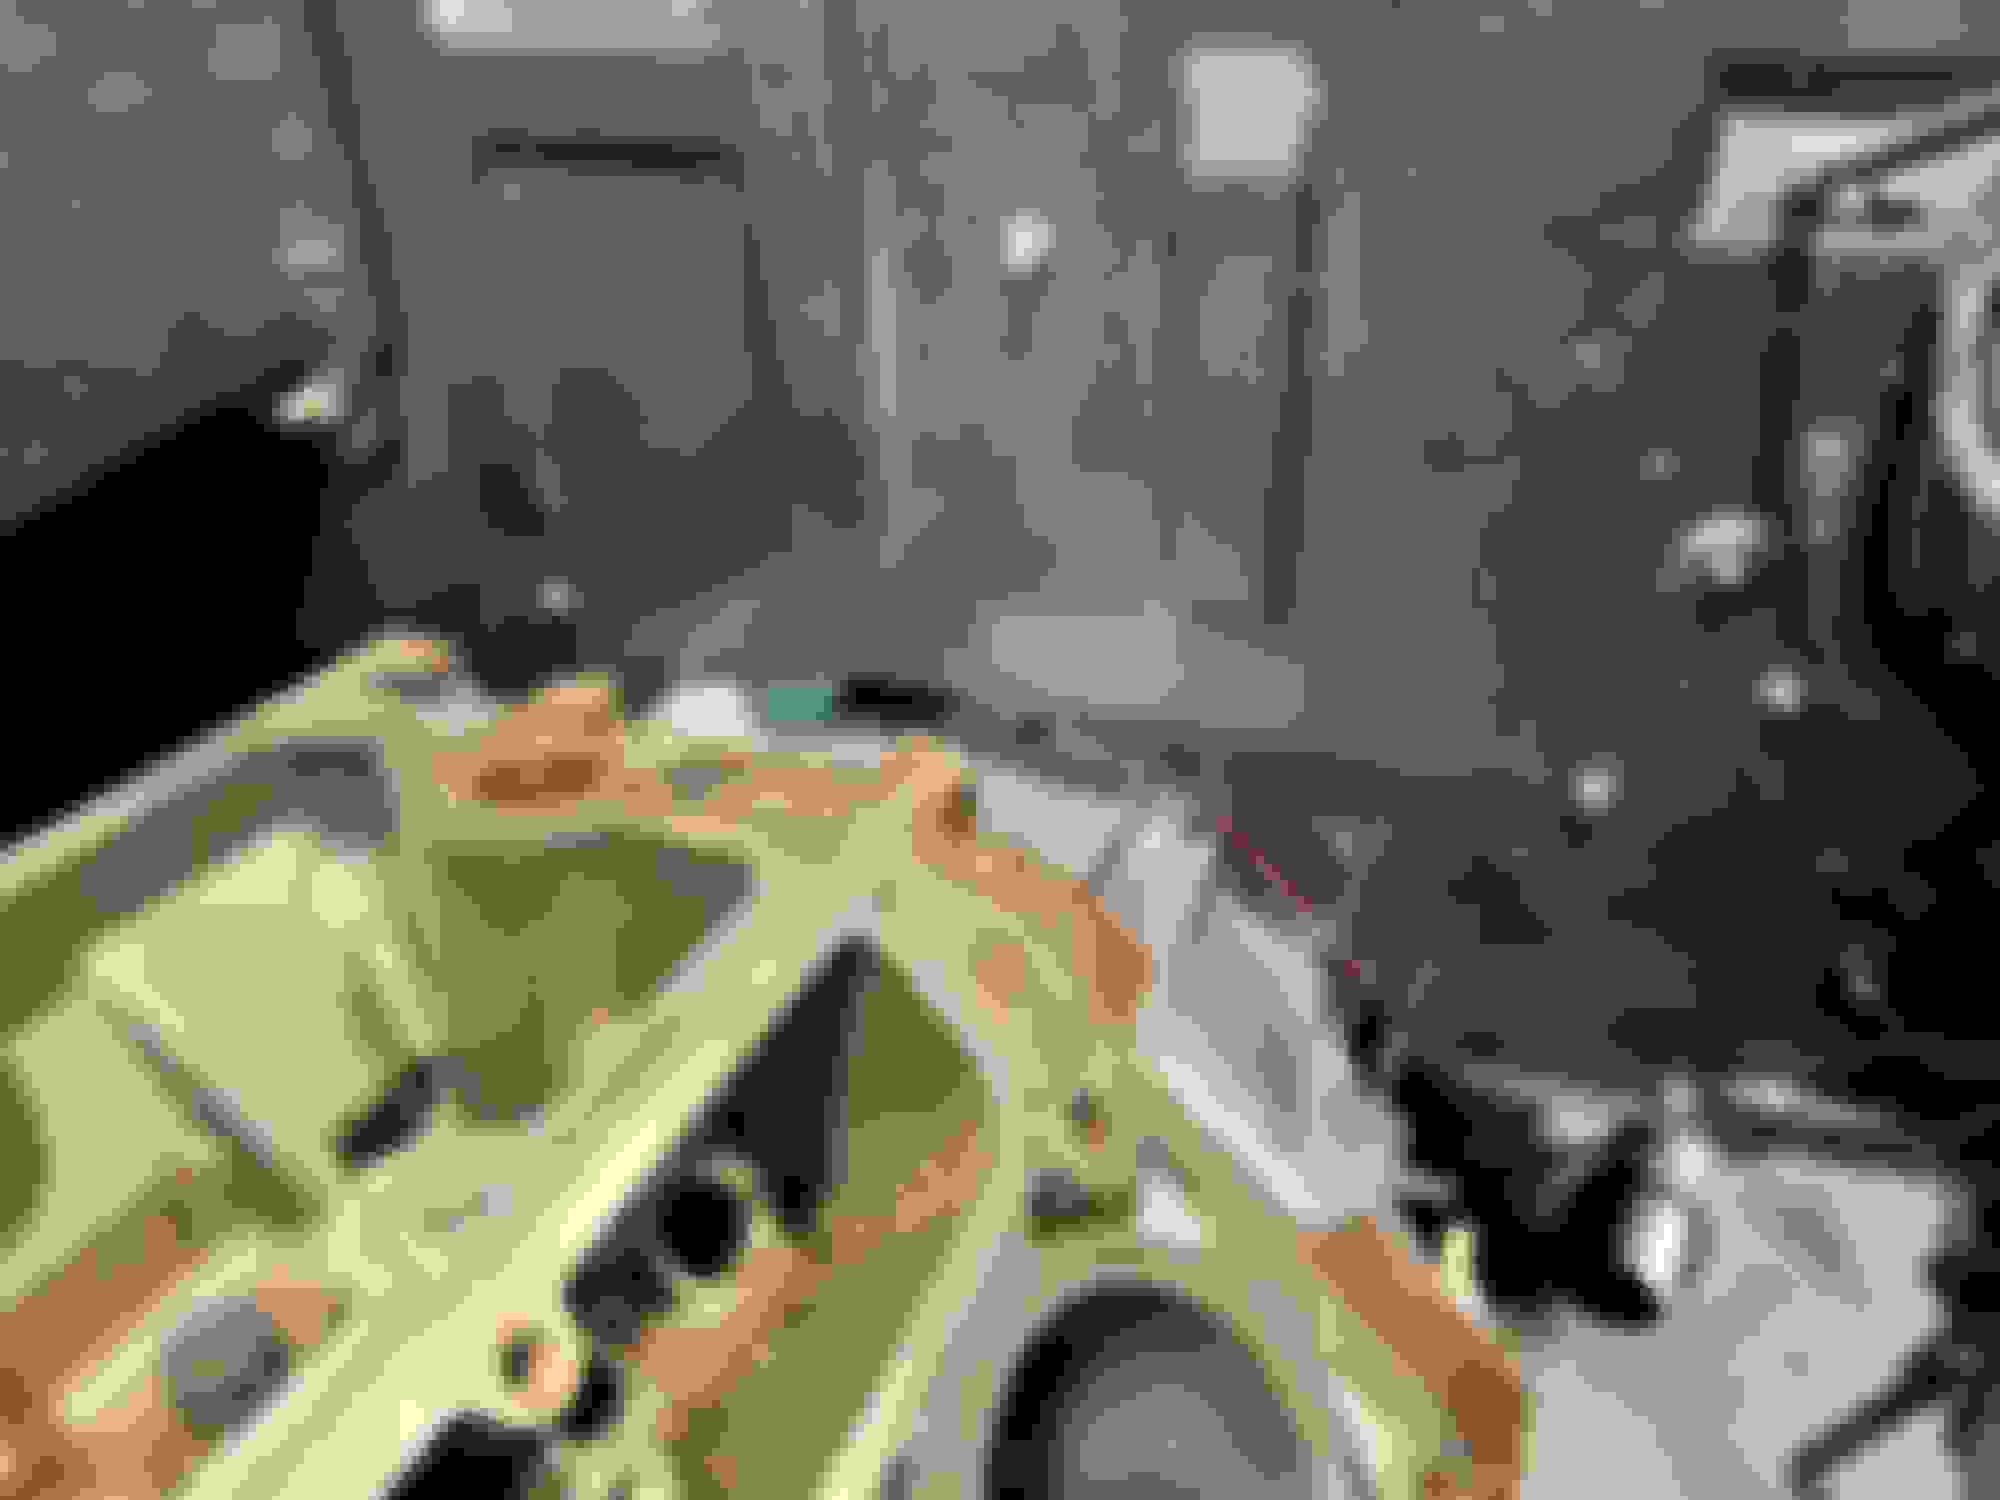
Well after this evening my questions are answered. I slid the bare lm7 block in with my 4l60 and there was no way of getting it shoe horned in with either the truck pan, or the holley knock off. The bellhousing is the limiting factor and hits the top of the trans tunnel if you go to far back, so rear sump is definitely off the table now. Glad I dont have buyers remorse before the moroso pan even arrives. Some interesting things I learned with the mock up. The ls will sit pretty much right where the 428 sat (pictured) and the LS motor mounts are pretty much dead center of the ford frame stands if I leave it where it is. The drivers side truck manifold is a no go, the collector is right where the steering box goes. Maybe an LS3 center dump vette manifold might work, or a log manifold that goes straight back and stays up along the same plane as the exhaust ports could allow me to have a collector on the firewall side of the steering gear (will probably look pretty goofy though). The passenger side truck manifold fits like it was meant for the car. Right where the motor sits will work great for the moroso pan with no cutting of anything, but the oil filter adapter will conflict with the center link, so remote mount it is. The trans crossmember is almost nearly perfect as well, just a few small tweaks should be needed. The truck intake looks like it will contact the hood on the front edge, but if i shave the front cover mount, and delete the evap solenoid it just might clear for now until I can get something a little nicer. Accessories drive had ample room to where the radiator will sit with e-fans. I also tried out my friends 3core aluminum cross flow for his Chevelle, and the same size is perfect for the wagon as well, and is a nice piece with a build in e-fan / shroud. Now I just need to argue with myself about doing some mild trans tunnel reshaping to move things back a little more. 2� back from where it sits would be perfect. Brace yourselves, lots of pictures coming! Tape line with green mark is the front edge of the accessory drive (truck style) Another view of accessory drive location vs rad support 2� mark on tape is just for reference, the moroso pan only needs 2� from the pan rail, plenty of clearance between it and the crossmember. Approx 10� from the front of the crossmember to the front of the block. Passenger side lit up, she�s snug! Trans tunnel is tight!!!!!! More snuggles
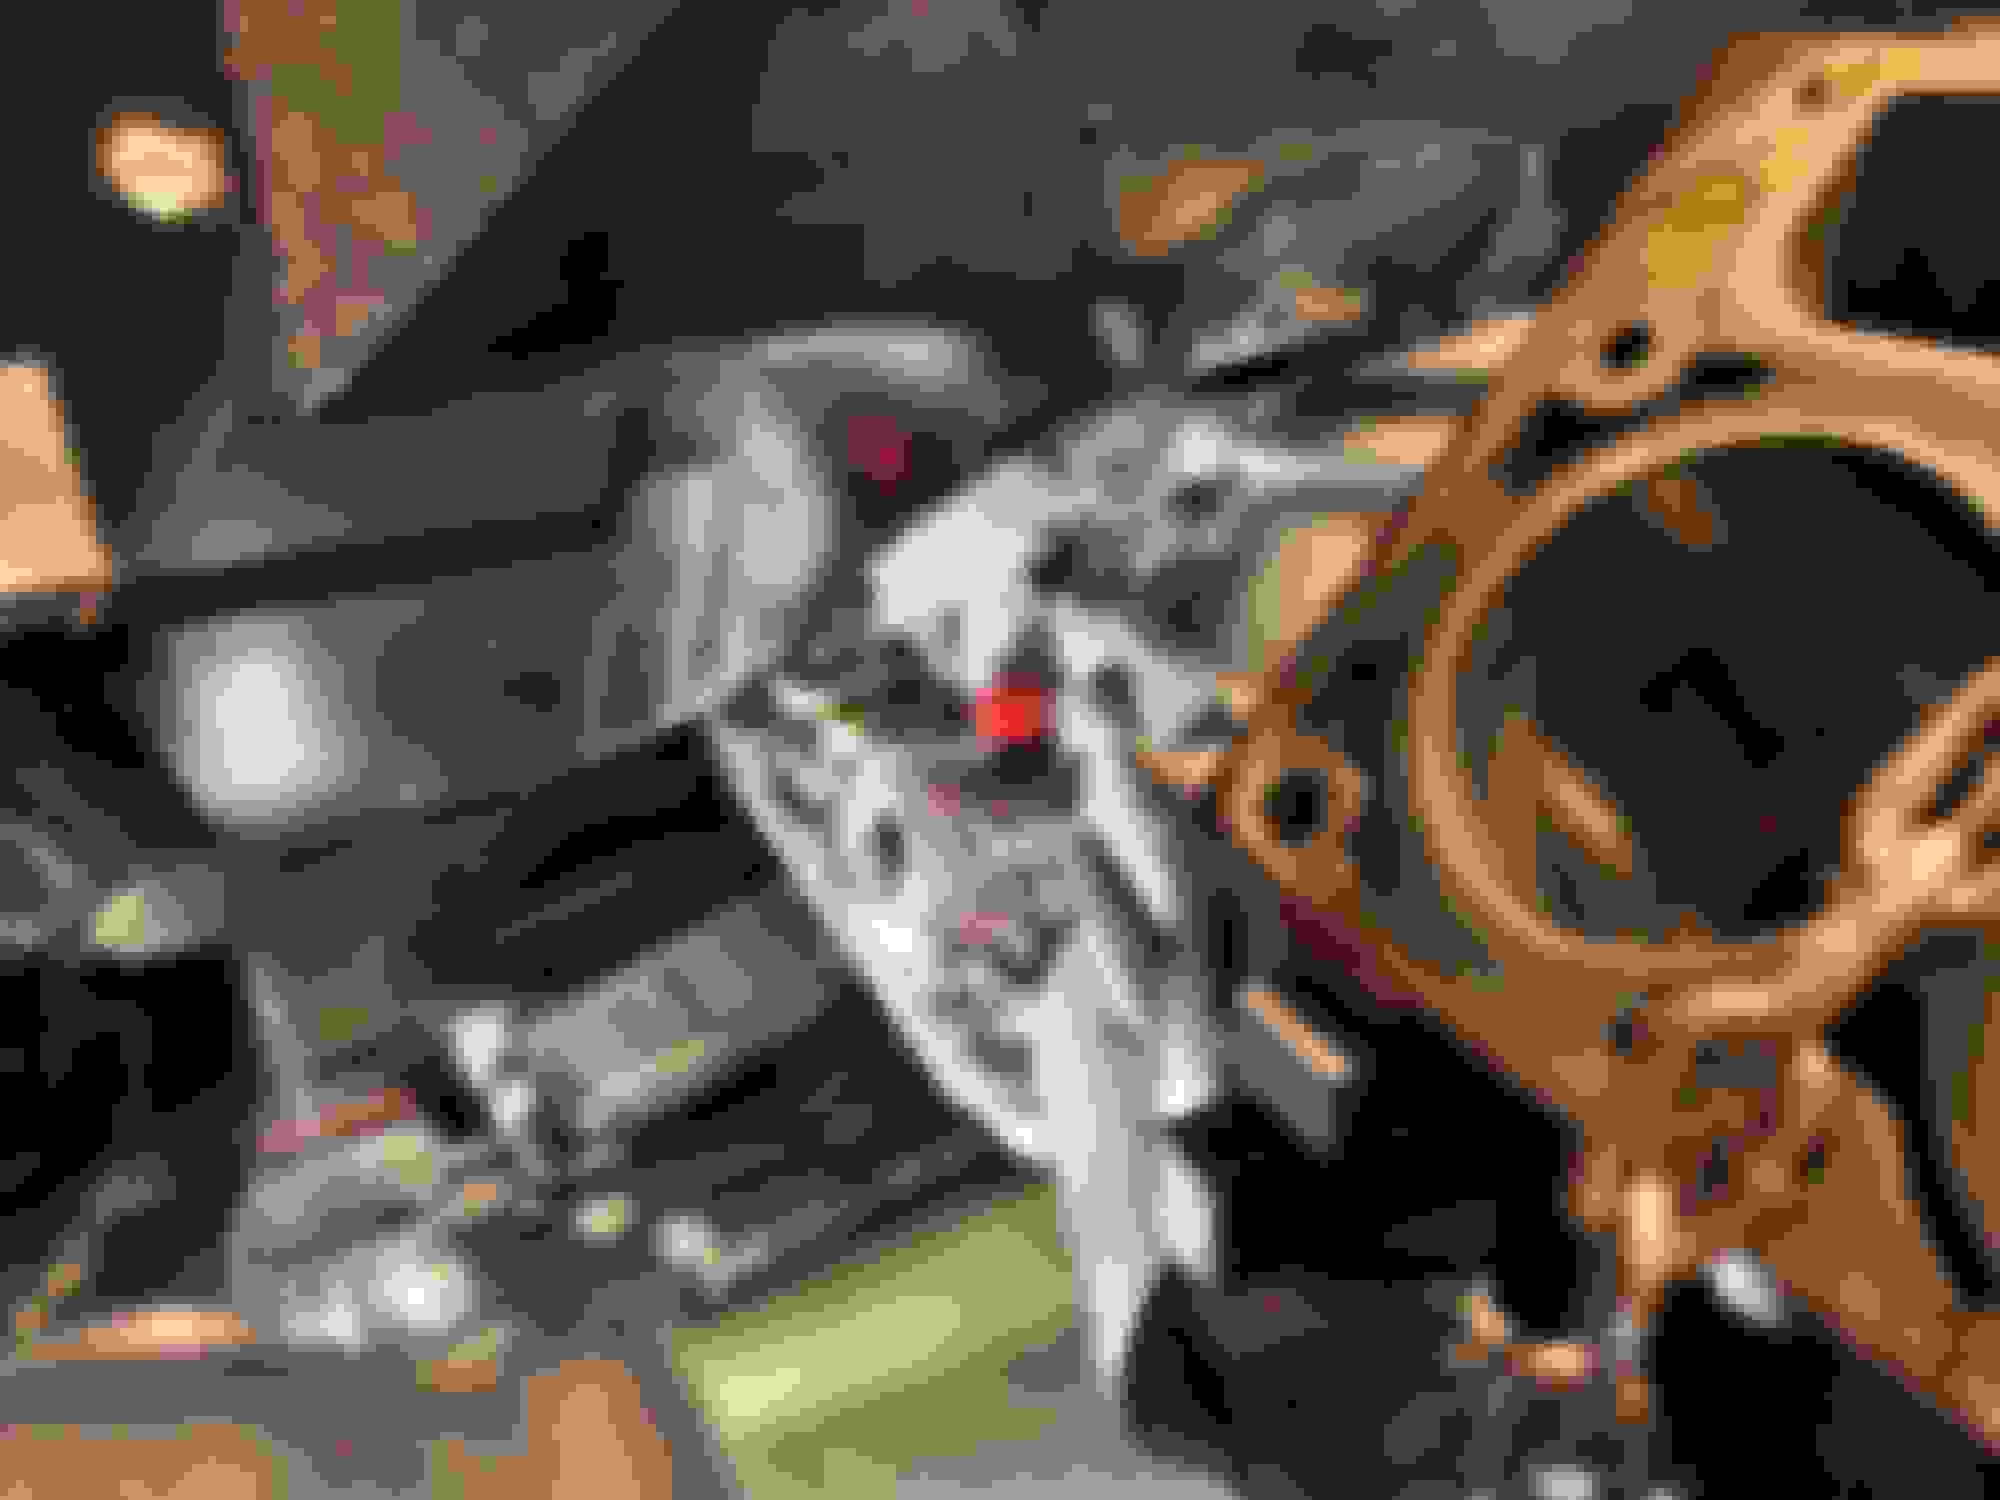
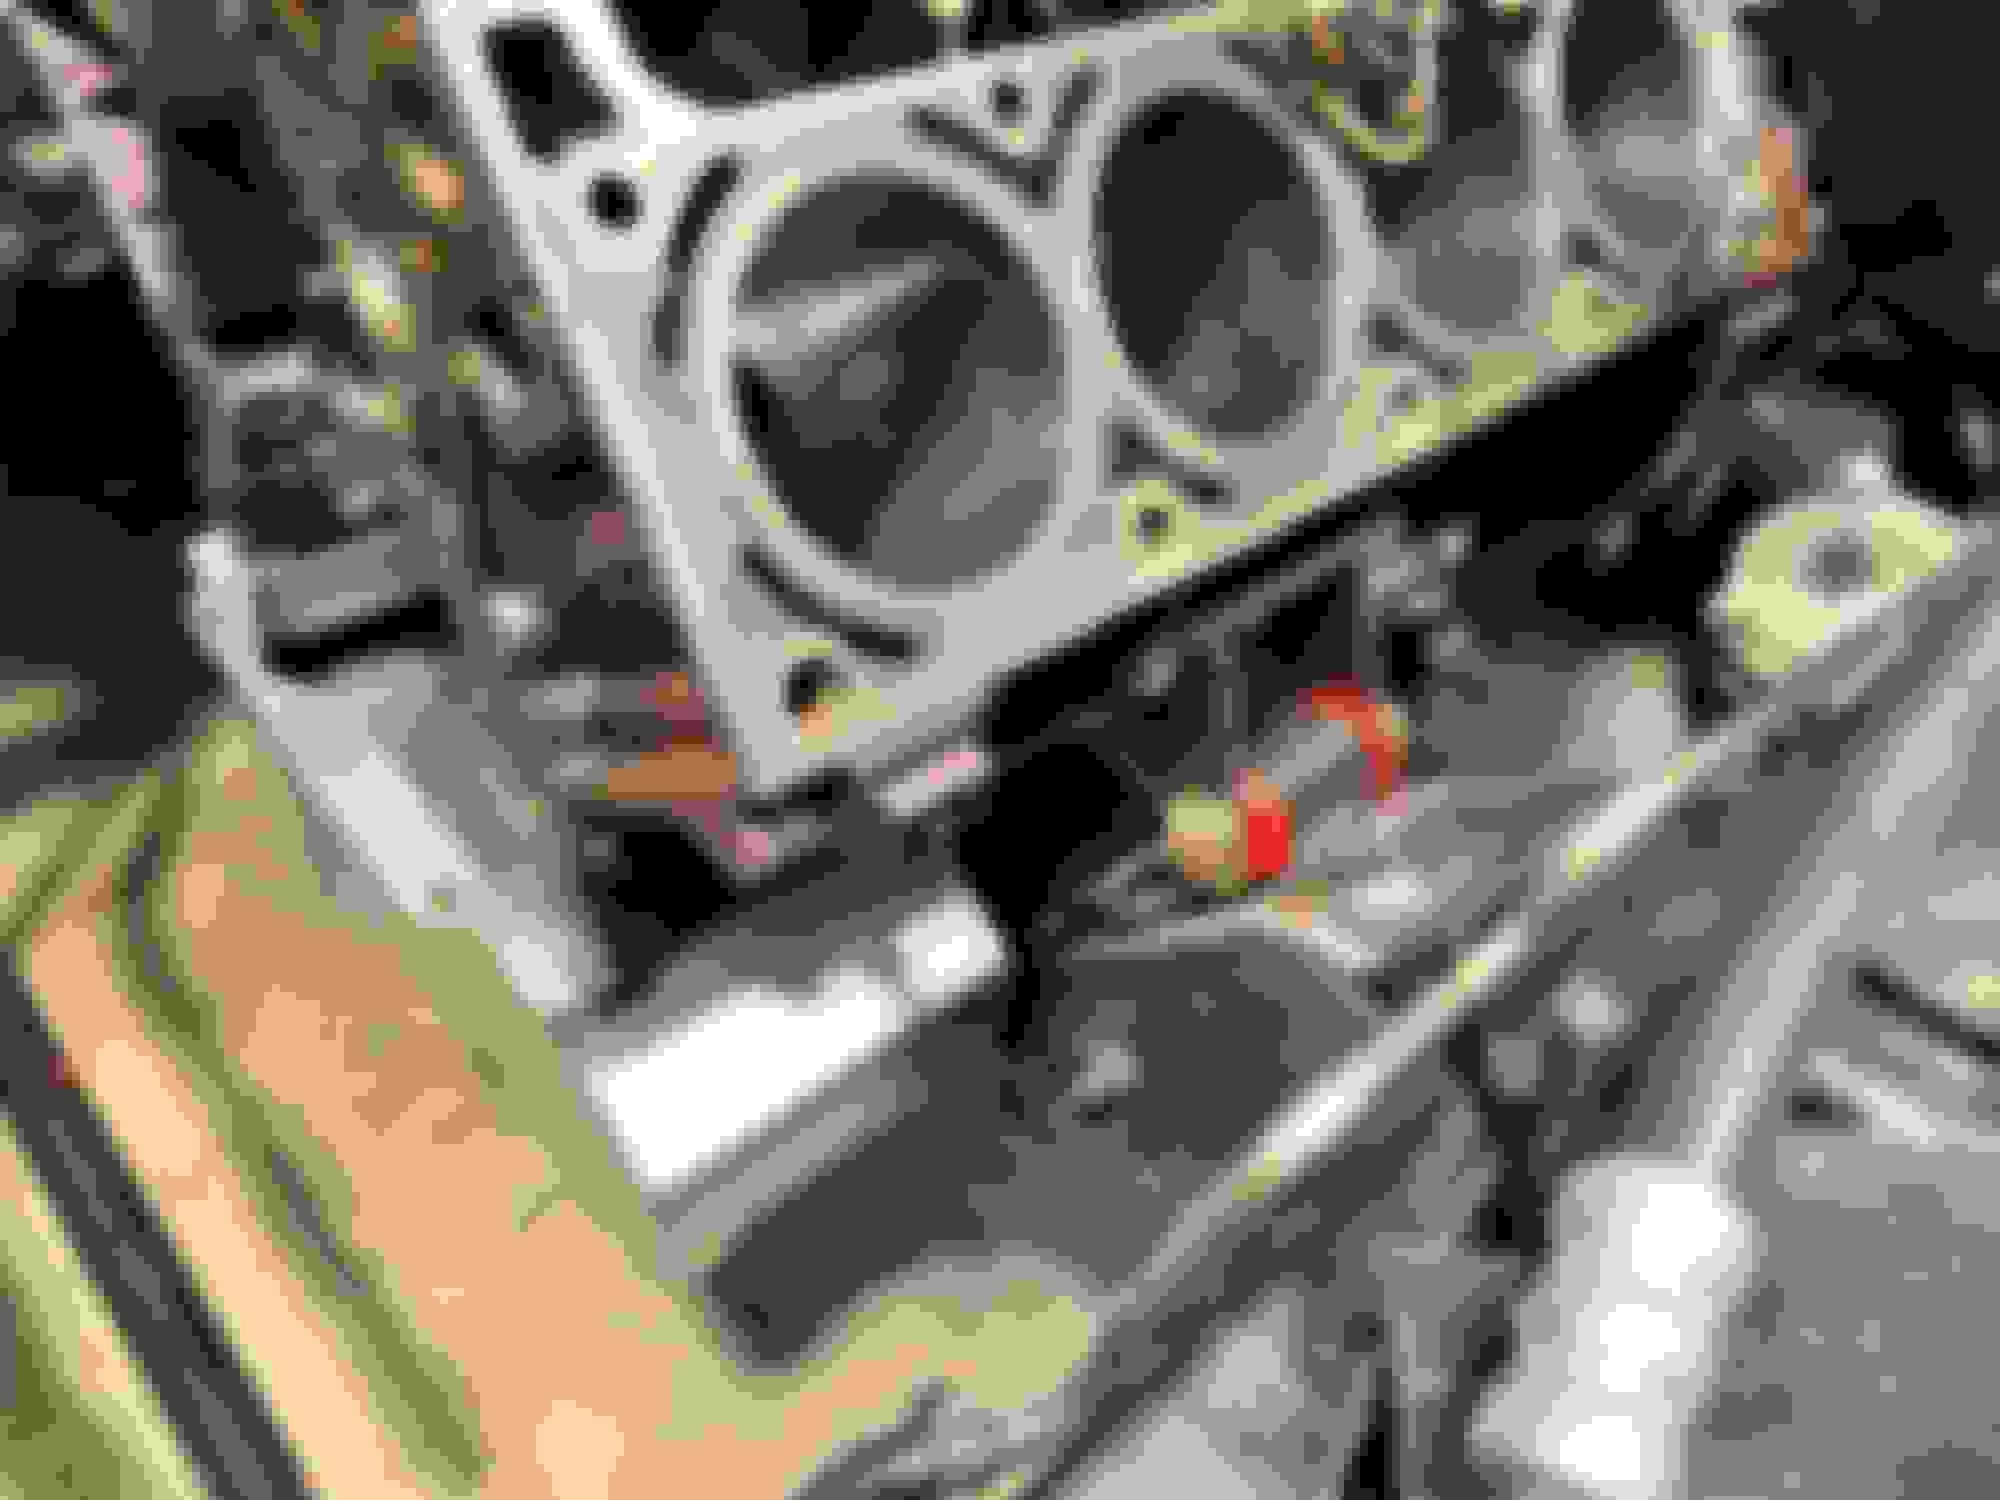
Bare heads bolted up Bare heads bolted up I�m intake showing cowl to rad support plane Front cover mount and evap sol peeking out over fender line Passenger side manifold fits like a fist in the eye Drivers side not so much. Collector is smack dab in the middle of the steering box Another angle of conflict Look Ma, its officially LS swapped!! Lol Drivers side view of exhaust ports vs frame stand and steering box. LS3 center dump manifold!?!?! Another angle Showing how far forward it sits, basically where the 428 sat, but it still looks goofy Panned out to show motor center line is slightly behind the front wheel center line. Needs to go back more to be perfect, but could work where it is Interwebs LS3 vette manifolds. Not even sure yet what year this is from, but starting to search for viable options.
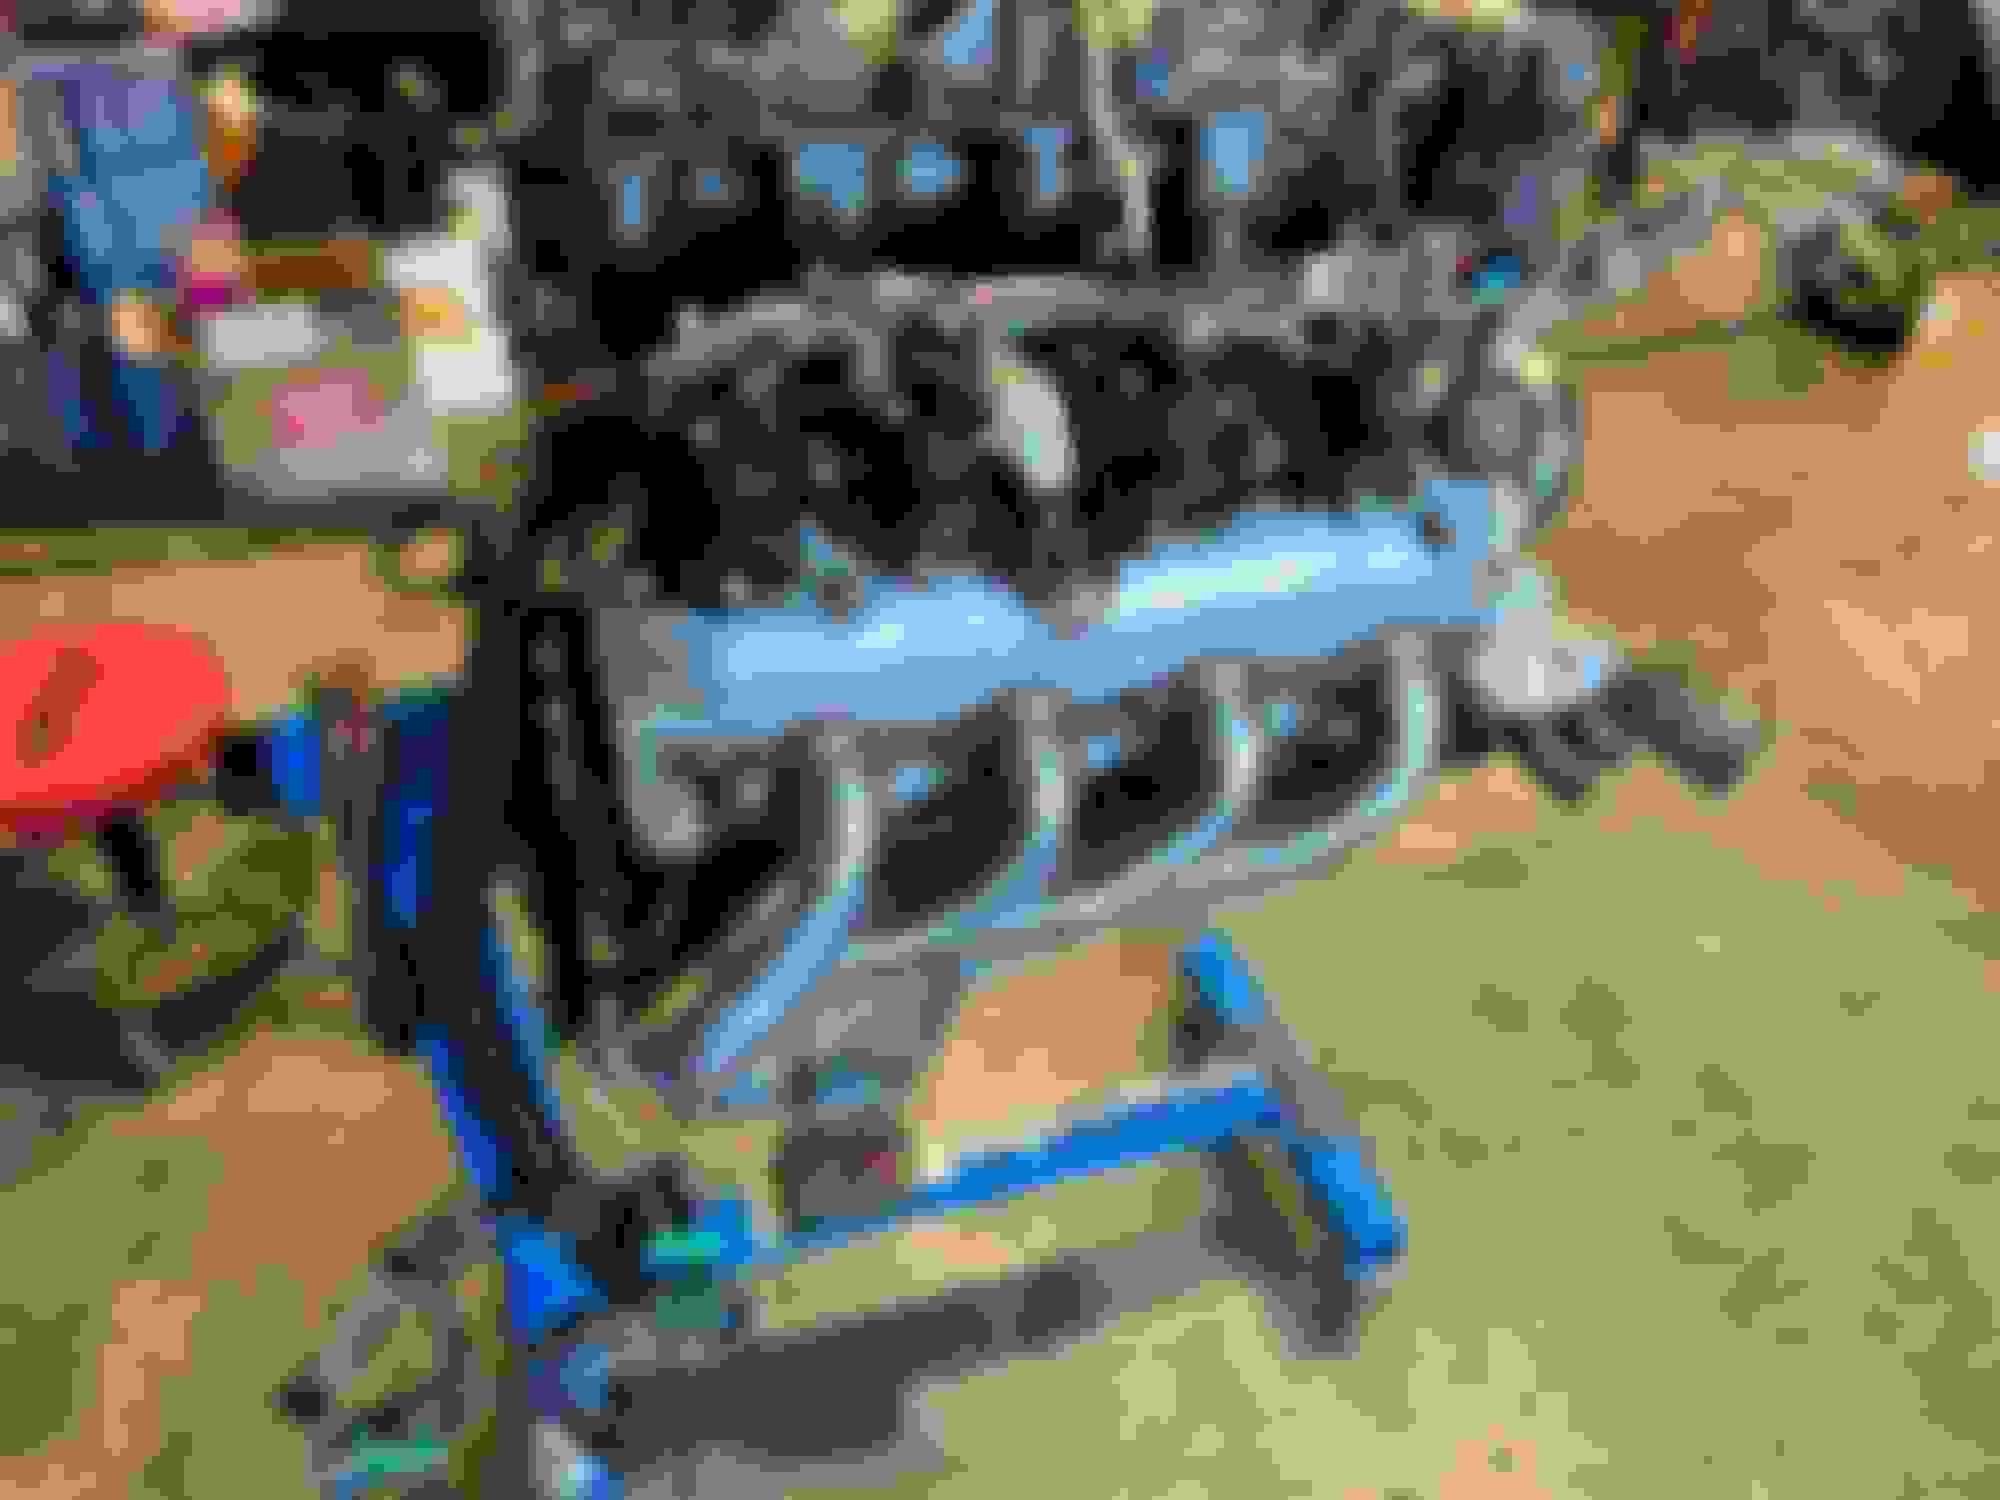
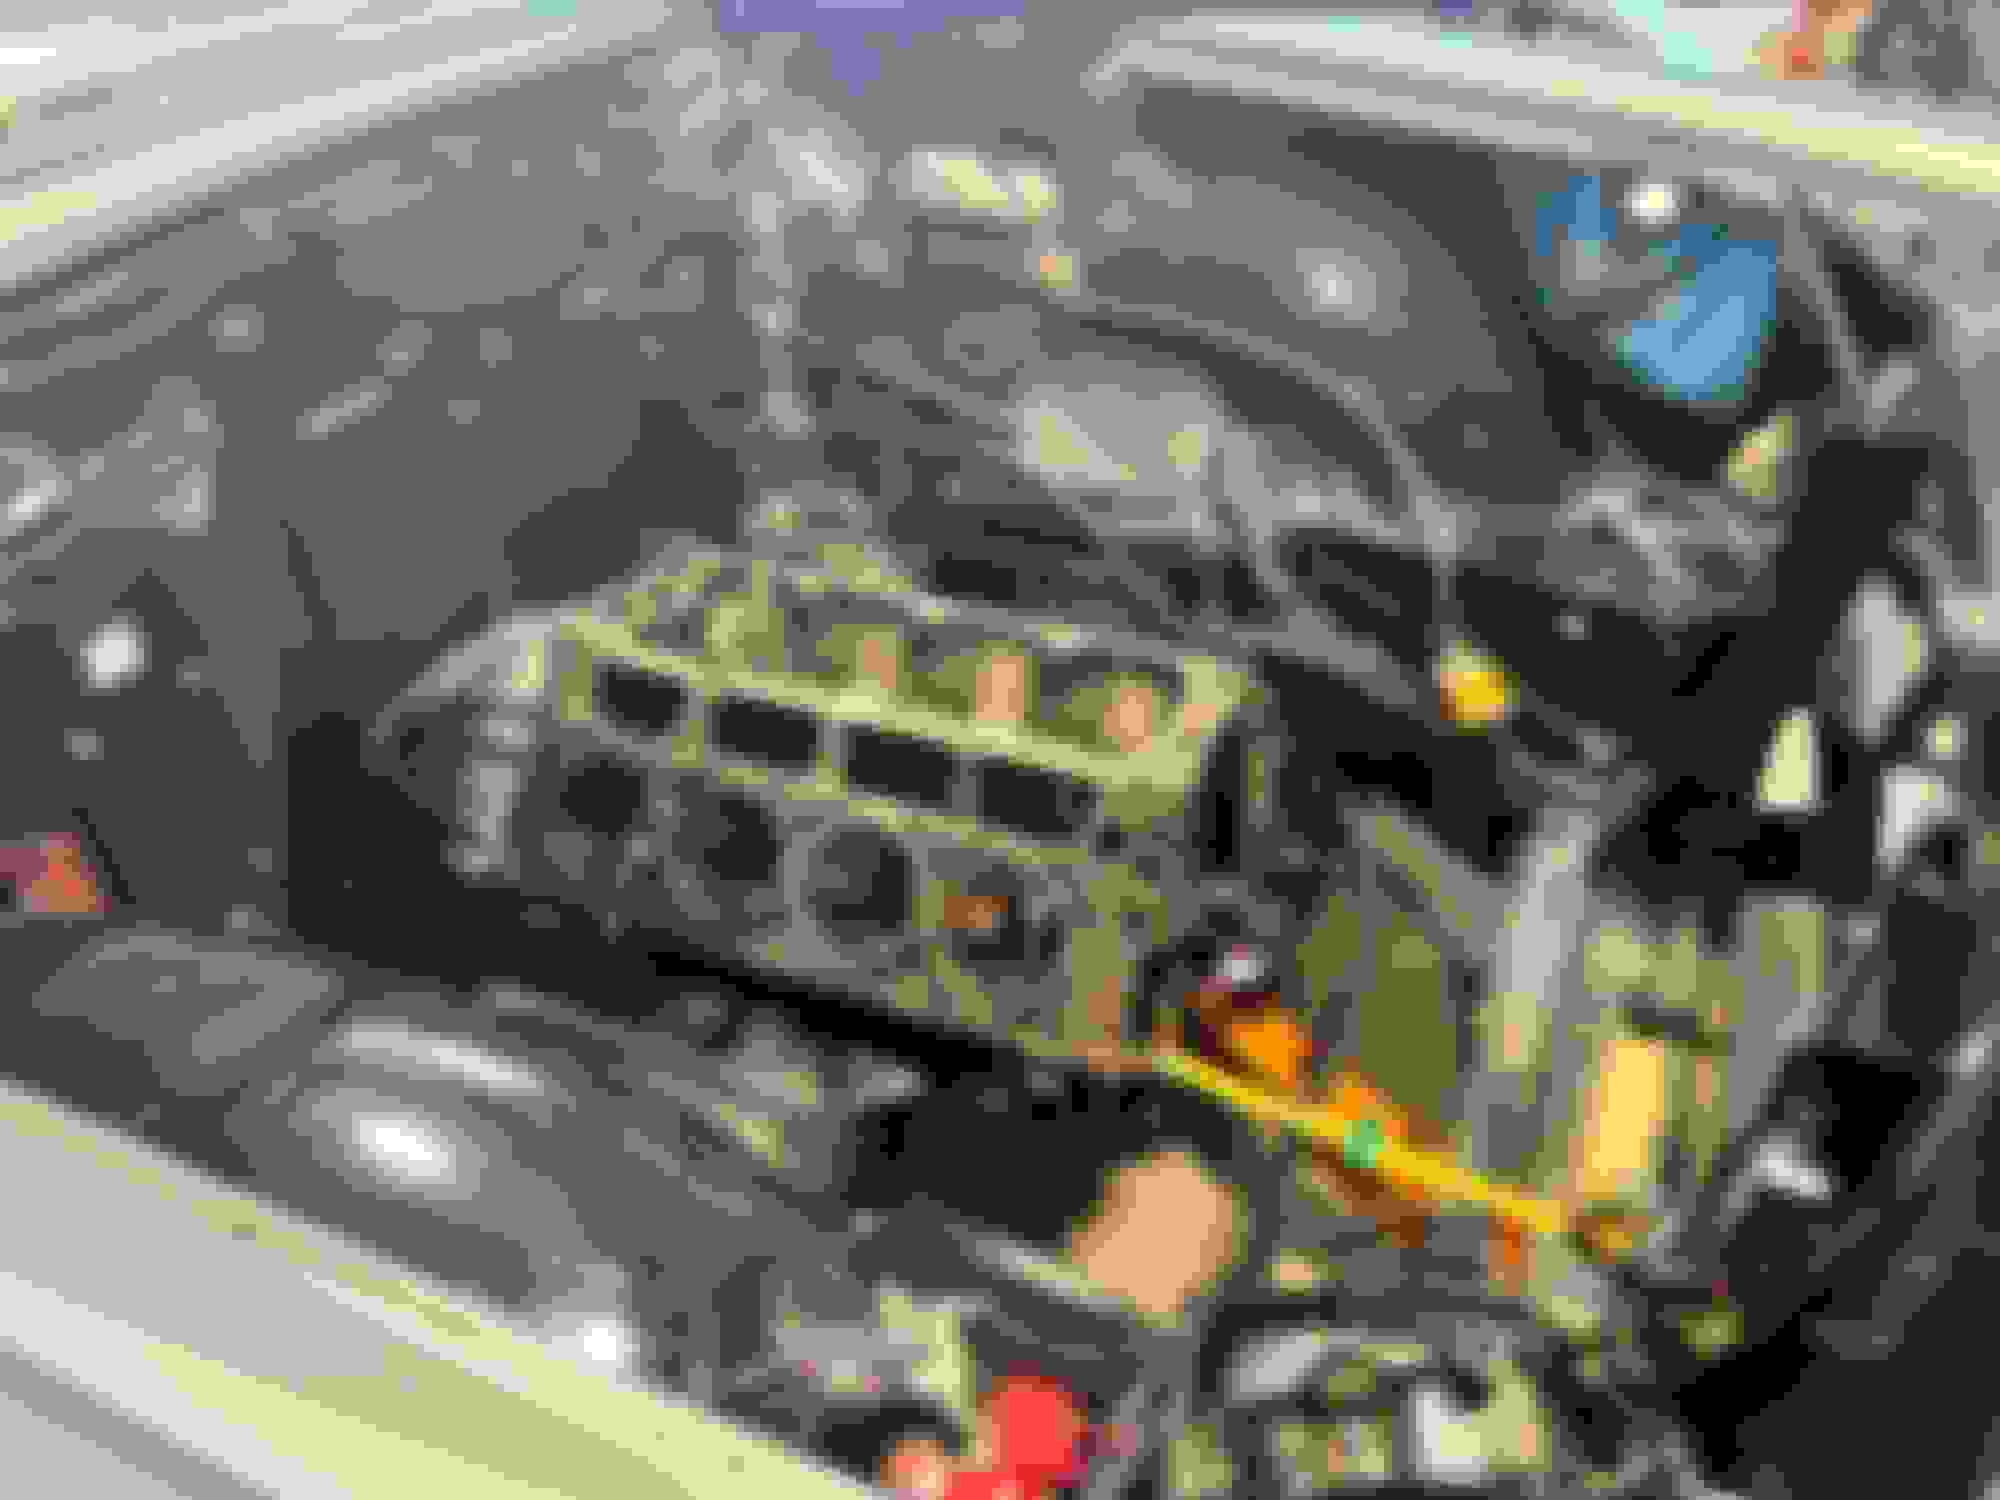
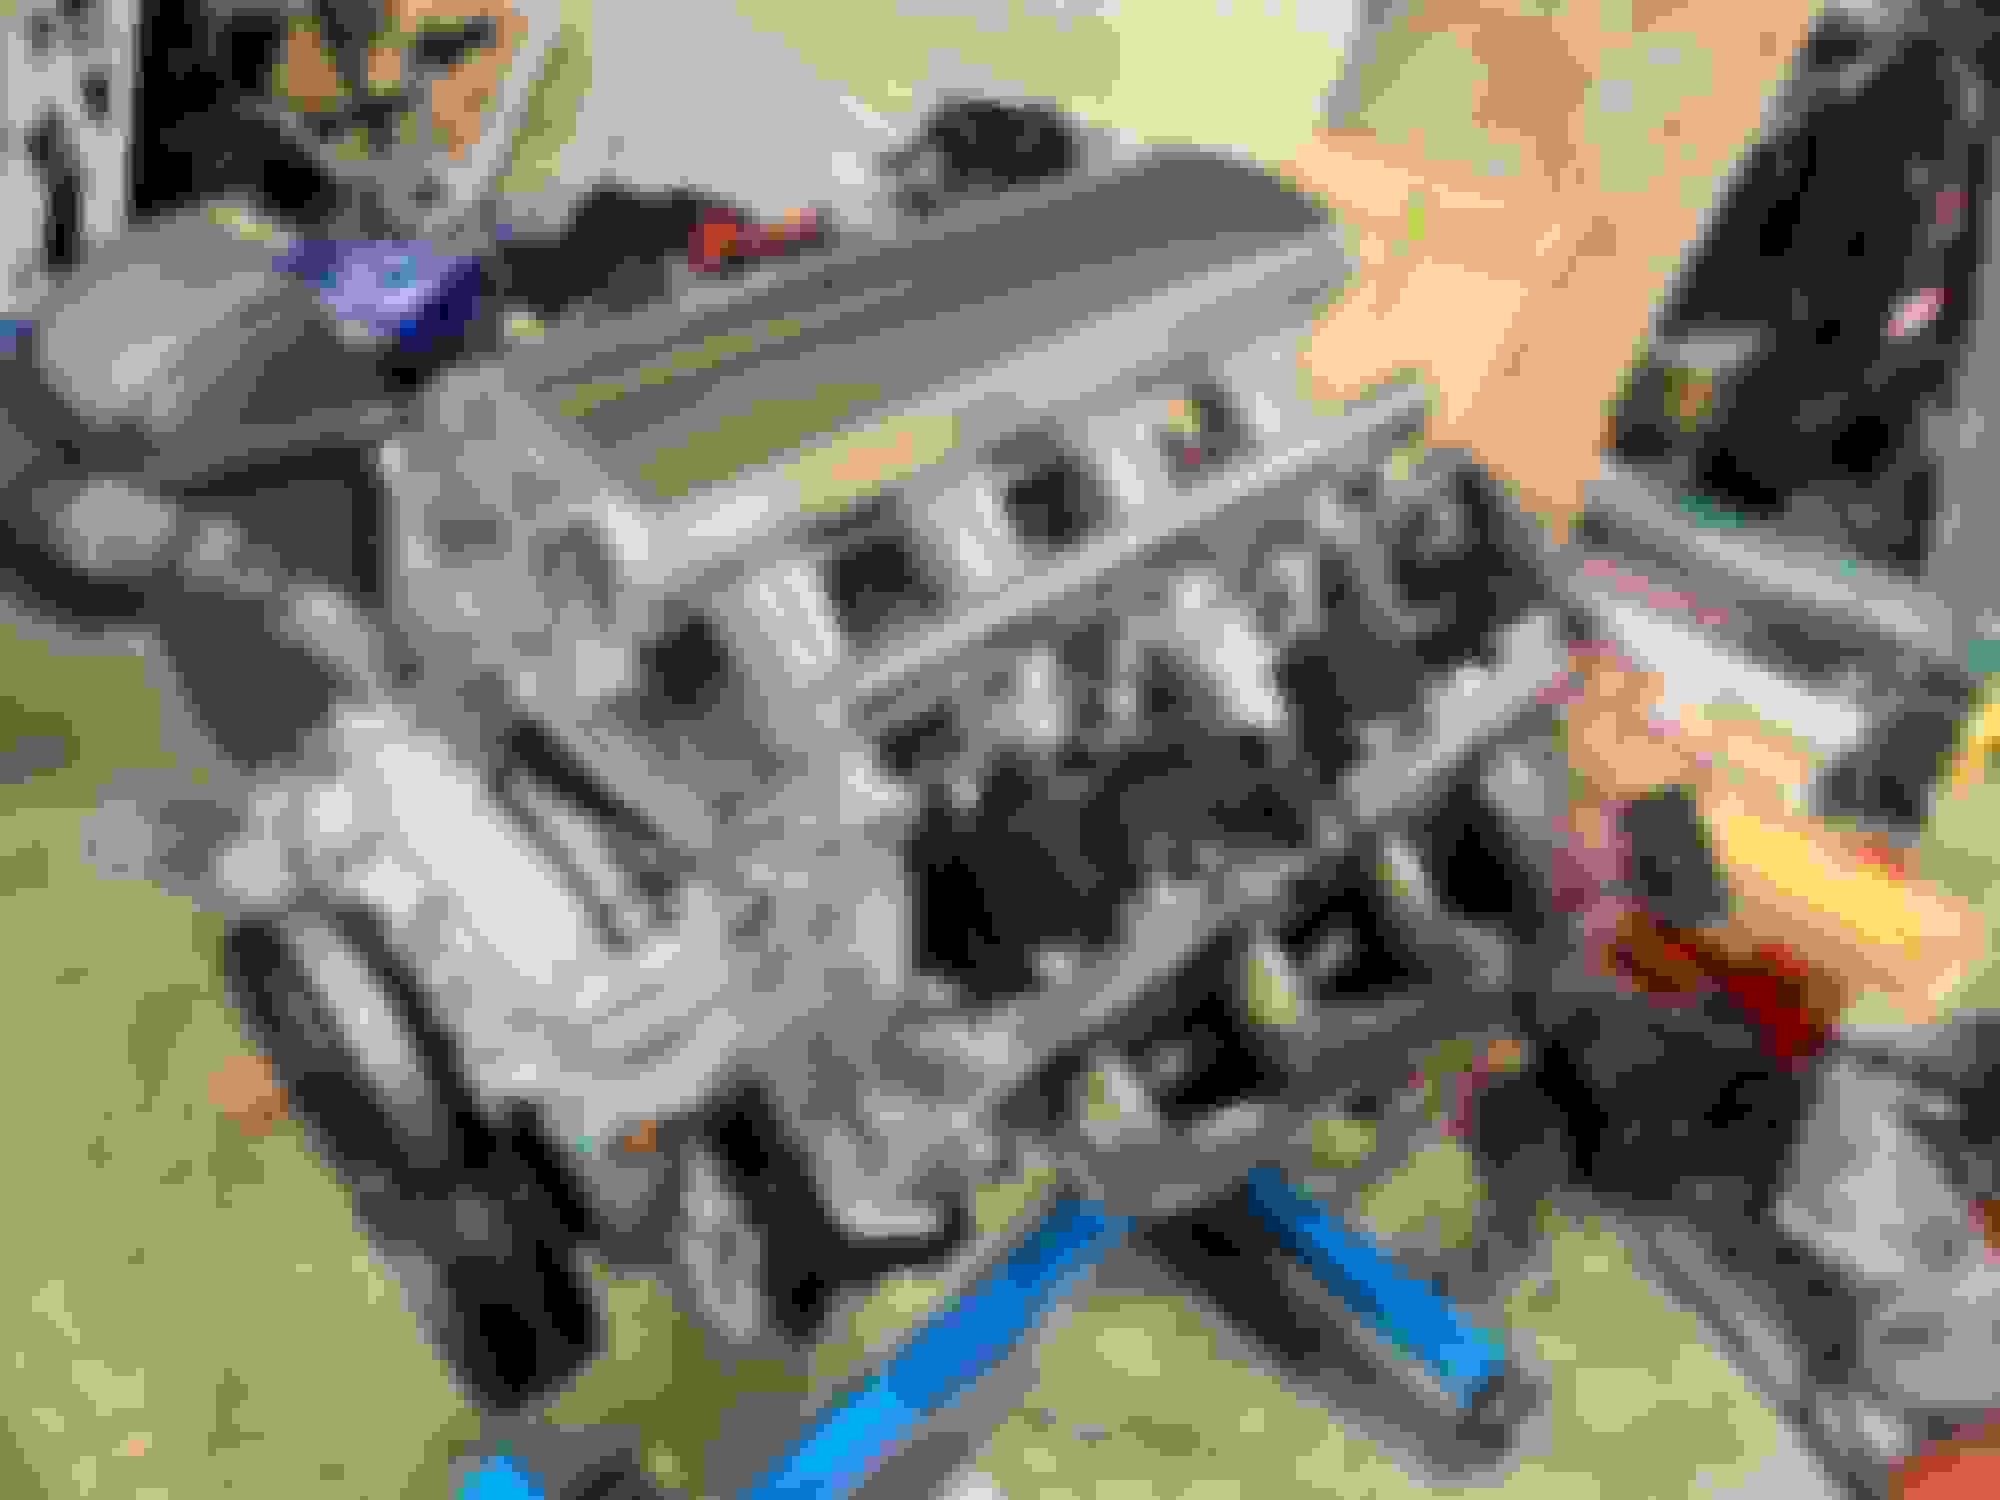
My Buddy came to the rescue again and brought his performance world intake for the Chevelle. Its the perfect height for the wagon since the truck intake will have hood clearance issues, and will match my fabricated pan�just need to shell out a few bucks to get myself one. We also started sorting out his wiring harness tonight. I really like that you can tuck the coil and injector wiring between the runners to hide the harness. Since we were already on the topic of wiring we tried laying my harness on the mock up 5.3 and I quickly realized the way I routed my harness (not anticipating the additional firewall spacing that I have with now) is going to make mounting the pcm and fuse box inside the car really tough, and not very nice looking either. Im going to go back to the drawing board and redo it, and mount the pcm and fuse box under the hood. We will build the harness for the chevelle the same way and see how it works out, then I will replicate. Definitely an upgrade from the truck intake lol Mucho hood clearance now Other side Fitting with rails, injectors and harness on the 6L Nicely routed underneath the intake Rear exit will branch off underneath brake booster on the firewall, then route up beside the rad support /inner fender area for mounting pcm / fuse box on the Chevelle (hopefully). Wagon will carbon copy if it works. Hardly any wiring visible Other bank
Just know that your power up to about 5000rpm will fall off due to the shorter runners. Just a heads up....
Thats a good point. The runners on this PW are 5.5� in length. The motor needs to go up another 1/2� or more so the Moroso pan wont hang below the crossmember (according to my rough measurements so far). This intake would still happily clear the hood, but maybe it makes more sense to grab a doorman Ls6 or comparable so its not a pig under the important part of the curve. Its a shame any LS car intake for sale around here gets snatched up almost instantly, so I�m likely stuck buying a new one. His 5.3 is destined for boost so he�s not too worried about his car.
Love this build, for your exhaust see if you can get your hands on 98-99 F body (GM fabricated) manifolds. The right side dump is 1-1/2 inches or so forward of any truck manifold, and doesn't kick outward. Left side tucks very tight and dumps between 5 & 7. Cut off and weld up the EGR ports. Remove the heat shield on the left side if you need. I had to cut a corner off the left flange to fit my Vega. no plug wire issues with GM manifolds like you get. Not my photo.
the ebay headers.
Thanks, appreciate it!! Those look they could work with a little bit of massaging, and at least be a matched set, unlike my idea with running one corvette manifold. The hunt is on!
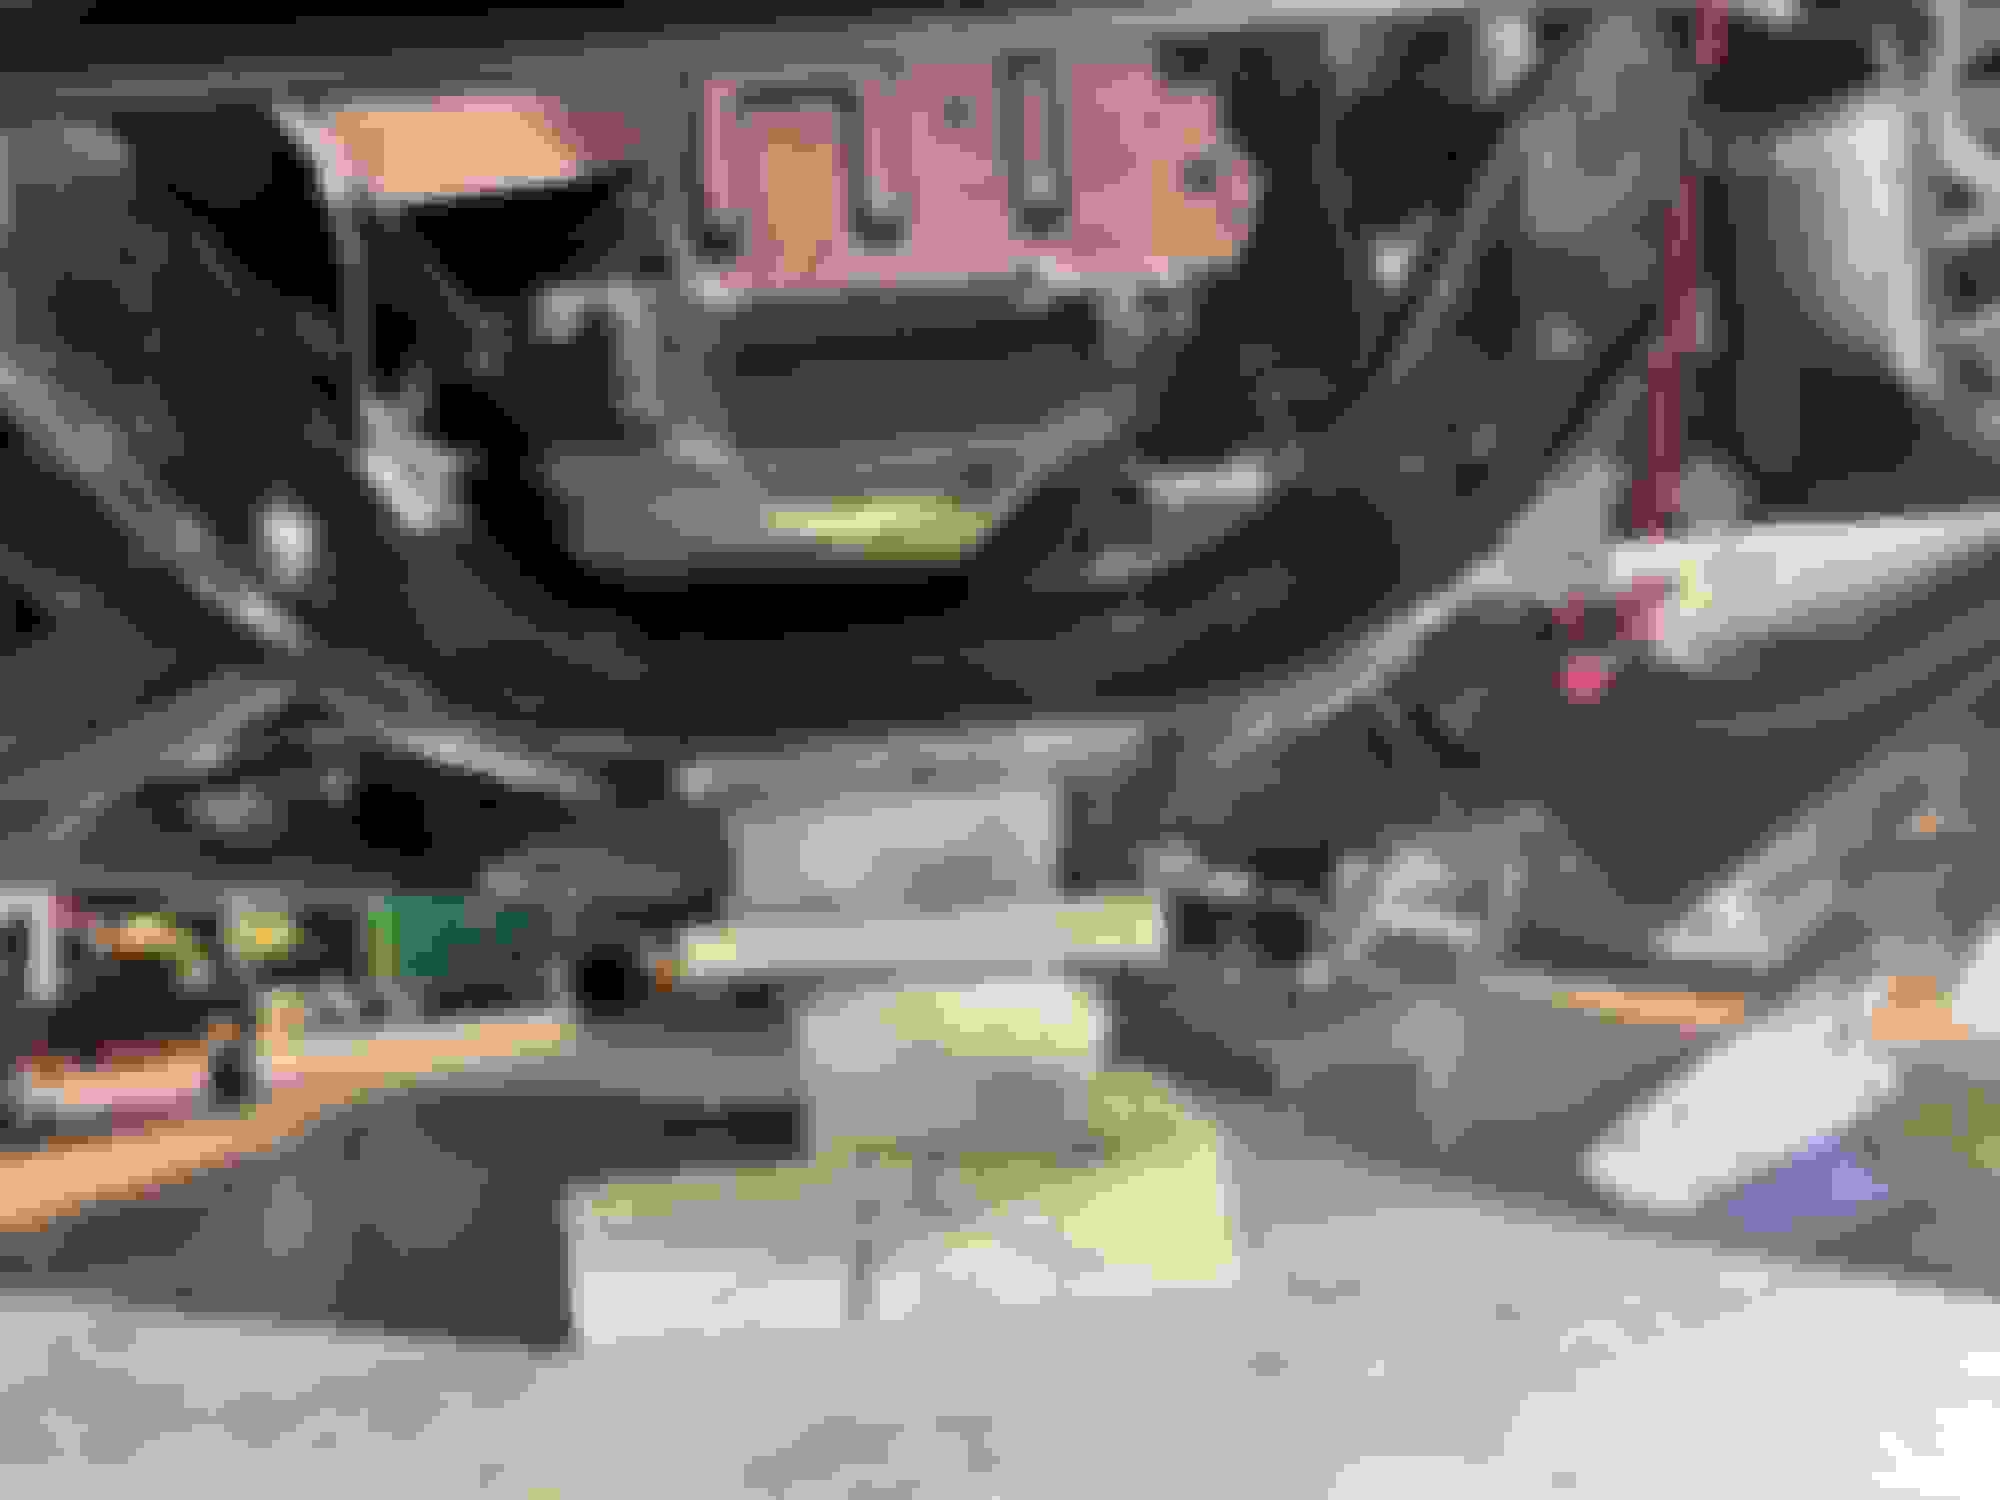
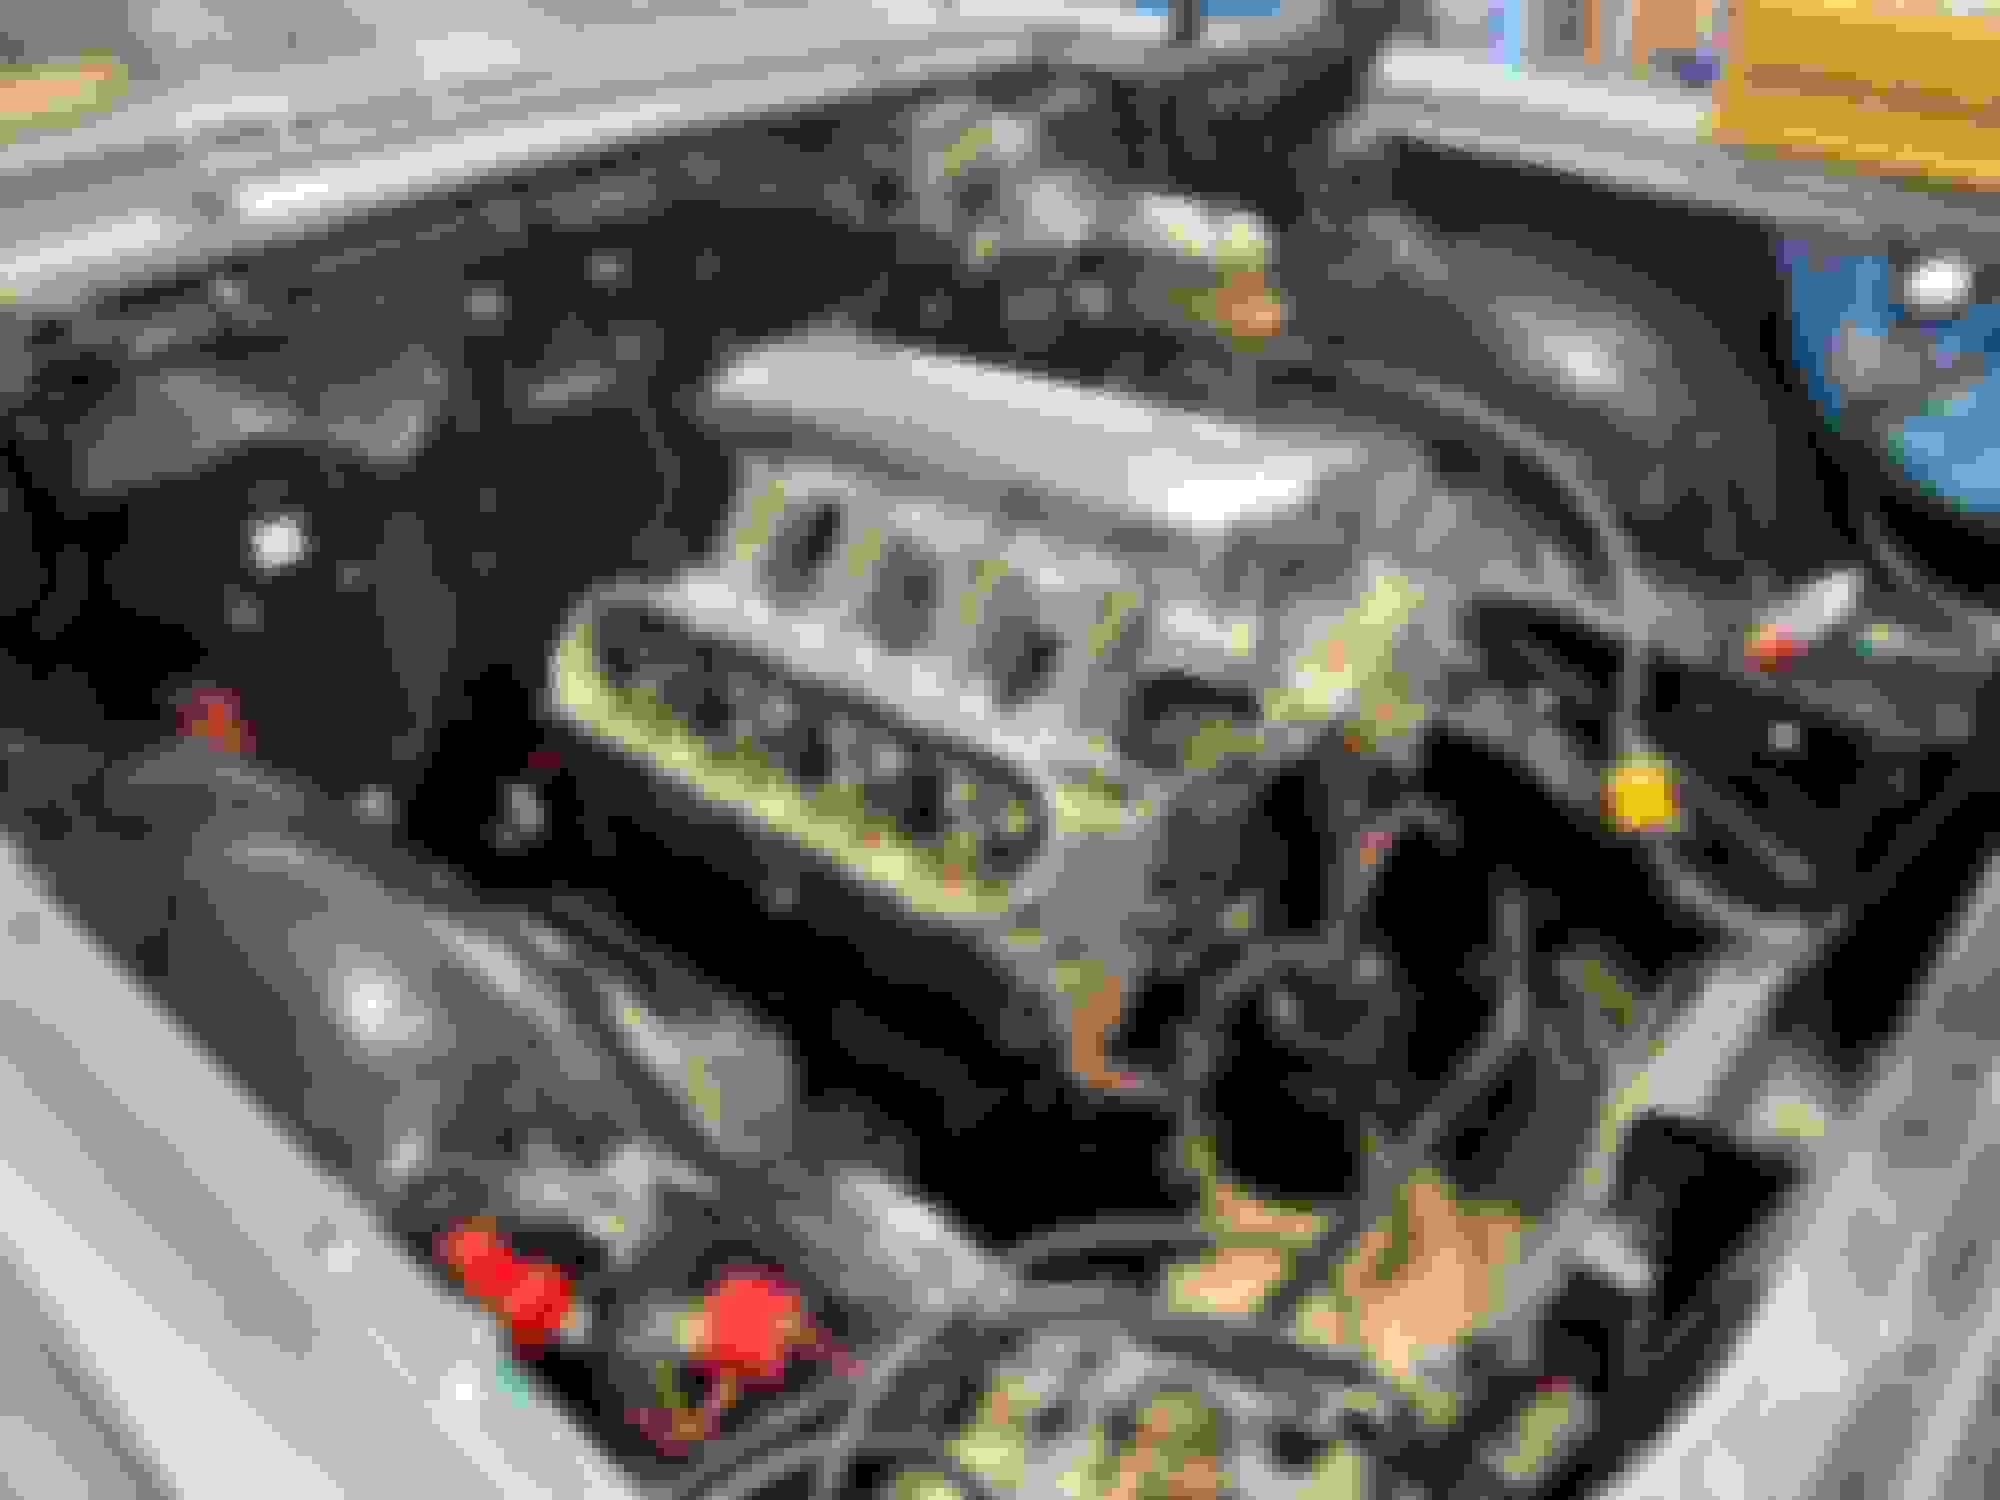
Finally, the much anticipated Moroso pan arrived today, as well as the Trans Dapt swap mounts and the remaining fuel system parts. Initial fitment of the pan was great with no real issues except for oil filter clearance to the drivers inner tie rod castle nut. I marked everything in preparation for sliding the motor back. As expected I was into the firewall with the rear side of the bellhousing. I pulled the motor and tried to massage the opening of the firewall, and notched the crossmember for the corners of the pan to allow for more rearward movement. This all worked pretty well and the motor mounts no longer hang over the crossmember and can be bolted up. I need to get more radical with the firewall and do some cutting now so the trans can go back up to get the proper driveline angle. Motor and trans are back out now for what will hopefully be the final cuts to the firewall for the last test fit.
The long awaited for Moroso Pan. The sump width looks a little crazy in person, its 14� wide! Tans Dapt motor mounts First test fit of the mounts and pan before moving anything Pass side Pan to crossmember clearance, have a little bit of comfort level with this now, but still may build a skid plate Drivers side
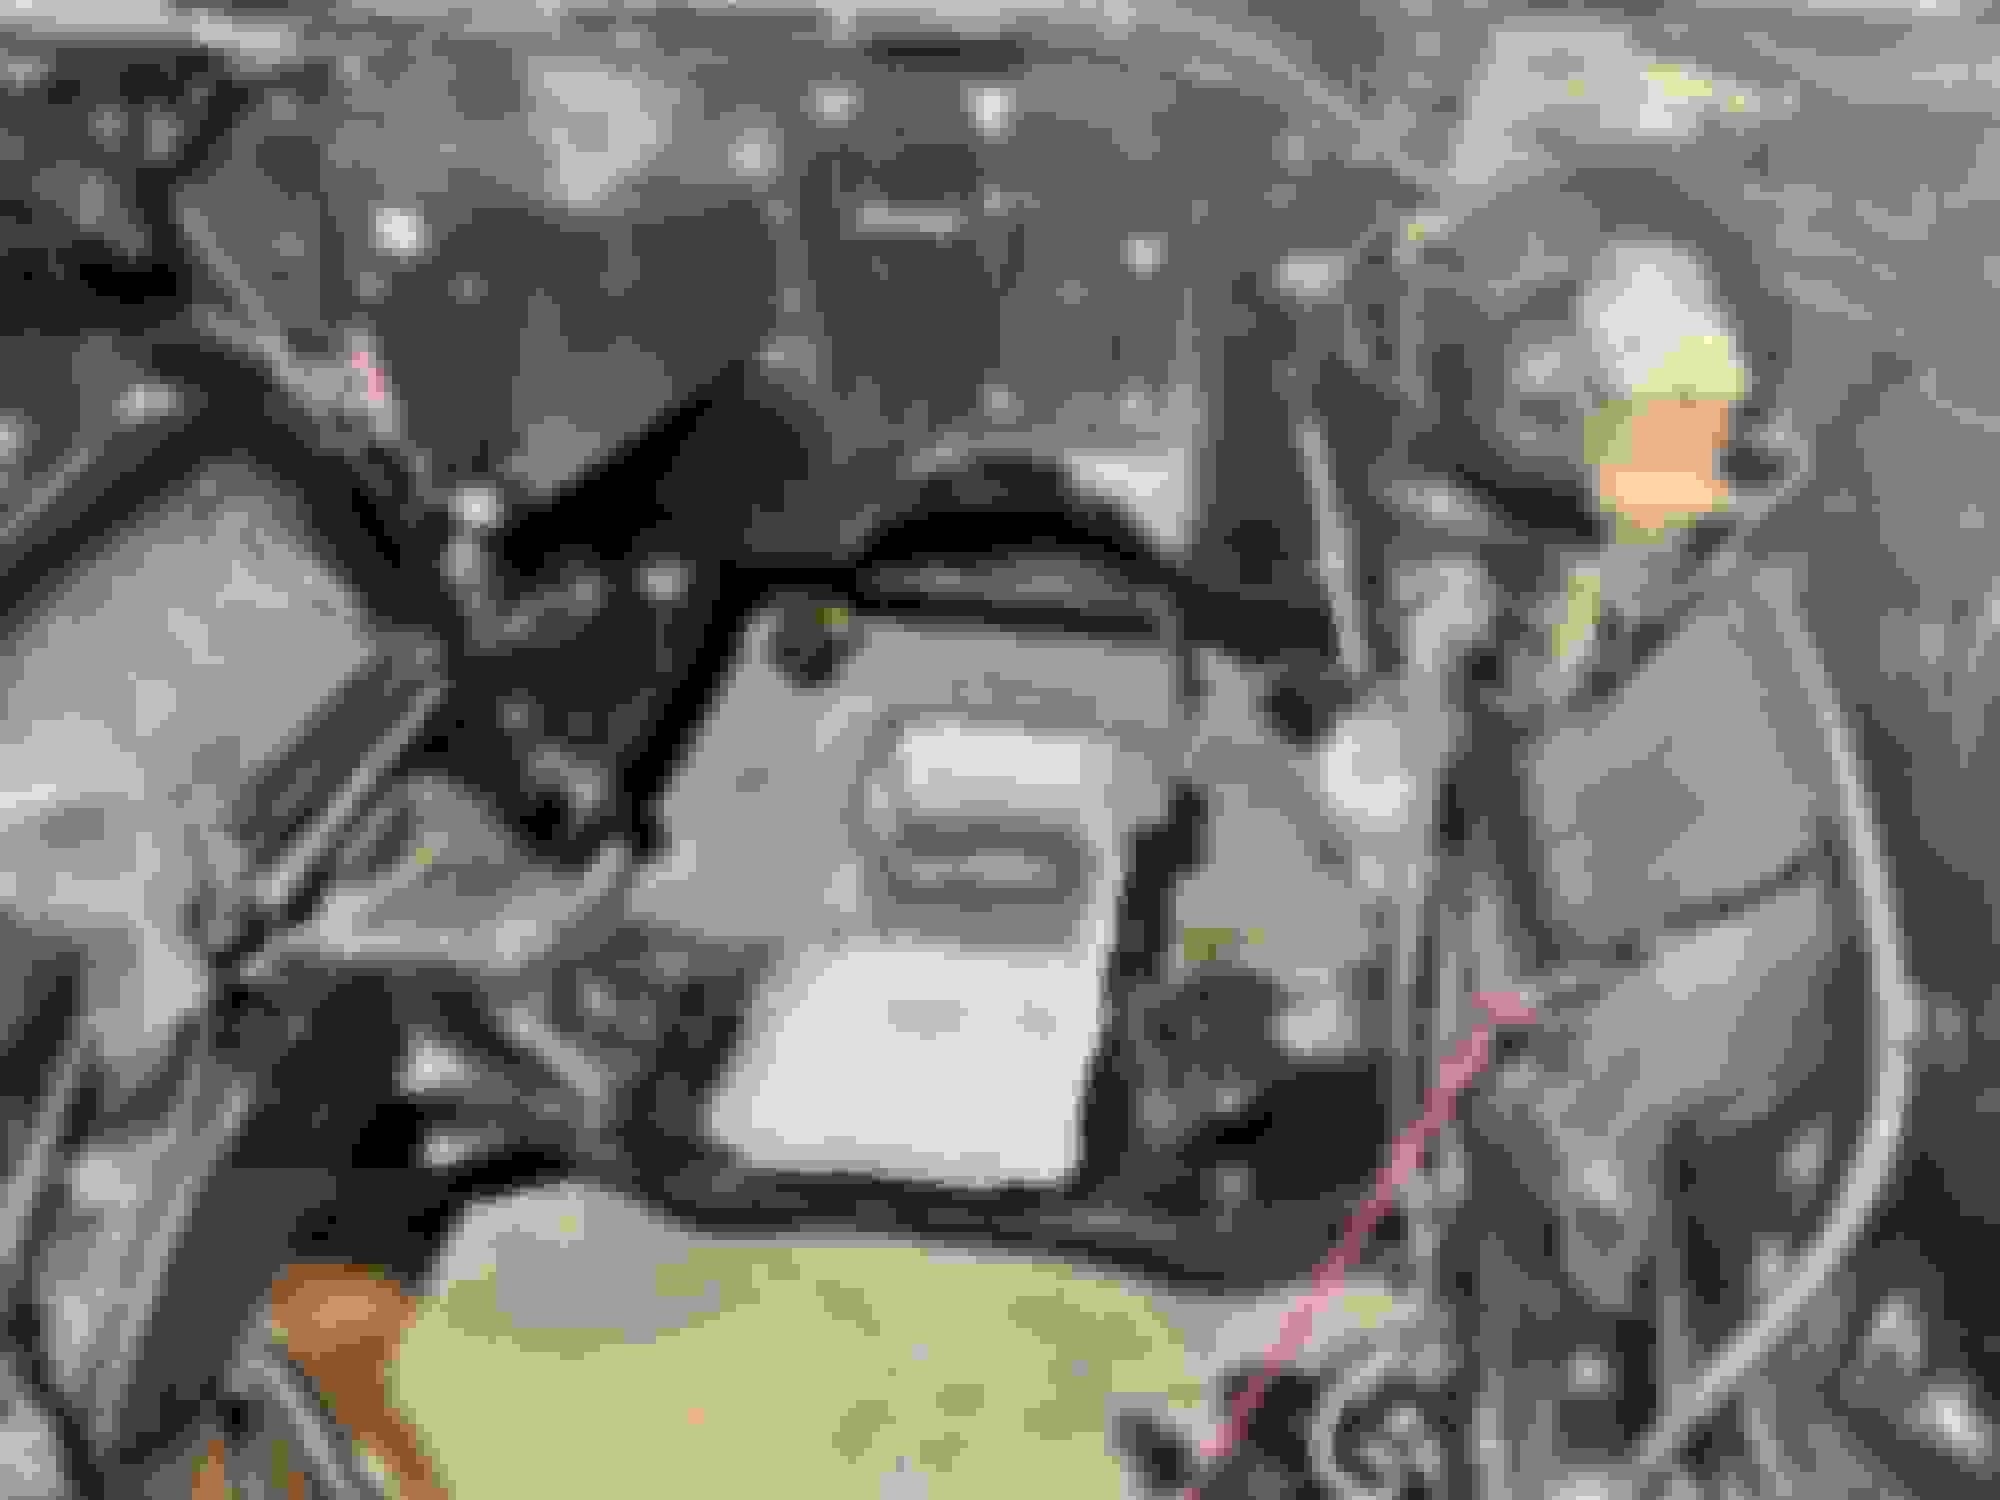
Rear pan clearance to crossmember corners Rear pan clearance to crossmember center Motor mount over hang before sliding back Notched crossmember, tidy�d up the mounting surface for the mounts also for marking & drilling holes BFH massage to tunnel opening, not quite enough to do the trick Thought this was sorta funny, the bolt holes line up from the ford stands, but the elevation is wrong when they are installed on the LS, and the crossmember has some curvature to it and the new mounts are flat. I ended up cutting off the top mount hole and re-drilling one further down and centered. Showing the curvature of the crossmember vs the lower Trans Dapt mount
Oil filter to inner tie rod�almost no clearance without turning the wheels Another angle of oil filter adapter / filter and clearance. New elevation of the motor puts the truck manifold just a little higher than last test fitment. I read the TBSS intake is slightly shorter but I cant find any real measurements to confirm. I priced out a Dorman 915-601 and its $1750 CDN my cost ?!?! The 915-600 is no longer available as its super-ceded by the 601. Guess thats off the table lol. Hopefully I can find a used LS1 intake locally or something half decent alternatively that fits.
I pulled everything out one last time and went ahead with cutting out the trans tunnel opening. I started basically where I had reshaped the recessed portion of the opening at the firewall, and cut back to the floor seam. I left enough flange around the perimeter to make patching easy. Last time back in with the motor and trans I was able to set everything back 2� comfortably, which gives me plenty of clearance for the oil filter as a silver lining. I need to modify the trans crossmember now for the additional set back, as well as land on what exhaust to run yet. I started version 2.0 harness with my buddy. We started breaking connections into quadrants like before but this time de-pinned both pcm connectors to unravel all the unnecessary looping and bulk. Ideally the fuse box and pcm locations will be under hood drivers side tucked up to the rad support, much like the truck orientation, just cleaner. I also pulled the trigger on the TSP Chopacabra cam kit which should arrive by Sept 17. Here�s a few more pics of fitment once things were said and done with mock up. The buldge was the attempt # 1 by hammer massage. Toe kick portion of tunnel now removed, ready for filler panel. A few more adjustments, but now the back end of the bell tucks under great. Mounts are now center on the crossmember Harness fun just beginning after de-pinning pcm connectors.
As mentioned, that intake is going to suck for your application.
Thanks! Ya for sure, thats my buddies from his Chevelle just for test fit purposes. Im still in the process of finding an intake now that I know the truck intake is too tall.
You're pushing a big heavy wagon around. You WANT low end torque, and I think you now realize that.
Unless you can get a killer deal on a FAST manifold, an LS6 or Dorman copy (though not cheap anymore either, it seems) might be your best shot here.

 08-23-2023, 12:38 PM