Mark's LS1 2nd Gen Camaro build


 10-03-2009, 07:27 PM
#204
11 Second Club
Thread Starter
Join Date: Mar 2008
Location: New Westminster, B.C., Canada
Posts: 445
Likes: 0
Received 1 Like
on
1 Post

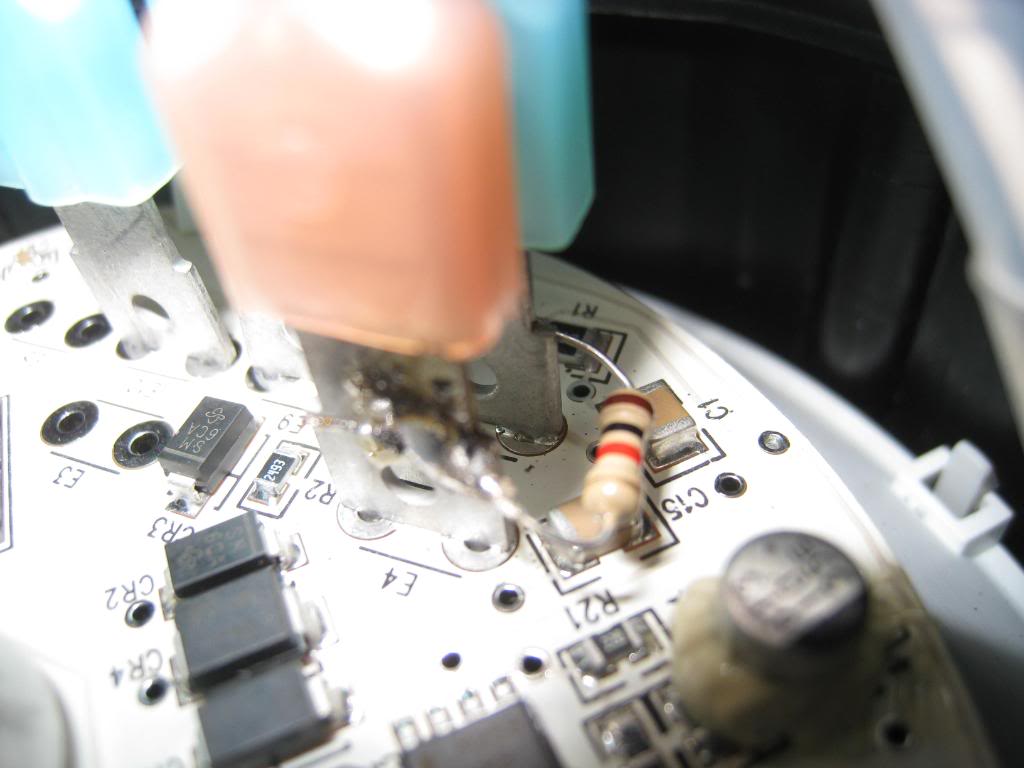
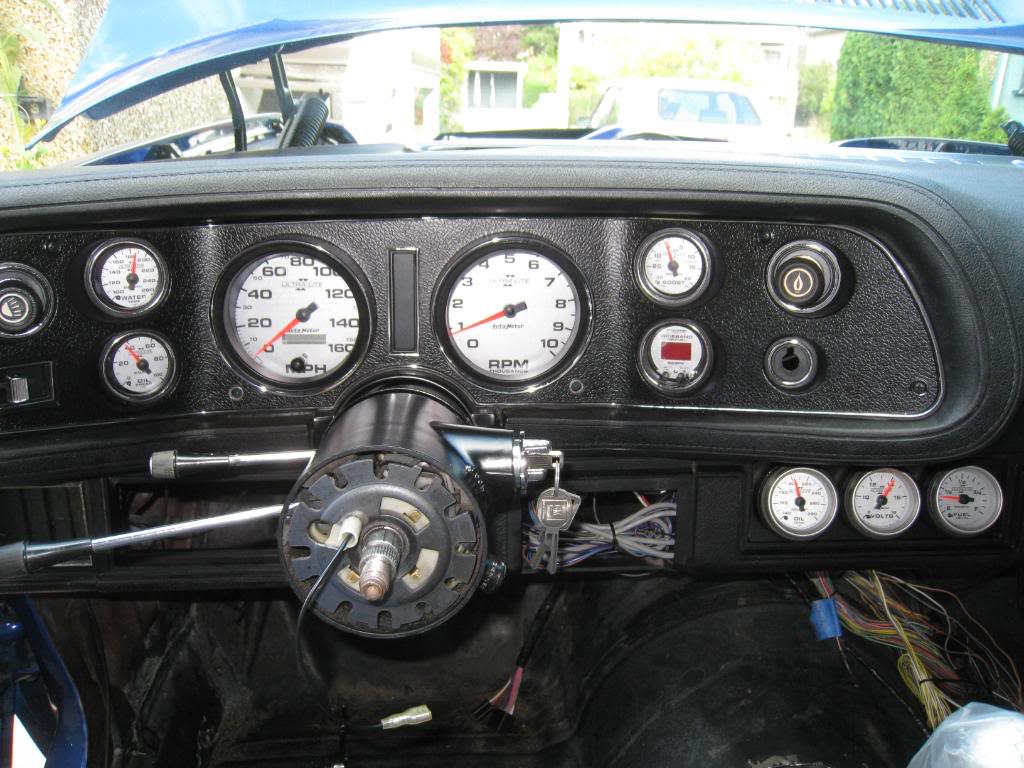
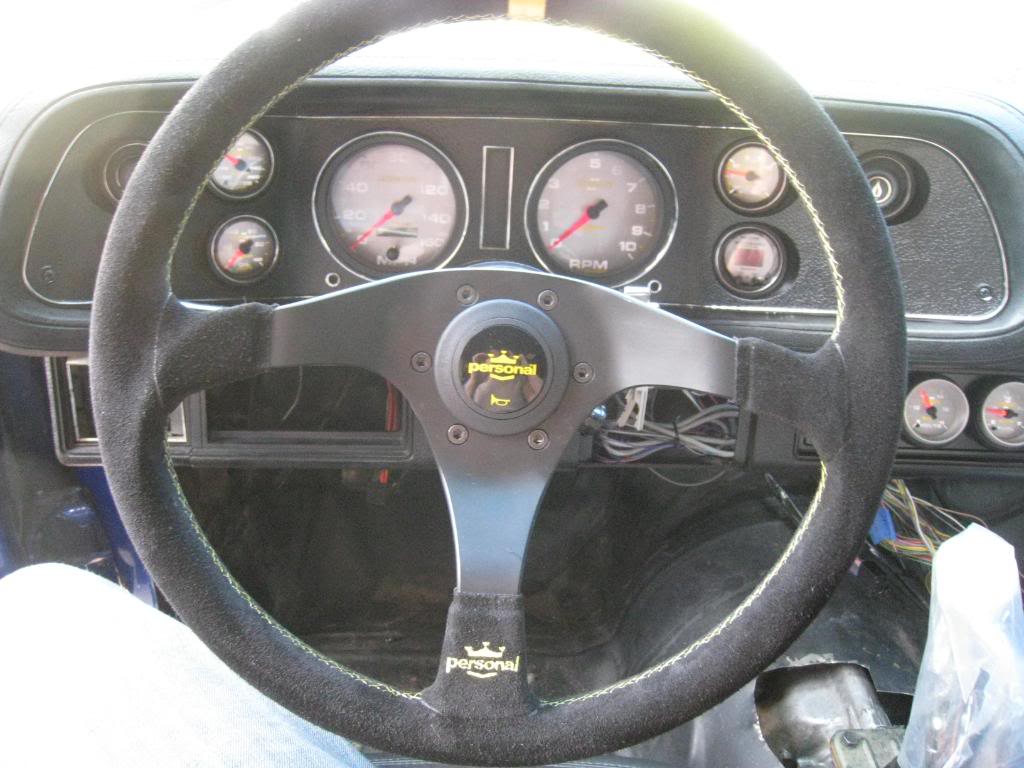
Finally got the guages into the car. I had to extend the push buttons on the AFR gauge and the speedo. I used some carbon fiber rod used for RC helicopter boom struts, and cut it with a dremel. To attatch it I used shrink tubing for wiring. No glue needed. Worked great! I also had to put a 1k ohm resistor between the tach input lead and the 12v+ input lead in order to get the LS2 to deliver a tach signal.

10-03-2009, 07:50 PM
#205
TECH Resident

Finally got the guages into the car. I had to extend the push buttons on the AFR gauge and the speedo. I used some carbon fiber rod used for RC helicopter boom struts, and cut it with a dremel. To attatch it I used shrink tubing for wiring. No glue needed. Worked great! I also had to put a 1k ohm resistor between the tach input lead and the 12v+ input lead in order to get the LS2 to deliver a tach signal.
 .
.Build coming along great!
10-04-2009, 10:35 PM
#206
On The Tree
Join Date: Mar 2009
Location: Commiefornia
Posts: 133
Likes: 0
Received 0 Likes
on
0 Posts
damn, i'm gonna have to copy your gauges for when i do my swap, that looks perfect. i'll just do the fuel and volts on the right instead.
thanks for the great write up, has given me lots of ideas.
thanks for the great write up, has given me lots of ideas.
10-05-2009, 06:43 PM
#207

Good job.

 11-08-2009, 10:22 AM
#210
Mark,, Any updates........?

 11-15-2009, 08:44 PM
#212
11 Second Club
Thread Starter
Join Date: Mar 2008
Location: New Westminster, B.C., Canada
Posts: 445
Likes: 0
Received 1 Like
on
1 Post
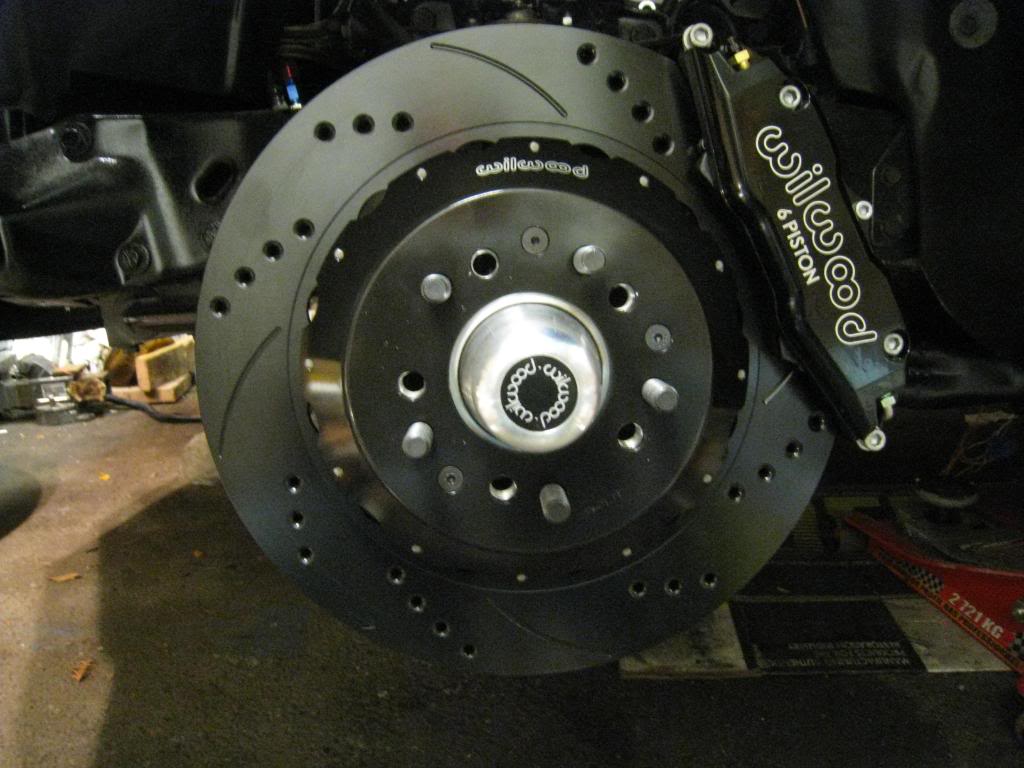
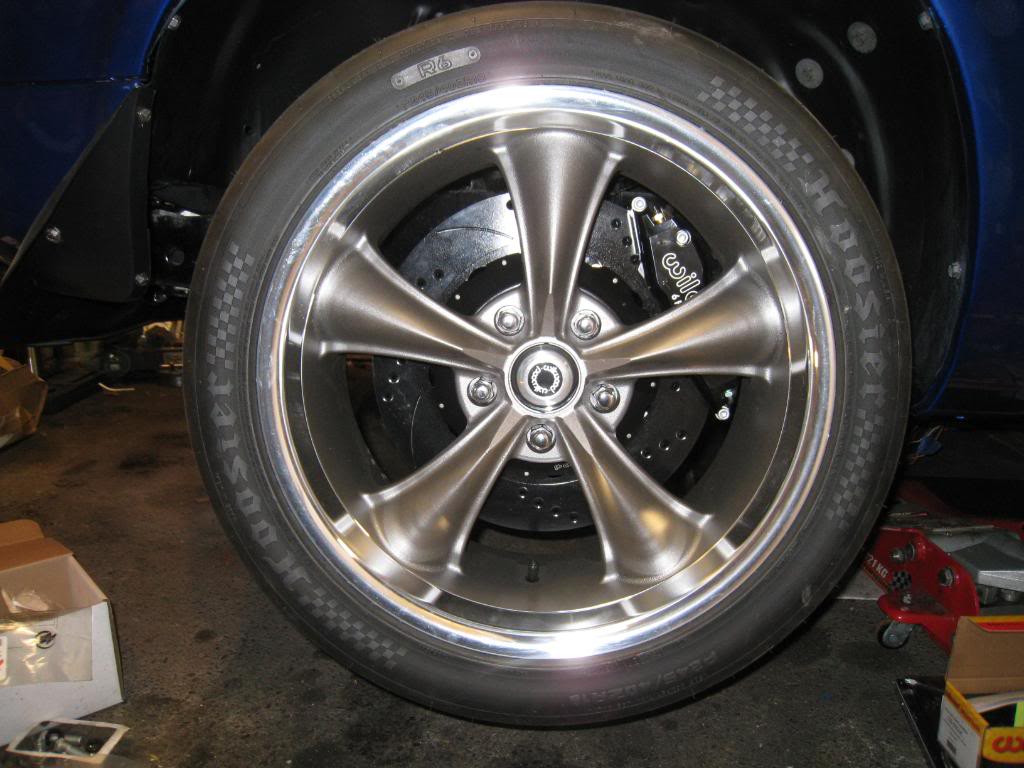
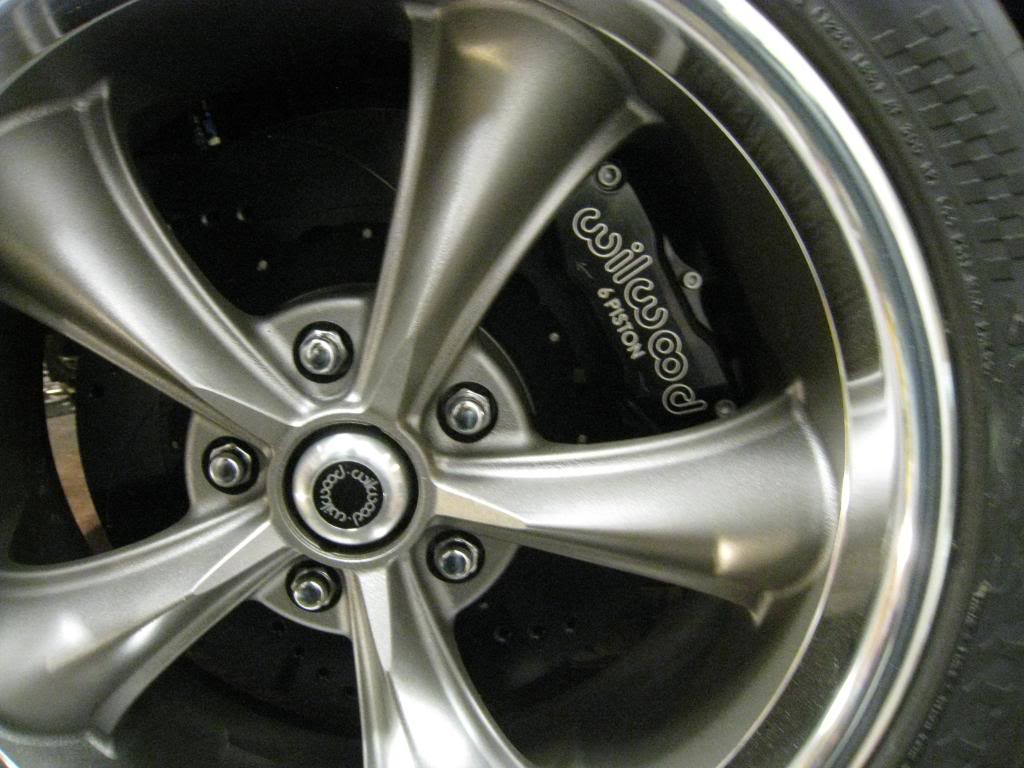
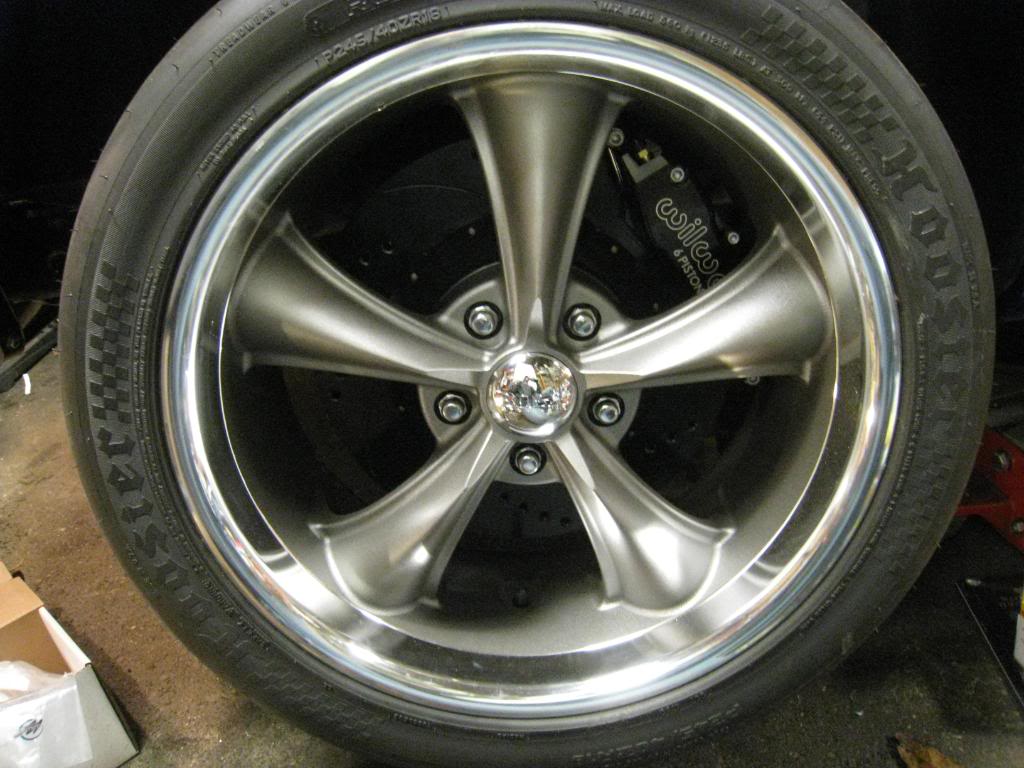
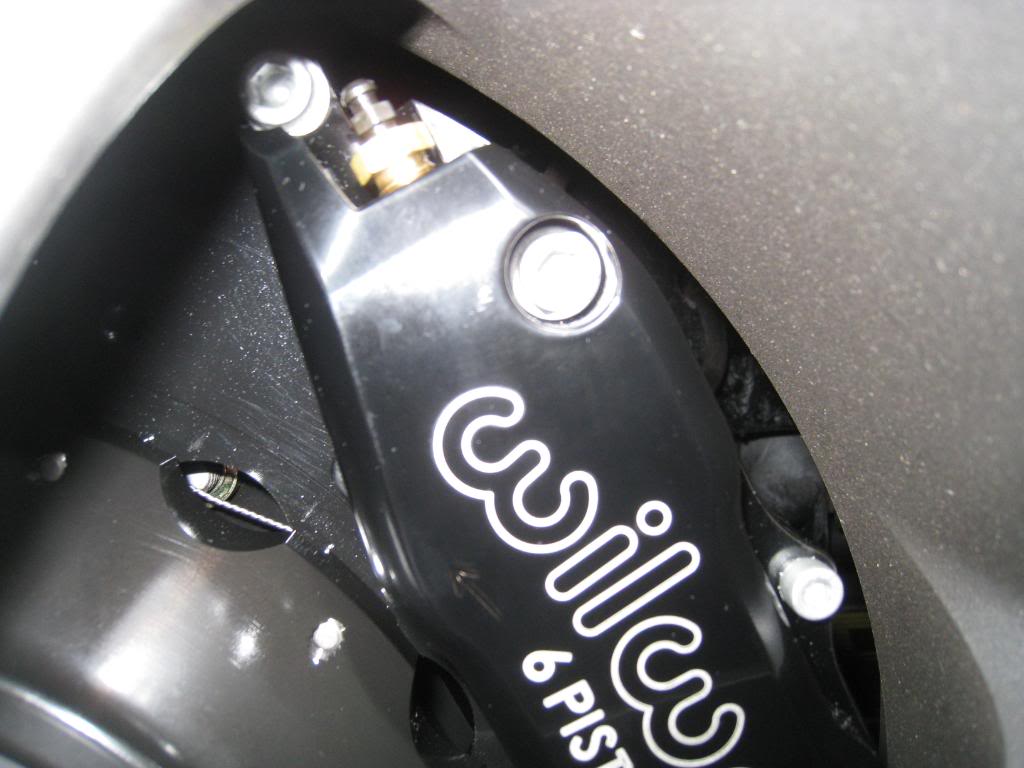
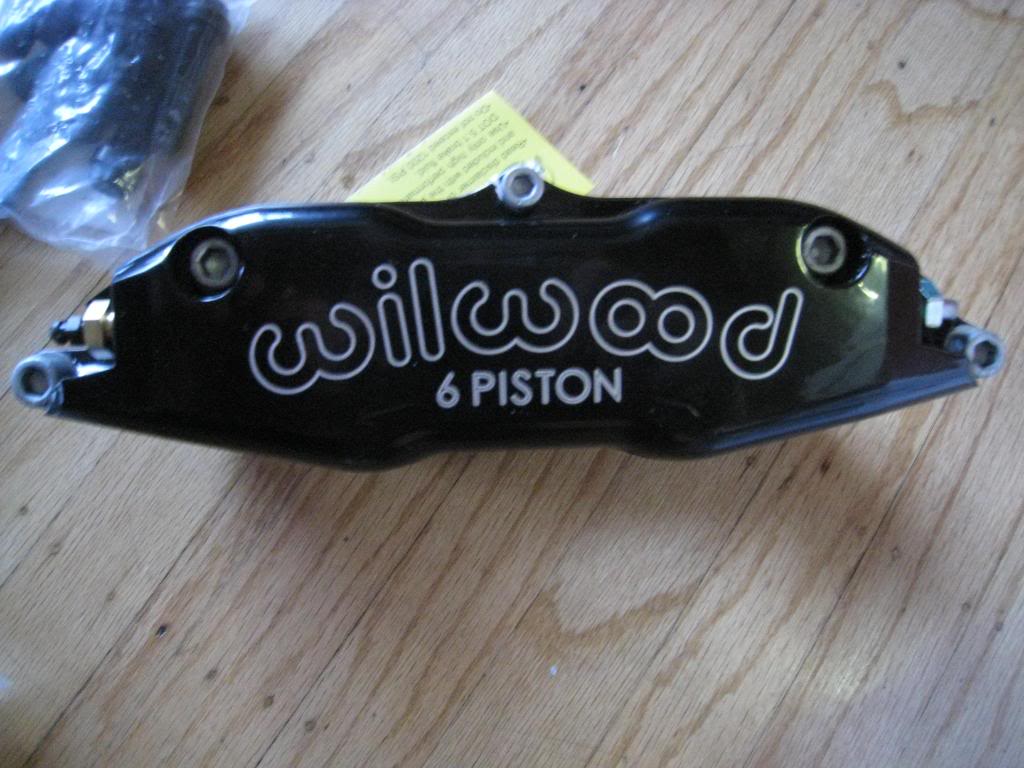
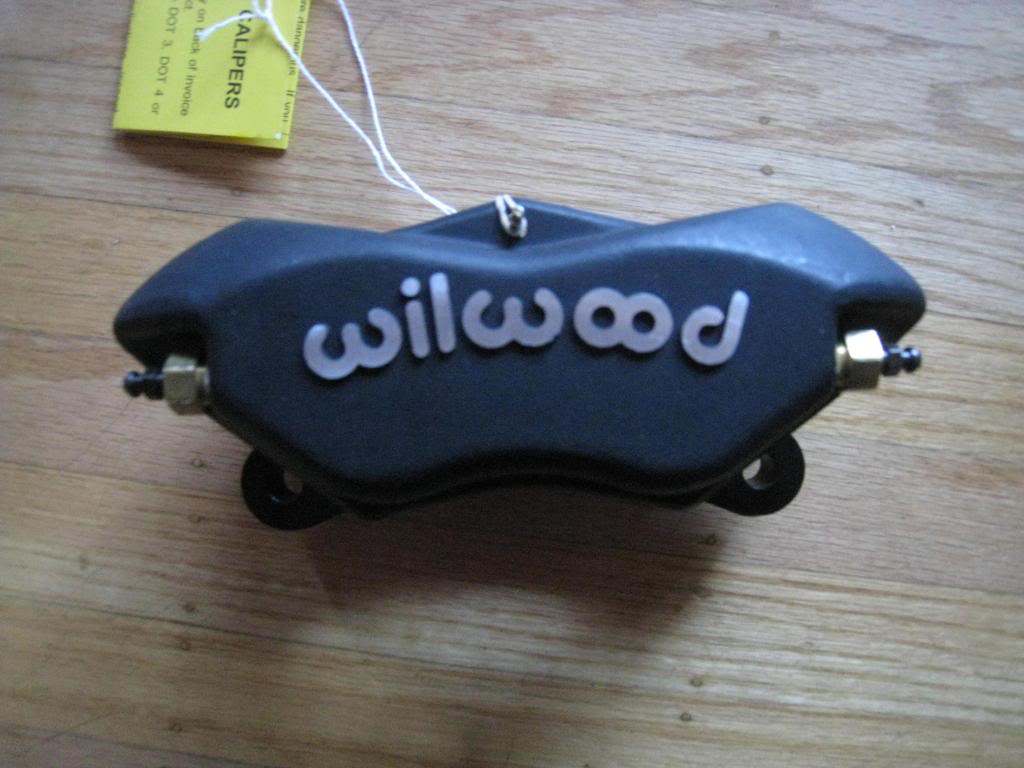
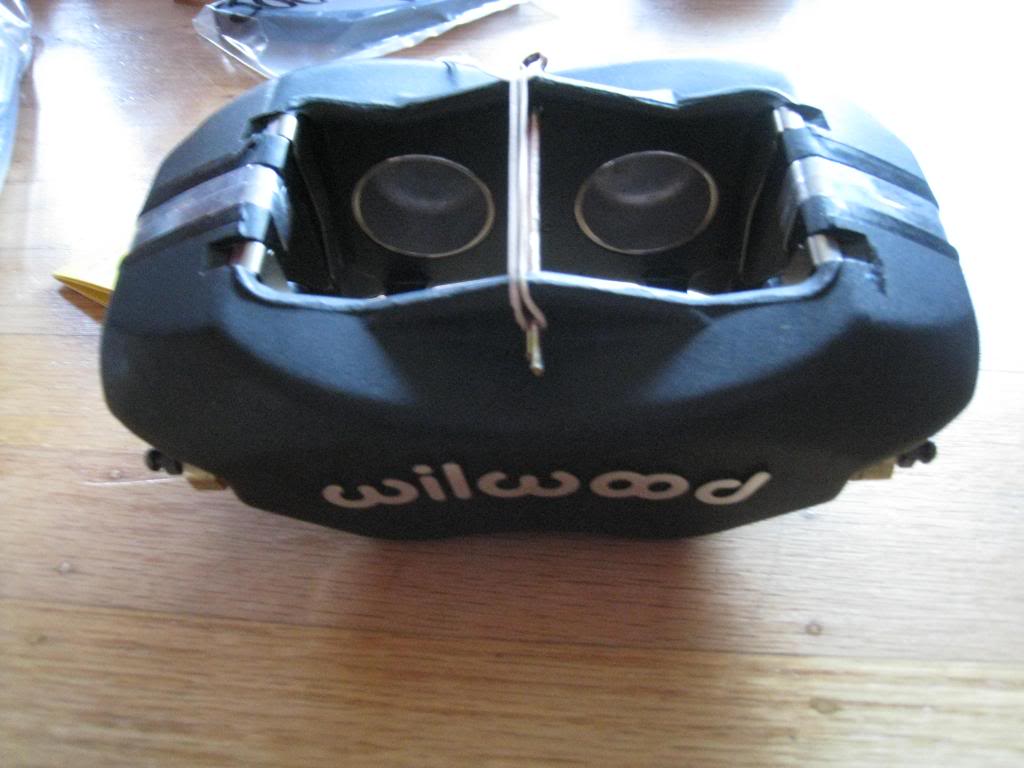
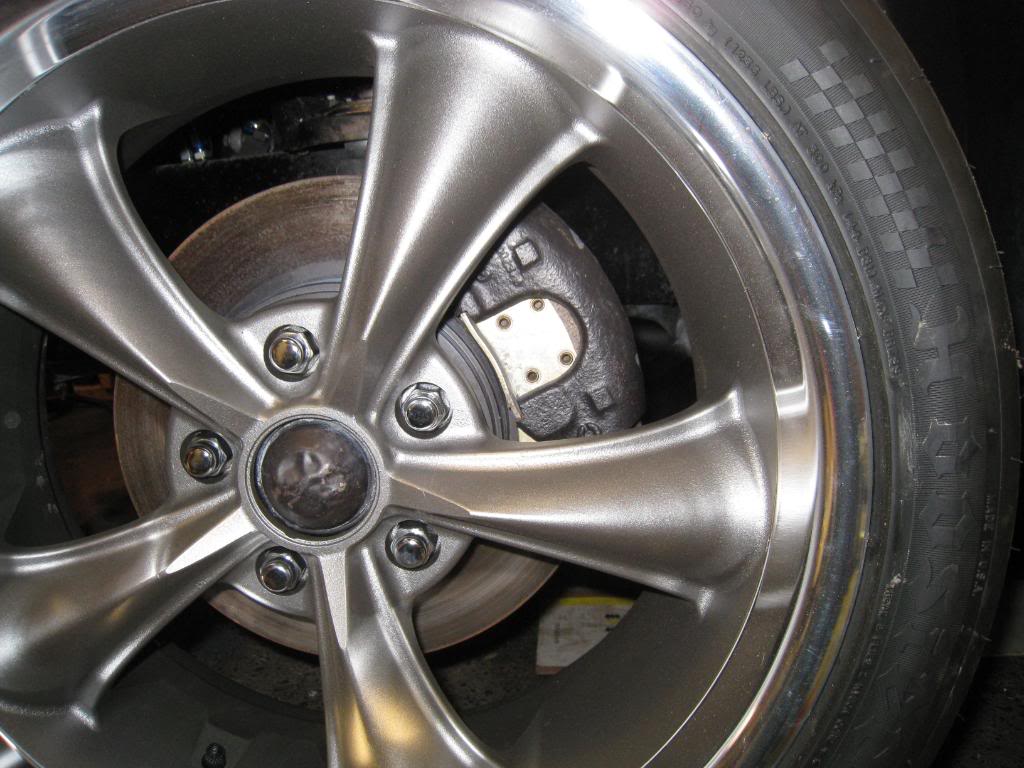
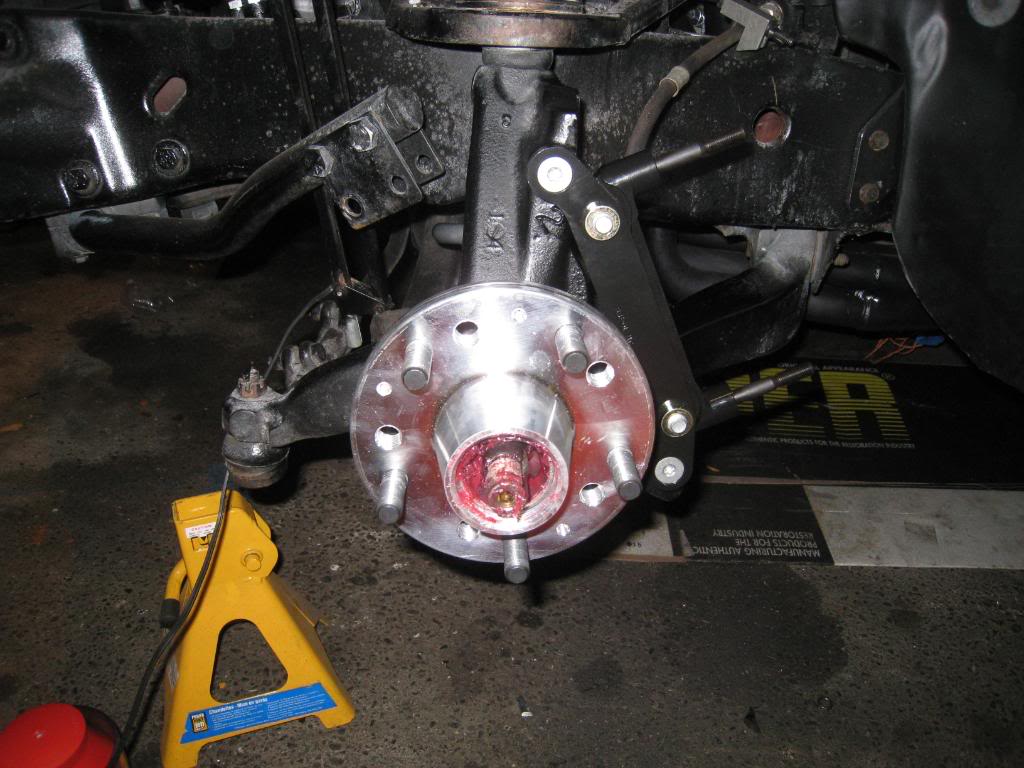
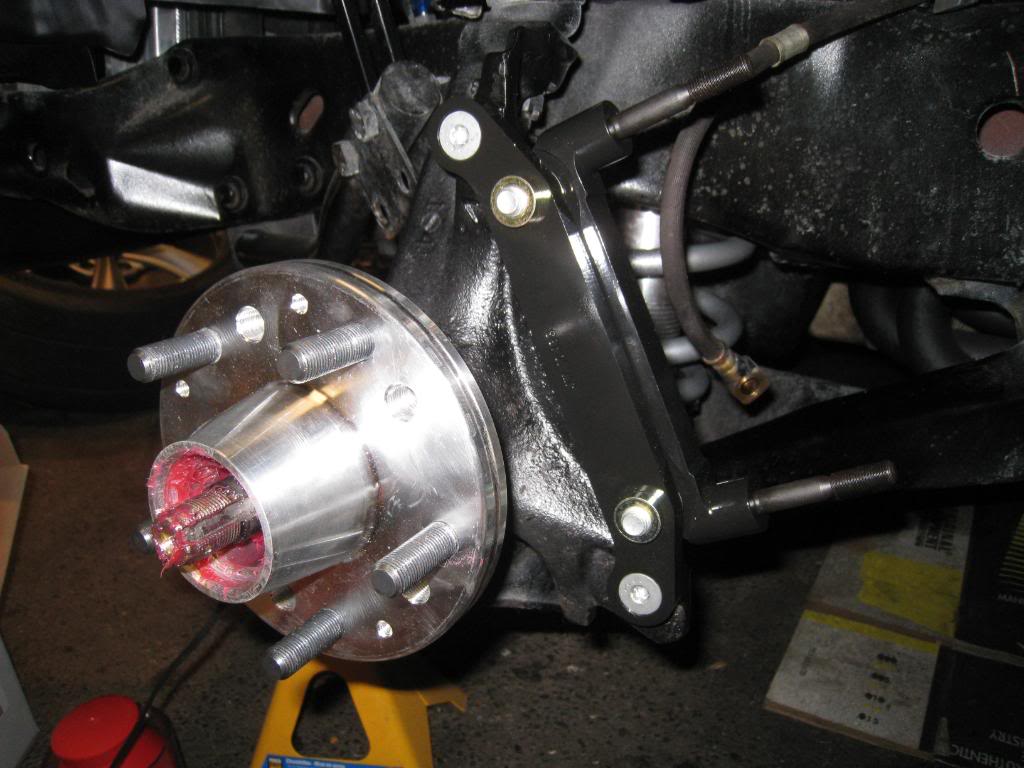
Started the install. Things were going well. Had the spindle all cut, trimmed, drilled, tapped, countersunk, painted, bracket bolted on, then found that the previous owner had upgraded the brakes to 79 or newer spindles. They have bigger outer bearings so all that work was for nothing. Thankyou craigslist! Posted a wanted ad for 70 to 78 spindles and got a response within hours $40. Oh well, guess it was a practice spindle!
old brakes
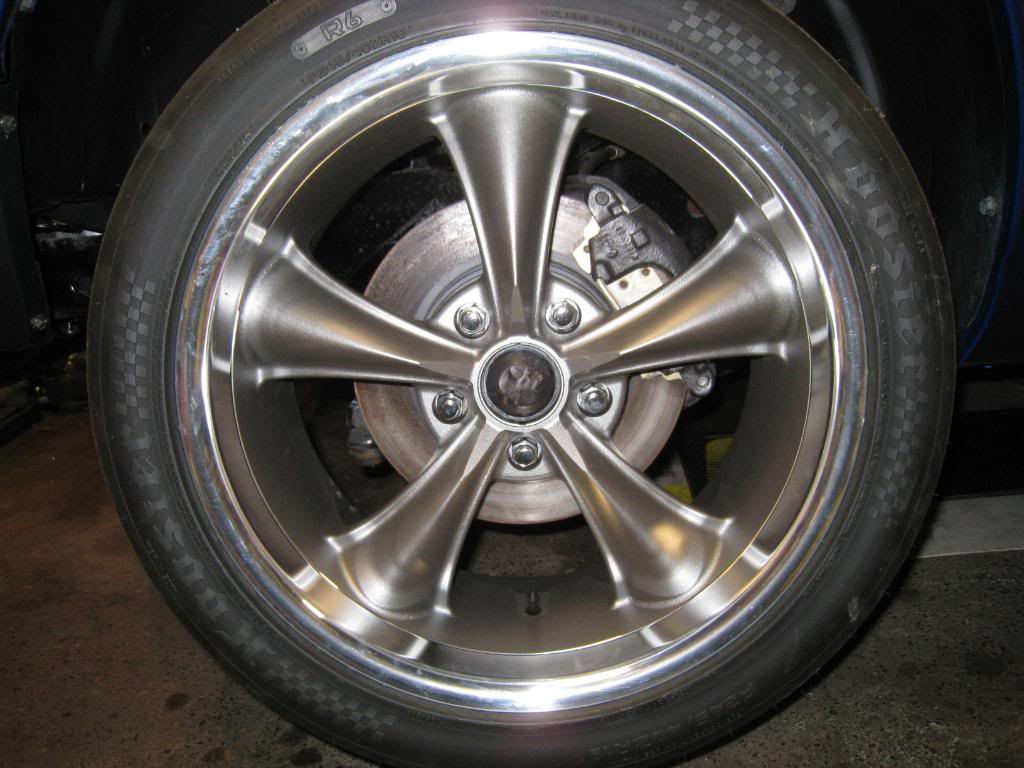
new hub and bracket
old brakes
new hub and bracket