


1st gen camaro update and question
The kwikperf bracket gets a thumbs up from me. When I saw all the spacers I though it was going to be a pain in the butt to bolt together, but it turned out to be really simple and straight forward, and didn't even require a 3rd hand. I have a thread going on Team Camaro with notes on my VA GEN-IV install including the kwikperf brackets: http://www.camaros.net/forums/showthread.php?t=133176
Here are my notes from the kwikperf brackets:
- re-read the whole instruction sheet, both sides, right before you start
- remove the pulley from the LS1 tensioner before you remove the tensioner from the water pump
- when they say to leave all of the bolts loose until it is *all* bolted together, they mean it. If you tighethen any, you will be loosening them before the last bolt is in.
- double-check that you aren't forgetting a spacer before you screw in each bolt
- Use antisieze on the bolts that thread into the aluminum head and water pump
- Leave the new pulley off of the tensioner until after you have torqued the bottom tensioner bolt, otherwise you can't get a socket on the bottom bolt.
- If you mounted the LS1 PCM to the fender, it's probably not going fit with the compressor installed unless you move it farther back. And if you move it farther back, you'll probably need to move it down so that the hood henge doesn't hit it.

Thread Starter
Teching In
Joined: Apr 2008
Posts: 48
Likes: 2
please post pics of how you mounted the late model f-boby lt1 or ls1 radiator to the 1st gen radiator support. the late model rad doesnt look to have any mounting brackets. how did you guys do it. i am seeing a lot of zip ties....also is there a difference between the factory lt1 fans and ls1 fans? are the v6 fans different? just being sure so i get the right fans. anybody have a ls1 fan setup?
Last edited by 67LS3; Jun 14, 2008 at 09:40 PM.
The LS1 and LT1 fans are a little different. However, they will both fit either radiator, and both will plug into either wiring harness.
I can check with my friend, I think he has some LT1 fans left over from a swap. Let me know if you need me to.
I have no clue about V6 fans. I don't think I've even seen under the hood of a V6 4th Gen.
I can check with my friend, I think he has some LT1 fans left over from a swap. Let me know if you need me to.
I have no clue about V6 fans. I don't think I've even seen under the hood of a V6 4th Gen.
94 Z28 Radaitor and fans in 68 firebird. Ran a self tapper through the top flange of the radiator than the top flange of the fans. The bottom i made a 90* bracket and self tapped the bottom radiator flange to the bracket to the air dam. I can push the car by holding on to the top of the radiator so i know its not going anywhere.

Staging Lane
Joined: Apr 2003
Posts: 93
Likes: 0
From: Manitoba
I used the factory ls1 rubber radiator mounts. They have 2 rubber tips that I drilled holes in the lower rad support for them. For the top I used a flat piece of aluminum sheet and put the holes for the rubber mounts. It turned out very solid. Pics to follow.
LS1 Tech Stories
The Best V8 Stories One Small Block at Time

Gas Monkey Built a 6-Wheel Ferrari Testarossa With a Corvette LT4 Engine
Verdad Gallardo
7 Most Reliable High-Performance Engines GM Has Ever Built
Verdad Gallardo
Amazing '71 Camaro Restomod Is Modern Muscle Car Under the Skin
Verdad Gallardo
6 Common C5 Corvette Failures and What's Involved In Repairing Them
Pouria Savadkouei
Retro Modern Bandit Pontiac Trans AM Comes With Burt Reynolds' Autograph
Verdad Gallardo
Top 10 Greatest Cadillac V Series Performance Models Ever, Ranked
Pouria Savadkouei
Top 10 Most Powerful Chevy Trucks Ever Made!

Hennessey's New Supercharged Silverado ZR2 Has 700 HP
Verdad Gallardo
Coachbuilt N2A Anteros Is an LS2-Powered C6 Corvette In Italian Clothes
Verdad Gallardo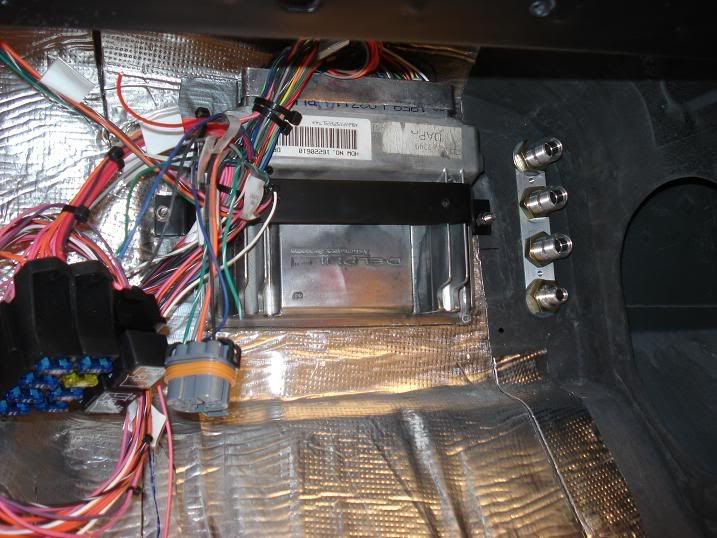
Staging Lane
Joined: Apr 2003
Posts: 93
Likes: 0
From: Manitoba
I got the rubber mounts from my 94 fleetwood parts car. I think a lot of the newer gm's might use the same rad mounts so wrecker would be the place. Here are some pics of what I did kind of hard to show the bottom part but I just lined the rad up and drilled holes. For the top it is a piece of aluminum from work. Height worked out bang on.