When you click on links to various merchants on this site and make a purchase, this can result in this site earning a commission. Affiliate programs and affiliations include, but are not limited to, the eBay Partner Network.
Some more progress on the little finishing bits, make a stainless heat shield for the trans pump, got it all plumbed up and installed..
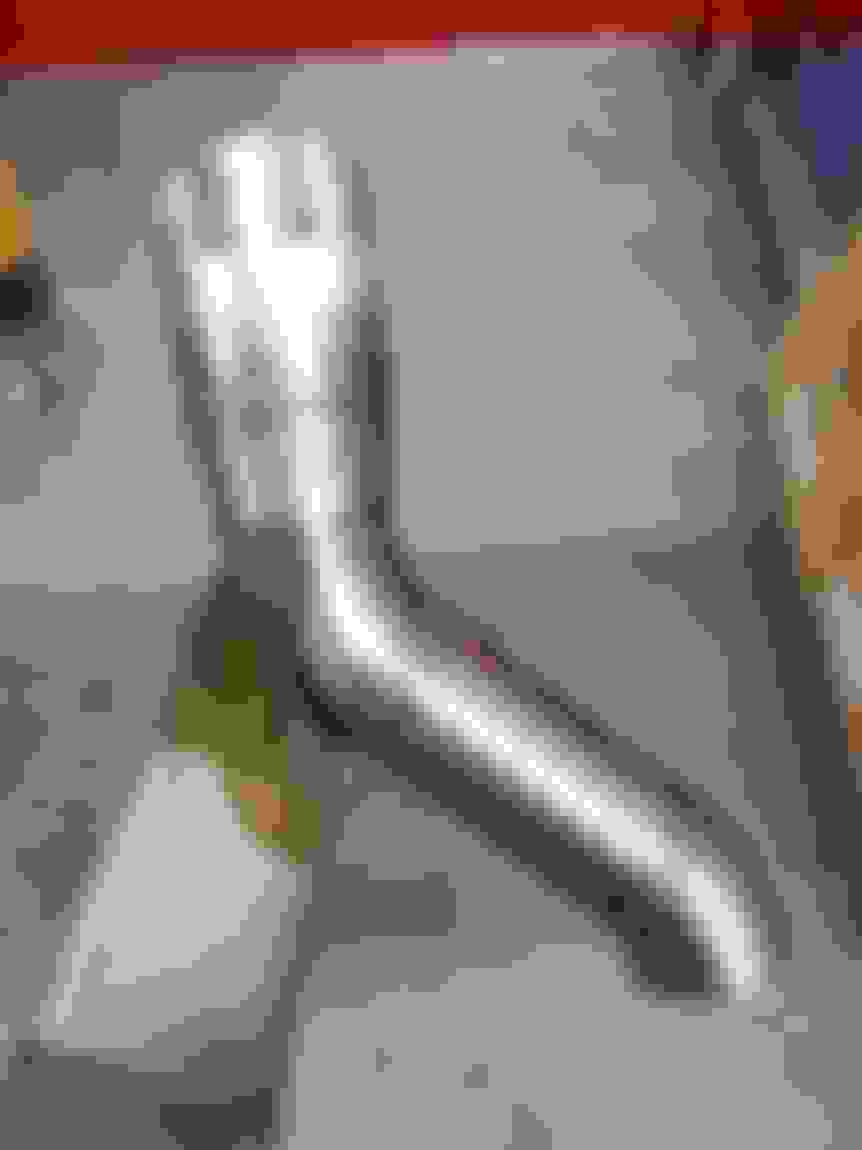
90 degree -3AN fitting to clear the trans tunnel...
The heat shield is stood off 1/4" from the plastic end cap fan shroud, and is 1/2" off the metal motor body. The pump fan sucks air in from the grilled end cap and blows air across the outside of the motor body, so I had to stand the heat shield off and not just put heat shield tape on the motor body itself...
Welded up some of the exhaust tailpipe bits at work.. I"m trying to weld as much of the piping as possible before the final trim cut, instead of cutting and tack welding the tailpipe entirely from the muffler to the bumper, and then fully welding the entire tailpipe and risking unnecessary warpage.
Man these things are big...
Also wrapped up the radiator/fan assembly. Glued/gasketed in the high-temp foam seal on the underside of the the fan shroud...
Pretty tight seal all the way around the shroud...
The last step was to wire up the fans to an existing Deutsch 4-pin plug that I already had wired to the fan relay setup.
I'm liking these Deutsch connectors more and more, so quick to bang out the crimps on them.
I wanted there to be a sub-harness between the individual fans and the single 4-pin connector on the chassis side, in case I needed to replace a single fan without having to remove both fans at once, or climb under the car and somehow de-pin one fan's wires if it shared a 4-pin connector with the other fan...
Are those connectors rated for enough amps to handle the fans? The inrush current is probably substantial.
Andrew
Andrew... yes they should be good. The specific reason I used Deutsch connectors is because that particular size (I forget the Deutsch model/number) is rated at 40A per pin, whereas the biggest Metripack connectors I could source easily in small quantities (Metripack 480) carry a current rating of only 30A I believe. Each fan is rated around 25A so the 30A rating felt a bit low... but I've run that same 40A Deutsch connector with no issues for years on my previous dual fan setup.
Edit: I should also add that the Deutsch connector (80A total current capacity) is fed by a 60A fuse on the output of a 70A relay... I'm not sure on the overcurrent runtime for that fuse but if the startup current is briefly much higher than 60A, we'll see how it fairs.
So I made a major change.. I decided to ditch the front mount oi cooler, for several reasons:
1) I would have had to move the grill forward at least 1/2"-3/4" to fit the oil cooler behind it
2) Even with moving the grill forward, I would've had to lean the radiator back ~3/4" at the top in order to have oil cooler clearance, which would cramp access to the accessory belt around the waterpump area
3) There was a lot of complication and number of fittings on the -10AN cooler lines as routed next to the block and beside the driver side downpipe.. if a fitting needed tightening it would've been a nightmare to access
4) The bulk of the 2 x -10AN hoses along with heatshield sleeve around them pushed them away from the block and closer to the driver side downpipe than I liked
5) Most importantly, my very smart friend Marktainium reminded me of a point that I previously considered but kind of just brushed aside.. there's going to be a lot of heatsoak of the intercooler sandwiched between two hot exchangers.. this is a street car first and foremost which means it needs to make detonation-free power on 94 octane at the best, 91-92 octane worst case.. and I spent all this time making a nice expensive high quality Garrett-core'd intercooler... would be a shame to just heatsoak it at idle. I have a couple of ideas for remote oil cooler options with fans and ducting from high-pressure areas of the car... so the car will be oil-cooler-less for now while I sort out the car/engine setup, then maybe in the winter or next spring I'll add a cooler if/as necessary.
To replace the Holley oil cooler adapter on the pan above the oil filter, I got an Improved Racing multi-port junction block to get my two turbo feed lines as well as a 3rd port for the oil temp sensor..
These analog fluid temp senders have quite the long body length, which makes them impossible to mount on any inline hose fitting since they poke down into the flow path, so it was nice to "have" to use an adapter to go from the -10AN straight thread in the junction block to 1/8" NPT female to accept the sender.. this kept the tip of the sender well out of the oil flow path...
In order to keep thing simple, I redid the turbo supply lines so they single (per side) continuous Earl's braided lines from the oil junction block all the way to the turbo's...
Next up was a mini electrical panel under the glovebox for several accessories. I needed switched 12V power for the EGT signal converter box, as well as a 5A fused feed for my wideband gauge, and an extra relay for the transmission pump, so I made a little setup...
Mounted to the backside of the heater-box-delete filler plate...
easy to view and access thru the glovebox door, to avoid having to climb underneath the dash. Maaaaaybe one day I'll actually fab a glovebox panel to make the compartment usable...
And ran my 12V power to the bulkhead fitting I previously mounted in the passenger side kick panel area..
And finished all of the engine bay wiring! Need a little more loom-laying work, but overall it's pretty clean and should be hard to tell any difference from a box-stock Holley wiring harness...
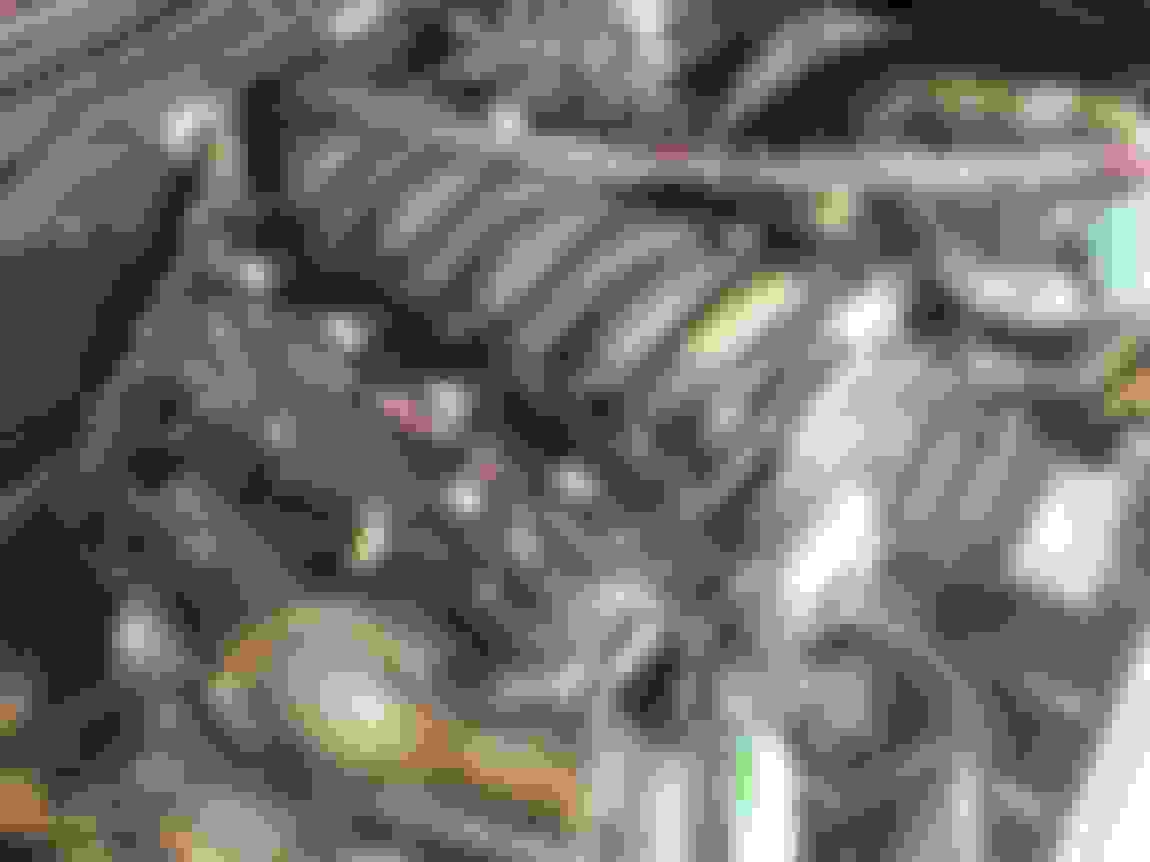
Having all the front-of-engine wiring run along a single loom on the passenger side of valvecover...
From this loom it breaks away to the MAP sensor, the TB plug, and then down behind the waterpump to the Dome Pressure sensor, the EGT senser, the EGP sensor, then several more sensors in the passenger side charge pipe, the rad, and the intercooler top tank...
Got the underhood wiring completely wrapped up today. Took inspiration from a couple OEM harnesses I've taken apart, using a trimmed plastic tube to support the main loom that travels above the passenger valve cover...
Got the engine bay essentially buttoned up for good, short of the oil breather, clutch bleed, and the intercooler. Charge piping is all made up and all the ancillary sensors are wired, just need to weld the intercooler top tank onto the core and install it for the final time. Motor oil, coolant, and P/S fluid is all in... all that's really left to do before I test fire it up is prime the fuel system and set the fuel pressure, then download the new 4.0 firmware onto the Dominator ECU and load my tune onto it....
Nice job with the wiring and loom support. The new setup is great - overall cleanliness, packaging, etc look very well sorted. Good luck when it comes time to turn the key!
Thanks Clint, I'm pretty happy with how minimal-appearing the passenger valve cover wiring loom turned out considering how many sensor wires needed to run to the front/top of the accessory drive!
Monday night I welded the intercooler top tank on, and brought it to the garage to mockup yet again, to confirm exact location of the mounting tabs that I still need to weld onto the core.
I also went into last night assuming I was going to start the car for the first time, but no luck! The stupid battery is dead. The battery had lasted me years of 3/4/5-month winters connected to the car without being started, yet I disconnect the battery from the car last November and it dies an unrecoverable/unchargeable death... ****. Oh well.. nice to know that right now the only thing holding me from starting the car is just a new battery.
Thanks Andrew! I have a new battery and a ready-to-install intercooler and am heading straight to the garage after work... I'm stoked!
Hi BobP.. regarding the firewall FPR, you're right.. however this isn't a drag car so I'm not too worried about it. Cool sounding car... I feel like it has boosted LS power in its future
And the super fun update, I got it running! I only managed to take one video last night, which I uploaded to Instagram in the below link. I'll try to take a couple better quality vids (running and maybe driving) this weekend...
Here is the valvecover breather setup, which was the last thing to make/install on the engine...
I made little aluminum cradle brackets to hold the breather hoses how I wanted, and are secured using the intake and fuel rail bracket hardware...
More almost-symmetry on the breather hoses!
Intercooler and radiator are very visible thru the grill in raw form.. once the car is properly sorted I'll remove the intercooler (very easy) and fog it black...
The charge piping and clamps are fairly visible, will see if there's anything that needs to be done about that once the car is on the ground...
Radiator gets some nice fresh air down there. Again, once it's on the ground I'll see if I want to make some mesh grill for the radiator or how much room I'll have below/around the radiator for an air dam...
Looks great. Last night I was literally dreaming about adding turbonators to one of my rides. One day!!!
Something to consider is installing a small lip on the bottom of the radiator to "scoop" air into the core.
Andrew
I was thinking that too! Like an old stock car chin scoop or something (Roadkill Nascarlo).
I also was pleasantly surprised when I held a piece of paper about 6" away from the intercooler and the fans sucked the paper up quick and hard against the intercooler core. I have a feeling the extra effort and expensive to use the high-flow Garrett cores will end up being worth it.
That is truly a #blessed sound. Excited to see some empty back-road videos.
I have a 69 Camaro chin spoiler that I'm planning to test. It leaves a sizable gap to the radiator support, which I'm planning to fill and also test. I realize you want to go all-out and run a splitter out to the tires, but I at least want to see if this popular mod will do anything substantial.
Bravo Joe! Very happy to see it running and the grill/bumper already back on! Hope the break-in and debug goes smoothly on the first drive. No doubt you have created the ultimate twin turbo Nova - now to get it to a state that you can enjoy it before winter sets in!
With regard to intercooler and radiator airflow, later you might consider sealing off the space left at the top on either side of the intercooler. On factory AC cars they added weatherstrip along the top of the radiator/core support to keep air from flowing over.. You can see it in this old photo of my car. There was also some kind of a plastic panel under the radiator which I think may have served as a type of chin spoiler, but mine was cracked pretty bad and I tossed it. I wish I still had it just to see what it looked like.
What are your goals with respect to driving the car? Do you just want to have an ultimate cruiser/street car or do you also intend to do some racing? I really want to meet up on an autocross course or track with you and Trevor.
That is truly a #blessed sound. Excited to see some empty back-road videos.
I have a 69 Camaro chin spoiler that I'm planning to test. It leaves a sizable gap to the radiator support, which I'm planning to fill and also test. I realize you want to go all-out and run a splitter out to the tires, but I at least want to see if this popular mod will do anything substantial.
Thanks Trevor! I'll be interested to see what you come up with since you're running the same radiator size as I am. I briefly held up a cheapo '69 Camaro reproduction chin spoiler under my rad support and it sure hung low.. so I'll see what it ends up looking like ziptied in place with the car on the ground. If I chose to notch the chin spoiler around the rad support bottom, I have a feeling the required notch would be close to the whole size of the spoiler, so we'll see what I come up with (likely just fabricate one out of aluminum).
Originally Posted by -TheBandit-
Bravo Joe! Very happy to see it running and the grill/bumper already back on! Hope the break-in and debug goes smoothly on the first drive. No doubt you have created the ultimate twin turbo Nova - now to get it to a state that you can enjoy it before winter sets in!
With regard to intercooler and radiator airflow, later you might consider sealing off the space left at the top on either side of the intercooler. On factory AC cars they added weatherstrip along the top of the radiator/core support to keep air from flowing over.. You can see it in this old photo of my car. There was also some kind of a plastic panel under the radiator which I think may have served as a type of chin spoiler, but mine was cracked pretty bad and I tossed it. I wish I still had it just to see what it looked like.
What are your goals with respect to driving the car? Do you just want to have an ultimate cruiser/street car or do you also intend to do some racing? I really want to meet up on an autocross course or track with you and Trevor.
Thanks Clint.. for sure there's a lot of work left to do, in no real order:
- make support brackets to reinforce the turbo inlet aluminum tubes to the compressor housings (see below pics) so the filters around flopping about with engine vibration
- make rad support top cross brace to secure the rad/IC in place (althought things are pretty rigid as-is)
- make aluminum filler panel that attaches to rad support brace, to add foam to which seals the entire rad support to the hood underside
- figure out some front air dam as described above to Trevor's post
- fill in the gaping holes in the rad support (holes were for previous intercooler piping)
My plan with the car so far is fun street car. I will eventually try to road race it and auto-x it, but for that I should still need to make a front sway bar setup.

 09-04-2018, 12:58 PM