

The Turbo Ta Build Thread


 01-22-2011, 06:44 PM
#142

Because i am not as hardcore as you!
I dont know. Sean had told me everyone cuts it out, I know i have seen lmr hole saw it before. I figure if someone leaned on the fender it would be strongish still?? He was trying to get me to cut it all...

Chris
 01-22-2011, 08:33 PM
#147
 01-22-2011, 10:49 PM
#149
Well, nothing too exciting happening this weekend. We finally got all of the consumables for the TIG welder this weekend. So Friday we moved things around, got that all set up, and played with it. Chris had never TIG welded before, but he is picking it up quick considering he is being taught by someone who has VERY little TIG experience. That burned up all of Friday night really.
Saturday (afternoon) we got cracking on some actual work. I started practicing welding molly round bar to mild sheet so that I will be ready for some up coming projects. While I was doing that Chris was fitting the back "wings" around the windshield. We had the hood on and off at least 104,538 times. Once that was all done he got cracking on the hood pins.
Now, some of you may have seen us talk about our plans for the hood. We didn't want to go with dzus fasteners for a few reasons. We also didn't want to go with traditional hood pins. That left us with these Areo Catch hood pins. They are very cool, and I have never seen them on a drag car yet. When you get a chance, defiantly check them out.
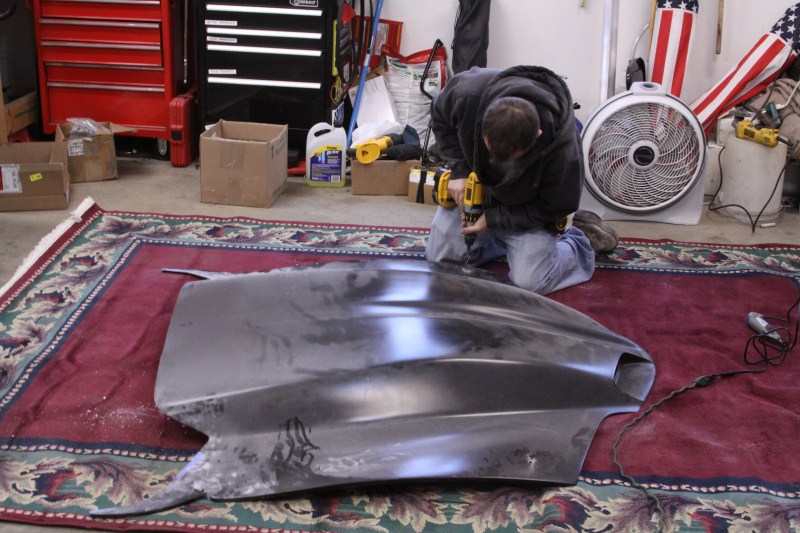
Anyway, on to the work/pictures. As I said, Chis did all of this work (I didn't want to cut up the hood) so I have a lot of pictures.
What we did was put the pins on the car, then work out. Here is where we put the front pins
This placed the pins perfectly for us, and is plenty strong. We then set the hood on the car and marked the underside with a silver sharpie. And yes, we will trim the excess off of the pins.
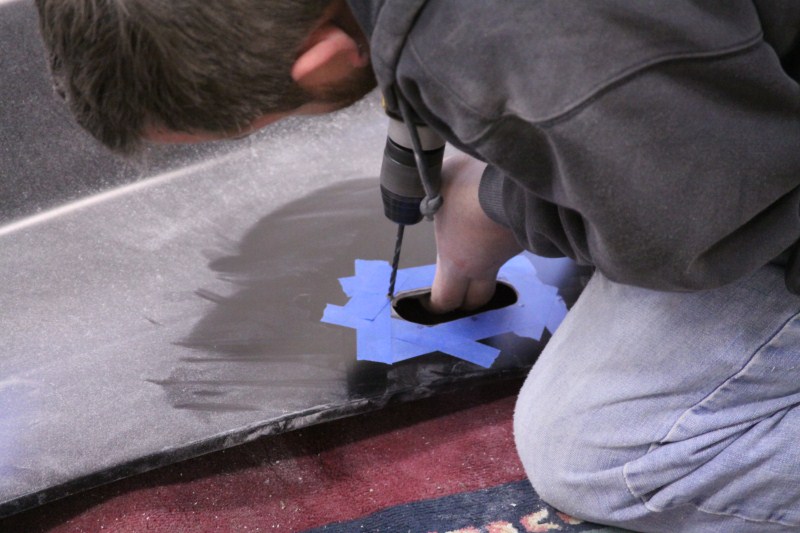
Once marked Chris drilled a 1/2" hole so that the pins can come all the way though the hood.
The reason for this method is the other part of the hood pins. The Aero Catch pins are just fine the way they are, but we found a way to make them better. Chris and I both have had a few imports in the past and had know about Password JDM for a while. When Chris was looking for the best place to find the pins he found the Password JDM had an install kit for them, so he ordered them up. This kit consist of this ring (2 per kit)

As well as this template (2 per kit)
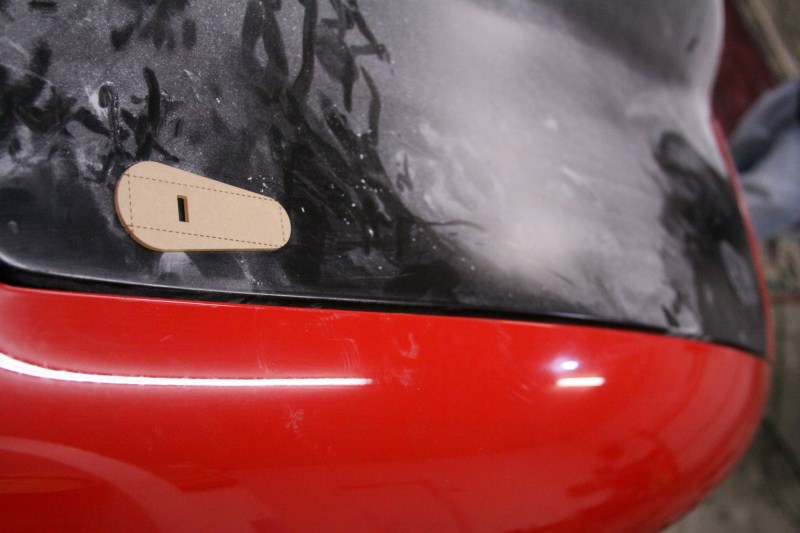
That template is the ****! From what I can tell it is laser cut plexi and makes installing the pins so much easier. As you can see there is a rectangle cut out for the pin to go into. So what we did was drill that hole so the pin came through placed the template on it, marked it, and cut away!
Chris started with a rough cut
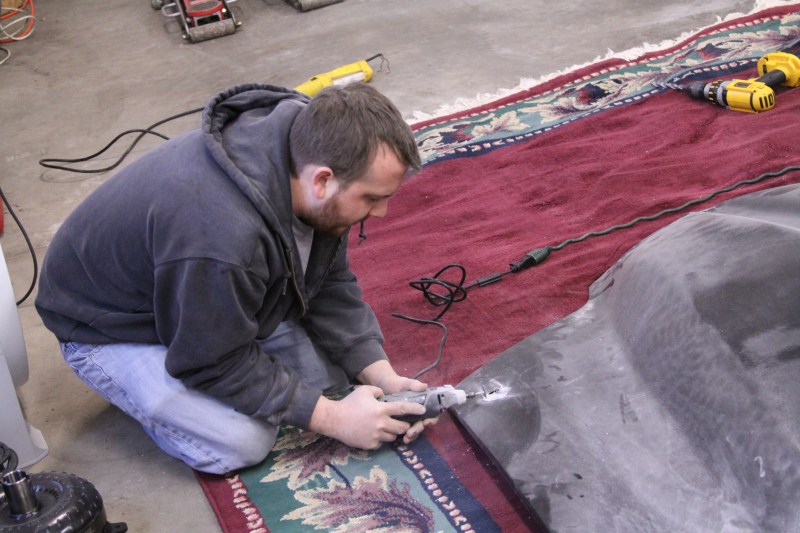
Which left a hole like this
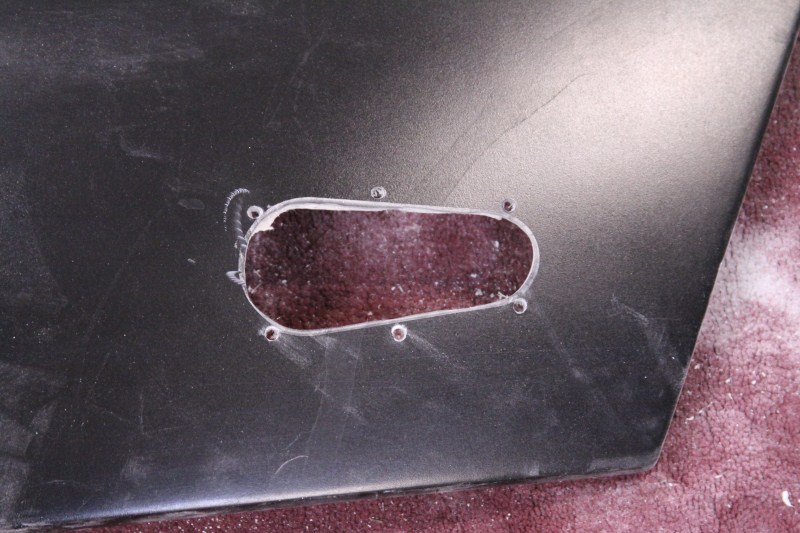
Then Chris sanded it to the shape needed
Leaving it looking like this
Then, because of our positioning, we had to clearance the bracing on the bottom side. This is to clear the Password JDM ring. The hood pins would normally use a small washer and nut, so you would not need as much room.
Then he taped around the hole and marked where the screw holes were needed. Then carefully drilled them all.
Leaving this
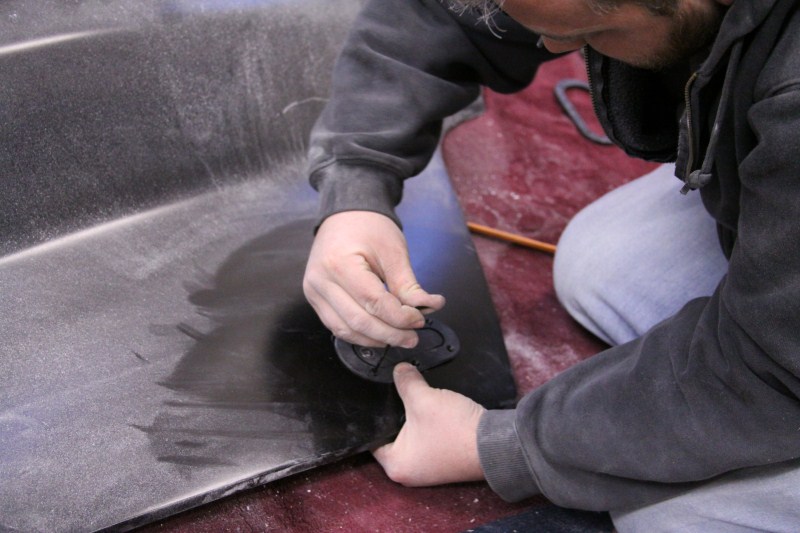
Then you put the whole deal in the hole, with the Password JDM ring on the back side, and use the supplied screws to hold it all together.
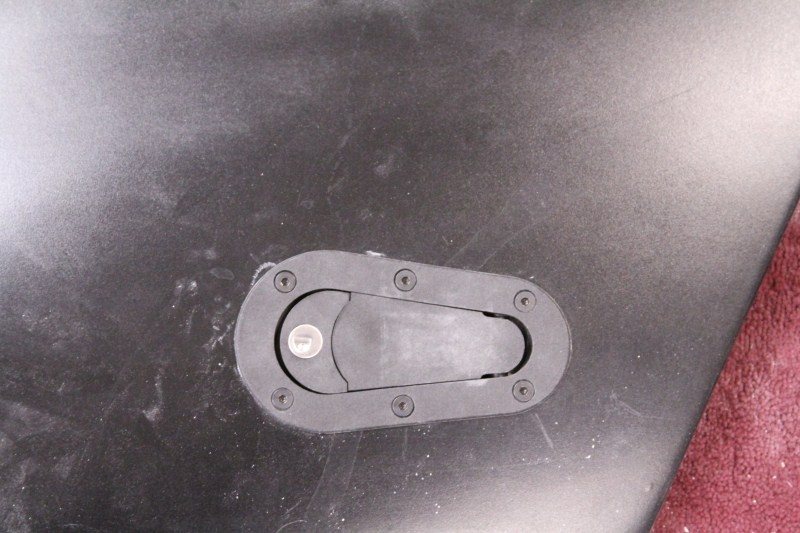
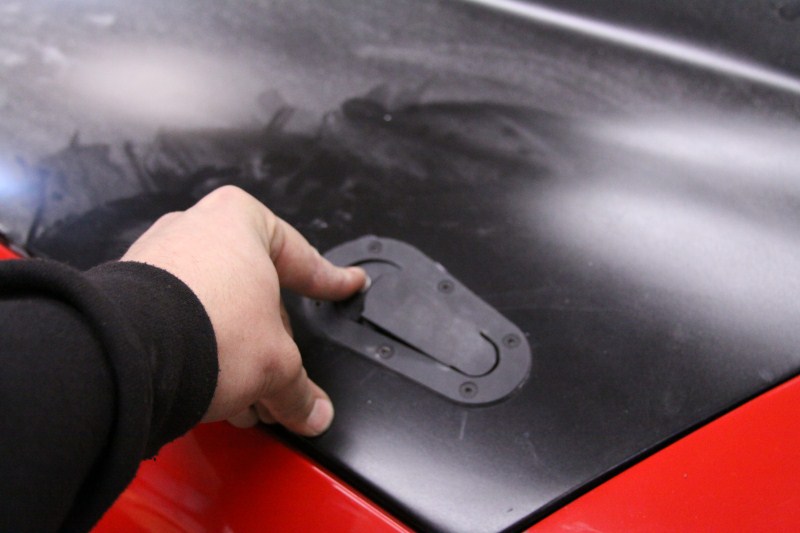
Looks like this closed
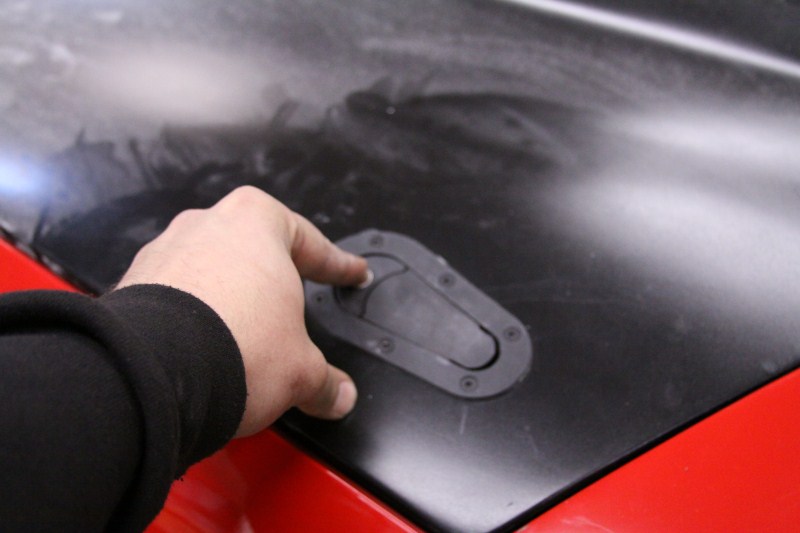
And like this open
Here is the hood back on the car with both pins in place
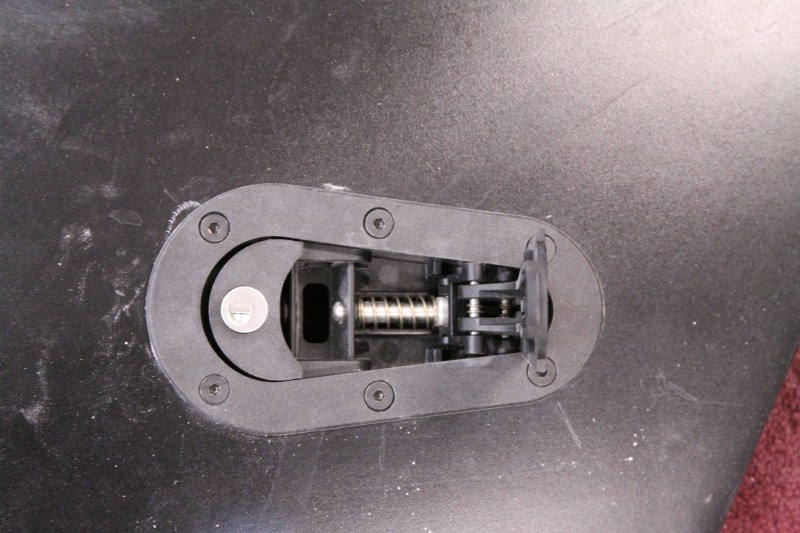
And here is a break down of how it works.
You press down on the larger side (this set has optional locks)
When you press it, it pops up the latch part
Then you just lift up on the latch
When its lifted up, it will pull the pin out of the pin on the car. Here is a picture with the latch in the middle so you can see the movement.
To close it you just push it down, and it snaps shut very solidly. We did not get to the back set yet, but this is more or less where it will be.
All in all this is a great product that offers a LOT of mounting options. You can get them flush mount where the assembly gets fiberglassed in from the bottom side of the hood leaving it smooth on the top side. The pin can come in from the sides, and you can even use them like a hinge.
Well, thats all for this weekend. Doesn't look like much, I know, but it was a slow process to make it right. Next up is the back two pins, which will require some fab work on the car. Anyway, as always I hope you enjoy, and thanks for following along.
Sean
Saturday (afternoon) we got cracking on some actual work. I started practicing welding molly round bar to mild sheet so that I will be ready for some up coming projects. While I was doing that Chris was fitting the back "wings" around the windshield. We had the hood on and off at least 104,538 times. Once that was all done he got cracking on the hood pins.
Now, some of you may have seen us talk about our plans for the hood. We didn't want to go with dzus fasteners for a few reasons. We also didn't want to go with traditional hood pins. That left us with these Areo Catch hood pins. They are very cool, and I have never seen them on a drag car yet. When you get a chance, defiantly check them out.
Anyway, on to the work/pictures. As I said, Chis did all of this work (I didn't want to cut up the hood) so I have a lot of pictures.
What we did was put the pins on the car, then work out. Here is where we put the front pins
This placed the pins perfectly for us, and is plenty strong. We then set the hood on the car and marked the underside with a silver sharpie. And yes, we will trim the excess off of the pins.
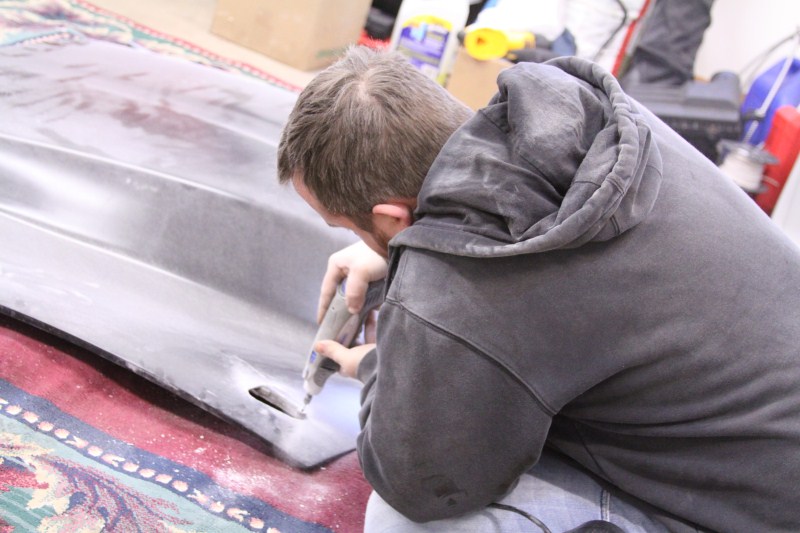
Once marked Chris drilled a 1/2" hole so that the pins can come all the way though the hood.
The reason for this method is the other part of the hood pins. The Aero Catch pins are just fine the way they are, but we found a way to make them better. Chris and I both have had a few imports in the past and had know about Password JDM for a while. When Chris was looking for the best place to find the pins he found the Password JDM had an install kit for them, so he ordered them up. This kit consist of this ring (2 per kit)
As well as this template (2 per kit)
That template is the ****! From what I can tell it is laser cut plexi and makes installing the pins so much easier. As you can see there is a rectangle cut out for the pin to go into. So what we did was drill that hole so the pin came through placed the template on it, marked it, and cut away!
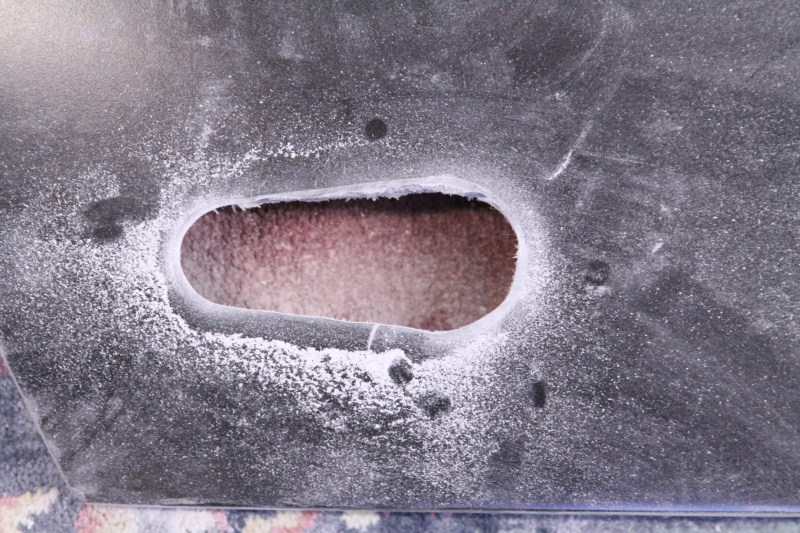
Chris started with a rough cut
Which left a hole like this
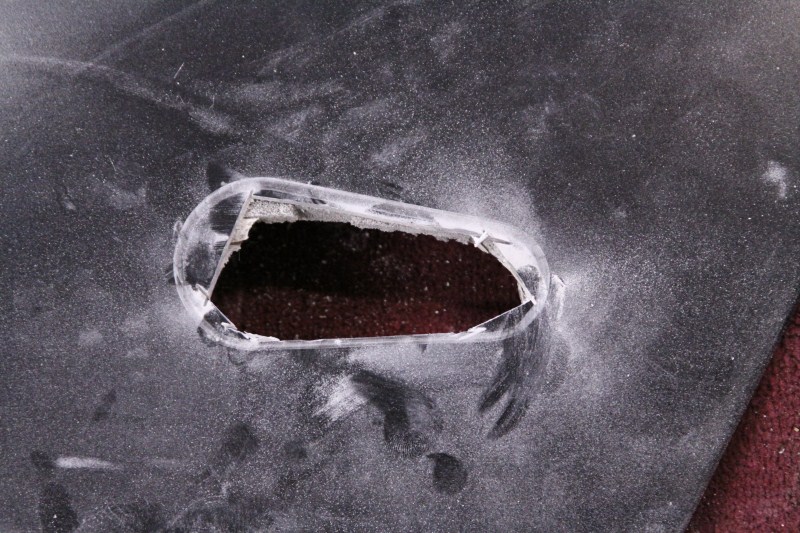
Then Chris sanded it to the shape needed
Leaving it looking like this
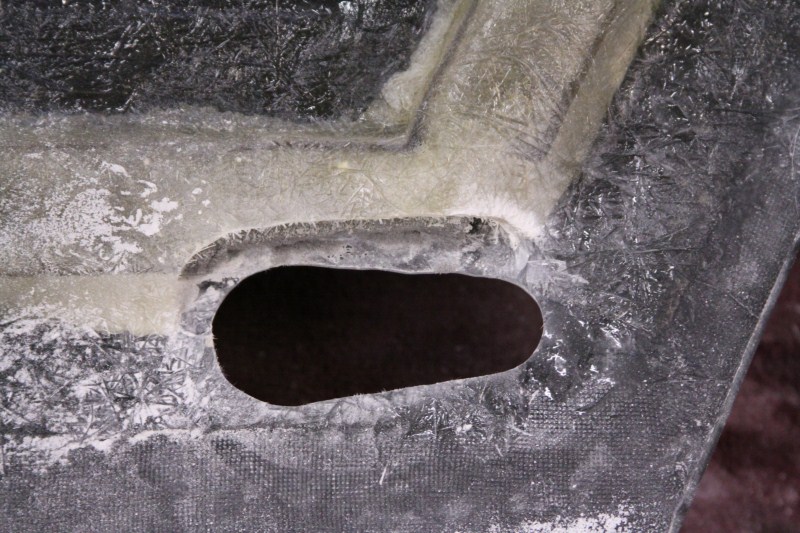
Then, because of our positioning, we had to clearance the bracing on the bottom side. This is to clear the Password JDM ring. The hood pins would normally use a small washer and nut, so you would not need as much room.
Then he taped around the hole and marked where the screw holes were needed. Then carefully drilled them all.
Leaving this
Then you put the whole deal in the hole, with the Password JDM ring on the back side, and use the supplied screws to hold it all together.
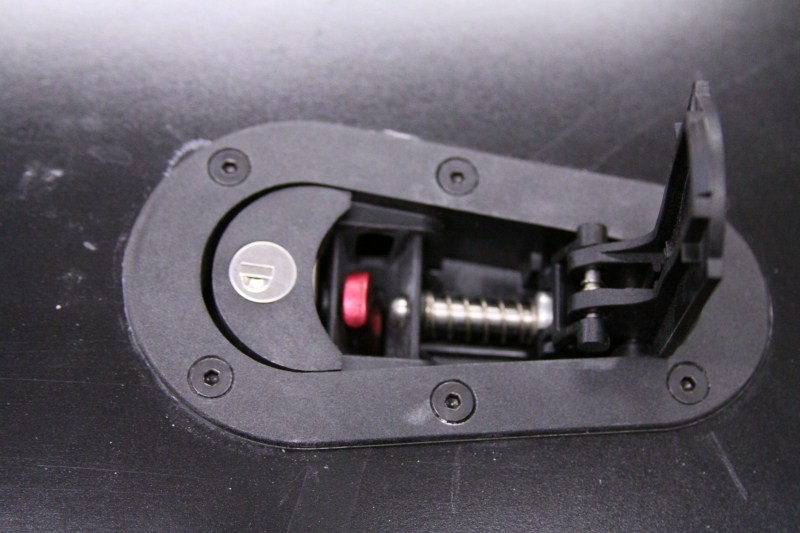
Looks like this closed
And like this open
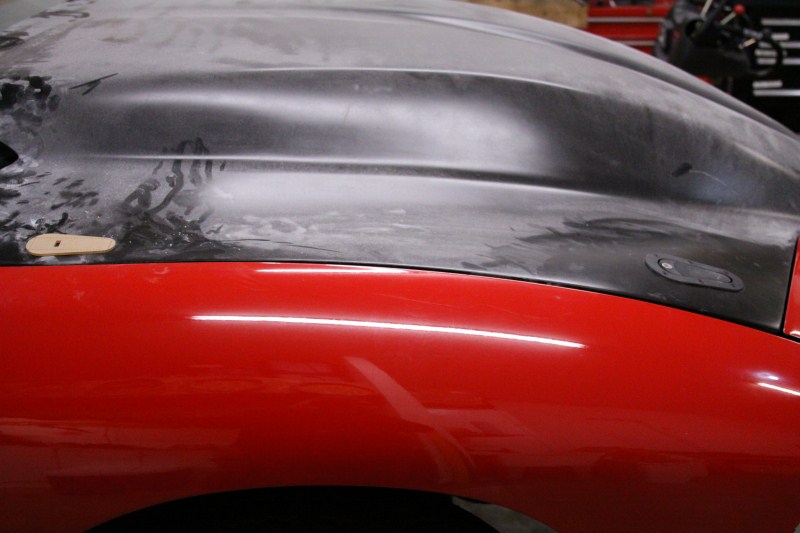
Here is the hood back on the car with both pins in place
And here is a break down of how it works.
You press down on the larger side (this set has optional locks)
When you press it, it pops up the latch part
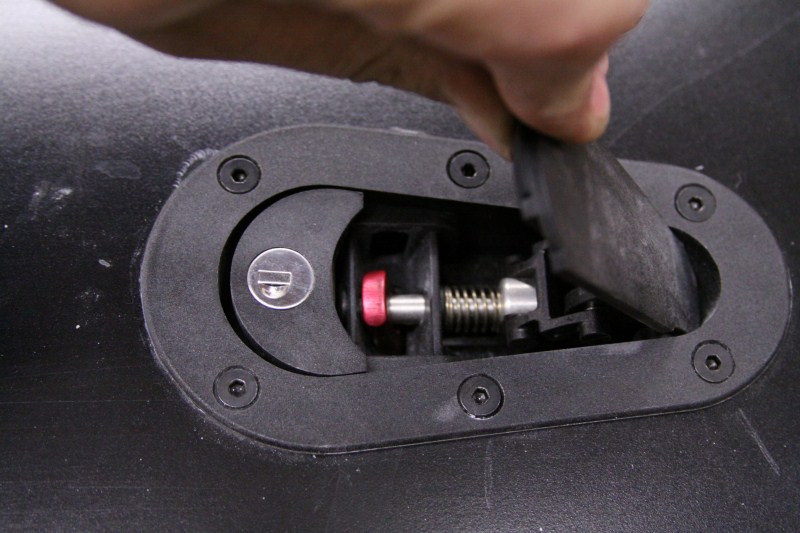
Then you just lift up on the latch
When its lifted up, it will pull the pin out of the pin on the car. Here is a picture with the latch in the middle so you can see the movement.
To close it you just push it down, and it snaps shut very solidly. We did not get to the back set yet, but this is more or less where it will be.
All in all this is a great product that offers a LOT of mounting options. You can get them flush mount where the assembly gets fiberglassed in from the bottom side of the hood leaving it smooth on the top side. The pin can come in from the sides, and you can even use them like a hinge.
Well, thats all for this weekend. Doesn't look like much, I know, but it was a slow process to make it right. Next up is the back two pins, which will require some fab work on the car. Anyway, as always I hope you enjoy, and thanks for following along.
Sean


 02-13-2011, 01:40 AM
#154
Another weekend (actually 2) has come and gone, and here is what we have gotten done! Last weekend we were heavy on work and short on time. So short in fact, that it looked like we wouldn't get ANYTHING done at all. Lucky for us, we are a little better that that! After figuring out a game plan for the rear hood pins, Chris got cracking on cutting up the hood. Since that is a one man job, I got busy in the back of the car on the battery box and the shutoff. Not that it was a big project, but it needed to get done. I had to leave so quickly that I actually didn't get any pictures, that is the first time that has ever happened!
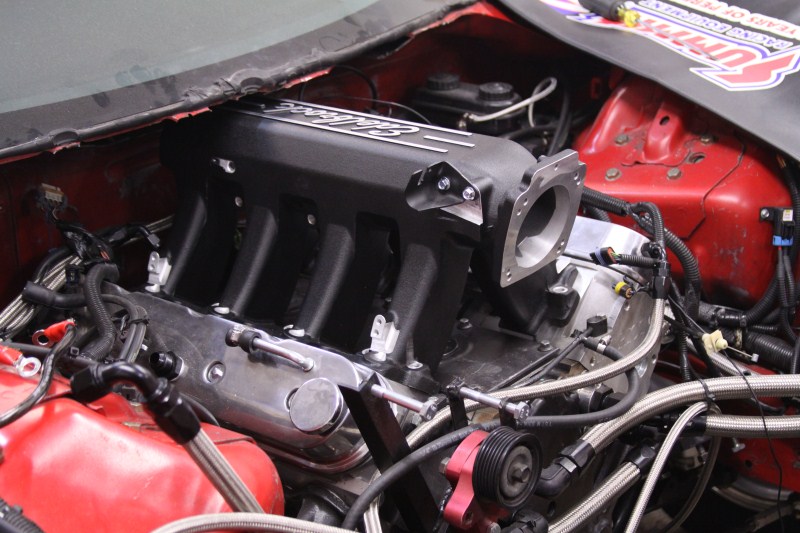
This weekend we had more time, and really got after it! We kicked it off with the new, monstrous Edelbrock Pro-Flo XT manifold with the matching 90mm throttle body. After drooling over it for a while Chris jumped on getting it on the car. He quickly pulled off the LS6 intake and the coil packs. As you know we already notched the center of the cowl for the coil packs last year. We assumed that was enough room, but the lower part needed to be trimmed more. Chris was determined and decided to cut it all out while he was at it. This is no easy tack with the motor in the car.
Started on the easy part
And then dug in for the harder areas
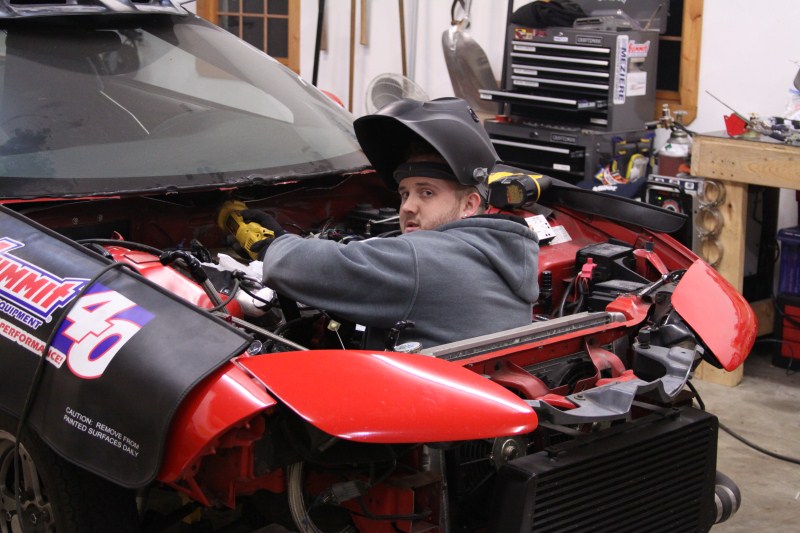
And now it fits!

Once he finally saw it on the car, he could move on to other things. Anyone who has been diligently following along will remember that we had a problem with cam sensors. One of the things that we need to check was the cam gear to make sure it was not loose at all. So Chris pulled the crank pulley, the front cover, and checked it all. There were no problems, so he buttoned it all back up and was done for the night. No pictures of that because I was busy, and because its boring work
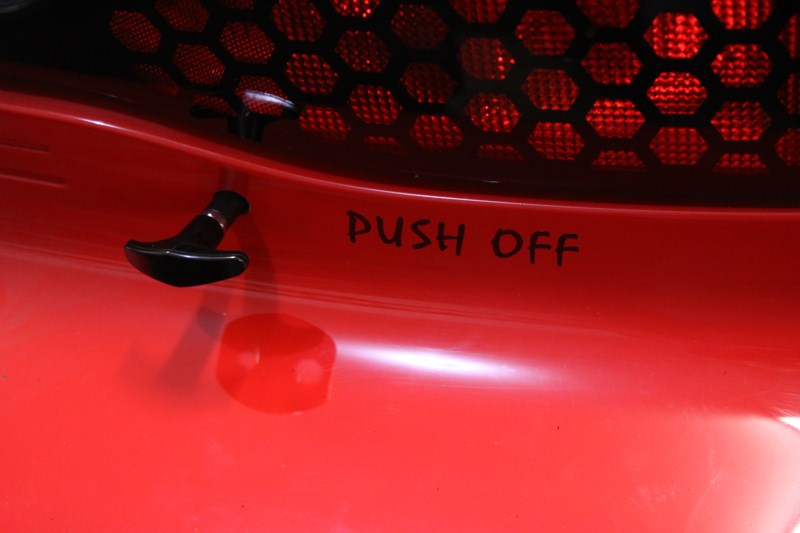
While he was doing that his girlfriend Rachel was in the back of the car lending a hand. She pulled off the WS6 emblem, and put on the "Push Off" sticker for the battery switch. She also prepped the back bumper for the CETA mod.
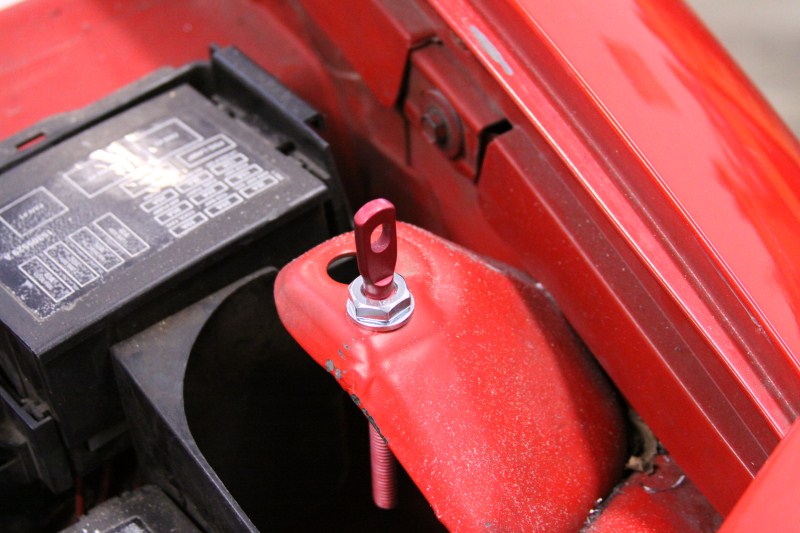
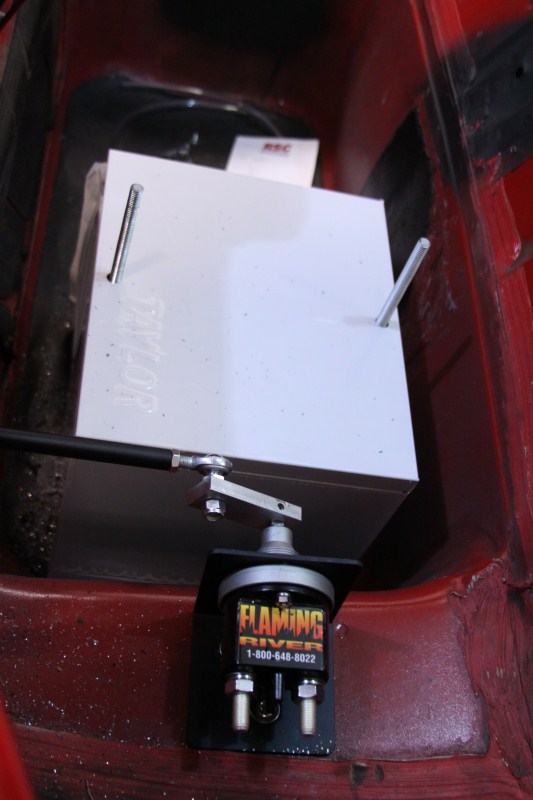
Here is the switch in the ON position. You can also see the finished lever that I cut down and powder coated.
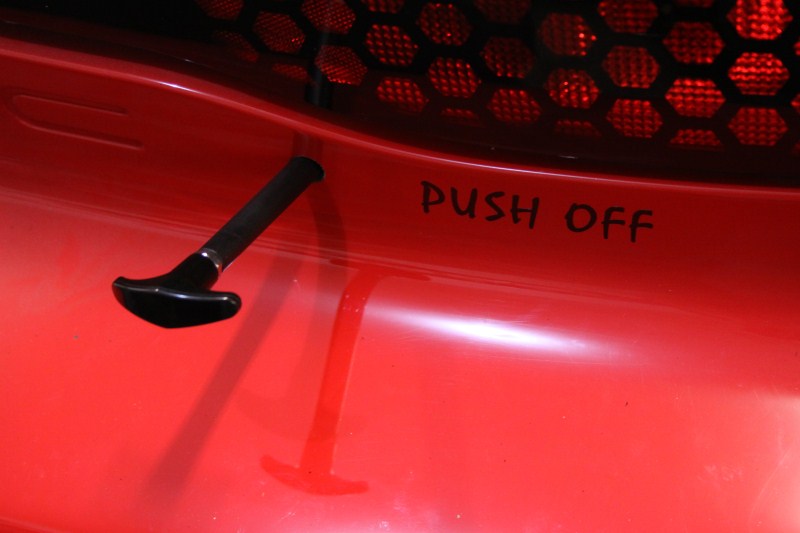
And here it is in the OFF position
And here is the switch and the box in the very dirty hatch area.
If anyone was wondering what I was doing during all of this (and all Saturday too), I was taking on a project that I have been putting off for quite a while. I'm sure you have all noticed that we rarely have the front bumper on the car. There are quite a few reasons for this, but basically its in the way a lot. We have wanted to make it quickly and easily removable for a long time now. Well this was the weekend that I jumped on it! I don't have much for pics because I was busy building and because my TIG skills are not all that great. I will get some pictures of what is behind the bumper next weekend, but for now this is all you get. Keep in mind that this is not finished yet, just the hard fab work is done. There are still a few dzus fasteners that are going to go on.
Bumper on!!!

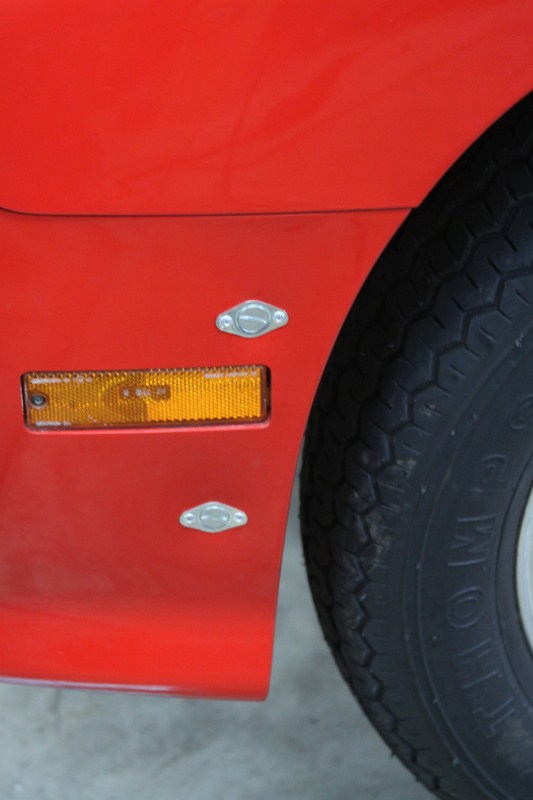
Here are the two passenger side dzus fasteners

and the drivers side
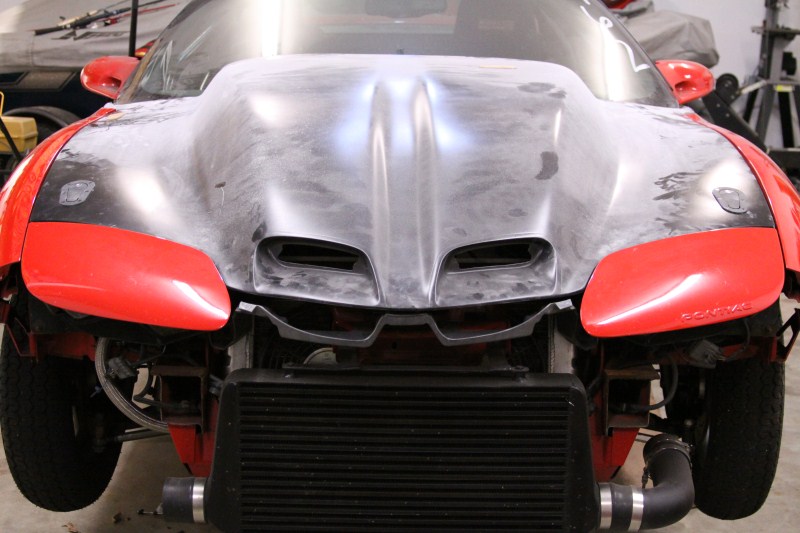
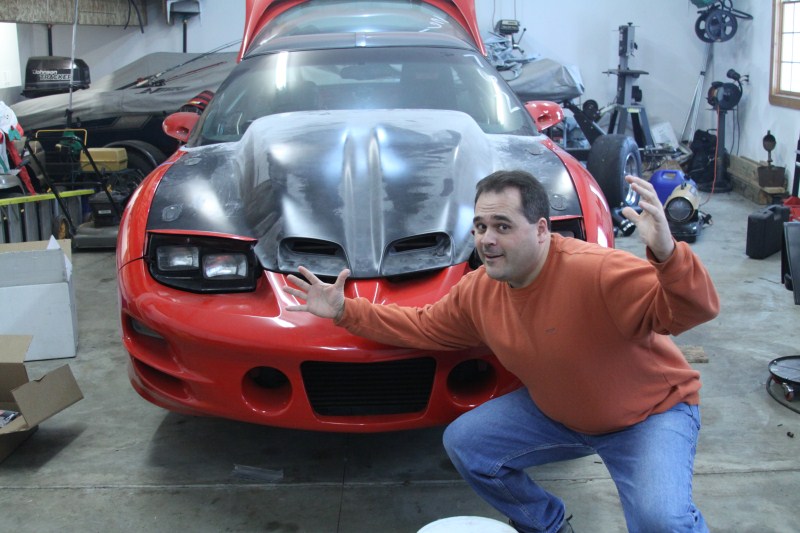
Here is the money shot (but with the headlights up). First time we have seen the hood on with the bumper!

And here is the same picture with Chris's gangsa brother striking a pose!
Well that is all for now. Next weekend I am hoping to wrap up the front end project, and get some pics of the brackets. We should have the new converter too, so we may jump on getting the trans back in the car too. Anyway, thanks for following along!
Sean
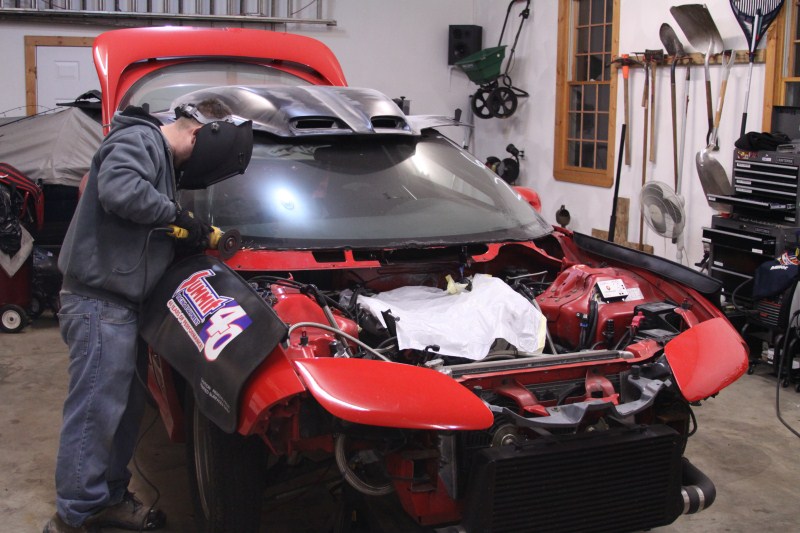
This weekend we had more time, and really got after it! We kicked it off with the new, monstrous Edelbrock Pro-Flo XT manifold with the matching 90mm throttle body. After drooling over it for a while Chris jumped on getting it on the car. He quickly pulled off the LS6 intake and the coil packs. As you know we already notched the center of the cowl for the coil packs last year. We assumed that was enough room, but the lower part needed to be trimmed more. Chris was determined and decided to cut it all out while he was at it. This is no easy tack with the motor in the car.
Started on the easy part
And then dug in for the harder areas
And now it fits!
Once he finally saw it on the car, he could move on to other things. Anyone who has been diligently following along will remember that we had a problem with cam sensors. One of the things that we need to check was the cam gear to make sure it was not loose at all. So Chris pulled the crank pulley, the front cover, and checked it all. There were no problems, so he buttoned it all back up and was done for the night. No pictures of that because I was busy, and because its boring work
While he was doing that his girlfriend Rachel was in the back of the car lending a hand. She pulled off the WS6 emblem, and put on the "Push Off" sticker for the battery switch. She also prepped the back bumper for the CETA mod.
Here is the switch in the ON position. You can also see the finished lever that I cut down and powder coated.
And here it is in the OFF position
And here is the switch and the box in the very dirty hatch area.
If anyone was wondering what I was doing during all of this (and all Saturday too), I was taking on a project that I have been putting off for quite a while. I'm sure you have all noticed that we rarely have the front bumper on the car. There are quite a few reasons for this, but basically its in the way a lot. We have wanted to make it quickly and easily removable for a long time now. Well this was the weekend that I jumped on it! I don't have much for pics because I was busy building and because my TIG skills are not all that great. I will get some pictures of what is behind the bumper next weekend, but for now this is all you get. Keep in mind that this is not finished yet, just the hard fab work is done. There are still a few dzus fasteners that are going to go on.
Bumper on!!!
Here are the two passenger side dzus fasteners
and the drivers side
Here is the money shot (but with the headlights up). First time we have seen the hood on with the bumper!
And here is the same picture with Chris's gangsa brother striking a pose!
Well that is all for now. Next weekend I am hoping to wrap up the front end project, and get some pics of the brackets. We should have the new converter too, so we may jump on getting the trans back in the car too. Anyway, thanks for following along!
Sean
02-13-2011, 11:16 AM
#158
Sean