
project "Shop Rag" 1965 El Camino drag car build
 09-09-2013, 09:53 PM
#81
10 Second Club

Join Date: Apr 2013
Location: Carlinville, IL
Posts: 317
Likes: 0
Received 0 Likes
on
0 Posts
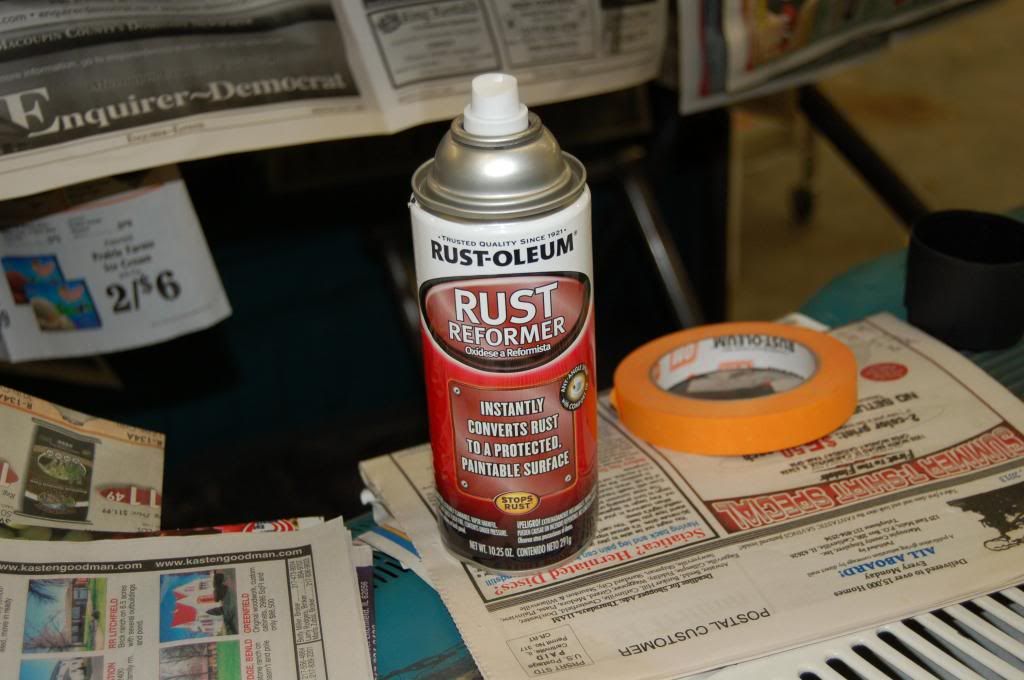
Shop night on the Elky. 48 years of unpainted surface needs a little care. I spent most of tonight scrubbing, grinding, and smoothing rust off of the underneath side of the roof in prep for paint. Would have been a little easier before the cage, but Joe was in a hurry, and it really wasn't all that bad with the cage in place. Won't bore you with before pics.
Rust-Oleum has taken a bad rap over the years but this Rust Reformer works pretty well if you have a surface that you just can't get rid of 100% of the rust. Just clear as much rust off as you can, clean the surface really well with lacquer thinner, and paint. Let set for at least 24 hours (I usually let it set 2 or 3 days) and top coat with your favorite paint. It doesn't seem to care what goes over it.
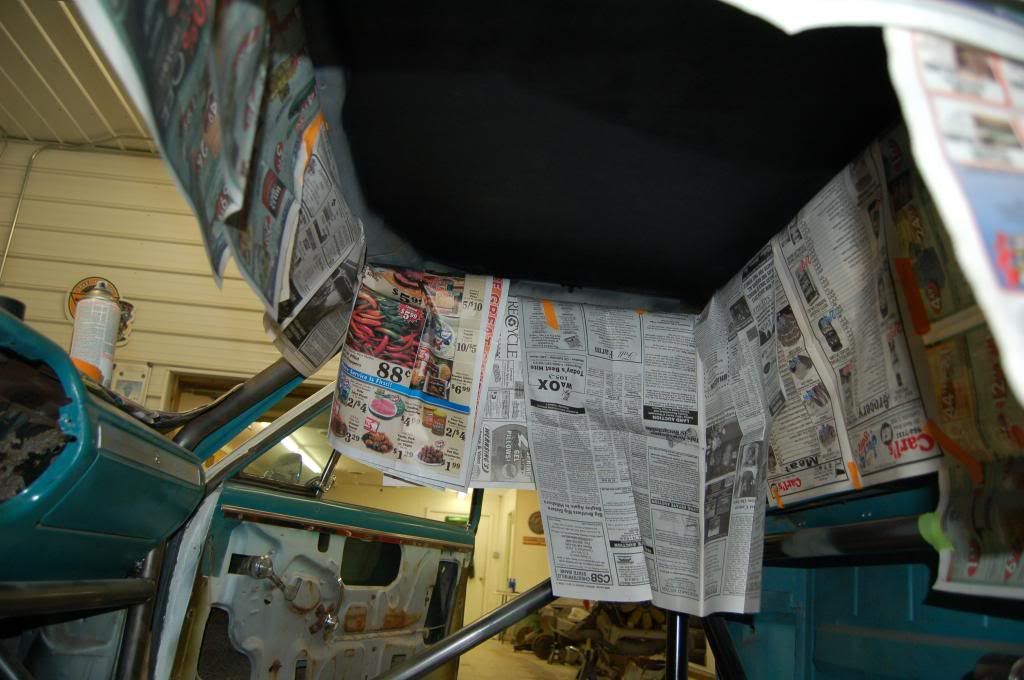
Covered the cage so no overspray.
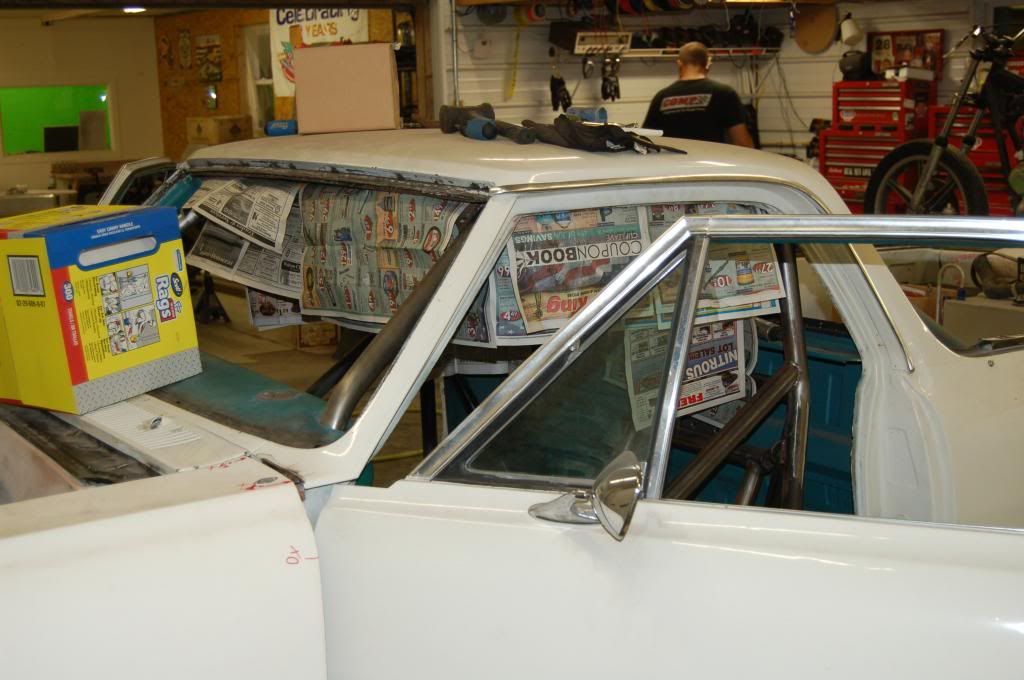
Turned out pretty well for a back yard spray bomb job.

Last edited by 65drag; 09-09-2013 at 10:14 PM.
 09-09-2013, 09:57 PM
#82
10 Second Club
Join Date: Apr 2013
Location: Carlinville, IL
Posts: 317
Likes: 0
Received 0 Likes
on
0 Posts
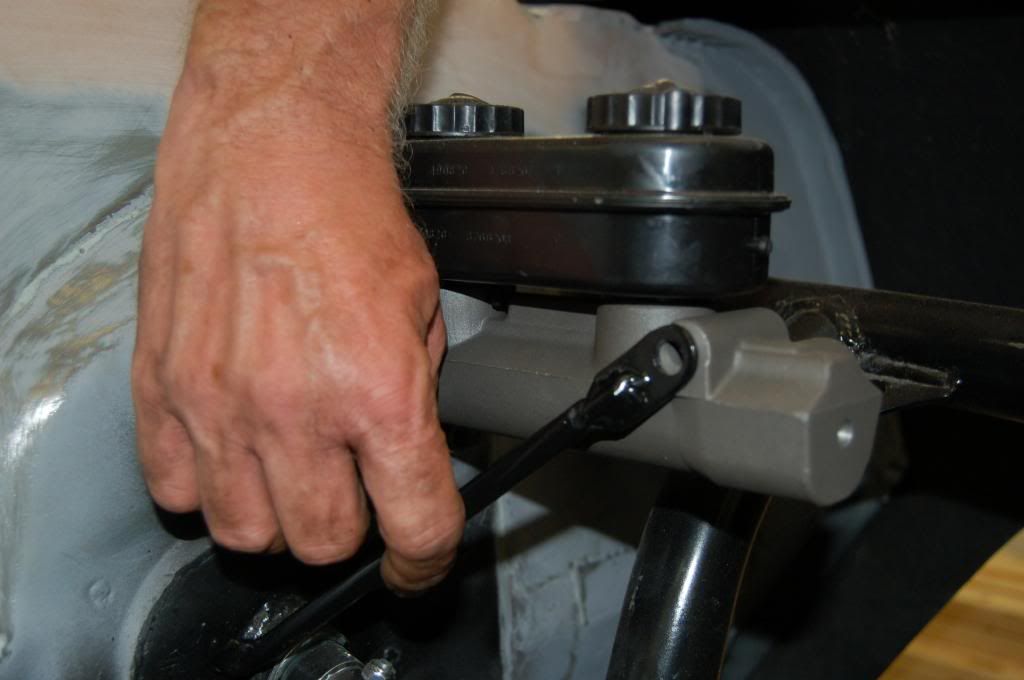
Did this bracket a couple of weeks ago for the new master cylinder support since it only mounts with two bolts. I made it out of left over tubing from the window net kit and some flat stock.

It will go on the front where a mounting bolt would go for a frame mount set up and bolt to the firewall next to the steering column.

It will go on the front where a mounting bolt would go for a frame mount set up and bolt to the firewall next to the steering column.
 09-09-2013, 10:04 PM
#83
10 Second Club
Join Date: Apr 2013
Location: Carlinville, IL
Posts: 317
Likes: 0
Received 0 Likes
on
0 Posts
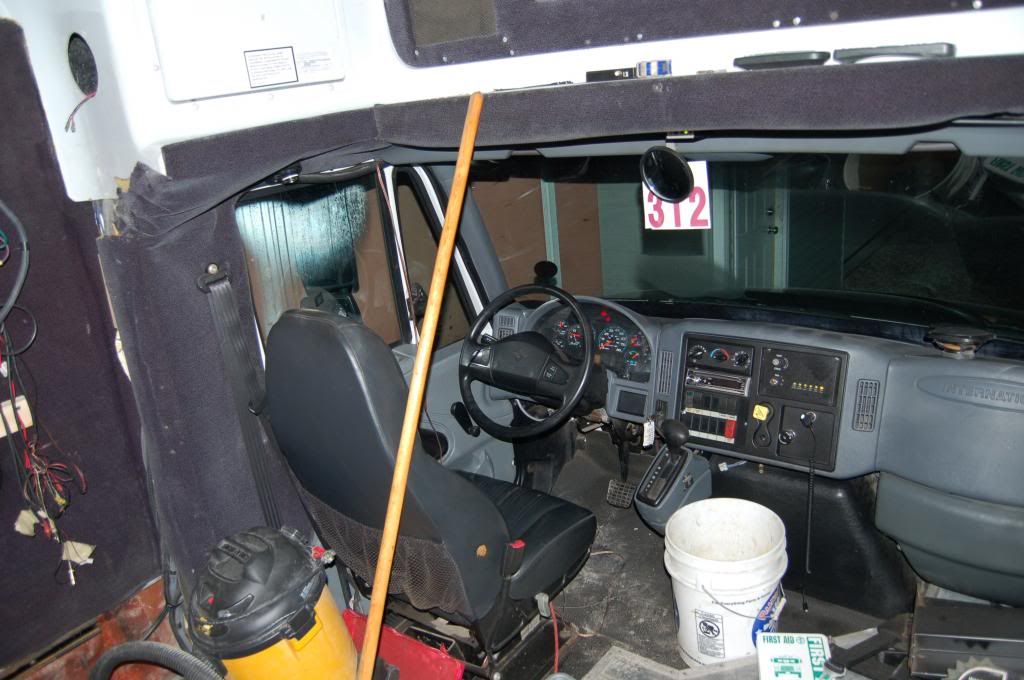
Joe spent his shop night working on a party bus. He and a friend have started a new side business called Epic Entertainment providing ultimate party bus rides to weddings, birthday parties, Pro Ball games, etc.
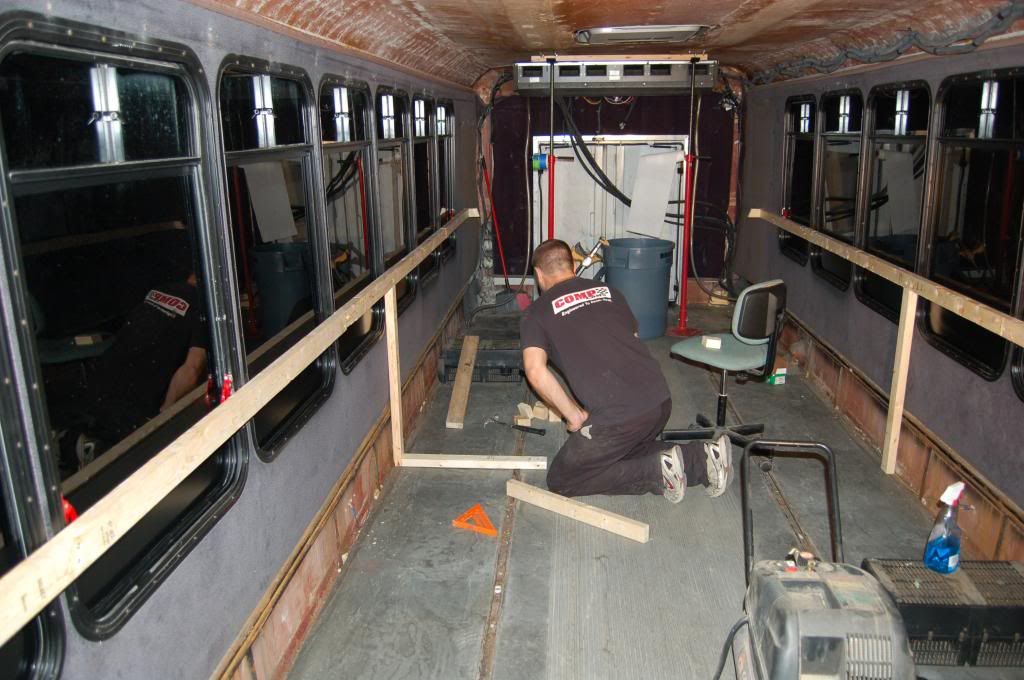
When this one is done, you will think you are in your own private night club. Besides doing general auto repair, Joe does custom auto sound, lighting, and security. You name it electronically, Joe does it.

When this one is done, you will think you are in your own private night club. Besides doing general auto repair, Joe does custom auto sound, lighting, and security. You name it electronically, Joe does it.
 09-09-2013, 10:12 PM
#84
10 Second Club
Join Date: Apr 2013
Location: Carlinville, IL
Posts: 317
Likes: 0
Received 0 Likes
on
0 Posts
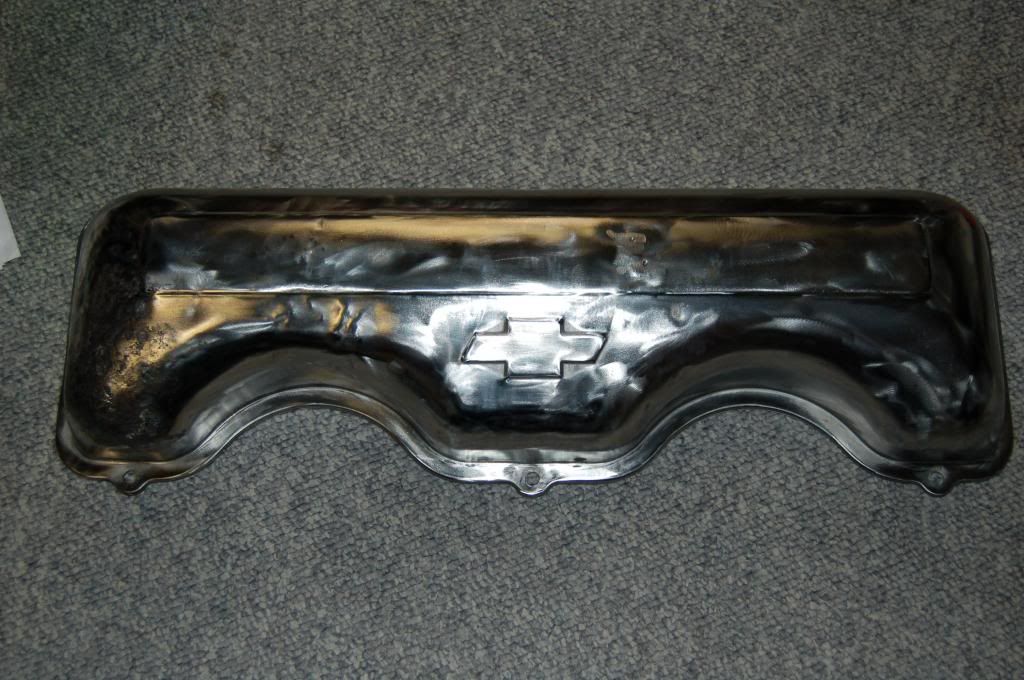
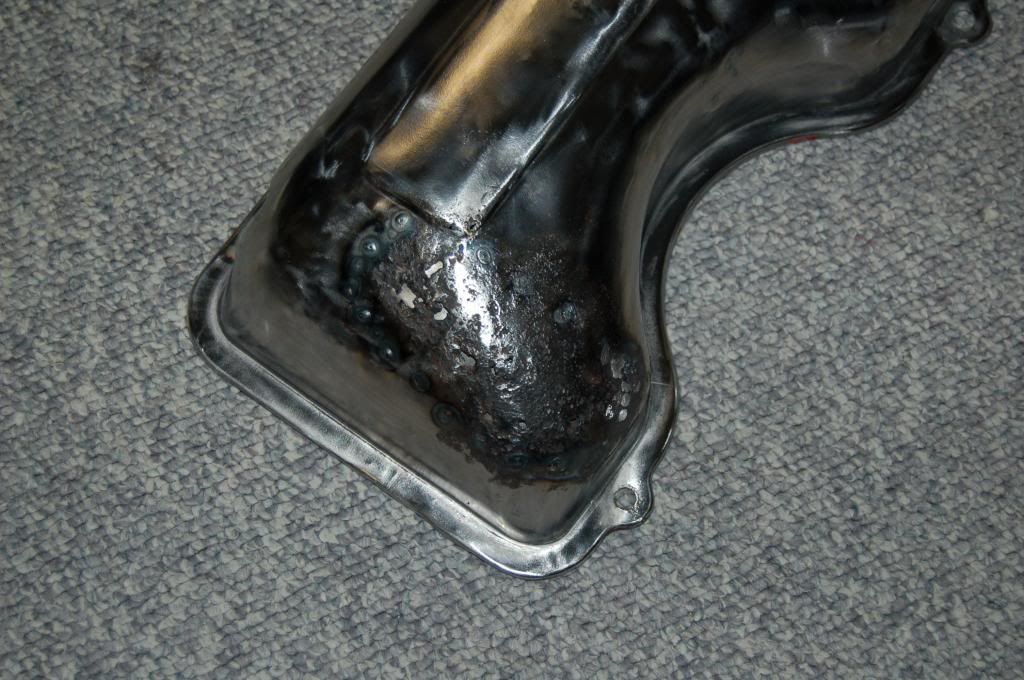
My next recovery project is a key holder for customer cars at the shop. I love rehabing useless junk into art that has a purpose. Like the coat hanger above, this 409 valve cover was roached.


First step was to blast the crud and old paint off. Next comes a good polishing with a hand grinder so you can see what you're working with.
Then basic metal repair.
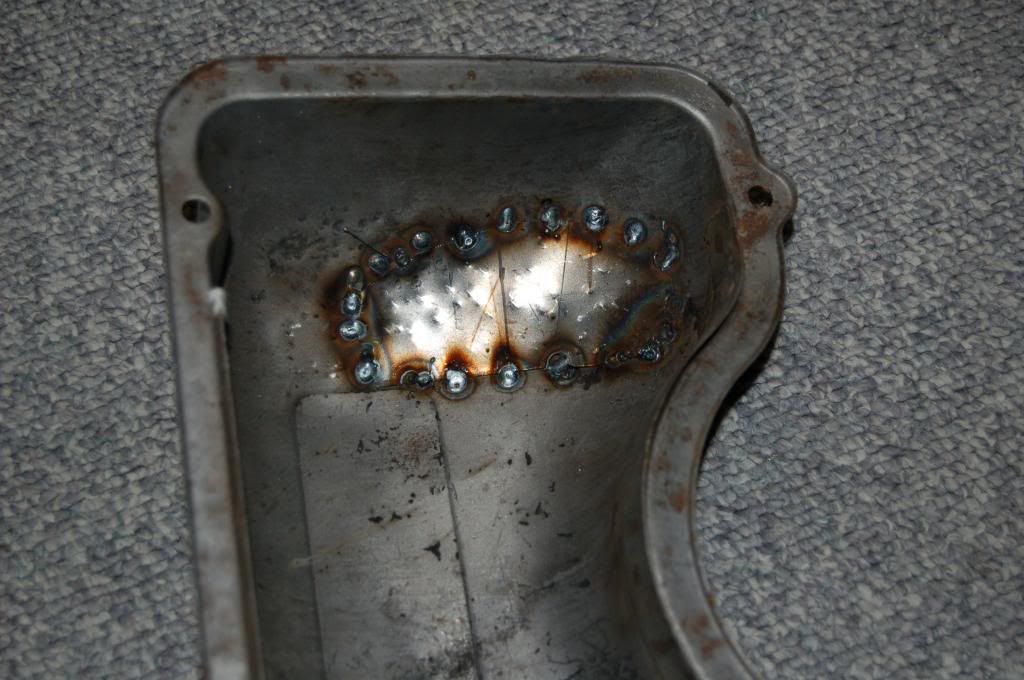
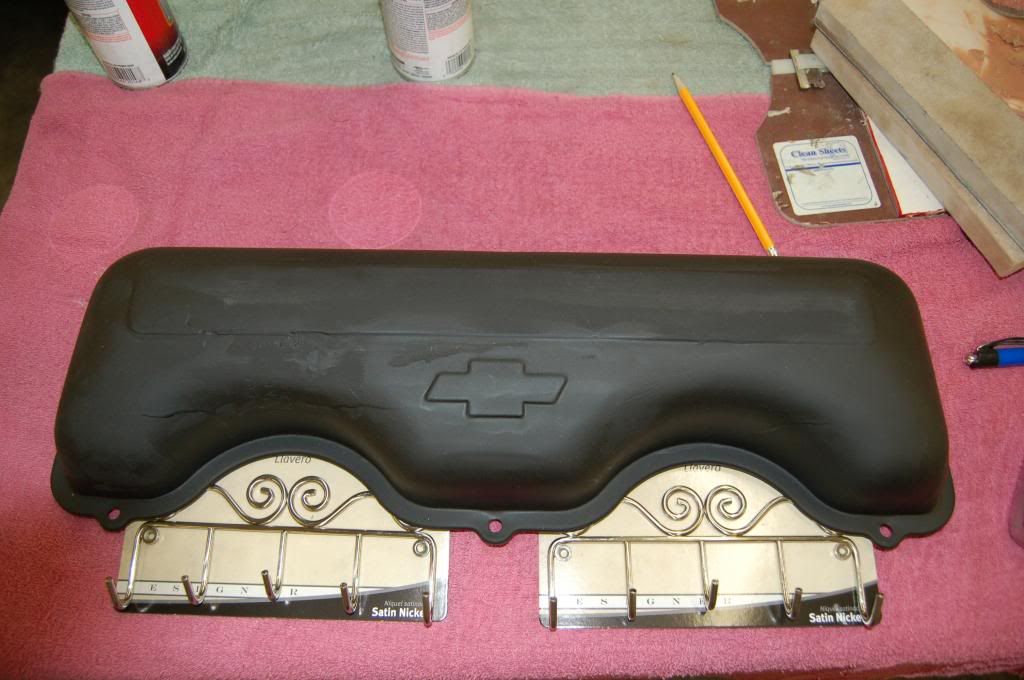
First coat of body putty rough sanded and primed to see where the second coat of filler is needed. Also basic layout if hangers to see how I am going to mount them.


First step was to blast the crud and old paint off. Next comes a good polishing with a hand grinder so you can see what you're working with.

Then basic metal repair.


First coat of body putty rough sanded and primed to see where the second coat of filler is needed. Also basic layout if hangers to see how I am going to mount them.
 09-24-2013, 07:21 PM
#85
10 Second Club
Join Date: Apr 2013
Location: Carlinville, IL
Posts: 317
Likes: 0
Received 0 Likes
on
0 Posts
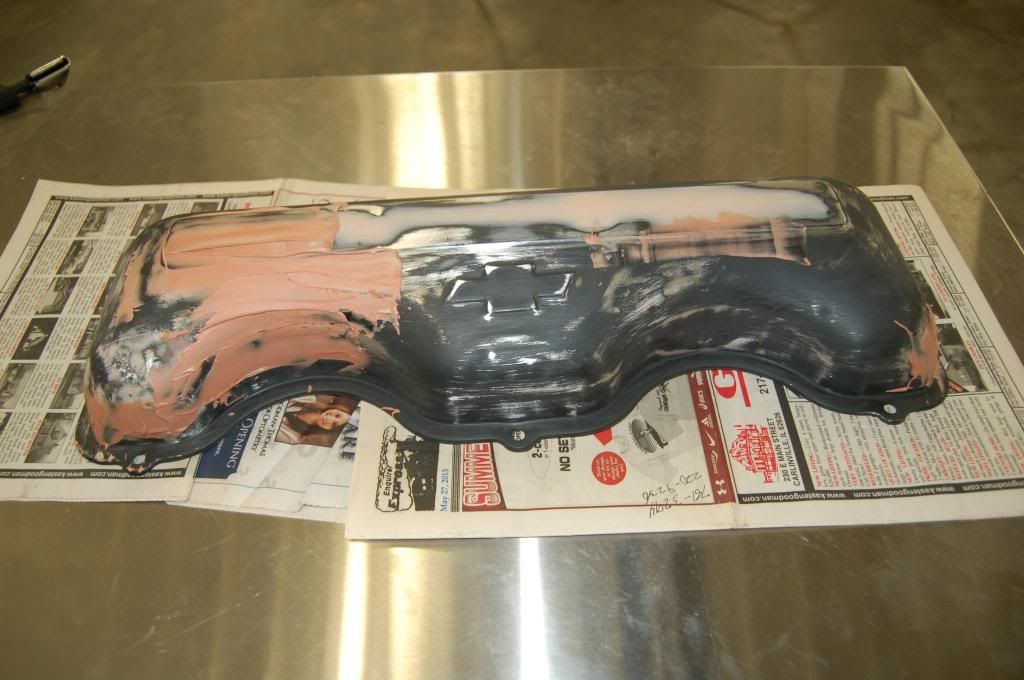
Last Monday night Joe worked on a replacement motor for a pickup he bought on the cheap as a daily driver so I stayed busy working on the key holder some more. First coat of filler sanded down and second coat applied. I'll sand that down and give it one final skim coat to make it nice and smooth for painting.
Some other things Joe has been doing in between shop nights. He built this handy compact alternator bracket while the car was on the street. I cleaned it up to get it ready for paint.
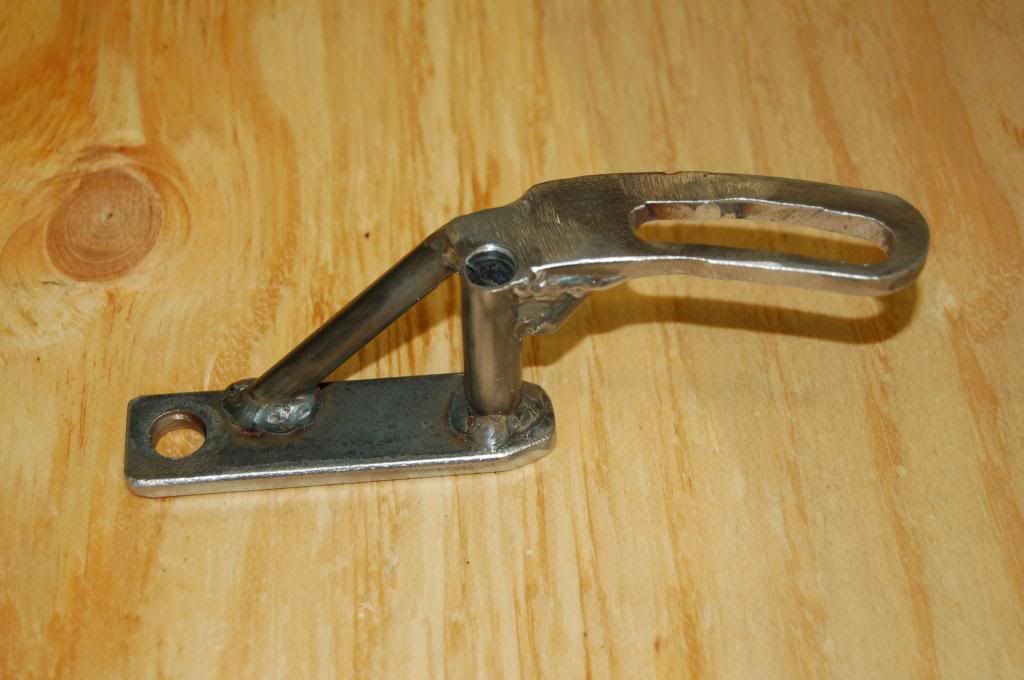

Some other things Joe has been doing in between shop nights. He built this handy compact alternator bracket while the car was on the street. I cleaned it up to get it ready for paint.
 09-24-2013, 07:24 PM
#86
10 Second Club
Join Date: Apr 2013
Location: Carlinville, IL
Posts: 317
Likes: 0
Received 0 Likes
on
0 Posts
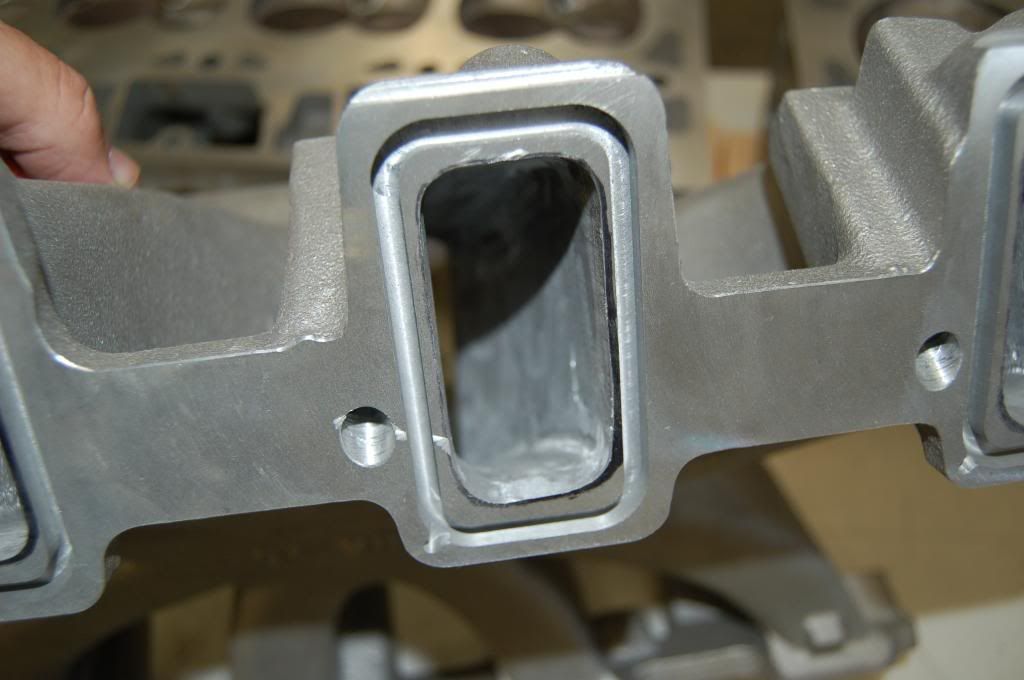
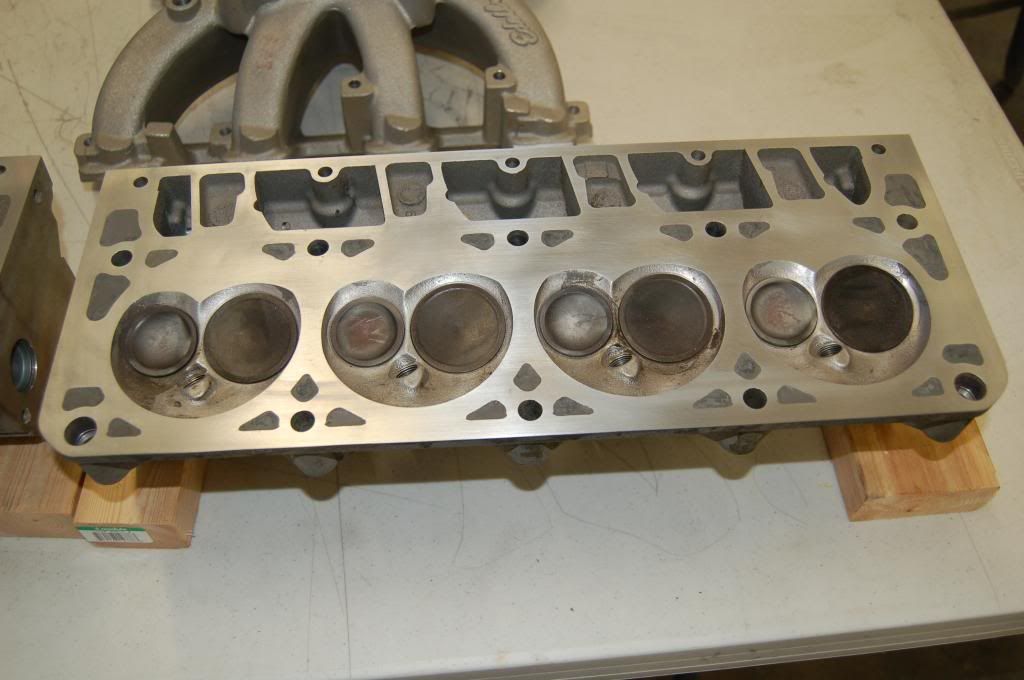
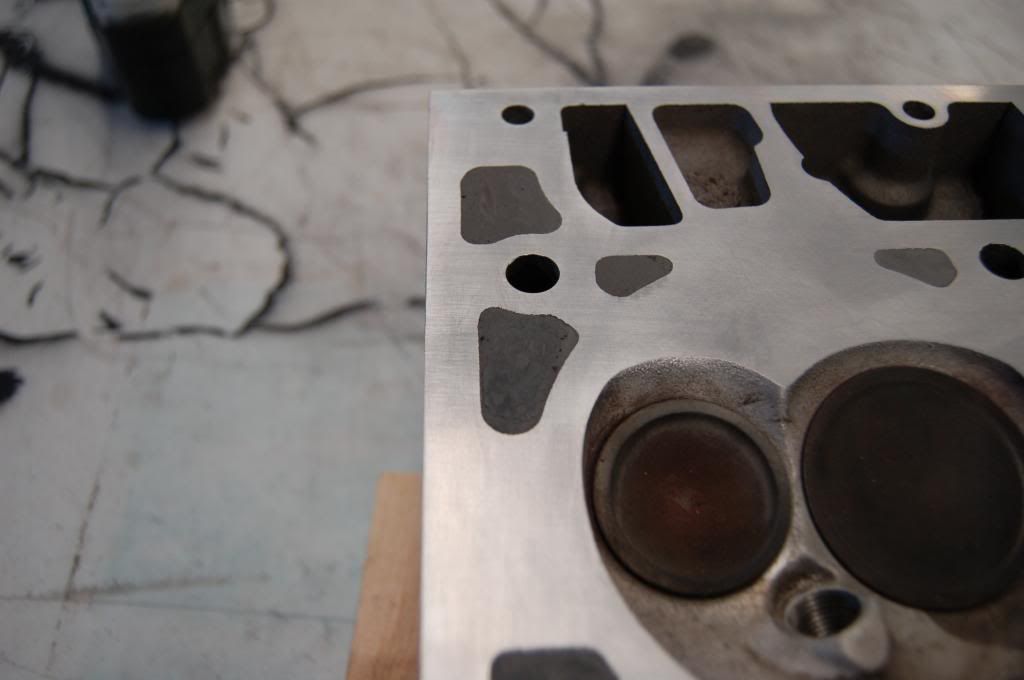
Joe has been hand porting the intake for the El Camino. Not getting carried away, just smoothing out all the rough cast marks.
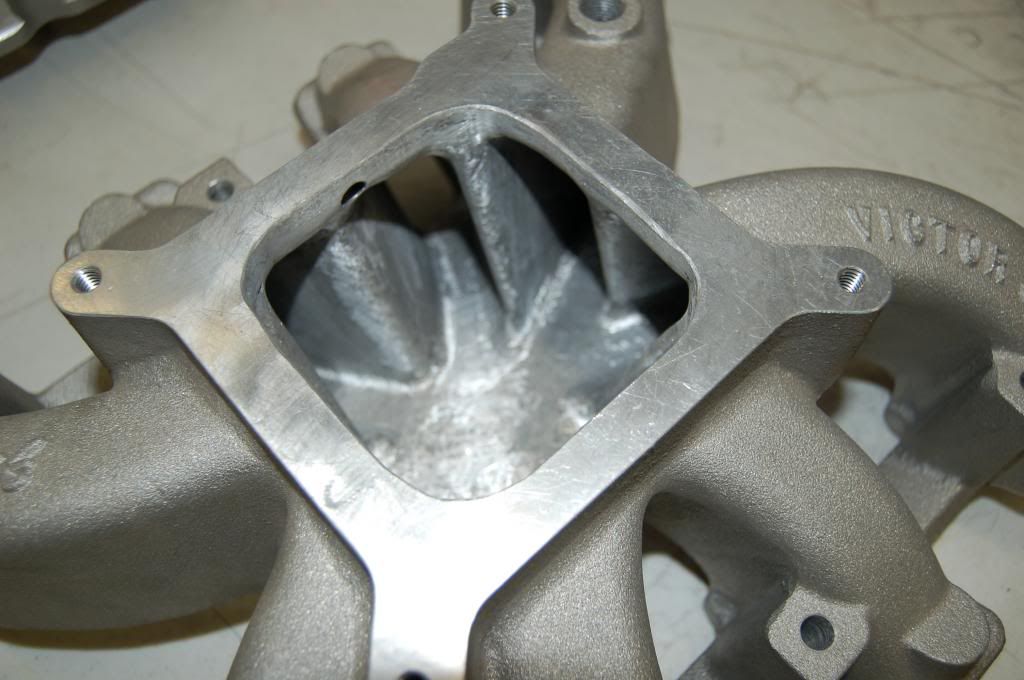
He also port matched the intake runners to the cylinder heads.

He also port matched the intake runners to the cylinder heads.
 09-24-2013, 07:29 PM
#87
10 Second Club
Join Date: Apr 2013
Location: Carlinville, IL
Posts: 317
Likes: 0
Received 0 Likes
on
0 Posts
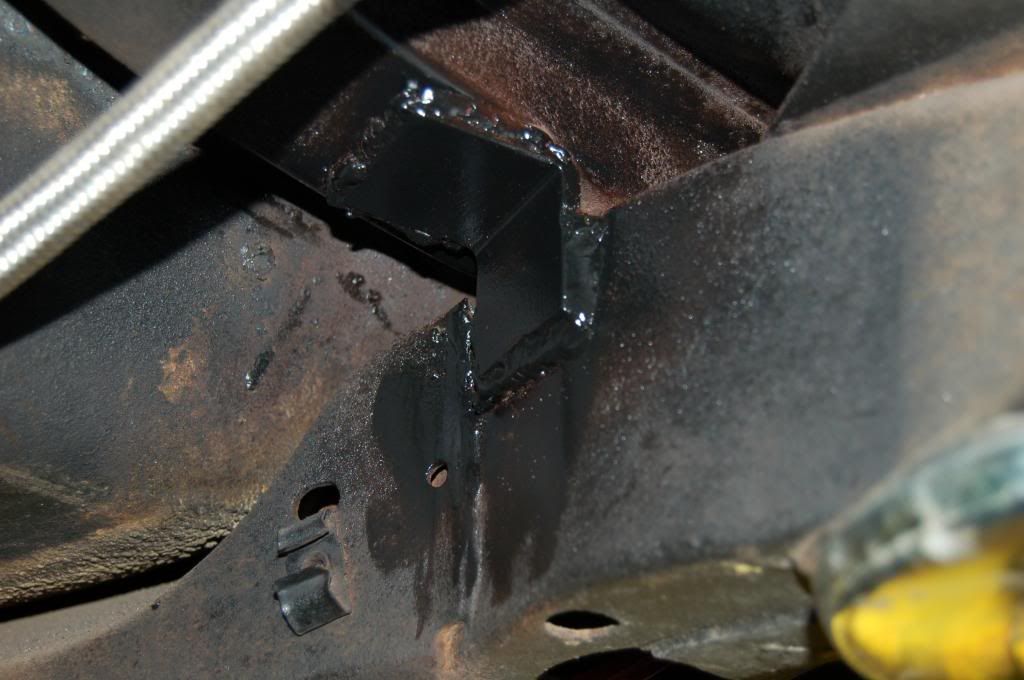
We were able to replace all the body bushings on the front half of the car with steel. All of the bolts that hold the bushings in the rear half of the car were a bigger pain to access/get out, so we just made these body to frame connectors to solid up the rear half.
In front of the rear most body mount.

Next to the main rear body mount.
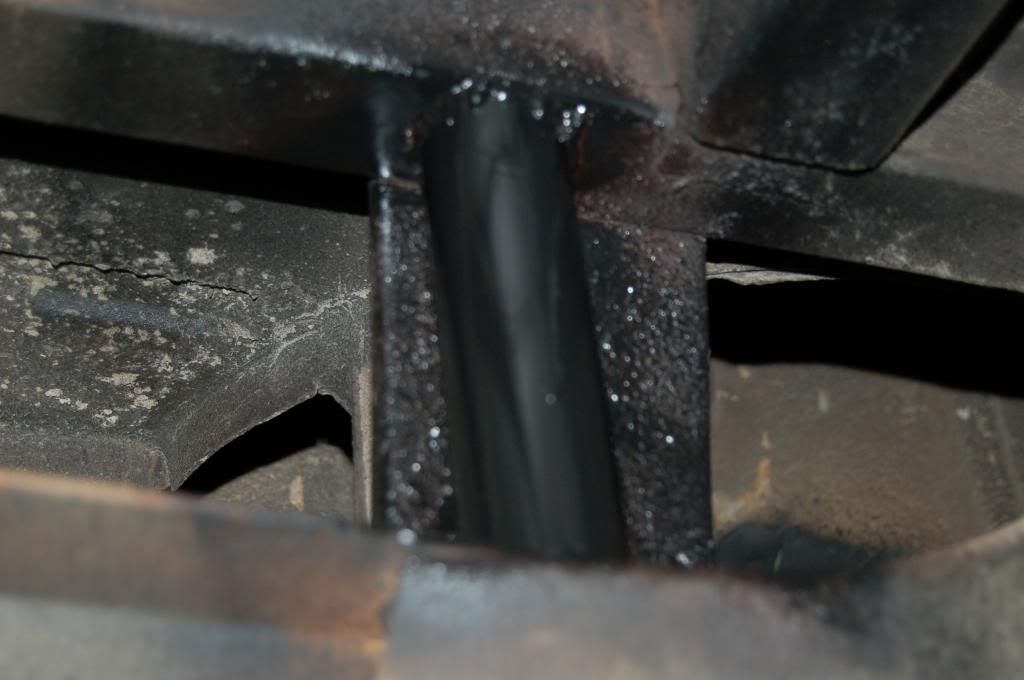
Right behind the seat.
In front of the rear most body mount.

Next to the main rear body mount.

Right behind the seat.
 09-24-2013, 07:33 PM
#88
10 Second Club
Join Date: Apr 2013
Location: Carlinville, IL
Posts: 317
Likes: 0
Received 0 Likes
on
0 Posts
Joe has also been working on the motor for his dragster. He plans on running a boosted alky burner so he filled the water jackets in the block and here he is doing the same with the heads using a combo of Hard Block and epoxy.


 09-24-2013, 08:53 PM
#90
That is a very good idea. I had the single plane gm ls3 intake on it before. It used the paper gaskets and was a much nicer intake. I liked that this intake had longer runners and the dividers come all the way to the plenum, but it is a very poor casting. The very first thing i had to do was have the injector bungs milled out of the runner ceilings. They hung into the runners a good 3/8"
11-03-2013, 03:19 PM
#91
10 Second Club
Join Date: Apr 2013
Location: Carlinville, IL
Posts: 317
Likes: 0
Received 0 Likes
on
0 Posts
I moved the photos of the 65 Chevelle to it's own thread.....
https://ls1tech.com/forums/drag-raci...l#post17850582
https://ls1tech.com/forums/drag-raci...l#post17850582
Last edited by 65drag; 11-26-2013 at 08:05 PM.
01-23-2014, 05:33 PM
#92
10 Second Club
Join Date: Apr 2013
Location: Carlinville, IL
Posts: 317
Likes: 0
Received 0 Likes
on
0 Posts
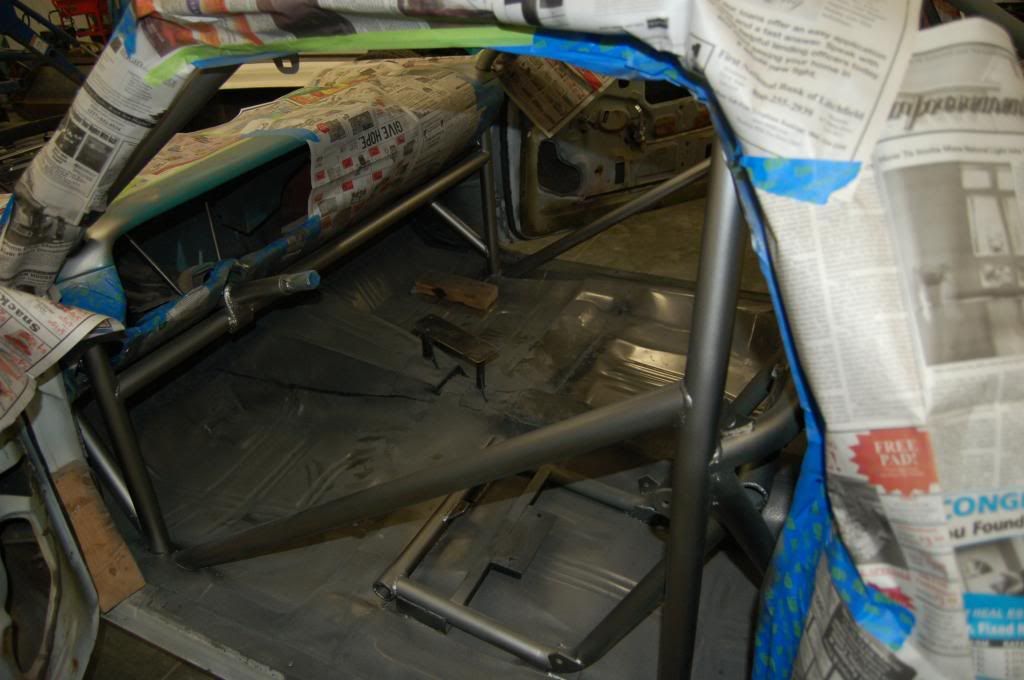
Shop Night last Monday, we finally got back to working on the Shop Rag. We hope to have it out this spring for a shake down, then get serious later on in the year at the NHRA Hot Rod Reunion in Bowling Green, and maybe the LS Fest.
It took all night to prep, tape off for over spray, and paint the cage. We used Seymour Stainless Steel in a rattle can, and it looks great. It ends up as a Satin Silver which will go good with the Satin Metalic Sea Foam Green that we plan on painting the car.
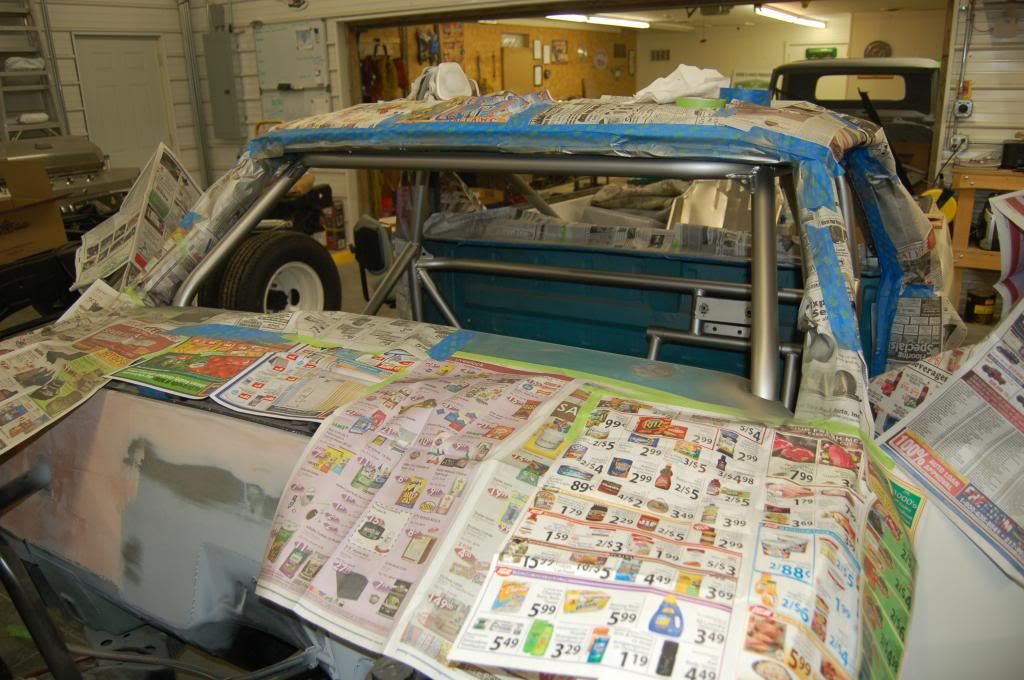
We taped over the cage inspection tag and we will pull the tape back off after the silver has gassed out. The tag will stand out because we left a small boarder of Black paint that the tag was applied to.
 01-23-2014, 05:39 PM
#93
10 Second Club
Join Date: Apr 2013
Location: Carlinville, IL
Posts: 317
Likes: 0
Received 0 Likes
on
0 Posts
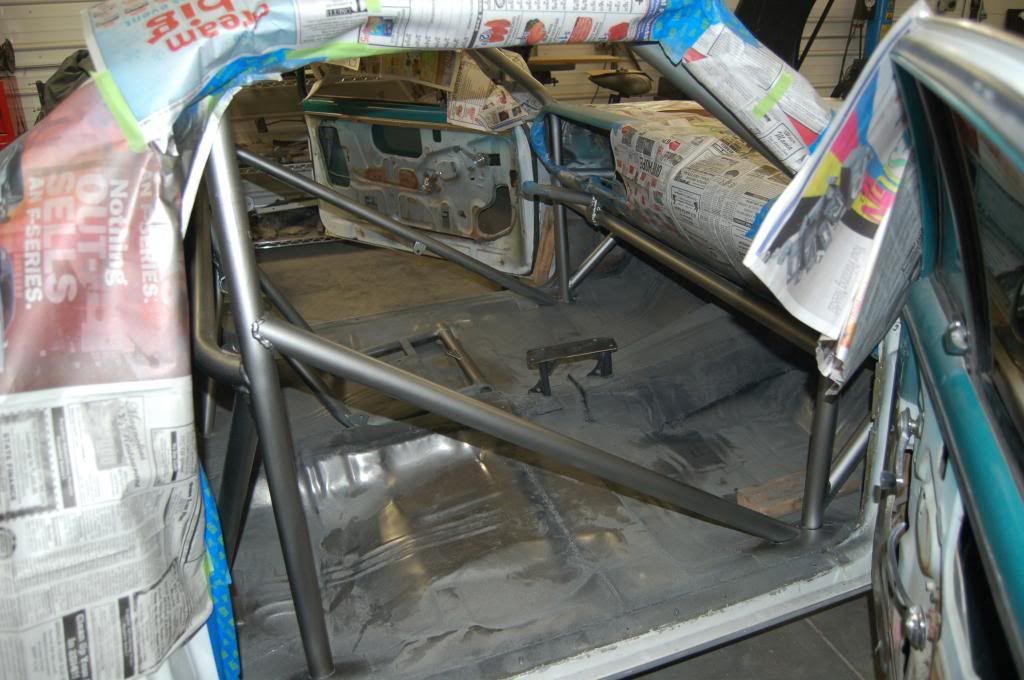
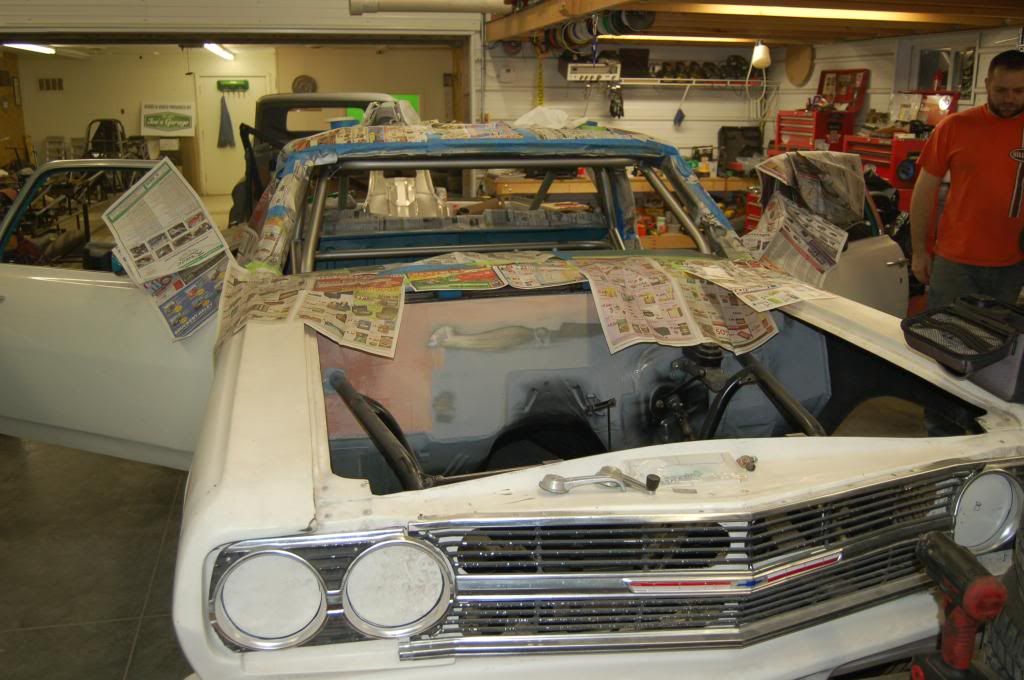
The rest of the interior will be painted black and we will spray bedliner on the floor for ease of cleaning and a grip for the shoes when getting out of the car.
As you can tell in the background, we have too many distractions that keep us from getting anything done. I guess we don't get bored that way though!

As you can tell in the background, we have too many distractions that keep us from getting anything done. I guess we don't get bored that way though!
 01-23-2014, 05:42 PM
#94
10 Second Club
Join Date: Apr 2013
Location: Carlinville, IL
Posts: 317
Likes: 0
Received 0 Likes
on
0 Posts
The latest distraction is a customer truck that is going to get a frame stretch and ramp bed to make it a hauler. The 57 Cab sits on a modern day framed dually. Joe is doing the mechanical and electrical on the truck.
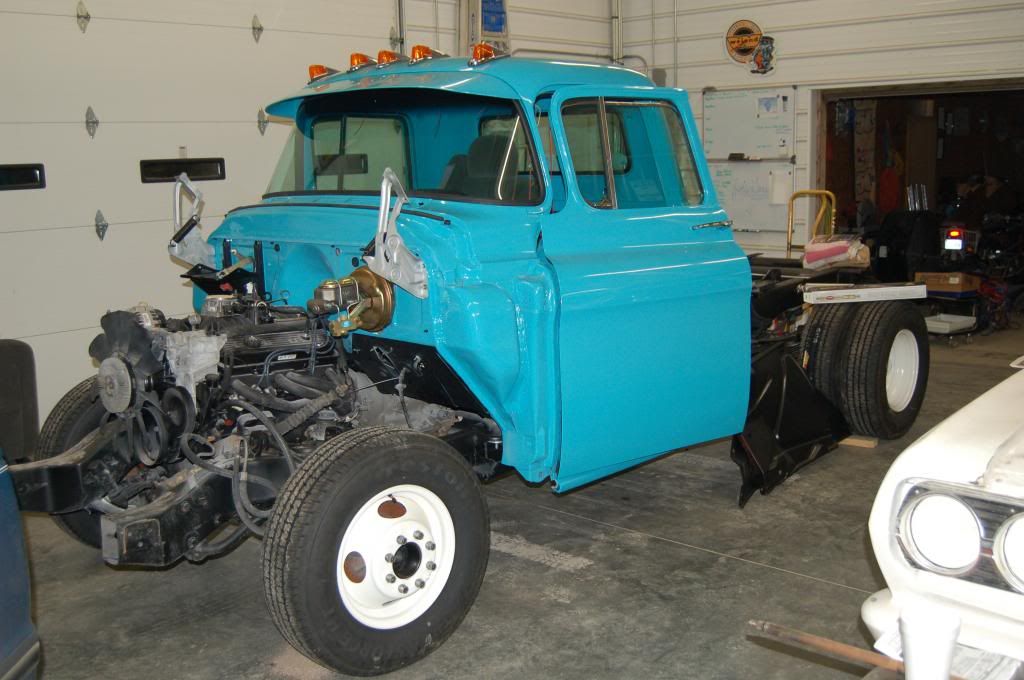
When it is done, the owner has a color matching 57 Chevy BelAir that he will haul on it.


When it is done, the owner has a color matching 57 Chevy BelAir that he will haul on it.


 01-26-2014, 02:53 PM
#96
Curious to see how the bedliner floor comes along. I've been debating on trying to **** with fitting carpet in my Camaro around the cage or just leaving it bare. Then the other night I was thinking about doing the trunk in that splatter paint and thought hey I wonder how trunk paint or even bed liner would work for the floor. So keep us posted!
03-04-2014, 05:12 AM
#97
10 Second Club
Join Date: Apr 2013
Location: Carlinville, IL
Posts: 317
Likes: 0
Received 0 Likes
on
0 Posts
OK, this project is starting to drag on so we cleaned out a corner of the old shop to get the body work started.
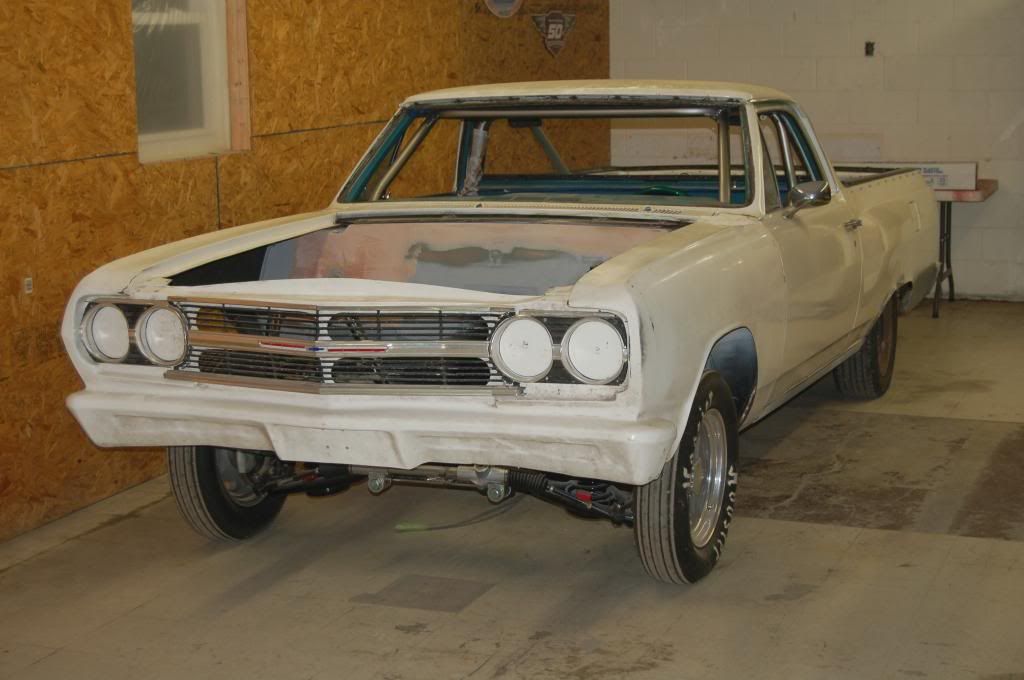
In an effort to keep the dust down in the main shop, we built a makeshift body room by hanging 4mil visqueen screwed to the ceiling with battens and nailed to the floor the same way.
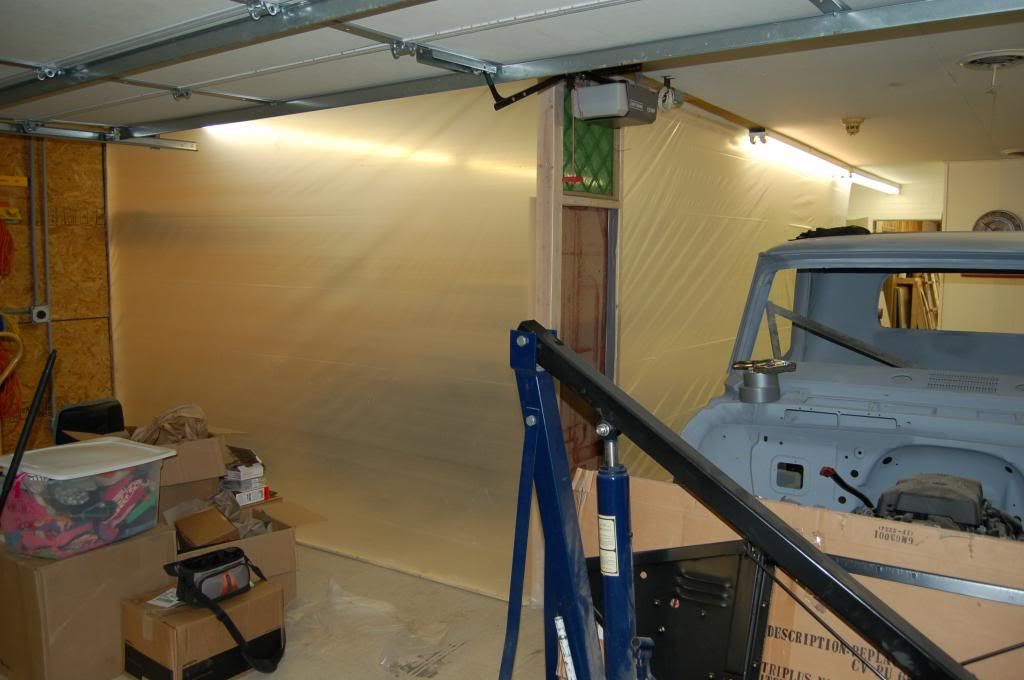

In an effort to keep the dust down in the main shop, we built a makeshift body room by hanging 4mil visqueen screwed to the ceiling with battens and nailed to the floor the same way.
 03-04-2014, 05:15 AM
#98
10 Second Club
Join Date: Apr 2013
Location: Carlinville, IL
Posts: 317
Likes: 0
Received 0 Likes
on
0 Posts

Joe built the door out of scrap and hinges left over from another project. The hinges are self closing. We also put filters in each end so we can get some airflow through the room.
 03-04-2014, 05:17 AM
#99
10 Second Club
Join Date: Apr 2013
Location: Carlinville, IL
Posts: 317
Likes: 0
Received 0 Likes
on
0 Posts
When we are spreading filler or painting primer, we can open the window, insert a box fan and slowly draw air through the room.
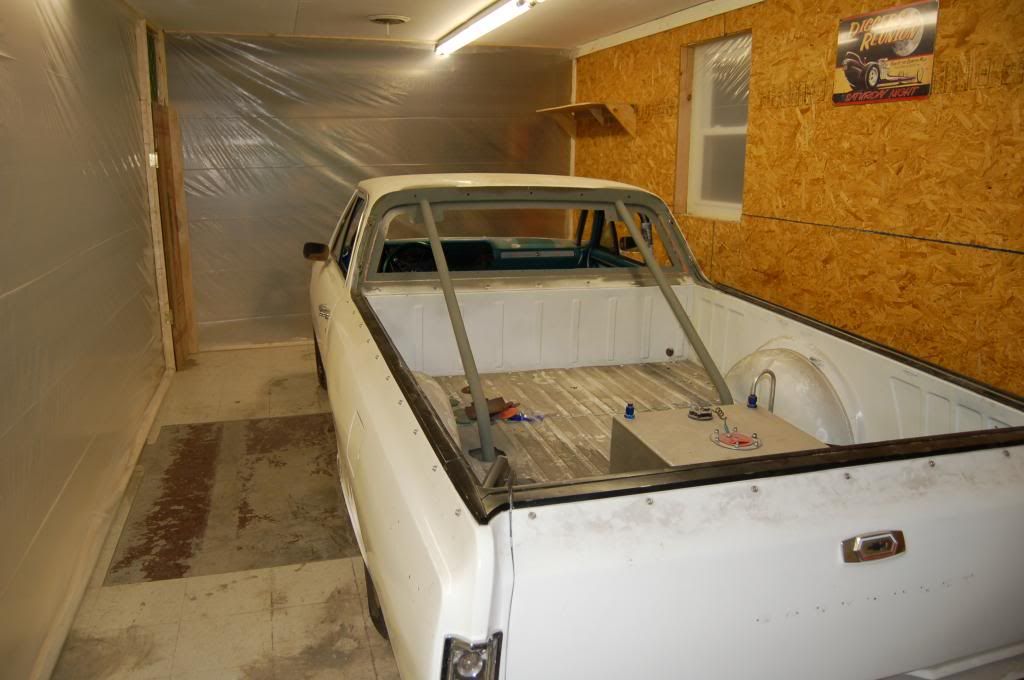
It's a little snug in there, but it's only for doing basic bodywork. We have a friend with access to a paint booth for final prep and painting, but the more we can get done ahead of time is less time taking up space in our friends booth.
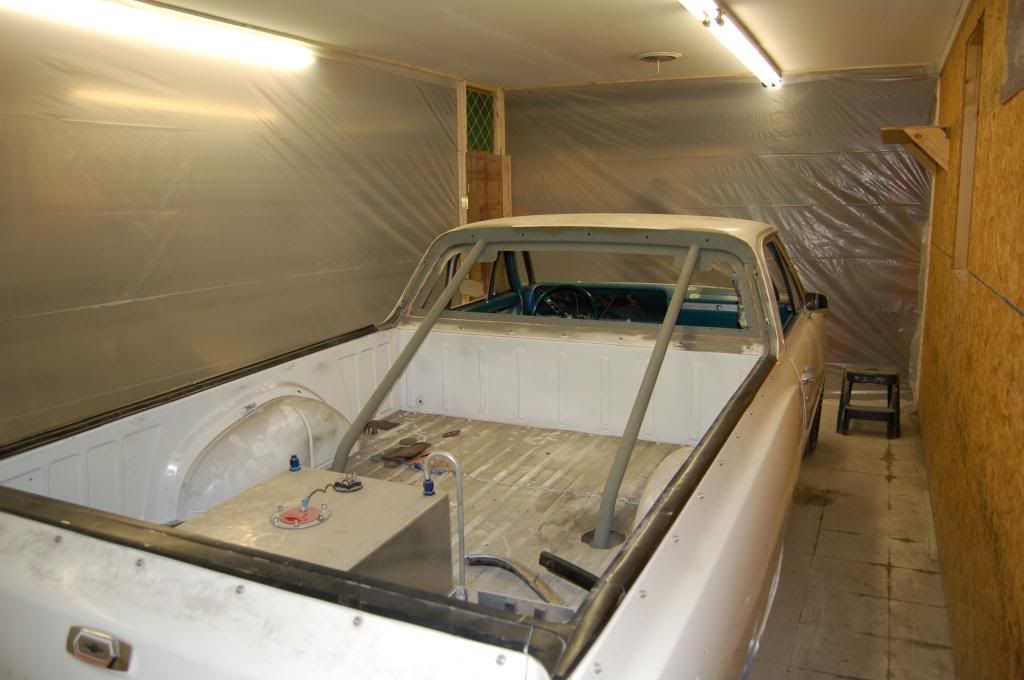

It's a little snug in there, but it's only for doing basic bodywork. We have a friend with access to a paint booth for final prep and painting, but the more we can get done ahead of time is less time taking up space in our friends booth.


