


My vert turbo camaro project

Thread Starter
Banned
Joined: Jun 2009
Posts: 132
Likes: 0
Well here is the run down of the project. driveline is a 02 4.8 [293ci motor] PTe88 turbo, Viper spec'd T56, 230/236 cam, ls2 intake, 241 heads. this exact setup made 702 rwhp and 565rwtq in my silverado with pig rich AFR of 10.4. Since the camaro is about 1k pounds lighter then the silverado i was curious to see how the setup would preform in a lighter chassis. I shift this setup at 7500 rpms but might bump that up a few hundred rpms. Car is going to have powersteering and all the bells and whistles, this isnt a track car just a street warrior that will see track times but again isnt a full out track setup. I know auto would be faster but isnt an option.
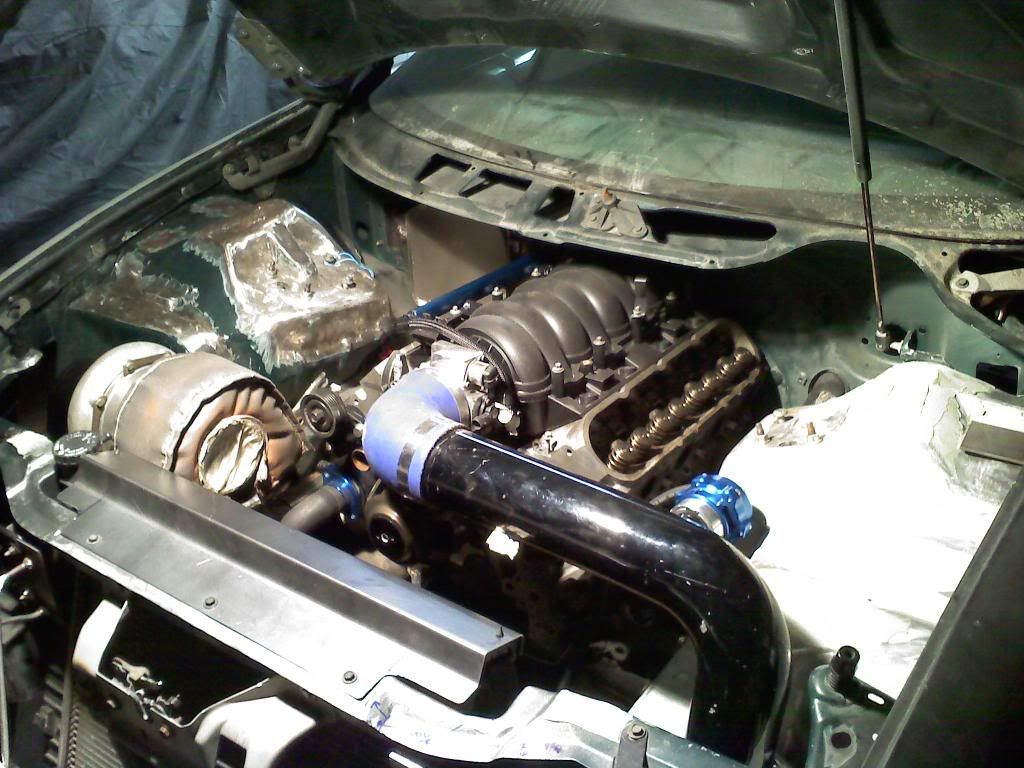
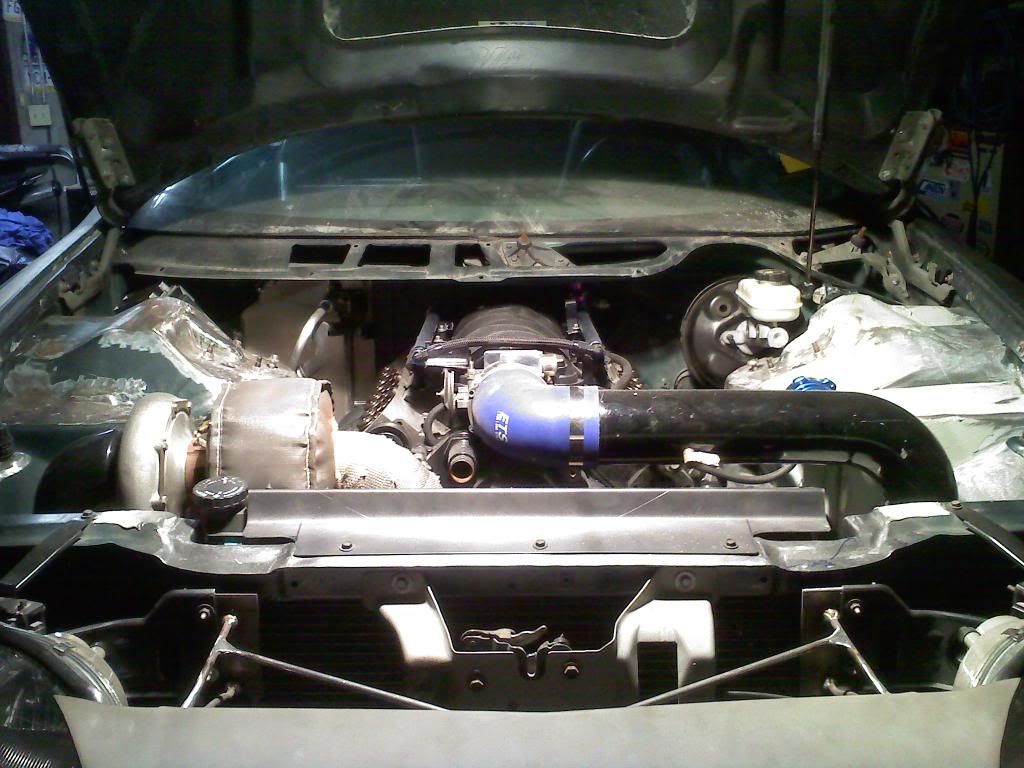
here are the mock up pics of setup
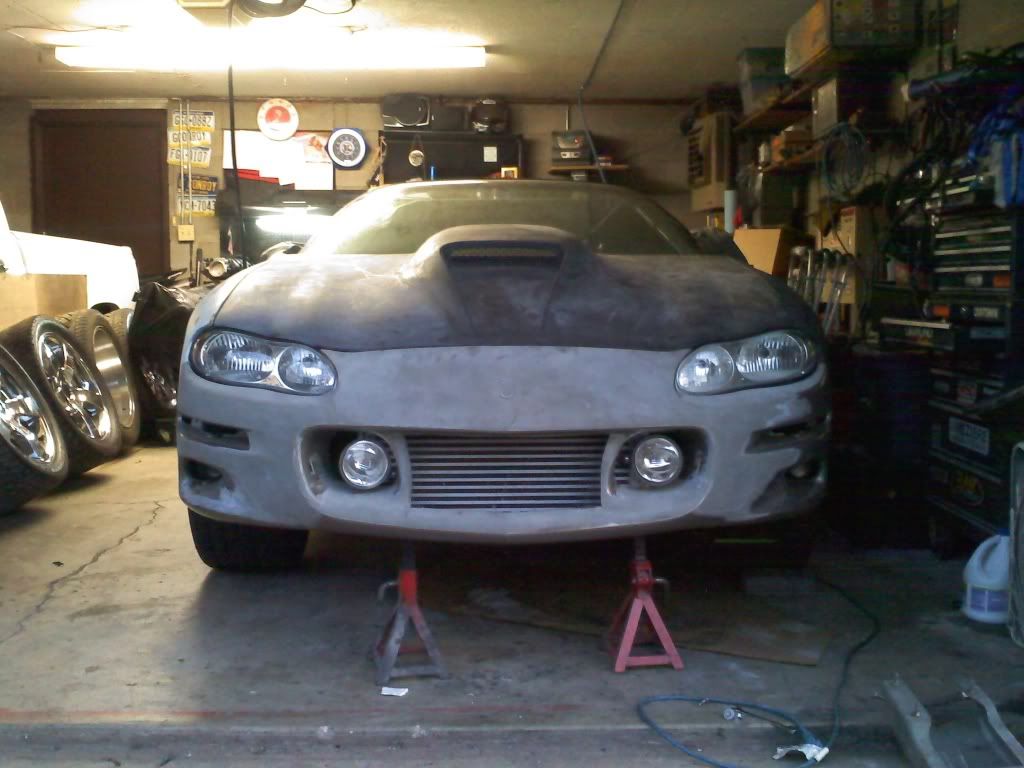
some of this kit is carried over from the silverado. also this will be exiting thru a CME but will use a cutout off the downpipe for track days
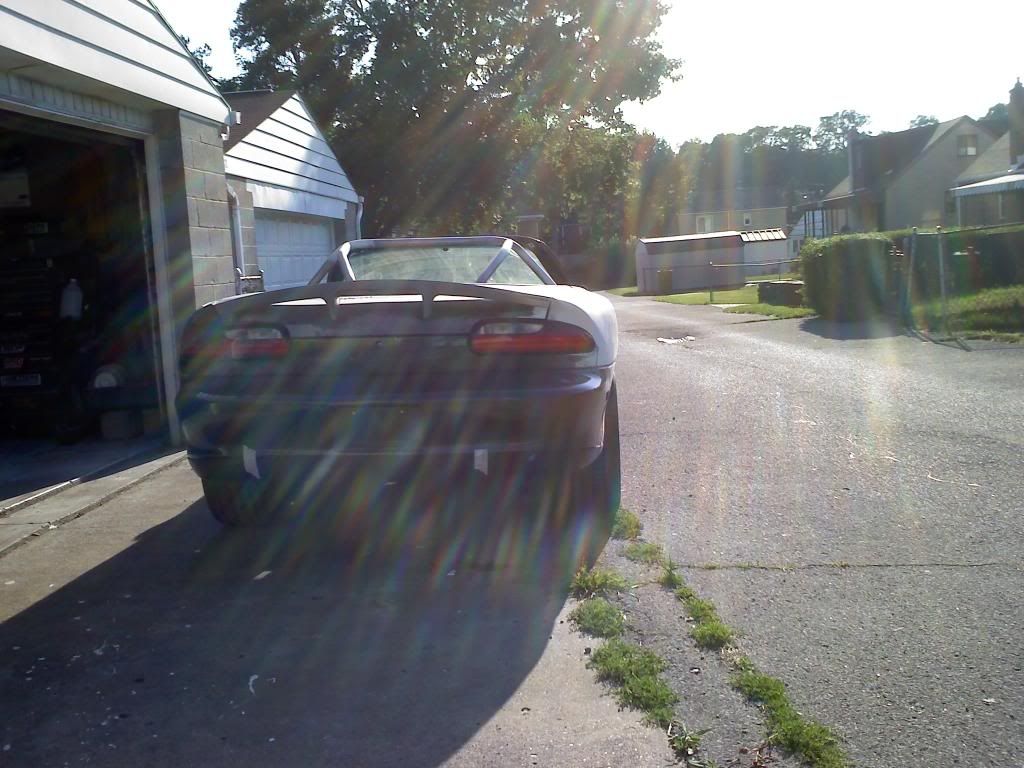
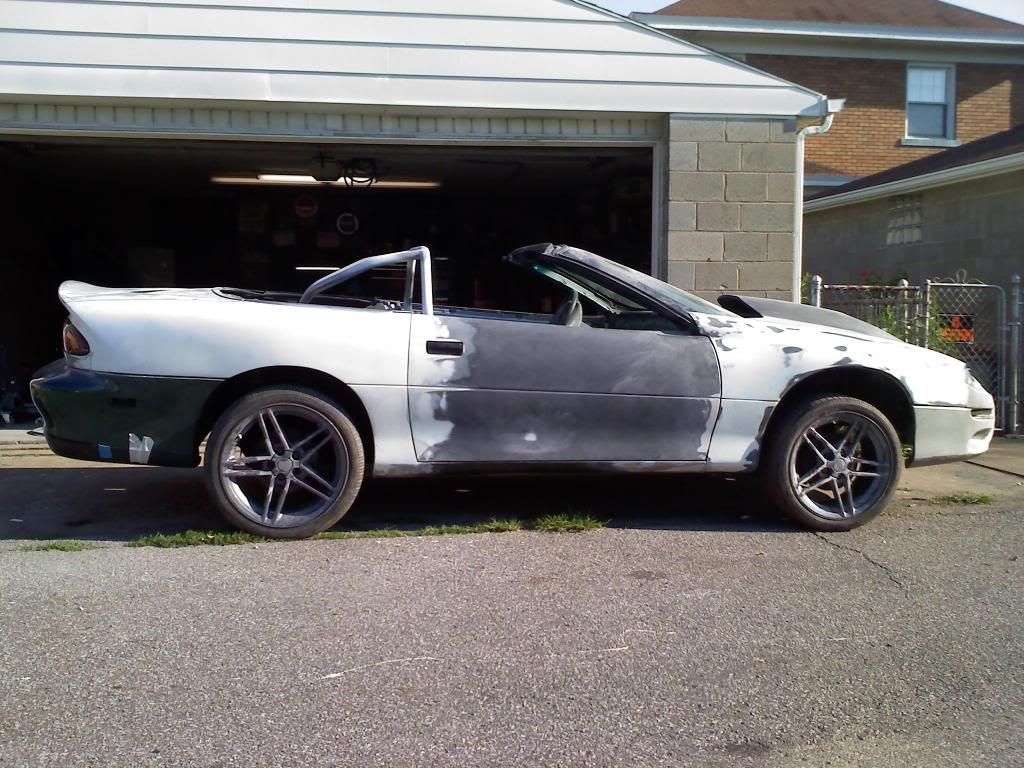
when fiinshed car wil lbe electron blue with white 35th aniversary stripes. wheels are OEM C6Z06 wheels with a Dick harrel clone widebody kit. engine bay has been smoothed and filled. the holes created from turbo kit will be filled and smoothed once again. all wires are going to be tucked and hiddend under the chassis. this will be a drawnout project
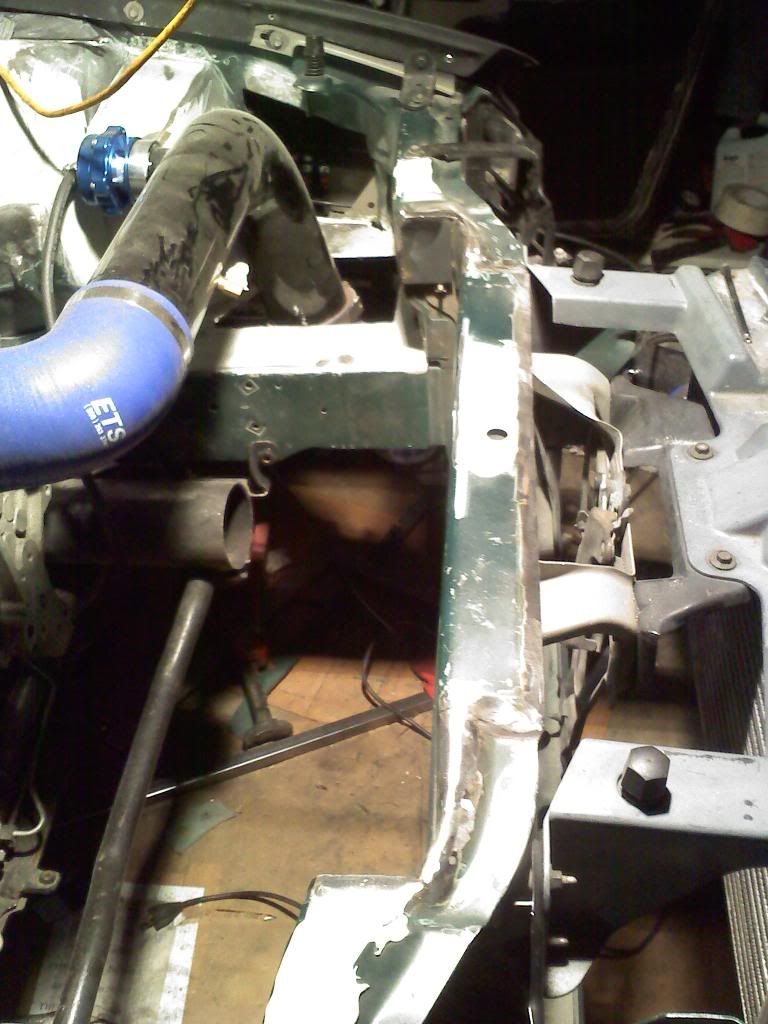
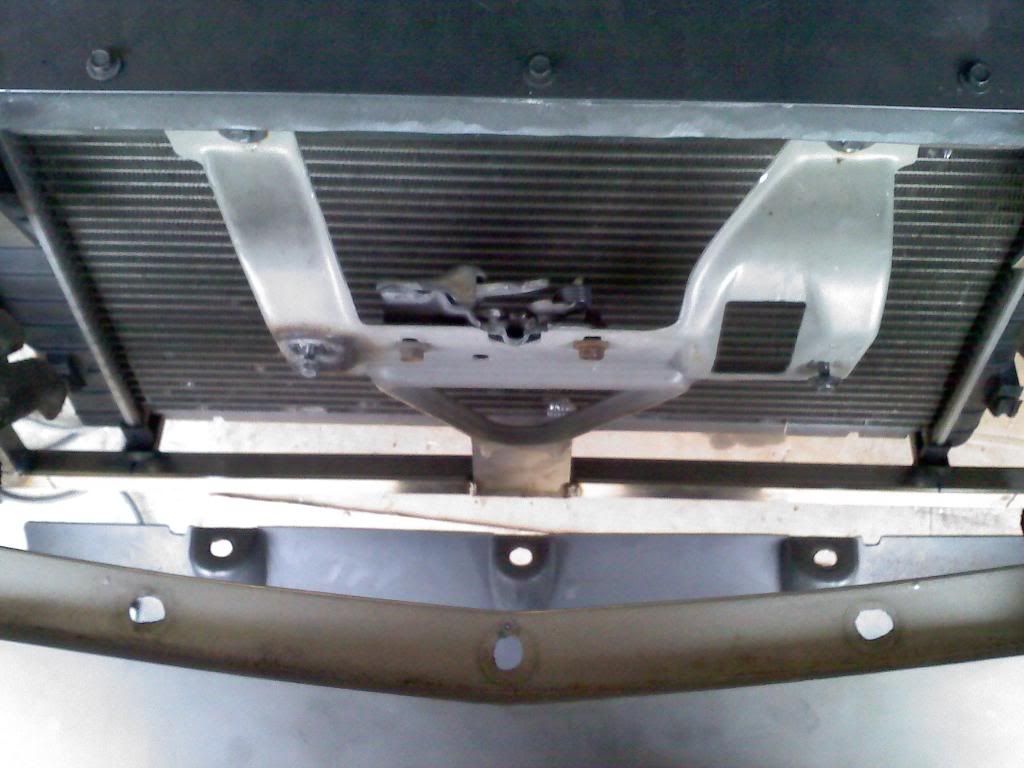
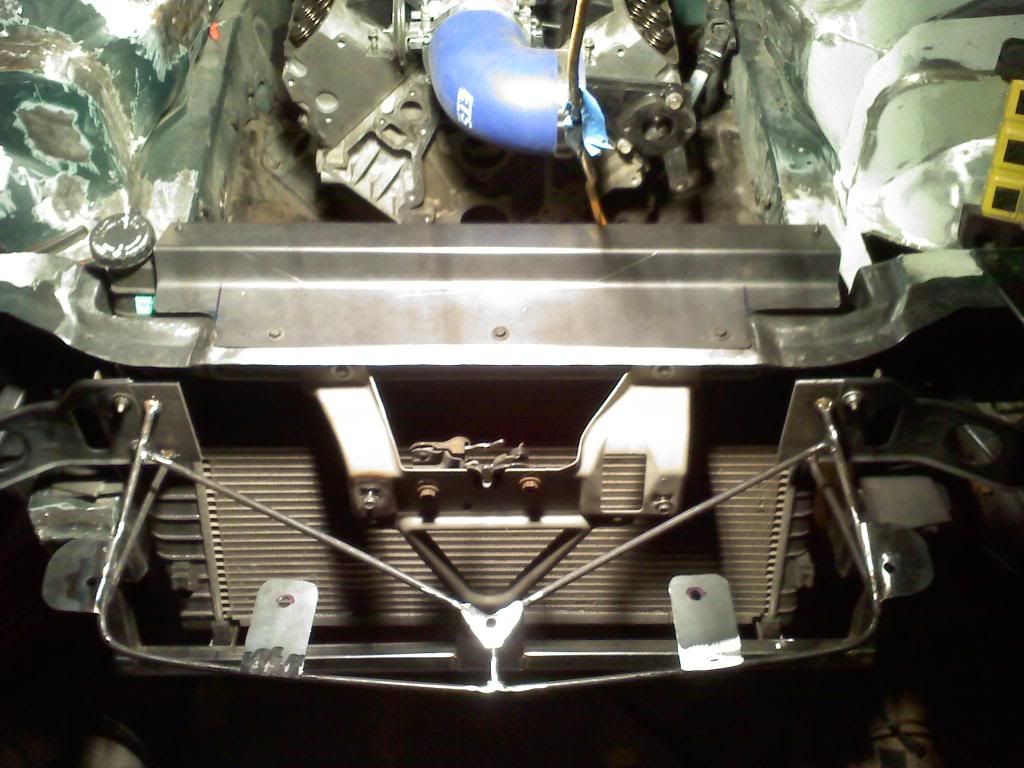
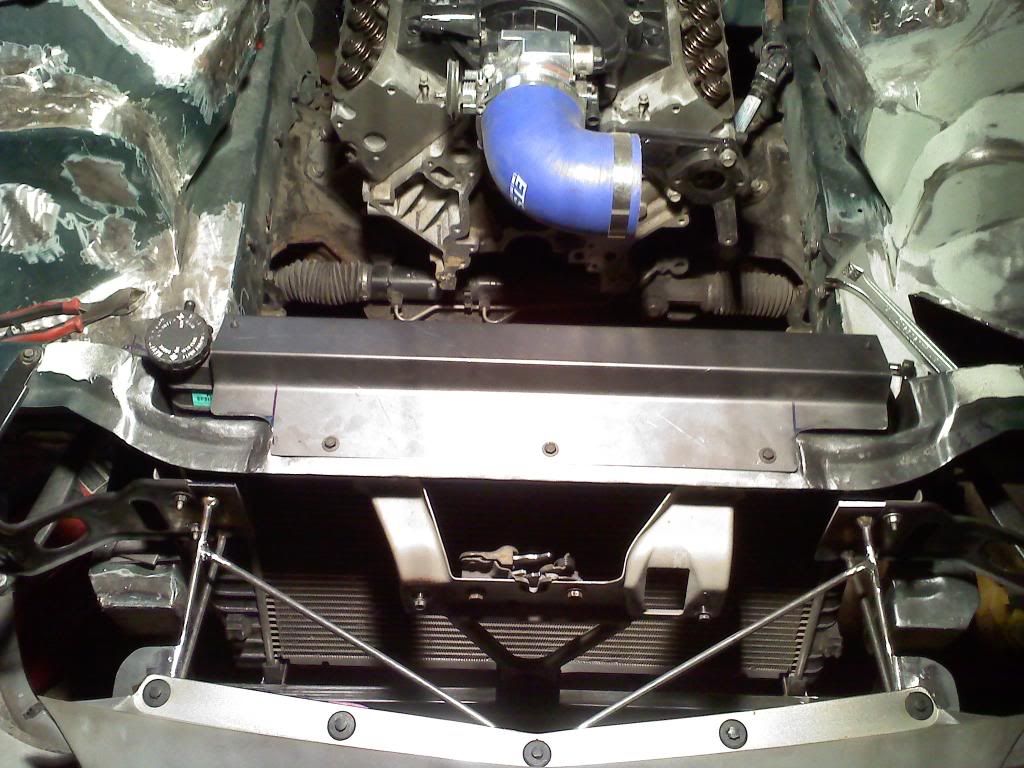
well today i worked on my rad support so i could use stock rad and fans. i cut rad support like many do and the piece that was removed was skinned and overlapped over the remaining piece. goal was to remain as stock looking as possible and doing this i still have strenght of stock and lines of stock as well. I also drilled out the spot welds holding the lower rad support in place. im sliding this peice foward to allow myself to keep the same angle of stock rad/fan setup.

made some progress after getting my bottles filled.
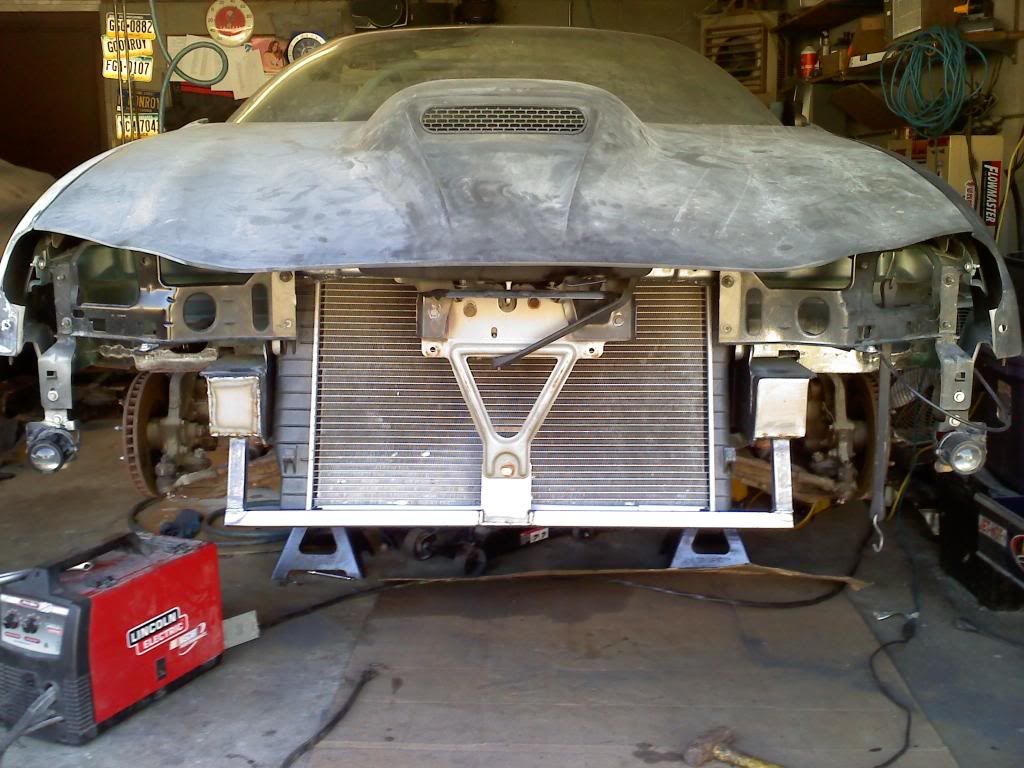
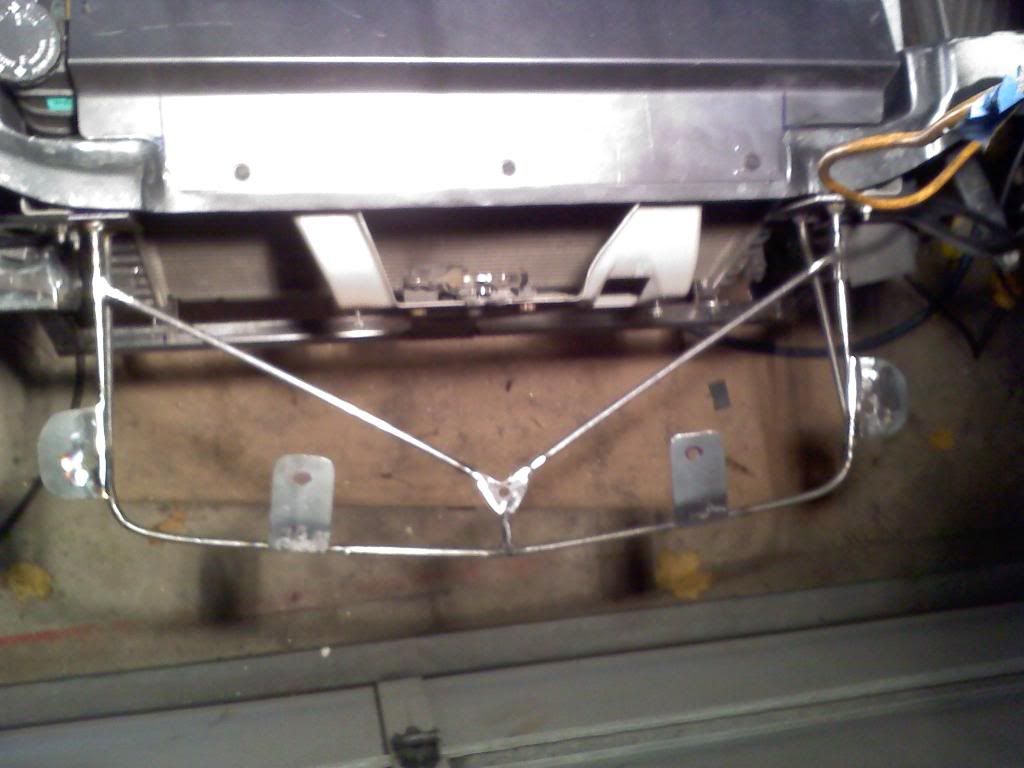
still up in air if i should triangluate the rad support for more strenght, ran short on time to finish more of it. Have to head to class
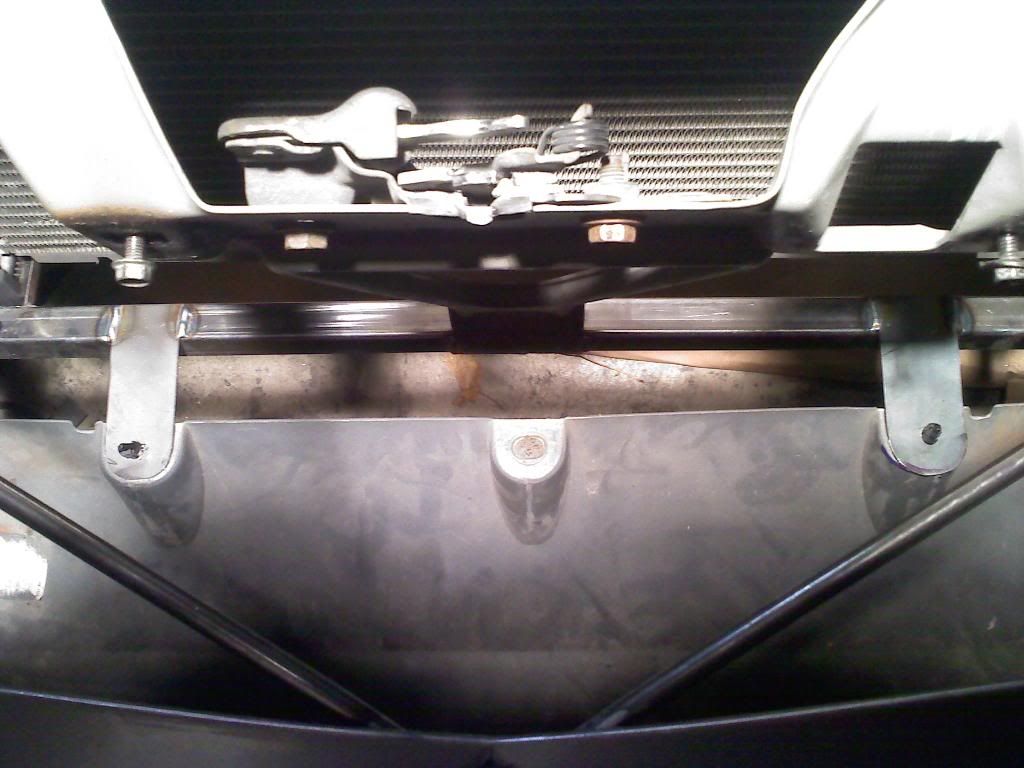
made some more progress today.
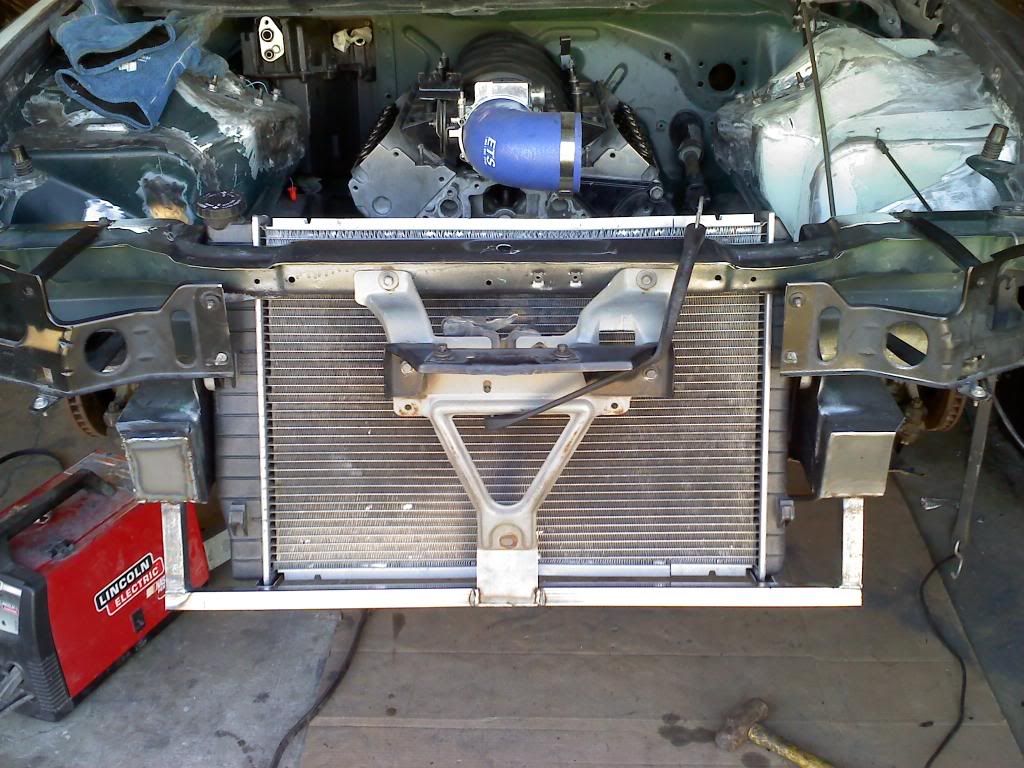
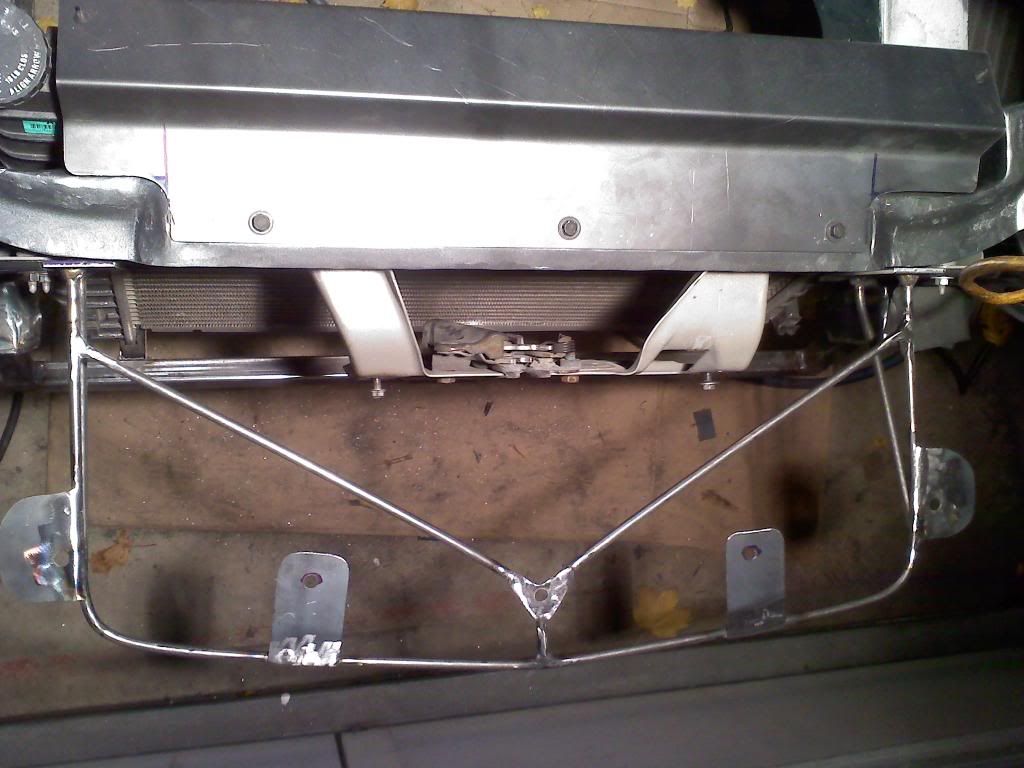
first up you can see how the rad is supported. i used 1x1 tube and cut it in half then i used stock rubber holders from the plastic rad cover and used them as the feet. I then had a cover break'd formed and also used a set of rubber holders on top
I also scored an AC delete box
here are the mock up pics of setup
some of this kit is carried over from the silverado. also this will be exiting thru a CME but will use a cutout off the downpipe for track days
when fiinshed car wil lbe electron blue with white 35th aniversary stripes. wheels are OEM C6Z06 wheels with a Dick harrel clone widebody kit. engine bay has been smoothed and filled. the holes created from turbo kit will be filled and smoothed once again. all wires are going to be tucked and hiddend under the chassis. this will be a drawnout project
well today i worked on my rad support so i could use stock rad and fans. i cut rad support like many do and the piece that was removed was skinned and overlapped over the remaining piece. goal was to remain as stock looking as possible and doing this i still have strenght of stock and lines of stock as well. I also drilled out the spot welds holding the lower rad support in place. im sliding this peice foward to allow myself to keep the same angle of stock rad/fan setup.
made some progress after getting my bottles filled.
still up in air if i should triangluate the rad support for more strenght, ran short on time to finish more of it. Have to head to class
made some more progress today.
first up you can see how the rad is supported. i used 1x1 tube and cut it in half then i used stock rubber holders from the plastic rad cover and used them as the feet. I then had a cover break'd formed and also used a set of rubber holders on top
I also scored an AC delete box
Thread Starter
Banned
Joined: Jun 2009
Posts: 132
Likes: 0
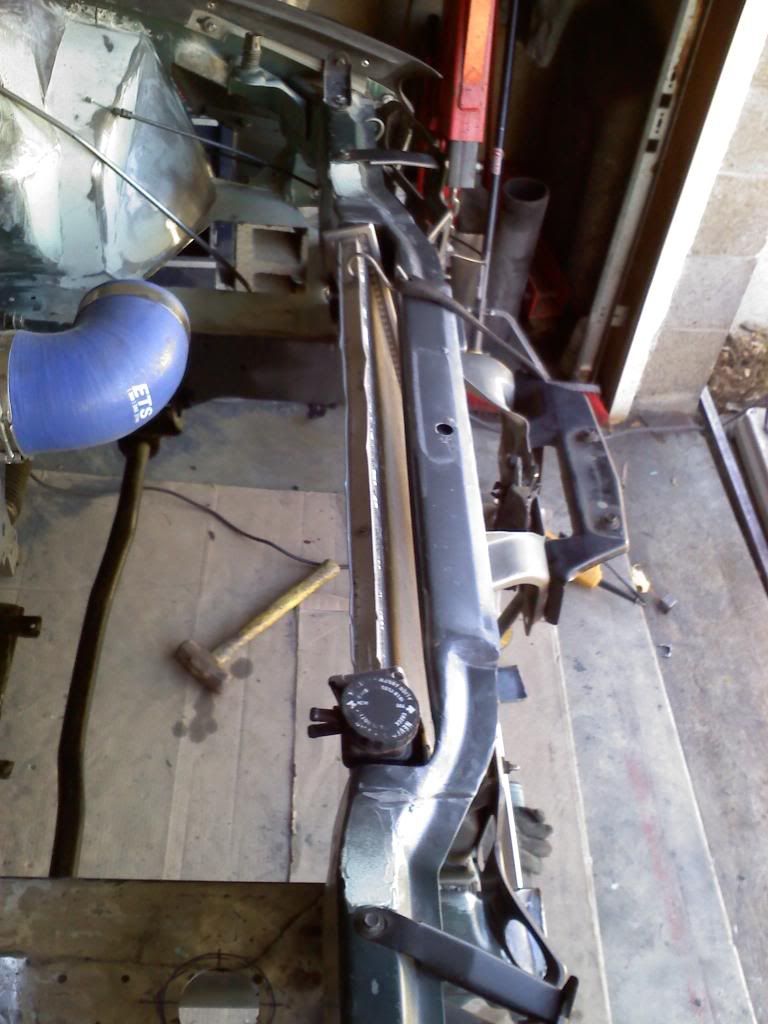
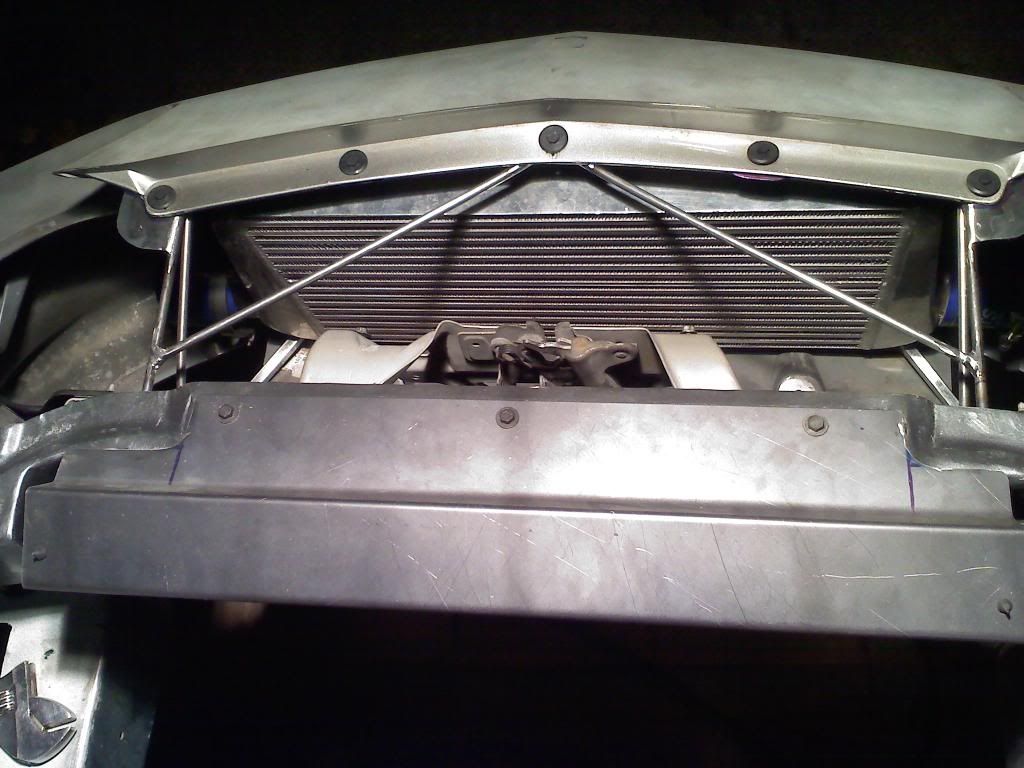
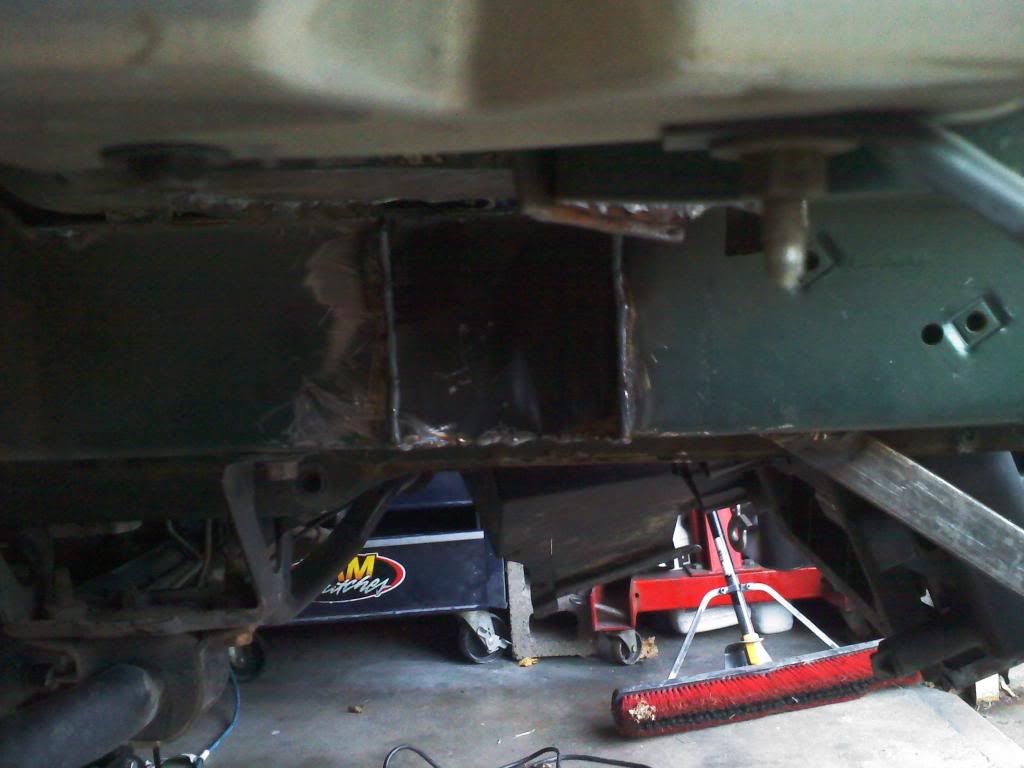
then i started working on my nose support
it setup to use all the stock pushpins
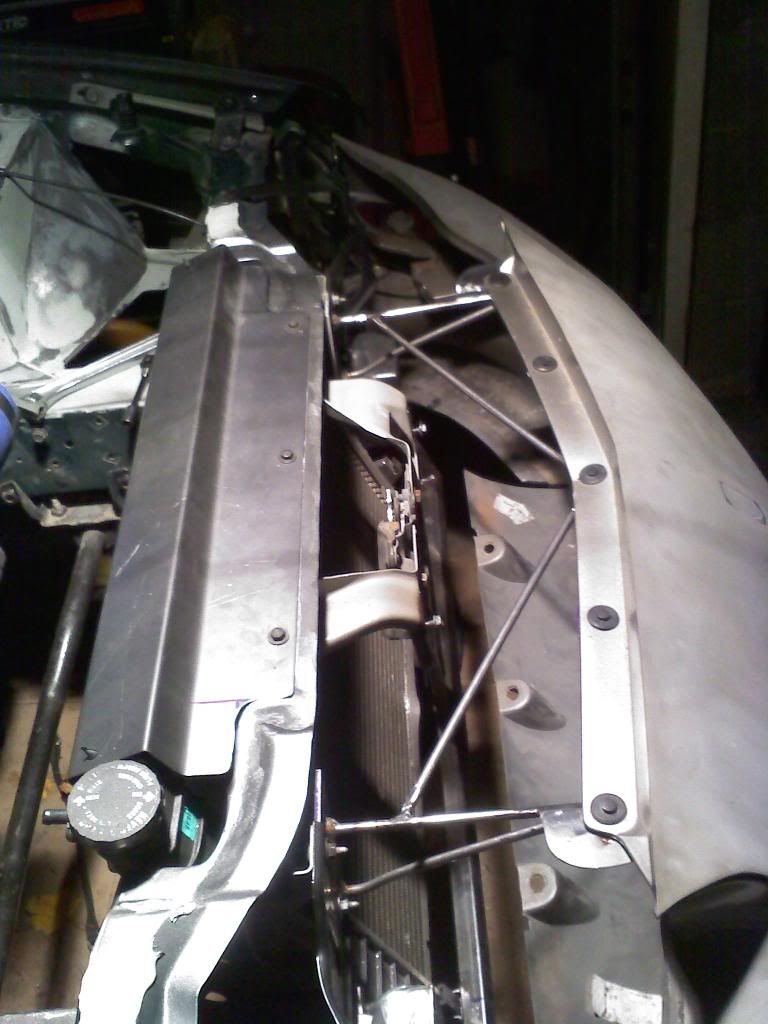
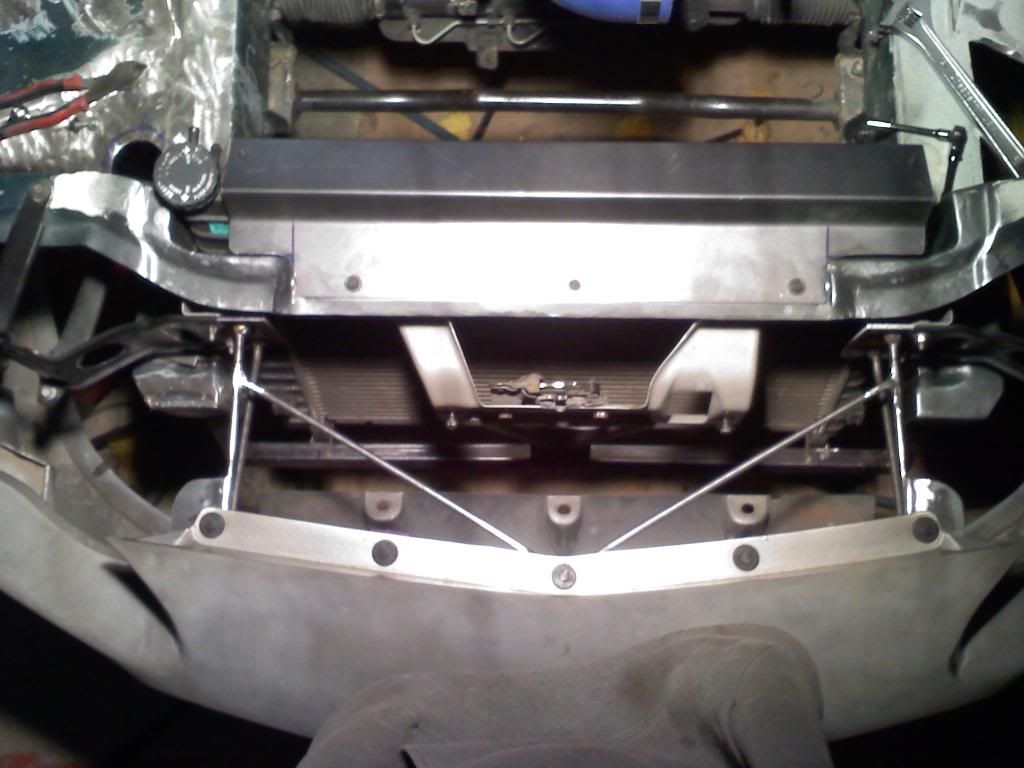
ithen made more tabs to support the lower part of nose from flopping around
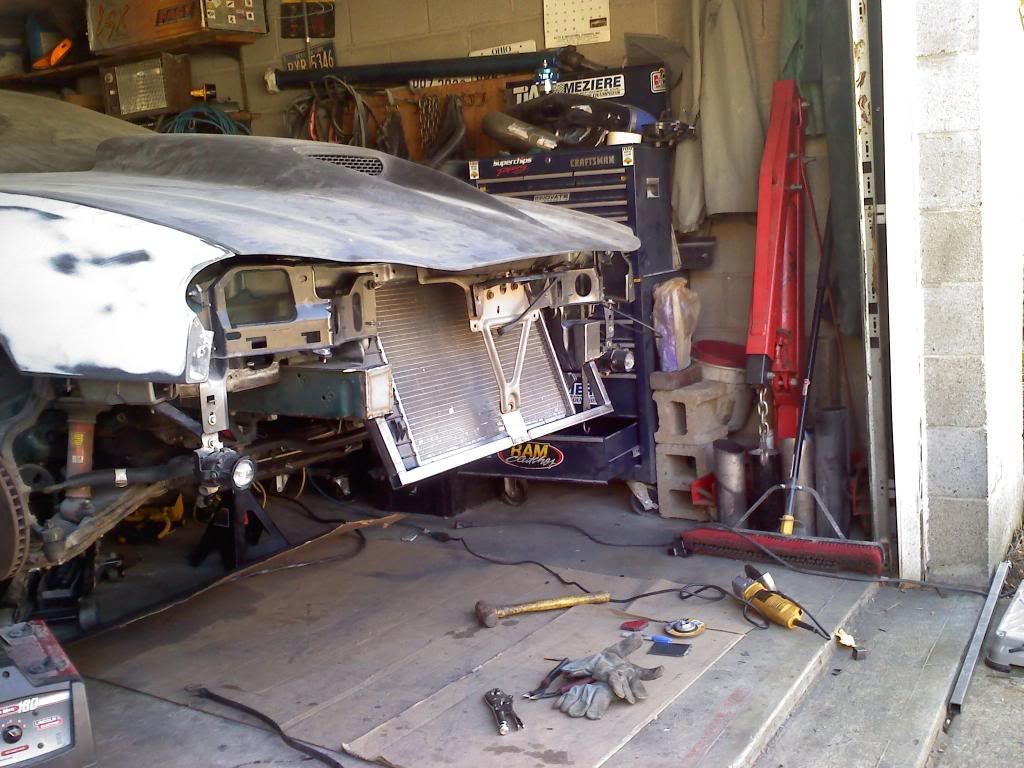
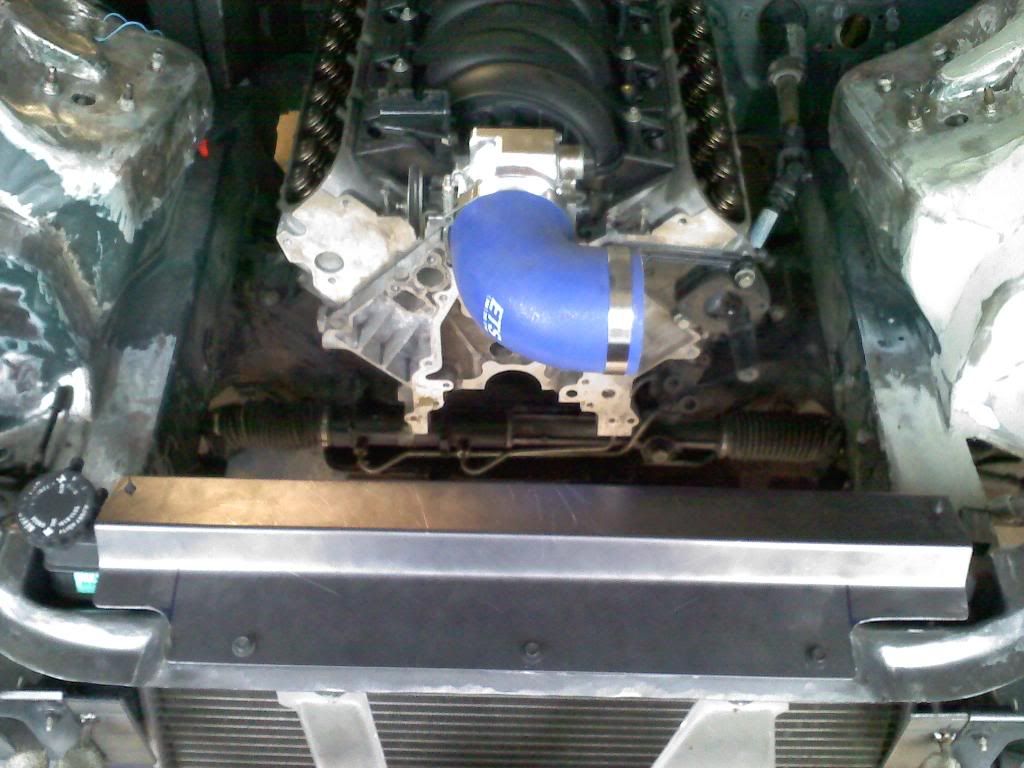
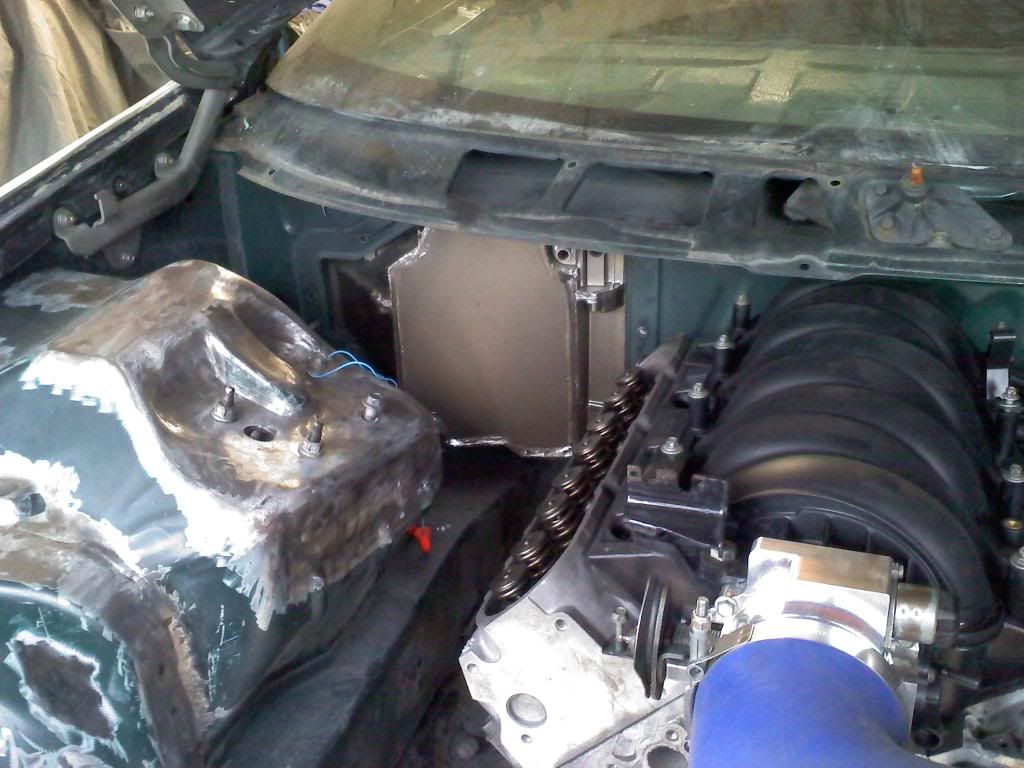
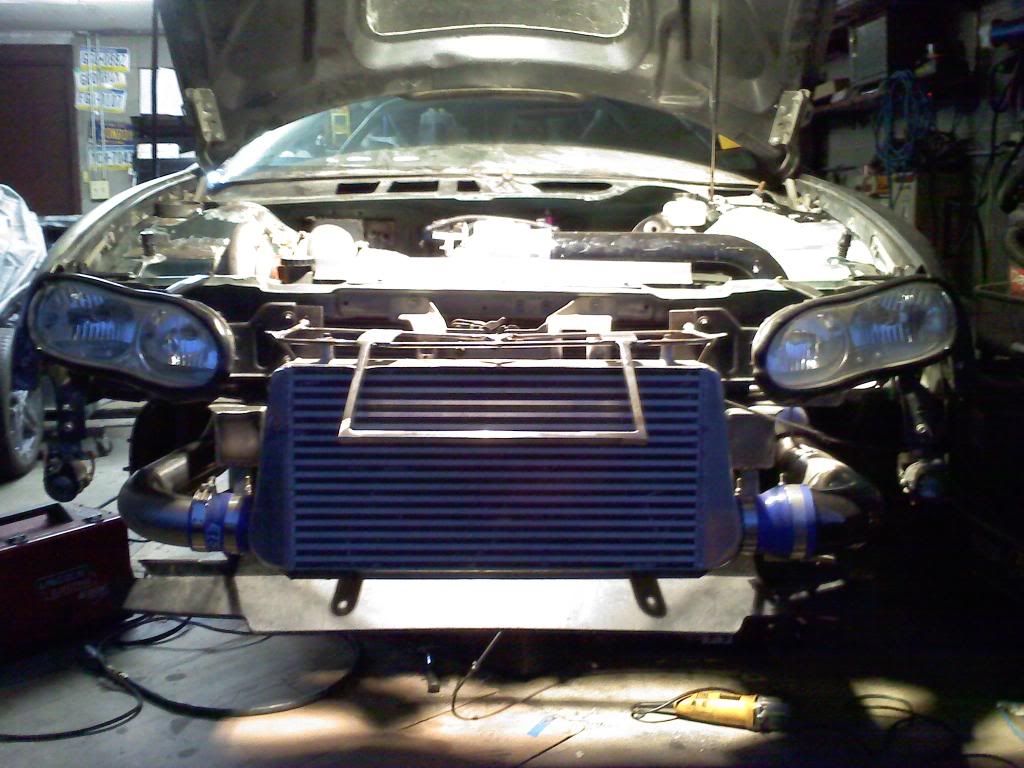
in these two pics you can see how open the area iis and how the intecooler is tucked in the nose

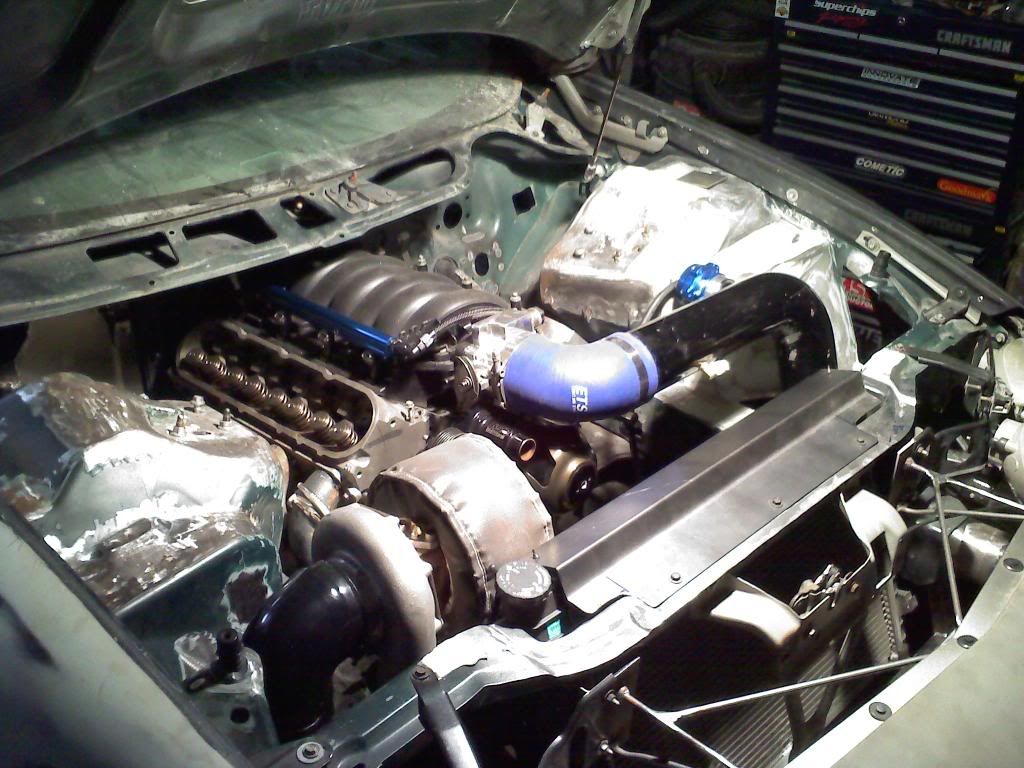
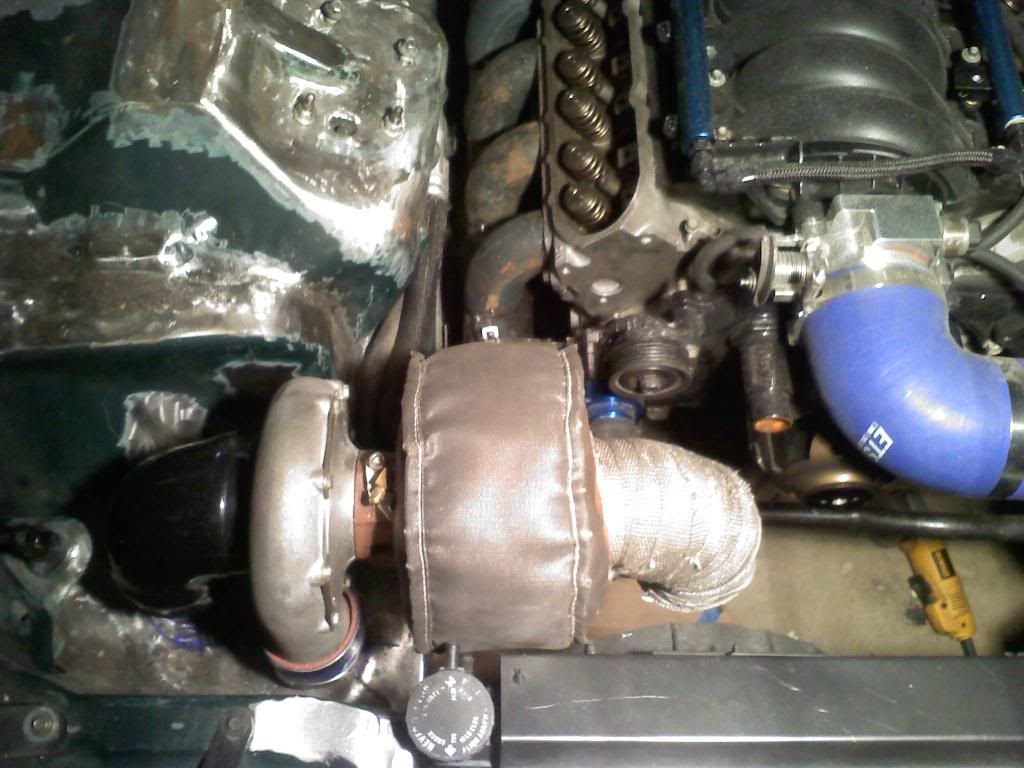
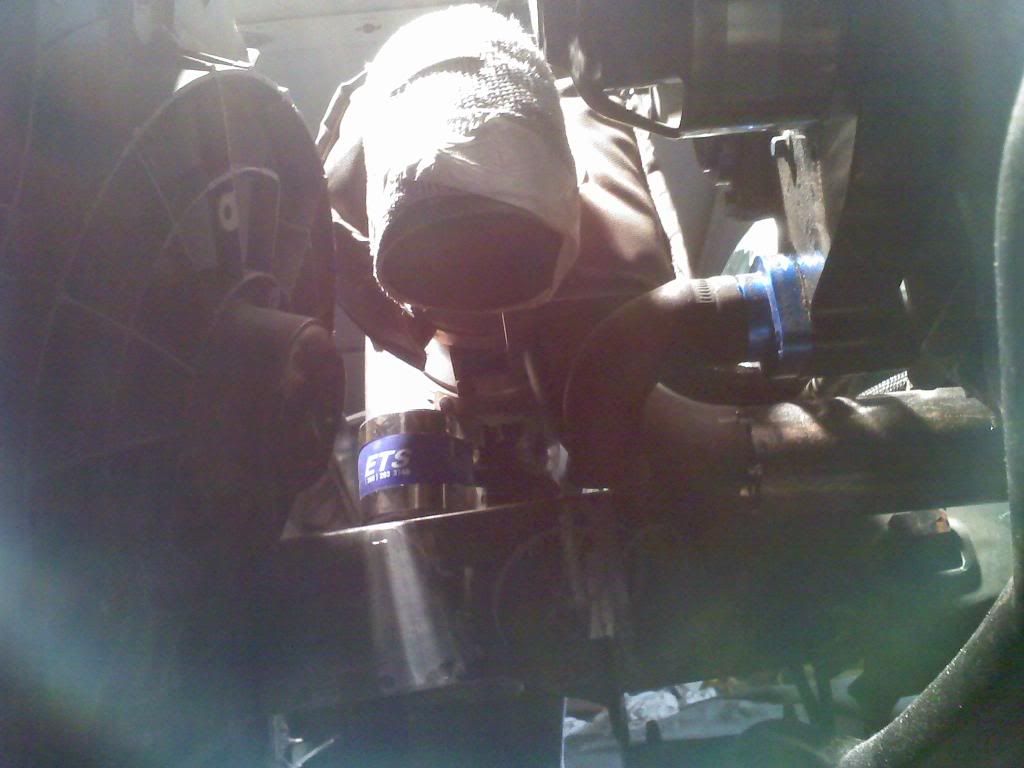
made some more progress today. started working on the manifold. You can see the final placement of the turbo, still have to finish welding it then possibly work on the downpipe

well i got more progress done today.
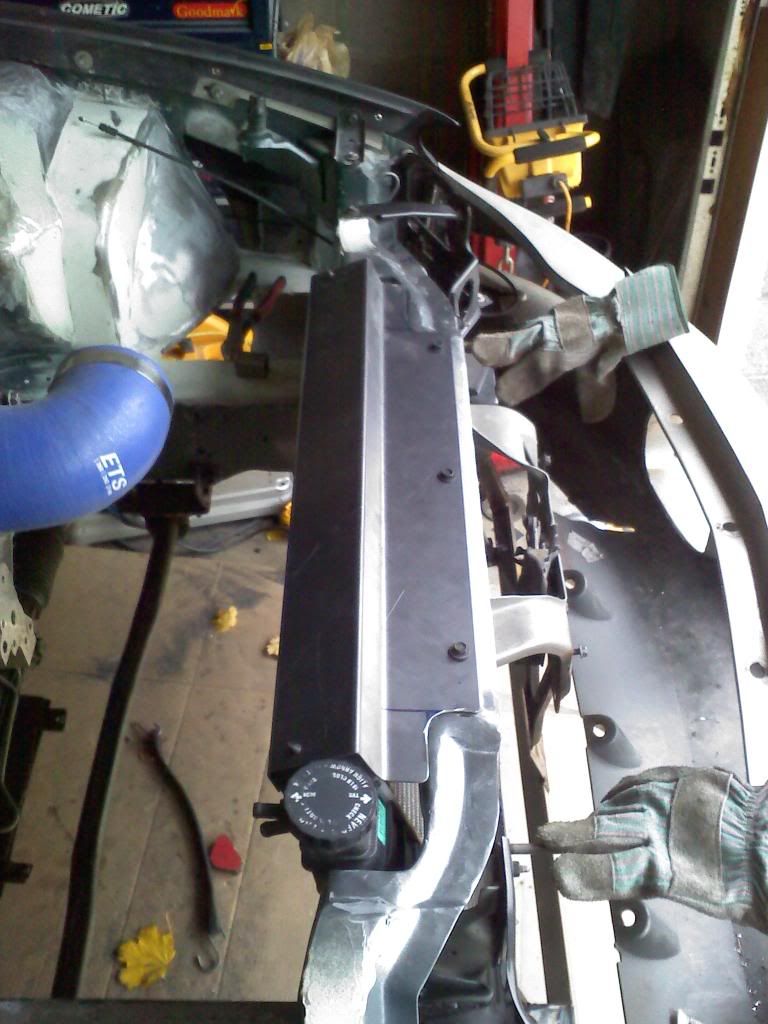
here are some shots of the IC moved as far forward into the nose as possible. I had to lose the TA foglight idea. so ill be adding some type of grill of some sort to hide the IC. also as you can see by the blue marker i still need to trim some more of the nose
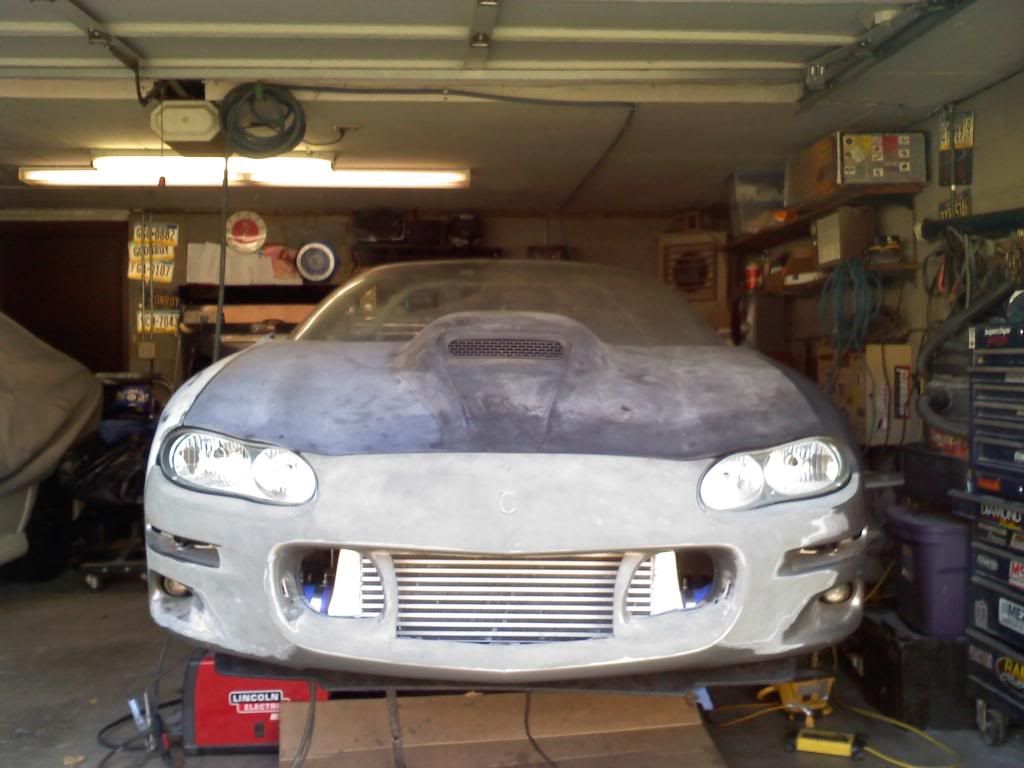
 im going to build a air deflector to direct the air from nose of car down to lower part of the IC and one from nose to top of IC this way the air is directed into the IC only
you can see in the pics the stock lower air deflector is in place just moved forward and reangled and works more as a scope to help direct air into the rad
it setup to use all the stock pushpins
ithen made more tabs to support the lower part of nose from flopping around
in these two pics you can see how open the area iis and how the intecooler is tucked in the nose
made some more progress today. started working on the manifold. You can see the final placement of the turbo, still have to finish welding it then possibly work on the downpipe
well i got more progress done today.
here are some shots of the IC moved as far forward into the nose as possible. I had to lose the TA foglight idea. so ill be adding some type of grill of some sort to hide the IC. also as you can see by the blue marker i still need to trim some more of the nose
im going to build a air deflector to direct the air from nose of car down to lower part of the IC and one from nose to top of IC this way the air is directed into the IC onlyyou can see in the pics the stock lower air deflector is in place just moved forward and reangled and works more as a scope to help direct air into the rad
Thread Starter
Banned
Joined: Jun 2009
Posts: 132
Likes: 0
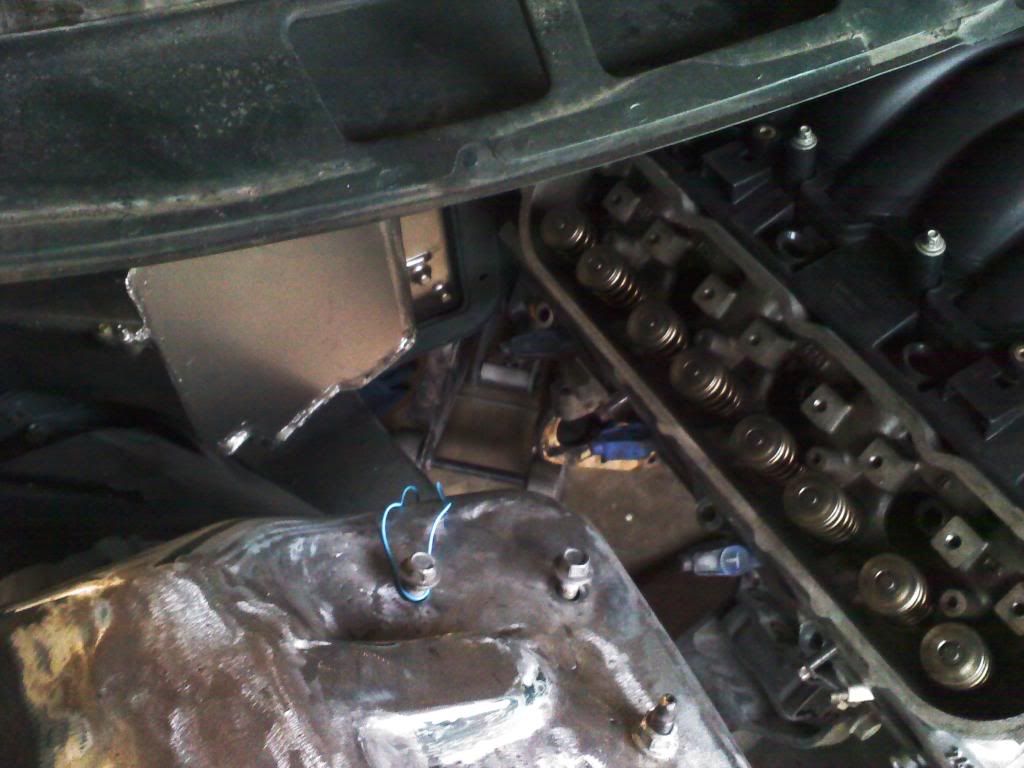
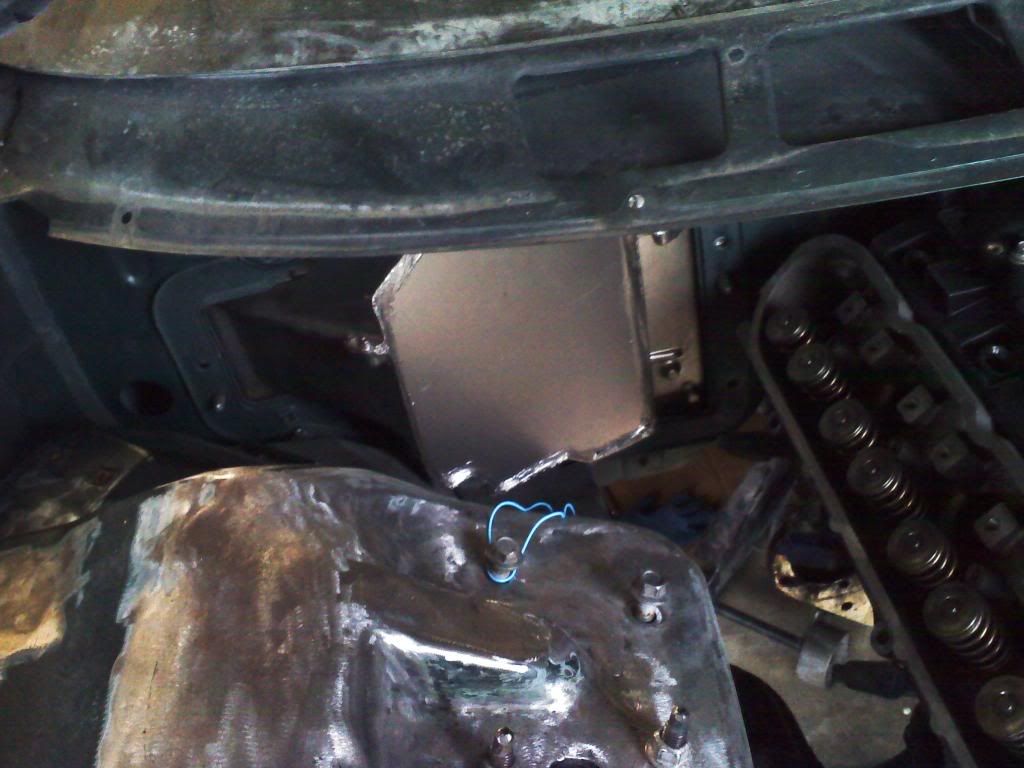
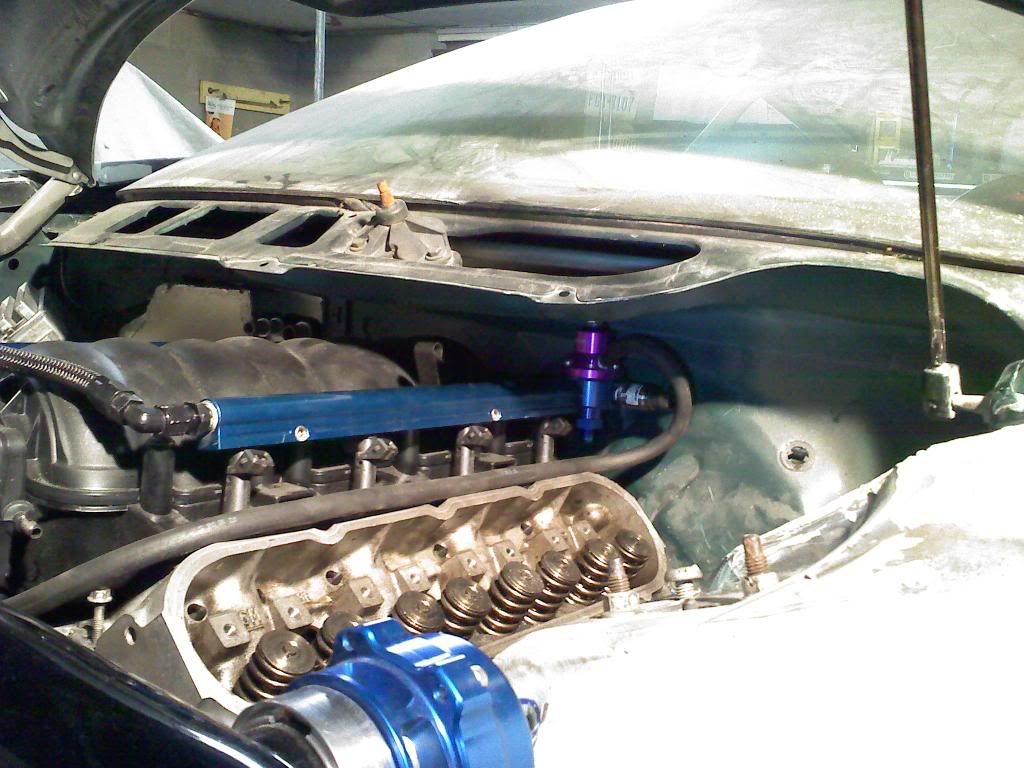
now you can see the pics of the fuel rails and regulator. I Had it this way wihen i twas in the silverado and works well in the camaro. its hidden which i like the plan for this build is to be as clean as possible and things hidden
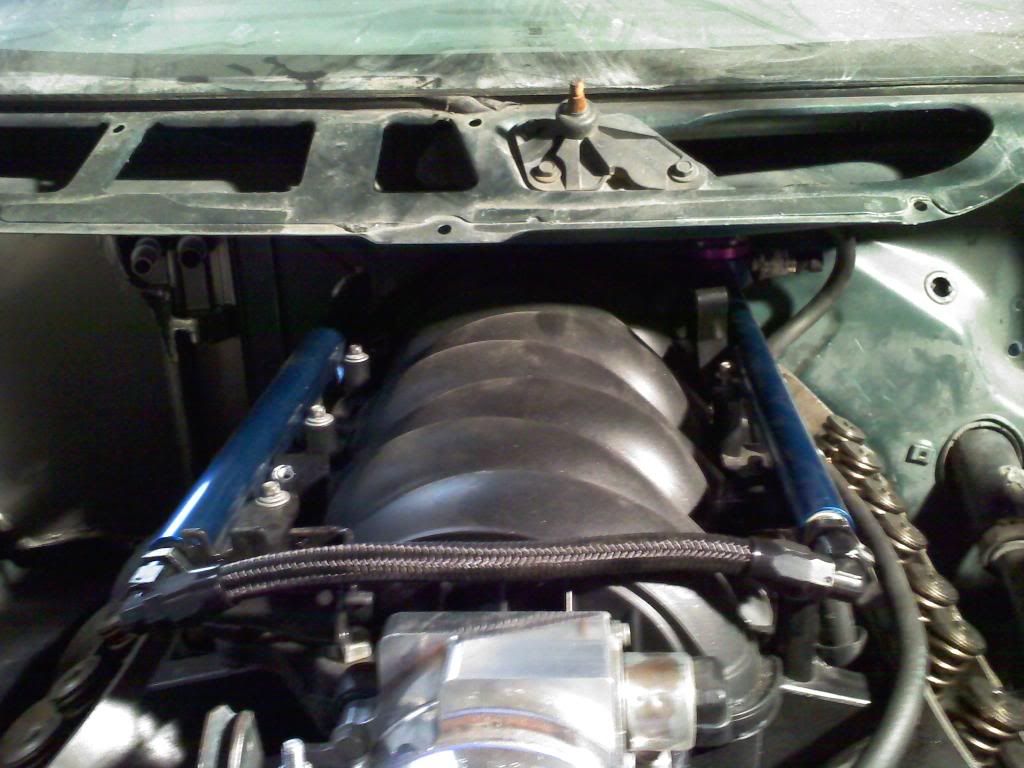
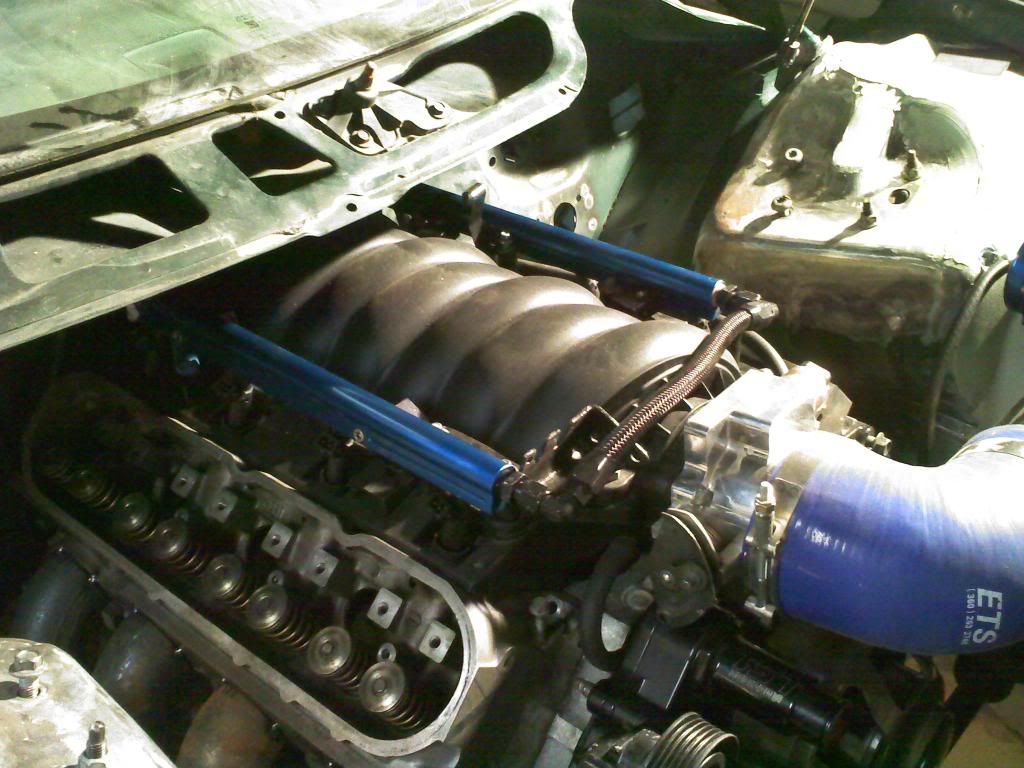
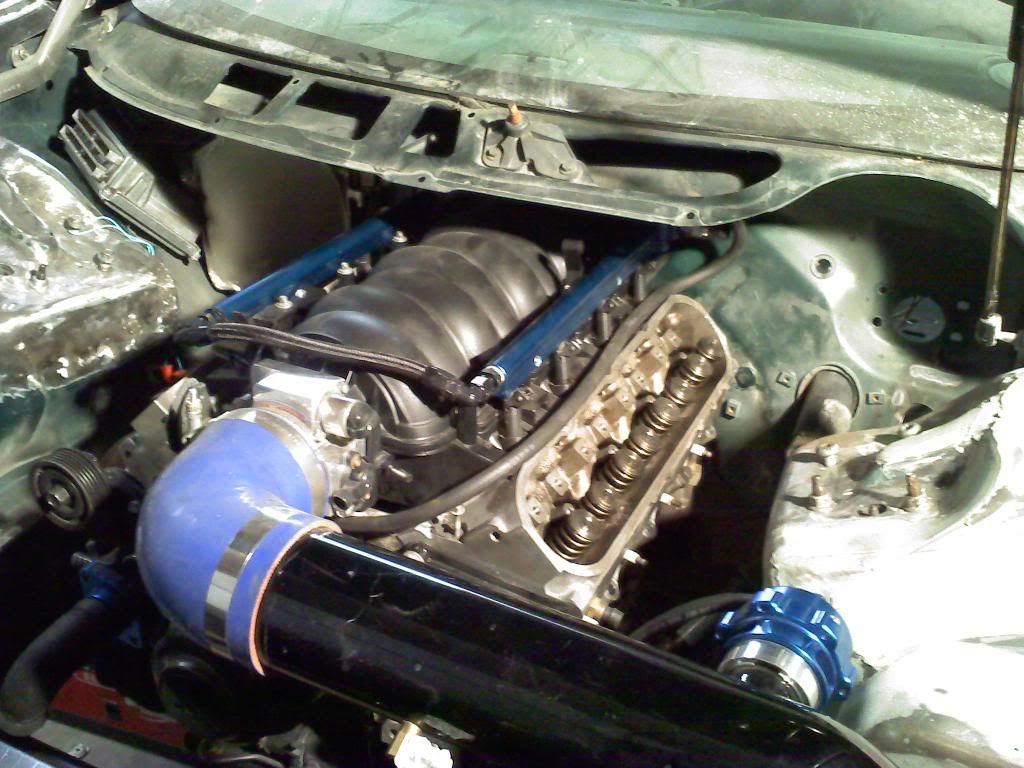
well today i made some more progress. Todays progress consisted of working on the manifold. As you can see the plugs are easily accessible and changable.
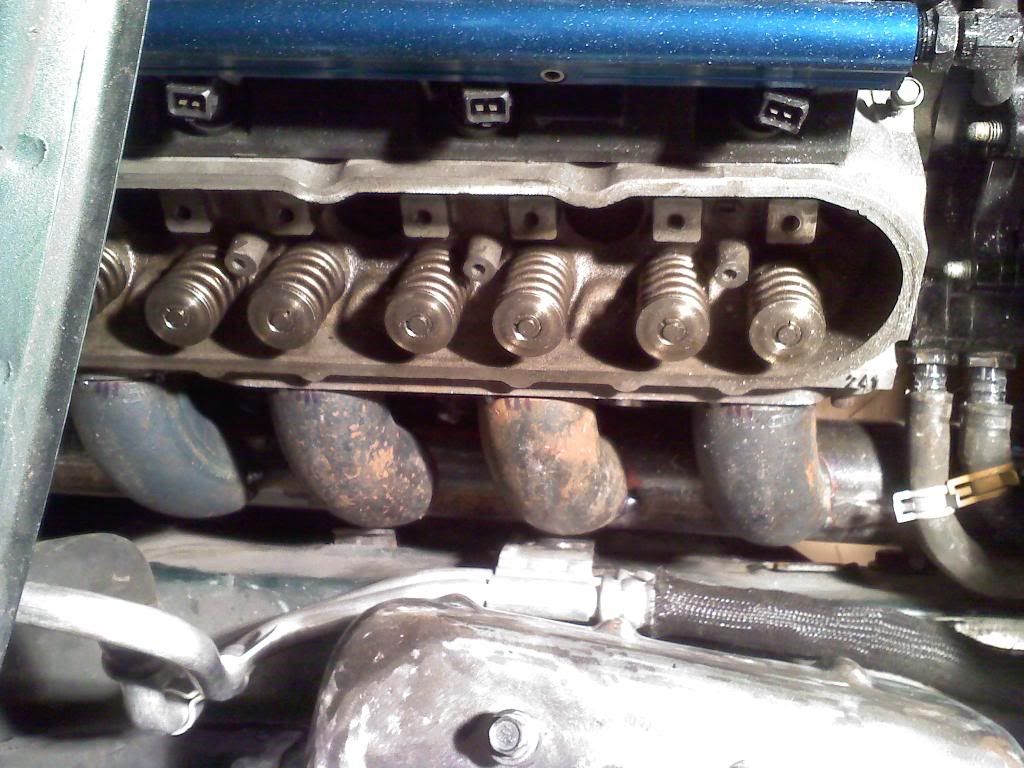
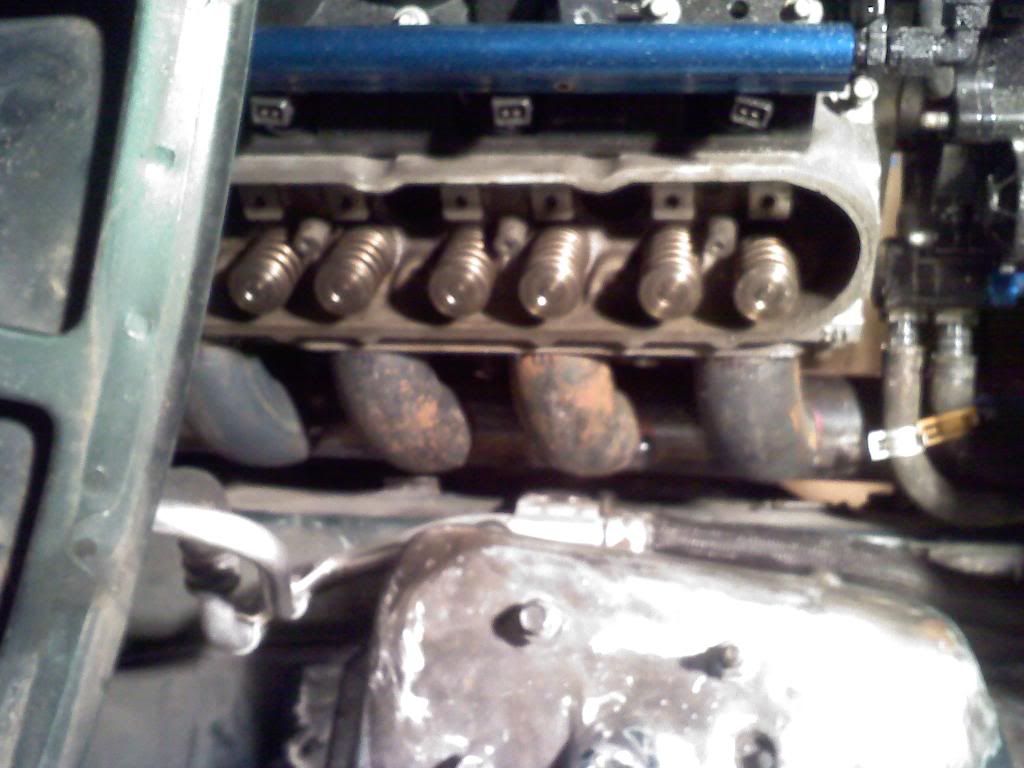
still leaves room to run stock heaterhoses
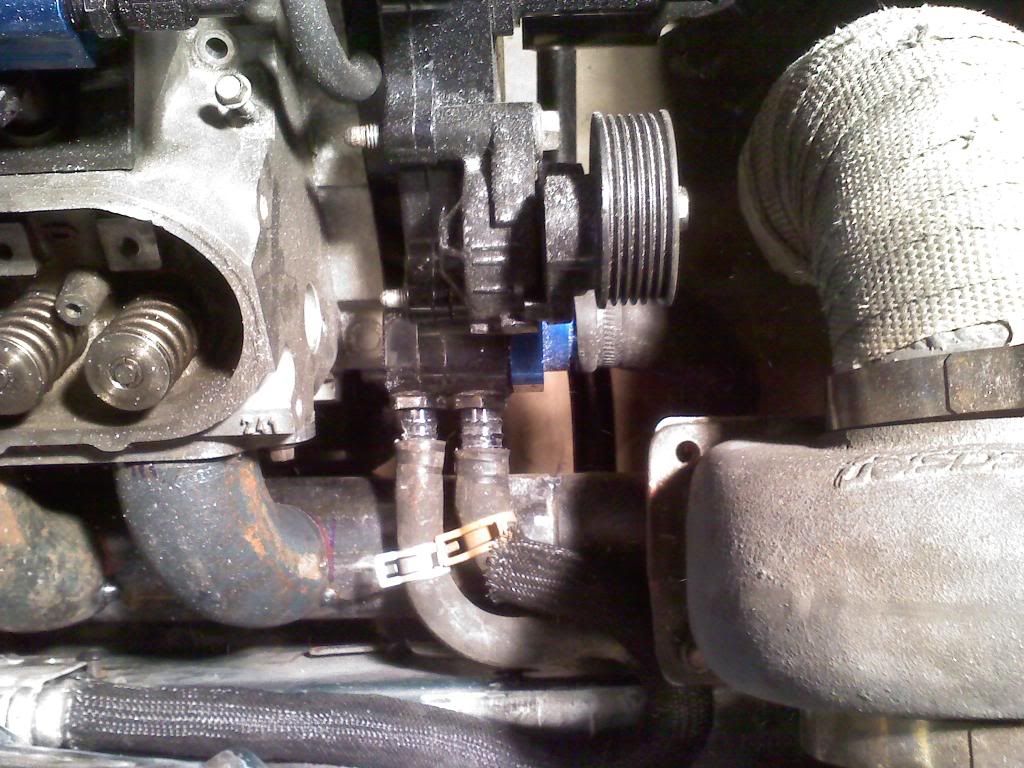
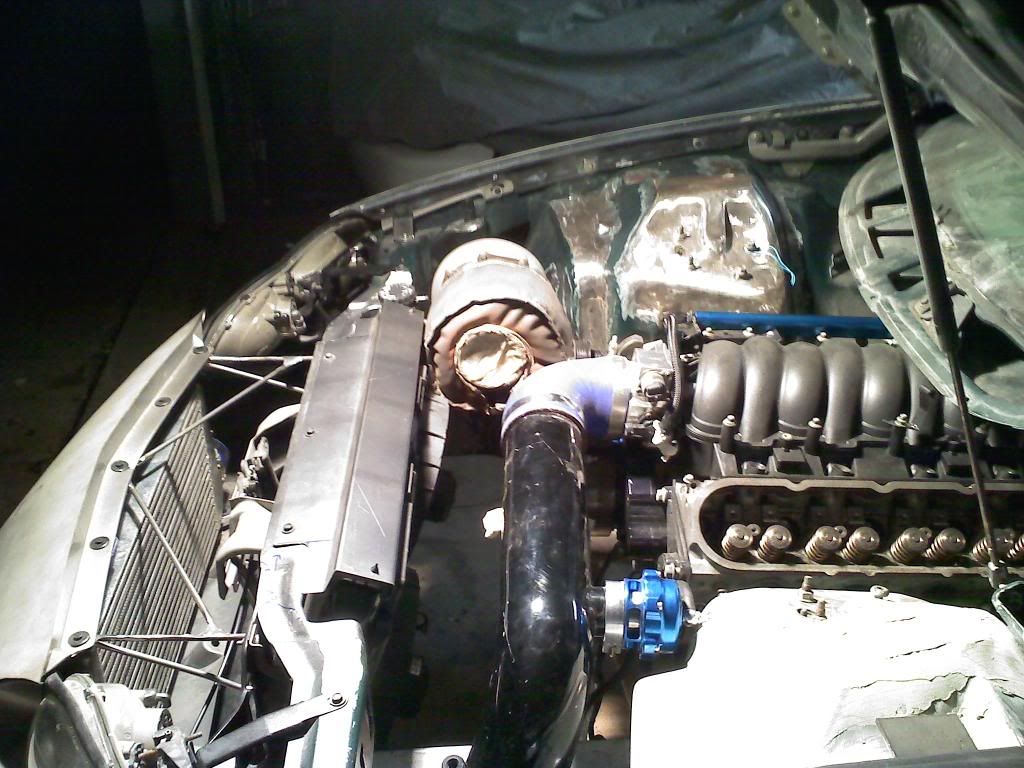
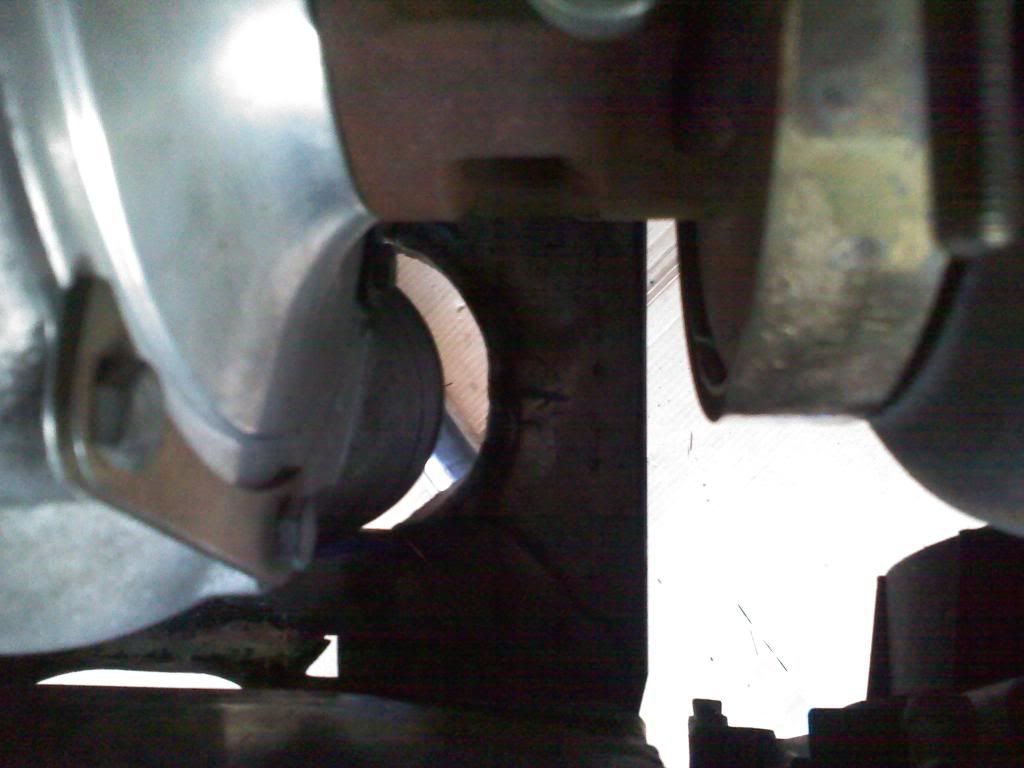
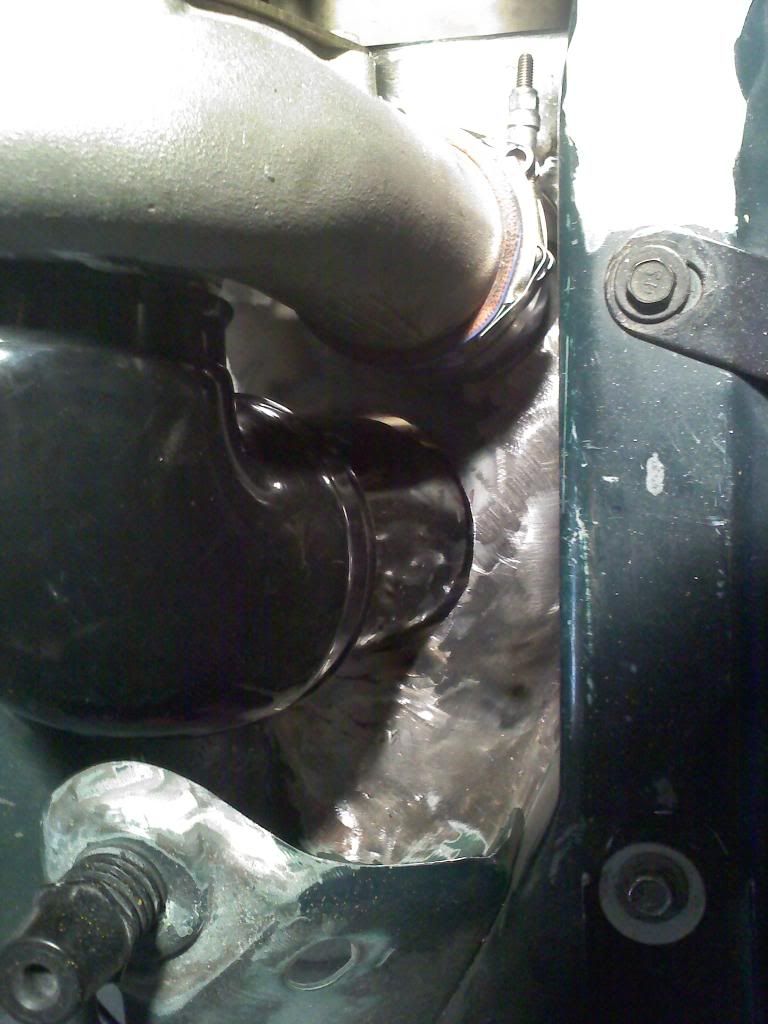
here you can see a mock up of the 4" dowpipe

in this pic youll see i have plenty of room on how the DP will route. ill be making a 90* turn and go between the engine mount and the block
well today i made some more progress. Todays progress consisted of working on the manifold. As you can see the plugs are easily accessible and changable.
still leaves room to run stock heaterhoses
here you can see a mock up of the 4" dowpipe
in this pic youll see i have plenty of room on how the DP will route. ill be making a 90* turn and go between the engine mount and the block
Thread Starter
Banned
Joined: Jun 2009
Posts: 132
Likes: 0
you can still access it, moving it forward takes away from the "clean look" not mention how often do you actually mess with FPR once it set? As long as i ran this setup before i never once messed with the FPR
Well here is the run down of the project. driveline is a 02 4.8 [293ci motor] PTe88 turbo, Viper spec'd T56, 230/236 cam, ls2 intake, 241 heads. this exact setup made 702 rwhp and 565rwtq in my silverado with pig rich AFR of 10.4. Since the camaro is about 1k pounds lighter then the silverado i was curious to see how the setup would preform in a lighter chassis. I shift this setup at 7500 rpms but might bump that up a few hundred rpms. Car is going to have powersteering and all the bells and whistles, this isnt a track car just a street warrior that will see track times but again isnt a full out track setup. I know auto would be faster but isnt an option.
I suggest a smaller cam. It will work better with the stick car.
Trending Topics
Thread Starter
Banned
Joined: Jun 2009
Posts: 132
Likes: 0
no the truck was a manual and the cam goes along with the rpms this spins. Thanks for suggestions but this is already a proven combo that has ran, only difference is its going into a lighter chassis
LS1 Tech Stories
The Best V8 Stories One Small Block at Time

Gas Monkey Built a 6-Wheel Ferrari Testarossa With a Corvette LT4 Engine
Verdad Gallardo
7 Most Reliable High-Performance Engines GM Has Ever Built
Verdad Gallardo
Amazing '71 Camaro Restomod Is Modern Muscle Car Under the Skin
Verdad Gallardo
6 Common C5 Corvette Failures and What's Involved In Repairing Them
Pouria Savadkouei
Retro Modern Bandit Pontiac Trans AM Comes With Burt Reynolds' Autograph
Verdad Gallardo
Top 10 Greatest Cadillac V Series Performance Models Ever, Ranked
Pouria Savadkouei
Top 10 Most Powerful Chevy Trucks Ever Made!

Hennessey's New Supercharged Silverado ZR2 Has 700 HP
Verdad Gallardo
Coachbuilt N2A Anteros Is an LS2-Powered C6 Corvette In Italian Clothes
Verdad Gallardo


Thread Starter
Banned
Joined: Jun 2009
Posts: 132
Likes: 0
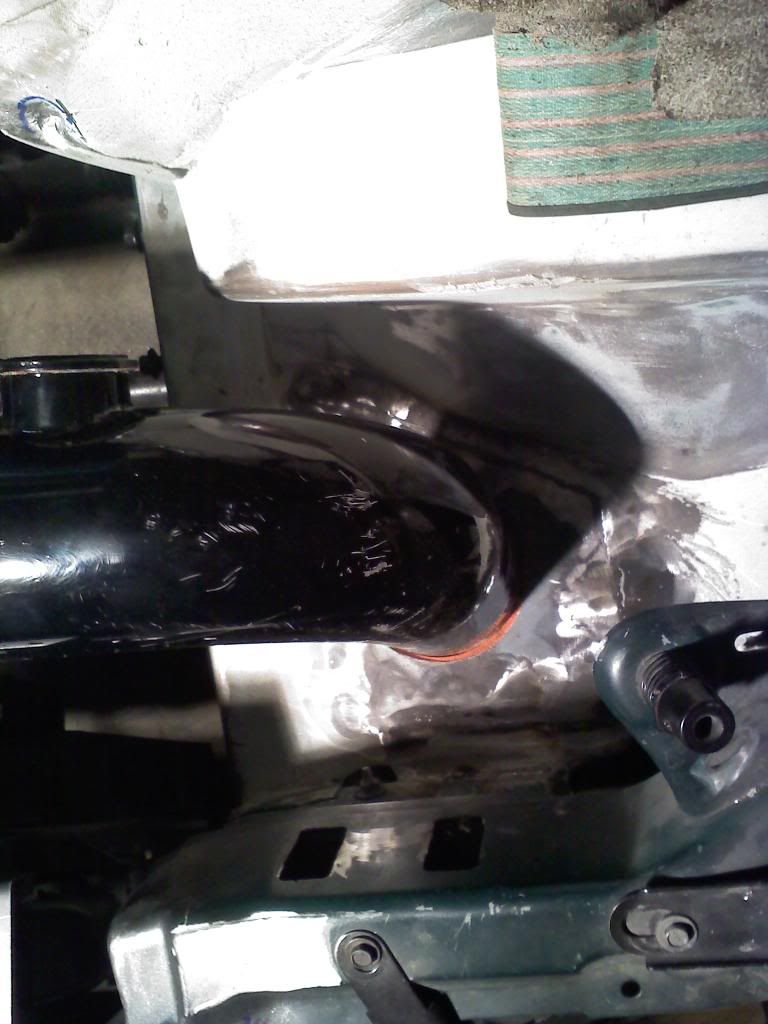
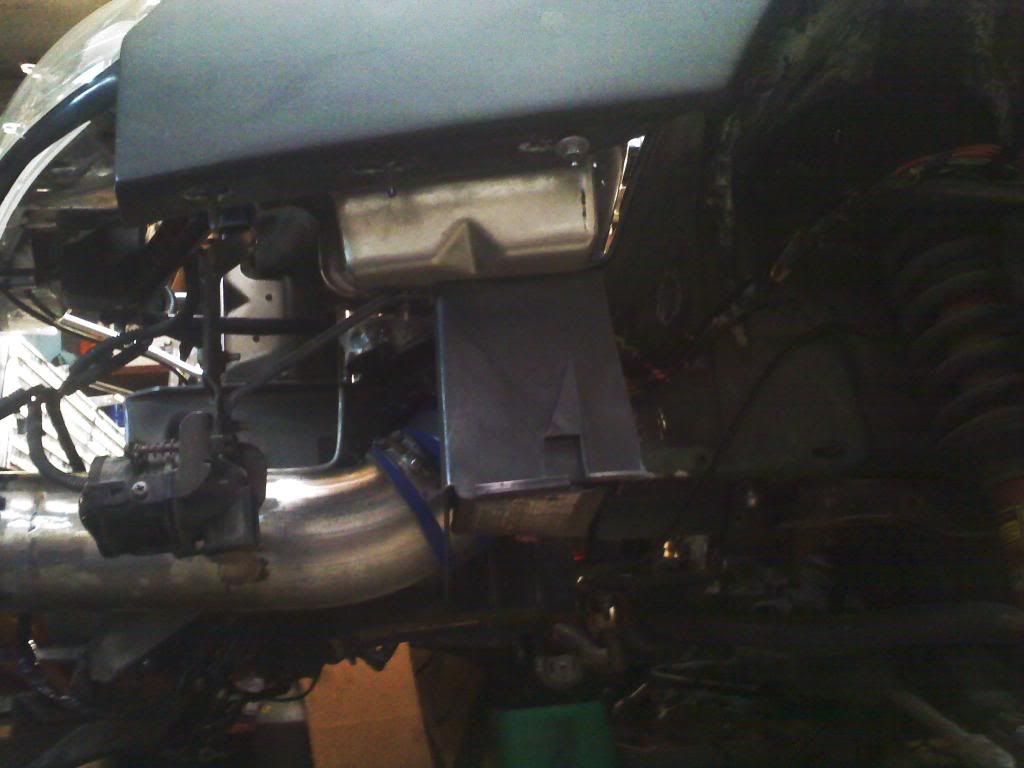
made little progress today. I channel'd the frame using a piece of 4" pipe. This was done for the 3" outlet.
i still need to address the welds some but thats another day along with the other work done in other areas
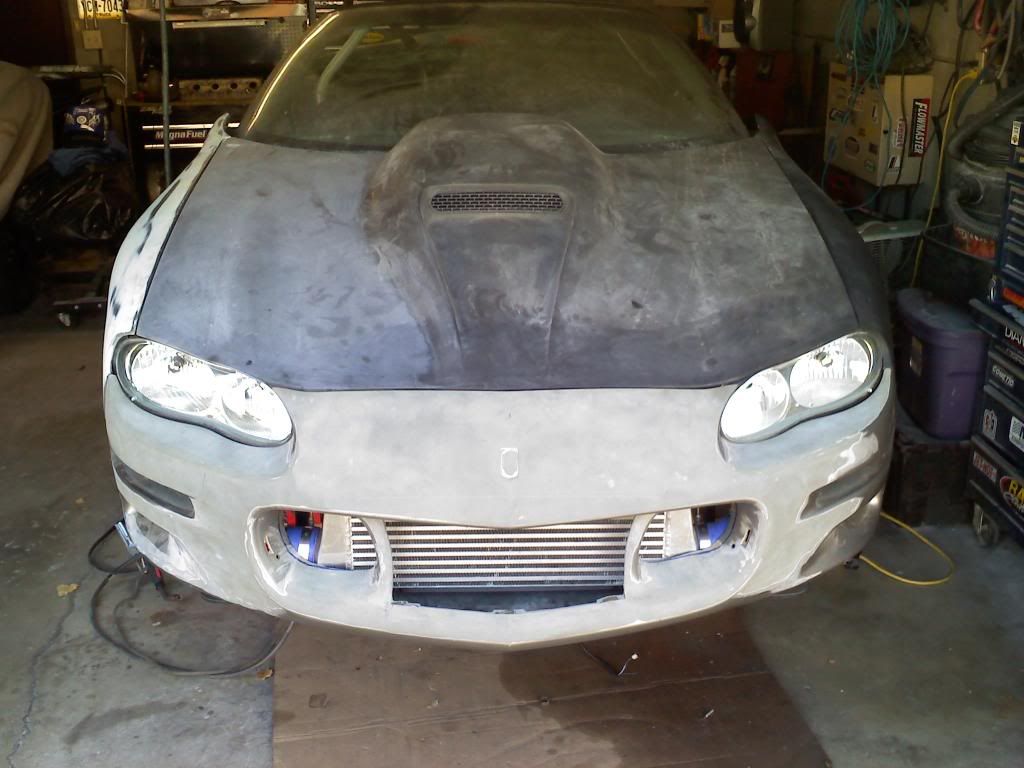
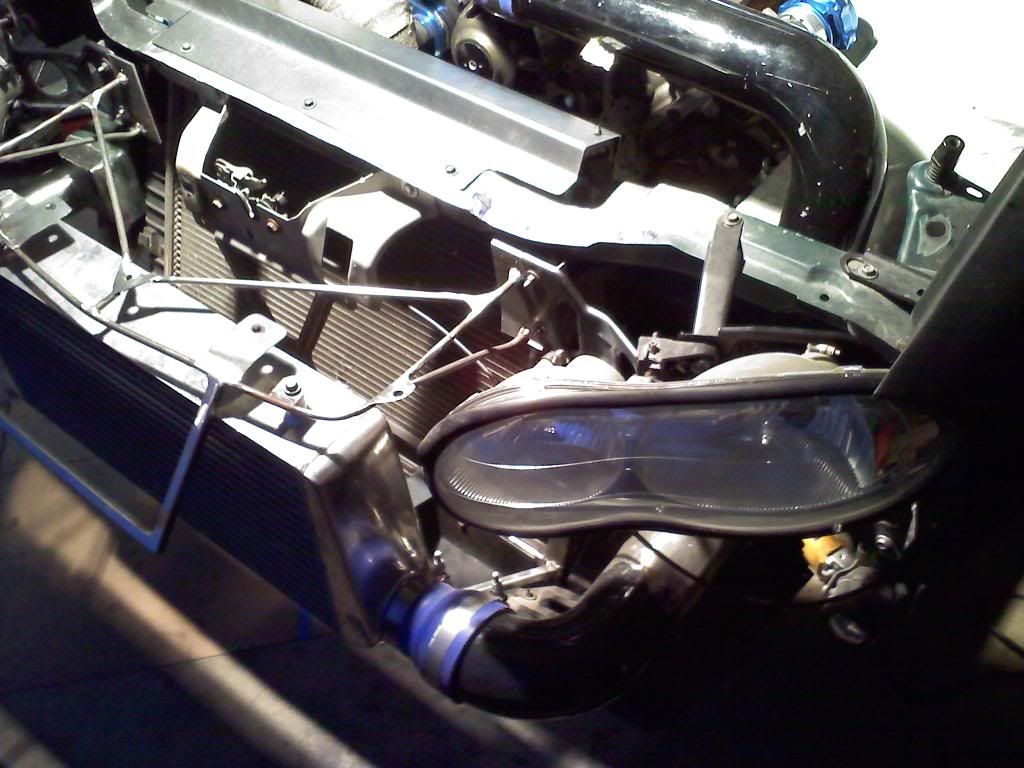
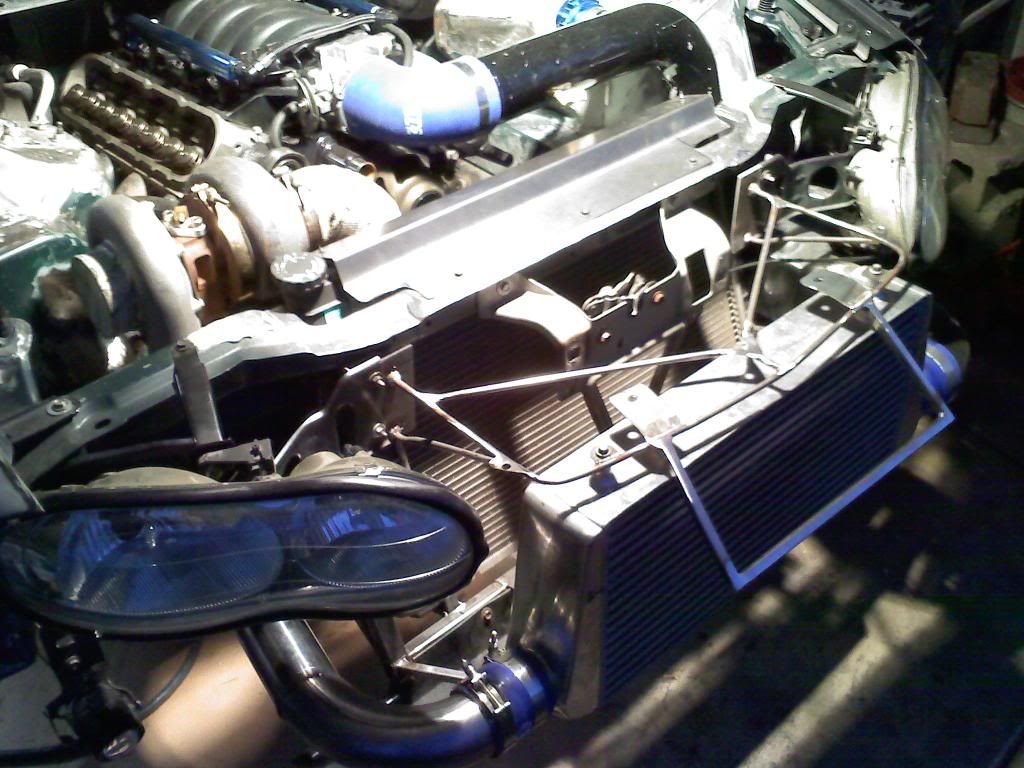
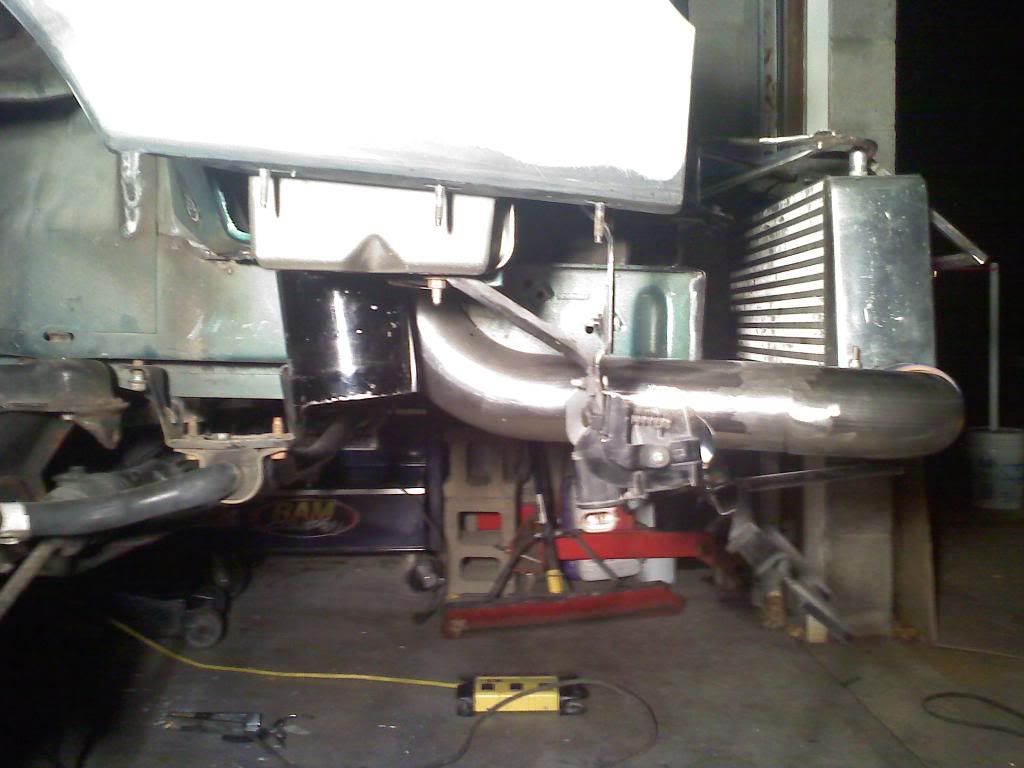
here you can see how the nose is supported along with how the IC and its tubing looks
i still need to address the welds some but thats another day along with the other work done in other areas
here you can see how the nose is supported along with how the IC and its tubing looks
Thread Starter
Banned
Joined: Jun 2009
Posts: 132
Likes: 0
Here is todays progress.
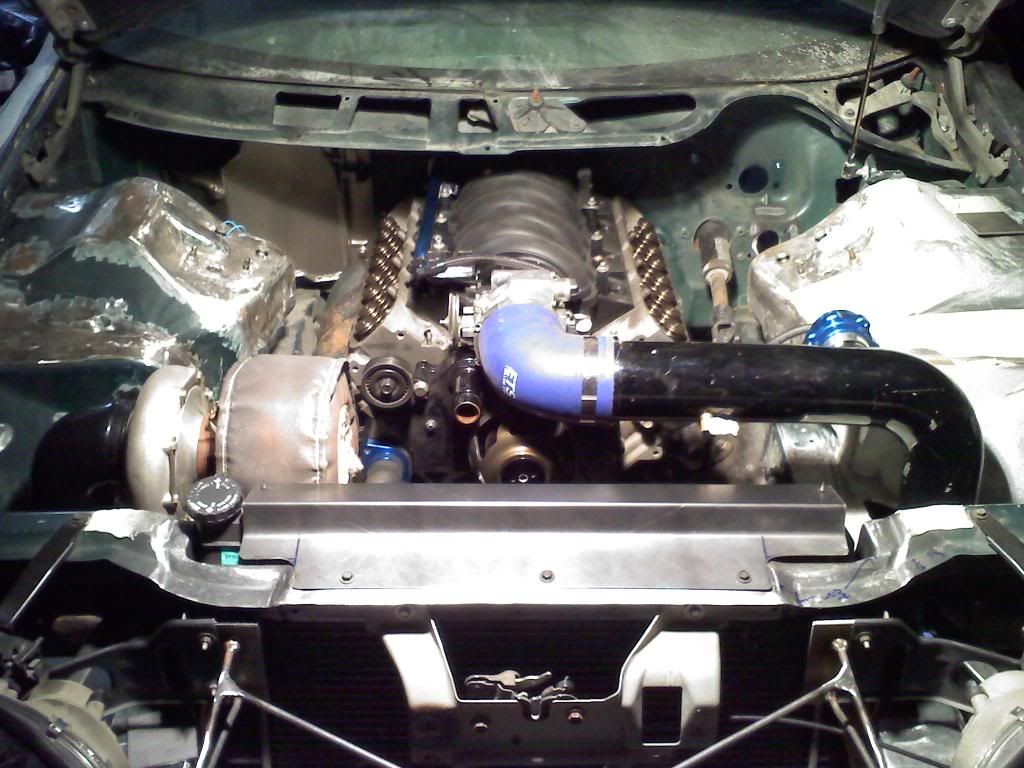
I welded up the holes in the bay with 16guage. I had a 4.25" hole cut so my charge pipe could pass thru with the clean look
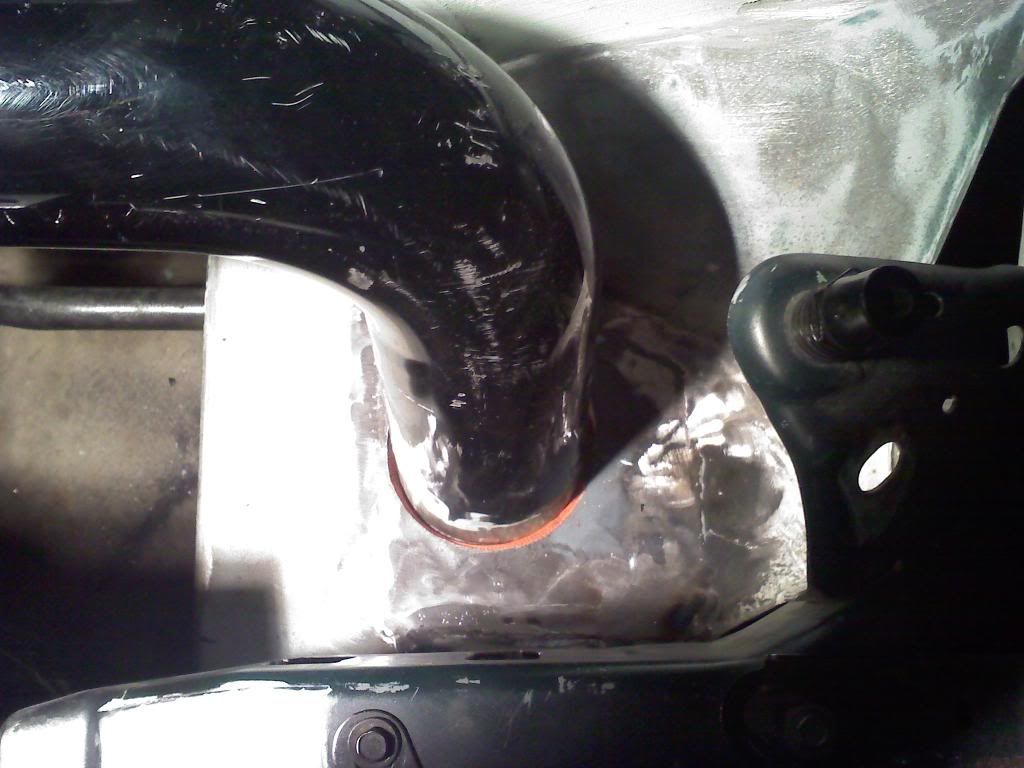
in these two pics you can see the 2 holes i cut into another piece of 16 gauge. 1 hole is for the 3" charge pipe and other hole is for the 4" air intake
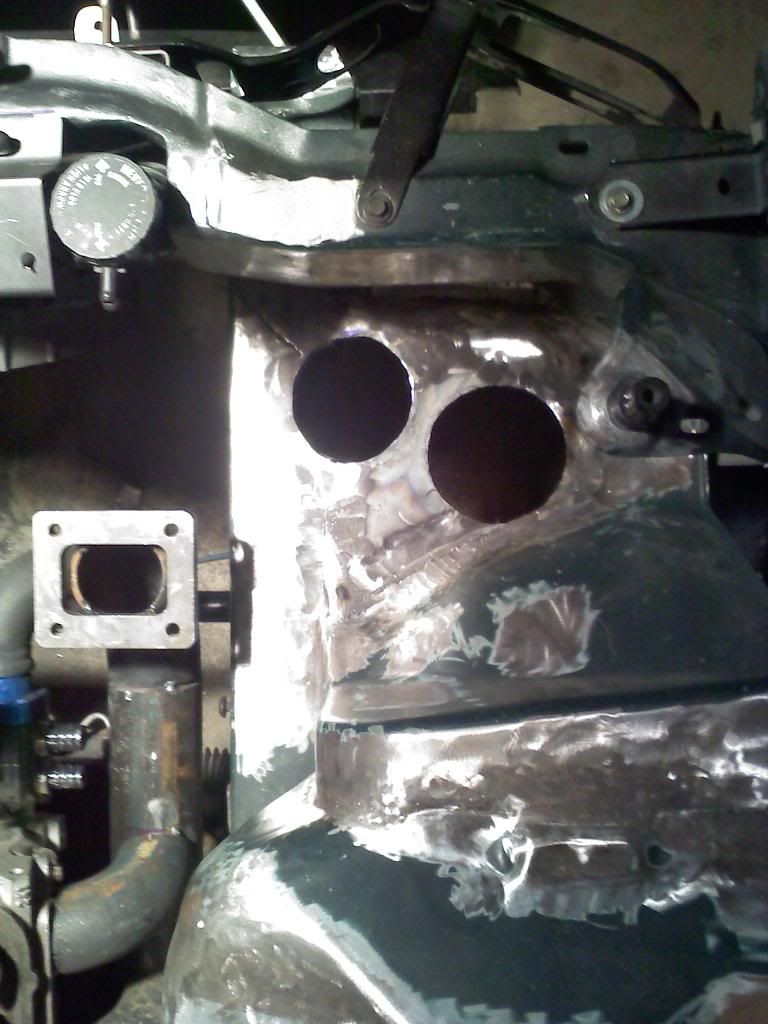
in this pic you can see the 4" pipe sticking down. Ill be tossing on a filter to this. I chose this postion for the filter for a cleaner look, cooler air and the pressurized air from behind the foglight
I welded up the holes in the bay with 16guage. I had a 4.25" hole cut so my charge pipe could pass thru with the clean look
in these two pics you can see the 2 holes i cut into another piece of 16 gauge. 1 hole is for the 3" charge pipe and other hole is for the 4" air intake
in this pic you can see the 4" pipe sticking down. Ill be tossing on a filter to this. I chose this postion for the filter for a cleaner look, cooler air and the pressurized air from behind the foglight


Thread Starter
Banned
Joined: Jun 2009
Posts: 132
Likes: 0
since the plan was to hide the wiring and make the bay look as clean as possible. with doing this i had to relocated the fuse boxes but instead of relocating two of them i comdensed the two fuse boxes into one and relabled the cover. Here you an see where the fuse box is now located and is accessible from under the car
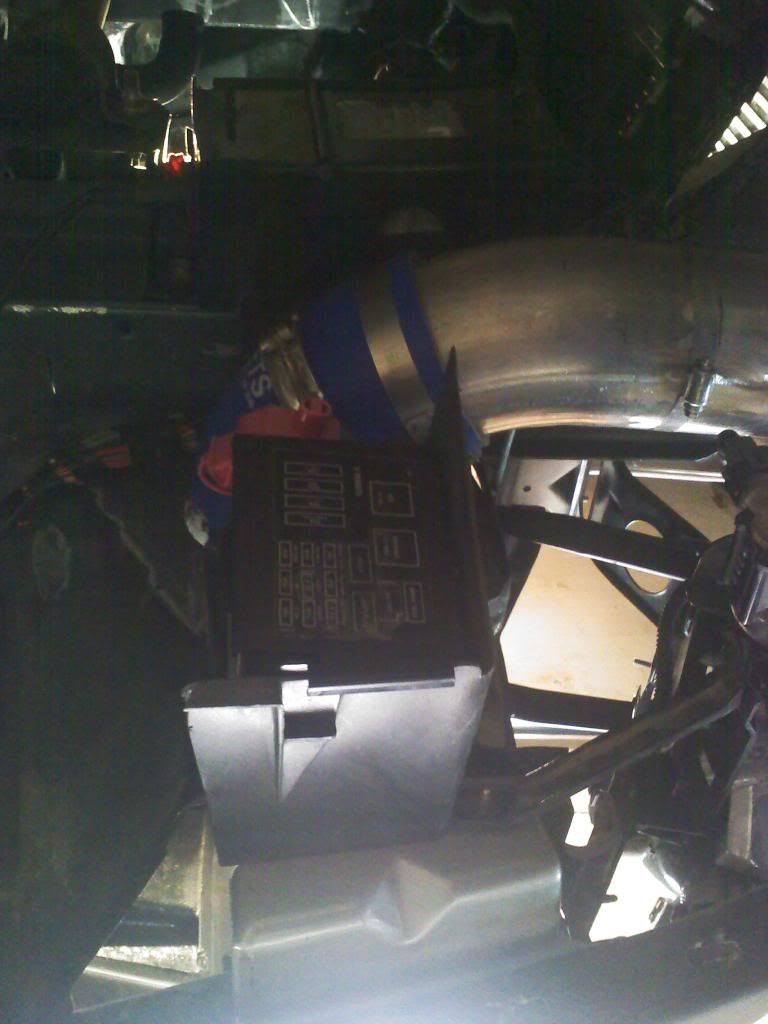
i see you have gotten some metal shavings inside the head when you where probably grinding. try to keep it clean in there, metal shaving are no good for engine bearings.