


Winter upgrades to the Tatershack 275 car
Thread Starter
9 Second Club
iTrader: (31)
Joined: Oct 2002
Posts: 3,175
Likes: 2
From: Nashville, TN

Launching!
Joined: Apr 2010
Posts: 285
Likes: 0
From: Sand Springs, OK
I didn't even think a truck would flip that easily, esp one that is suppose to be a "performance built vehicle"...that's what he gets for goin with dodge...


Any updates Tim?
LS1 Tech Stories
The Best V8 Stories One Small Block at Time

Gas Monkey Built a 6-Wheel Ferrari Testarossa With a Corvette LT4 Engine
Verdad Gallardo
7 Most Reliable High-Performance Engines GM Has Ever Built
Verdad Gallardo
Amazing '71 Camaro Restomod Is Modern Muscle Car Under the Skin
Verdad Gallardo
6 Common C5 Corvette Failures and What's Involved In Repairing Them
Pouria Savadkouei
Retro Modern Bandit Pontiac Trans AM Comes With Burt Reynolds' Autograph
Verdad Gallardo
Top 10 Greatest Cadillac V Series Performance Models Ever, Ranked
Pouria Savadkouei
Top 10 Most Powerful Chevy Trucks Ever Made!

Hennessey's New Supercharged Silverado ZR2 Has 700 HP
Verdad Gallardo
Coachbuilt N2A Anteros Is an LS2-Powered C6 Corvette In Italian Clothes
Verdad Gallardo


Thread Starter
9 Second Club
iTrader: (31)
Joined: Oct 2002
Posts: 3,175
Likes: 2
From: Nashville, TN
Actually, she was 3640......I know i know, she's fat.
Remember, I'm still rolling on a factory k-member, a-arms, rack, etc. Hell, I still got the door bars in this thing, hahahahahahahaha. Just wait till i get some weight out of her this next winter!
Thread Starter
9 Second Club
iTrader: (31)
Joined: Oct 2002
Posts: 3,175
Likes: 2
From: Nashville, TN
*Update 30Mar11*
Here we go. We got alot of guy's local cars done so we could get to work on my ride. We got my car in the shop this past saturday. Here's the update's since Saturday:
28Mar11
Dodging crappy weather in Nashville, we got the Trans am over to the shop with minimal fighting.
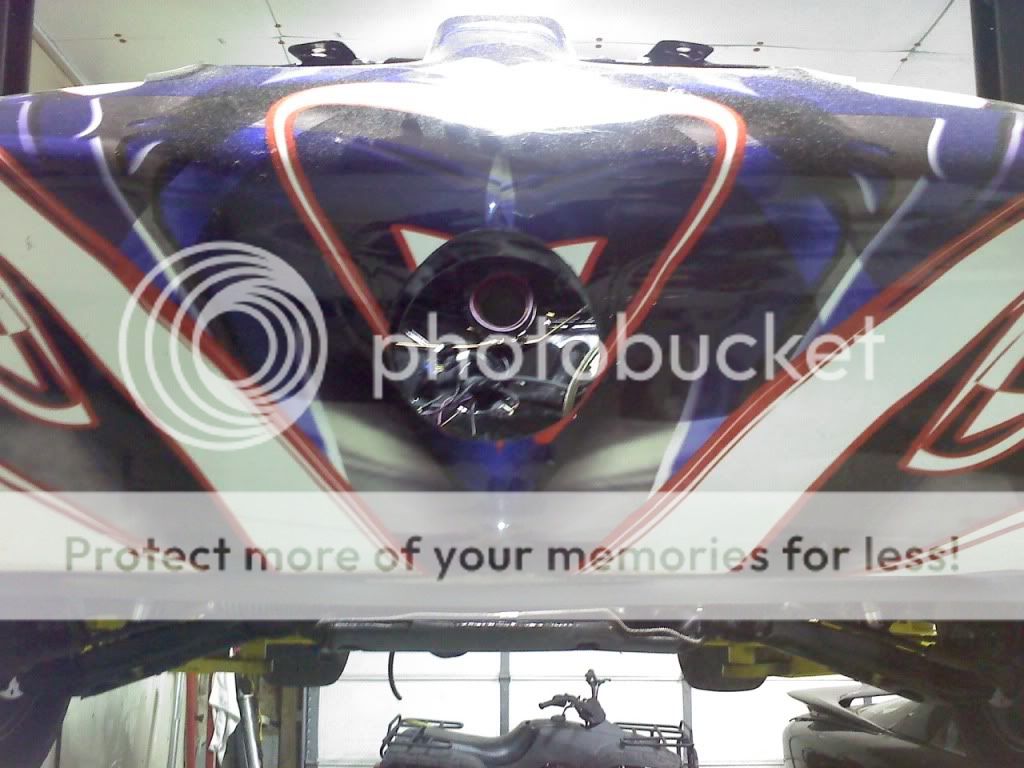
Once there, we got the bellmouth hole made in the nose, and went ahead and got the bell shaped to fit off the nose of the car quite nicely.
Today, ordered a 304SS transition for the crossover and one other little part. Need to get the manifolds over to Carma to let them weld in the new v-bands onto the manifolds instead of using the factory 3bolt flange.

Here we go. We got alot of guy's local cars done so we could get to work on my ride. We got my car in the shop this past saturday. Here's the update's since Saturday:
28Mar11
Dodging crappy weather in Nashville, we got the Trans am over to the shop with minimal fighting.
Once there, we got the bellmouth hole made in the nose, and went ahead and got the bell shaped to fit off the nose of the car quite nicely.
Today, ordered a 304SS transition for the crossover and one other little part. Need to get the manifolds over to Carma to let them weld in the new v-bands onto the manifolds instead of using the factory 3bolt flange.
Thread Starter
9 Second Club
iTrader: (31)
Joined: Oct 2002
Posts: 3,175
Likes: 2
From: Nashville, TN
*30Mar11*
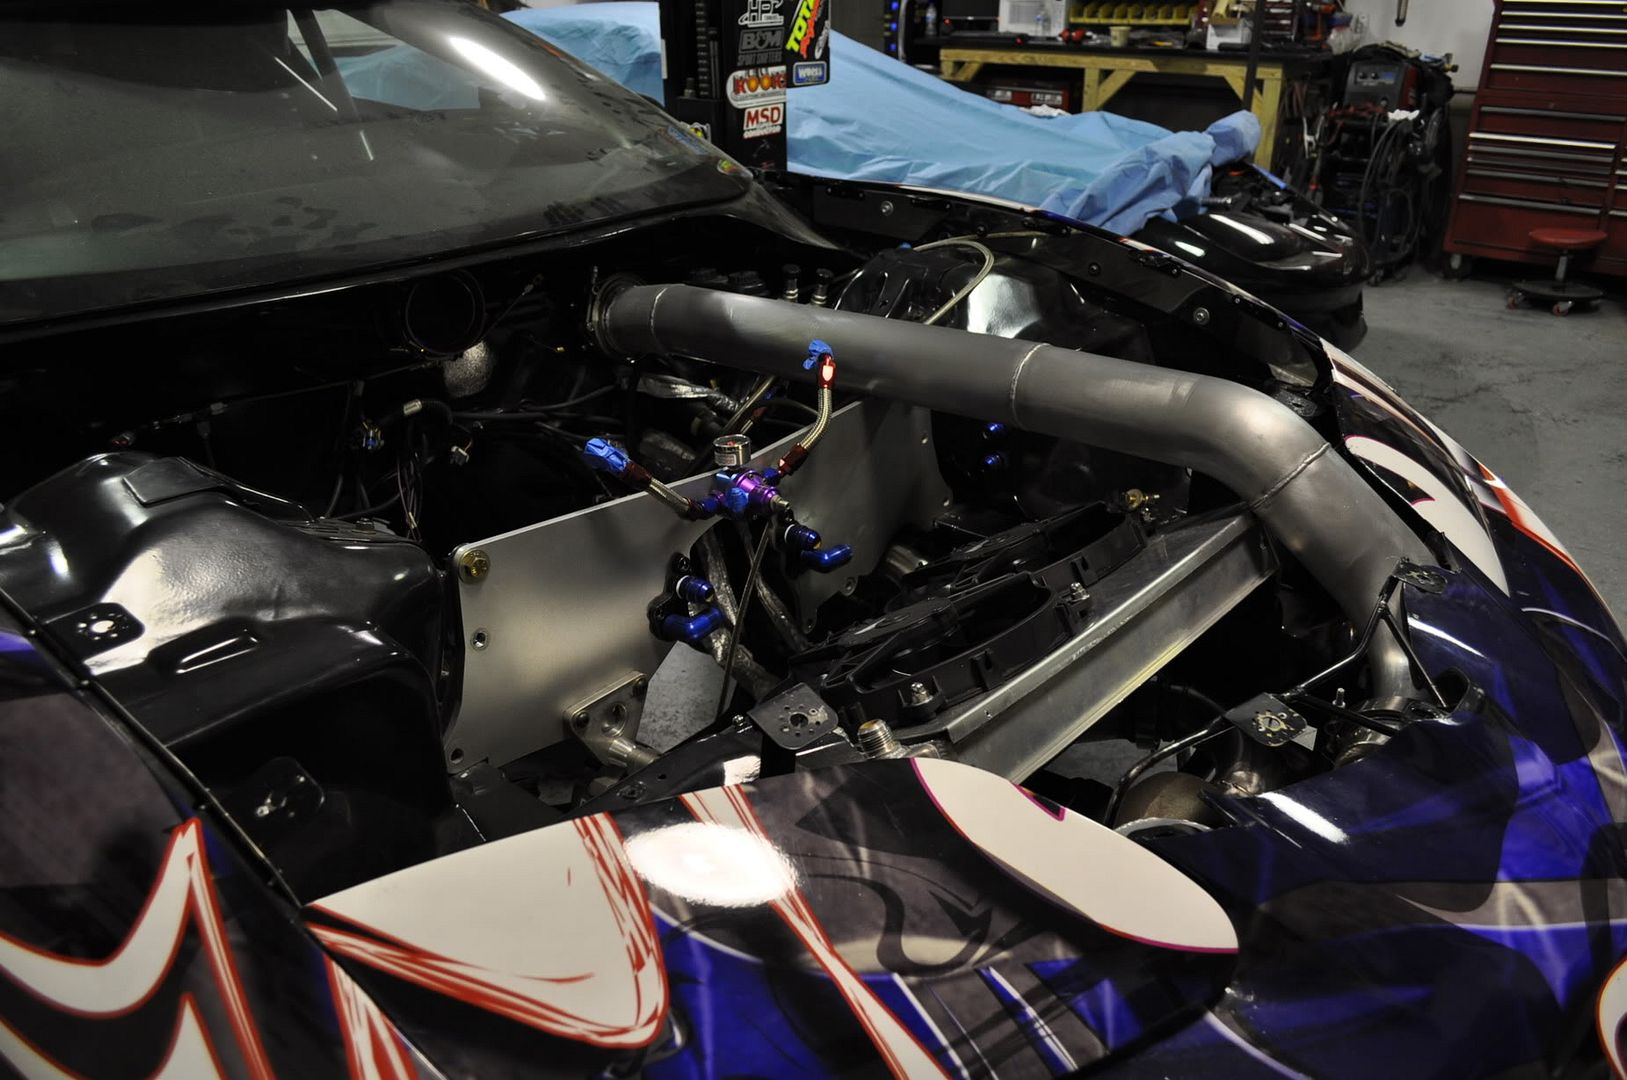
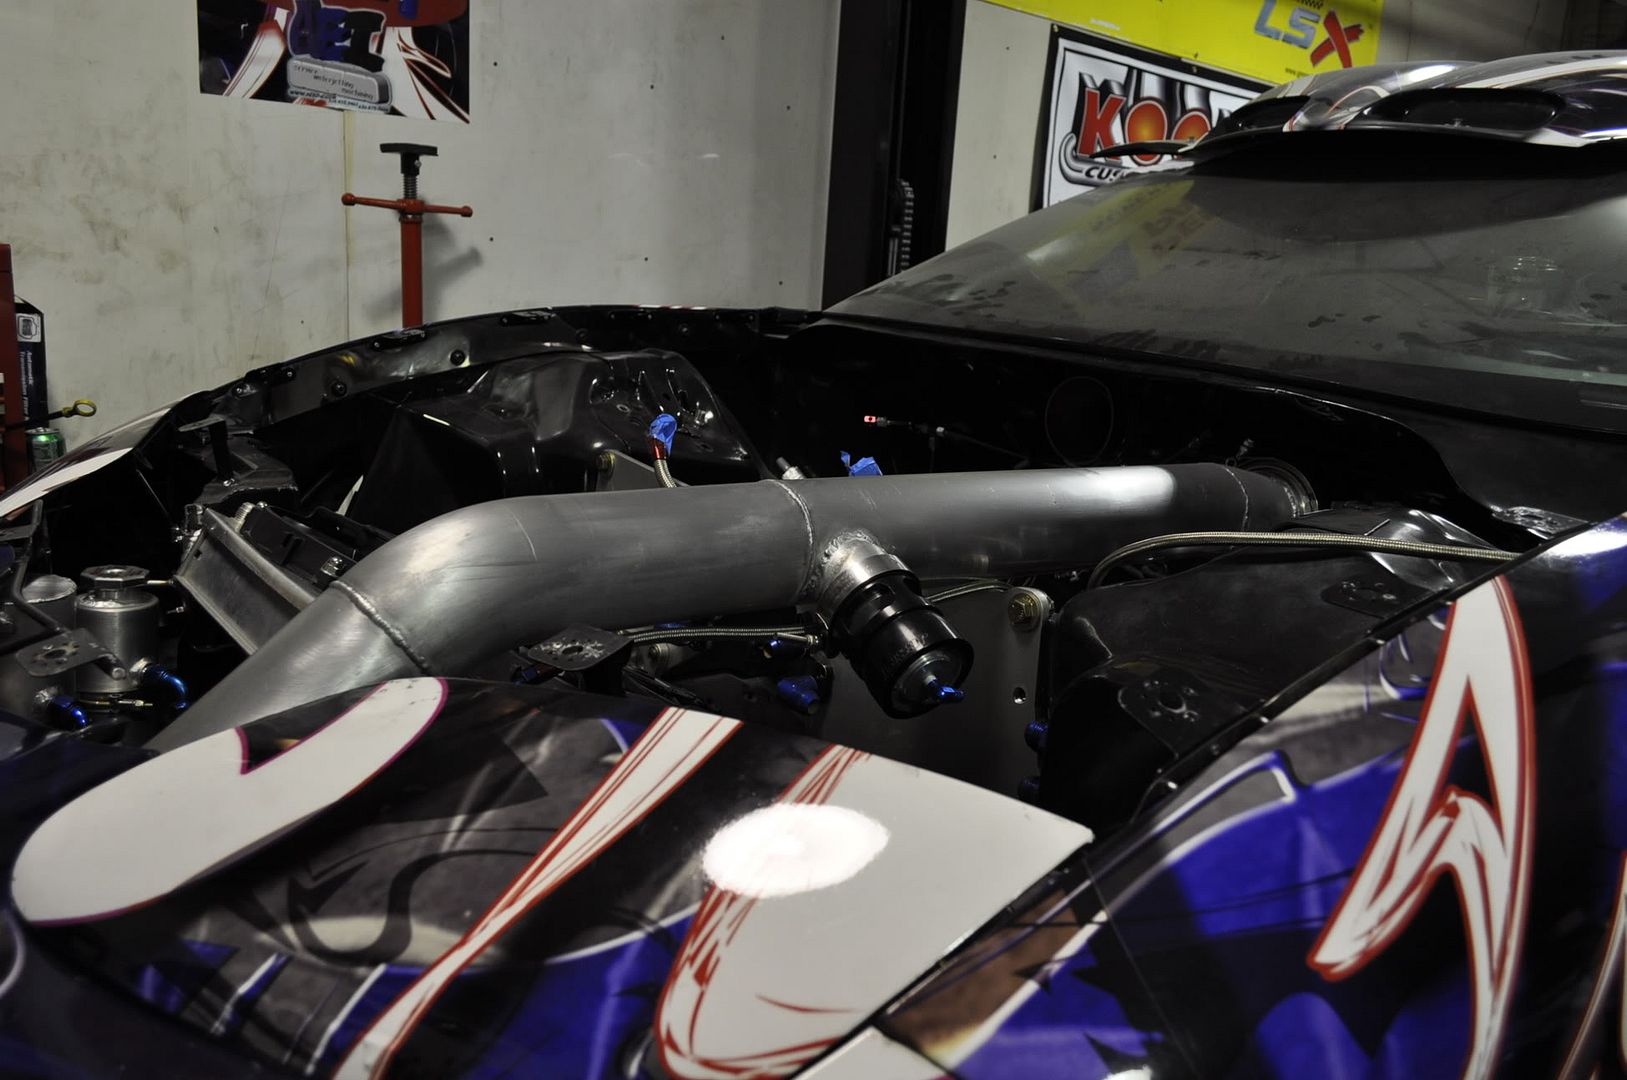
We should have plenty of room, actually lots more than before if all goes according the plan. The only "tight" fit is the charge pipe clearing the radiator with the new shroud we want to run. other than that, this looks like we almost planned out the engine bay to be this way, haha. the crossover should fit nicely right under the radiator and the new Wastegate location will be much more functional as well (should have that piping work finished by this weekend if we get the motor back in the car.)
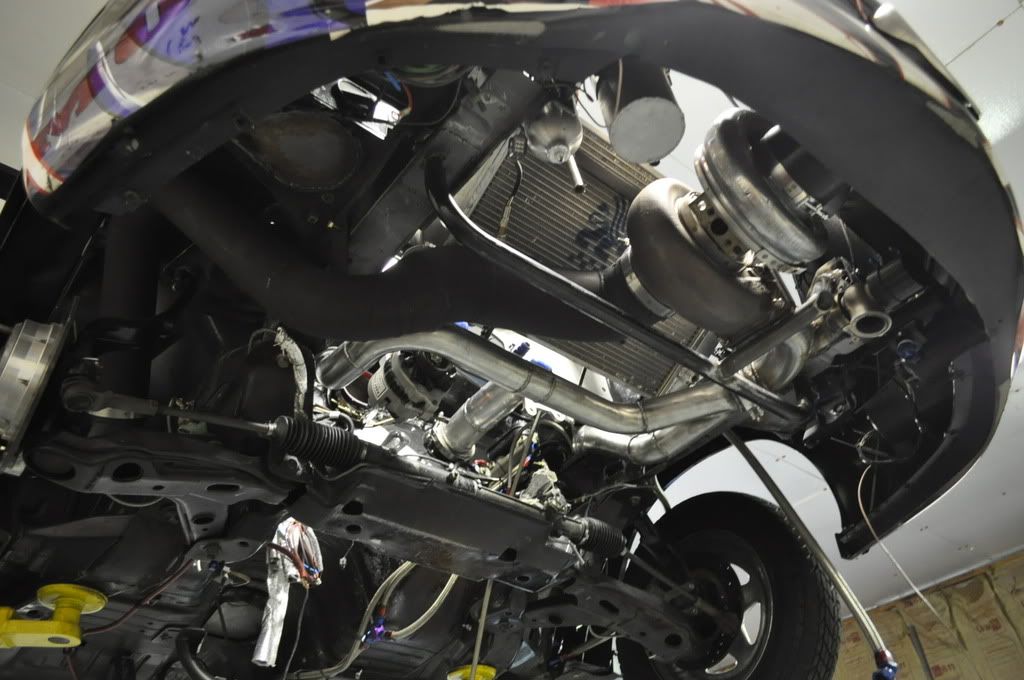
To recap, the turbo mount is completed and fully welded in place. It's somewhat triangulated setup and although looks freaky like it's free-hanging, it's a VERY solid mount.
The Radiator is now laying forward at a pretty aggressive slope. This gave us the room for the DP, new turbo placement and also more room for an extra fan and a shroud on the system this time. We did have to cut off the radiator cap. We'll close off the hole for that, and then put a inline fill cap on the line running to the radiator. Probably be out about $200 in new -12 lines and fittings to get this to work correctly. Also adding a new expansion tank setup and a overflow setup in the case of a head lifting.
Tonight, if blue can find the downpipe flange we need, we will weld up and finish the downpipe install. Should be CLEAN and simple.
And alot of pics from last night:


We should have plenty of room, actually lots more than before if all goes according the plan. The only "tight" fit is the charge pipe clearing the radiator with the new shroud we want to run. other than that, this looks like we almost planned out the engine bay to be this way, haha. the crossover should fit nicely right under the radiator and the new Wastegate location will be much more functional as well (should have that piping work finished by this weekend if we get the motor back in the car.)
To recap, the turbo mount is completed and fully welded in place. It's somewhat triangulated setup and although looks freaky like it's free-hanging, it's a VERY solid mount.
The Radiator is now laying forward at a pretty aggressive slope. This gave us the room for the DP, new turbo placement and also more room for an extra fan and a shroud on the system this time. We did have to cut off the radiator cap. We'll close off the hole for that, and then put a inline fill cap on the line running to the radiator. Probably be out about $200 in new -12 lines and fittings to get this to work correctly. Also adding a new expansion tank setup and a overflow setup in the case of a head lifting.
Tonight, if blue can find the downpipe flange we need, we will weld up and finish the downpipe install. Should be CLEAN and simple.
And alot of pics from last night:

Thread Starter
9 Second Club
iTrader: (31)
Joined: Oct 2002
Posts: 3,175
Likes: 2
From: Nashville, TN
*1apr11*
ye of little faith!
We should have plenty of room, actually lots more than before if all goes according the plan. The only "tight" fit is the charge pipe clearing the radiator with the new shroud we want to run. other than that, this looks like we almost planned out the engine bay to be this way, haha. the crossover should fit nicely right under the radiator and the new Wastegate location will be much more functional as well (should have that piping work finished by this weekend if we get the motor back in the car.)
To recap, the turbo mount is completed and fully welded in place. It's a triangulated setup and although looks freaky like it's free-hanging, it's a VERY solid mount.
The Radiator is now laying forward at a pretty aggressive slope. This gave us the room for the DP, new turbo placement and also more room for an extra fan and a shroud on the system this time. We did have to cut off the radiator cap. We'll close off the hole for that, and then put a inline fill cap on the line running to the radiator. Probably be out about $200 in new -12 lines and fittings to get this to work correctly. Also adding a new expansion tank setup and a overflow setup in the case of a head lifting.
Tonight, if blue can find the downpipe flange we need, we will weld up and finish the downpipe install. Should be CLEAN and simple.
To order this week:
-Expansion tank
-Scavenger pump
-Drop off manifolds today at Carma for Chris to weld on the v-bands
*11Apr11*
-->Crossover pipes are complete. They are all stainless, have a columbia mandrel bend high flow transition with 45* angled dual 2.5" in, single 3" out, and high flow T6 stainless transition. Also all connection points are v-banded with new OBX stainless V-bands. Even went so far as to add v-band's to the manifolds courtesy of Carma Performance. Everything looks AWESOME. I am lucky to have at my disposal two of the most badass fabricators IMO in Tennessee: Tater from Tatershack and Chris from Carma. Also mounted the Wastegate in a much more functional area.
--> Waiting for different Valve seals to come in, then just to assemble the heads fully. Should finish off the heads this week. Will have to notch the new valve cover on the Driver side to clear the charge pipe going through the firewall. Other than that, we look to be in good, albeit difficult charge pipe routing.
-->In the cooling system, we added quite a bit to the cooling side of the car this offseason. Laying the radiator forward allowed us to utilize (2) 16" Spal fans. In addition, we fabb'ed up a radiator shroud to really utilize the entire radiator. In addition to that, we removed the fill point on the radiator and capped it off. I will now run an inline fill point on the -12an hose. That is in house and ready to install. Also, we added a new expansion tank from Speedway motors. It's an aluminum tank with AN lines running to it. From there, we are making a custom overflow tank out of extra 4" aluminum charge piping to monitor if the car pushes water. These two tanks will now mount up front ahead of the passenger side frame horn.
This week's goals-->
-Order new intake
-Finish charge pipe
-Finish Downpipe
-Continue forward with more wiring on the car
*Update 13Apr11*
My god, where to begin?!
The "team" has split into two groups to better get things done. Tater has been continuing forward with any leftover fab work on the front of the car while Q, Brian, Blue, and I have been moving all around the car handling the laundry list of things to do.
Tater late last night completed the custom puke tank to control overflow water and when a head is pushed. All other major fab work is done minus the valve cover clearance, charge pipe fab, and downpipe fab. The DP and Charge pipe will begin tommorow.
Blue, B, and I got a strong start on the wiring this week. The front lights all work now and are ran off the factory small foglight switch. There is no split on the headlights and parking lights. A single switch just turns on all the outside lights. Then the interior lights are set on a seperate switch inside the car. Taillights all work minus one bad corroded socket i'll need to replace. Fuel Tank gauge is 100% wired in and working as well.
Motor and Trans is pulled back out of the car for the last time. Last night we started with the head assembly and install on the motor. New Valve seals went on and then the valvetrain and head gaskets and yada yada yada. We had our torque wrench ready but not the angle gauge so were not able to fully torque down the heads. Thursday we'll get the heads torqued down, and full assemble the motor/trans/converter/etc with the trans shield and put it back in the car for the last time. This will be wiring and hooking everything back up to the motor to get ready to run.
Any questions?! :lol
WOOT! Happy to report ALL major and nearly all minor fabrication work for the new turbo setup is DONE! Wiring and plumbing are all that remain and should be complete this week!! The new setup is pretty badass in both the form and the function arena. Im really looking forward to this season. We got held up on some bolts or the engine and trans would be in these pictars  Also A HUGE thanks to Josh at KY turbo! Couldnt have got it done without a emergency run to BG for a 4" aluminum Vband flange!

Also A HUGE thanks to Josh at KY turbo! Couldnt have got it done without a emergency run to BG for a 4" aluminum Vband flange!