F1A-390ci-E85
#1
Well, things are looking to be wrapped up around late summer early fall. I think now is as good a time as any to start my build thread. It will be overly detailed and I will start from the very day 1 till present. This car is more than a car, it has been my dream for 10+ years. Warning: Lots of eye candy on this one guys. Tons of Media. From shitty Iphone vids, to HD 1080P. This is just an average transformation.
************************************************** *************
Jan- 2009- For my second car, but first sports car, I started out with an LS2 GTO (05), and although it was ok, I was unhappy with it. I got rid of it, and finally got what I always wanted for my birthday in October of 2010.
************************************************** *************
Good Riddance Goat!
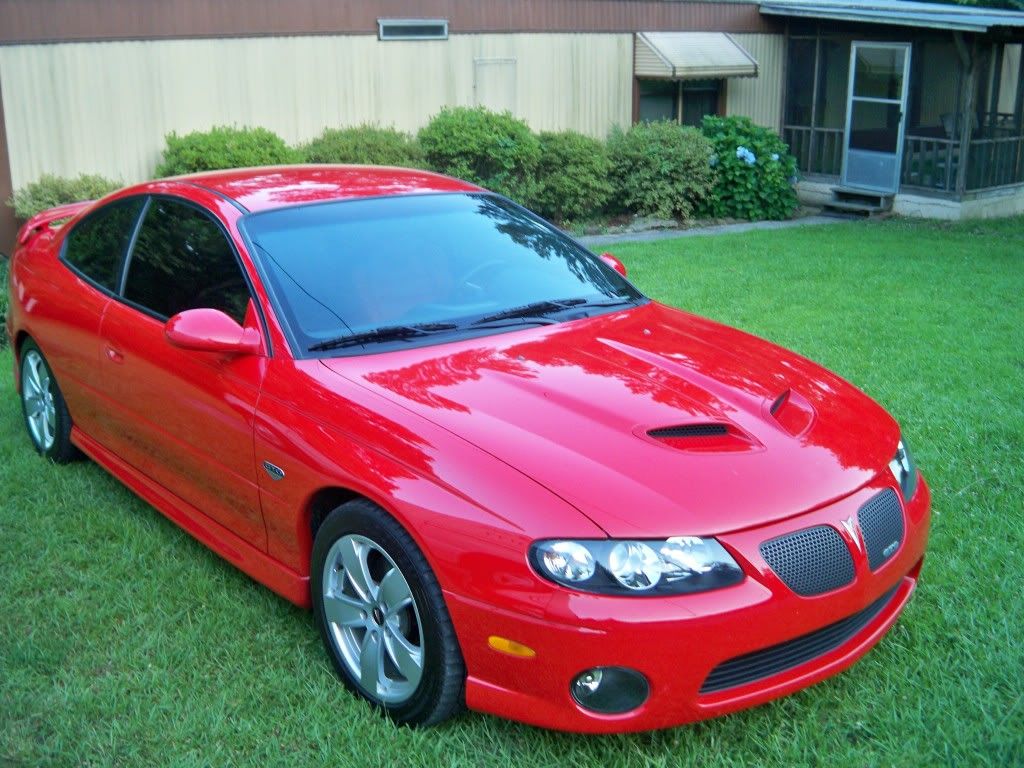
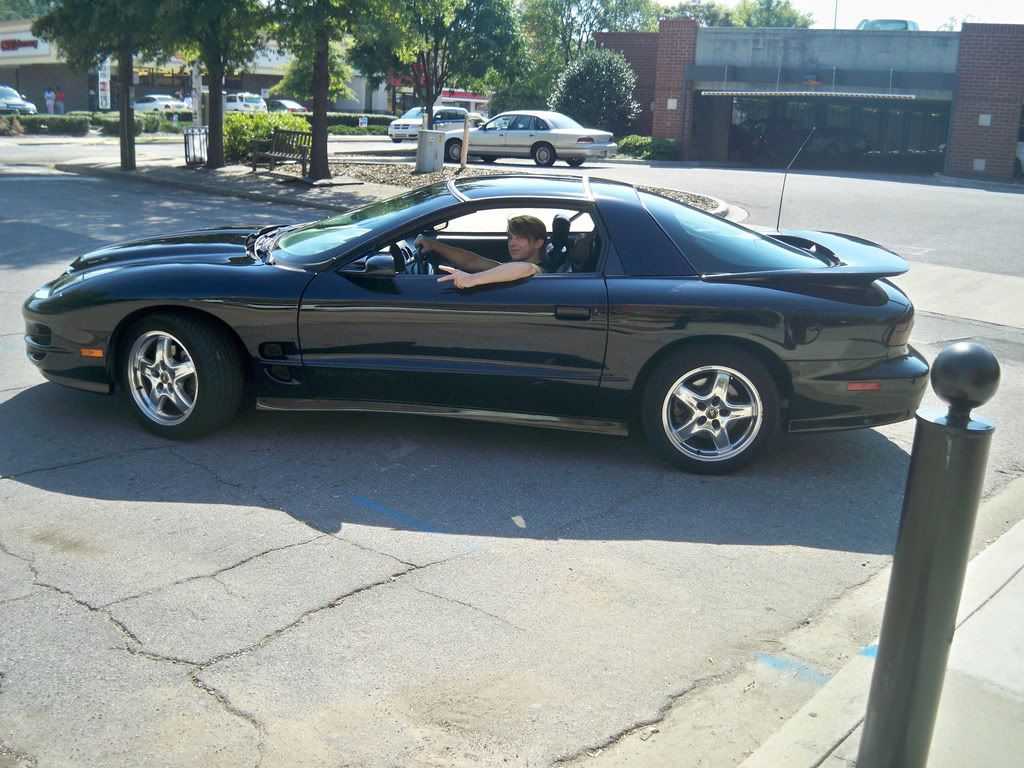
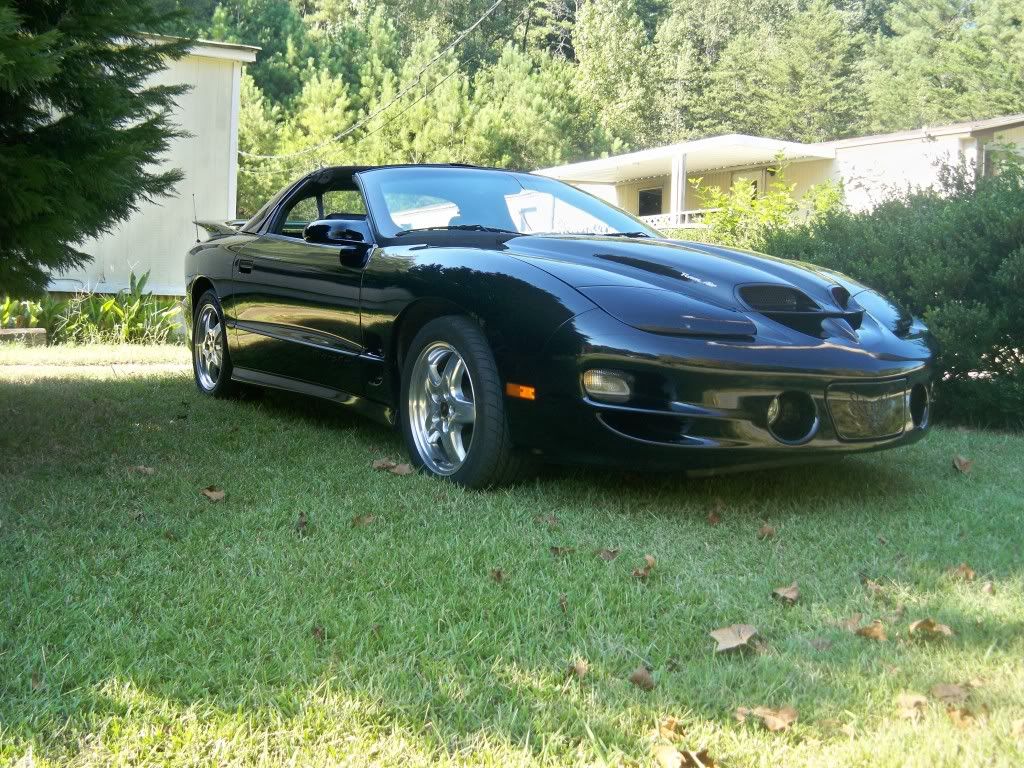
Hello Lil' Birdie!

************************************************** *************
On the way home I automatically got a chance to see how it compared to a cammed c6 z06, and stopped by the vette museum and was entered into the show upon site. I of course got smoked, which ignited the fire for more speed on the very day I got it. (forgive my eccentric friend and T-Top down wind noise)
http://www.youtube.com/watch?v=XUm_i...ature=youtu.be
************************************************** *************
First things first! Had to test to see if it looked fast. This is as stock as they come!
************************************************** *************
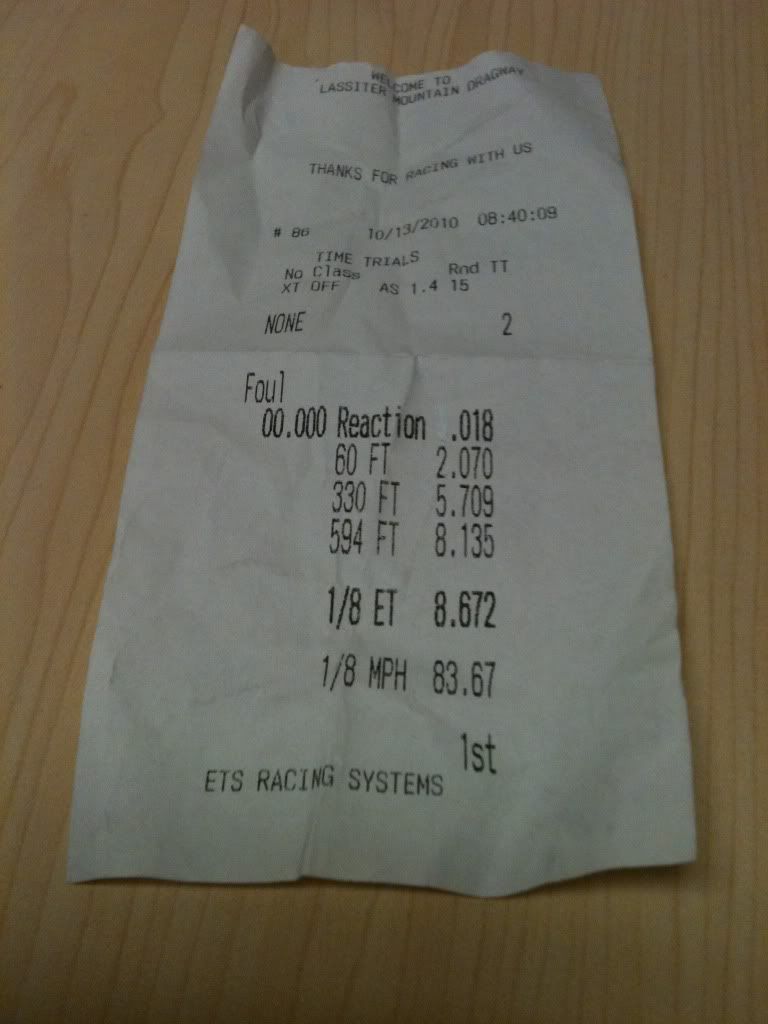
Now this thing was a 1 owner @ 31k miles that had been sitting to the point gaskets were looking rough, and it was hissing etc.....despite these problems, it did not stop me from running an 8.67 first time out with 3:23's and goodyears eagle f1-gs.
************************************************** *************
LET THE MODS BEGIN!!!!!!
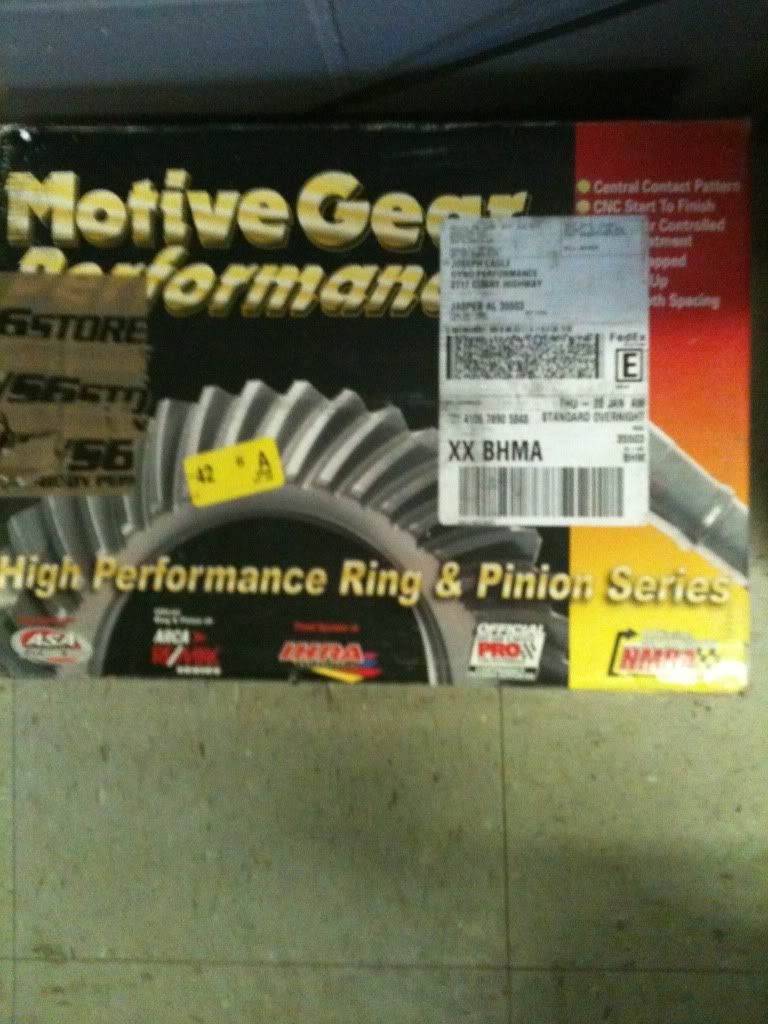
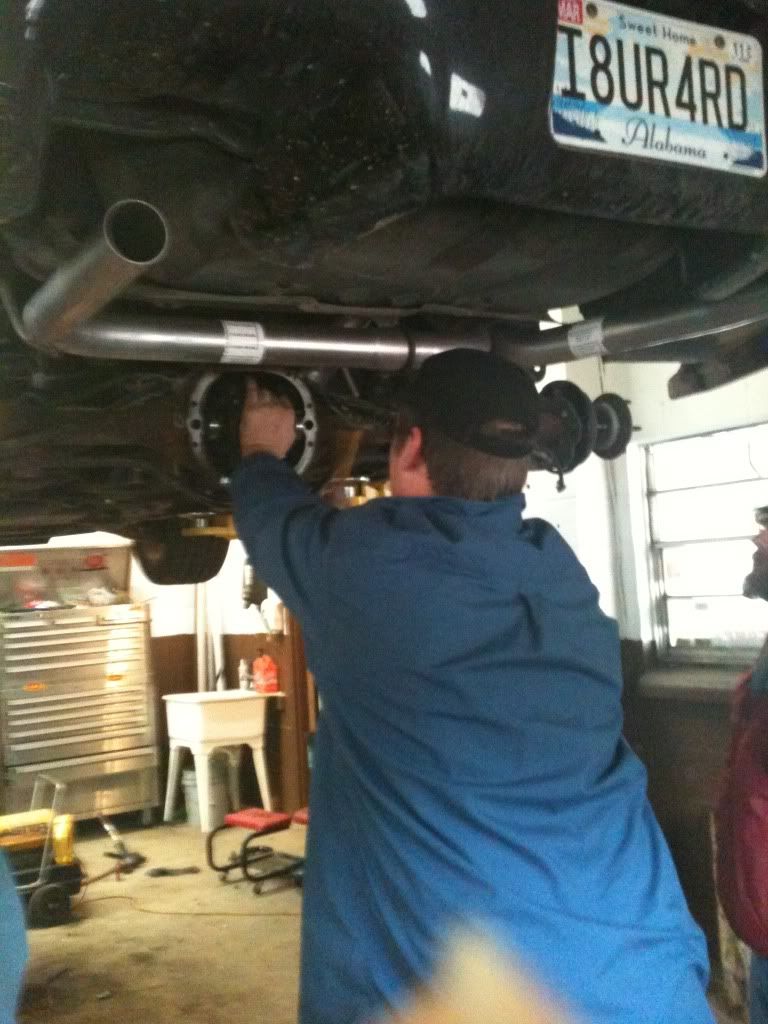
1st order of business for most of of us here, is exhaust! So how about a before and after. We dropped by Dyno Performance to put on a SLP Loudmouth system with beefy 4'' beveled tips, but swapped the LM1 muffler for a Dynomax Resonator which turned out to be a great choice. Super Loud with great tone at the same time. Oh yea, we also did a set of motive 3:73 gears.
(Gramps is filmin' on my Iphone)
Exhaust Before:
Exhaust After:
373's :
Dyno Performance Install:
************************************************** *************
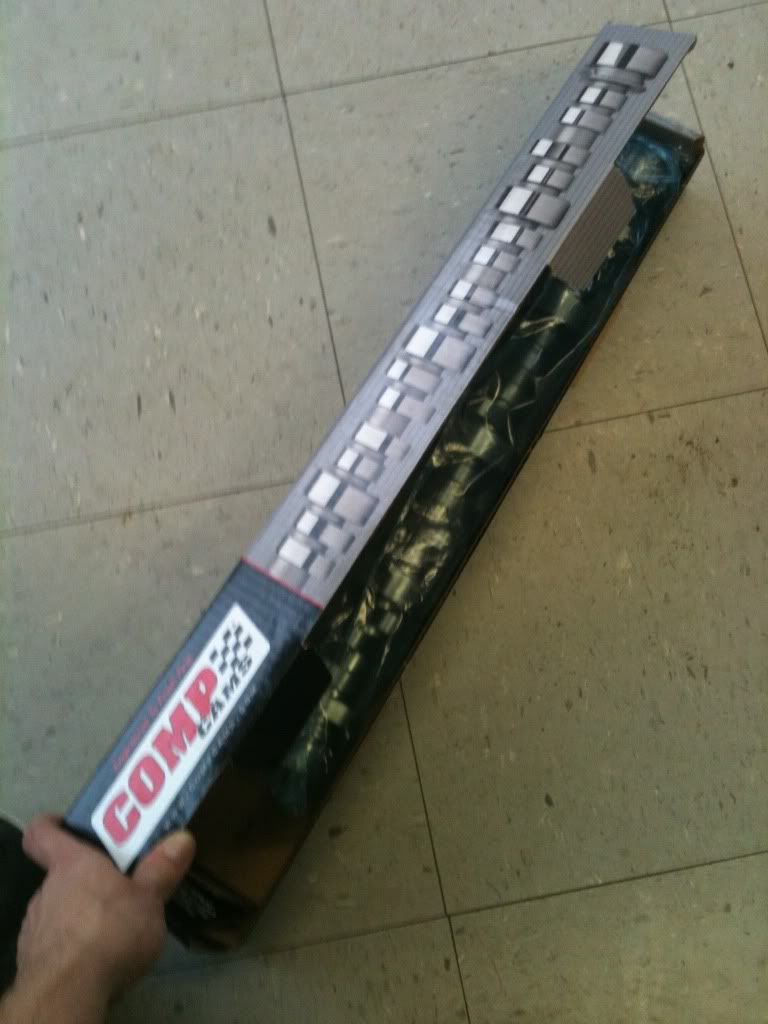
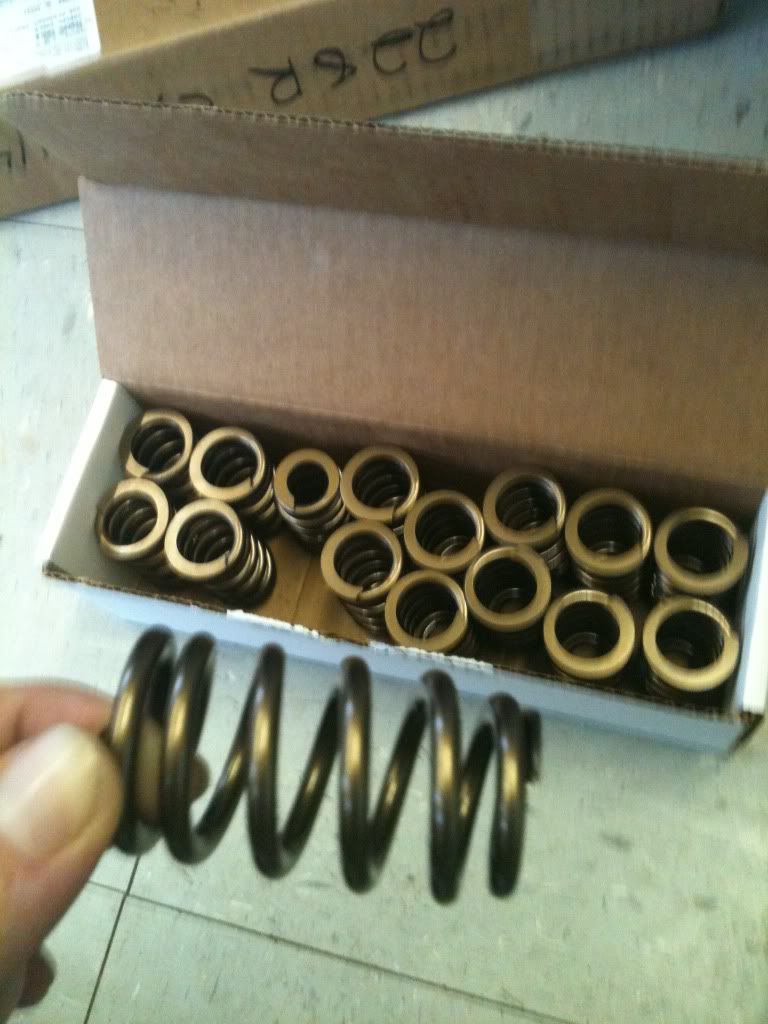
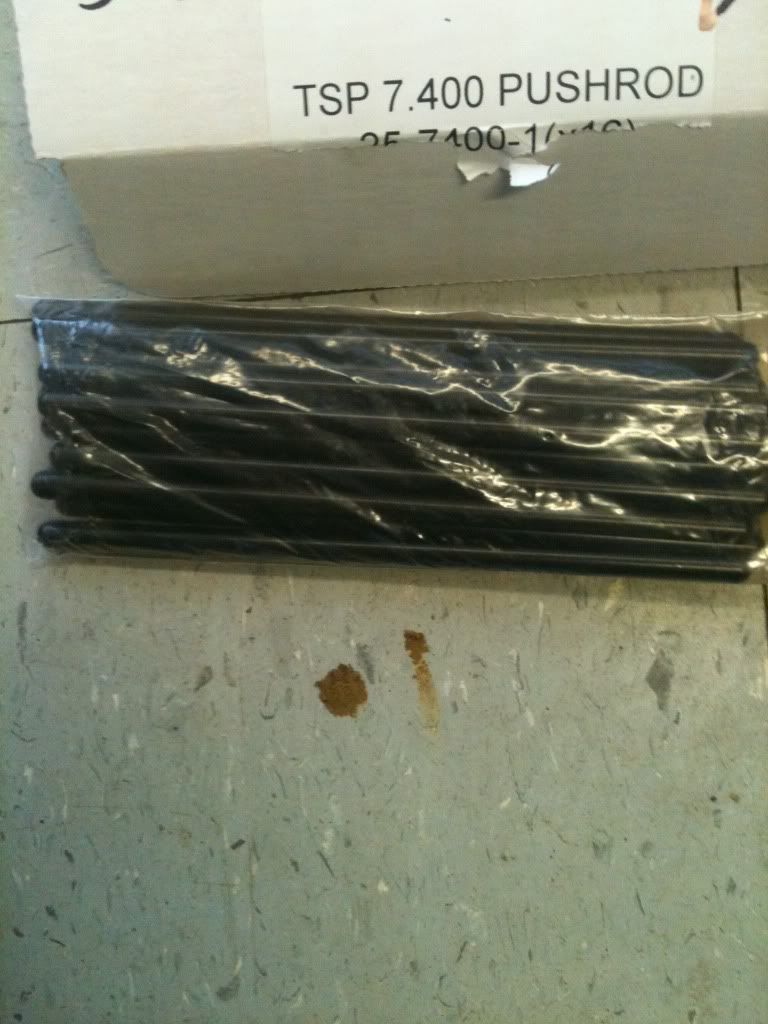
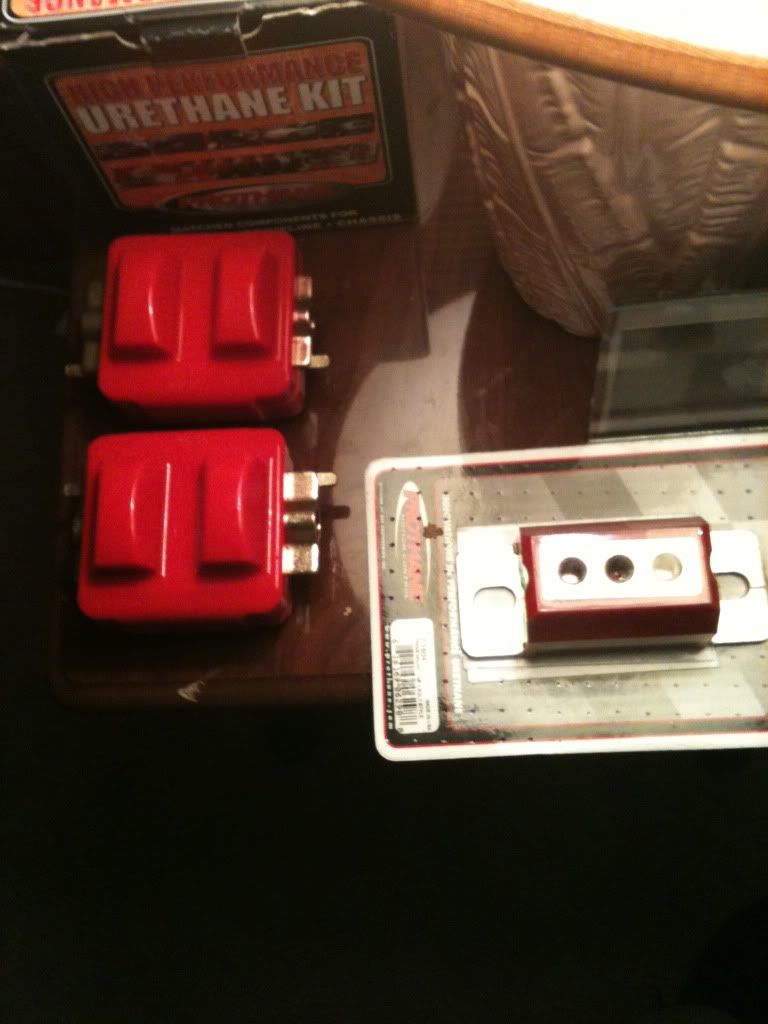
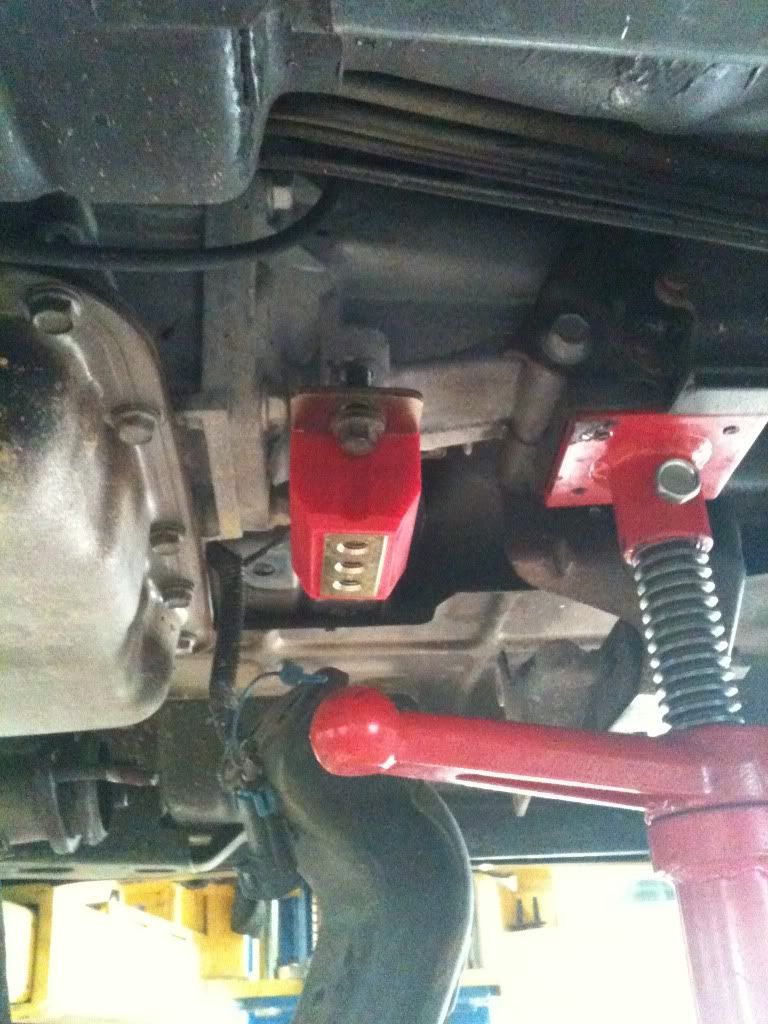
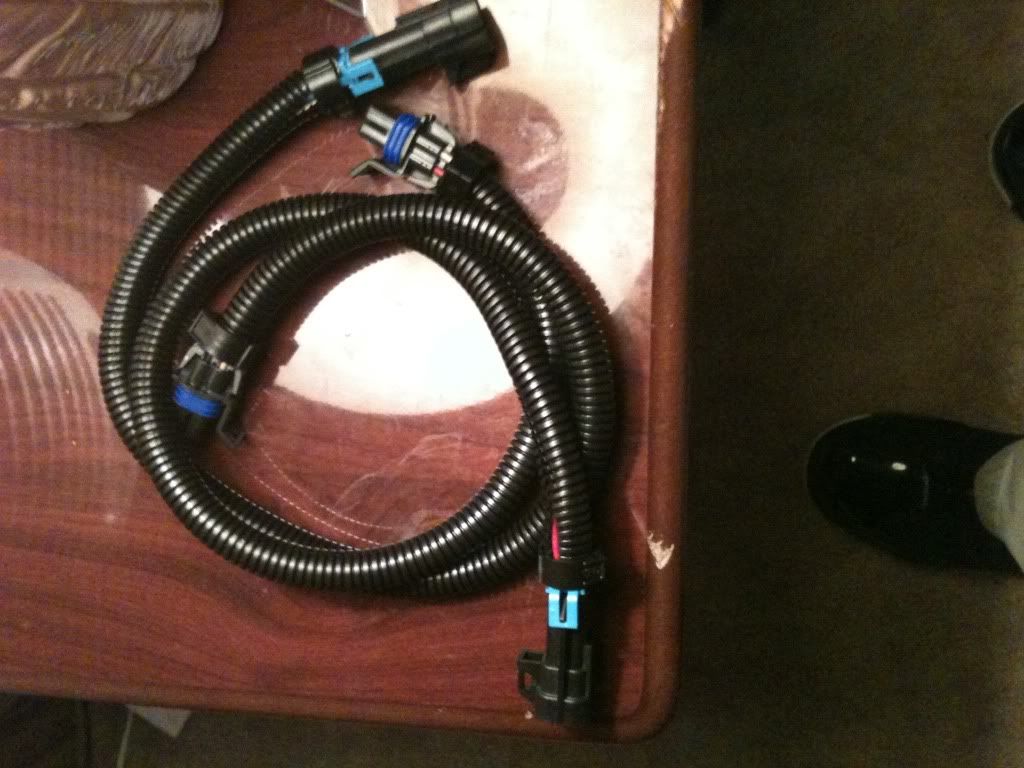
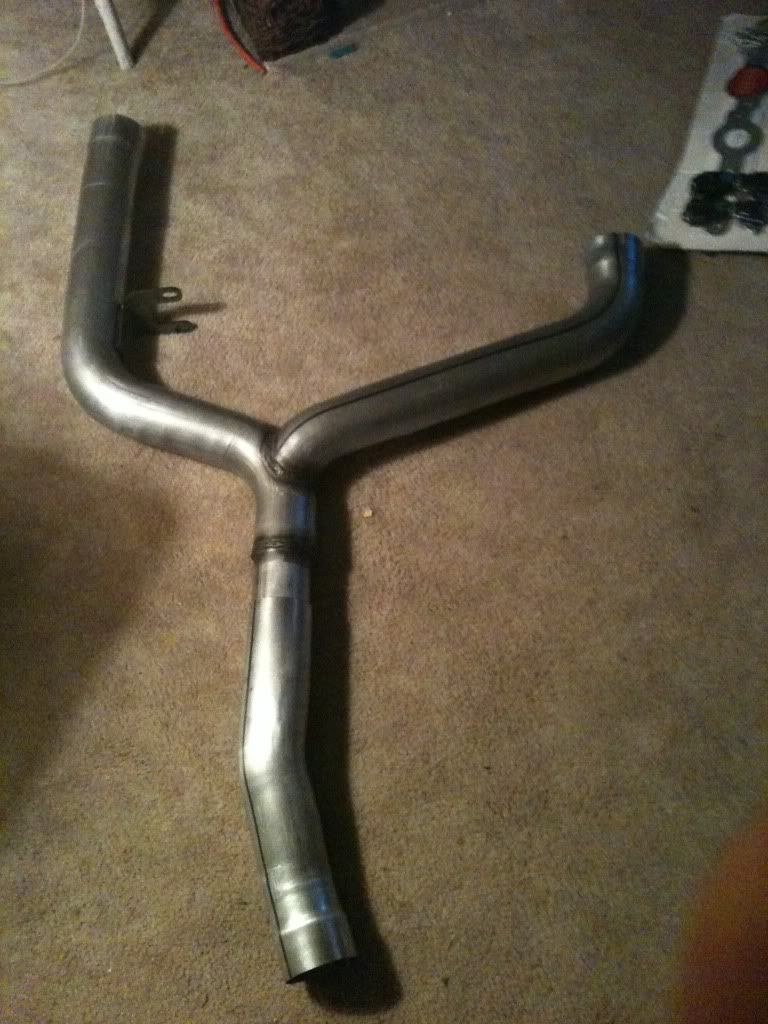
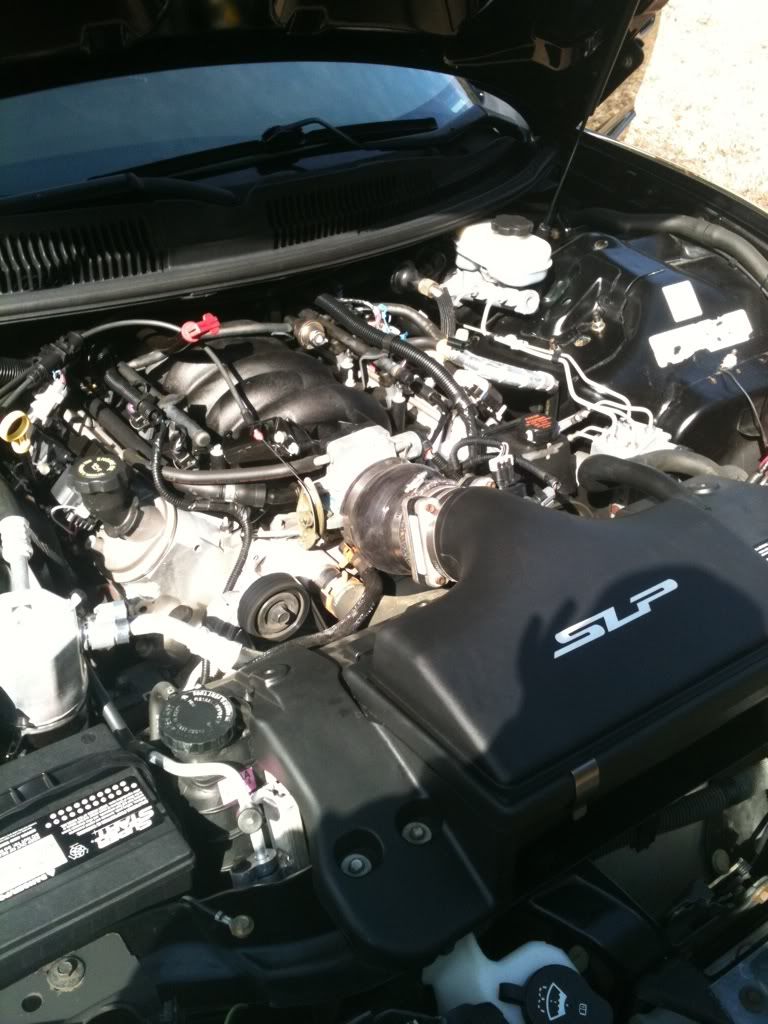
I got the car back home again, and it was a different animal after breaking in the gears, and being able to hear it purr. After cleaning the TB up real well, plus replacing the intake gaskets, and adding NGK TR55-IX Plugs and MSD 8.5mm wires we really seemed to making making leaps and bounds and responding better. I drove it this way about 5 days......Just long enough for Matt @ Texas Speed to send me my new 228R Cam @ 114 LSA 228/228 - .588/.588. Also went to Mike @ WS6 store whom I highly recommend for Prothane Motor/Tranny Mounts, Hooker Offroad 1 & 3/4 Headers and Hooker Y-Pipe Along with an SLP CAI to spice up the engine bay. The cam package from TSP came with 7.4 Hardened Pushrods, and PAC .650 valvesprings. The 02 sensor extensions were also put on, along with the Bosch sensors. It was also street tuned off the dyno the first time.
TSP 228R:
650 PAC:
TSP 7.4'' PR:
Prothane Mounts:
Mounts Installed:
Cheap Hooker:

24'' 02 Ext:
Hooker Y-Pipe:
(This damned thing took some effort to get on, and a Thunder Racing Bumpstop was added on top of beating the **** out of it to keep it from hitting the floorpan under the drivers seat!!!
SLP CAI:

************************************************** *************
So after the installs and tunes were all wrapped up, I drove it, and got to experience first hand what people mean when they say, LS1 cars come alive when you add a cam. I mean this thing was like night and day. It was labeled as a tire fryer....Oh yeah, and I should prob mention it was suddenly louder than tortured lions being projected through stadium speakers!
Loud *** Revs & Lope
3rd gear Flyby WOT!
0-60MPH (no stall & street tune)
************************************************** *************
As you can probably imagine, things started happening with all the new found power, like "sudden loss of traction" and the transmission not quite keeping up with the motors onslaught of newfound power. So before we hit the dyno I had a PTC 3200 Race Converter Put on because it was pushing the car forward when stopped. Also did a TransGo HD-2 shift kit. I have no records of this because I was at work while this was going on. But yet again, the car changed. It was snappier, and felt more relaxed at idle, along with faster since it was shifting harder.
SOOOO! Time to put her on a dyno and see what I have been working with. We used a dynocom. It did well to me to have only a baby cam bolt ons, and an auto. We also put the limiter up to 6550 RPM and adjusted shift points along with ridding myself of that damn SES light which was a real pleasure. This was @ Henson Performance as Dyno Performance had shut down.
************************************************** *************
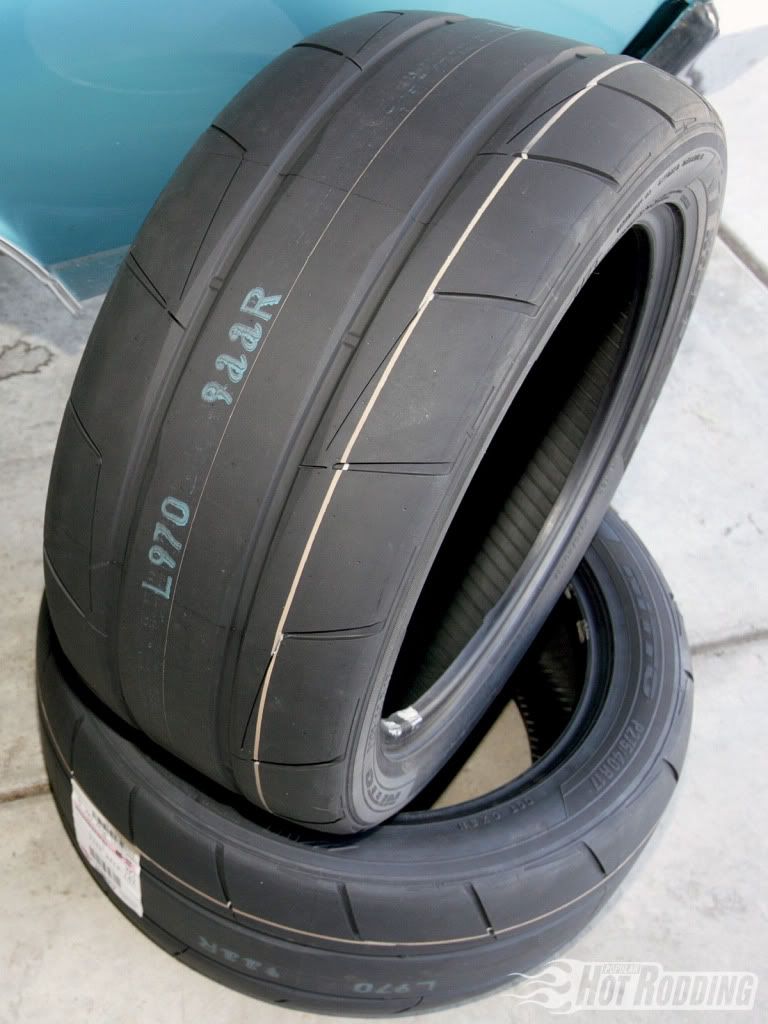
Next step was to see how much faster it looked, and ran. So we did a flyby vid, and went at ran a 7.54 @ 92 MPH first time out while dialing in the new NT05R Tires. Cutting a 1.67 60 foot. I don't have pics of the time slips, so it does not mean ****, but if I'm lying I'm dying man. Ended up going a best of 7.38 with a 1.62 once I learned that the Nittos liked 23psi and lots of heat along with a higher elevation. These launches were ruining pinion seals even though I was only flashing the converter. Trying to keep the 10 bolt alive!
NT05R DR:
************************************************** *************
So a low to mid 7's TA. Not bad. Surely I am satisfied for a bit. I think not. Immediately started wondering what I could do next. I certainly did not feel the car had "plateaued". Some said to put the bottle on it.
I am quite the bottle **** however. I don't like the idea of cheap horsepower that is not constant or "runs out", so that leaves either a bigger cam, and heads, or...duh deh daaaah Forced Induction.
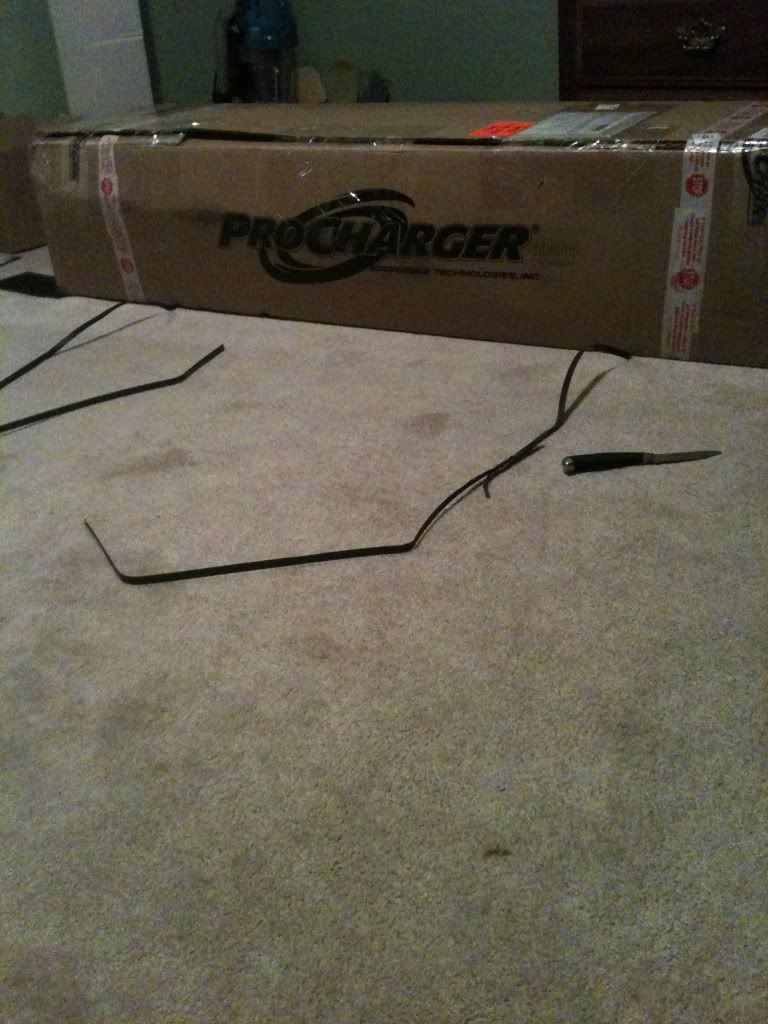
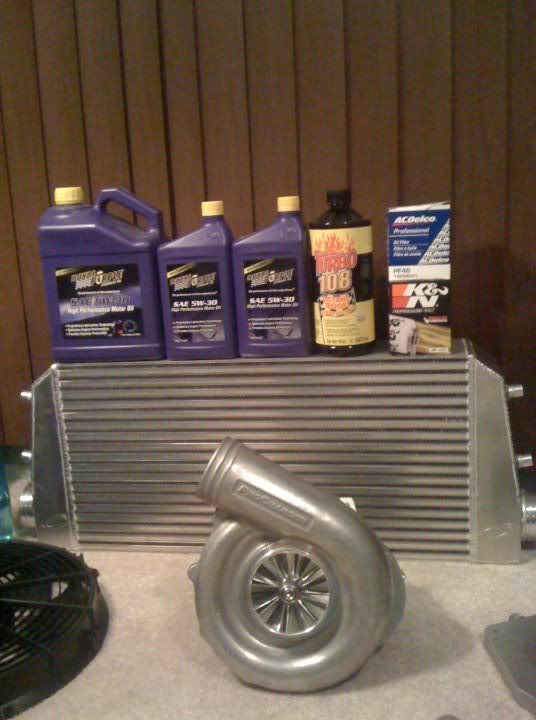
Yessssir. After Much deliberation, I decided to roll with an 8-Rib D1SC FMIC Kit from good ole' Bob. We talked, and came to the conclusion my cam was fairly ideal for the blower, although I never really considered that in the beginning. $6750.00 later I had that Bigass Box in my room along with some other goodies such as AlkyControl- Triple Pillar Gauges, ATI Front Mount Intercooler, And a Racetronix Hotwire, and 60lb injectors.
Before She Left:

************************************************** *************
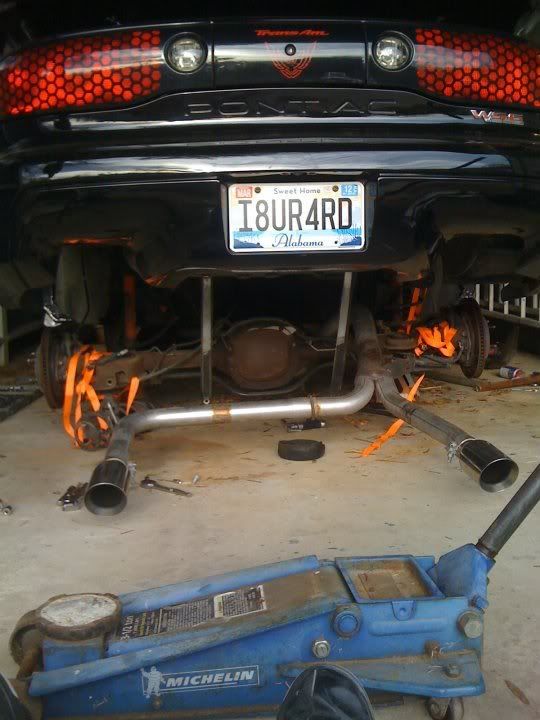
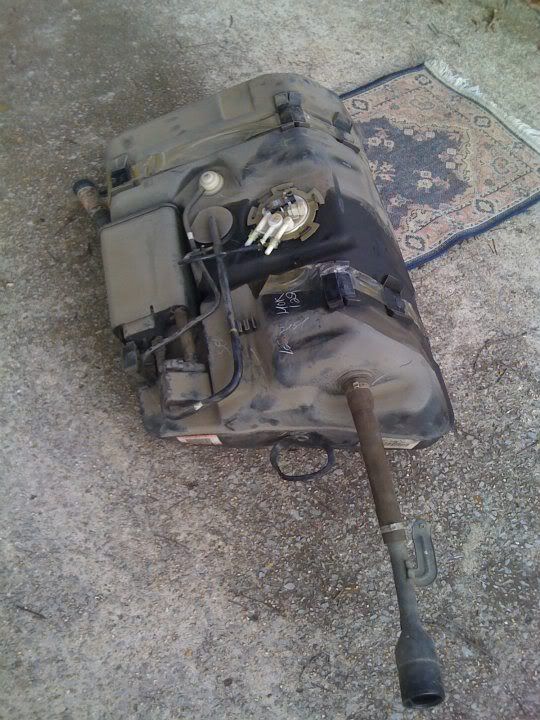
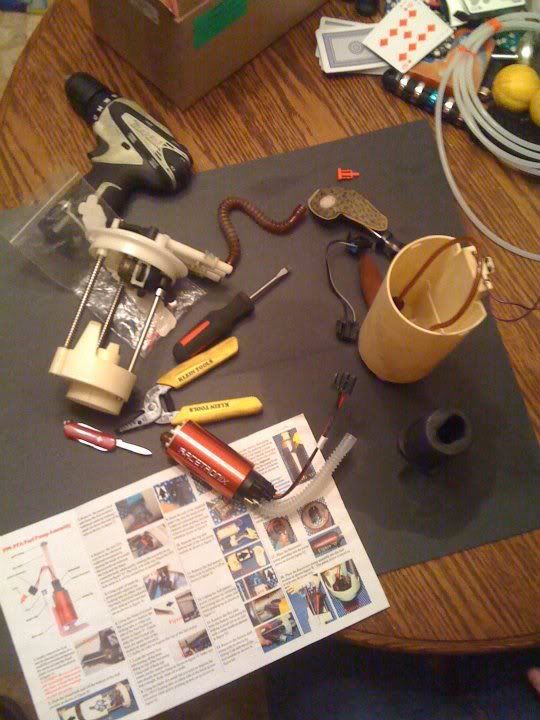
The fuel system was a breeze. I refused to cut a hole in my baby, and was amazed at how easy it is to drop the rear, and tank, and pull the bucket.
10 Bolt takes a dive:
Tank Out in 1hr 20min:
Out with the Old In with the new: ( your an idiot if you can't follow these directions included from Racetronix)
************************************************** *************
************************************************** *************
Jan- 2009- For my second car, but first sports car, I started out with an LS2 GTO (05), and although it was ok, I was unhappy with it. I got rid of it, and finally got what I always wanted for my birthday in October of 2010.
************************************************** *************
Good Riddance Goat!


Hello Lil' Birdie!


************************************************** *************
On the way home I automatically got a chance to see how it compared to a cammed c6 z06, and stopped by the vette museum and was entered into the show upon site. I of course got smoked, which ignited the fire for more speed on the very day I got it. (forgive my eccentric friend and T-Top down wind noise)
http://www.youtube.com/watch?v=XUm_i...ature=youtu.be
************************************************** *************
First things first! Had to test to see if it looked fast. This is as stock as they come!
************************************************** *************
Now this thing was a 1 owner @ 31k miles that had been sitting to the point gaskets were looking rough, and it was hissing etc.....despite these problems, it did not stop me from running an 8.67 first time out with 3:23's and goodyears eagle f1-gs.

************************************************** *************
LET THE MODS BEGIN!!!!!!

1st order of business for most of of us here, is exhaust! So how about a before and after. We dropped by Dyno Performance to put on a SLP Loudmouth system with beefy 4'' beveled tips, but swapped the LM1 muffler for a Dynomax Resonator which turned out to be a great choice. Super Loud with great tone at the same time. Oh yea, we also did a set of motive 3:73 gears.

(Gramps is filmin' on my Iphone)
Exhaust Before:
Exhaust After:
373's :

Dyno Performance Install:

************************************************** *************
I got the car back home again, and it was a different animal after breaking in the gears, and being able to hear it purr. After cleaning the TB up real well, plus replacing the intake gaskets, and adding NGK TR55-IX Plugs and MSD 8.5mm wires we really seemed to making making leaps and bounds and responding better. I drove it this way about 5 days......Just long enough for Matt @ Texas Speed to send me my new 228R Cam @ 114 LSA 228/228 - .588/.588. Also went to Mike @ WS6 store whom I highly recommend for Prothane Motor/Tranny Mounts, Hooker Offroad 1 & 3/4 Headers and Hooker Y-Pipe Along with an SLP CAI to spice up the engine bay. The cam package from TSP came with 7.4 Hardened Pushrods, and PAC .650 valvesprings. The 02 sensor extensions were also put on, along with the Bosch sensors. It was also street tuned off the dyno the first time.
TSP 228R:

650 PAC:

TSP 7.4'' PR:

Prothane Mounts:

Mounts Installed:

Cheap Hooker:

24'' 02 Ext:

Hooker Y-Pipe:
(This damned thing took some effort to get on, and a Thunder Racing Bumpstop was added on top of beating the **** out of it to keep it from hitting the floorpan under the drivers seat!!!


SLP CAI:


************************************************** *************
So after the installs and tunes were all wrapped up, I drove it, and got to experience first hand what people mean when they say, LS1 cars come alive when you add a cam. I mean this thing was like night and day. It was labeled as a tire fryer....Oh yeah, and I should prob mention it was suddenly louder than tortured lions being projected through stadium speakers!
Loud *** Revs & Lope
3rd gear Flyby WOT!
0-60MPH (no stall & street tune)
************************************************** *************
As you can probably imagine, things started happening with all the new found power, like "sudden loss of traction" and the transmission not quite keeping up with the motors onslaught of newfound power. So before we hit the dyno I had a PTC 3200 Race Converter Put on because it was pushing the car forward when stopped. Also did a TransGo HD-2 shift kit. I have no records of this because I was at work while this was going on. But yet again, the car changed. It was snappier, and felt more relaxed at idle, along with faster since it was shifting harder.
SOOOO! Time to put her on a dyno and see what I have been working with. We used a dynocom. It did well to me to have only a baby cam bolt ons, and an auto. We also put the limiter up to 6550 RPM and adjusted shift points along with ridding myself of that damn SES light which was a real pleasure. This was @ Henson Performance as Dyno Performance had shut down.
************************************************** *************
Next step was to see how much faster it looked, and ran. So we did a flyby vid, and went at ran a 7.54 @ 92 MPH first time out while dialing in the new NT05R Tires. Cutting a 1.67 60 foot. I don't have pics of the time slips, so it does not mean ****, but if I'm lying I'm dying man. Ended up going a best of 7.38 with a 1.62 once I learned that the Nittos liked 23psi and lots of heat along with a higher elevation. These launches were ruining pinion seals even though I was only flashing the converter. Trying to keep the 10 bolt alive!
NT05R DR:

************************************************** *************
So a low to mid 7's TA. Not bad. Surely I am satisfied for a bit. I think not. Immediately started wondering what I could do next. I certainly did not feel the car had "plateaued". Some said to put the bottle on it.
I am quite the bottle **** however. I don't like the idea of cheap horsepower that is not constant or "runs out", so that leaves either a bigger cam, and heads, or...duh deh daaaah Forced Induction.


Yessssir. After Much deliberation, I decided to roll with an 8-Rib D1SC FMIC Kit from good ole' Bob. We talked, and came to the conclusion my cam was fairly ideal for the blower, although I never really considered that in the beginning. $6750.00 later I had that Bigass Box in my room along with some other goodies such as AlkyControl- Triple Pillar Gauges, ATI Front Mount Intercooler, And a Racetronix Hotwire, and 60lb injectors.
Before She Left:

************************************************** *************
The fuel system was a breeze. I refused to cut a hole in my baby, and was amazed at how easy it is to drop the rear, and tank, and pull the bucket.
10 Bolt takes a dive:

Tank Out in 1hr 20min:

Out with the Old In with the new: ( your an idiot if you can't follow these directions included from Racetronix)

************************************************** *************
Last edited by I8UR4RD; 03-09-2014 at 07:36 PM. Reason: Title
#2
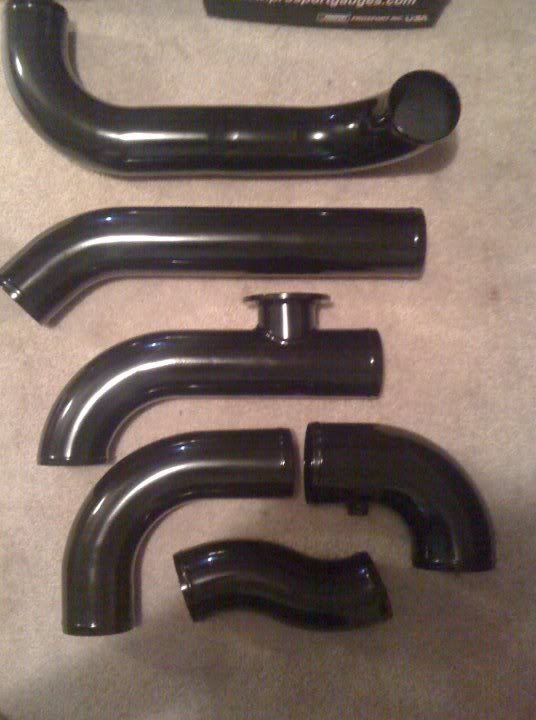
I was at this point beginning to think about what things looked like under the hood before the install began on the D1, and nothing made me cringe more than thinking about silver charge pipes in my engine bay, so I had them powdercoated gloss black, and it turned out fantastic.
Coated Charge Pipes:
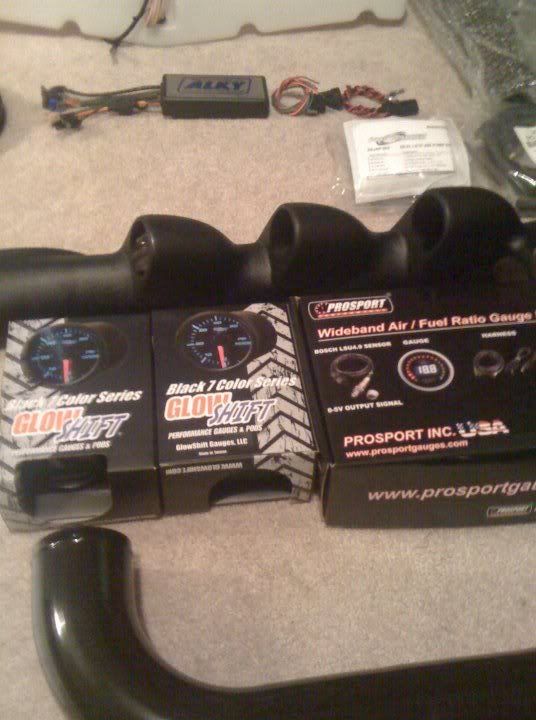
Autometer & Glowshift & Prosport: 02 Wideband, Boost, Fuel Pressure:
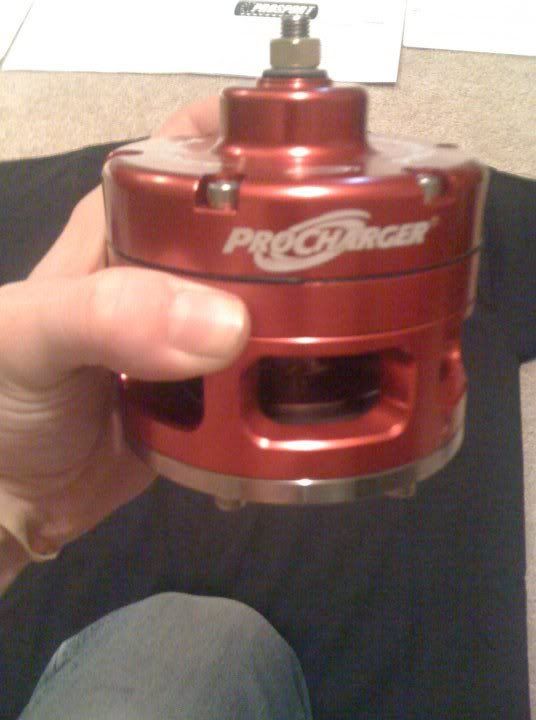
Red Race BOV:
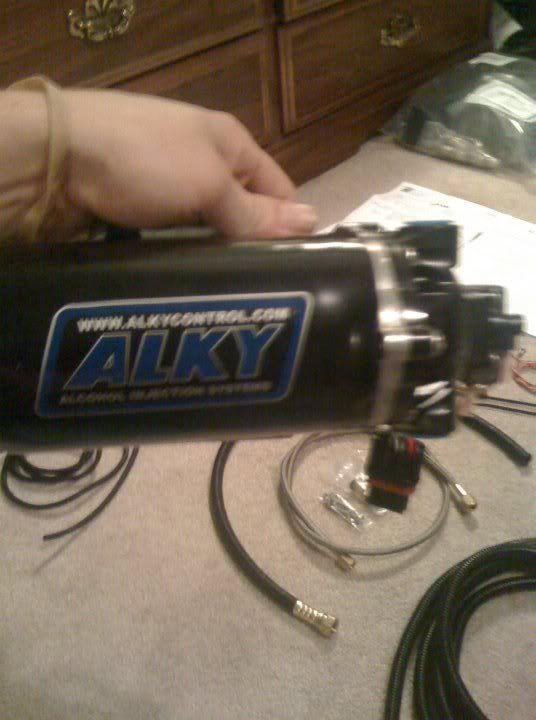
Thanks Julio!:
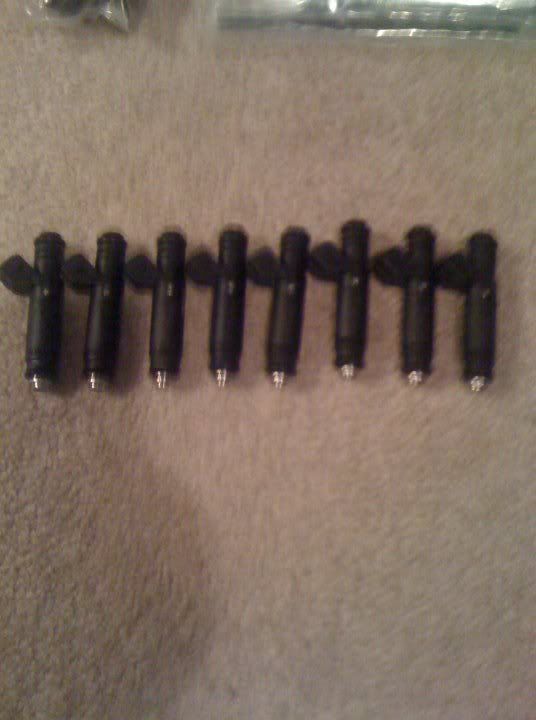
BOSCH 60lb:
8 Rib ATI Setup:
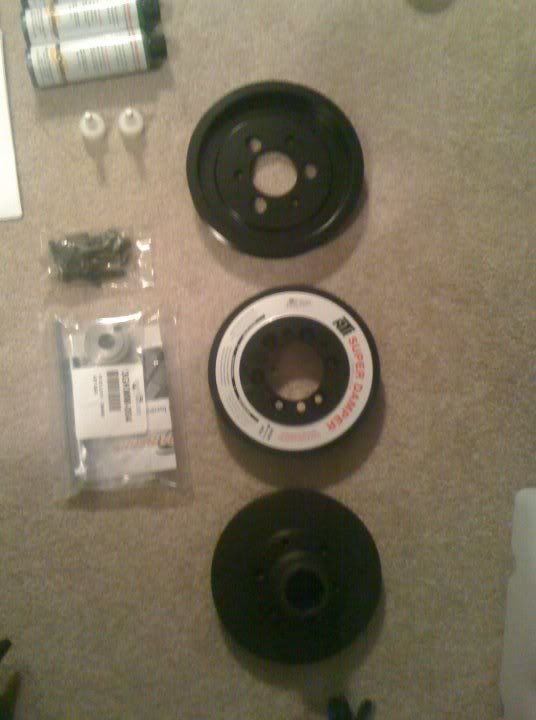
Creme' De' la Creme:
************************************************** *************
So let the teardown begin! Shoutout to my WWII veteran pal Wilbur for offering me his garage/tools for the install. I would have to say the hardest part was getting the old balancer off with the 3 Jaw, and front pinning the crank, other than that, its all straight forward as can be. I rigged up an easy way to get it off, if any of you other guys are having trouble. Just gotta' get some leverage. This was a 2 day event. It was 34 degrees. Forgive my cousins shitty camera skills. He was just so excited the ****** finally came off. This had been holdin' up progress.
The bitch of pinning without a press. Oh man. Even un-forged that bitch was tough. I drilled till my shoulders were about to fall off. I had to oil about every 20-30 seconds. Started out low RPM and went up gradually. I had to go alot deeper than what Prochargers Manual Suggested to get it flush. To tap it in, I packed a 1/4 inch socket with paper towel as backing and hammered it in, then finished it off with a punch.
Pinning Description:
************************************************** *************
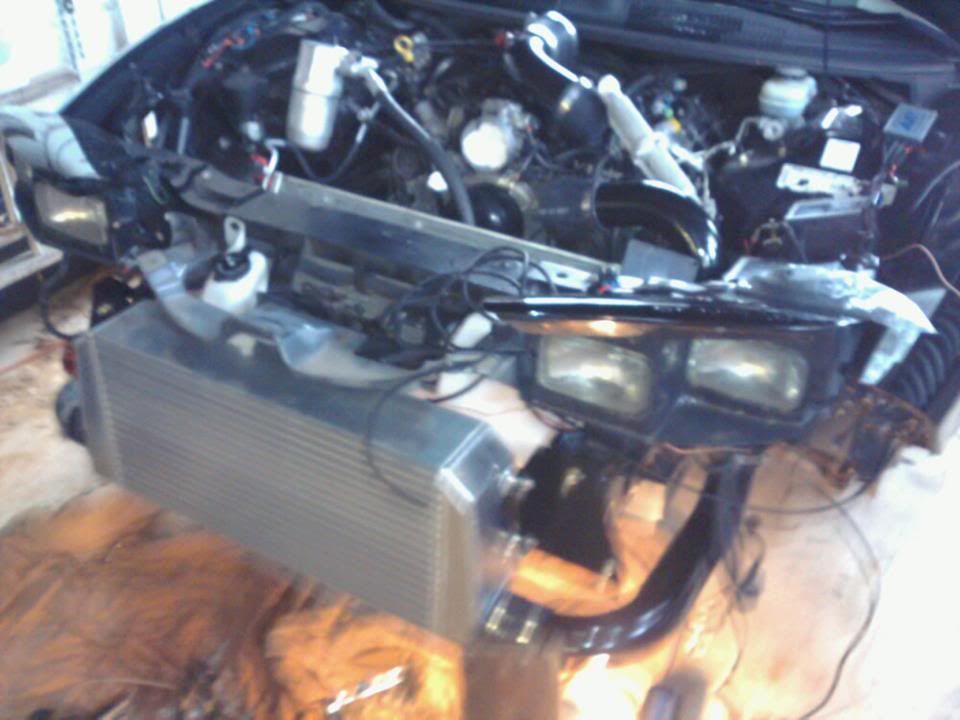
So around this time, you can imagine the car is looking pretty rough, what with all the front fascia, radiator, trans lines (auto guys ... and etc.
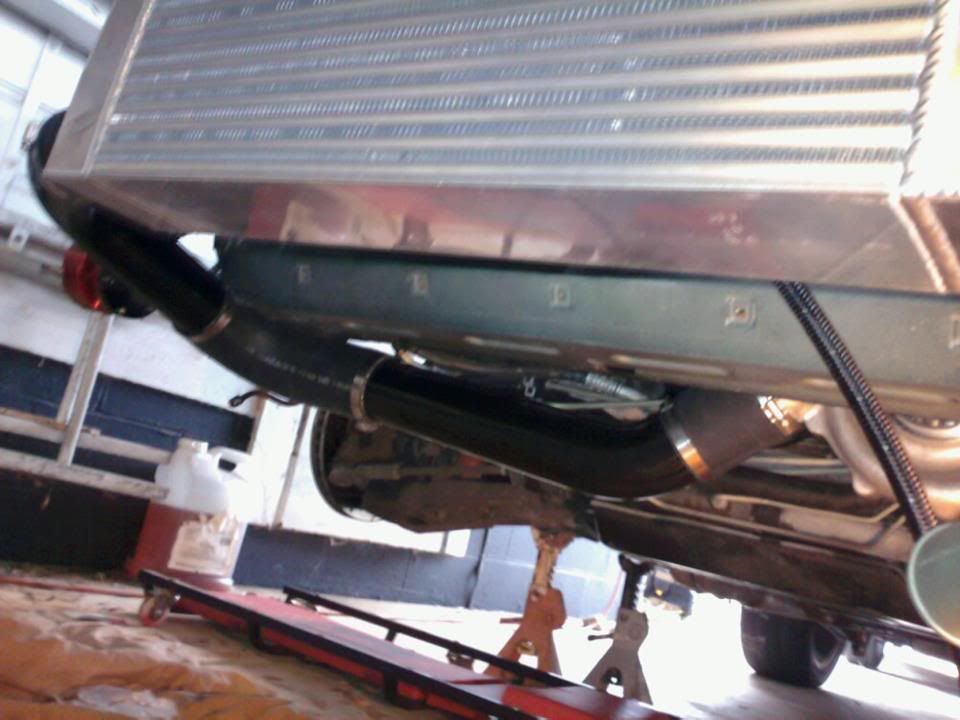
It really made me wonder if I was going to be in over my head. A few beers and couple of buddies later, I had no doubts. We relocated all the ****, dropped the AIR pump altogether, and Mounted the FMIC, and started running the piping. It was nice to see it just pop together like a childrens puzzle.
Facial Reconstruction:
Blower Attatched & Piping Ran: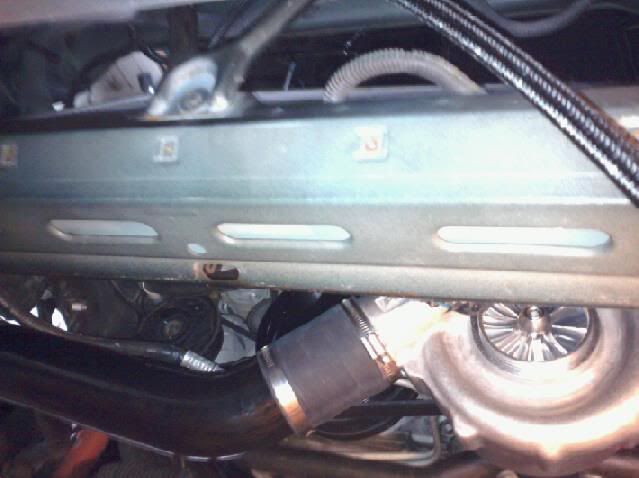
Underside Clearance:
************************************************** *************
Well, at this point, I'll be honest, with work, and the weather. It took over a month to get this together. Although now I am sure we can do it in significantly less time. Well, I guess we can see if it runs. First test on the fuel, and first test, on my belt belt alignment. Fingers Crossed.
Judgement Day Startup:
************************************************** *************
Well, that went smoothly. You know, I have been getting so engaged with spiffing up the car, that I forgot to spiff up myself. I think I deserve a reward!
Spiffy:

************************************************** *************
We are getting close to where I am at now. I did not feel like taking on the task of the methanol, and gauges. So I took my car back to Henson Performance to finalize the finishing touches, and SD tune the car. We introduced the methanol and let her rip. Here are the results from the same dyno as before on the same load settings and everything:

600rwhp & 577rwtq.
************************************************** *************
Needless to say, I was right where I wanted to be with the car. 600HP daily driven 02 Bird with only 41k miles on it at this point.
But, the dream was short lived:

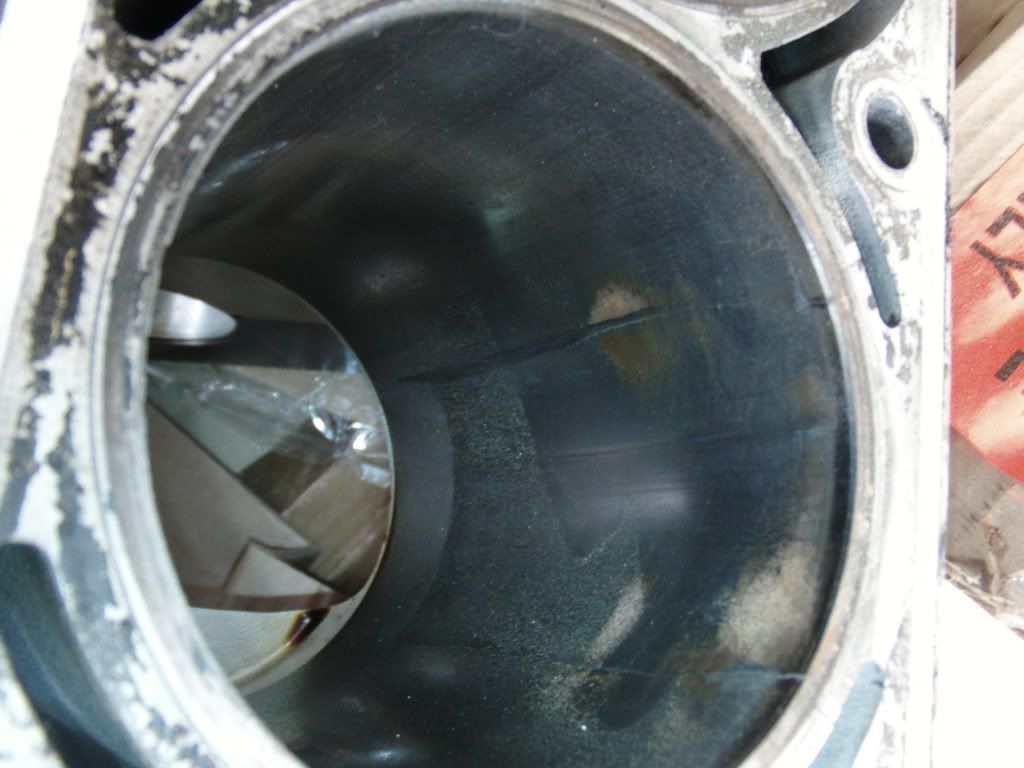
On the 4th pull, boost dropped off, and the Dipstick shot out like a bottle rocket and hit the wall nearby. Coolant, and Oil sprayed out everywhere. I was really disappointed that such a young motor left us too soon. The original heart had failed. Partially my fault I will admit, for not safe tuning it in any shape or form. And the block was pulled, disassembled and all parts sold to make way for a new setup.
************************************************** *************
Coming SOON:
Fraser & Mike from AES are Building my LQ9 Iron AES 390 as we speak. We are just waiting on diamond to send the pistons, and get the heads on and it should ship out soon after. The services they provide are next to none, and they really know what it means to be a car guy. I will be coupling this along with the D1 for the time, at full boost. And a Performabuilt stage 3 Trans, Lonnies Dual In-tanks, E85/Meth, FIC 1000's, MWC 9'' 3:55's, Full Spool & coilover suspension, along with the addition of the aster bracket. This is all going to start coming together in big pieces month by month. My goals are between 750-800rwhp. I will be running Texas Speeds 237cc Heads with 68 chamber and LS9 Head Gaskets. 1/2'' Head studs are added for my reassurance, as well as to compensate for the 4 bolt design. JP Billet Double Roller. Brutespeed Blower Cam @ 115LSA 232/240 .595/.608I have not driven my car since November.
************************************************** *************
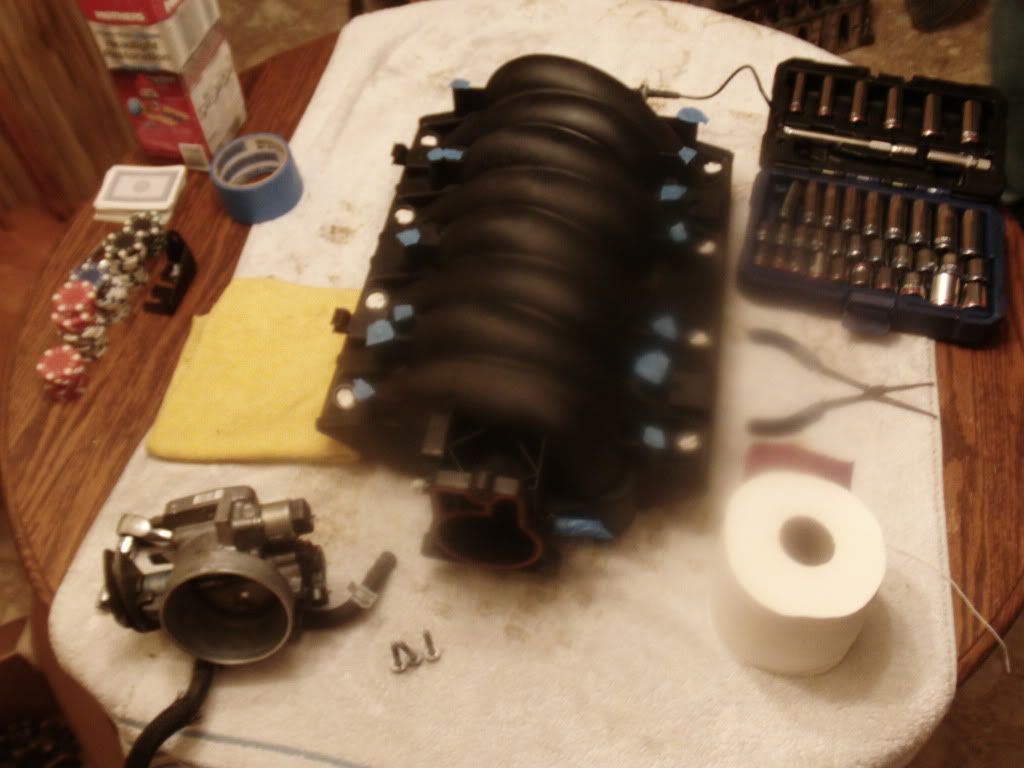
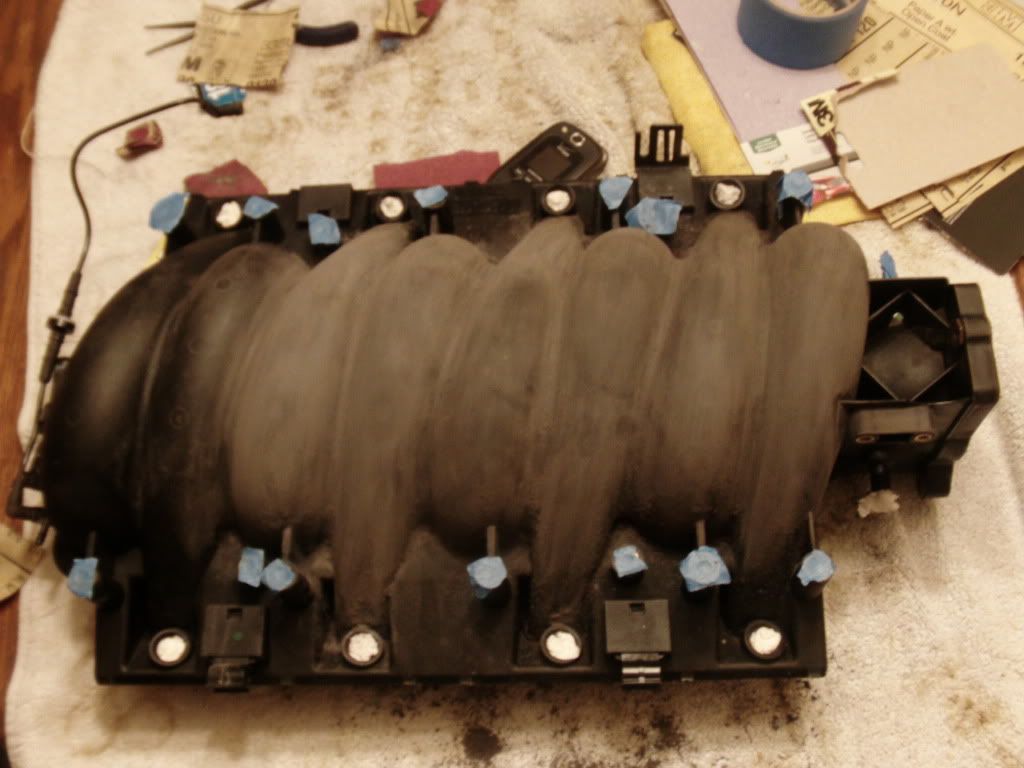
In the mean time, I got kinda bored, and thought the drab LS6 intake was going to end up looking like a turd being served on a silver platter, so I decided to spiff it up a lil. I may eventually go FAST or Sheetmetal, however it Turned out great!
Cleaned and Prepped for Sanding:
It takes forever though if you do it right:
Smoothed Primed x2:
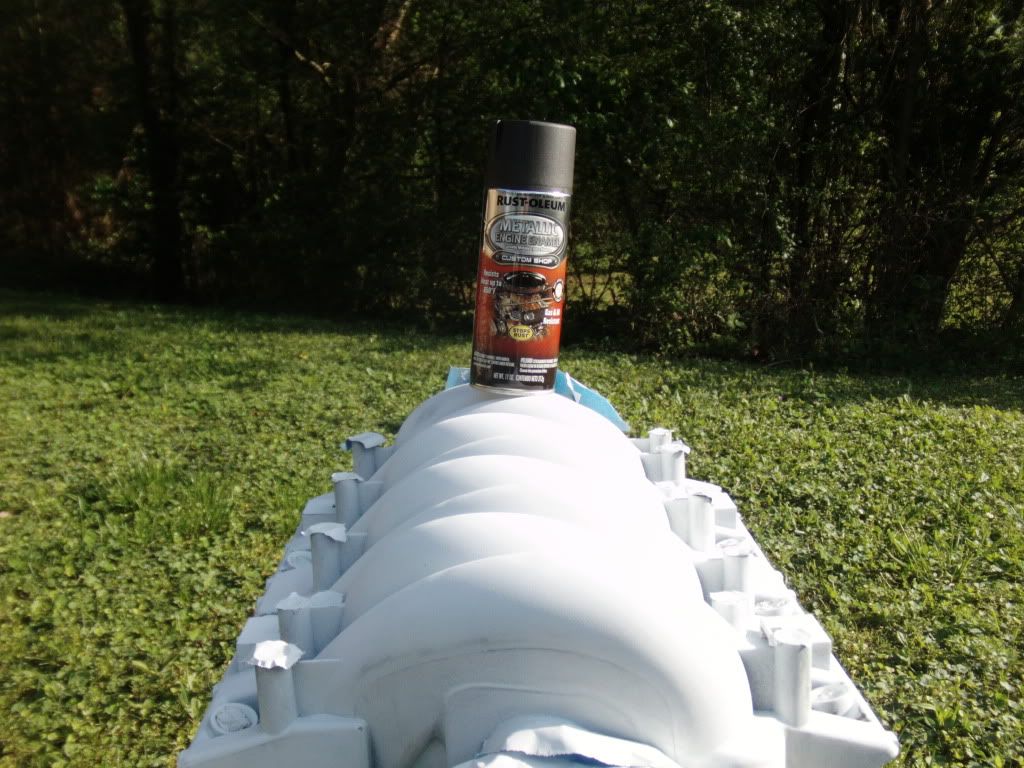
1st Light Coat:
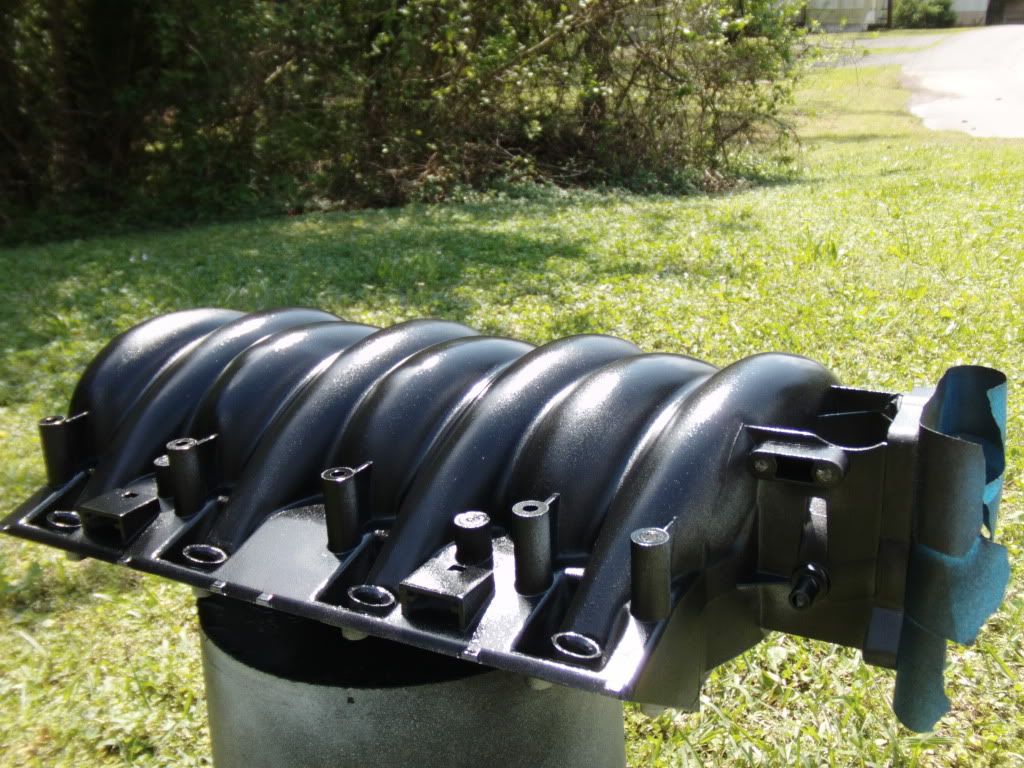
2nd Light Coat:
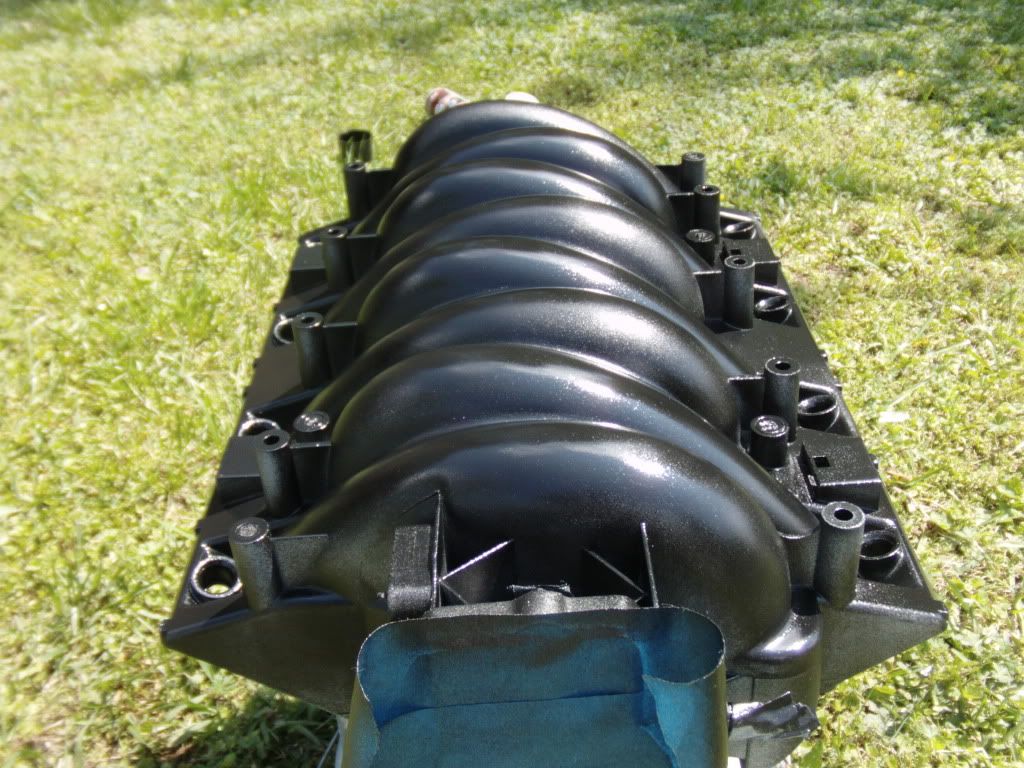
3rd Heavy Coat & Clear/Cure:
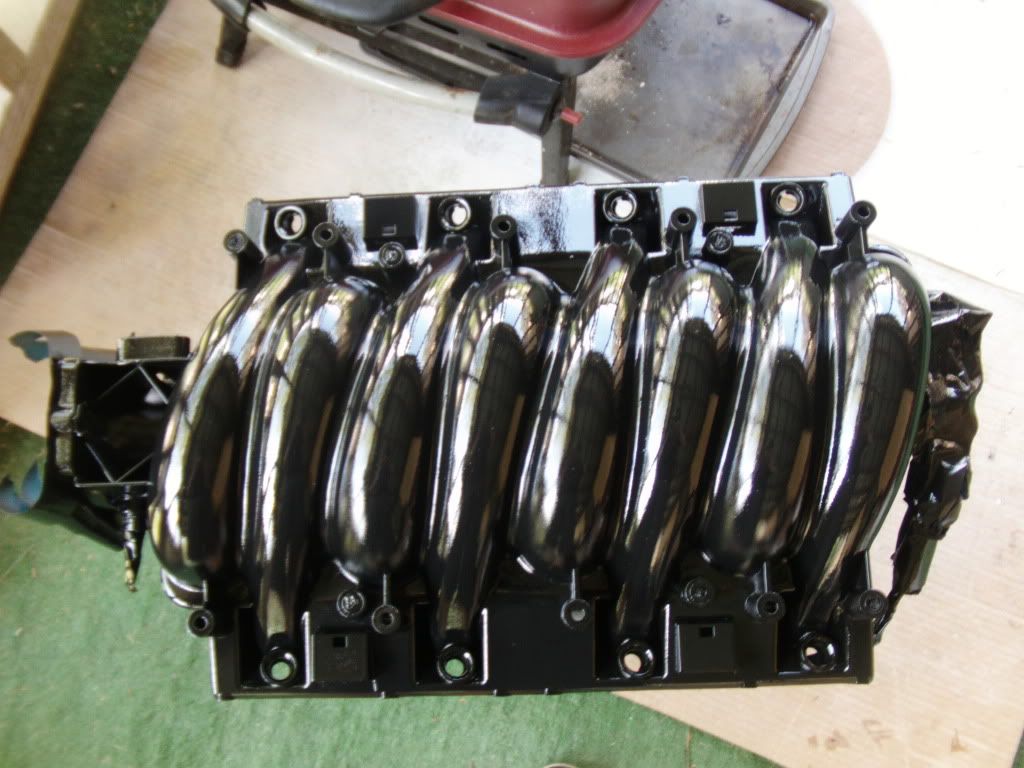
Elapsed Time: 3 Weeks
************************************************** *************
That's all I got for now.
Coated Charge Pipes:

Autometer & Glowshift & Prosport: 02 Wideband, Boost, Fuel Pressure:

Red Race BOV:

Thanks Julio!:

BOSCH 60lb:

8 Rib ATI Setup:

Creme' De' la Creme:

************************************************** *************
So let the teardown begin! Shoutout to my WWII veteran pal Wilbur for offering me his garage/tools for the install. I would have to say the hardest part was getting the old balancer off with the 3 Jaw, and front pinning the crank, other than that, its all straight forward as can be. I rigged up an easy way to get it off, if any of you other guys are having trouble. Just gotta' get some leverage. This was a 2 day event. It was 34 degrees. Forgive my cousins shitty camera skills. He was just so excited the ****** finally came off. This had been holdin' up progress.
The bitch of pinning without a press. Oh man. Even un-forged that bitch was tough. I drilled till my shoulders were about to fall off. I had to oil about every 20-30 seconds. Started out low RPM and went up gradually. I had to go alot deeper than what Prochargers Manual Suggested to get it flush. To tap it in, I packed a 1/4 inch socket with paper towel as backing and hammered it in, then finished it off with a punch.
Pinning Description:
************************************************** *************
So around this time, you can imagine the car is looking pretty rough, what with all the front fascia, radiator, trans lines (auto guys
 ... and etc.
 It really made me wonder if I was going to be in over my head. A few beers and couple of buddies later, I had no doubts. We relocated all the ****, dropped the AIR pump altogether, and Mounted the FMIC, and started running the piping. It was nice to see it just pop together like a childrens puzzle.
Facial Reconstruction:

Blower Attatched & Piping Ran:

Underside Clearance:

************************************************** *************
Well, at this point, I'll be honest, with work, and the weather. It took over a month to get this together. Although now I am sure we can do it in significantly less time. Well, I guess we can see if it runs. First test on the fuel, and first test, on my belt belt alignment. Fingers Crossed.
Judgement Day Startup:
************************************************** *************
Well, that went smoothly. You know, I have been getting so engaged with spiffing up the car, that I forgot to spiff up myself. I think I deserve a reward!
Spiffy:

************************************************** *************
We are getting close to where I am at now. I did not feel like taking on the task of the methanol, and gauges. So I took my car back to Henson Performance to finalize the finishing touches, and SD tune the car. We introduced the methanol and let her rip. Here are the results from the same dyno as before on the same load settings and everything:

600rwhp & 577rwtq.
************************************************** *************
Needless to say, I was right where I wanted to be with the car. 600HP daily driven 02 Bird with only 41k miles on it at this point.
But, the dream was short lived:


On the 4th pull, boost dropped off, and the Dipstick shot out like a bottle rocket and hit the wall nearby. Coolant, and Oil sprayed out everywhere. I was really disappointed that such a young motor left us too soon. The original heart had failed. Partially my fault I will admit, for not safe tuning it in any shape or form. And the block was pulled, disassembled and all parts sold to make way for a new setup.

************************************************** *************
Coming SOON:
Fraser & Mike from AES are Building my LQ9 Iron AES 390 as we speak. We are just waiting on diamond to send the pistons, and get the heads on and it should ship out soon after. The services they provide are next to none, and they really know what it means to be a car guy. I will be coupling this along with the D1 for the time, at full boost. And a Performabuilt stage 3 Trans, Lonnies Dual In-tanks, E85/Meth, FIC 1000's, MWC 9'' 3:55's, Full Spool & coilover suspension, along with the addition of the aster bracket. This is all going to start coming together in big pieces month by month. My goals are between 750-800rwhp. I will be running Texas Speeds 237cc Heads with 68 chamber and LS9 Head Gaskets. 1/2'' Head studs are added for my reassurance, as well as to compensate for the 4 bolt design. JP Billet Double Roller. Brutespeed Blower Cam @ 115LSA 232/240 .595/.608I have not driven my car since November.
************************************************** *************
In the mean time, I got kinda bored, and thought the drab LS6 intake was going to end up looking like a turd being served on a silver platter, so I decided to spiff it up a lil. I may eventually go FAST or Sheetmetal, however it Turned out great!
Cleaned and Prepped for Sanding:

It takes forever though if you do it right:

Smoothed Primed x2:

1st Light Coat:

2nd Light Coat:

3rd Heavy Coat & Clear/Cure:

Elapsed Time: 3 Weeks
************************************************** *************
That's all I got for now.
Last edited by I8UR4RD; 03-17-2013 at 10:49 PM.
#6
Two things to touch on with keeping the stocker alive. In 1998-2000 the LS1 F-Bodies came with the LS1 Intake. As you know, in 01-02 they added on the LS6 intake. This caused them to have clearance issues of some kind with the steam vents. The steam vents purpose, is stated in its very name. So, they blocked off 2 of them. Well, at factory horsepower levels this really has no detrimental effects. However, when power is added, the consequences can be costly. Not that this is a direct cause of failures, although its been speculated it contributes to #7's infamous ringland issues, but it certainly helps. To curb this, we will be venting this motor, as well as putting the highest flowing injector on that cylinder, and the E85 & Methanol ( I am only using it because I already have it on the car) along with the ATI FMIC should keep my new jewel nice and cool. And last but not least, don't run lots of timing , and fatten up the AFR. With the E85 I probably could get away with more compression, but I am sure the 9:6:1 ratio will be fine as it should not sacrifice response and drive ability on the street. I am sure the Melling High Volume Oil Pump, and LS2 water pump will help as well as the spal fan. Heat & Detonation are my main focus.
Trending Topics
#9
Ask your tuner to let you make a sinle dyno run to see how much power it eats just for ***** and giggles. That type of info is priceless. Allout06 just now got his MWC 9'' in, and although it takes a while to receive...good things come to those who wait. I called them the other day. I am going to put down a deposit soon to go ahead and get it started, as well as to soften to blow of paying it off in full at one instance. I personally will be breaking in the motor on the 10 bolt, and on the dyno. I would have bought FLT, but the I could never get anyone on the phone. My car sees the track prob 25 times in a year, and is only driven on the weekend. I wish Bob would do another GP on the aster bracket. Wait time on the brackets it 3-4 weeks as well. Mike @ AES will be sending pictures soon of the motor assembly just as soon as the pistons arrive this upcoming week. Looking forward to seeing a visual representation of where all 3 months paychecks went.
Last edited by I8UR4RD; 09-16-2012 at 11:27 AM. Reason: things change
#11
Haha, your telling me. I want an F1-A or R. But with my previous setup on the 346 I did not give it much thought. Hindsight is 20/20 as they say. Prob run the same amount of boost nearly, but the blower would not have to work as hard to make that power. Since this blower is brand spanking new, I will run it and get the new out of it, and then sell it and buy one. I hear people saying that with the F1-R you have to stand up the radiator....maybe someone will chime in with what exactly needs to be done to fit the larger headunits in my car. Honestly, I have no clue what its going to run @ the track. Icrazy6 above has the same identical setup other than different heads. I am looking into his results and procedures to give me a bit of insight towards what is coming. This is a rare combo. AES has claims of people swapping out there 408's for the 390 and making 60more horses. The reason I chose the 390, is because due to the Callies Crank being a 3.89X size, it allows for thicker rods, and bearings, which means longevity as far as I am concerned. They have had the motor dyno'd at 11xx rwhp. So I think my lil 7xx-8xx should be as you said, a tickle. The goal here is to drive it to wal mart and get groceries and go out on dates all while being able to light up a zr1, or ferrari etc...if the occasion should present itself

#12
Ask your tuner to let you make a sinle dyno run to see how much power it eats just for ***** and giggles. That type of info is priceless. Allout06 just now got his MWC 9'' in, and although it takes a while to receive...good things come to those who wait. I called them the other day. I am going to put down a deposit soon to go ahead and get it started, as well as to soften to blow of paying it off in full at one instance. I personally will be breaking in the motor on the 10 bolt and current fuel setup for roughly 1000-2000 miles with 2 oil changes. We are setting the limiter at 3000, and putting some easy miles on her before we start to push it. I would have bought FLT, but the customer service just was not there, plus Vince, a previous employee spoke highly of Performabuilts Handywork. I just don't have it in me to go through the trouble of the 4L80 when they offer a 2 year warranty with discounted refreshes after the sale. My car sees the track prob 25 times in a year, and is only driven on the weekend. I wish Bob would do another GP on the aster bracket. Wait time on the brackets it 3-4 weeks as well. Mike @ AES will be sending pictures soon of the motor assembly just as soon as the pistons arrive this upcoming week. Looking forward to seeing a visual representation of where all 3 months paychecks went.
#13
I got a ok deal on this used 9" that's why I picked it up. If money wasn't a issue then I would have purchased m9 with all the bells and whistles or MWC but every time I priced them out I seem to be in the 2800-3500 dollar price range I just can't justify spending that kind of money right now. I am kind of curious about how much power it eats up maybe I will dyno it again.
#16
It is nowhere near the hassle I have heard it made out to be. I think it's a given that I am adding a pump, as well as lines, fuel rails, and a regulator. Lonnies Twin Intanks to be exact. The racetronix was being pushed to its limits at 600. I am selling it with the bucket and hotwire if anyone is interested. I will also be running FIC 1000's. that's around $1700 for the fuel system I do believe. BR7EF plugs, and a new Yellow Top. Just a few of the other goodies going in to make it all that it can be.
#20
Yeah that is the one....sitting over there with about 3 inches of dust on it. . Last time I stopped by to see it, he and I were toying with a c5 z06 with a 370 and an F1-R. Some fast **** has def come through there. When I went to world of wheels...I was amazed to see how many cars had been tuned by him.


