
Adjusting sdce tensioner ???
 04-21-2013 | 09:31 PM
#1

Thread Starter

Joined: Aug 2005
Posts: 3,404
Likes: 68
From: Amsterdam Ny, the good part
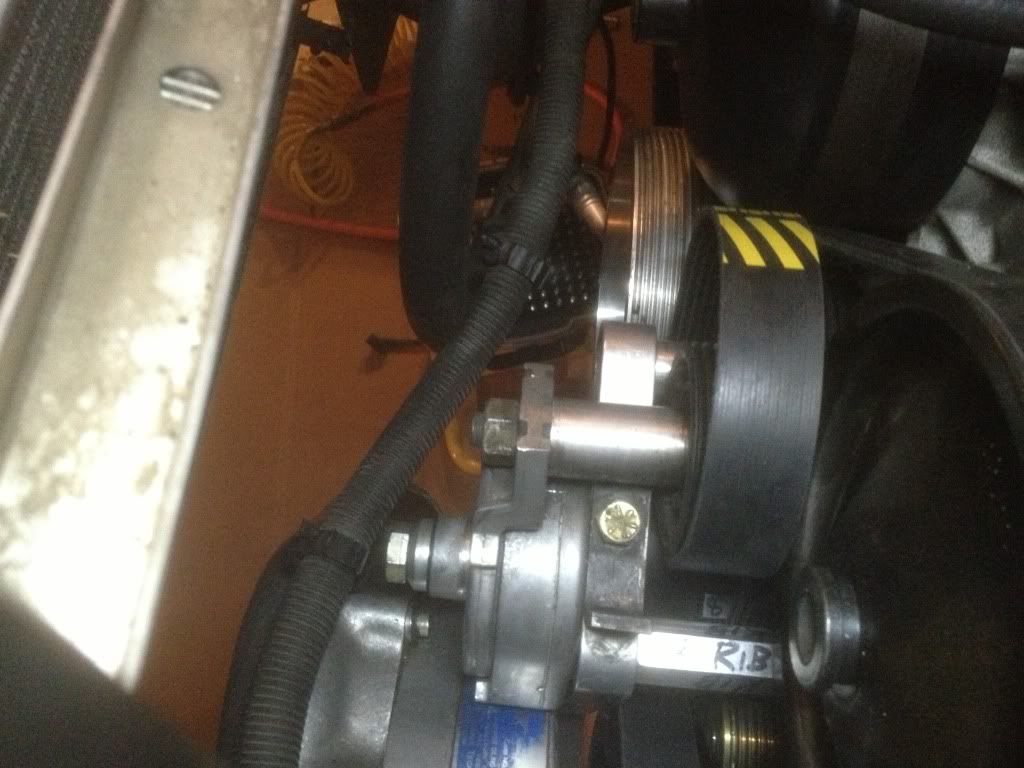
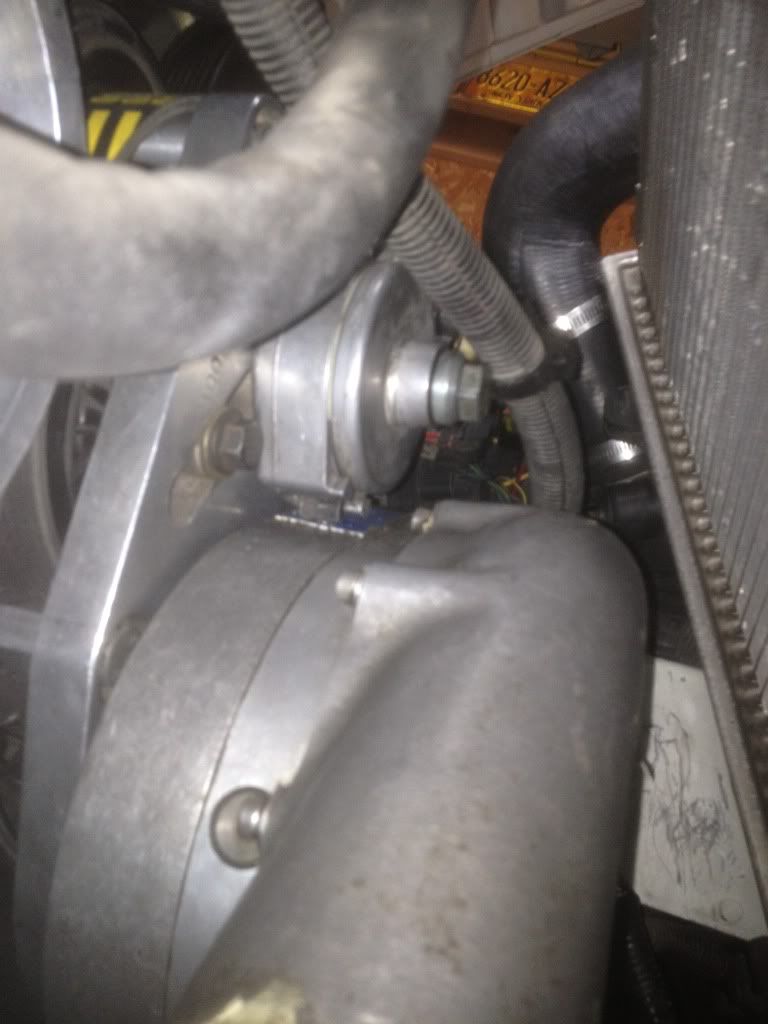
Got everything on and routed. Now how do I tension the Tensioner. I've looked at pics on the instructions but they are terrible and small.
I'm posting a pic of where I'm at. And sd concepts hasn't been any help the last two weeks. Has t responded to any messages.
I'm posting a pic of where I'm at. And sd concepts hasn't been any help the last two weeks. Has t responded to any messages.
04-22-2013 | 02:04 AM
#2
You get your 3/4" wrench and climb under the car with a pry bar. Get your pry bur under the black spring sticking out of the tensioner and apply a small amount of presure. Loosen the 3/4 bolt going through the tensioner and then apply more pressure to the spring, until desired pressure is reached and then tighten the 3/4" bolt back up, be sure not to pry on the cast aluminum portion of your tensioner as it will break rendering it a paper wieght. They sell a tool for it, but never could get mine to work. So I refered to this method I'm giving you now. If you can't get enough tension on it this way I put a small piece of 1x4 between the pry bar and the blower and repeat above procedure. Hopw this helps you understand what your doing a little better. GL!


 04-22-2013 | 06:15 AM
#4
Thread Starter
Joined: Aug 2005
Posts: 3,404
Likes: 68
From: Amsterdam Ny, the good part
okay i will give that a shot , i have the tool but it doesn't work , the blower is right in the way and doesn't allow the tool to sit correctly .
Why couldn't they just have used a non adjustable tensioner like the accessories have .,
Why couldn't they just have used a non adjustable tensioner like the accessories have .,
04-22-2013 | 11:53 PM
#7
Oh ok. Well its hard to make something like that when your working from a preexisting design lol! Yeah its not the easiest. But I hope they didn't cut the spring too short for you. When I made my replacement tensioner I didn't cut any of that stuff off there made it a little easier to adjust etc... GL!
Trending Topics
04-23-2013 | 10:11 PM
#8

Not a real good way to explain it. I have the tool that they offer and it still takes 2 people to get tight. I think I had to adjust it once a little without the tool to make room. Then I was able to get the tool on.
04-24-2013 | 06:59 AM
#10
Thread Starter
Joined: Aug 2005
Posts: 3,404
Likes: 68
From: Amsterdam Ny, the good part
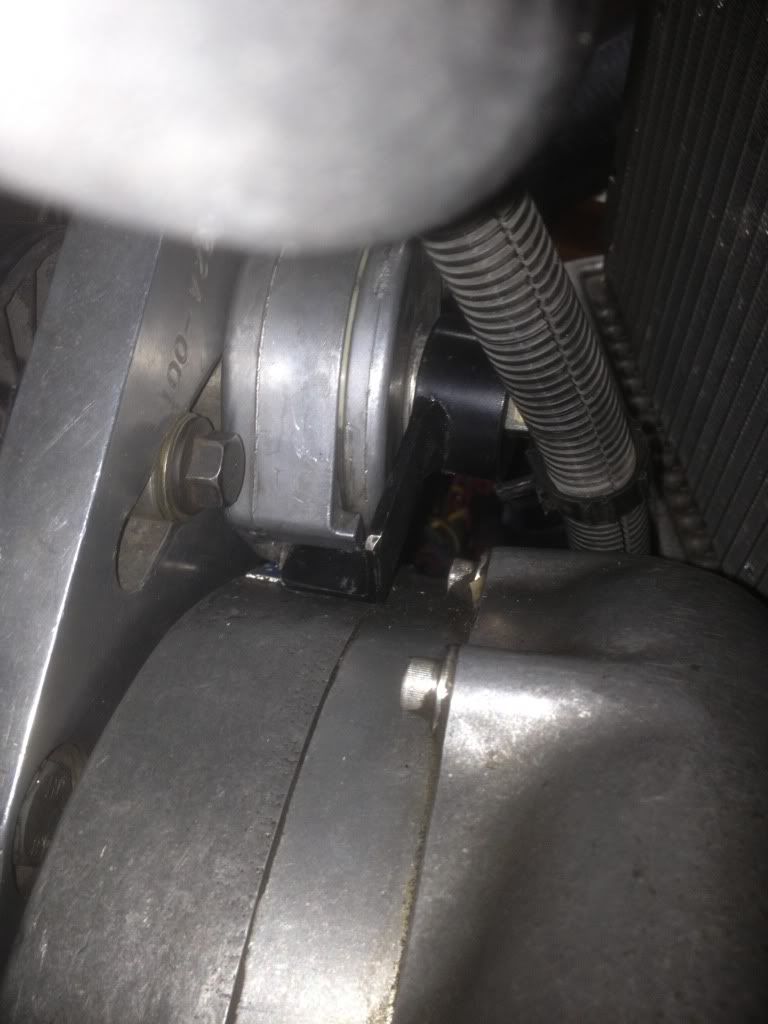
ive read other posts that say do not use a pry bar it will break the tensioner . People were very specific about it . ALso i crawled back under it last night and looked again , the tensioner bottom is almost touching the top of the procharger . This system is causing so many headaches . I cant wait to get it adjusted.
04-24-2013 | 09:43 AM
#11
Not that it helps you now, but Aster's bracket uses the type of tensioner you're talking about.
Only downside to his bracket is you have to remove the blower to change belts, but it's not really that bad once you have done it a couple times, I can do it in about 20-30 minutes.
Only downside to his bracket is you have to remove the blower to change belts, but it's not really that bad once you have done it a couple times, I can do it in about 20-30 minutes.
04-24-2013 | 09:56 AM
#12
Thread Starter
Joined: Aug 2005
Posts: 3,404
Likes: 68
From: Amsterdam Ny, the good part
Not that it helps you now, but Aster's bracket uses the type of tensioner you're talking about.
Only downside to his bracket is you have to remove the blower to change belts, but it's not really that bad once you have done it a couple times, I can do it in about 20-30 minutes.
Only downside to his bracket is you have to remove the blower to change belts, but it's not really that bad once you have done it a couple times, I can do it in about 20-30 minutes.
04-24-2013 | 10:36 AM
#13
04-24-2013 | 12:51 PM
#14
ive read other posts that say do not use a pry bar it will break the tensioner . People were very specific about it . ALso i crawled back under it last night and looked again , the tensioner bottom is almost touching the top of the procharger . This system is causing so many headaches . I cant wait to get it adjusted.
04-24-2013 | 12:54 PM
#15
Thread Starter
Joined: Aug 2005
Posts: 3,404
Likes: 68
From: Amsterdam Ny, the good part
the belt length is prefect , i just bought all the stuff from sd concepts 3 weeks ago so the belt length is fine . And as far as working on it im fine , the tool doesnt fit as described by sd . and i cant get to pry on it , the procharger is right in the way and no room to pry .
04-24-2013 | 01:26 PM
#16
Well I've been running that setup for years and while it was close I was alway able to get a prybar under the spring on the tensioner. Thats why I ask. You can use a range of betls usually within an inch or so. So a slightly longer belt might get you where you could get a prybar under it. Just a thought. A friend of mine sets the tension and then uses the belt to pull it back and put it on the crank pulley, but it sounded harder to me.
04-27-2013 | 05:29 PM
#17
Thread Starter
Joined: Aug 2005
Posts: 3,404
Likes: 68
From: Amsterdam Ny, the good part
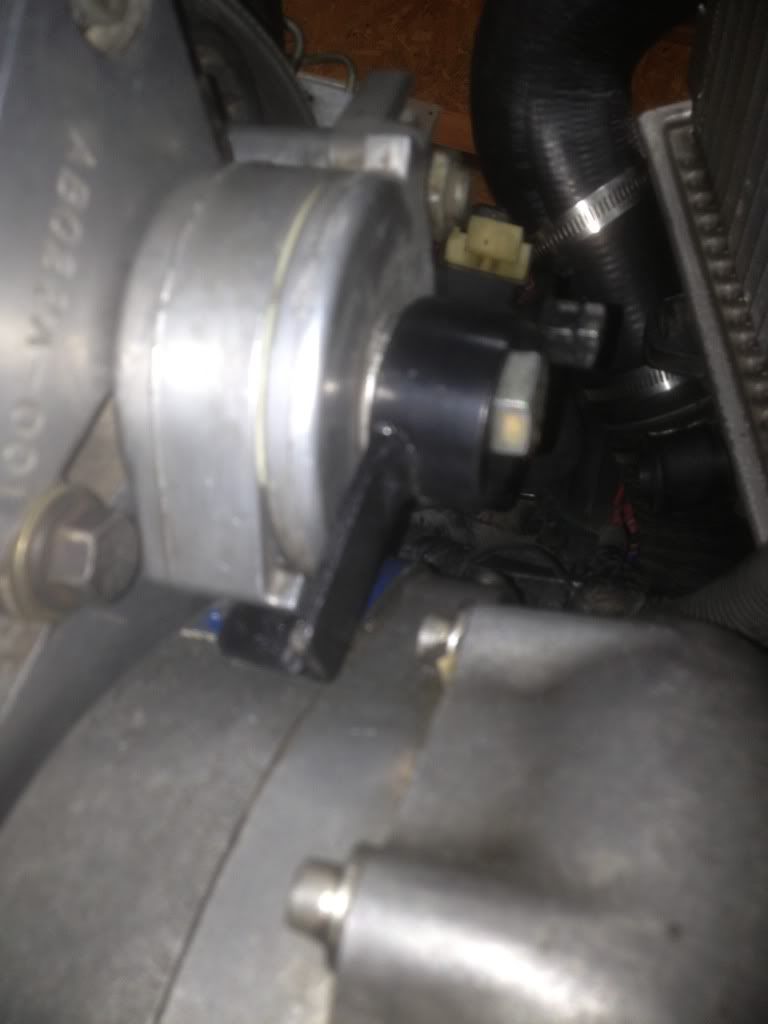
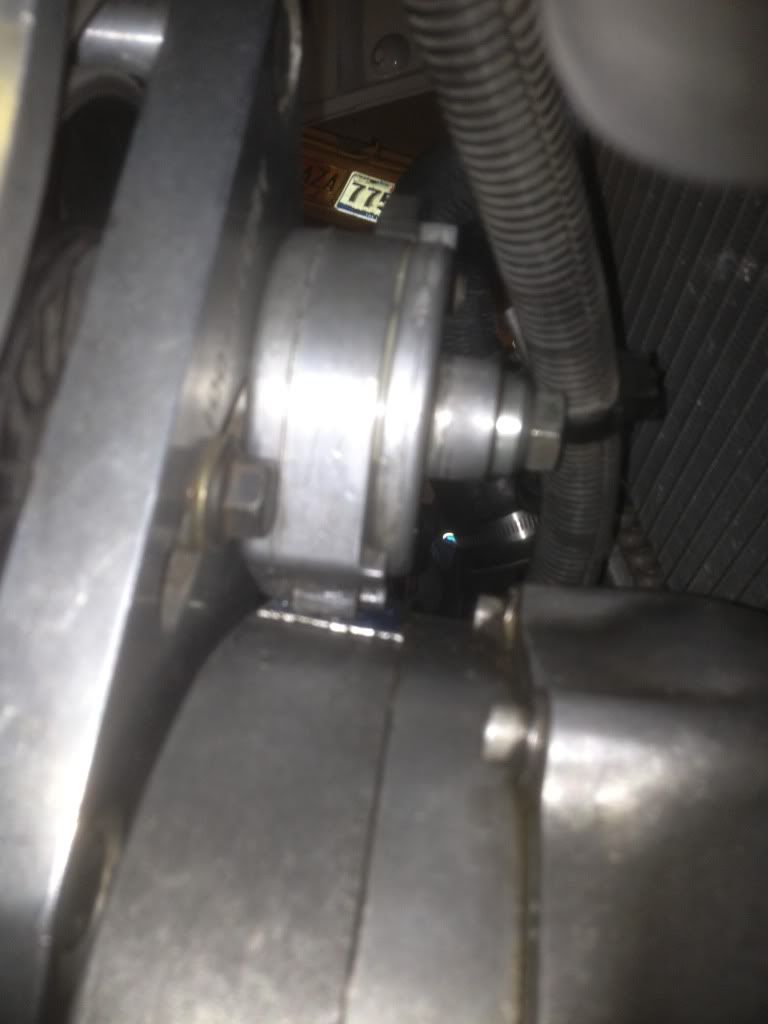
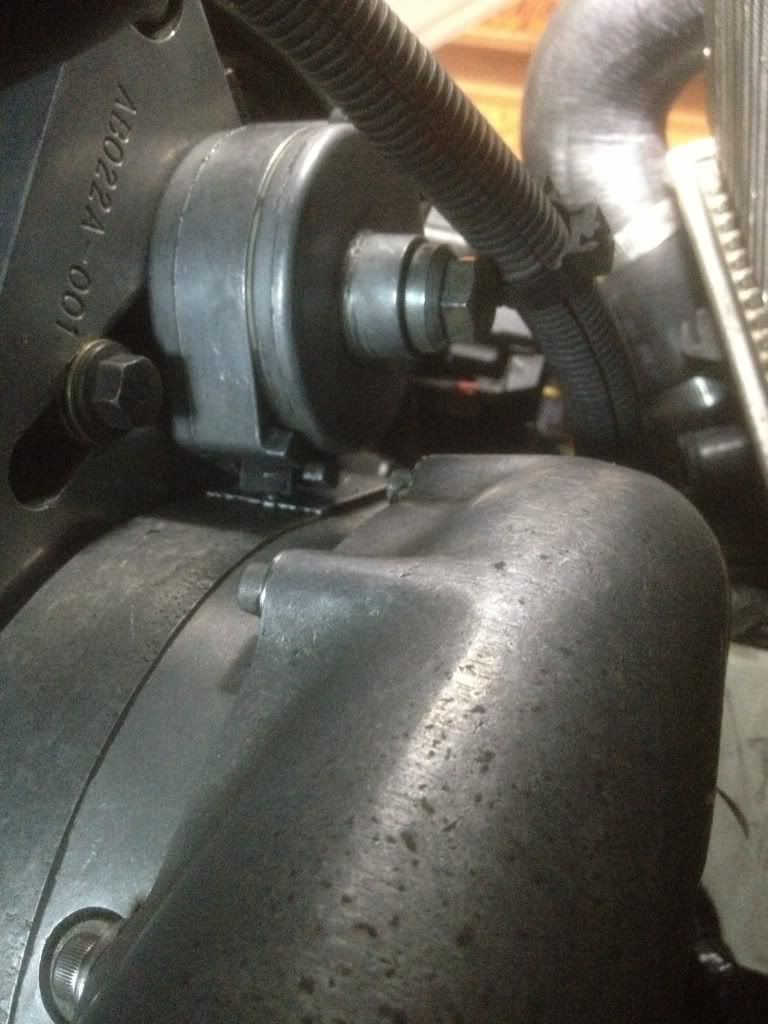
heres some photos , im not nuts , something isnt adding up . the way the tool is on there is the only way it fits , and i think its wrong , cant pry on it either .


 04-27-2013 | 09:25 PM
#18
Thread Starter
Joined: Aug 2005
Posts: 3,404
Likes: 68
From: Amsterdam Ny, the good part
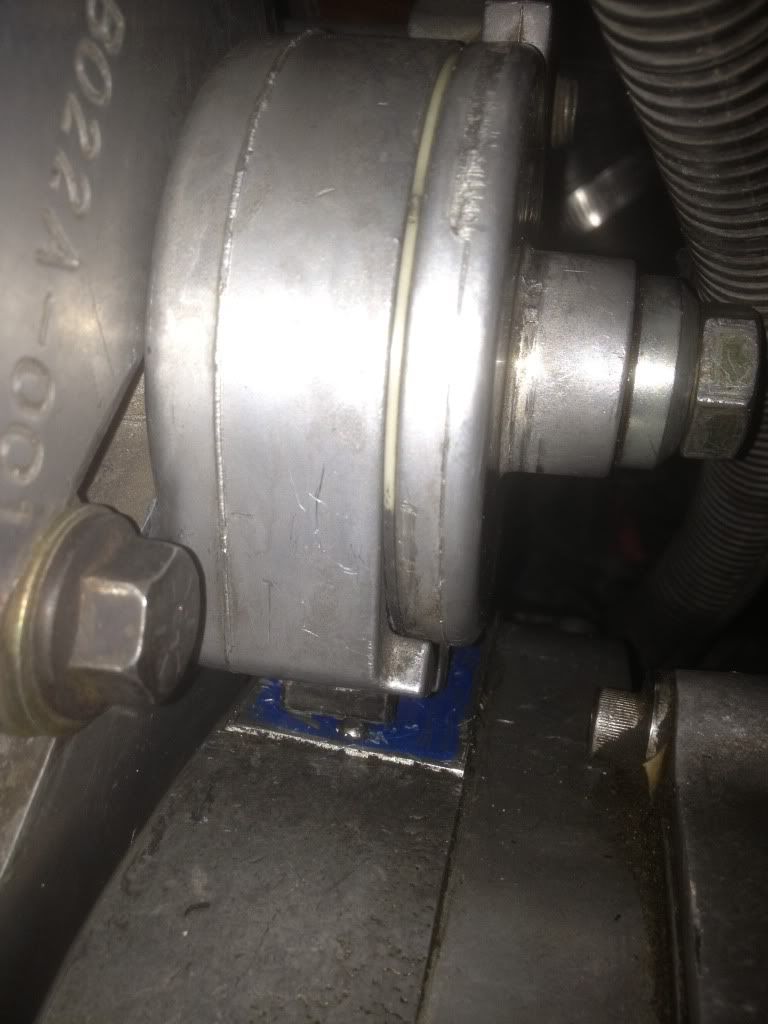
took the procharger off , and the tensioner , i had to grind the tool to make it fit . I tell you adjusting this blows . Just a terrible setup to adjust . Im pretty sure i need the help of someone else to get this adjusted. You go to adjust it on your own and the tool falls off .
04-30-2013 | 12:34 AM
#19

Staging Lane
Joined: Sep 2006
Posts: 53
Likes: 0
From: Queens, NY
Loosen the 3/4" tensioner bolt enough so that you can move the tensioner, take out the black rubber plug from the bottom, take a pry bar and pry upwards towards the passenger side of the car. I usually put the belt on with no preload and then tension it and tighten the bolt.
04-30-2013 | 01:00 AM
#20
Never thought you were crazy, buy get a slightly longer belt and prying it won't be an issue. But if you pry on th aluminum part you risk breaking it. So stay on the black spring sticking out. That tool blows! I never got it to work it never had enough leverage. It would just twist and fall off.