Front Mount Ls1 Third Gen w/ Truck Mani Kit
 10-21-2013, 11:42 AM
#41
TECH Apprentice
Thread Starter
iTrader: (3)

Join Date: Sep 2011
Posts: 305
Likes: 0
Received 0 Likes
on
0 Posts

We got a rough idea of where it will be when attached to the k-member. It clears the crossover without a problem, the manifolds looked like they'd clear just fine also. I won't have all of the parts to assembly it all yet, but ill be getting the rack and k-member back sometime this week and I'll grab some pictures.
 11-22-2013, 09:51 PM
#43
TECH Apprentice
Thread Starter
iTrader: (3)
Join Date: Sep 2011
Posts: 305
Likes: 0
Received 0 Likes
on
0 Posts
Right now it's mounted on the k-member. I've been slacking and buying stuff to finish the motor so I can drop that in.
New valve covers
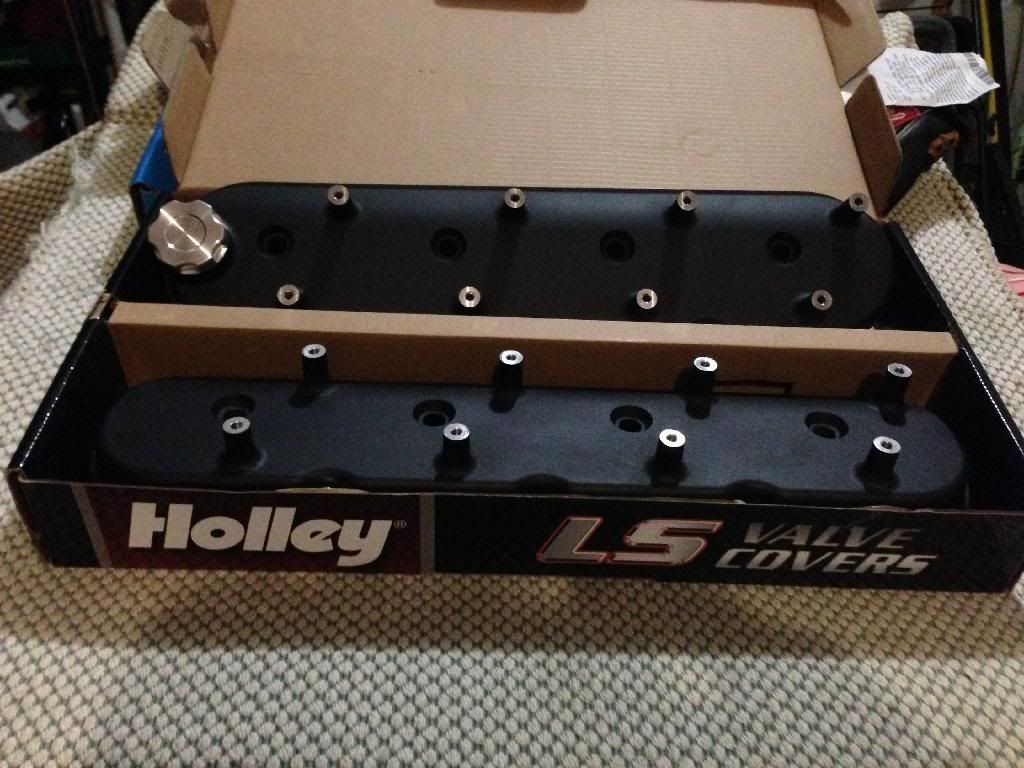
Heads torqued down, valve covers just laying on top.
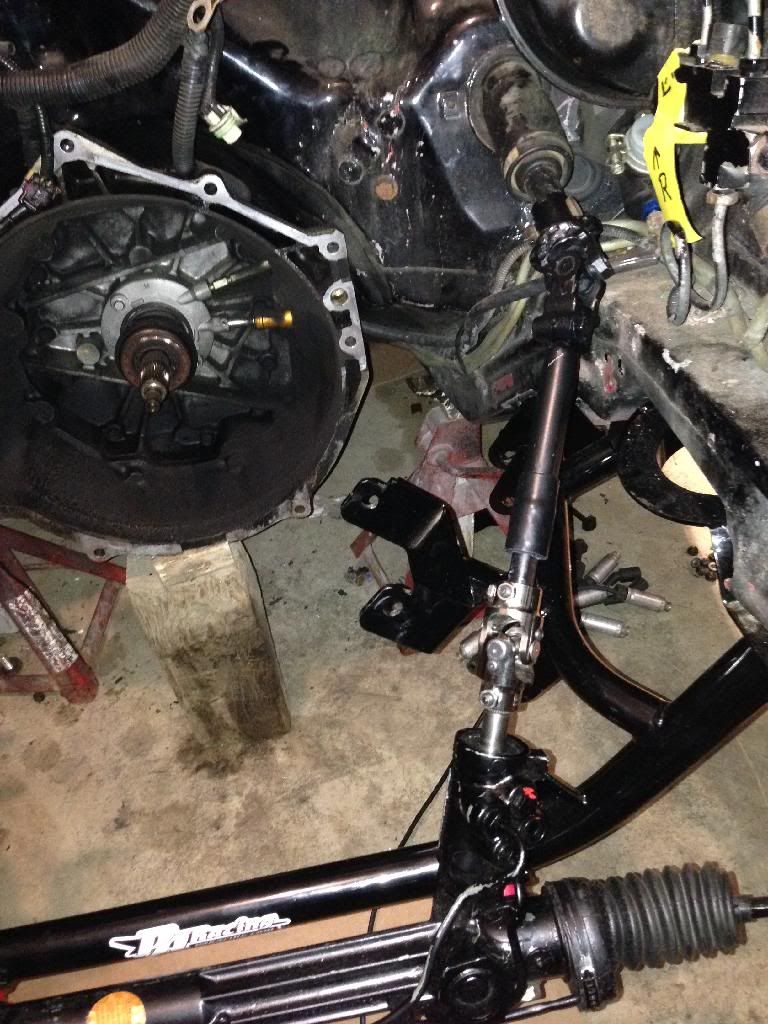
And the steering rack mounted


Just need to find the time/money to get that wrapped up!
Should have some big updates soon!
New valve covers

Heads torqued down, valve covers just laying on top.

And the steering rack mounted


Just need to find the time/money to get that wrapped up!
Should have some big updates soon!
11-22-2013, 10:15 PM
#44
Looks really good! ANy other info on that rack other than it's from an 87 t-bird? What all has to be done to the tie rods/kmember/stock steering shaft to make that work? How about the turning radius?
Thanks!
Thanks!
11-25-2013, 05:23 PM
#45
TECH Apprentice
iTrader: (20)
Join Date: Jul 2009
Location: Liberal land
Posts: 390
Likes: 0
Received 0 Likes
on
0 Posts
Nice build you've got going. I totally missed this in here. I'm very interested to see how the rack comes out. I have an SN95 mustang rack I will be using. Biggest issue with a rack conversion is that our factory knuckles have too much throw on them. I will be having a buddy shorten my knuckles about 1.5" and TIG weld and gusset them for strength. As long as you have the correct throw, a rack should work just fine on these cars. I have been doing a lot of research on the topic lately. Most of the guys that attempt it fail because they retain the stock knuckle geometry which will never work because they are just too long and a rack will never have enough throw to turn the wheels lock to lock. That's why they all turn like a dump truck.
FYI, the mustang rack I have has about 5 1/4" of throw, and I believe the thunderbird is a hair more at around 5.5" or so. A stock third gen knuckle needs around 6.5" of throw to turn all the way, so by shortening them 1.5" it should make up for the lesser throw of the rack. Someone has to find the secret....this stock 3rd gen steering is atrocious!
FYI, the mustang rack I have has about 5 1/4" of throw, and I believe the thunderbird is a hair more at around 5.5" or so. A stock third gen knuckle needs around 6.5" of throw to turn all the way, so by shortening them 1.5" it should make up for the lesser throw of the rack. Someone has to find the secret....this stock 3rd gen steering is atrocious!
11-29-2013, 03:54 PM
#46
TECH Apprentice
Thread Starter
iTrader: (3)
Join Date: Sep 2011
Posts: 305
Likes: 0
Received 0 Likes
on
0 Posts
PROGRESS!
...finally!
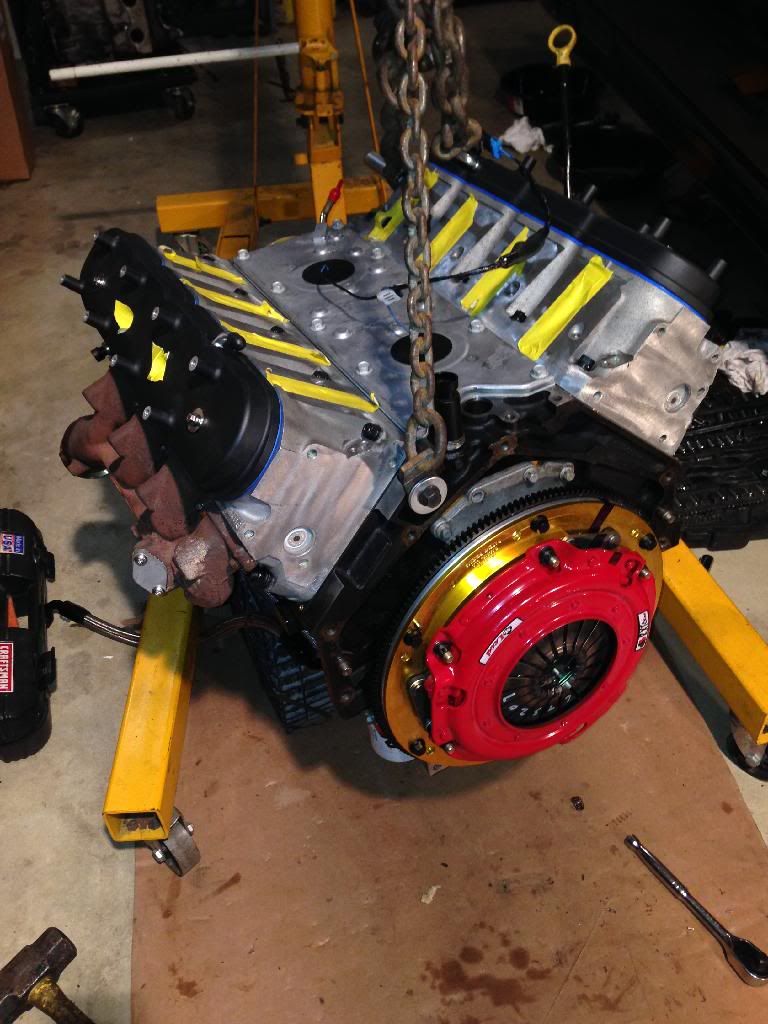
Motors out

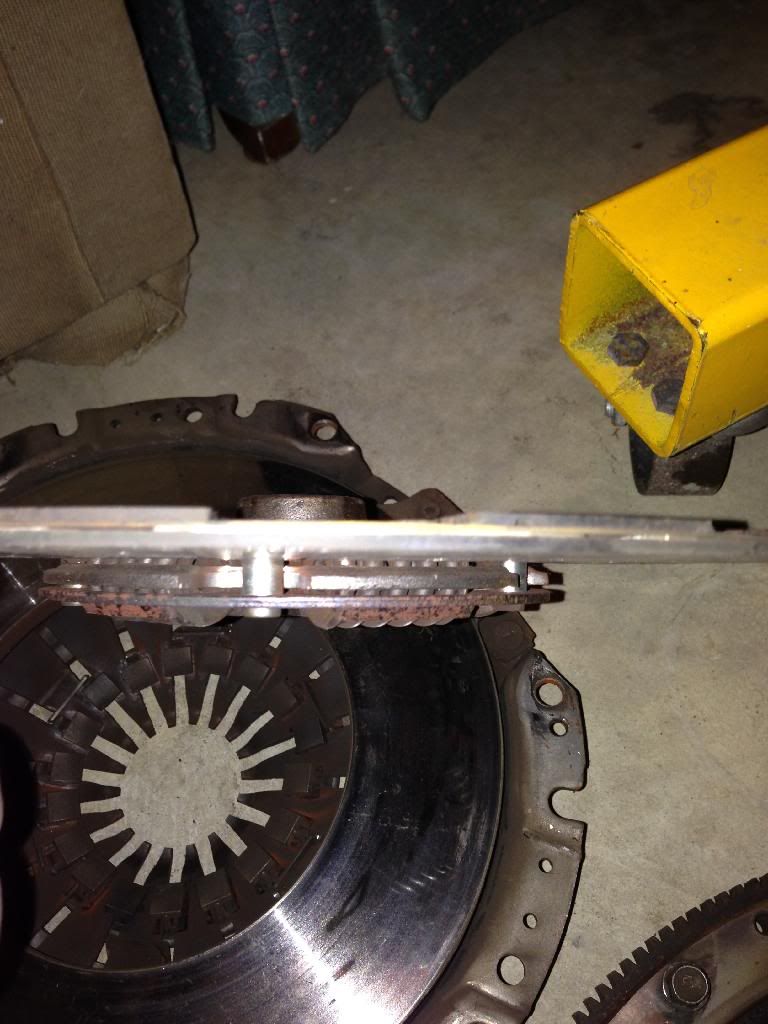
Old centerforce dual friction clutch.. which lasted about a year before slipping.
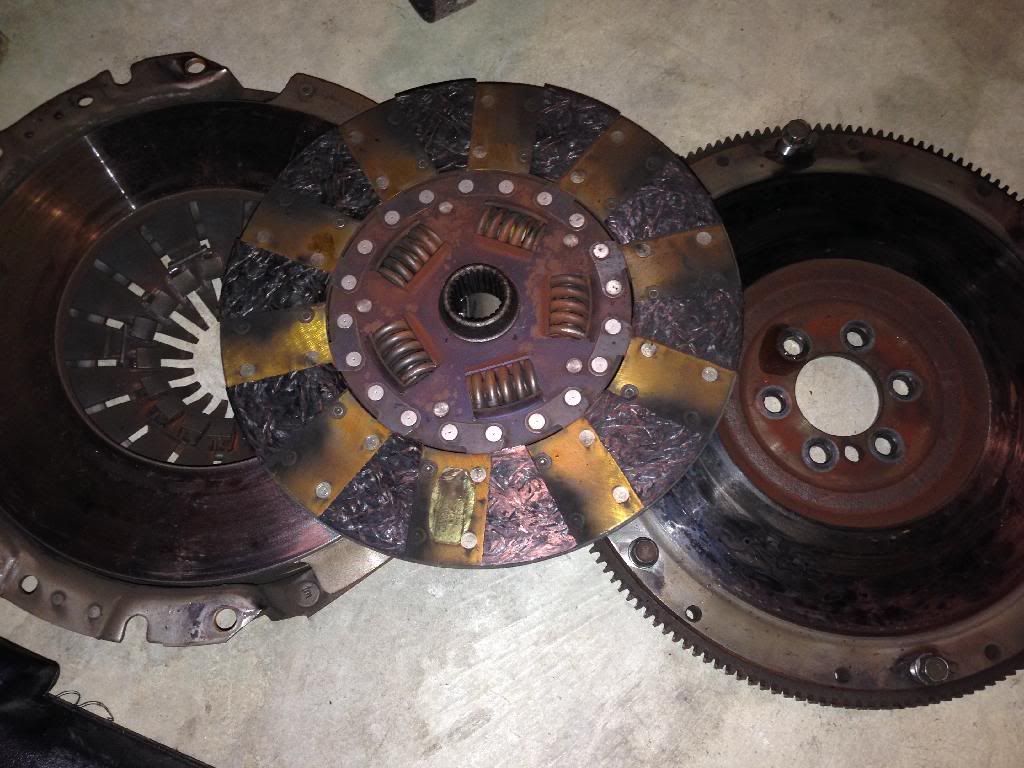
Material left
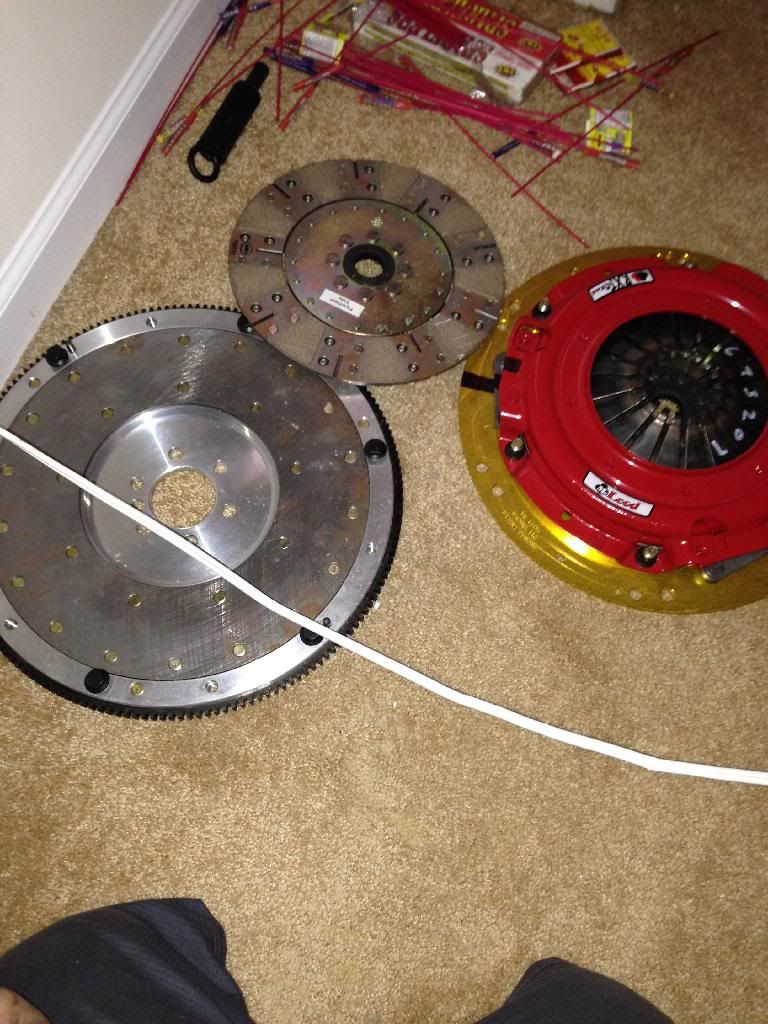
New Mcleod dual disk
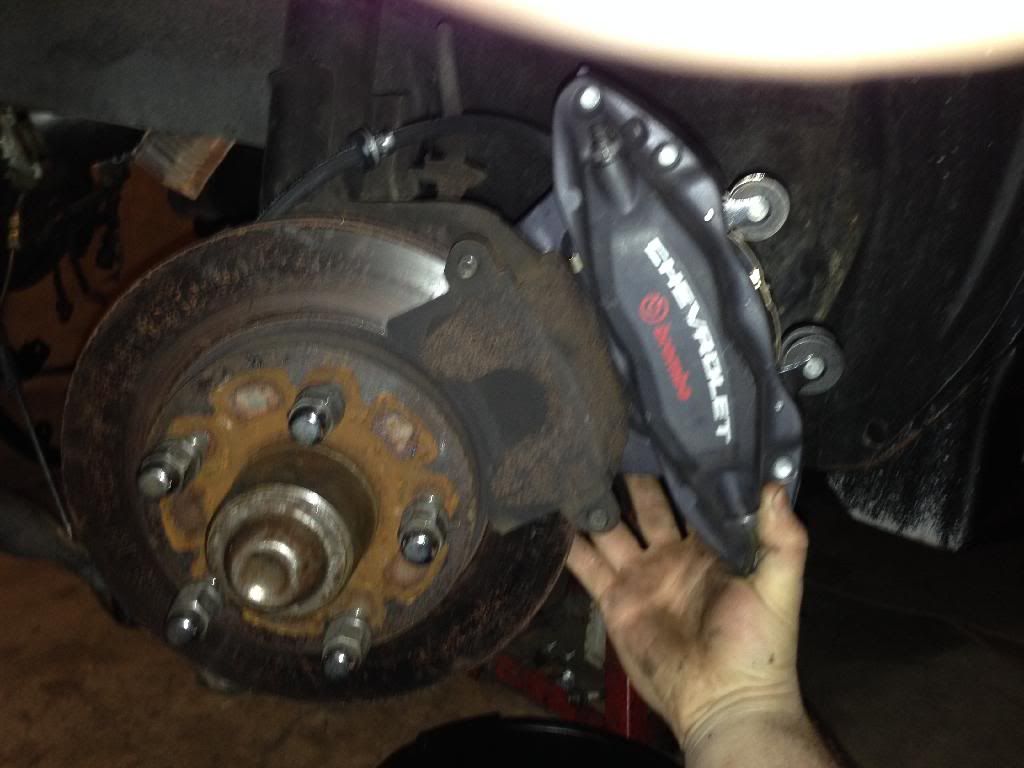
And i saw these on the classified section for a pretty darn good deal
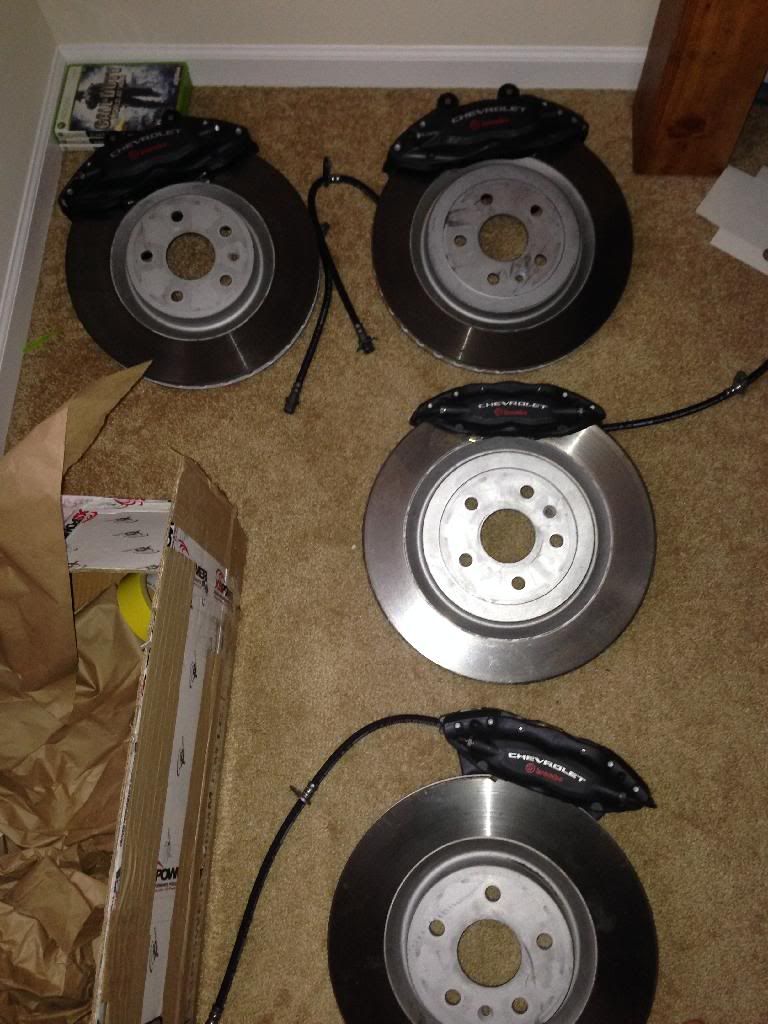
Fifth gen brembos! Most important step in going fast... is stopping fast
Ill get some more pictures up later, but these things are massive.
Thats about it for today, im gonna start transferring over the oil pan, windage tray, etc. tomorrow
...finally!
Motors out


Old centerforce dual friction clutch.. which lasted about a year before slipping.

Material left

New Mcleod dual disk

And i saw these on the classified section for a pretty darn good deal

Fifth gen brembos! Most important step in going fast... is stopping fast
Ill get some more pictures up later, but these things are massive.
Thats about it for today, im gonna start transferring over the oil pan, windage tray, etc. tomorrow
 11-30-2013, 02:14 PM
#48
TECH Apprentice
Thread Starter
iTrader: (3)
Join Date: Sep 2011
Posts: 305
Likes: 0
Received 0 Likes
on
0 Posts

So da *@#$??
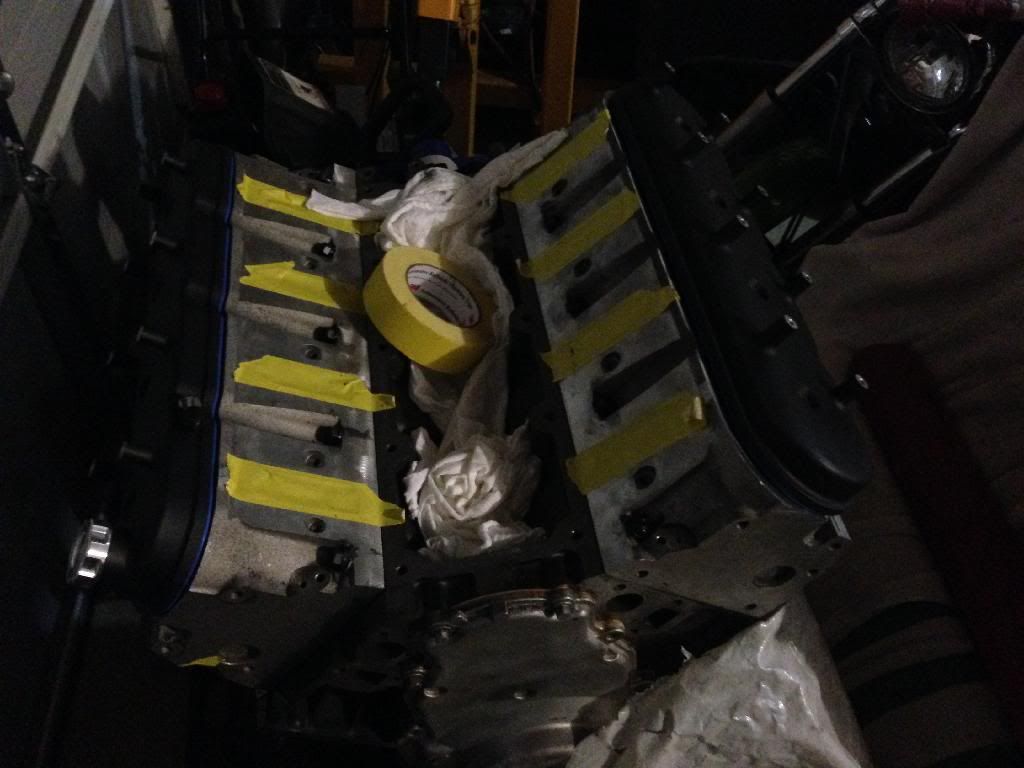
Started swapping over some of the parts i could, just ran into a few issues here and there.
However, I thought the blocks were suppose to be almost identical?
I went to swap over the tensioner which i had a relocation bracket for from Huron Speed, and one bolt hole is non-existent.
Ls1 Block

Lq4 Block

And how its suppose to look

And just a quick pic of the progress today
 12-04-2013, 08:24 PM
#50
TECH Apprentice
Thread Starter
iTrader: (3)
Join Date: Sep 2011
Posts: 305
Likes: 0
Received 0 Likes
on
0 Posts
Another little update
Valley cover came!.... Finally
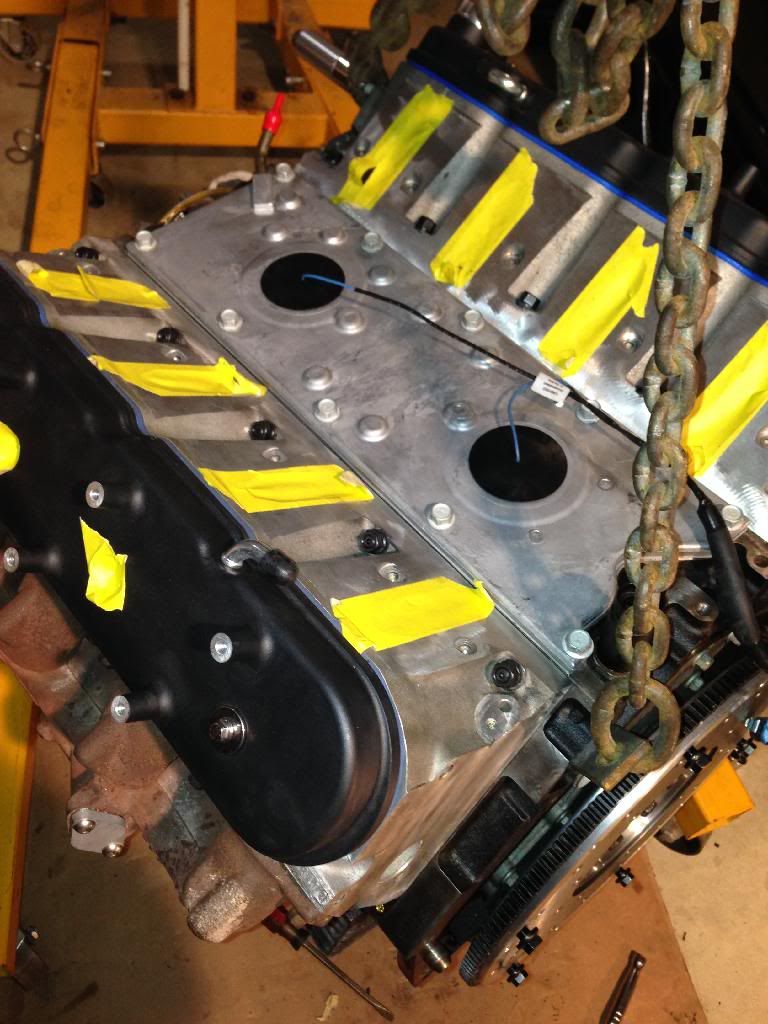
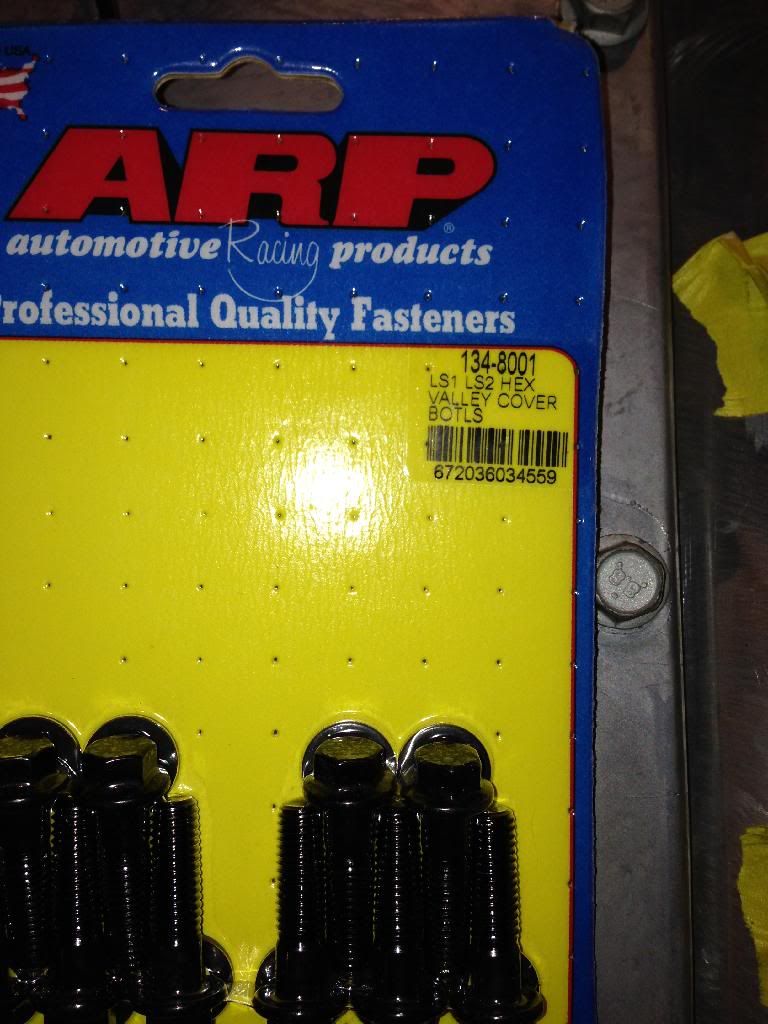
And of course I didn't think it would come with bolts...
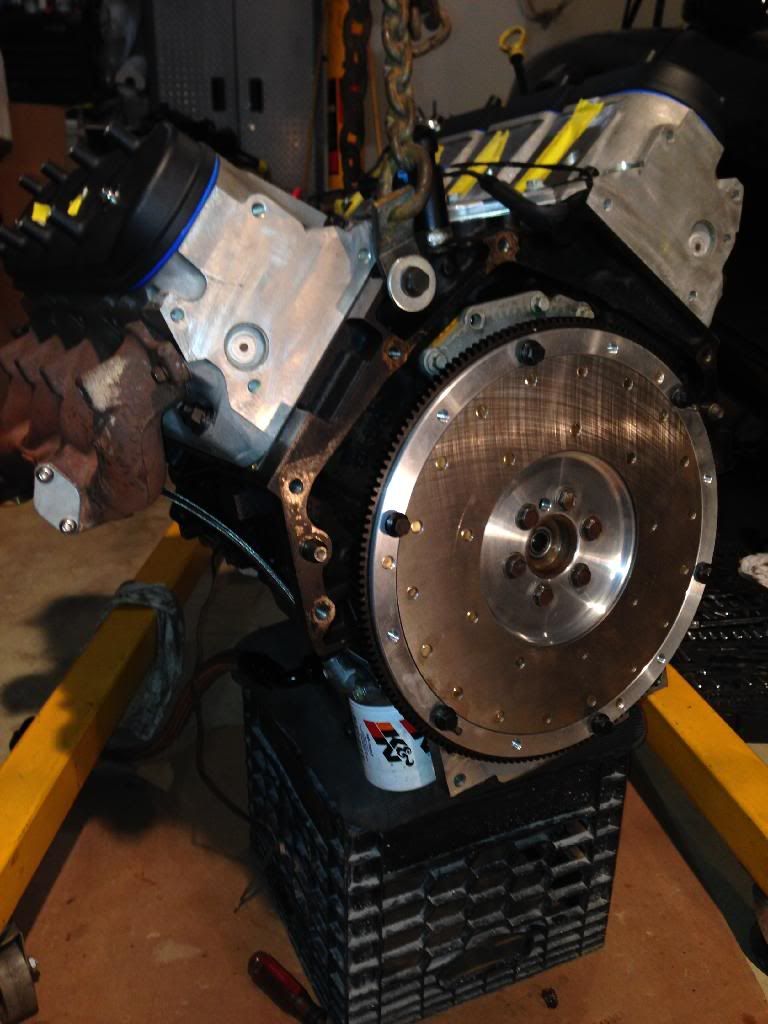
Flywheel..
And then to really top it off...
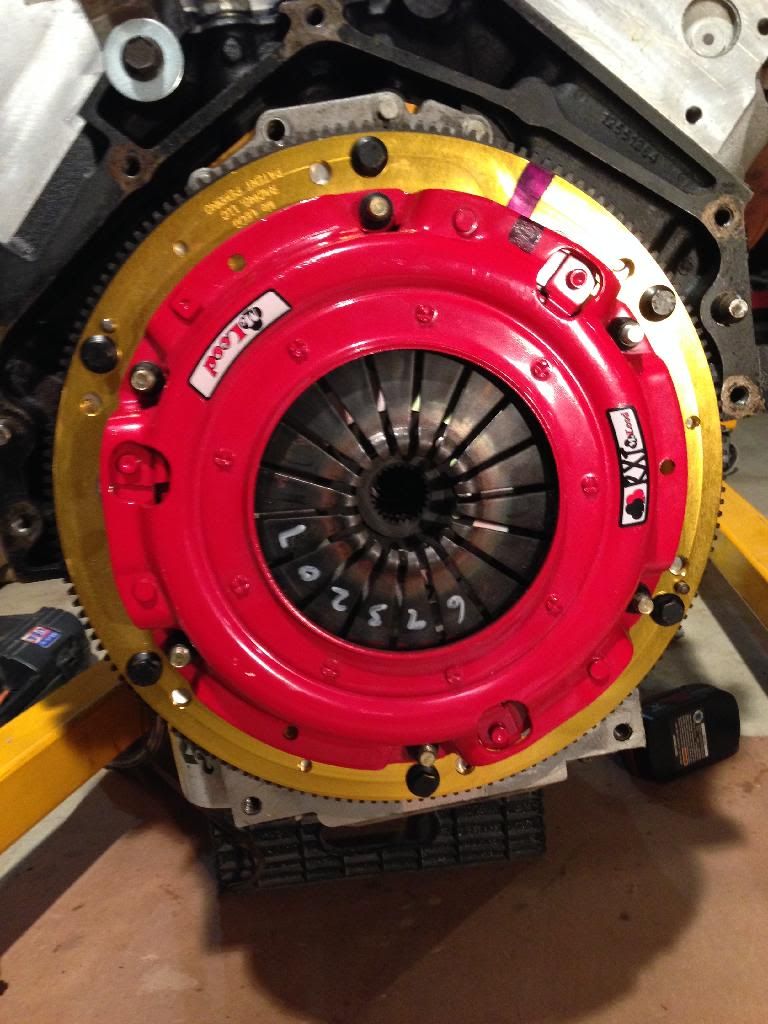
And that leaves us with this!
Hopefully within the next couple weeks I'll have all the accessories, intake and valvetrain done.
In the meantime, I'll be sorting out the steering, and a few other things that require some attention.
Oh, and I also snapped this picture for fun. I still can't believe how big these brakes are...
Well enjoy!
Valley cover came!.... Finally

And of course I didn't think it would come with bolts...

Flywheel..

And then to really top it off...

And that leaves us with this!

Hopefully within the next couple weeks I'll have all the accessories, intake and valvetrain done.
In the meantime, I'll be sorting out the steering, and a few other things that require some attention.
Oh, and I also snapped this picture for fun. I still can't believe how big these brakes are...

Well enjoy!
12-21-2013, 07:42 PM
#51
TECH Apprentice
Thread Starter
iTrader: (3)
Join Date: Sep 2011
Posts: 305
Likes: 0
Received 0 Likes
on
0 Posts
Next update:
Steering linkage/shaft completed
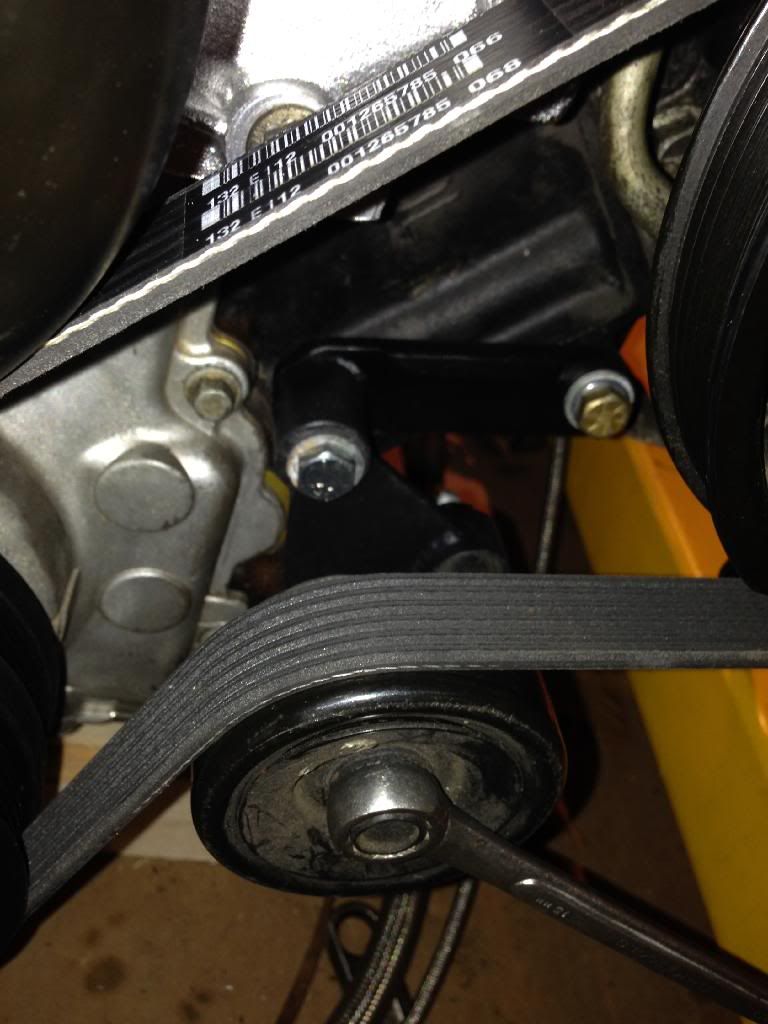
And accessories also finished
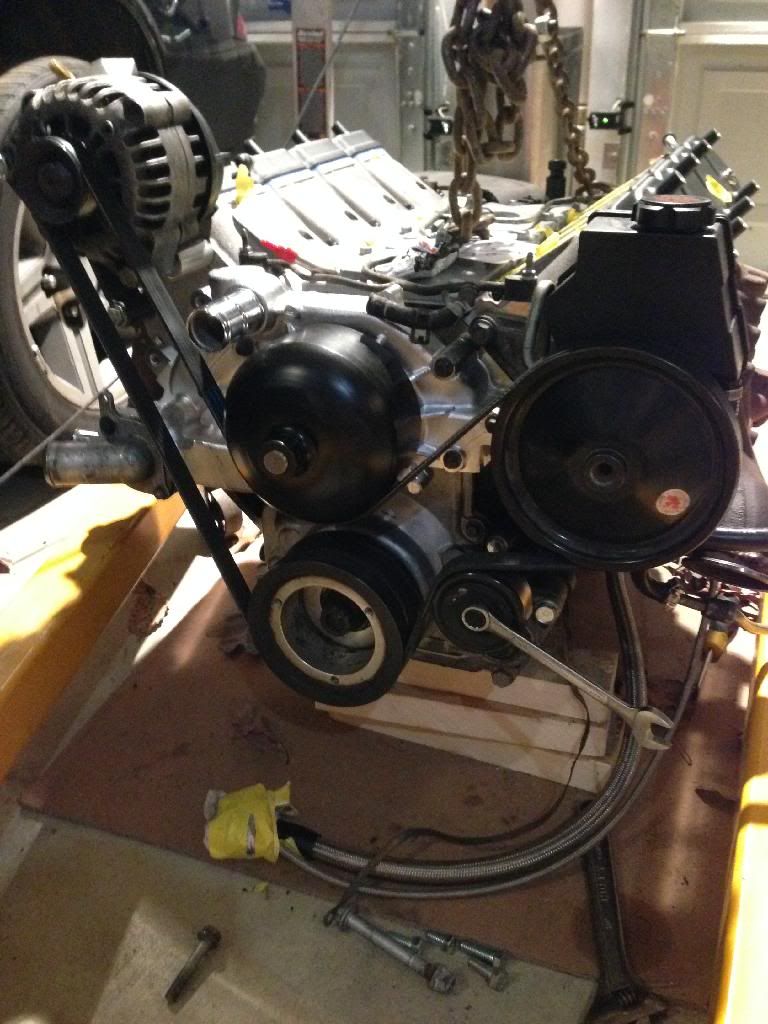
Bracket for tensioner
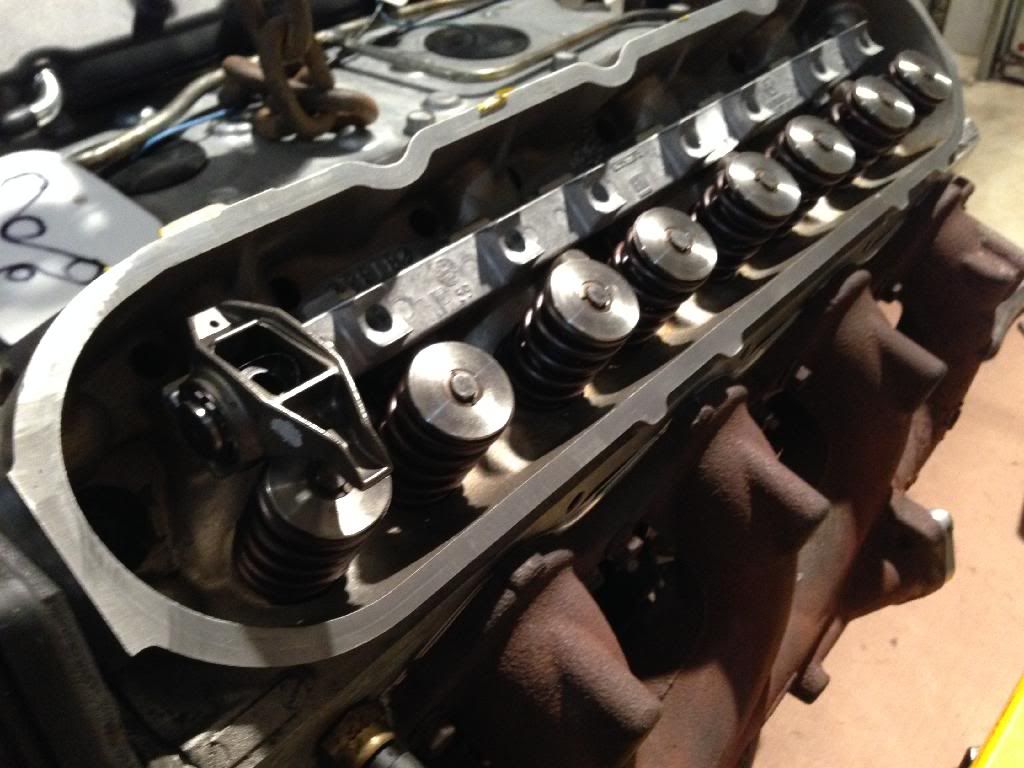
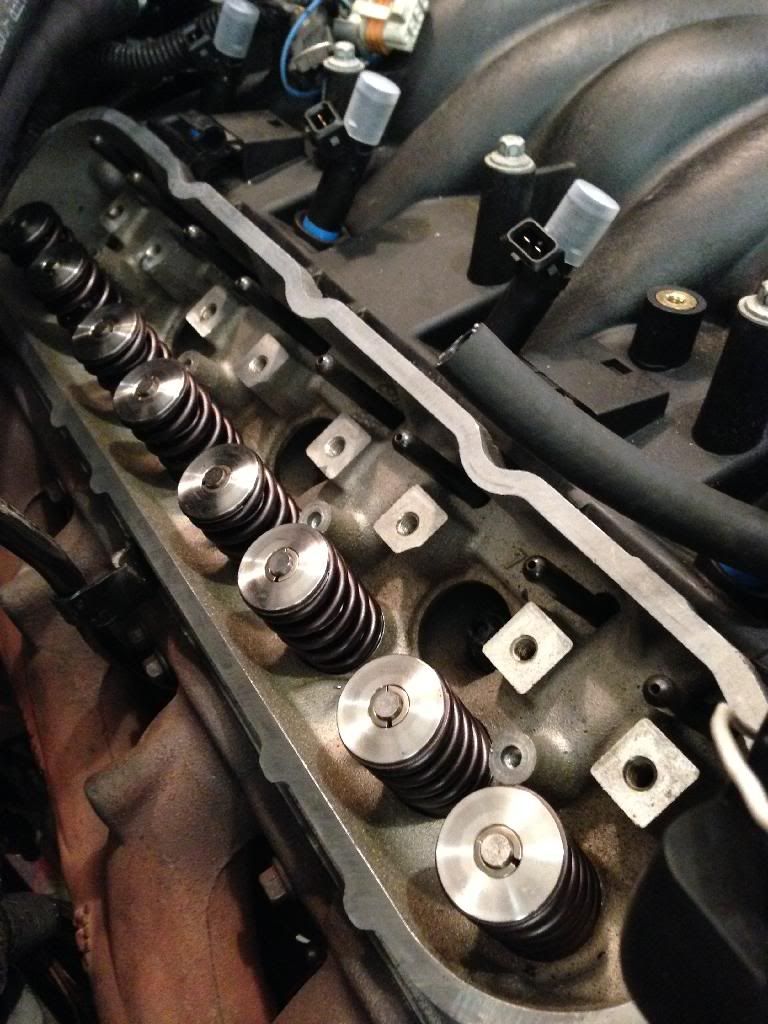
Rocker arms and pedestals. Stockers w/trunion upgrade
Next on the list is the fuel system. I think I'm going to go ahead and do Lonnie's double pumper kit.
After that, I'll grab some brake lines, ship out the computer so I can break in the car, and weld in some sfc and the car should be ready to be started and driven
Steering linkage/shaft completed

And accessories also finished

Bracket for tensioner

Rocker arms and pedestals. Stockers w/trunion upgrade

Next on the list is the fuel system. I think I'm going to go ahead and do Lonnie's double pumper kit.
After that, I'll grab some brake lines, ship out the computer so I can break in the car, and weld in some sfc and the car should be ready to be started and driven
Last edited by 88blackiroc; 12-21-2013 at 07:47 PM.
12-29-2013, 08:21 PM
#52
TECH Apprentice
Thread Starter
iTrader: (3)
Join Date: Sep 2011
Posts: 305
Likes: 0
Received 0 Likes
on
0 Posts
Anotherrrrrrrrrrrrrrr update:
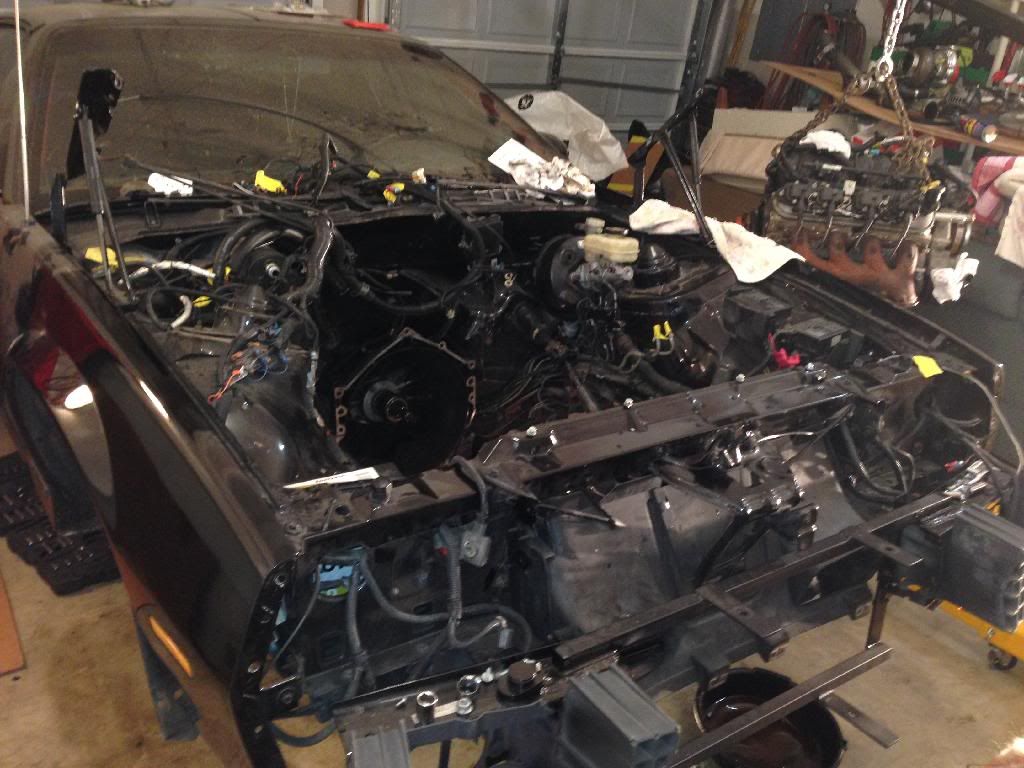
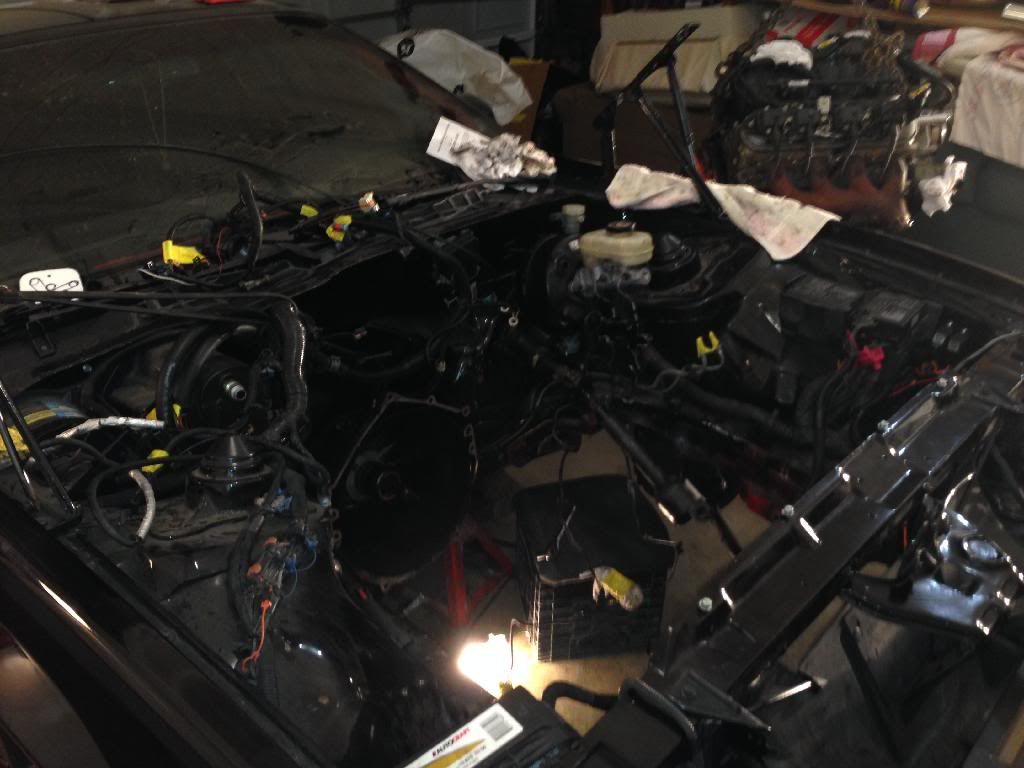
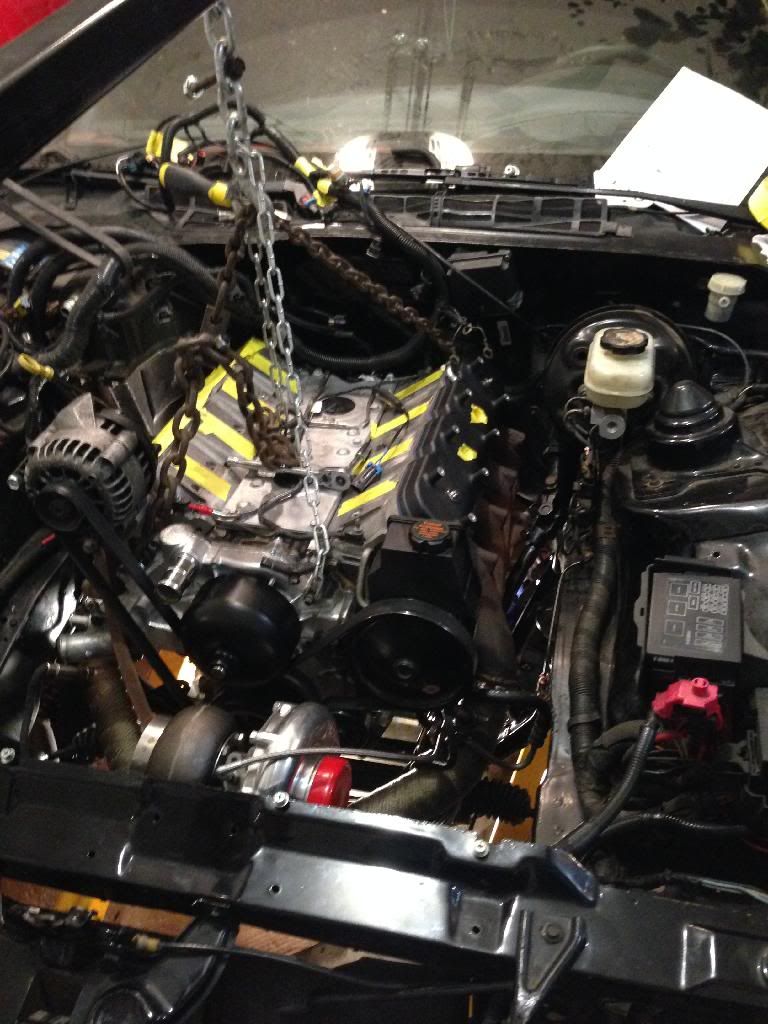
Motors in
For those wondering about the steering clearance,
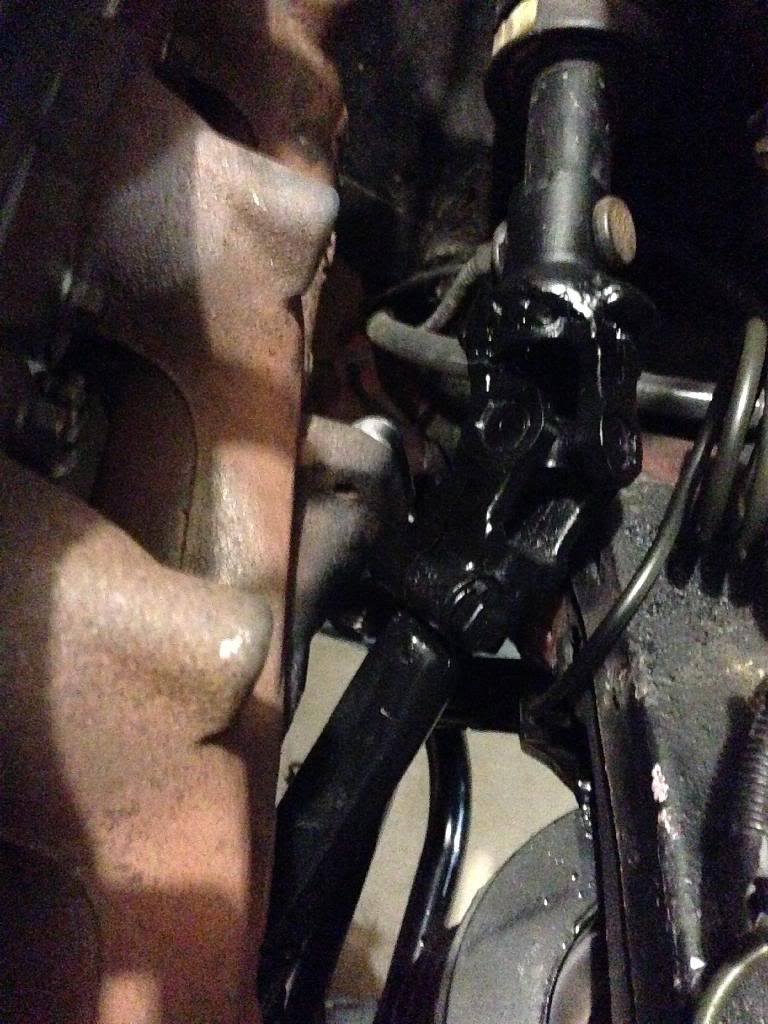
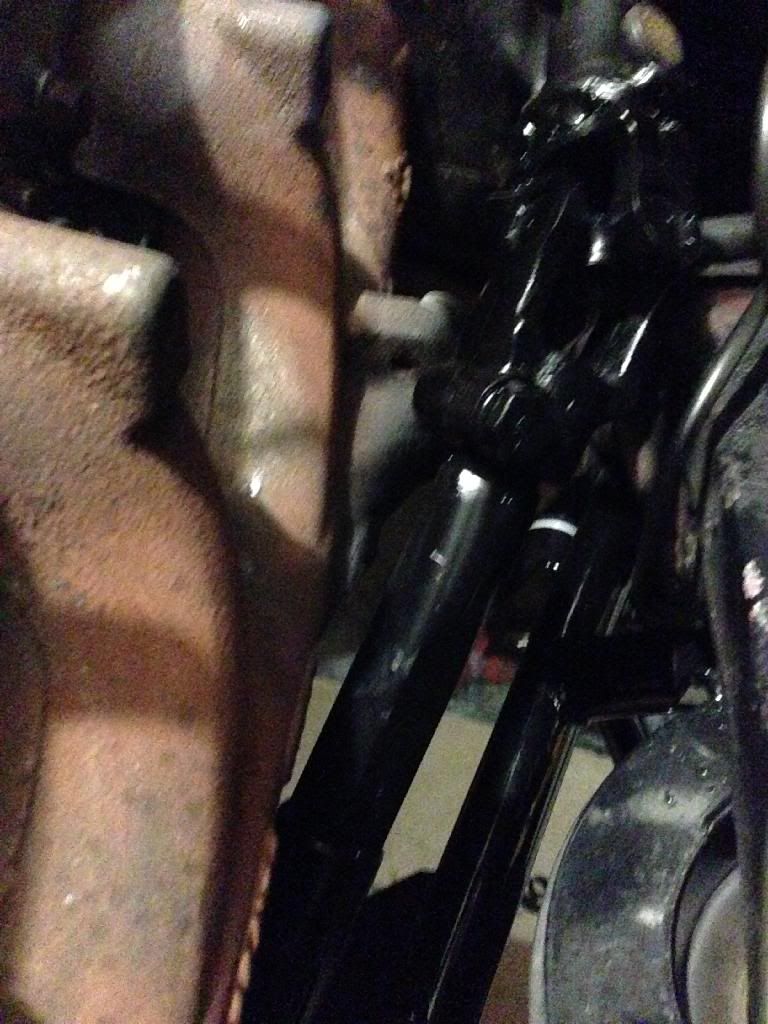
Idk if you guys can tell, but there's not a spot I can't fit my finger in between so it should be fine.
And just for fun, here's a couple pics I snapped before/during installing the motor.

Motors in

For those wondering about the steering clearance,


Idk if you guys can tell, but there's not a spot I can't fit my finger in between so it should be fine.
And just for fun, here's a couple pics I snapped before/during installing the motor.

 02-02-2014, 09:01 AM
#53
TECH Apprentice
Thread Starter
iTrader: (3)
Join Date: Sep 2011
Posts: 305
Likes: 0
Received 0 Likes
on
0 Posts
Dum dum dum update!
Gettin buttoned up!
Pushrods in. 7.375 TS pushrods
And valve covers, coils all back on!
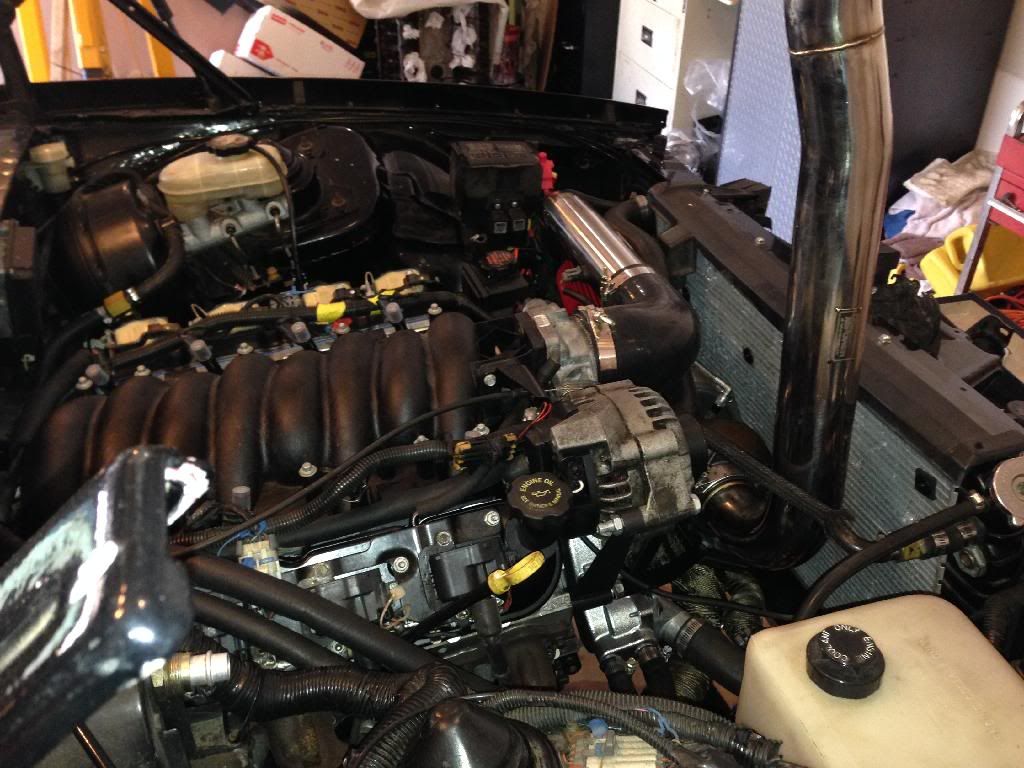
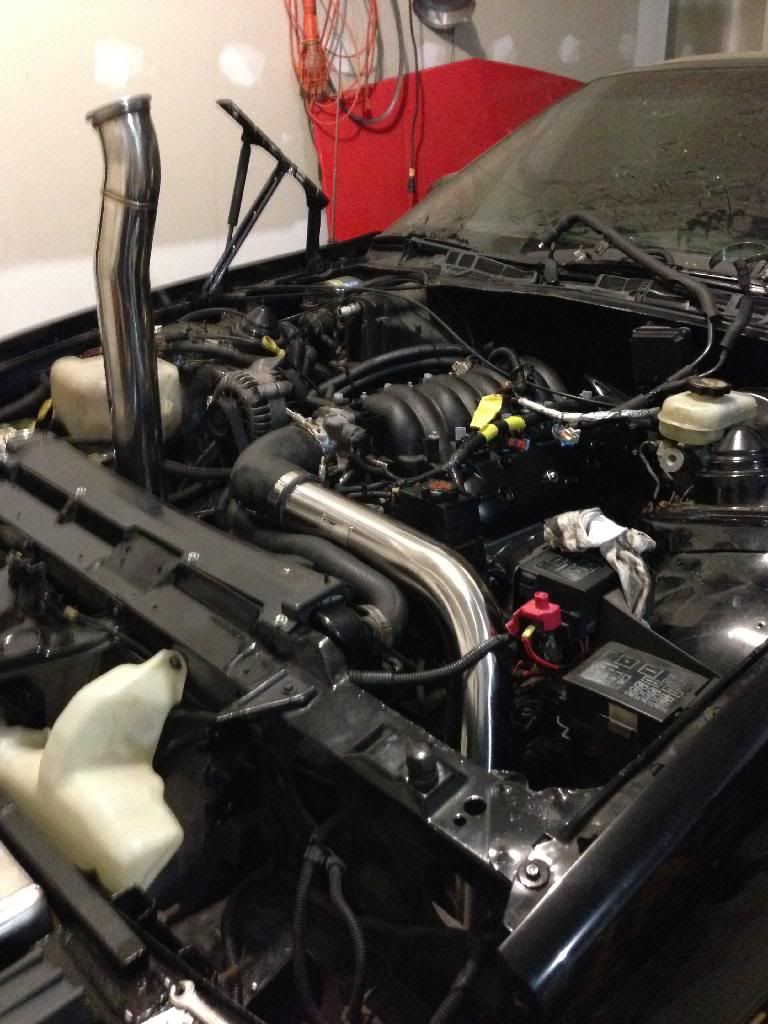
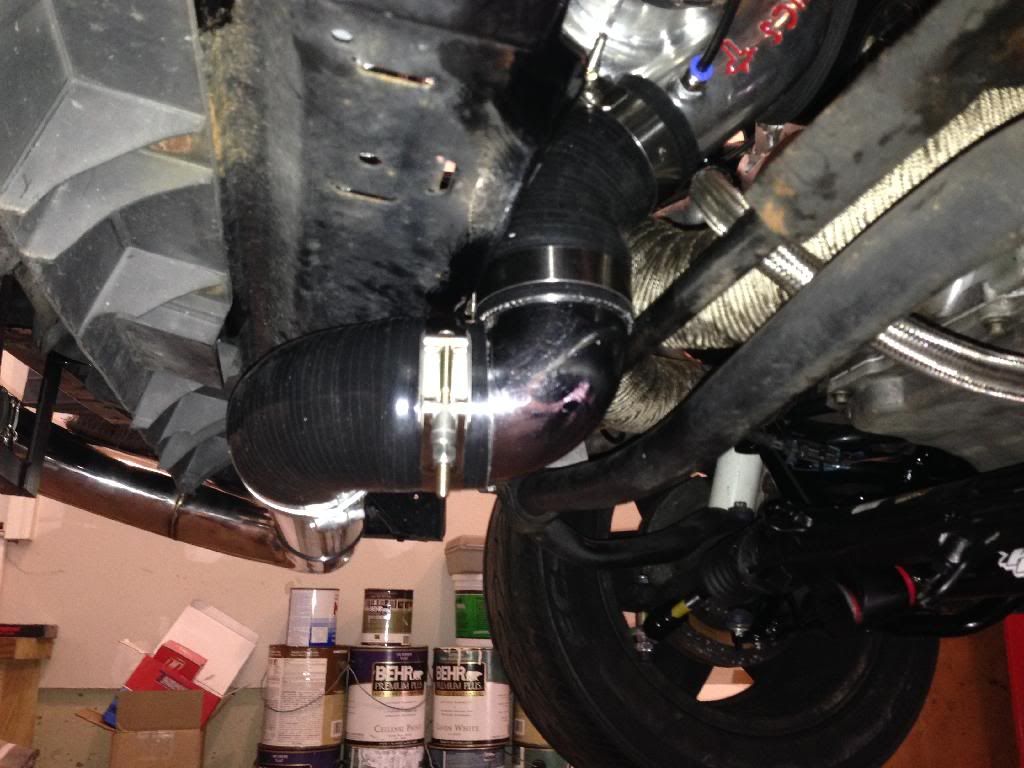
Piping also done
Front bumper mockup
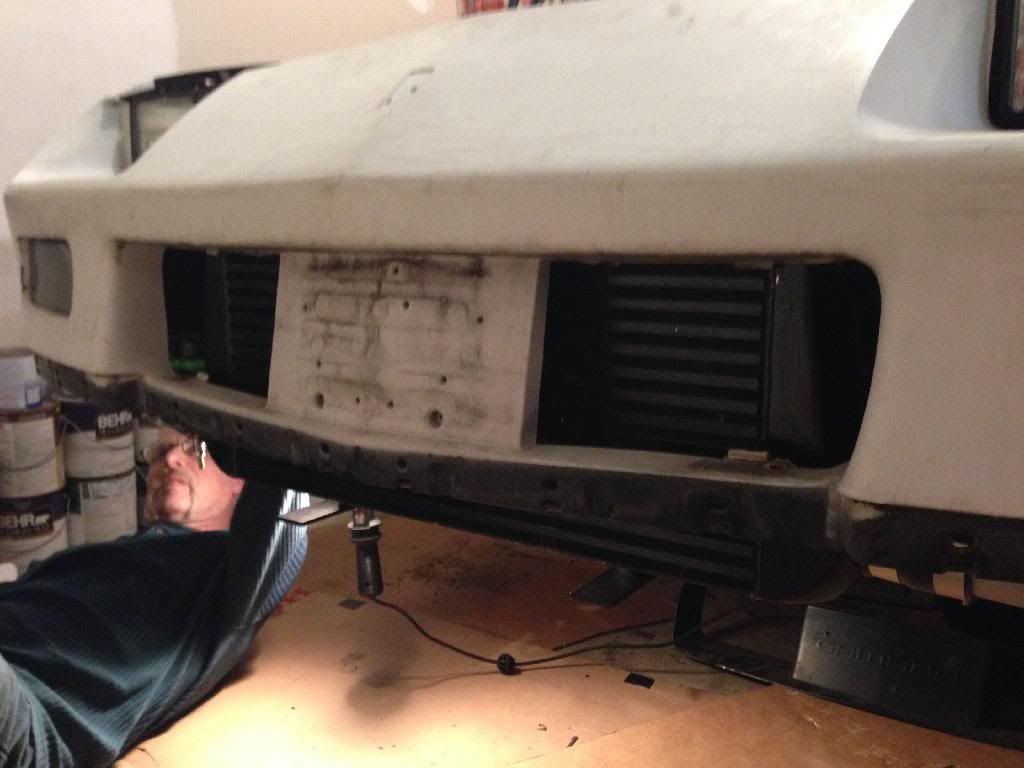
And then had to take it off as this came in
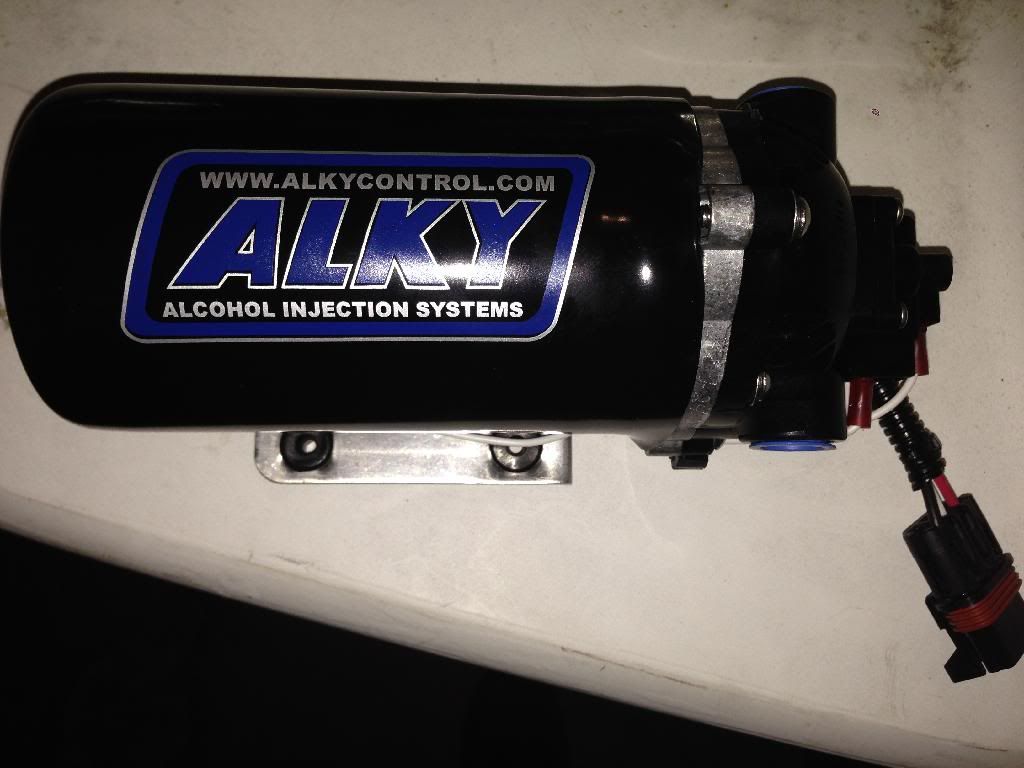
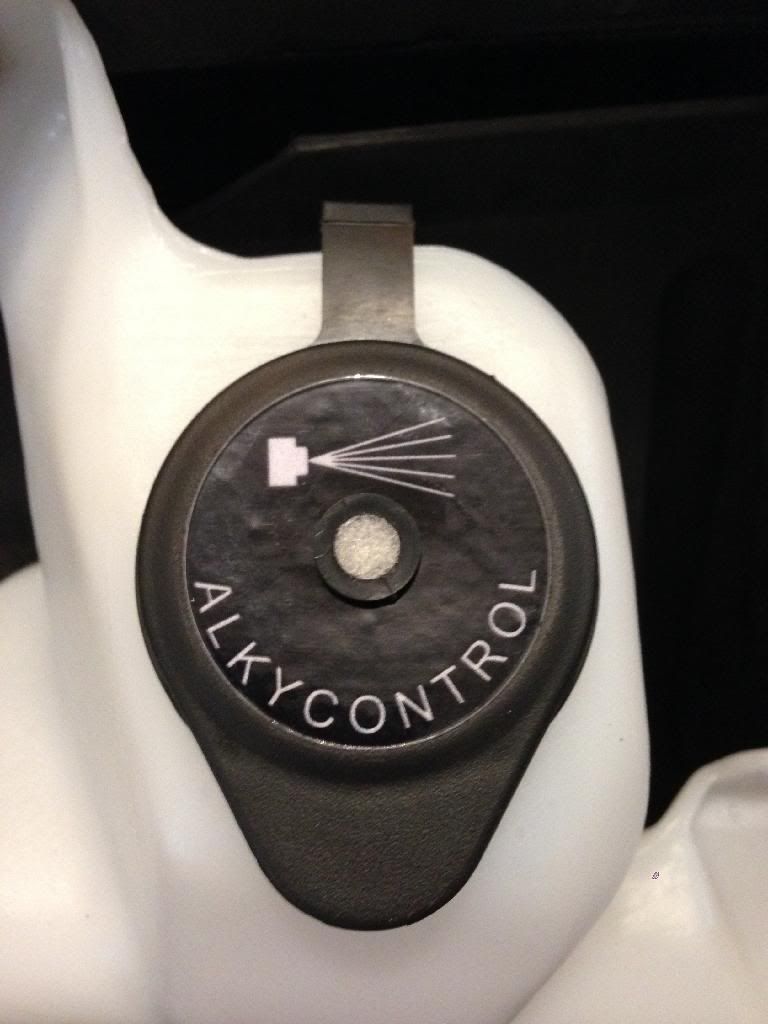
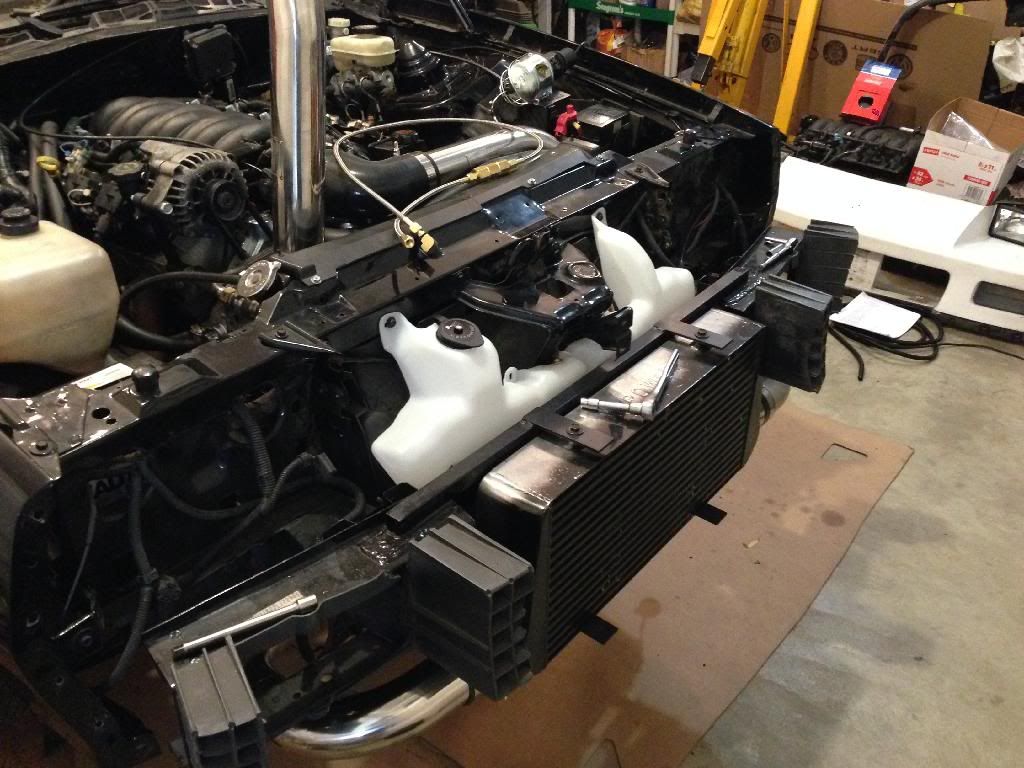
Pump mounted

That's about where I'm at right now. Hopefully by the end of the day I'll have the meth kit finished besides wiring. All that is left after that is to mount and run a vaccum block and the fuel system.... Still. Just waiting for it to come in which should be any day now
Gettin buttoned up!

Pushrods in. 7.375 TS pushrods

And valve covers, coils all back on!

Piping also done

Front bumper mockup

And then had to take it off as this came in


Pump mounted

That's about where I'm at right now. Hopefully by the end of the day I'll have the meth kit finished besides wiring. All that is left after that is to mount and run a vaccum block and the fuel system.... Still. Just waiting for it to come in which should be any day now
03-09-2014, 07:45 PM
#56
TECH Apprentice
Thread Starter
iTrader: (3)
Join Date: Sep 2011
Posts: 305
Likes: 0
Received 0 Likes
on
0 Posts
Well it runs! I'm super stoked and have a couple issues to work out...
The biggest is the fans aren't turning on. They're derale 16925 iirc, and I have them wires up with their relays. Grounds good and so is power, however the trigger wires are in run off the fuse block so they switch on and off just as stock. Any suggestions?
The biggest is the fans aren't turning on. They're derale 16925 iirc, and I have them wires up with their relays. Grounds good and so is power, however the trigger wires are in run off the fuse block so they switch on and off just as stock. Any suggestions?
03-10-2014, 08:45 PM
#57
TECH Apprentice
Thread Starter
iTrader: (3)
Join Date: Sep 2011
Posts: 305
Likes: 0
Received 0 Likes
on
0 Posts
Well did a little troubleshooting with the fans tonight.
I took out a test light and even when temps were 220+ the power terminal which I believed was suppose to switch the fans on did nothing. Here is exactly how I was told to run the wires, the only difference is that I did the yellow trigger wire and left the green wires (optional a/c) alone.
Do I need to put the original relays back in ontop of the existing trigger wires to complete a circuit?
Any ideas or advice would be great as it would give me some direction to go in.
I took out a test light and even when temps were 220+ the power terminal which I believed was suppose to switch the fans on did nothing. Here is exactly how I was told to run the wires, the only difference is that I did the yellow trigger wire and left the green wires (optional a/c) alone.

Do I need to put the original relays back in ontop of the existing trigger wires to complete a circuit?
Any ideas or advice would be great as it would give me some direction to go in.
03-12-2014, 06:18 PM
#58
TECH Apprentice
Thread Starter
iTrader: (3)
Join Date: Sep 2011
Posts: 305
Likes: 0
Received 0 Likes
on
0 Posts
Well im lost,
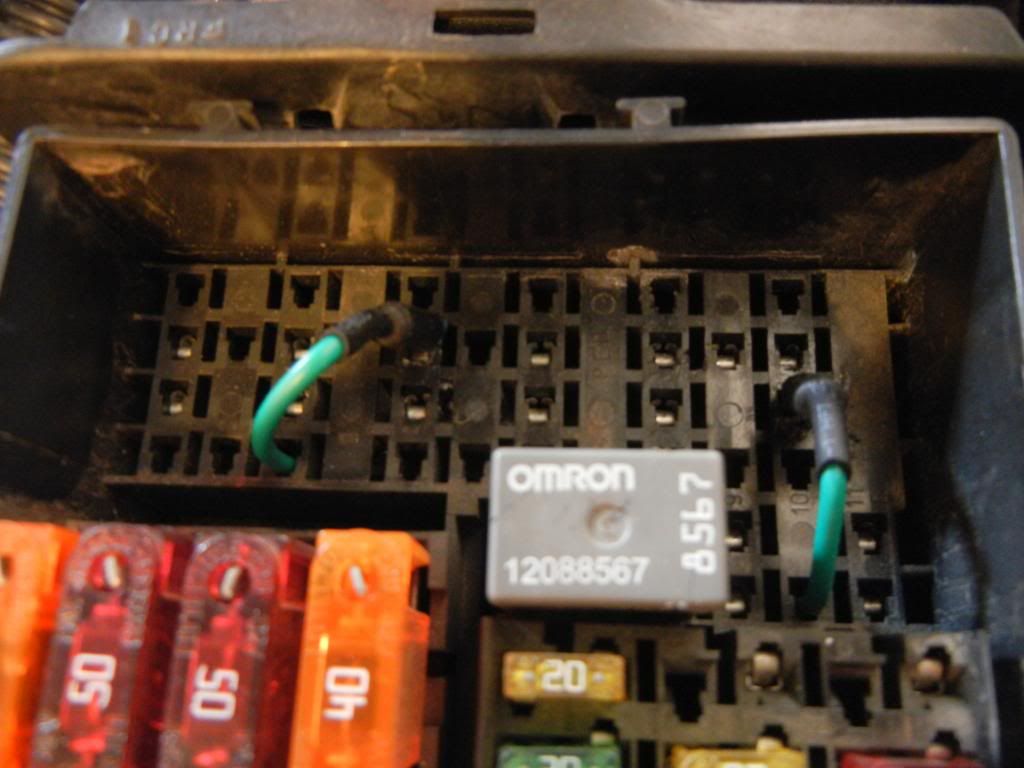
Went to troubleshoot the wiring and couldnt get it. I went by this diagram
Also..
relay#1
86--power from ignition-shared
85--pcm signal--ground
30--battery +
87--+ to first fan
relay#2--farthest to the right
86--ignition power--shared
86--pcm ground--shared with relay#3
30--battery +
87--power to second fan--from 87a on 3rd relay( first fan ground wire)
relay#3
86--power from ignition( shared)
85--pcm signal for high speed
30--ground from first fan
87a--to 87 of second relay--series connection for low speed
87--frame ground or shared ground with second fan.
So I should be able to use each four pin relay using 87 to power the fans.. However I only got one fan running and also it wouldnt shut off with the key off.
C1 is 86 on the relay strangly which says its power from ignition? Shouldnt that be 87? The diagram shows that after its grounded, its fan power so it should be 87 I believe.
Also, B6 is looks the same as C1, but it IS 87 on the relay. The F*&^?
Also with all the relays in, I could not get the original fan wires to show up hot.
If anyone has any suggestions im more than open to hear them!
Last edited by 88blackiroc; 03-12-2014 at 06:33 PM.
04-05-2014, 10:35 PM
#59
TECH Apprentice
Thread Starter
iTrader: (3)
Join Date: Sep 2011
Posts: 305
Likes: 0
Received 0 Likes
on
0 Posts
Well FML.
Driving to work yesterday and hit what looked like a concrete block on I395 around a bend.
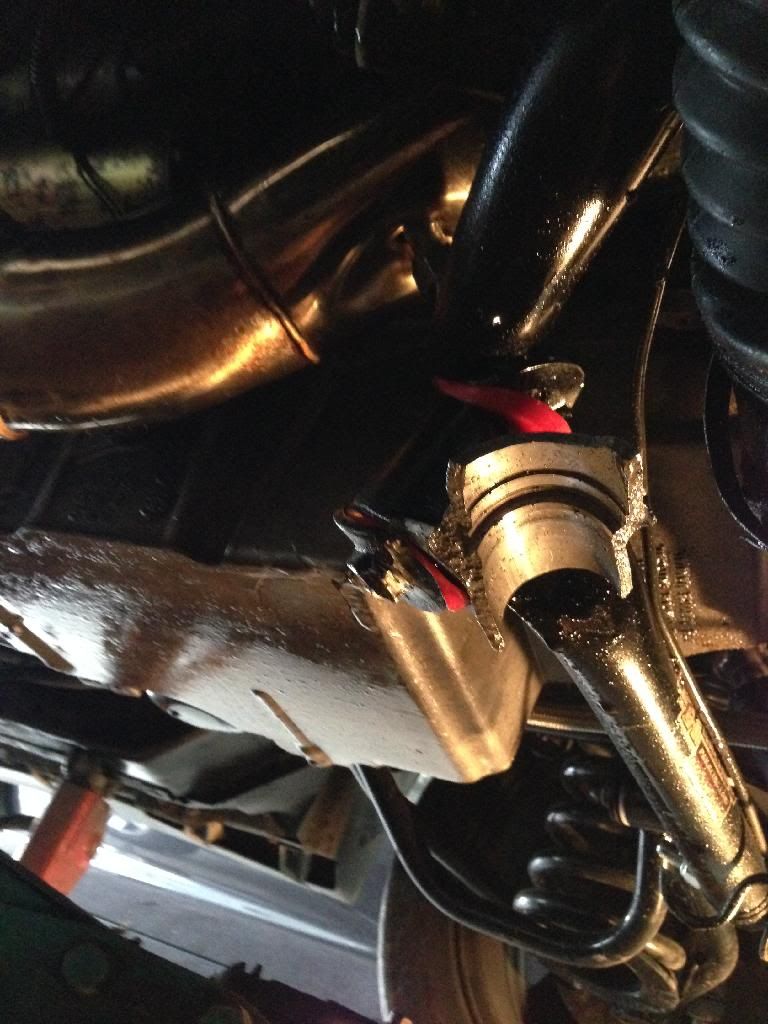
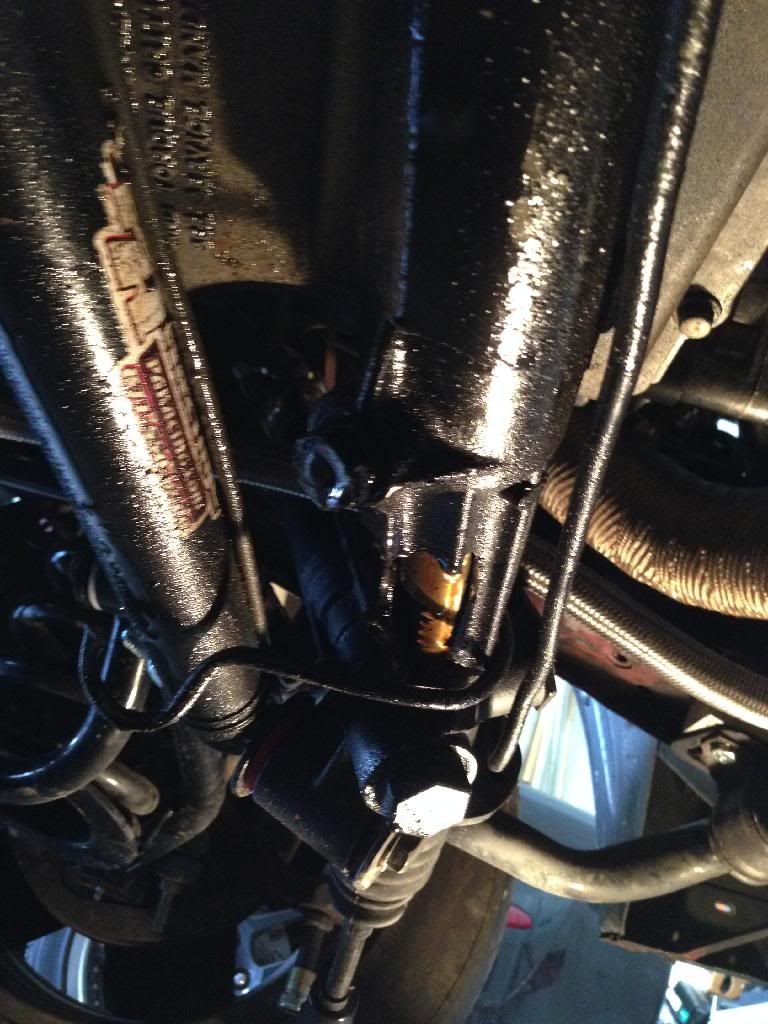
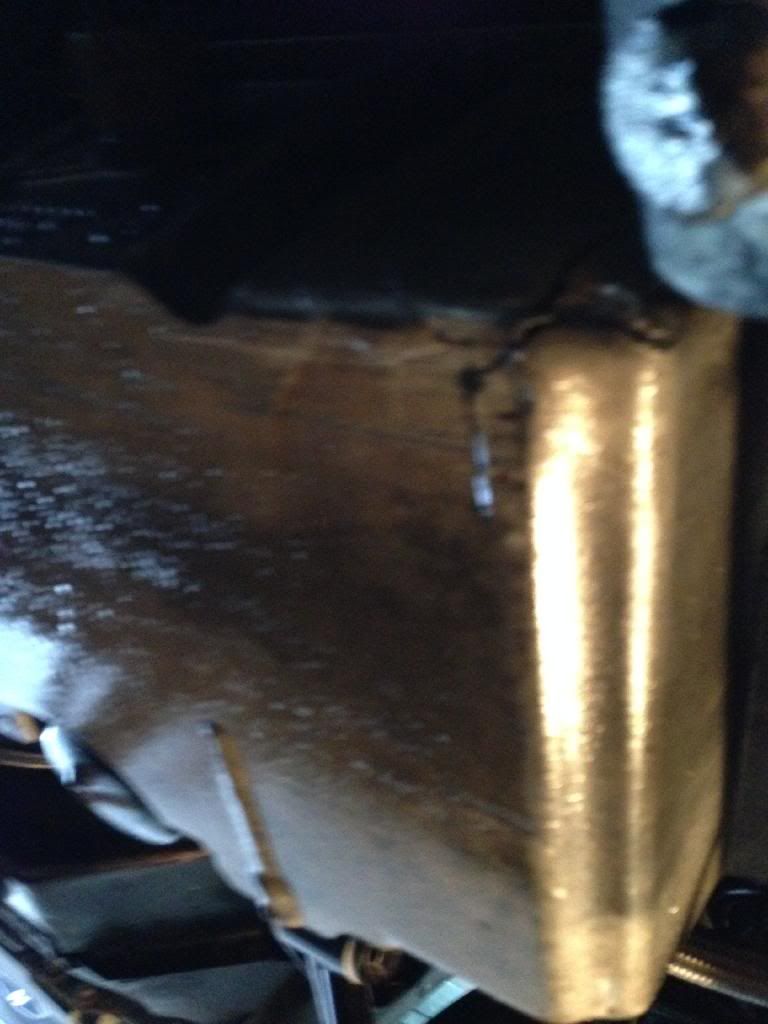
Destroyed the rack and pinion, which broke the k-member and severely bent a a-arm, which cracked the oil pan. Of course it was the first day I would of driven it to work and afterwards I was having the exhaust done. I figure it'll be about 1000$ setback.
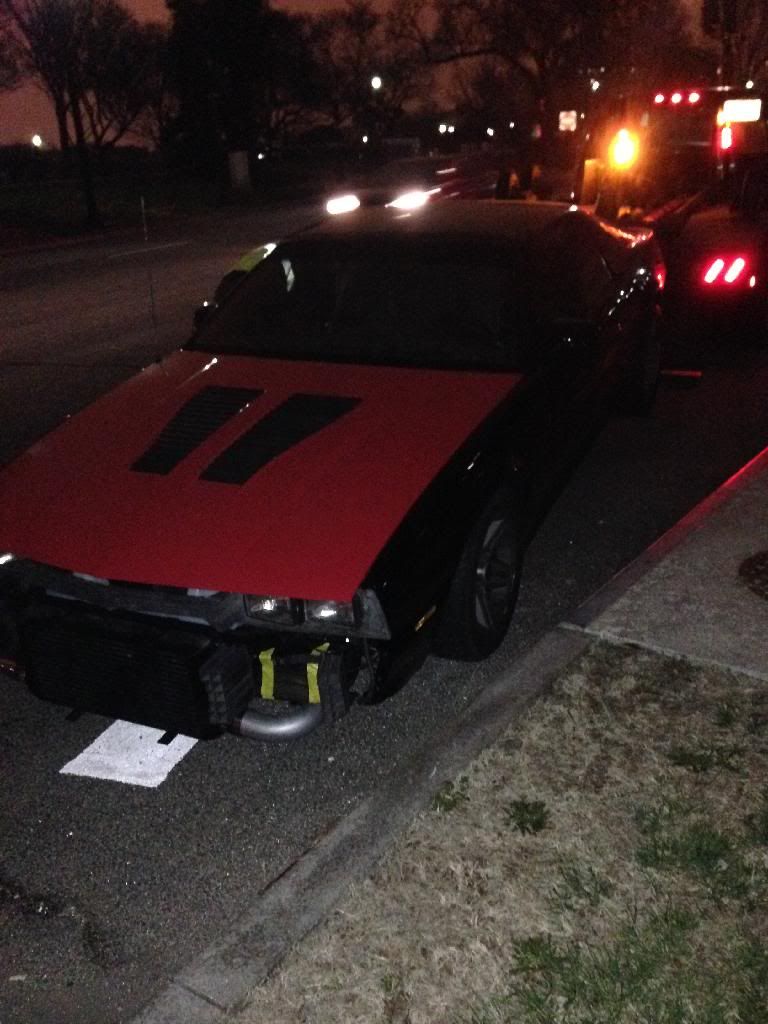
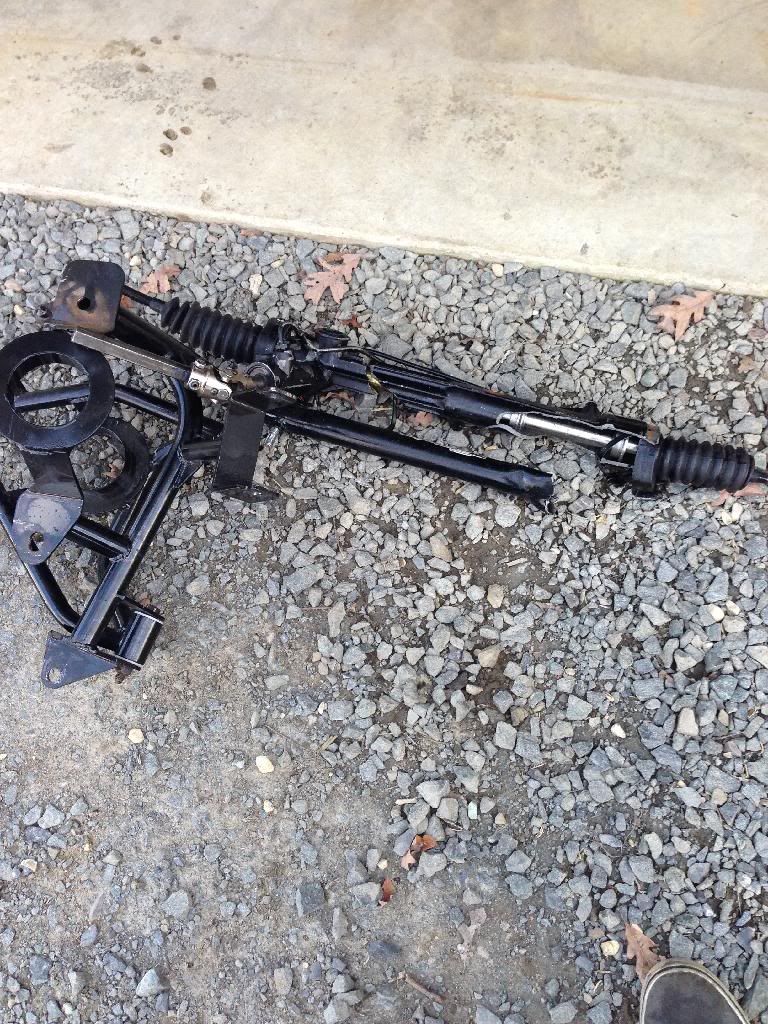
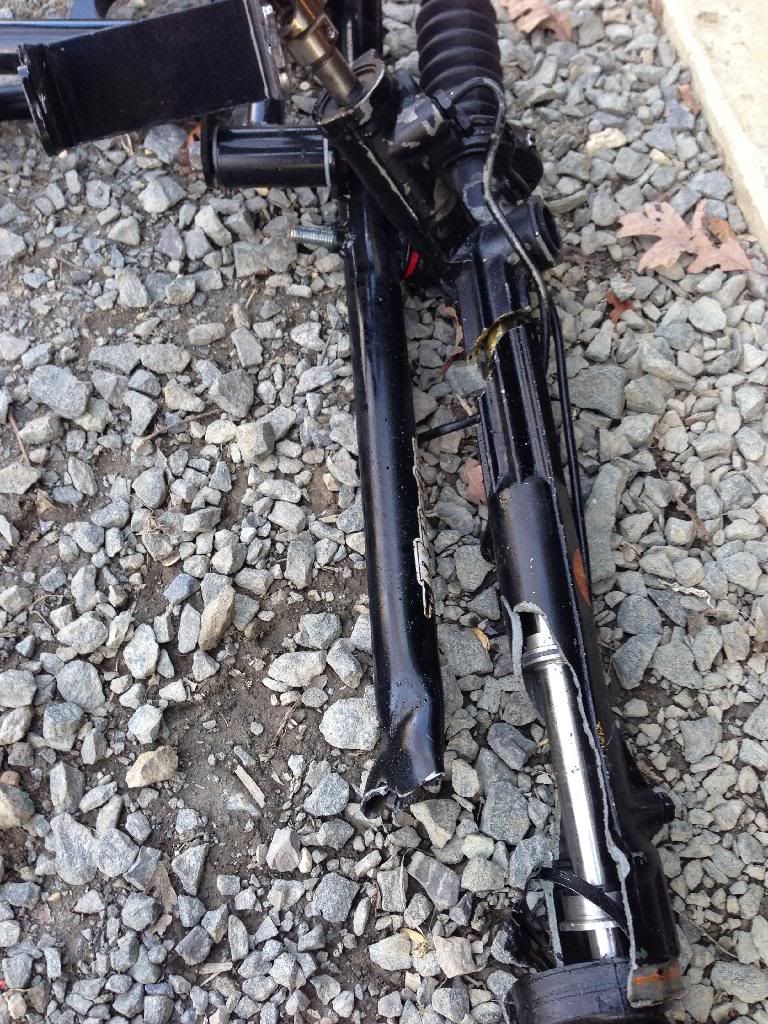
All of this after my recent push to get the car squared away to be tuned so I could be almost done with it. It's with a heavy heart that think in going to either sell it or part the car out.
Keep an eye open in the classifieds within the next couple days.
... **** that! This bitch is getting finished!
Gonna called pa racing and ask them what they think and hopefully they can hook me up with some kind of deal. Found a new oem oil pan for about 200$ and a new rack is about 100$.
By the next few weeks I'll all be repaired and I'll start saving up for a tune again.
Driving to work yesterday and hit what looked like a concrete block on I395 around a bend.
Destroyed the rack and pinion, which broke the k-member and severely bent a a-arm, which cracked the oil pan. Of course it was the first day I would of driven it to work and afterwards I was having the exhaust done. I figure it'll be about 1000$ setback.


All of this after my recent push to get the car squared away to be tuned so I could be almost done with it. It's with a heavy heart that think in going to either sell it or part the car out.
Keep an eye open in the classifieds within the next couple days.
... **** that! This bitch is getting finished!
Gonna called pa racing and ask them what they think and hopefully they can hook me up with some kind of deal. Found a new oem oil pan for about 200$ and a new rack is about 100$.
By the next few weeks I'll all be repaired and I'll start saving up for a tune again.
