
Father and Son Turbo'd LQ4 83' Jimmy


 01-07-2014, 09:06 PM
#26
Staging Lane
Thread Starter
Join Date: Nov 2013
Location: East Texas
Posts: 50
Likes: 0
Received 0 Likes
on
0 Posts
Thank you! Can't wait to smell some burnt rubber!
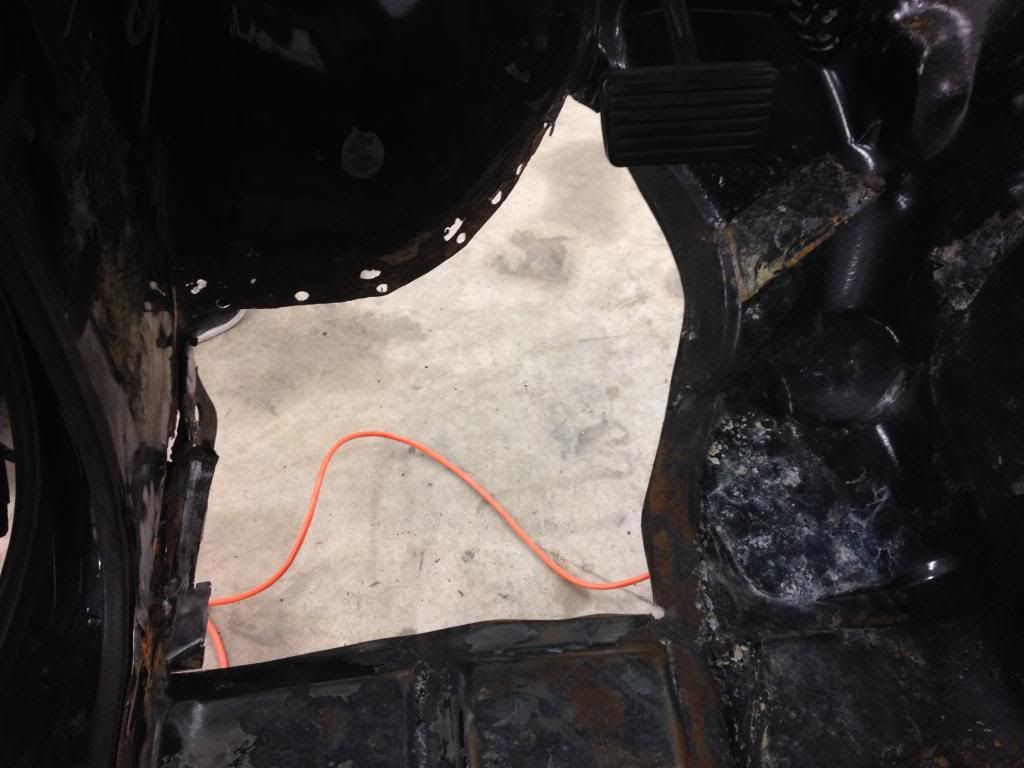
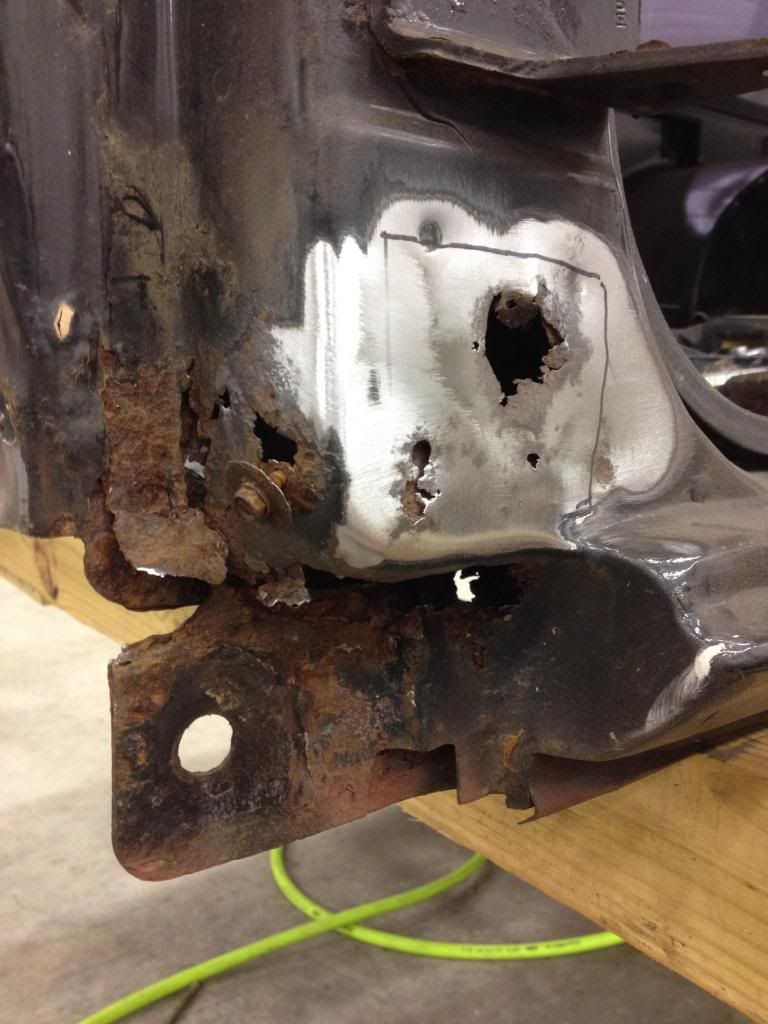
Was out in the shop trying to come up with a plan on where to make my cuts on the Floor Boards! Google has yet to come up with anything S10 related on how to do this! I have never done anything like this.
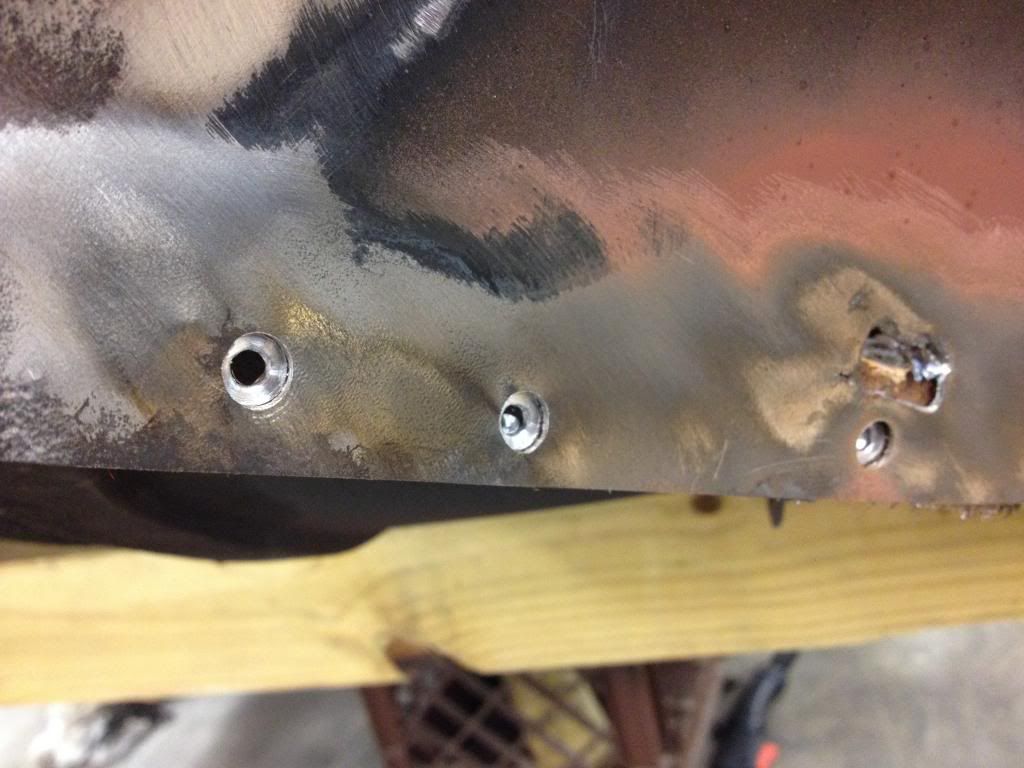
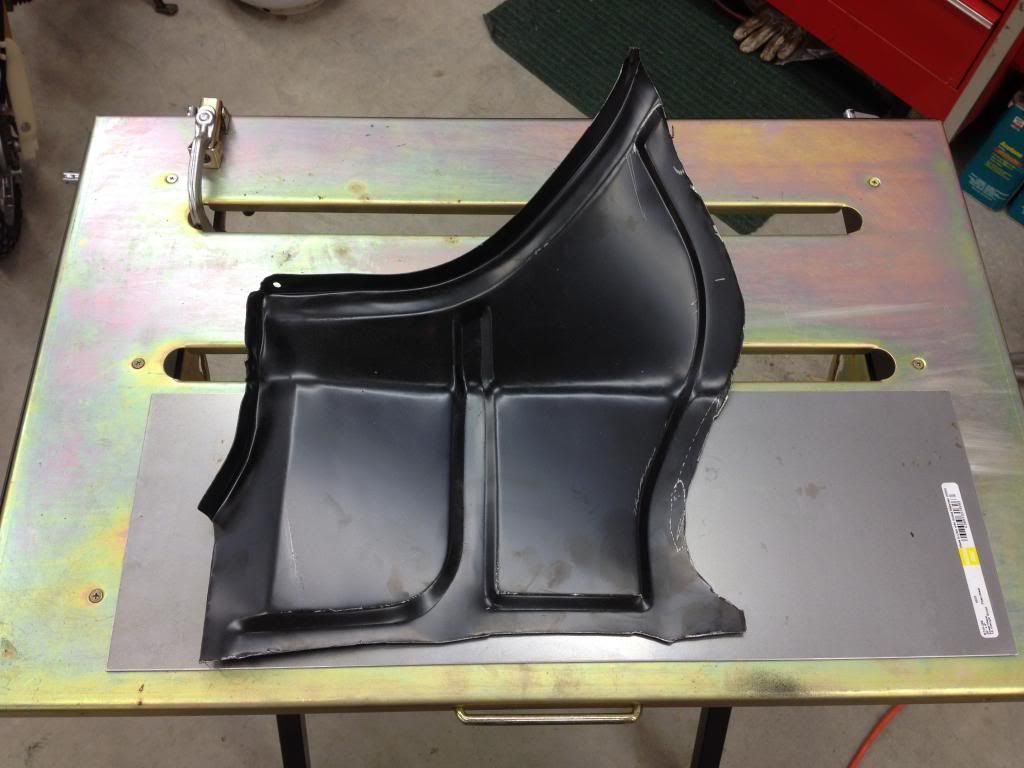
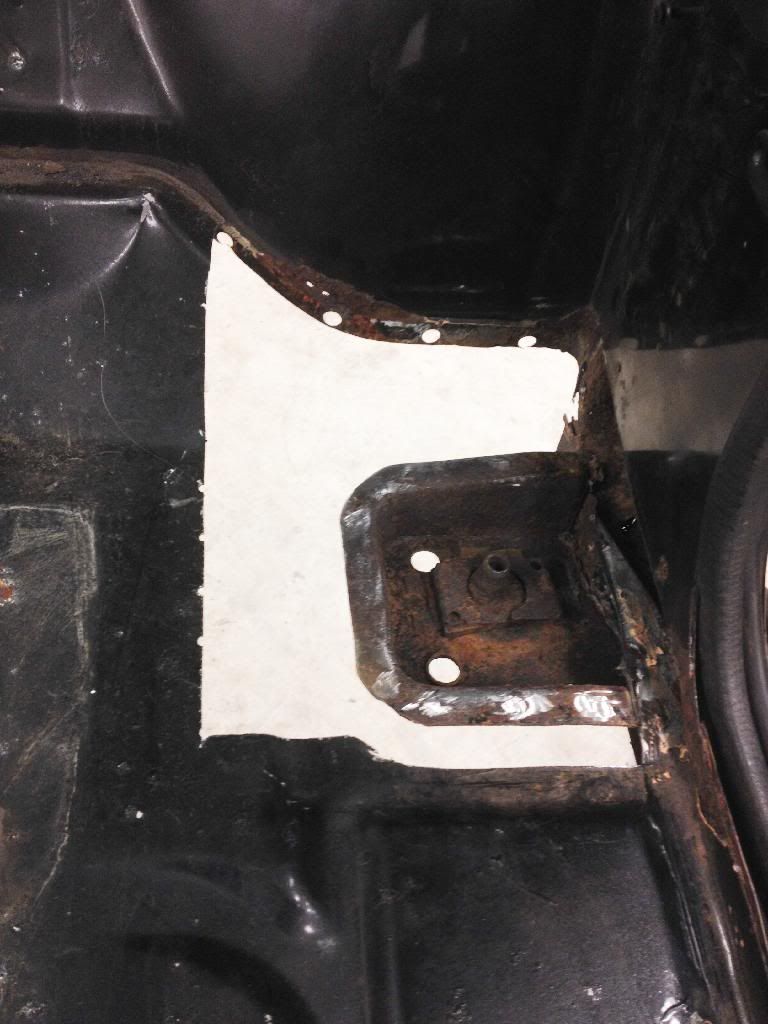
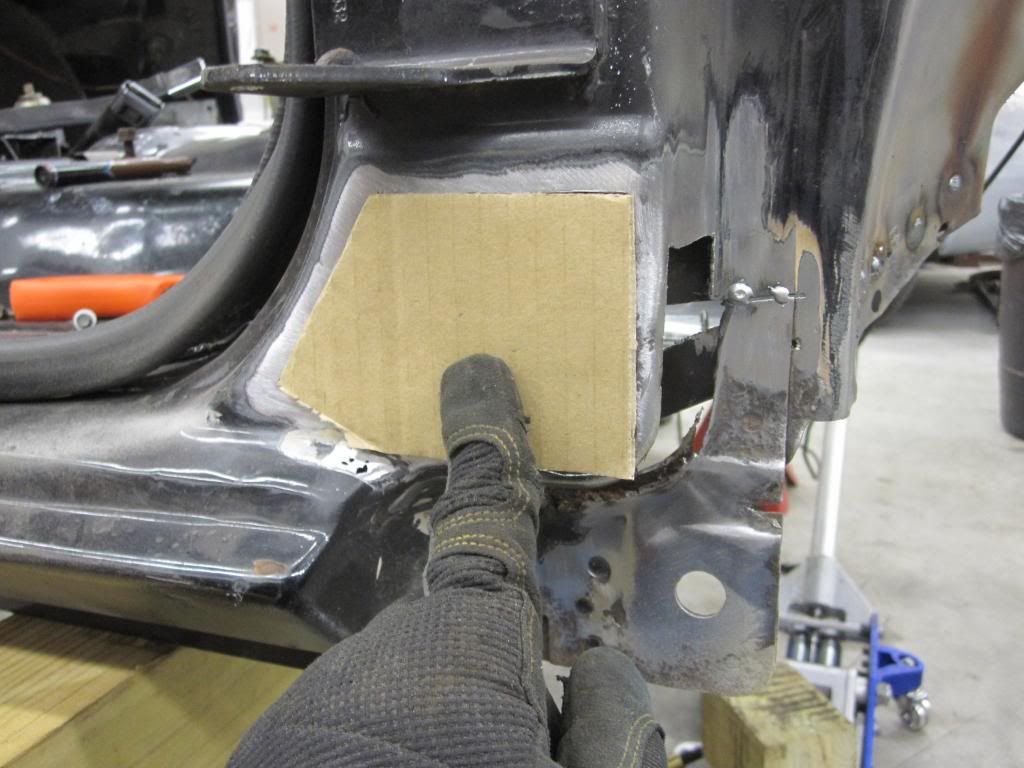
Here's where I plan to cut the new panel to allow it to sit on top of the original edge and drill holes for some spot welding.
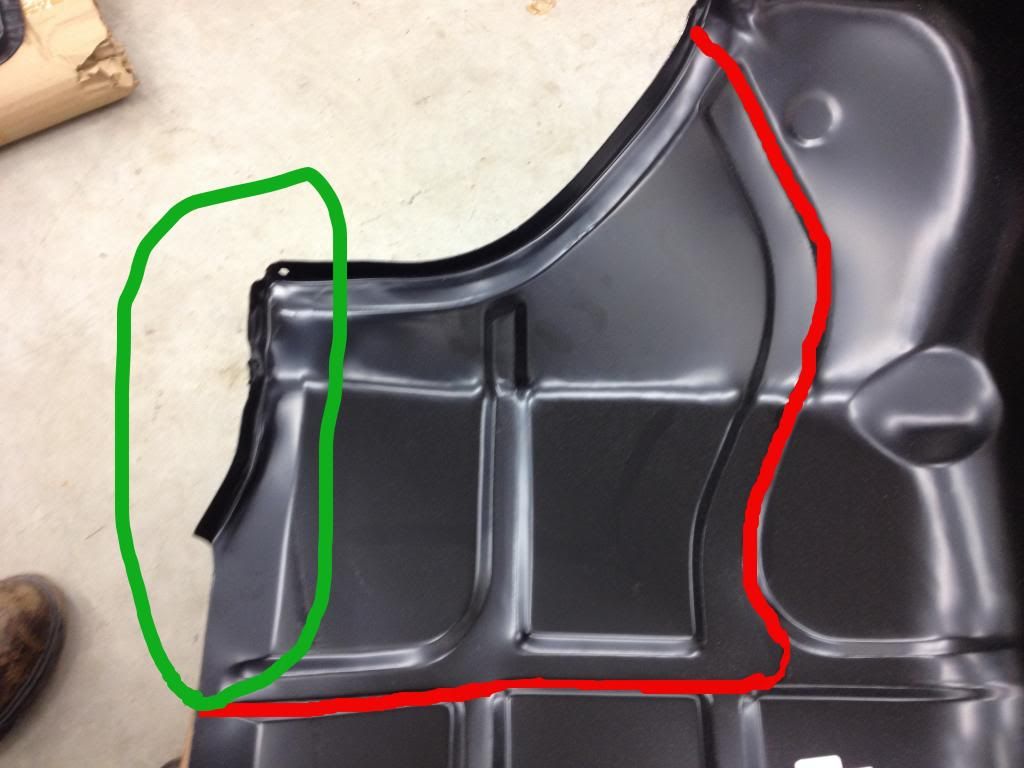
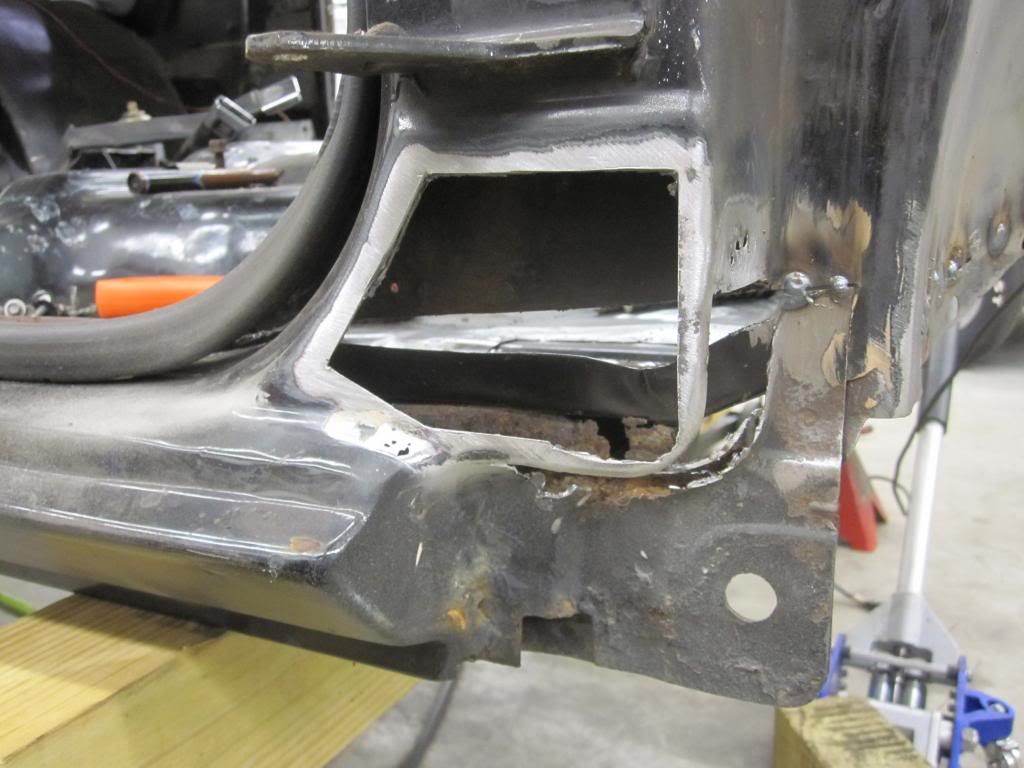
Now the question is where to cut the original panel. I have already cut the red but don't really know where to cut in the green area.
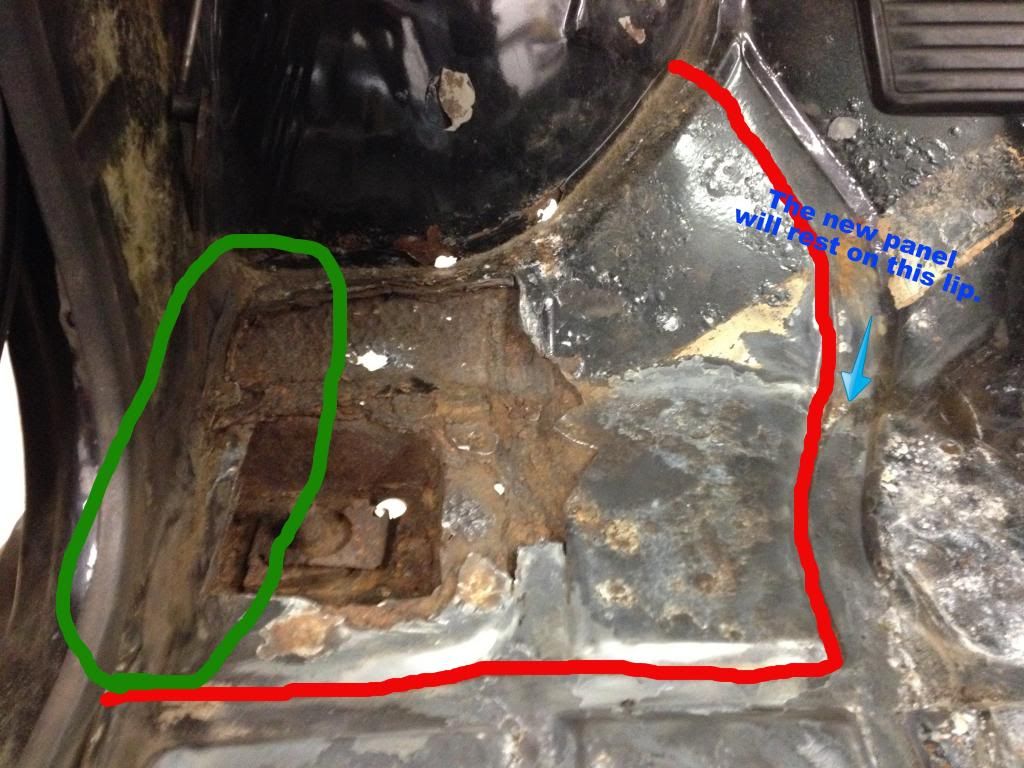
I did drill out the spot welds up front.
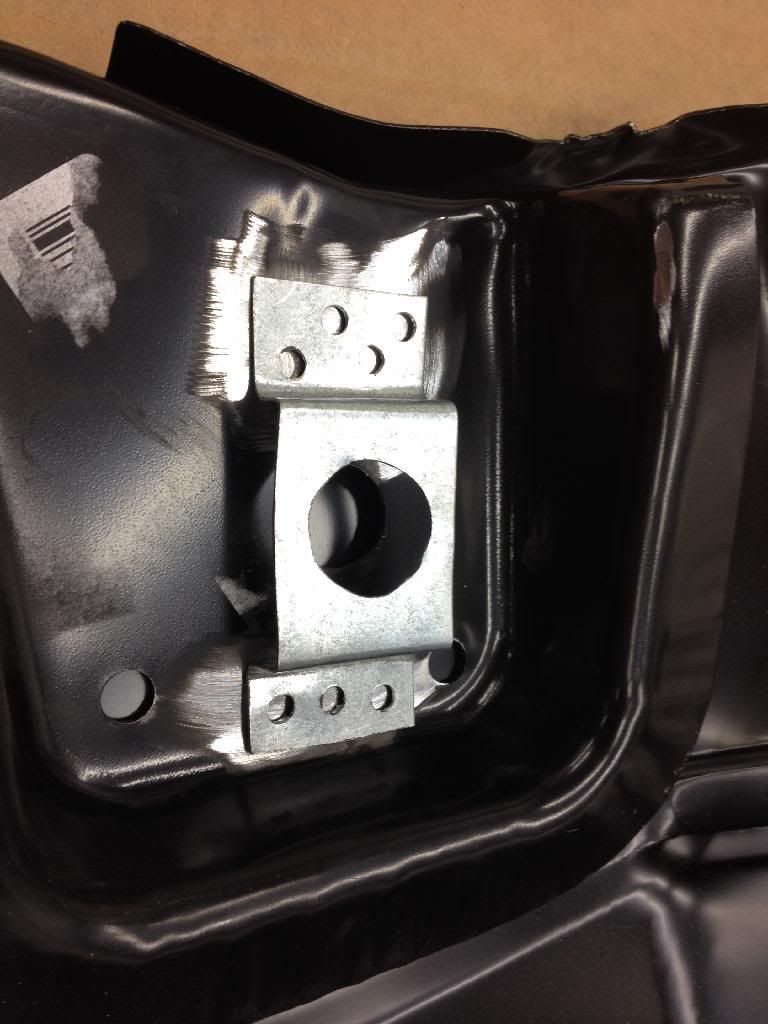
And after searching and running by the Chevy dealership, this thin retainer cannot be purchased. So the plan is to remake it and use the existing special Nut for the body mounts.
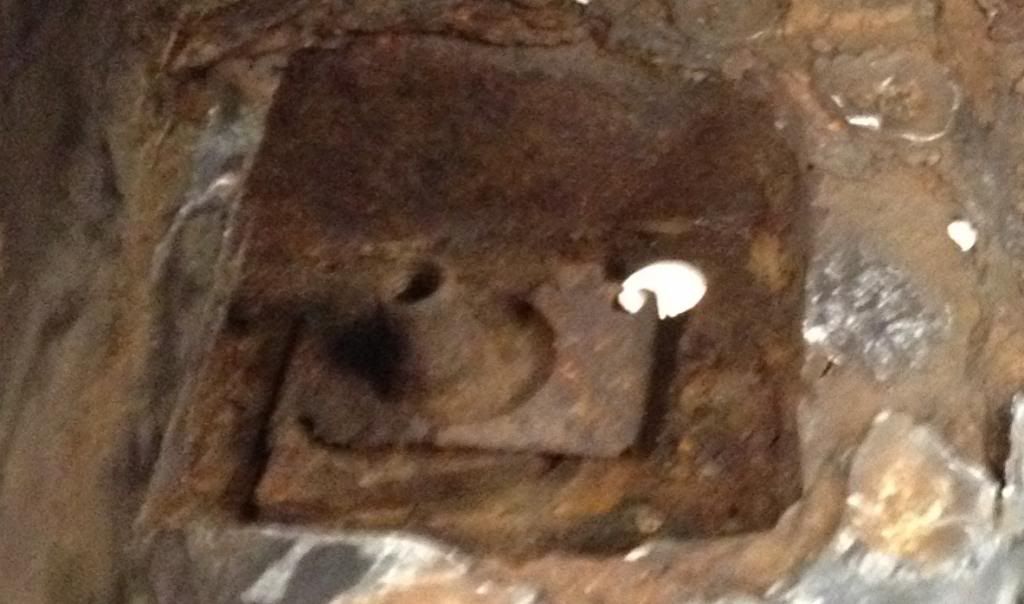
I do have new cab mounts as well that will be used.
Was out in the shop trying to come up with a plan on where to make my cuts on the Floor Boards! Google has yet to come up with anything S10 related on how to do this! I have never done anything like this.
Here's where I plan to cut the new panel to allow it to sit on top of the original edge and drill holes for some spot welding.
Now the question is where to cut the original panel. I have already cut the red but don't really know where to cut in the green area.
I did drill out the spot welds up front.

And after searching and running by the Chevy dealership, this thin retainer cannot be purchased. So the plan is to remake it and use the existing special Nut for the body mounts.

I do have new cab mounts as well that will be used.
 01-20-2014, 08:45 PM
#28
Staging Lane
Thread Starter
Join Date: Nov 2013
Location: East Texas
Posts: 50
Likes: 0
Received 0 Likes
on
0 Posts
School has started back up and I'm only in the shop when the time allows it now. But still got a little work done!
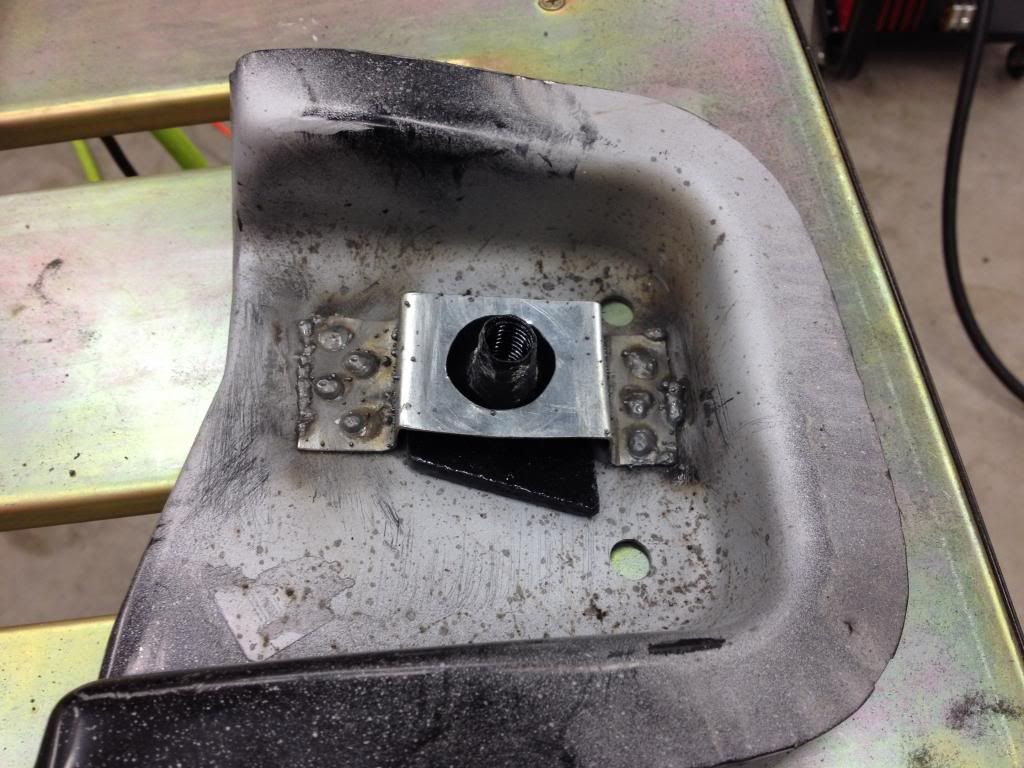
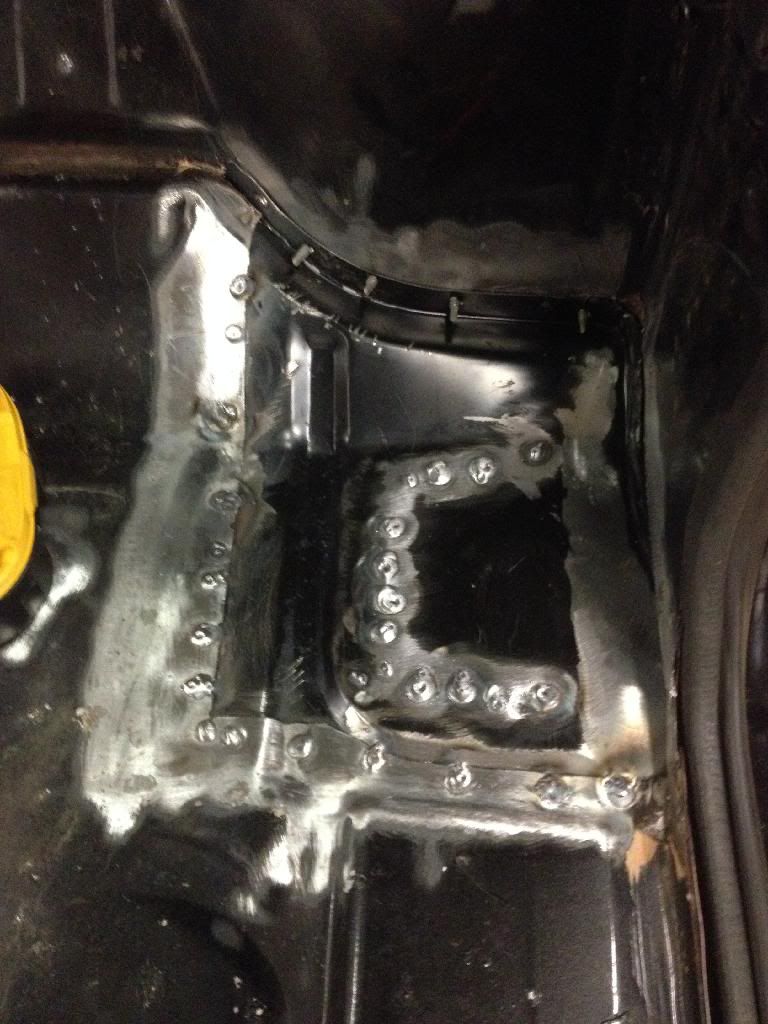
Couldn't find a replacement nut retainer, so I re-made one out of 22 gauge steel.
Not the prettiest thing cause of all of the welding slag. I'm not a fan of the 3M Weld Thru Primer.
Floor cut
Replacement piece
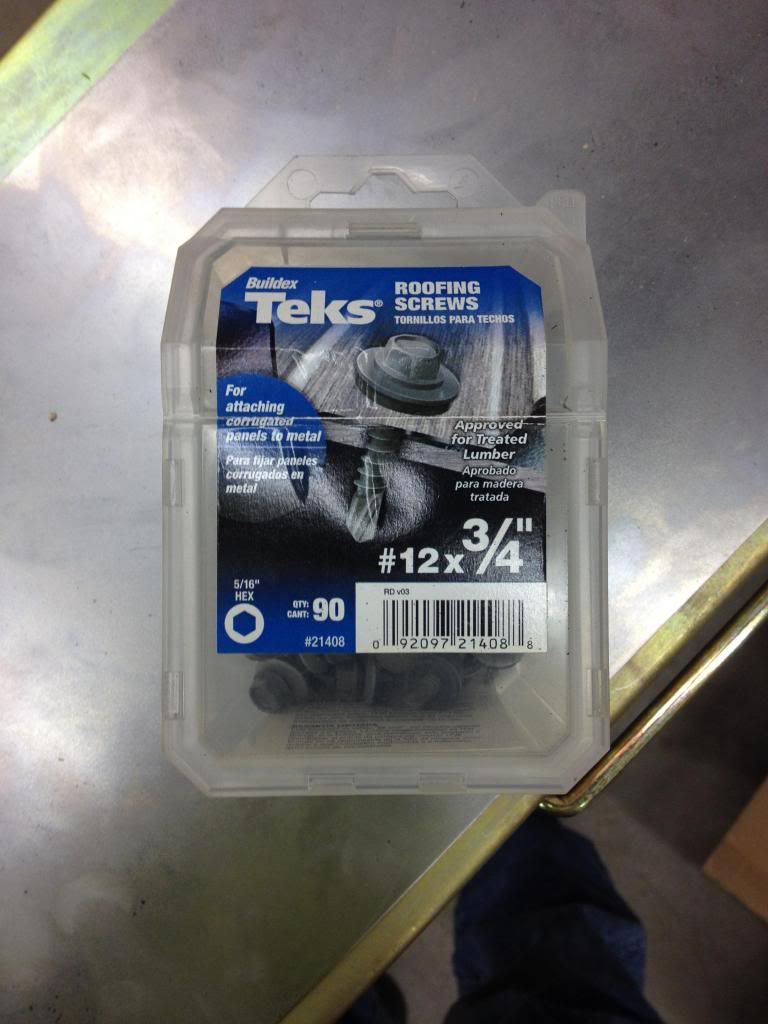
Used these roofing screws to hold the patch panel in place
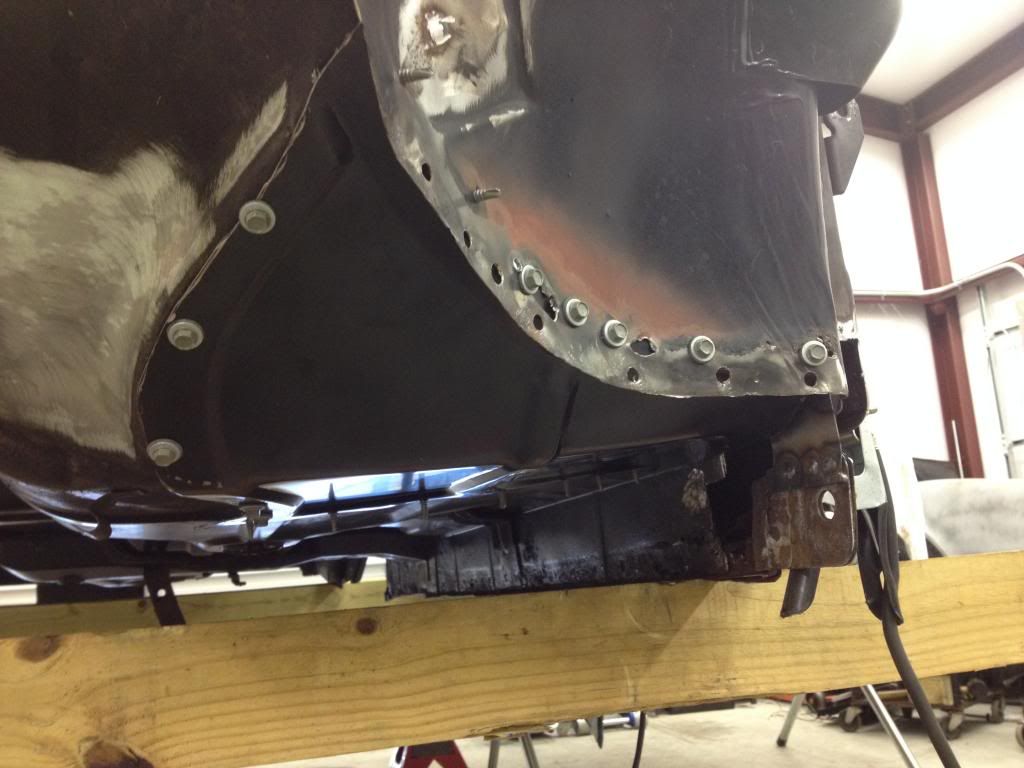
All screwed down
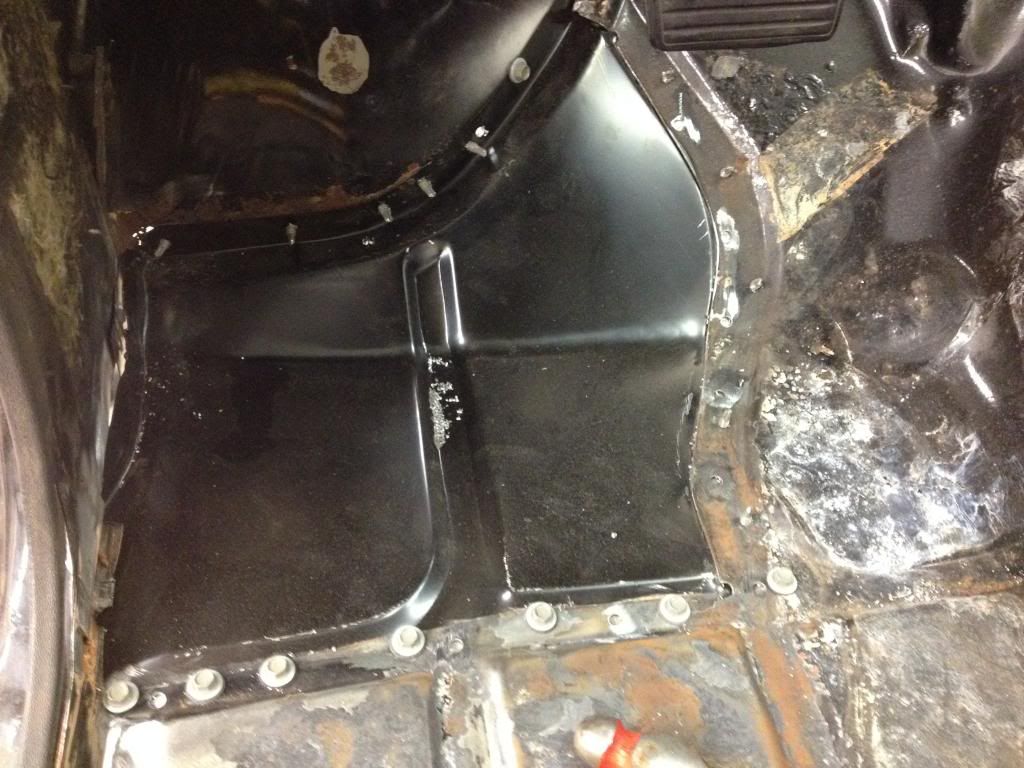
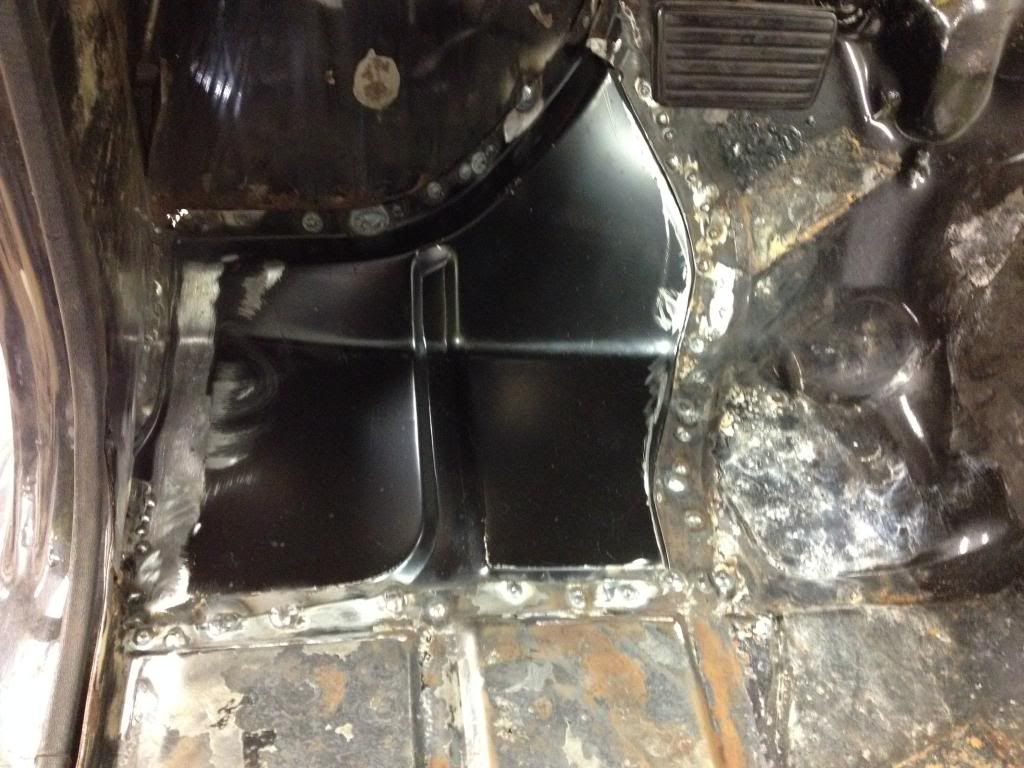
Get Spot welded in

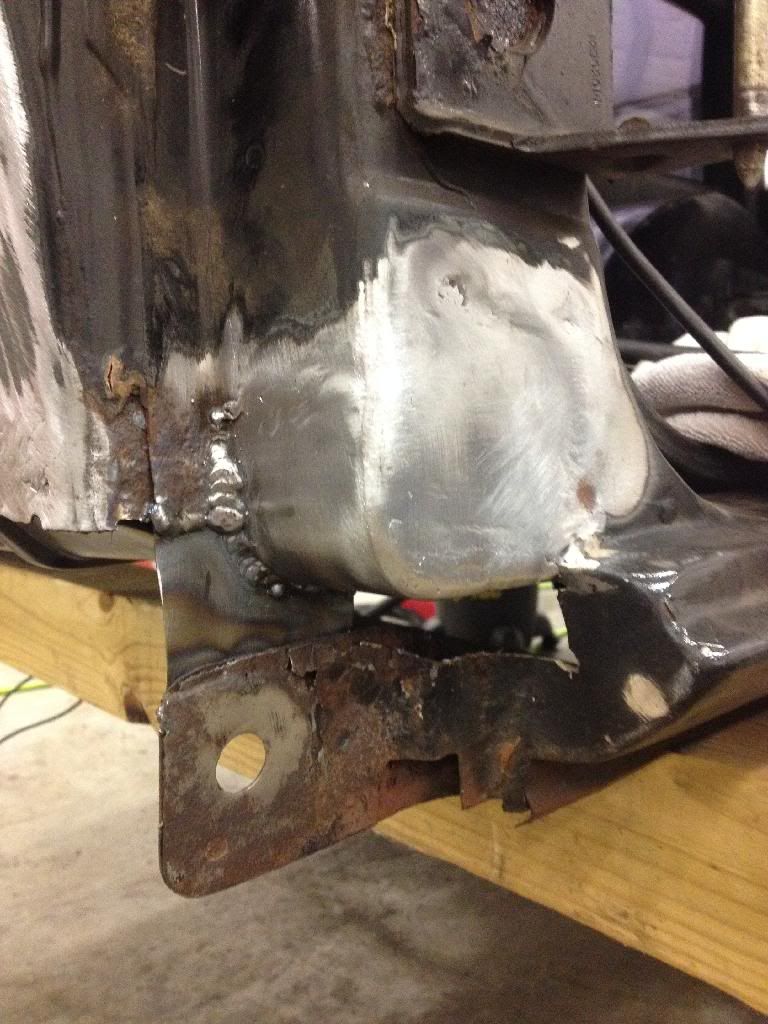
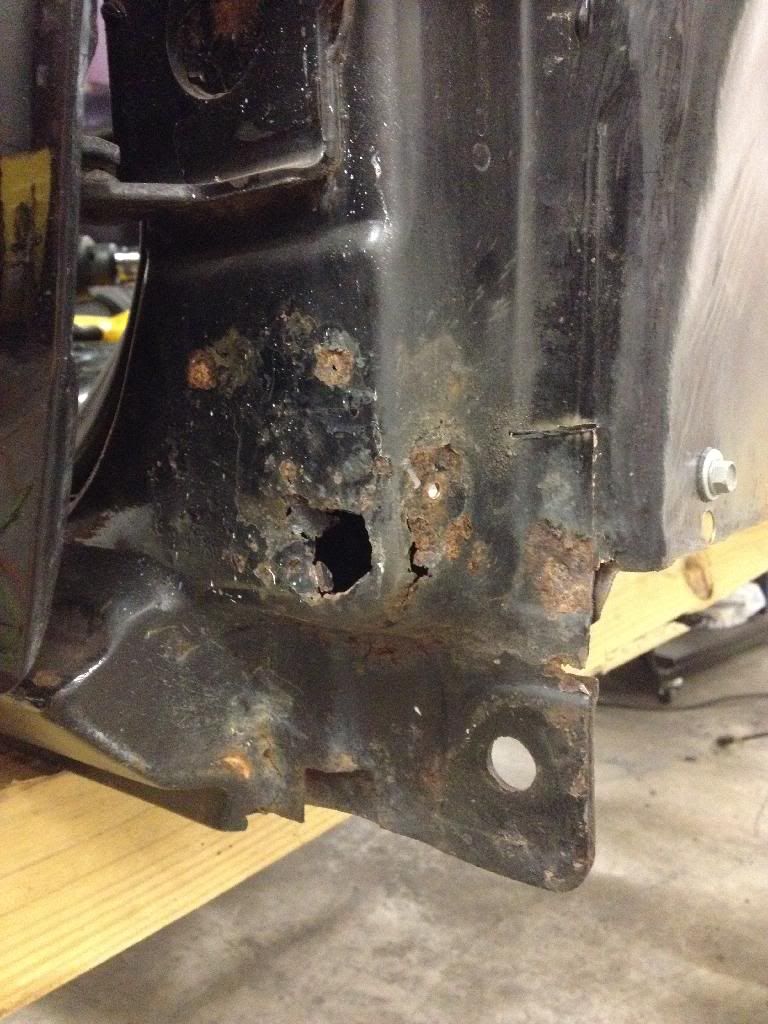
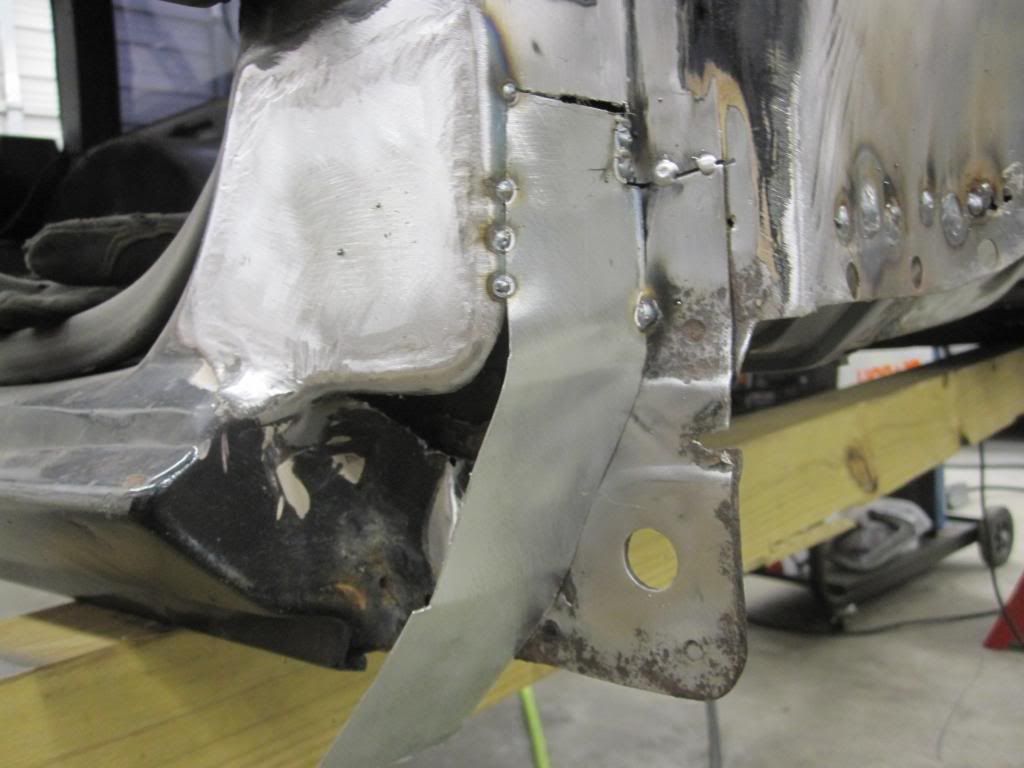
Also have to replace this front cab corner. Luckily there was still some nice metal.
Cutting
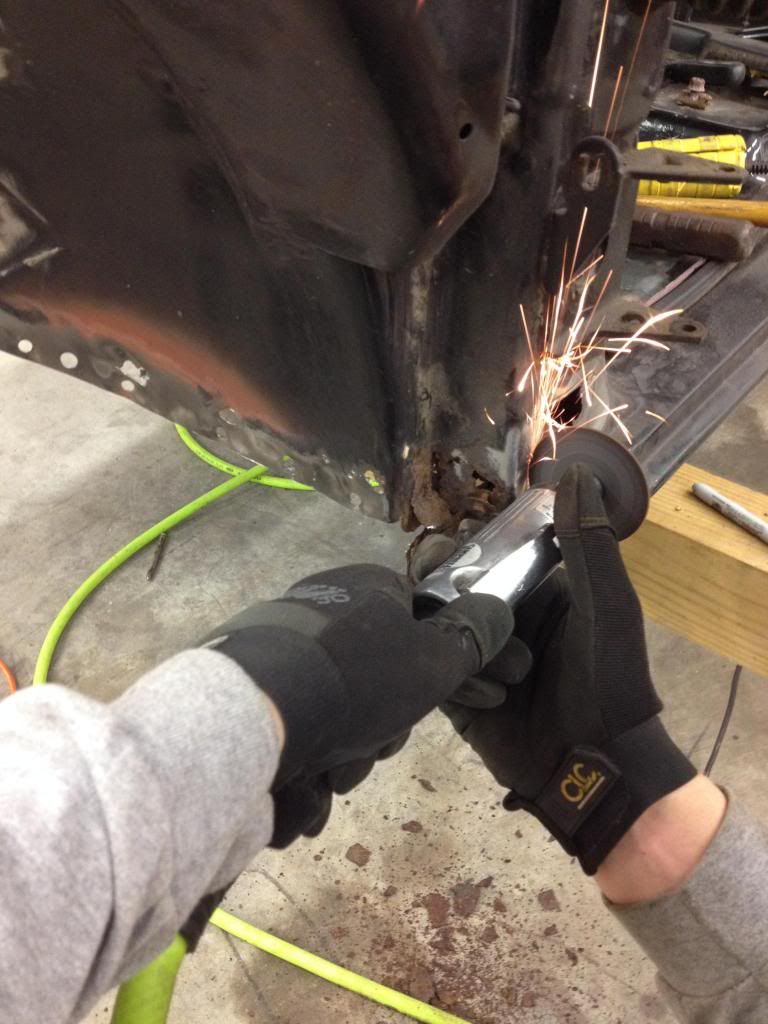
Some support prior to welding
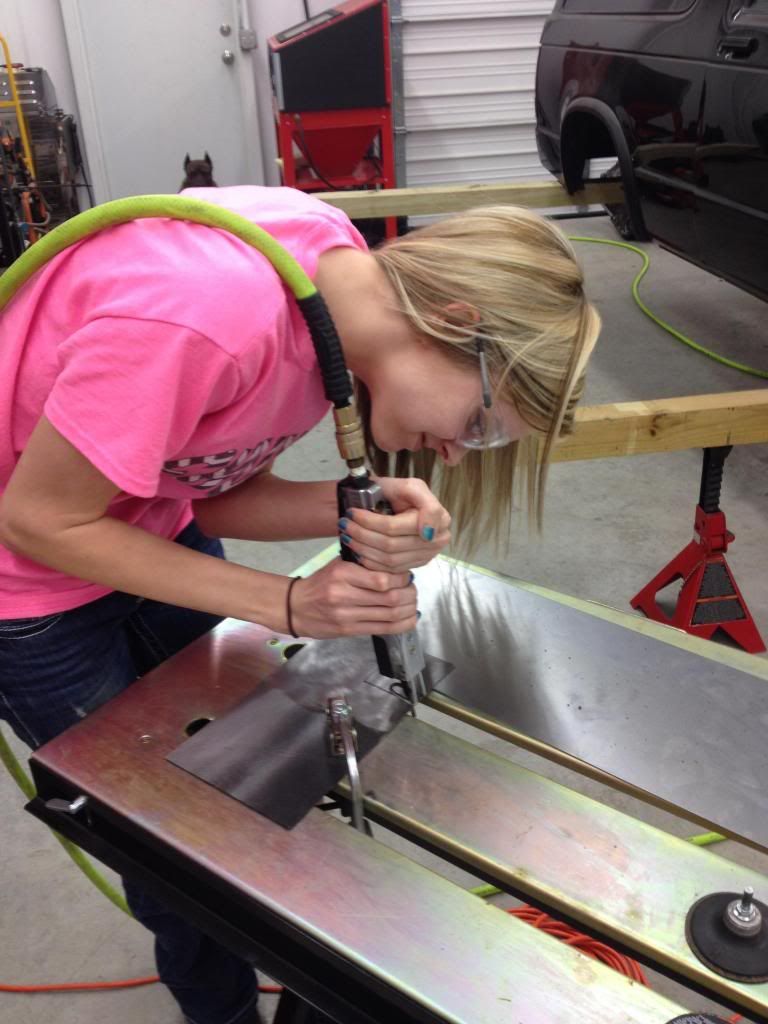
My Girlfriend Holly wanted to get her hands dirty. She cut out the patch panel
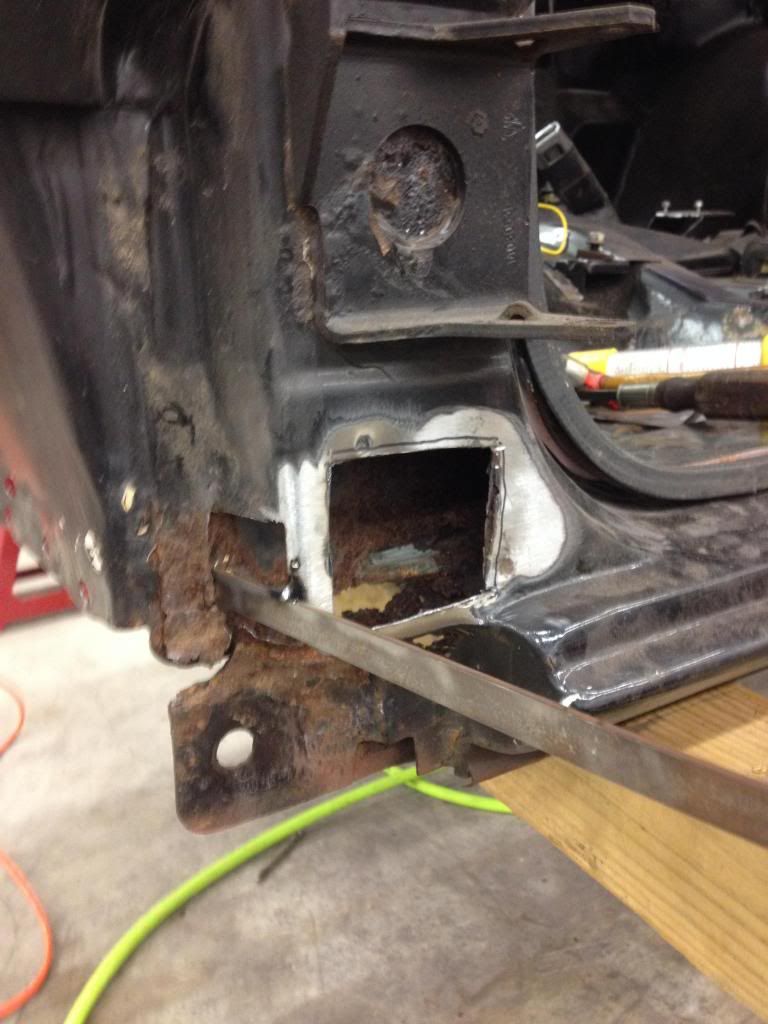
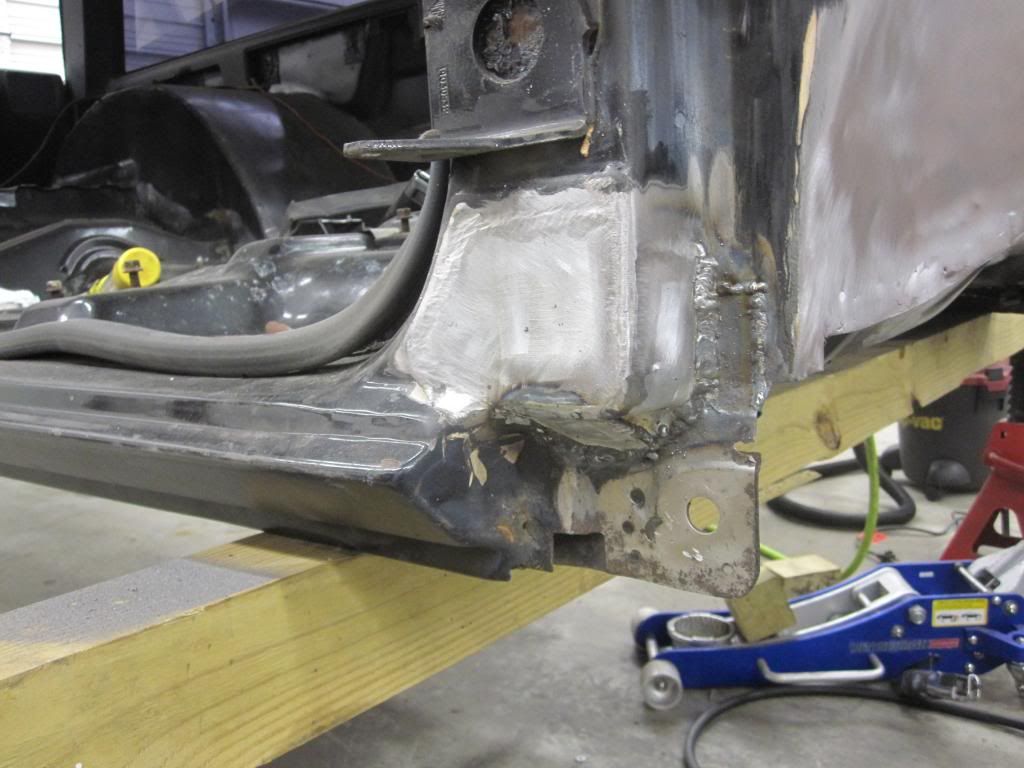
I don't have any after photos but the side panel is welded in. Still have to work on a piece for the bottom part.
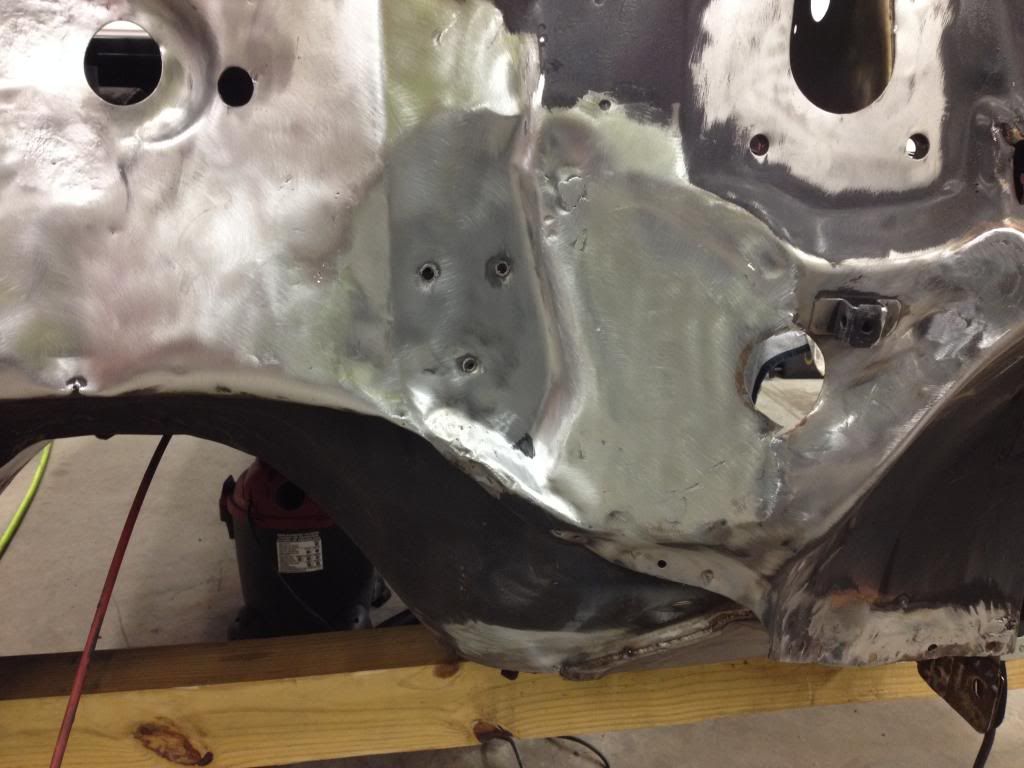
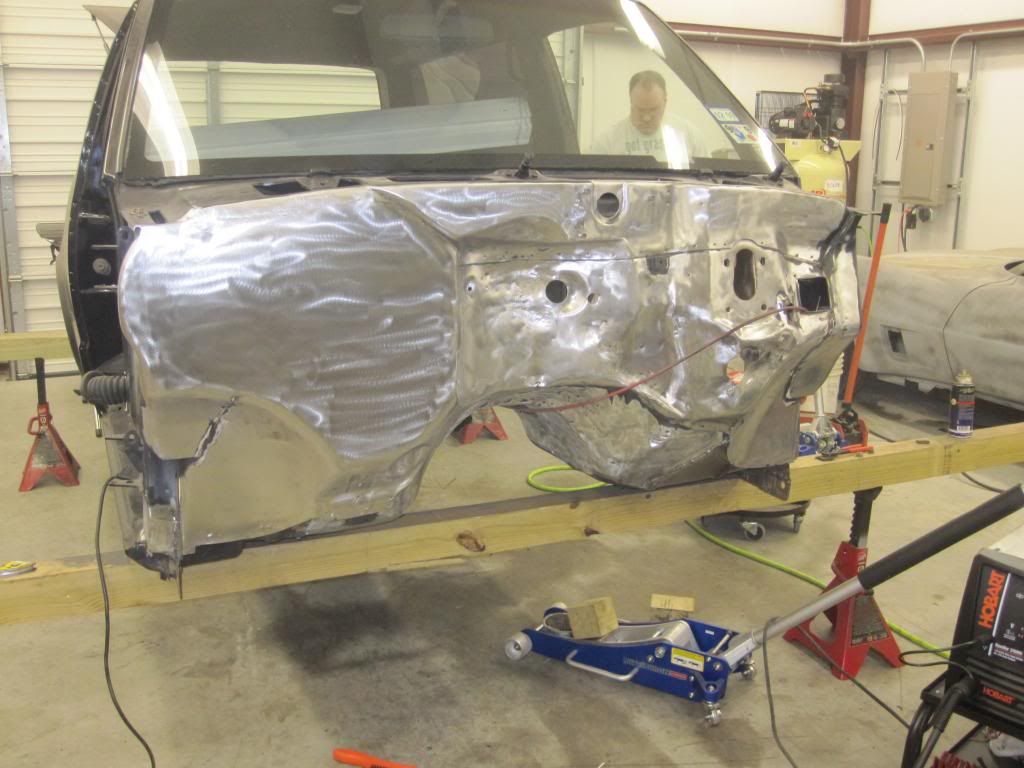
Also spent some time trying to finesse my disk sanding skills and cleaned up the firewall hole patches a little more.
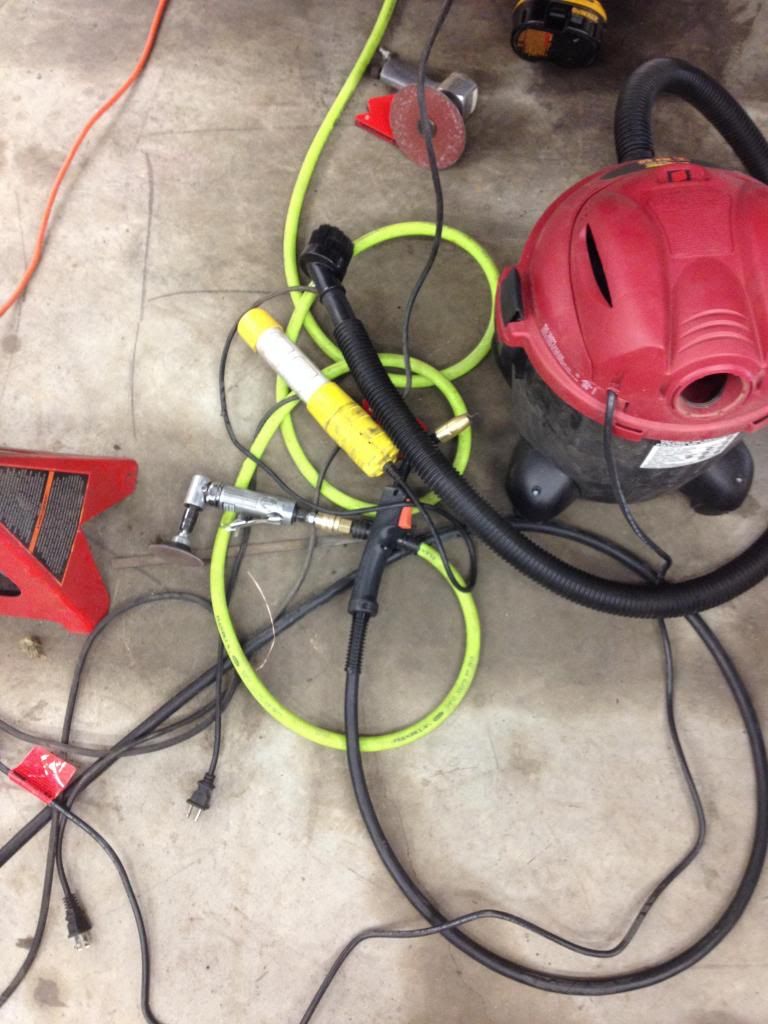
Swapping between tools back and forth makes a mess at your feet! haha
Couldn't find a replacement nut retainer, so I re-made one out of 22 gauge steel.

Not the prettiest thing cause of all of the welding slag. I'm not a fan of the 3M Weld Thru Primer.

Floor cut

Replacement piece

Used these roofing screws to hold the patch panel in place

All screwed down


Get Spot welded in


Also have to replace this front cab corner. Luckily there was still some nice metal.

Cutting

Some support prior to welding

My Girlfriend Holly wanted to get her hands dirty. She cut out the patch panel

I don't have any after photos but the side panel is welded in. Still have to work on a piece for the bottom part.
Also spent some time trying to finesse my disk sanding skills and cleaned up the firewall hole patches a little more.

Swapping between tools back and forth makes a mess at your feet! haha
 01-21-2014, 07:41 AM
#29
On The Tree
Join Date: Nov 2013
Location: Waterford, MI
Posts: 193
Likes: 0
Received 0 Likes
on
0 Posts
I hate finding suprise rust like that, never would have guessed the thing looked like it was pretty clean, at least you are doing it right now.. better to do it right the first time!! good project, will be following this one.
01-21-2014, 10:49 AM
#30
Staging Lane
Thread Starter
Join Date: Nov 2013
Location: East Texas
Posts: 50
Likes: 0
Received 0 Likes
on
0 Posts
and Thank you!
Last edited by WillRyan; 01-22-2014 at 06:17 AM.


 02-10-2014, 04:31 PM
#38
Staging Lane
Thread Starter
Join Date: Nov 2013
Location: East Texas
Posts: 50
Likes: 0
Received 0 Likes
on
0 Posts
03-04-2014, 05:27 PM
#39
Staging Lane
Thread Starter
Join Date: Nov 2013
Location: East Texas
Posts: 50
Likes: 0
Received 0 Likes
on
0 Posts
The only minor updates would have to be more rust repair.
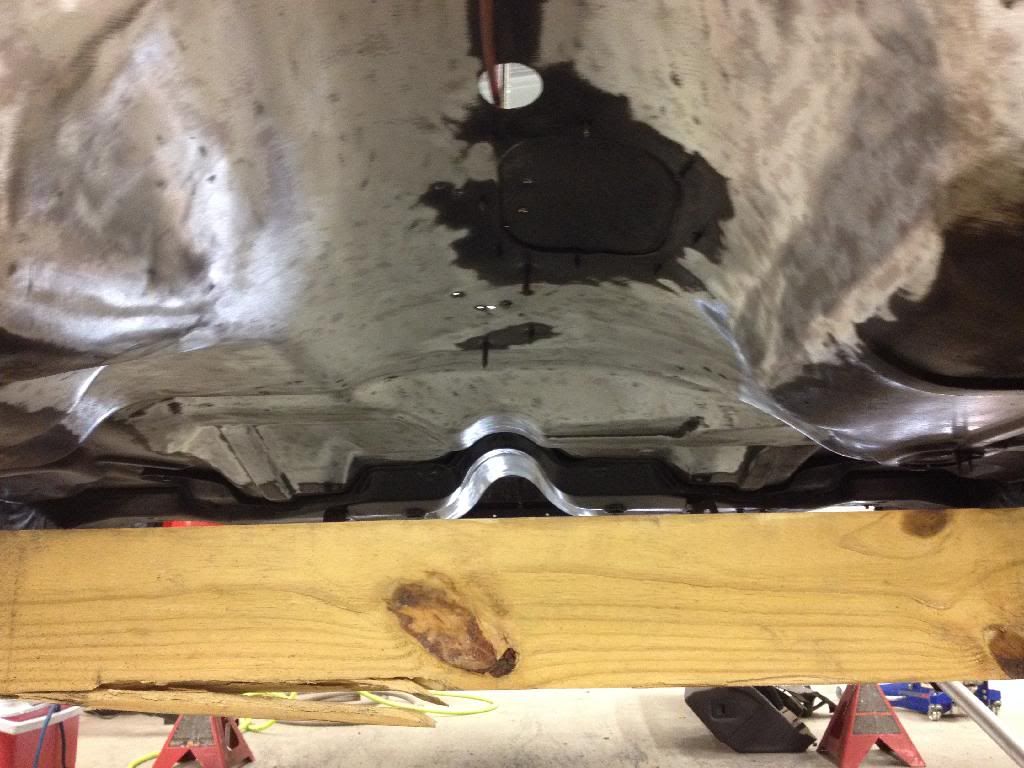
Almost finished this up. Waiting to Lower the frame and place the cab mount where it needs to be then I can finish plating around it.
Passenger side wasn't too bad after getting some practice.
Not finished just yet
Still have this side to fix on the passenger side
Spent about 3 hours stripping the paint from underneath. Way more to go.
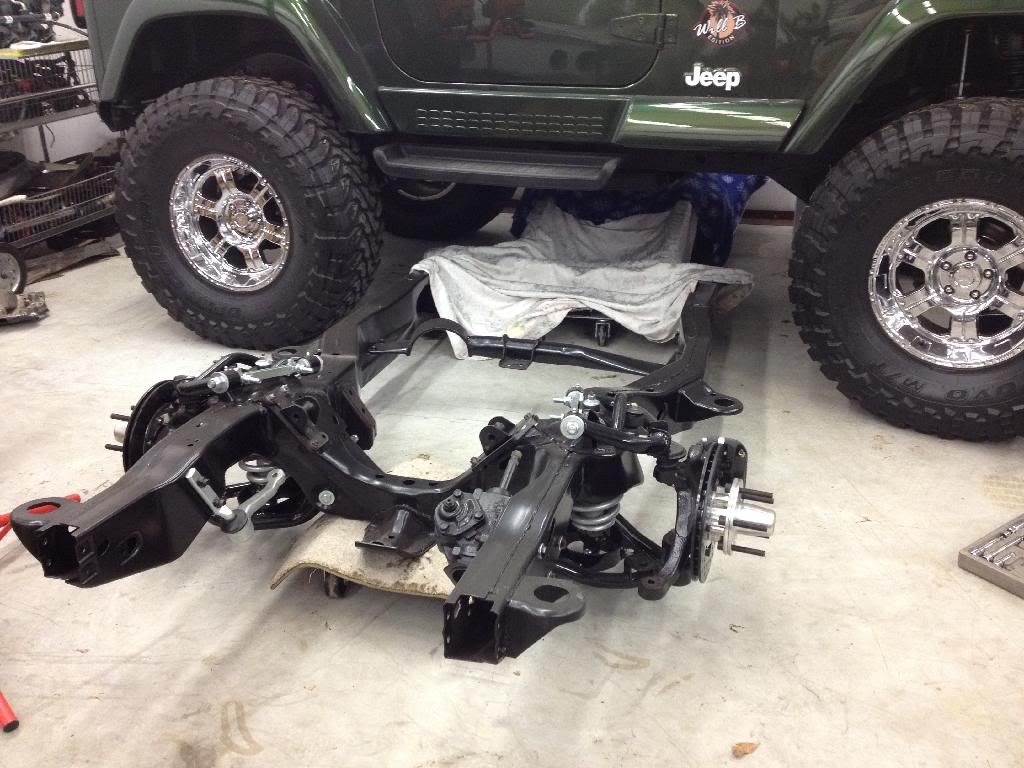
Lots of goodies just waiting
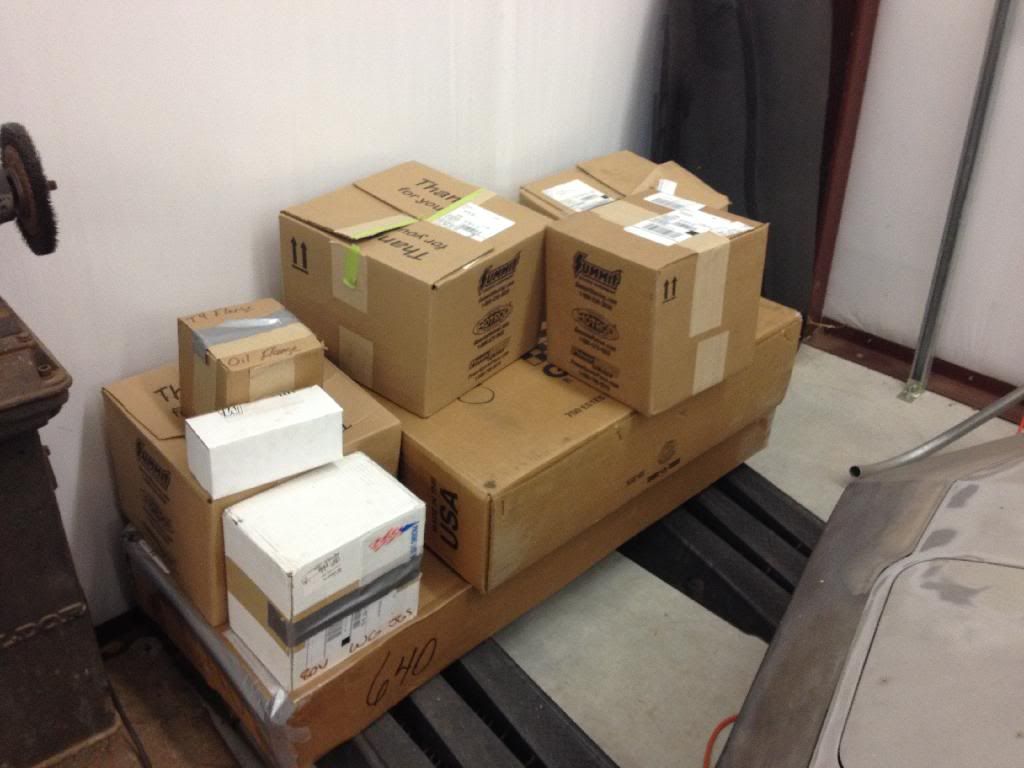
Frame resting. Its on rollers
Spring Break starts this weekend. Fingers crossed that I'll have it back on the ground rolling on its own feet! Then we should start getting into the fun stuff!
Almost finished this up. Waiting to Lower the frame and place the cab mount where it needs to be then I can finish plating around it.

Passenger side wasn't too bad after getting some practice.

Not finished just yet

Still have this side to fix on the passenger side

Spent about 3 hours stripping the paint from underneath. Way more to go.

Lots of goodies just waiting

Frame resting. Its on rollers

Spring Break starts this weekend. Fingers crossed that I'll have it back on the ground rolling on its own feet! Then we should start getting into the fun stuff!
03-13-2014, 08:52 AM
#40
Staging Lane
Thread Starter
Join Date: Nov 2013
Location: East Texas
Posts: 50
Likes: 0
Received 0 Likes
on
0 Posts
Got a few things done yesterday!
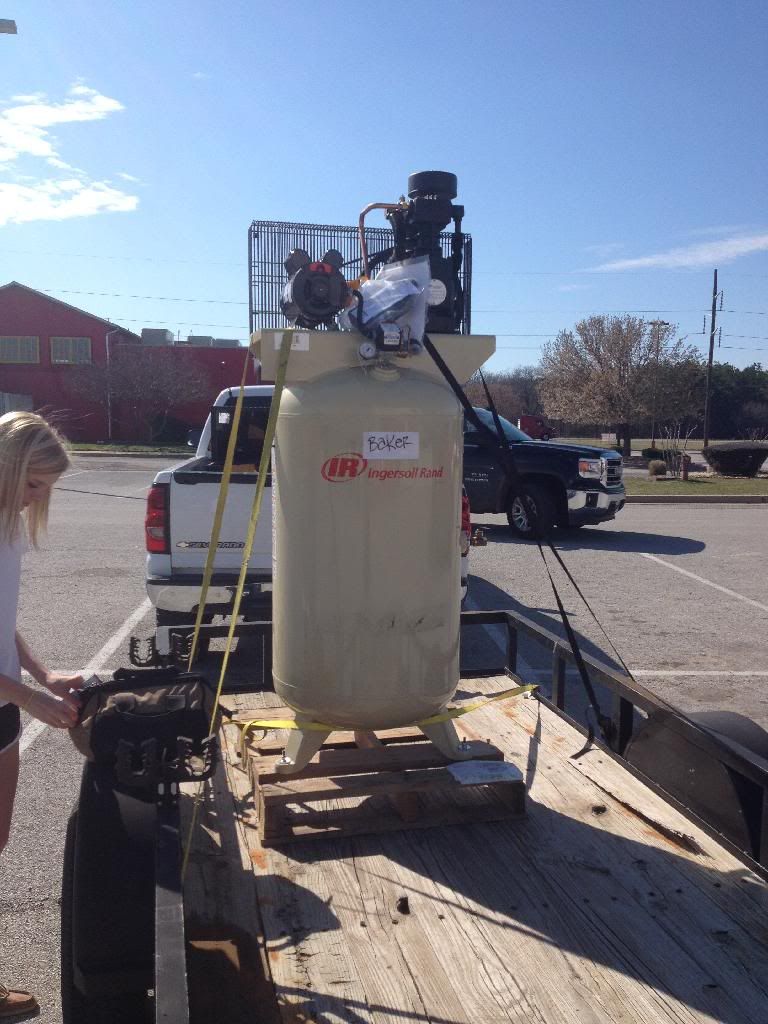
New Compressor
Cut passenger side cab corner.
At first I had the metal going the way I wanted.
Then to finish it I had to use another piece.
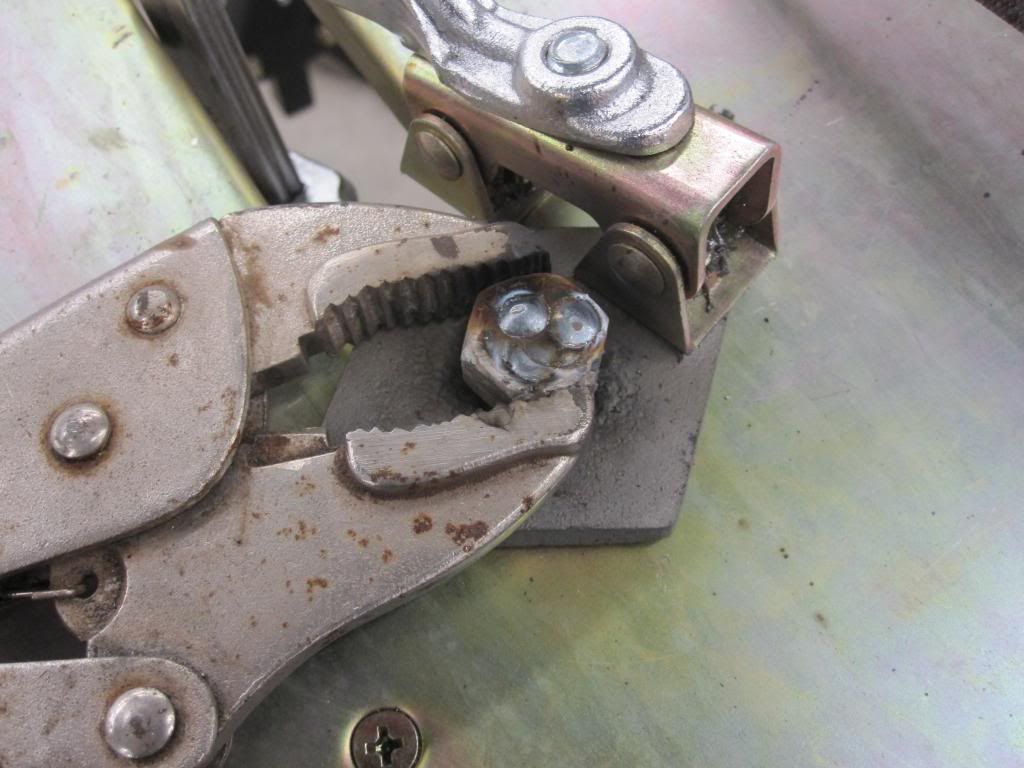
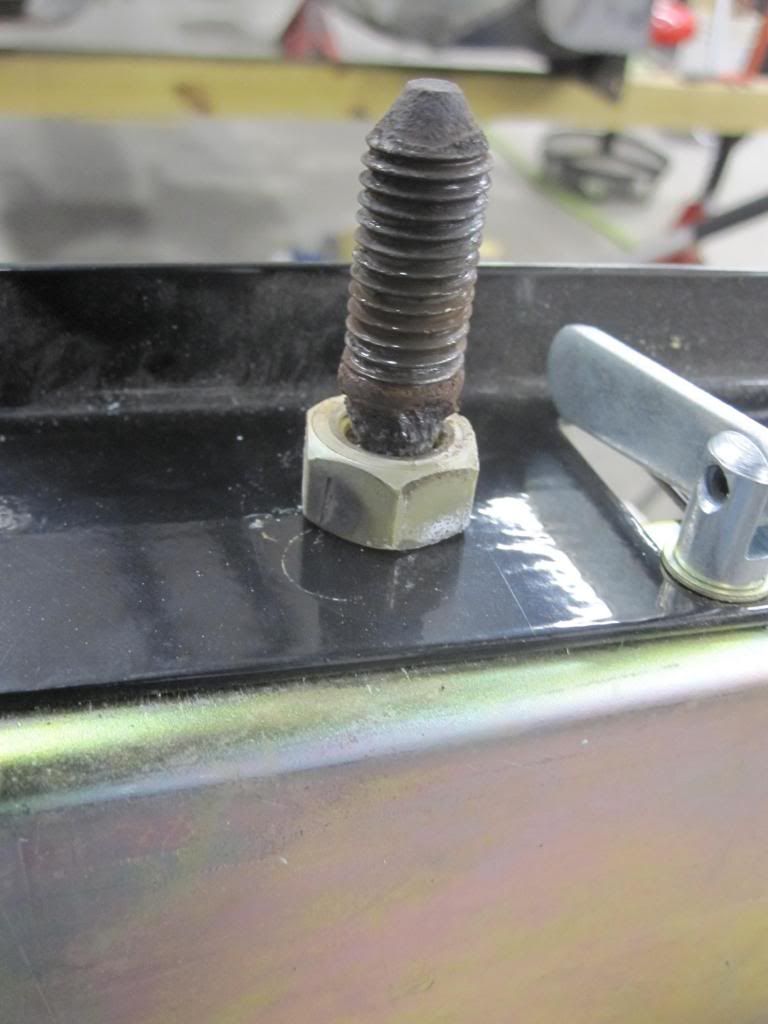
Rusted mid body mount
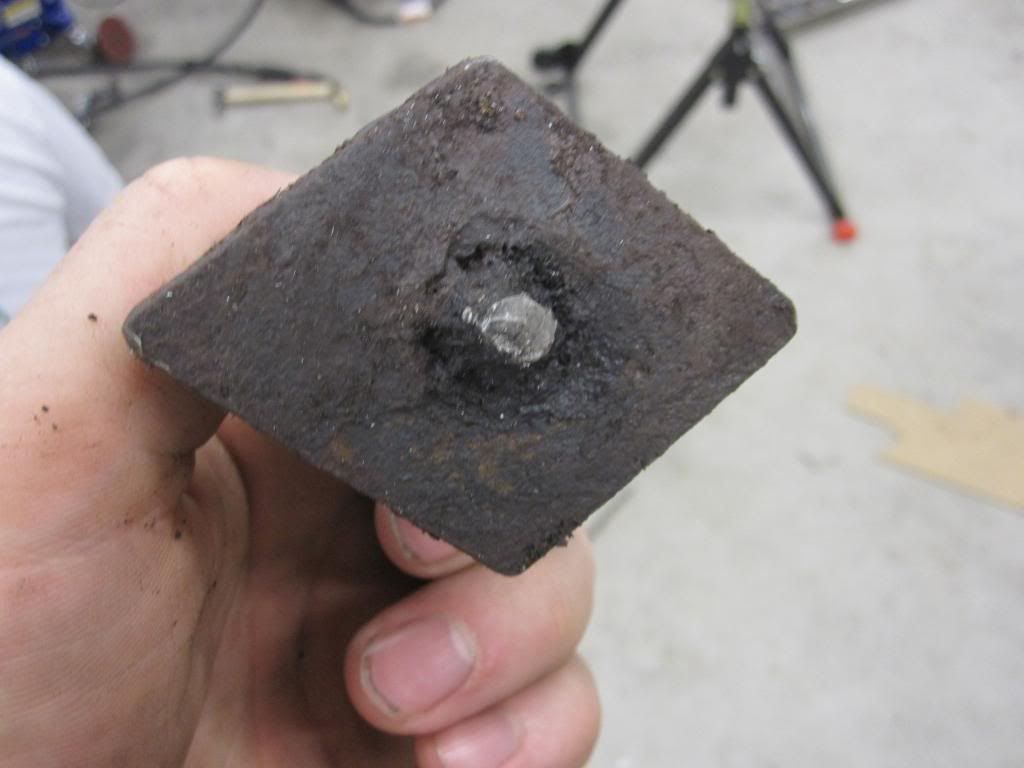
Welded a nut on it.
Got it out with some heat and the impact!
more cleaning on the firewall
New Compressor

Cut passenger side cab corner.


At first I had the metal going the way I wanted.

Then to finish it I had to use another piece.

Rusted mid body mount

Welded a nut on it.

Got it out with some heat and the impact!

more cleaning on the firewall
