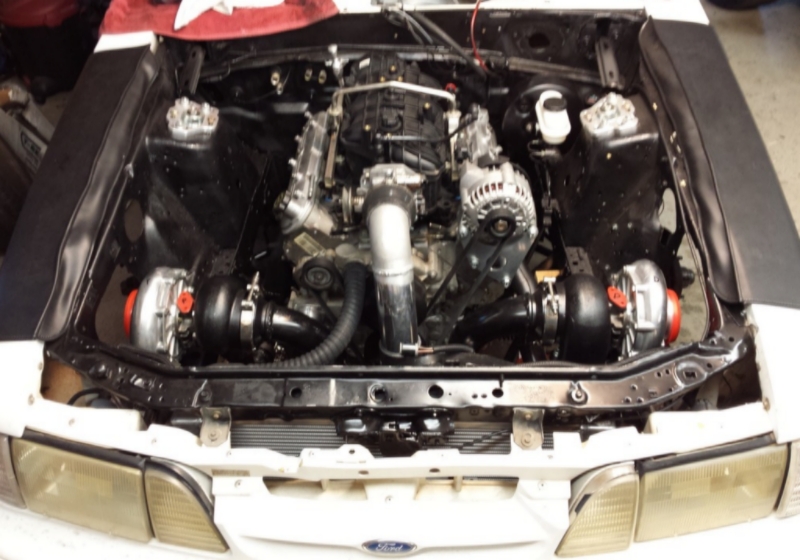
Twin turbo 93 LS Notch


 09-11-2016, 09:26 PM
#142

http://www.ebay.com/itm/FEMALE-AN10-...NXFYhE&vxp=mtr
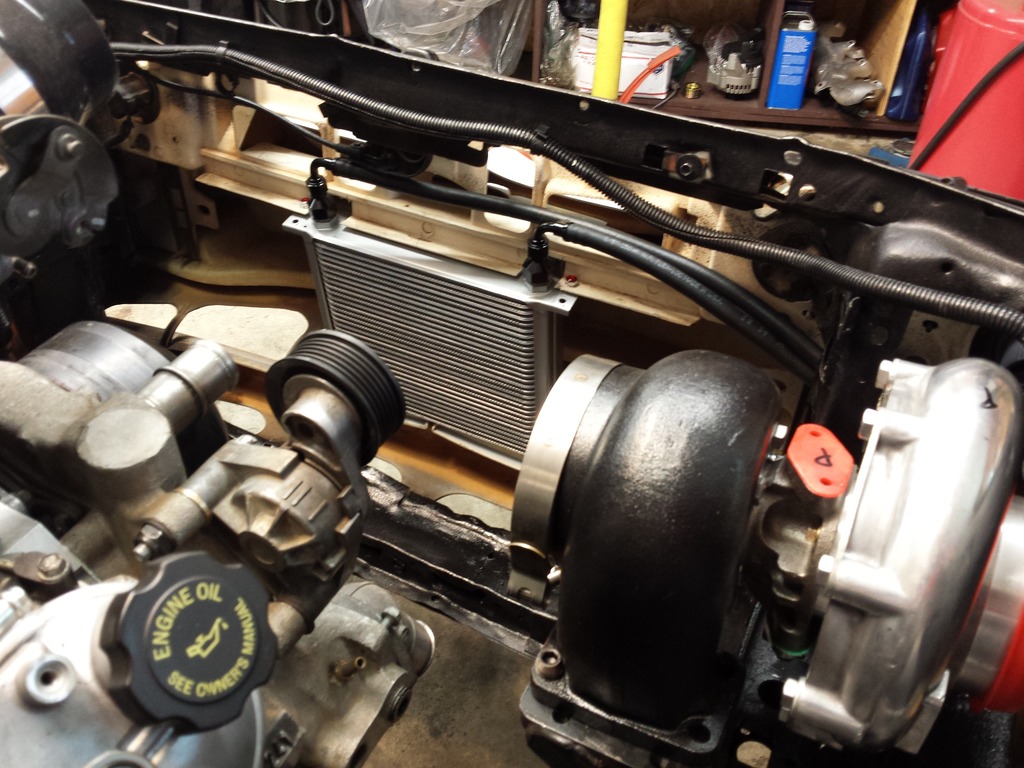
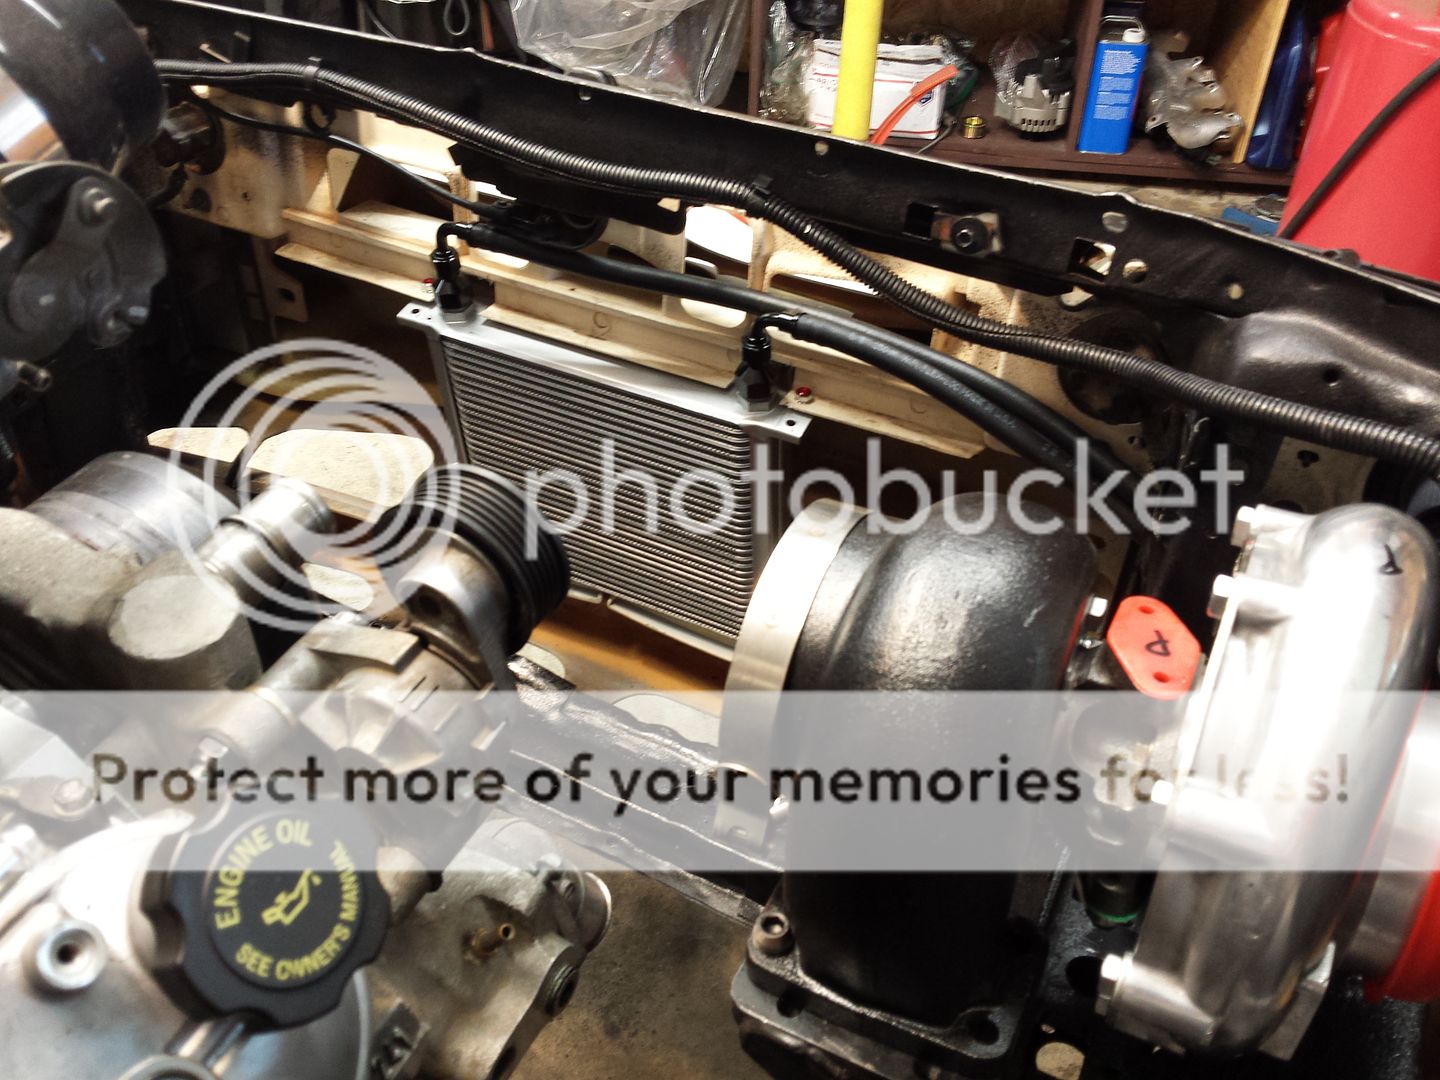
Trans cooler plumbed and ready to go.
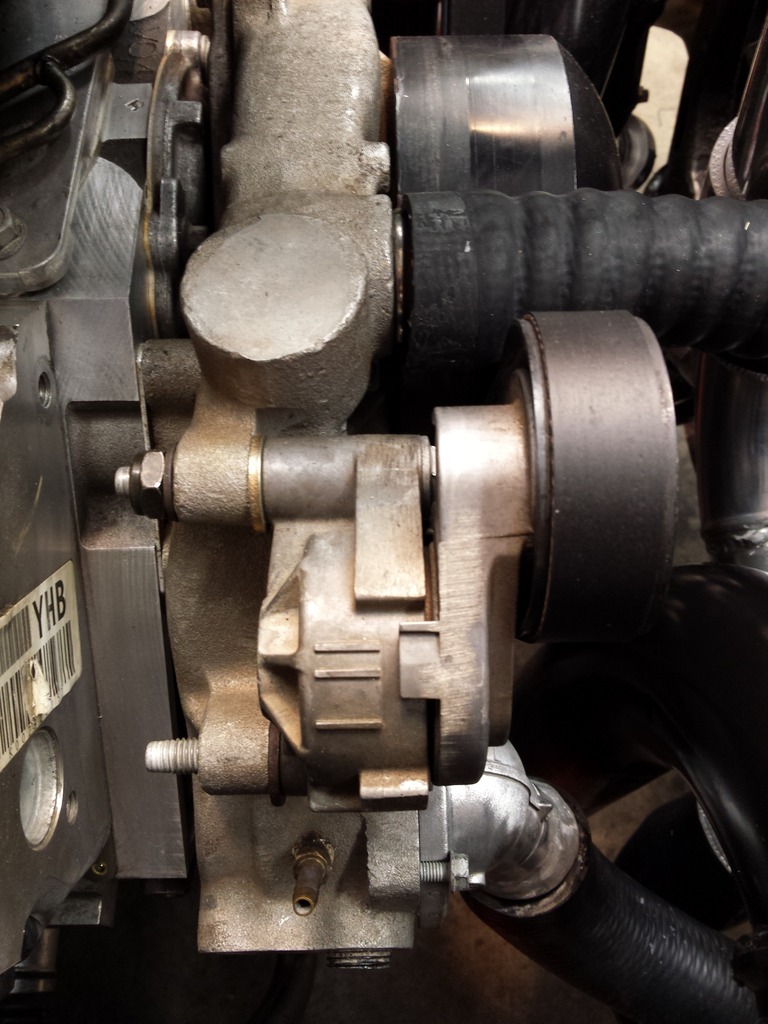
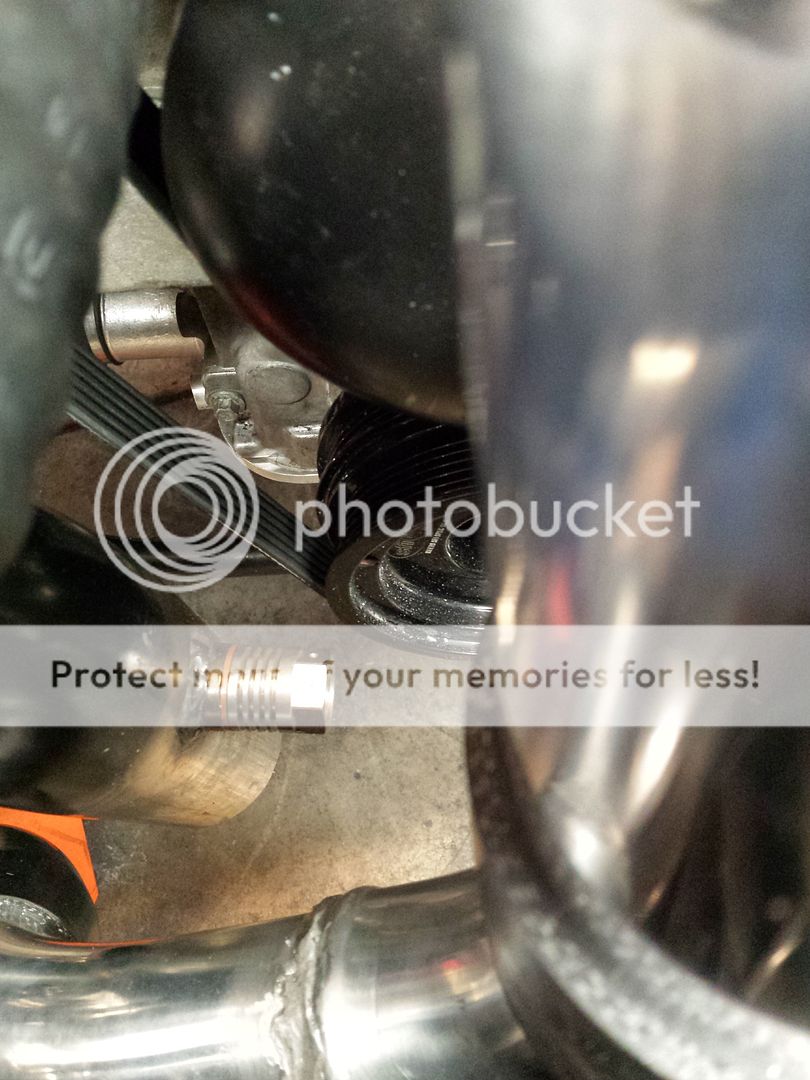
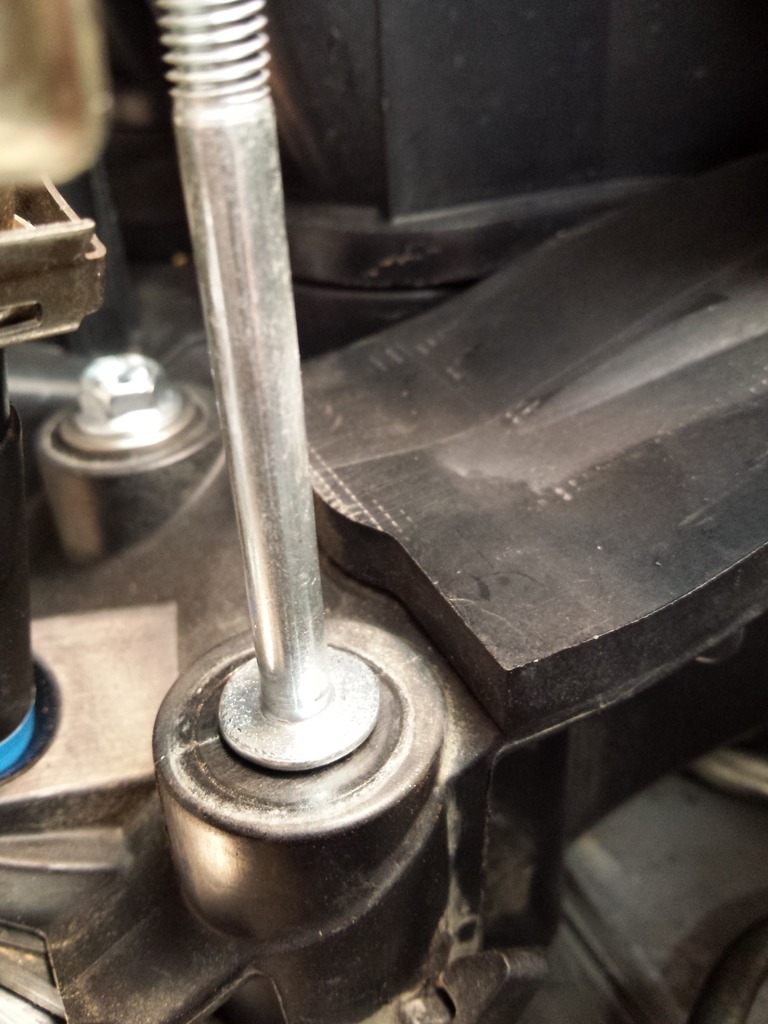
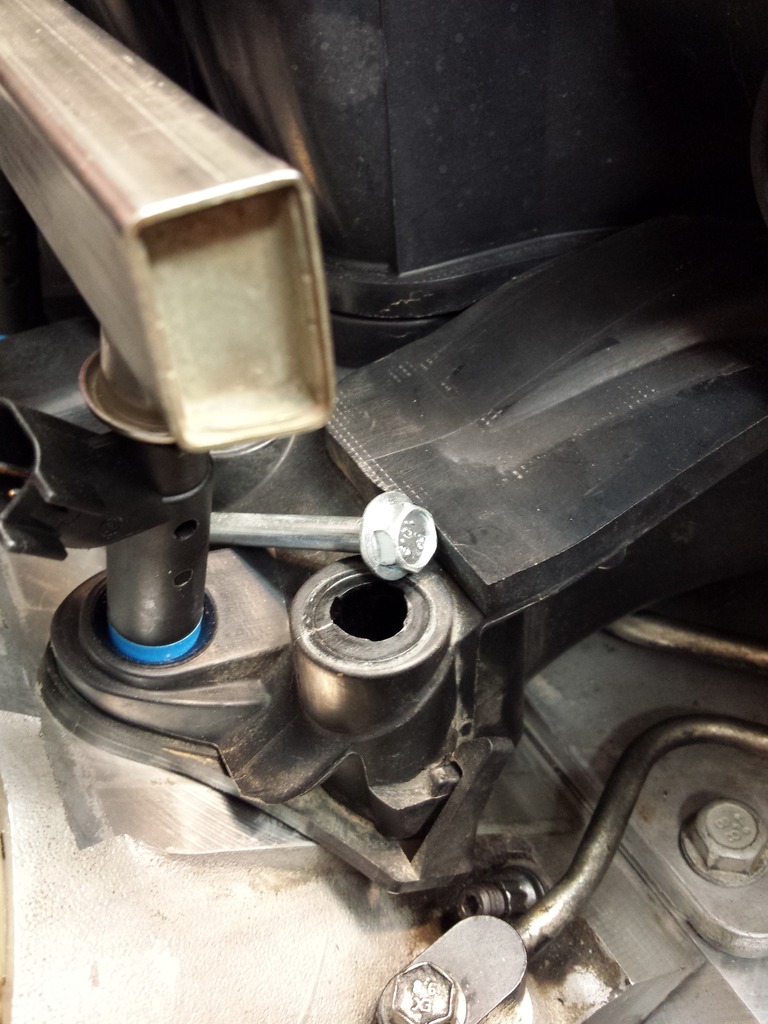
Got a belt that fits... seems pretty tight might need to go to the next size up. Is there any place in particular the tensioner should be?
This is where mine ended up on the tensioner.
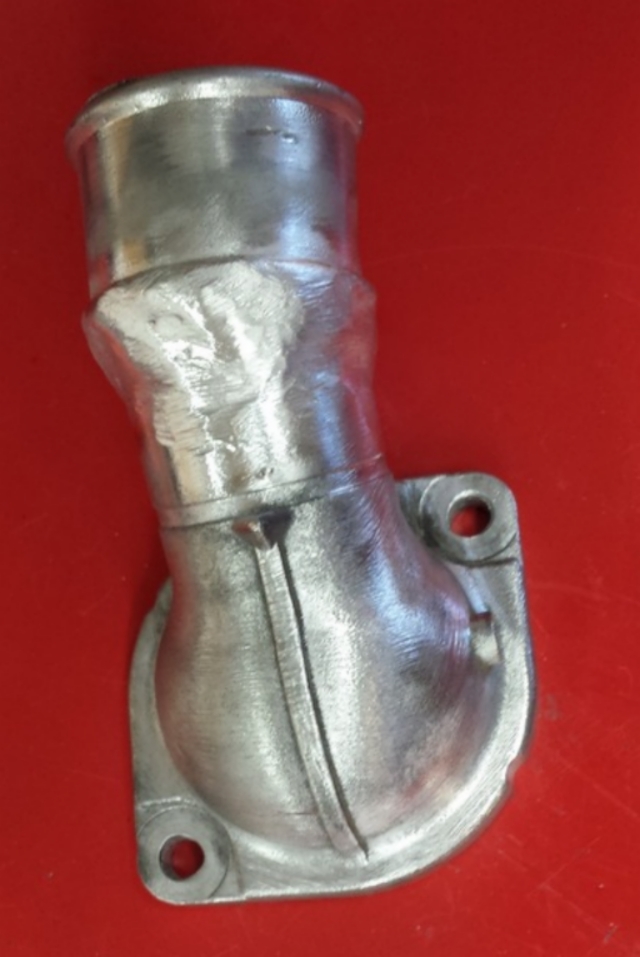
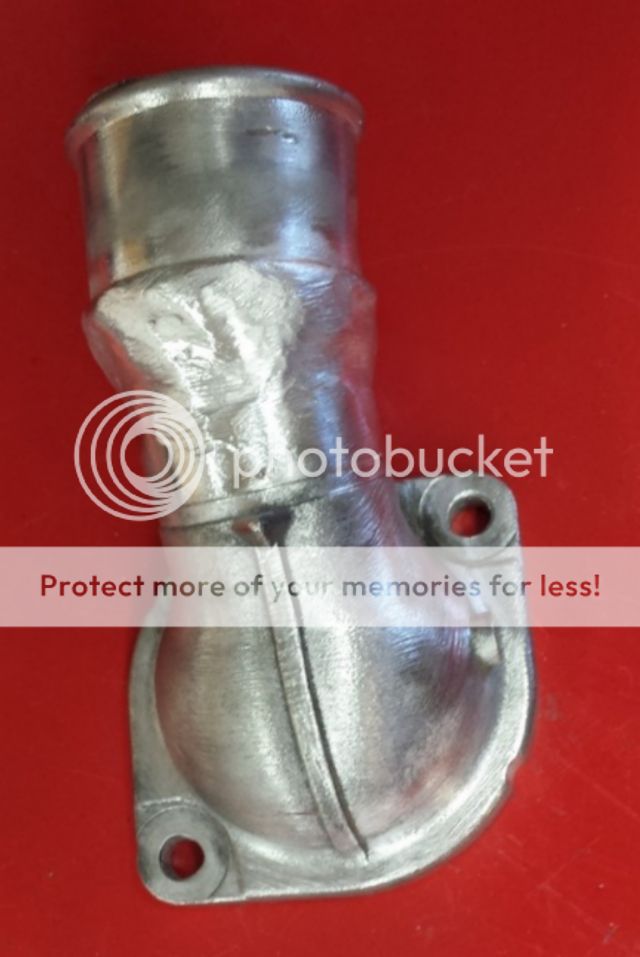
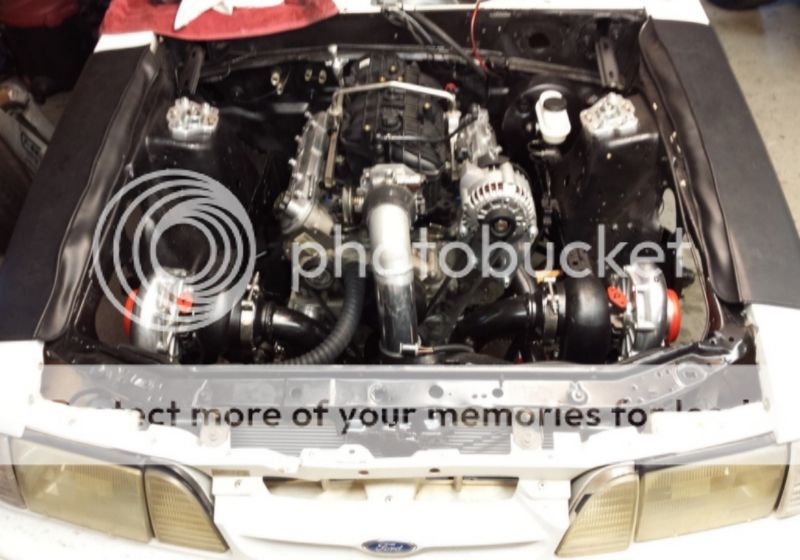
Welded some scrap alum tubing I had on the end of the thermo to step it up a size and match my radiator. Upper and lower radiator hoses are done. Radiator mounts done. (used all the old mustang stuff.)
Welded up a bung with a heat sink on it. My sensors kinda close to the turbo, hope this helps it live a long life. Anyone using these?

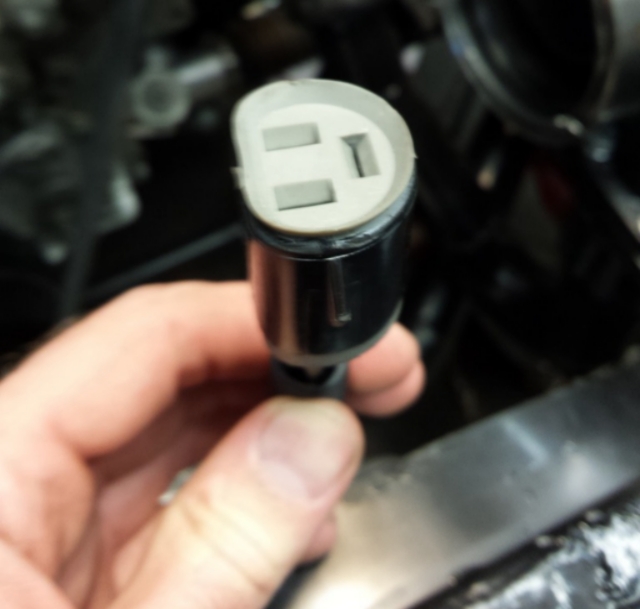
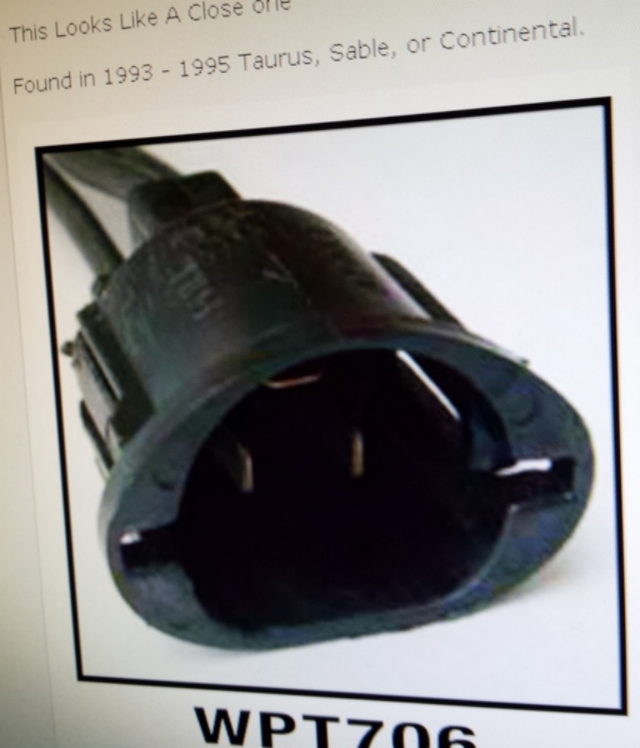
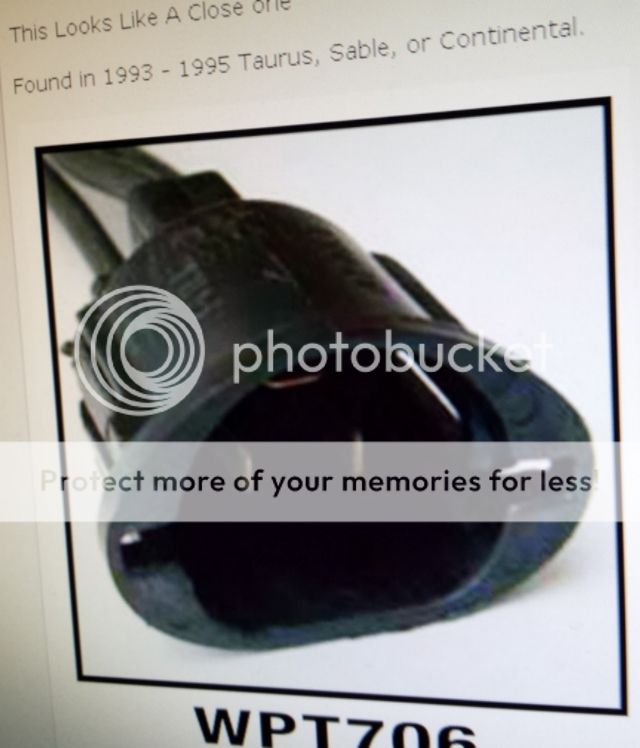
The taurus fan I ordered has an oddball plug on it anyone know where to find the female end of the plug? It's a ford WPT706, but I can't find one anywhere.
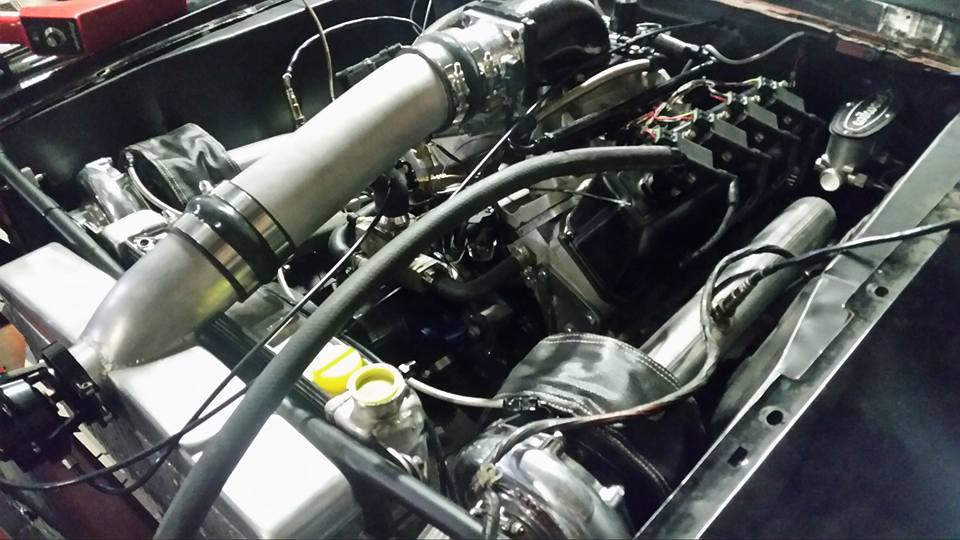
Getting closer...
 09-11-2016, 09:31 PM
#143
TECH Fanatic

 09-17-2016, 02:53 AM
#146
No, I'm sure I have it right. You never want to loop the high/low sides of the system. It's like placing a leak in the center of the system that skips the radiator. WIth the heater core in place the pressure differential promotes flow through the heater core. Without a heater core, it should be plugged.
You can always put something in the looped line that blocks flow 100%. Easier than tapping and plugging.
You can always put something in the looped line that blocks flow 100%. Easier than tapping and plugging.
Carry on fellas.
 09-17-2016, 12:10 PM
#148

Scotty, I ordered them separately from ebay. An10 to an6 reducer.
http://www.ebay.com/itm/FEMALE-AN10-...NXFYhE&vxp=mtr
Trans cooler plumbed and ready to go.
Got a belt that fits... seems pretty tight might need to go to the next size up. Is there any place in particular the tensioner should be?
This is where mine ended up on the tensioner.

Welded some scrap alum tubing I had on the end of the thermo to step it up a size and match my radiator. Upper and lower radiator hoses are done. Radiator mounts done. (used all the old mustang stuff.)
Welded up a bung with a heat sink on it. My sensors kinda close to the turbo, hope this helps it live a long life. Anyone using these?
The taurus fan I ordered has an oddball plug on it anyone know where to find the female end of the plug? It's a ford WPT706, but I can't find one anywhere.

Getting closer...
http://www.ebay.com/itm/FEMALE-AN10-...NXFYhE&vxp=mtr
Trans cooler plumbed and ready to go.
Got a belt that fits... seems pretty tight might need to go to the next size up. Is there any place in particular the tensioner should be?
This is where mine ended up on the tensioner.
Welded some scrap alum tubing I had on the end of the thermo to step it up a size and match my radiator. Upper and lower radiator hoses are done. Radiator mounts done. (used all the old mustang stuff.)
Welded up a bung with a heat sink on it. My sensors kinda close to the turbo, hope this helps it live a long life. Anyone using these?
The taurus fan I ordered has an oddball plug on it anyone know where to find the female end of the plug? It's a ford WPT706, but I can't find one anywhere.
Getting closer...
09-17-2016, 08:26 PM
#149
) They are 7 gauge wires I believe and from a dead stop if you flip the HI switch it pulls up to 60a! I usually start in in low, then kick the high switch so it doesn't pull as much. I have a $13 90a continuous duty solenoid (golf cart) I had planned on using this time. Can also PWM them with the MS3x.

Last edited by Forcefed86; 09-17-2016 at 10:09 PM.
09-17-2016, 09:51 PM
#150
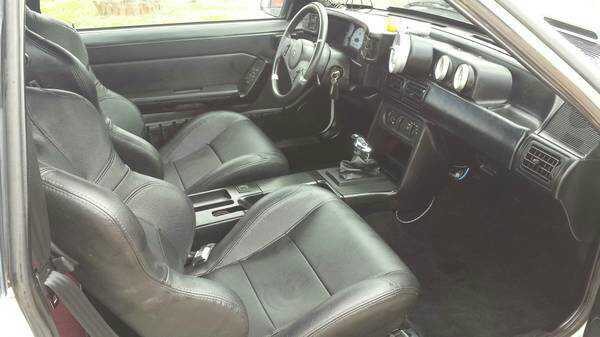
Shifter was a PITA! The universal 80885 works with ford/chevy trans. But mine was the 81002. Which is the direct drop in that fits in the factory plastics of a 79-93 mustang. Spoke with B&M and they said this unit wouldn't work with a TH400. The reverse to park detent is not long enough.
This bummed me out because this shifter fit perfectly in the factory console and looked great.
http://www.jegs.com/i/B%26M/130/8100...FQUuaQodTrcNnQ

So I decided to tear up the shifter!
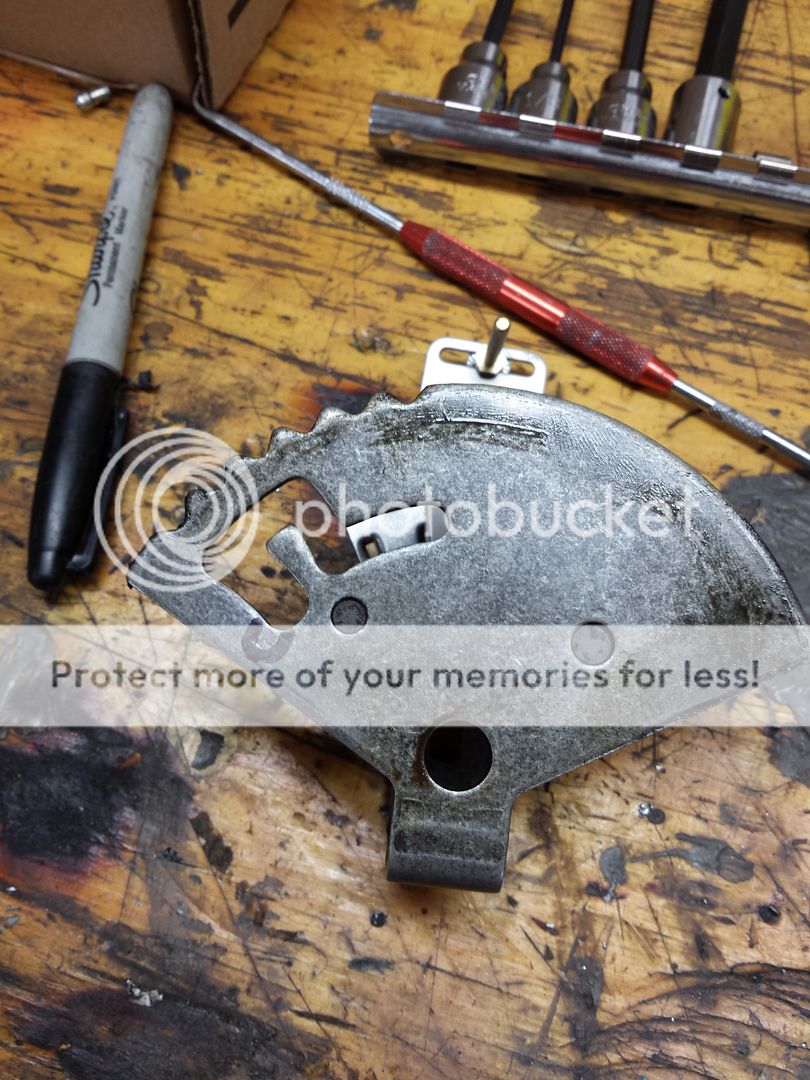
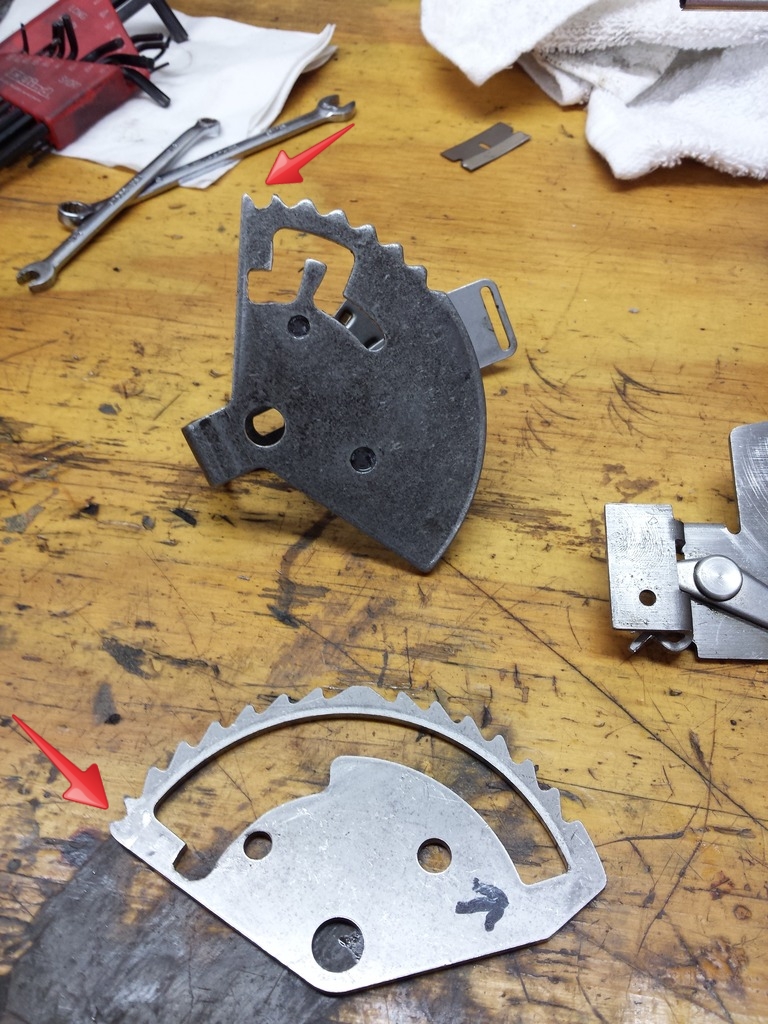
Ended up drilling out all the rivets and pulling it apart. Cut a deeper park detent in the gate. Then adding another row of teeth for the ratchet arms to grab. Giant pain, but It goes into every gear great now and looks factory with this shifter. Used screws in place of the rivets.
Here is one gate with the shaded area to cut. There is another behind it that needs the same area cut.
Here they are cut.
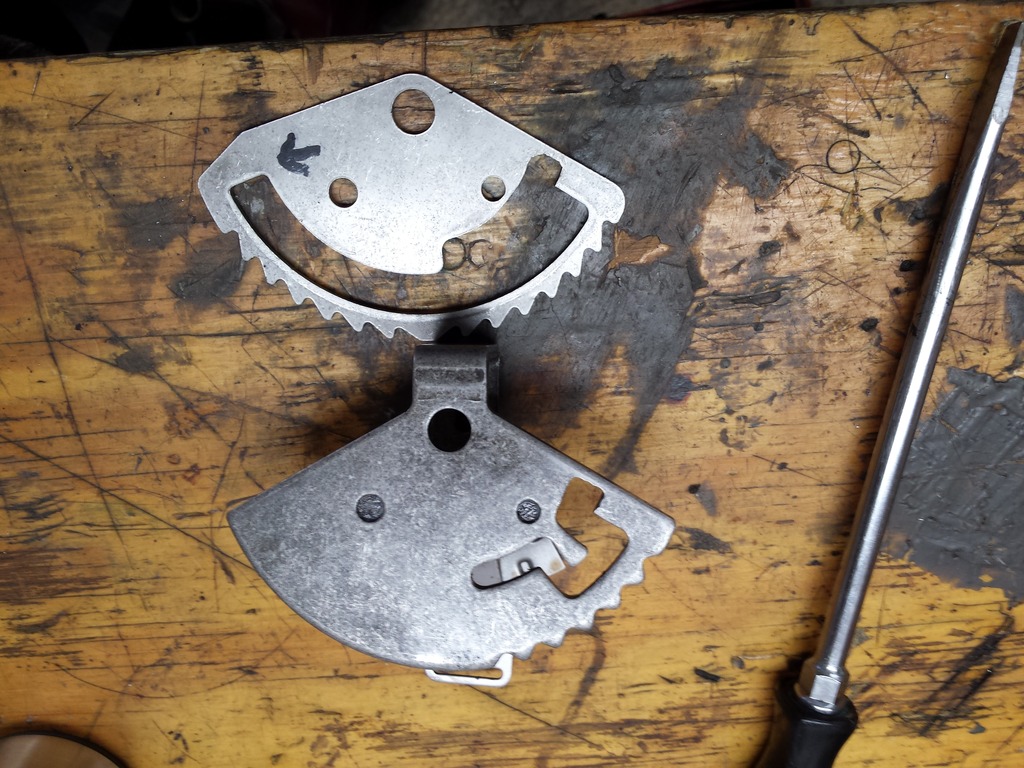
Unfortunately this alone didn't fix it. I had to tear it all down again and add a new "tooth" to the area above the gate slot I cut.
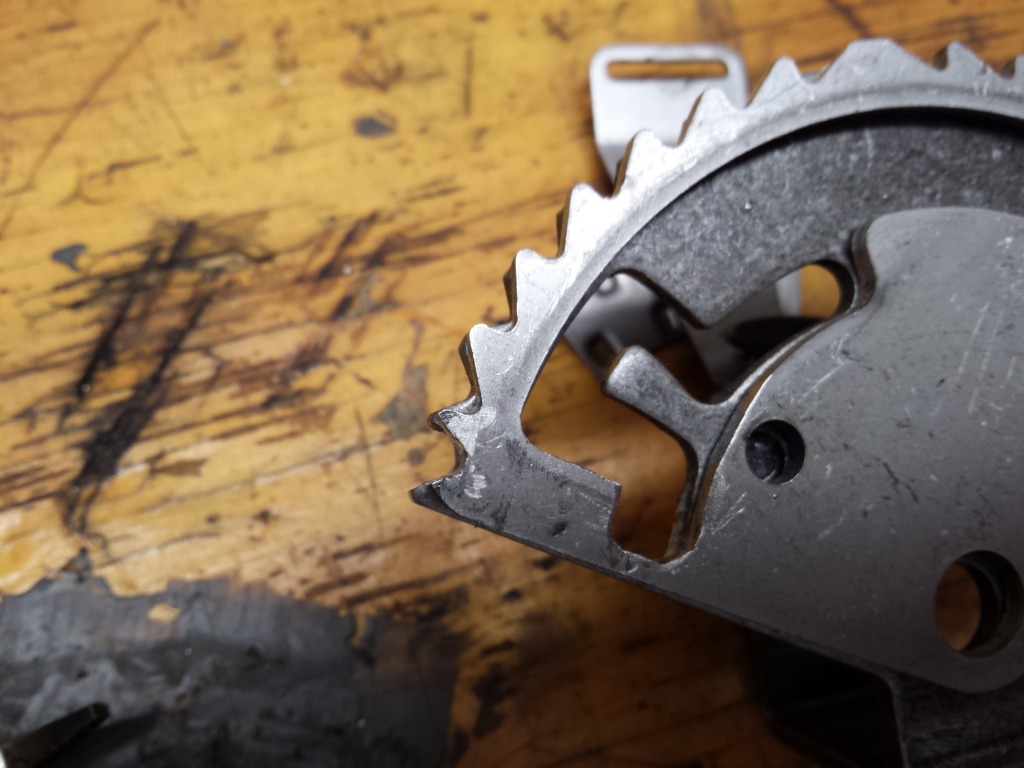
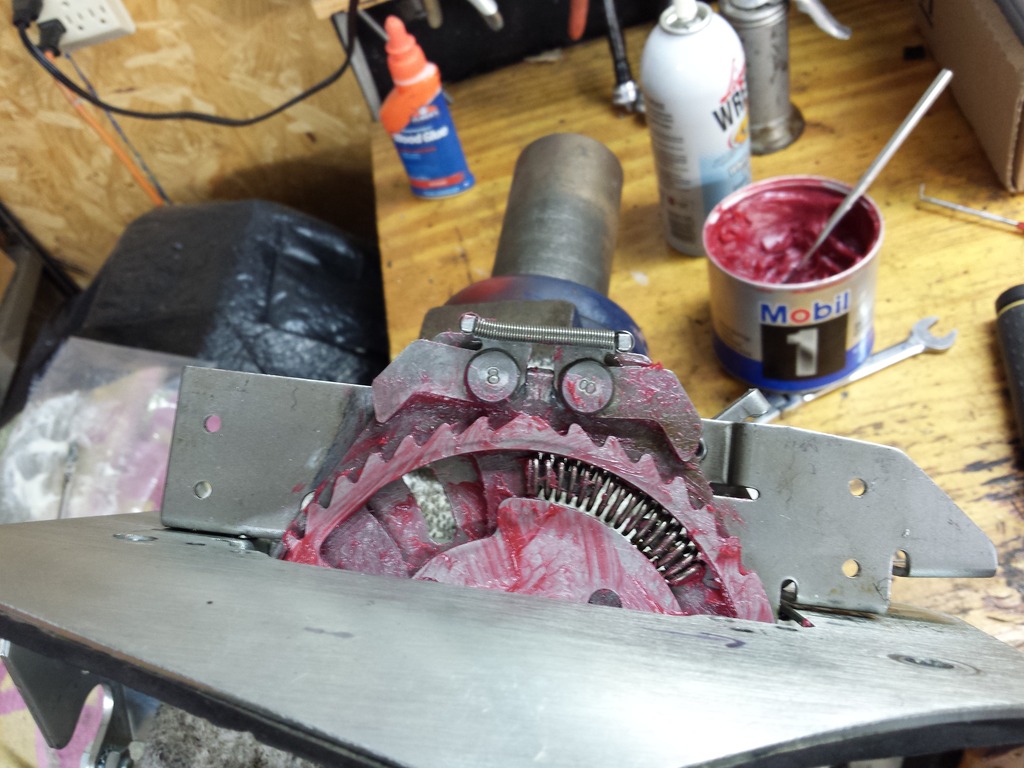
Threw it all back together with some manly pink grease and it's a worker!
This bummed me out because this shifter fit perfectly in the factory console and looked great.
http://www.jegs.com/i/B%26M/130/8100...FQUuaQodTrcNnQ
So I decided to tear up the shifter!
Ended up drilling out all the rivets and pulling it apart. Cut a deeper park detent in the gate. Then adding another row of teeth for the ratchet arms to grab. Giant pain, but It goes into every gear great now and looks factory with this shifter. Used screws in place of the rivets.
Here is one gate with the shaded area to cut. There is another behind it that needs the same area cut.
Here they are cut.
Unfortunately this alone didn't fix it. I had to tear it all down again and add a new "tooth" to the area above the gate slot I cut.
Threw it all back together with some manly pink grease and it's a worker!
Last edited by Forcefed86; 09-18-2016 at 11:43 AM.
 09-18-2016, 09:08 PM
#152
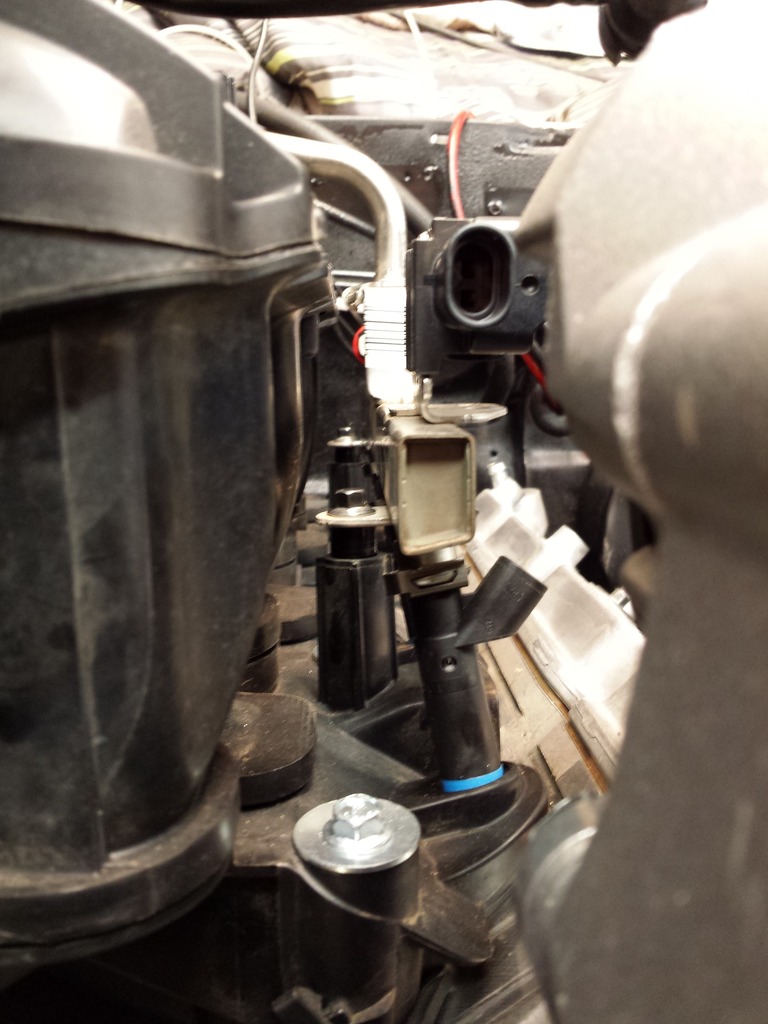
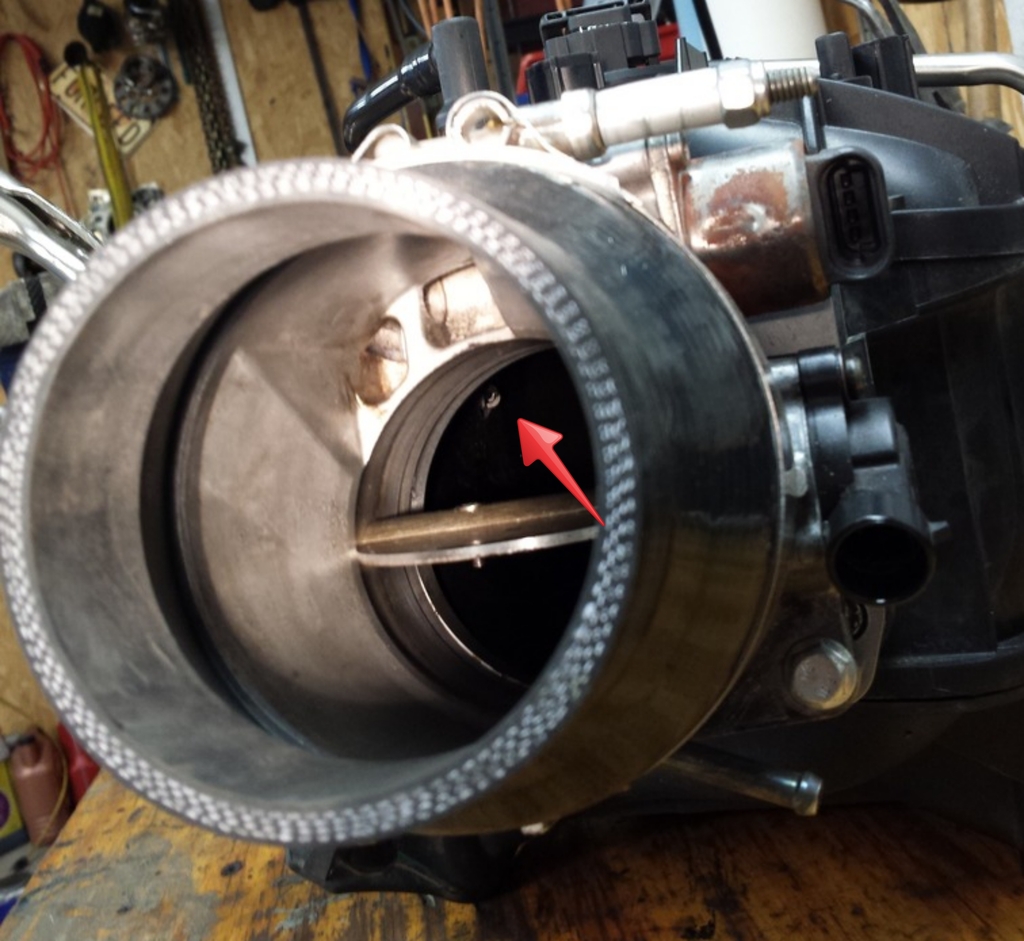
Drilled the area on the TBSS intake just aft of the TB with a 1/2" bit. After some light sanding The $7 GM plastic IAT sensor taps into the hole very snug. Thanks goes to JoeNova for that trick. He says he has done a couple intakes this way and never had one leak or come out. The ridges on the sensor were .54. I ground them down to .52 or so and tapped the sensor in the hole with a rubber mallet.

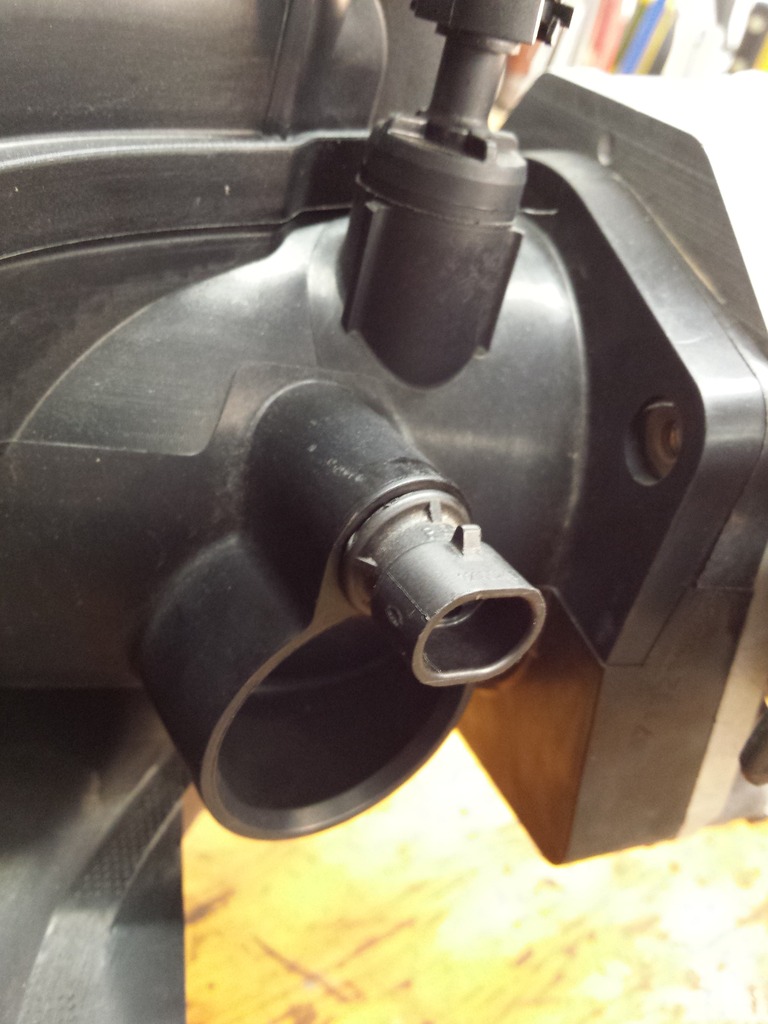
Looking down the TB you can see it's barely poking into the air stream.
Looking down the TB you can see it's barely poking into the air stream.
09-19-2016, 12:00 AM
#153
Originally Posted by Forcefed86
2JZFC sent me a plug he had laying around. (many thanks! ) They are 7 gauge wires I believe and from a dead stop if you flip the HI switch it pulls up to 60a! I usually start in in low, then kick the high switch so it doesn't pull as much.
I have a $13 90a continuous duty solenoid (golf cart) I had planned on using this time. Can also PWM them with the MS3x.
) They are 7 gauge wires I believe and from a dead stop if you flip the HI switch it pulls up to 60a! I usually start in in low, then kick the high switch so it doesn't pull as much. I have a $13 90a continuous duty solenoid (golf cart) I had planned on using this time. Can also PWM them with the MS3x.
09-19-2016, 09:06 AM
#154
Seems nutty I know! I usually ran 2 40a relays in parallel. 90a relay is cheaper and easier to wire, so why not. Many years ago I ran a single 30a relay for this fan and it eventually melted. $13 90a solenoid seems like an easy fix… assuming it works.
 09-22-2016, 01:19 PM
#156
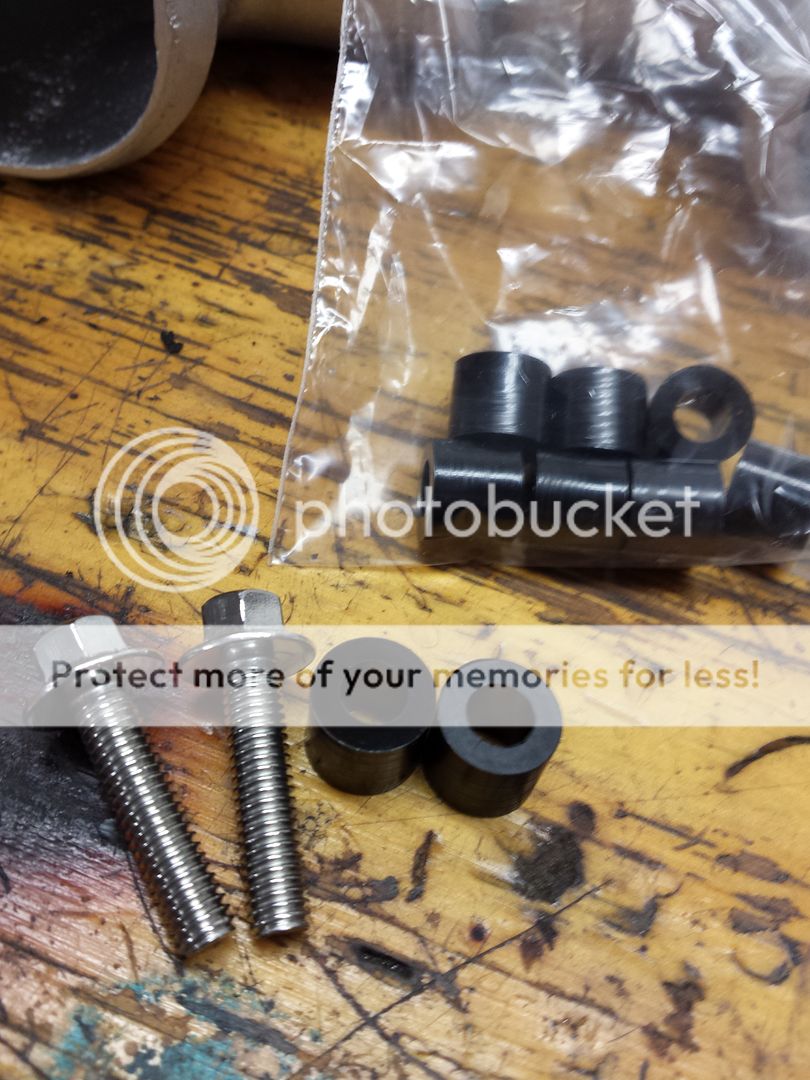
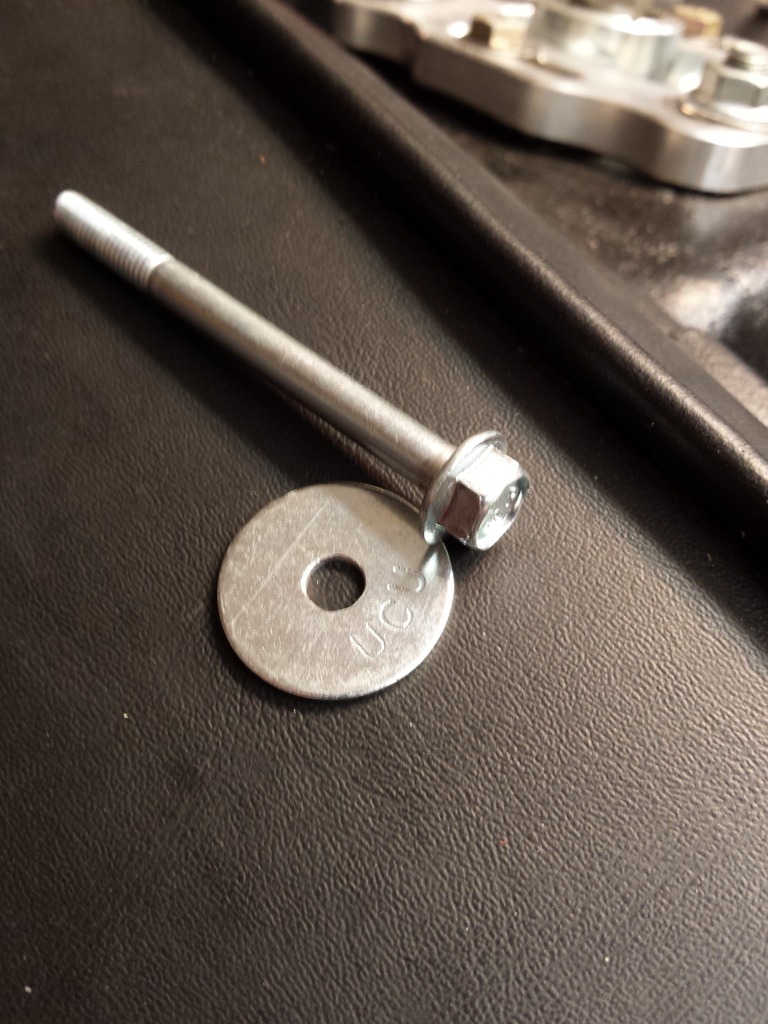
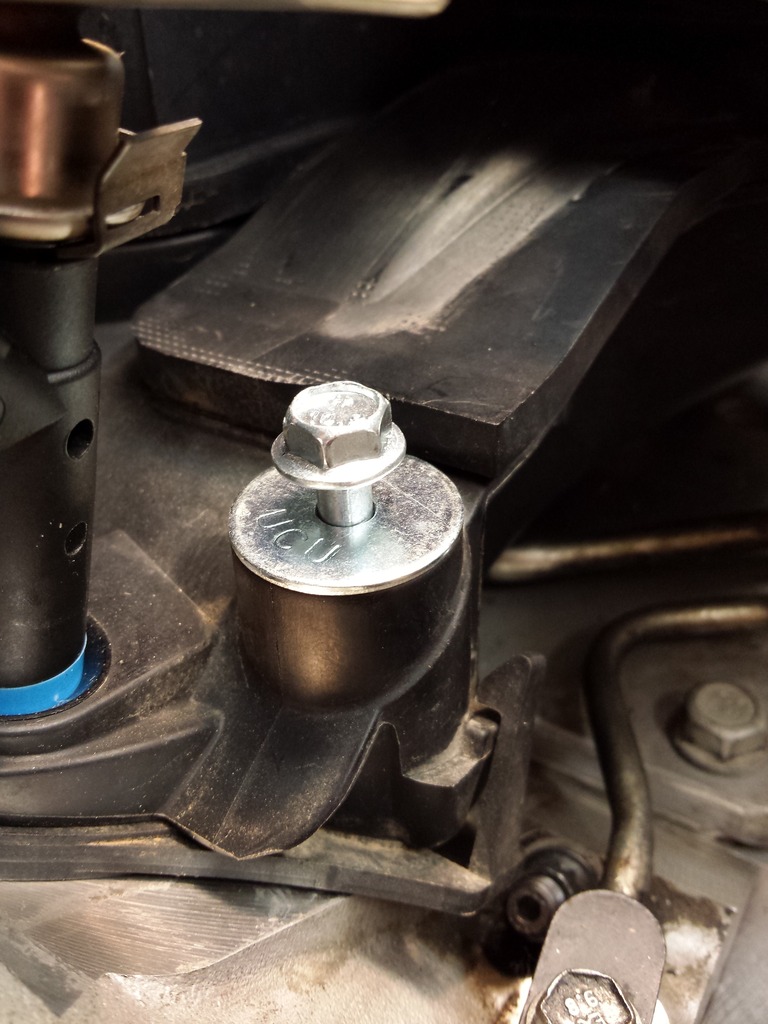
Ordered up some intake bolts from Billet ICT for my "truck intake". I wasn't real impressed for $16 worth of bolts. They came with no washers and the heads are maybe 1/16" of an inch larger than the bolt hole... if that. They assured me this was fine and the bolts would hold.
It didn't give me a warm fuzzy anyway so I picked up some 1" "fender" washers from ace.
It didn't give me a warm fuzzy anyway so I picked up some 1" "fender" washers from ace.
09-22-2016, 01:35 PM
#157

Like the shifter look.
On my 90 Notch I used a QuickSilver. Cut the handle down & rewelded it so it looked like a short shifter like you did.
I didn't use the stang specific shifter, though, as they don't make a quicksilver like that. I made a mount system out of Al to drop the shifter below the tunnel so the shifter fit under a factory 5-spd cover.