When you click on links to various merchants on this site and make a purchase, this can result in this site earning a commission. Affiliate programs and affiliations include, but are not limited to, the eBay Partner Network.
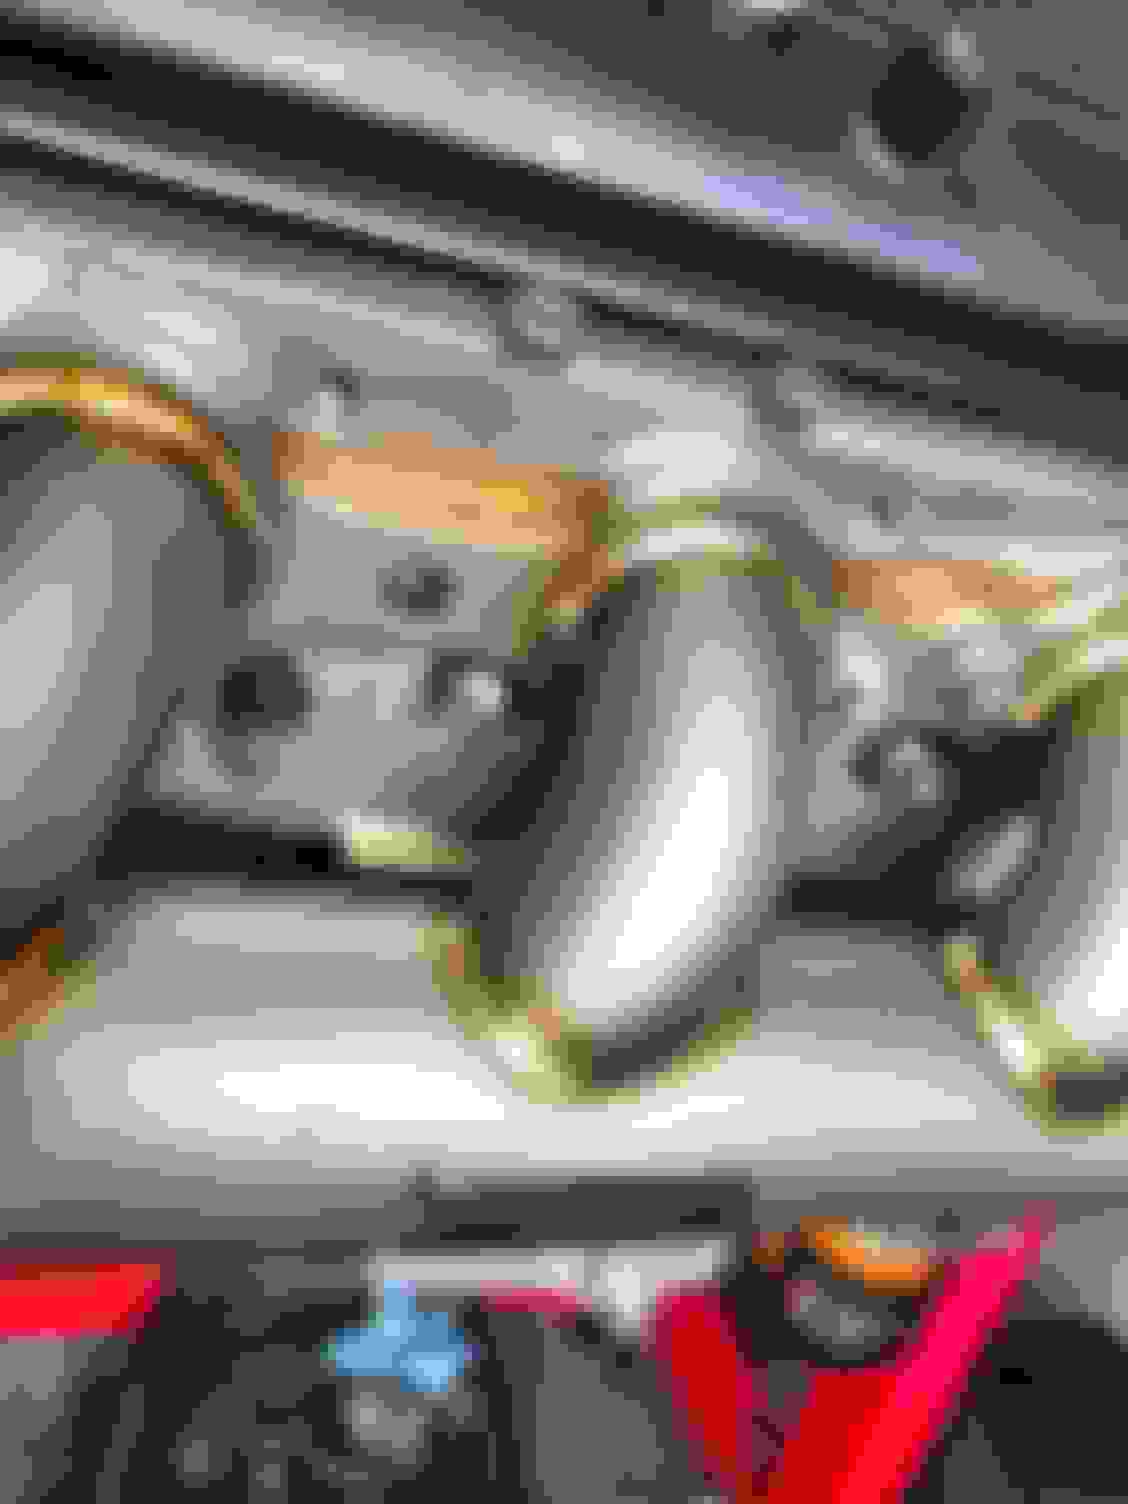
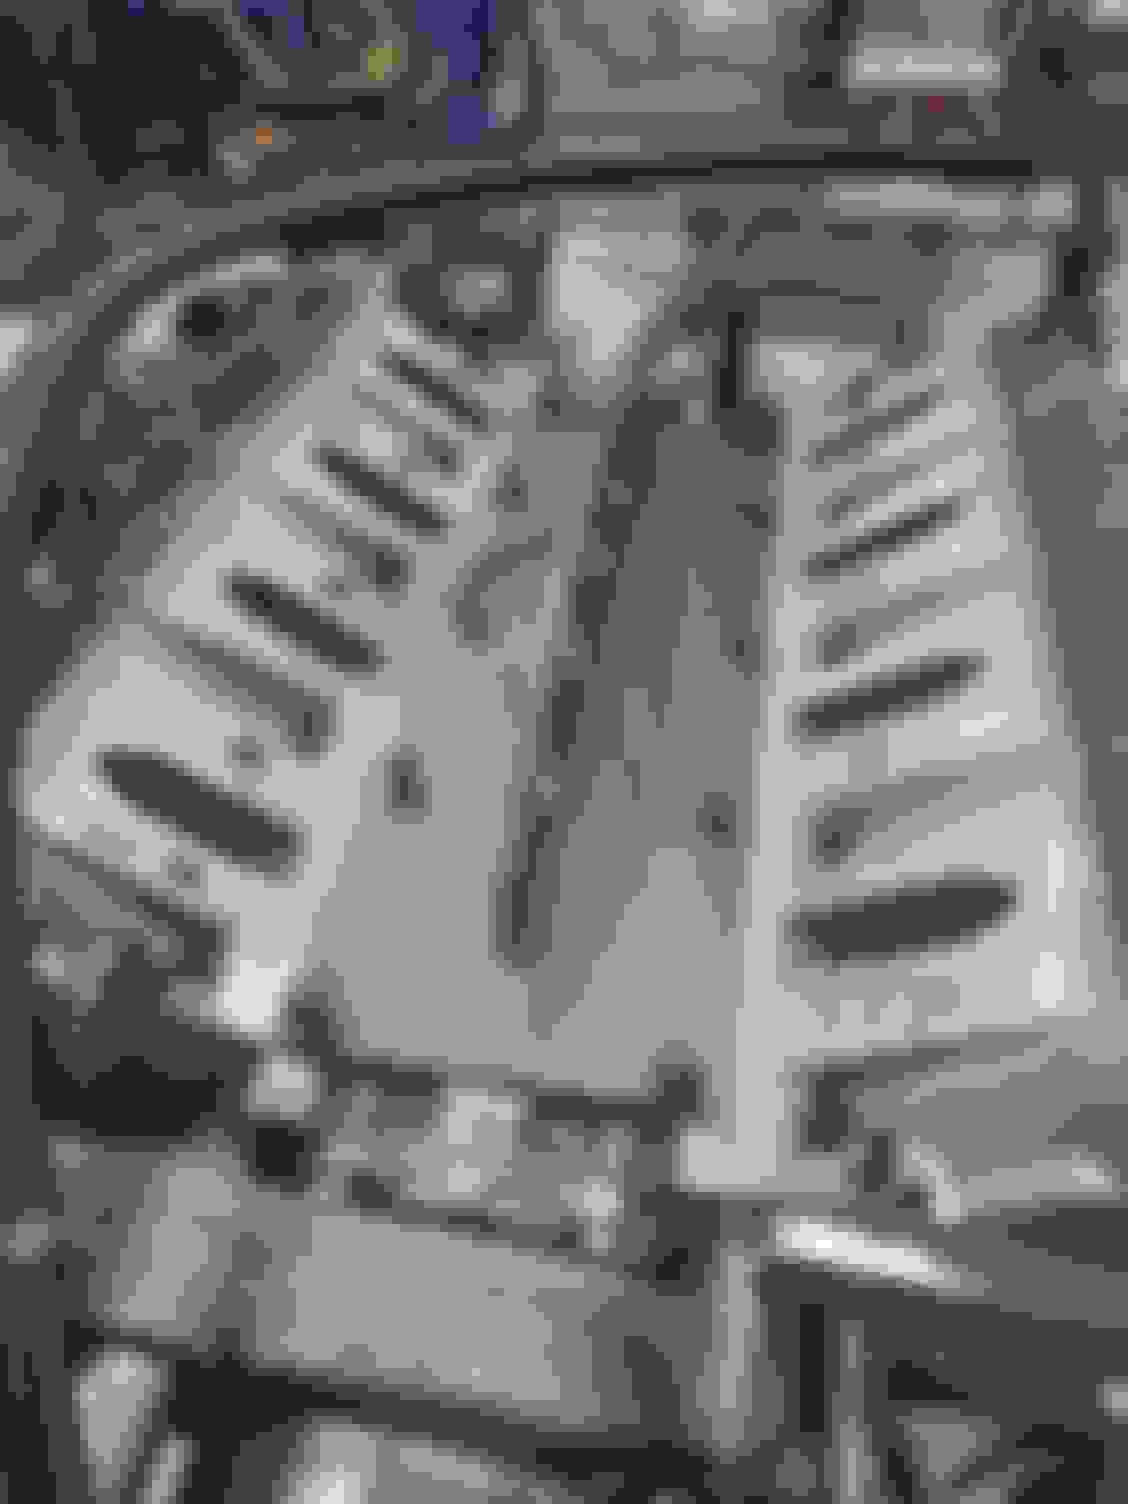
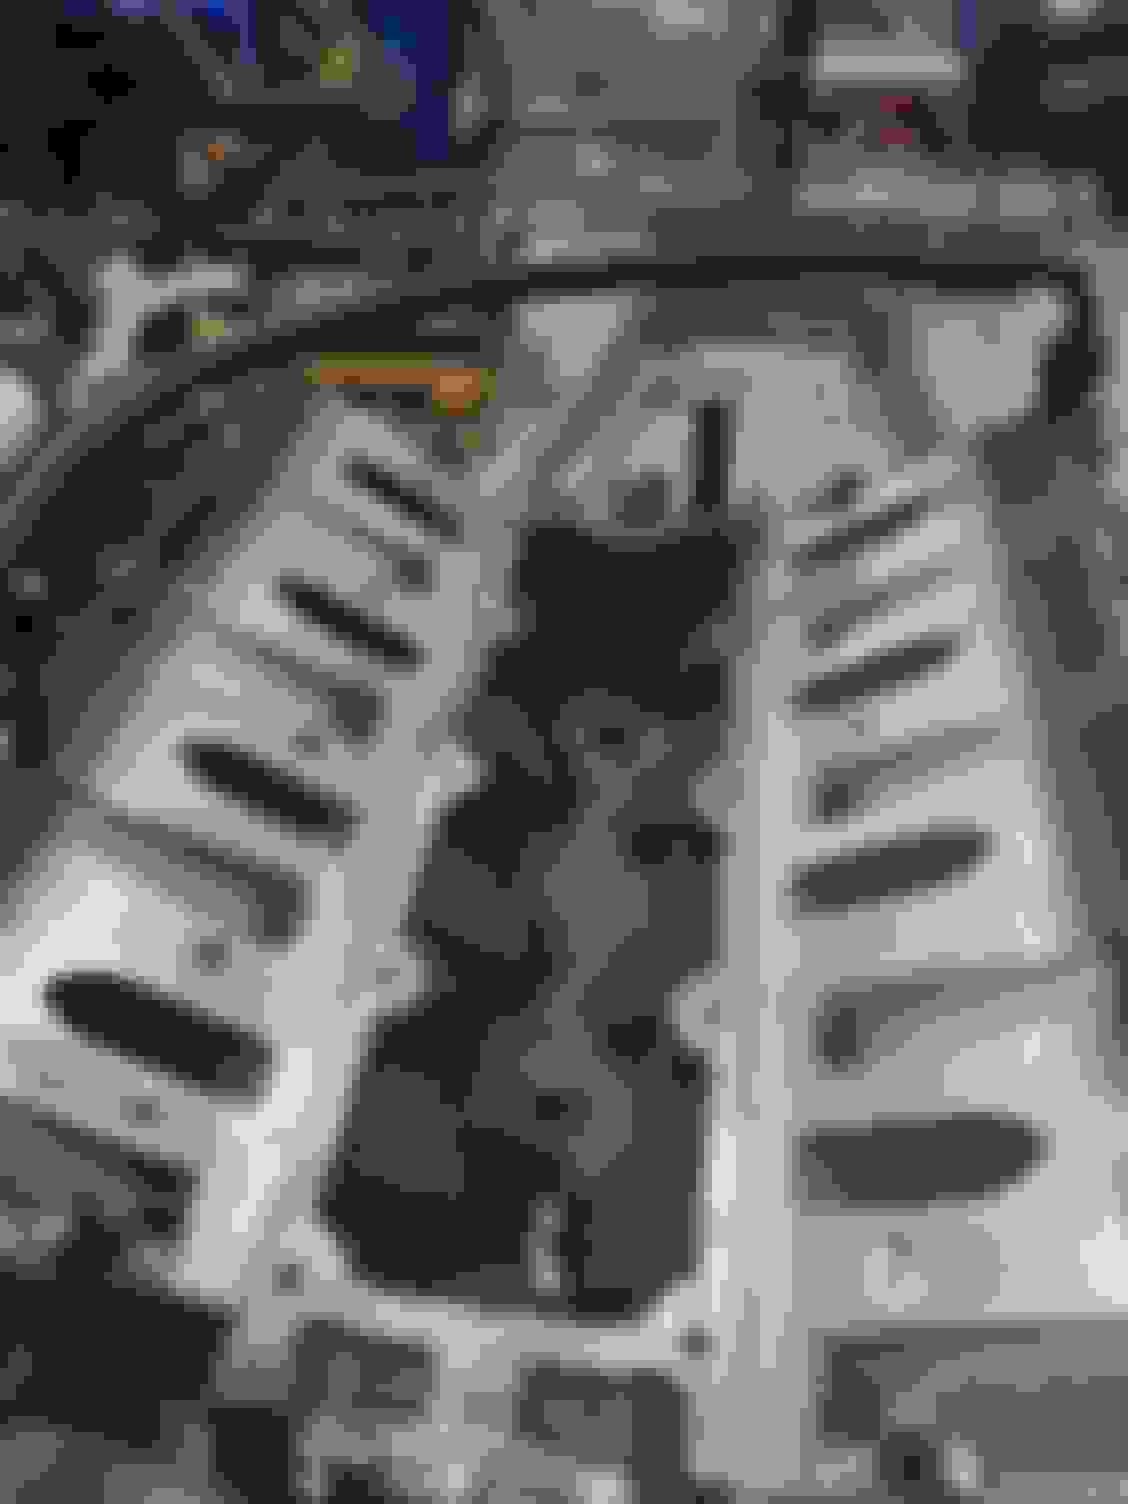
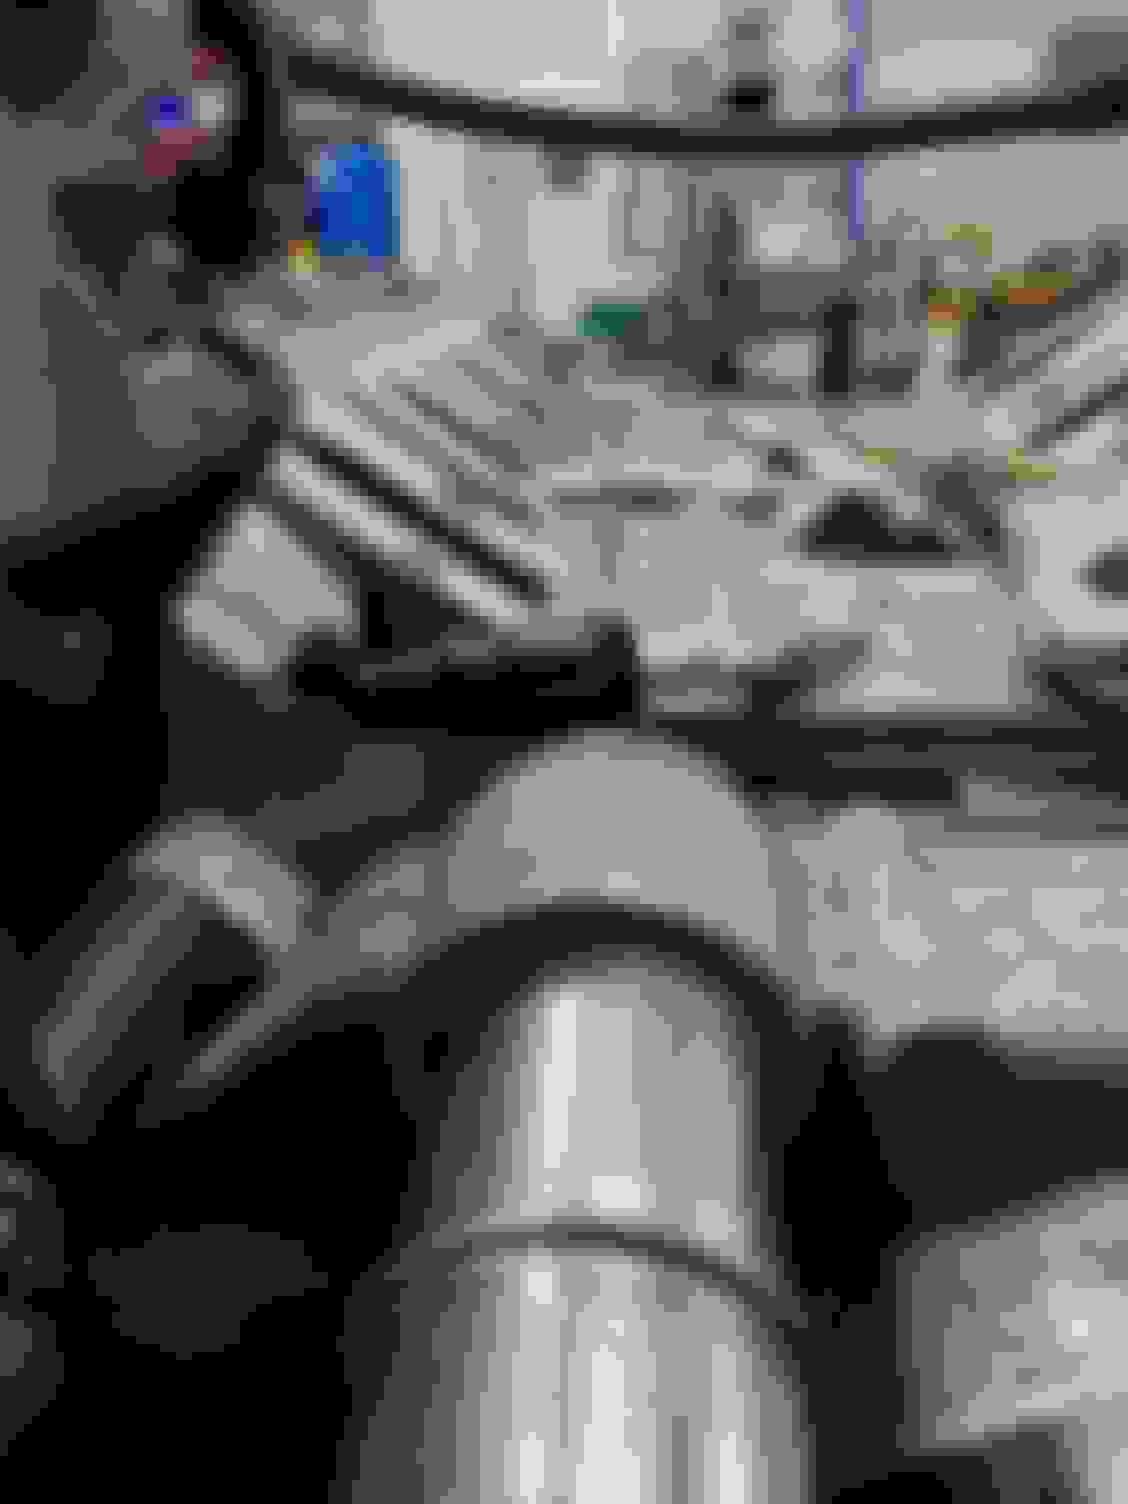
A little test fitting and seeing what goes where with the new Huron Speed turbo kit before doing it in the car. Glad I did, I like the all inclusive parts they give you, but with limited instructions, some of the extra pieces had me double checking a few things. Glad i got the fender exit too, would have never gotten the regular down pipe to fit the VSR 7875s massive exit lol I'm guessing the kit was ment for a smaller turbo before you go to a T6 kit lol Checking out the wastegate, swapped out the 4lbs to 11lbs. Wqs really easy to swap out the springs with a clamp. bov was pretty easy to swap too. Swapped out the installed spring with the 9lbs spring. Mounted it to the pipe too Mounted the manifolds. Didnt like the supplied allen bolts, they seem too loose, and no washers so i used my 10mm flanged bolts. They look good though, too bad im gonna wrap them Looks at all that sparkplug room!!! 😁 Merge pipe took a little practice to install. Key note, keep the manifold bolts loose until you get the flanges in the merge pipe secure. Also, run your nut down on your clamps once to make it easier to clamp down. I see why most other kits use a flex in the merge, it helps to install the merge a bit, but Hurons kit is a bit more precise. Centering this clamps seem to be a challenge, took me a sec to get them to sit right. Usually as you cinch vband clamps, they sort of self center. These seem to not do it as well. Still better clanmps tha. The original CXRacing ones i got before swapping them out for better ones. The threaded t4 flange was a nice touch. Makes prepping for the turbo a bit easier. I used the studs supplied and nuts, butbi might have to swap one of them for a bolt as the VSR turbo has a tight spot where the nut is suspose to go on the top right... where of course the center of the turbo sits too. Turbo fitted and looking good! Loosened the conpressor housing to clock down for the HS kit. So this was one of those, "clearer instructions please" situations would have been nice in the box. Glad i wasnt fighting this under the hood or wrenchs would have become projectiles lol The fender pipe kit for 400 series turbos comes with everything you need to mount to a 4" outlet turbo, problem is the vbands are not marked ir at leadt not that i could see, and took a sec to figure out which ones where the right ones to clamp to the turbo. After clamping the right clamp on, the pipe finally stopped spinning on the turbo. Apparently the biggest one was not the right answer lol the tip was a but of a pain too, as again the flanges wouldnt self center as you tighten the clamps. Glad inwas doing this off the car again Tada, semi in position, i will have to move it around actually on the car for exact routing but this is pretty close. Then i mounted the compressor to intercooler pipe. Pretty striaght forward. Had a couple elbows in there for what i assume is for various sized outlets. Manifold to intercooler piping. Pretty straight forward and the clamps have the sizes on them, so made easy to id which ones go where. All in all, supper clean and love the fitment. Now that i know what i need should be a little smoother install lol knock on wood... my oil drain is the only concern i have as i have the timing cover drains, but the turbonsits a bit lower than the cxracing does, so im not sure if ill be able to drain it to the timing cover like i wanted without a sump pump. Gonna mess with the clocking of the turbo to see if i can make it straighter.
Yeah, even if i wanted to use the rear exhaust pipe, id have to chop off about 2" and weld a massive transition flange to it. One of the pitfalls i suppose of getting a larger turbo fitted to a kit that was designed for a slightly smaller turbo. Im assuming the original T4 was build around the t76, a common size that fits well in the engine compartment for an fbody. The VSR 7875 billet gen 2.5 is more equivalent to a S400 turbo in physical size. Not to mention making room for the pipe to clear the manifold, soooo yeah, fender dump it is 😆 Again, this is NOT Hurons Speeds fault, i am just sizing up with what i have and what i can fit. If i went with a T76, this would have slipped right on beautifully. This is a lot of hardware lol " thats what she said 😆 " im not sure if im missing any extra washers or what but the larger ones are definetly for the larger allen bolts. Washers are easy enough to get if thats the case. Me thinks i not gonna use the allen bolts, if i torqued this down with out a washer, it will sink into the recess, and cause more problems i think. I dont know if im missing washers or it is intended to be bolted this way, but im hesitant to use them without washers for sure, and never a fan of allen bolts anyway. Nothing against HS, just rather have regular bolts. SO gonna use my SS flanged 10mm bolts i already had. Less hunting around for tools and sticking to a common tool around the whole engine too. Might be a nice option to have on the website to get with ICT and sell stainless steel flanged bolts if people want that as an option. Something to think about. 🤔
Decided swap my already tapped oil pan onto the engine. Had to take it off the old LS1 and boy was there carnage lol not too bad but yet... that engine is toast lol. Poor ls1. Clean it out and resealed the old threaded tapped hole with the new hardware and sealed the threads Id say somencleaning was in order lol nothing some brake cleaner and a pressure washer cant handle lol So the windage tray did its job and protected the oil pan lol something tried to come threw and say hello though lol some carnage pictures will follow when i tear it it down further All clean.... but i did borrow the new baffle tray and hardware for less cleaning at least lol Heres the old pan where the 10an fitting is. Pulled it out so i can access the bolt and all the 20 years of road grim and oil cleaned off lol the outaide could use another cleaning but for now its ay least not covered in oil All put back together. Used a little red sealant on the threads to keep it from seeping. Worked well before for 10 years, should last a while again with the new engine. Also hooked up the new feed hose from Huron too. It was prettier lol Nothing to interesting with the other pan. Just gonna leave it for now. Probably will use it for another engine build later. Now for fin part. Wrapping the exhaust. Inreally dont want to becuase the Huron Speed kit looks so good as is, but i like to not melt everthing in my engine compartment lol so wrappy it goes
Decided swap my already tapped oil pan onto the engine. Had to take it off the old LS1 and boy was there carnage lol not too bad but yet... that engine is toast lol. Poor ls1. Clean it out and resealed the old threaded tapped hole with the new hardware and sealed the threads Id say somencleaning was in order lol nothing some brake cleaner and a pressure washer cant handle lol So the windage tray did its job and protected the oil pan lol something tried to come threw and say hello though lol some carnage pictures will follow when i tear it it down further All clean.... but i did borrow the new baffle tray and hardware for less cleaning at least lol Heres the old pan where the 10an fitting is. Pulled it out so i can access the bolt and all the 20 years of road grim and oil cleaned off lol the outaide could use another cleaning but for now its ay least not covered in oil All put back together. Used a little red sealant on the threads to keep it from seeping. Worked well before for 10 years, should last a while again with the new engine. Also hooked up the new feed hose from Huron too. It was prettier lol Nothing to interesting with the other pan. Just gonna leave it for now. Probably will use it for another engine build later. Now for fin part. Wrapping the exhaust. Inreally dont want to becuase the Huron Speed kit looks so good as is, but i like to not melt everthing in my engine compartment lol so wrappy it goes
Soak the wrap in water first, cuts down on the mess and when it dries it shrinks to the pipe nice and tight.
And after the wrap dries (a heat gun helps), paint it with high temp exhaust or bbq grill paint. This will save you from being bothered by the tiny little splinter hairs off the wrap every time you work on the car for the next foreseeable forever. Just don't be surprised by the amount of time it takes to stop smoking from everywhere until the wrap and paint are cured.
Got the wrap done today, once it's dry I'll hi temp coat them. Went with stainless steel wire to secure the loose ends. Hate the stainless ties that come with the wraps. Never can get them tight enough. Manifolds were a tad bit if a chore. Ran a single strand all the way up the pipe. Feeding it between the primaries was a major PITA lol not sure if im gonna wrap the primaries or leave them as is. All done drying in the sun for now. Probably will spray them tomorrow depending on the weather.
Hey man, just wanted to say I'm enjoying following your build. I have a similar build I've been putting off for too long ...
I have the Huron Speed kit as well, I've got the engine in and mounted with the manifolds on, but i haven't test fit any of the other components. I've wrapped the manifolds before I installed them, I did go up the primaries though, I wrapped the front three individually, then did a single piece from the back primary all the way to the V-Band, covering the metal ties as I went.
I bought the kit used from a member on this board, so I plan to use a turbo that was already mounted and fits right up, not sure on exactly what it is. I bought a VSR Gen 2.5 78/75 (also used, from a different member on this board) that I have on the shelf, but not sure if I'm going to install it as it's not a direct fit (as you've shown).
Anyways, good luck with your build, and I hope your motivation keeps up!
Hey I appreciate it, and yeah, you'd have to have an adaptor flange welded in the down pipes place to make it fit the 7875. It's possible and not entirely too hard for a welding shop to do. I had it done for the gt45 for my cxracing kit a while ago. You cut about an inch or 2 and then weld the larger Flange on it. Thus was the major reason I went with the fend dump instead of the rear exhaust, but I could always swap it over later. For now, i just want it to be up and running lol
Did some intercooler bracket and intercooler test fitting. Kind of disappointed I had to remove the front crash bar since it was holding up my methanol/washer tank and pump, but I guess I'll have to Relocate it.
Guess its time to remove it lol pretty straight forward, 6 13mm nuts on the back side and it comes right off. I had to remove my methanol tank and pump off mine but most shouldnt have an issue. Also make sure your fold harnesses are slipped off too. Loosly fitted the Huron Speed brackets, took a second to figure out which bolts to use to mount on the existing holes. I happen to reause the flanged nuts that came off the car, made for not needing to have to use smaller washers that were provided. Just 4 bolts and your done... well almost lol now to alighn it. Then slipped the HRS Intercooler, and then aligned the top bracket first while centering the intercooler. I snugged them down, but i imagine ill have to do another final adjustment once the bumper cover goes back on. Ill probably remove the intercooler so i dont accidently damage it when the engine goes in. Hate having all this pretty hardware just to cover it up lol makes wanting to pull a "Leroy" build more and more 😆 And juat like that, all fitted with no real issues. OH! and pay no attention to the HID ballast lol thats probably gonna go away when i get LED to replace the running lights. The highbeams are already on LED that dont need it.
Did a little more work today. Also started looking into fabricating a radiator support bracket to clean up the top part. Holy cow, its actually off the engine stand!!! LOL was kind excites to finally get it off the enginebatand for a minute. Finally bolted on the ls1/4l80 flexplate with ARP bolts. 3 passes of 20/40/60ftlbs torque. A flex plate locking tool is a needed to get the last pass. Gonna need that anyway for installing the crank pully so im leaving it on for now.
Increasing my pcv hose lines. Finally putting some large 10an fittings into the valve covers to make room for more breathing Finalky found the right dorman grommet lol Test fit the wrong fitting they sent me lol fits nicely though. Replacing these with the 10an press in fittings. They come right out! With a lottle wiggling lol they are also pressed in. Gonna have ample breathing everywhere on this thing lol 10an lines going to my catch can
Alright, I feel like for my application 10an is a bit too big and I don't want such larger fittings on my vavle covers, so I tried a different roue and it looks way better. So i decided to go with 6an to 3/8 pipe connector. Its a bit more streamlined. Takes a bit to fit the base on the pipe, but with a little wiggling, it will line up. Drawing it in with the other side will also center it. One on the passenger front, before I tapped into place One on the passemger rear, after I tapped it into place And then using this 6an adaptor in the rear of the driver side. Looks way better like this. Gonna run the driver to the paseenger rear, then run the passenger front to the vented catch can, and then to the front of the inlet of the turbo for a vacuum. Then ill run a secondary catch can from the valley thats sealed with check valves. And since i accidently ordered an extra set lol i put one on the ls6 pcv valley cover.
Well after pretty much getting yelled at by EVERYONE on Boosted LXS of FB lol including MightyMouse lol I guess im running a 10an PCV setup lol oh well, was fun to see what 6an vs 10an setup would look like.
What it boils down to is that ill be pushing way more pressure than the 6an breathing can accommodate, so stepping up the fittings and hises to 10an will at least support my booat and power levels with out running the risk of pucking oil out somewhere. So heres my test fitting of the rear only 6an hose, but its apparently too small sooooo..... Heres the 10an fitting going into the passenger side valve cover. Holes significantly bigger obviously. After ypu take out the little plastic baffle, you drill out the hole. Inhad to wallow it out a bit since i couldnt seem to find a bit large enough. And heres the new fitting pressed into the valve cover. Might put some locktight on it later, but its in there pretty good, just like the stocke pipes. And heres the little baffle. Had to snip a tiny bit off the leading edge against the fitting to help it fit back into place aince the fitting takes up more room. Probably no more than a 1/16" or less. Snaps back into place. Might have to give it a little press with a tool to snap the opsoite side in now thats its a tighter fit. After i swapped out the driver rear fitting for a 10an fitting into the grommet, hooked up two 10an 90 degree connectors to the hoses, and orientated them to some what where i wanted them... then i started thinking i better make sure it fits with the top end on it. So on went the water pump... And the CBR alternator bracket went back on Alternator is the biggest obstacle to run through. I was gonna try the ICT alternator bracket on the driver low side, but i need to drill and tap the LQ4 iron black, so, back up top it goes for now. With the Huron speed V3 hotside, i can put it back in its original lockation, which will happen when i go back to having AC lol So dug up some old rear mount bits, and found my old valve cover drain. Temporay sinc it doesnt have a baffle built in it. Heres the reason why.. even trimmed the fill tube is really tight next to the alternator. Off with the lifting playe for now See, nothing crazy in there lol A close up of under an LS6 valley cover and pcv baffles. Topping off with the intake manifold, and now the interference begins... The driver rear actually looks like it has a lot of room... we will get bqck to that So heres my dilemma, the ls6 valley cover is pretty tucked in there, and i still want to use the fittings... im not sure if a 10an will fit under there. So for now ill stick to the 6an until i can figure something out. So initially this was a problem until i figure it out... The stock orientation is a bit high, but juat like the valve covers, with plyiers it turns just fine. And now we have a better angle. Now to stick my steam tubes... i have no idea what AN sizes these are lol but they are smaller than 4an lol This was a bit tight but it works pretty well. Another few Rear side of the engine Now with the intake manifold on Things start to get a bit tight now with intake manifold on Not sure i i want so many hoses now lol So now with the fuel rails and hoses on, we now are getting into restate conflicts And this is gonna be a real challenge. More views from the driver side Now with the fuel rail on, this isnt gonna work, as well as with the alternator in front. Ill have to use a different an fitting with some other degree angle to make the valve cover fitting work. It works much better off the oil fill fitting, but it needs one with a baffle. Not sure if i want to run this way or back off the valve cover, but now i have a much better idea of how it will look.
Alright, just about ready to stuff it in the engine compartment. A couple parts to slap on so I don't have to do it in the engine compartment. The water pump and crank can be a bit of a hassle when you're leaning over the front of the car, so on they go lol
Summit crank dampener install about to happen. Used the install tool. With some lube, slide right on like butter. No heat or anything. Used a ratchet to pull the pully on 90% of the way until it pretty much bottomed out. Then backed off to let the baolt handle the rest. Pretty much seated it all the way on with the install tool with no fuss. New arp crank pully bolt. Already locked the flex plate tool into place. Makensure you have the 27mm 12pt socket for this one. And crank pully is on there. I only have a tq wrench for 160ftlbs, so for now its good and tight. Whos putting these things on at 250ft lbs 😆 Plenty of clearance around the timing cover 10an returns. Was curious if they would interfere with anything, but they are perfect. Something to consider in the future 😁 Put the water pump and alternator relocation bracket back on too. 1st pass is 11ftlbs and the 2nd is 22ftlbs. Nothing crazy. Arp bolts came with the gasket kit, so not complaining and it keeps the install clean.
Well we were close today, had it on the engine compartment and was having a hell of a time lining up the engine to the transmission dowls. I'm wondering if it would be easier to take off the motor mounts or simply drop the transmission which I really don't want to. That 4l80 is a beast to get into position lol
But getting it in from the top was pretty quick. I had to pull it back out since I ran out of time and didn't want the engine just hanging there over night.
Anyone have amy tips to alogn the block to the trans?
ITS IN!!! Motor mounts and trans bolts all bolted up! Thank God 😆
had to jack the trans up up against the tunnel and then have the engine hoist hooked to one hole forward to allow the back of the engine to drop a little but had to use a rachetstrap to pull the front of the engine down a hair with the crank pully to the sway bar, just enough to line up the dowls and thread some bolts in the trans. After that it was just a trial of trying to thread the engine bolts through the mounts. Took a couple tries between lining one up and then swiveling the other into position. Finally in position. Even getting my sons out here and getting into the hobby 😁 although an oil chnage is probably a better starting service and not an engine install lol
Gas Monkey Built a 6-Wheel Ferrari Testarossa With a Corvette LT4 Engine
Slideshow: The controversial Ferrari F6 swaps its original flat-12 for a Corvette Z06-derived LT4 V8 and sends power to four rear wheels through a custom-built drivetrain.
7 Most Reliable High-Performance Engines GM Has Ever Built
Slideshow:These GM engines didn't just make huge power, they survived abuse, boost, track days, and six-digit mileage with a reputation for refusing to quit.
6 Common C5 Corvette Failures and What's Involved In Repairing Them
Slideshow: From wobbling harmonic balancers to failed EBCMs, these are the issues that define long-term C5 ownership and what repairs typically involve.
Retro Modern Bandit Pontiac Trans AM Comes With Burt Reynolds' Autograph
Slideshow: A modern Camaro transformed into a retro icon, this limited-run "Bandit" build blends nostalgia with brute force in a way few revivals manage.
Top 10 Greatest Cadillac V Series Performance Models Ever, Ranked
Slideshow: Cadillac didn't just crash the high-performance luxury vehicle party, it showed up loud, supercharged, and occasionally a little unhinged...