


project turbo_z
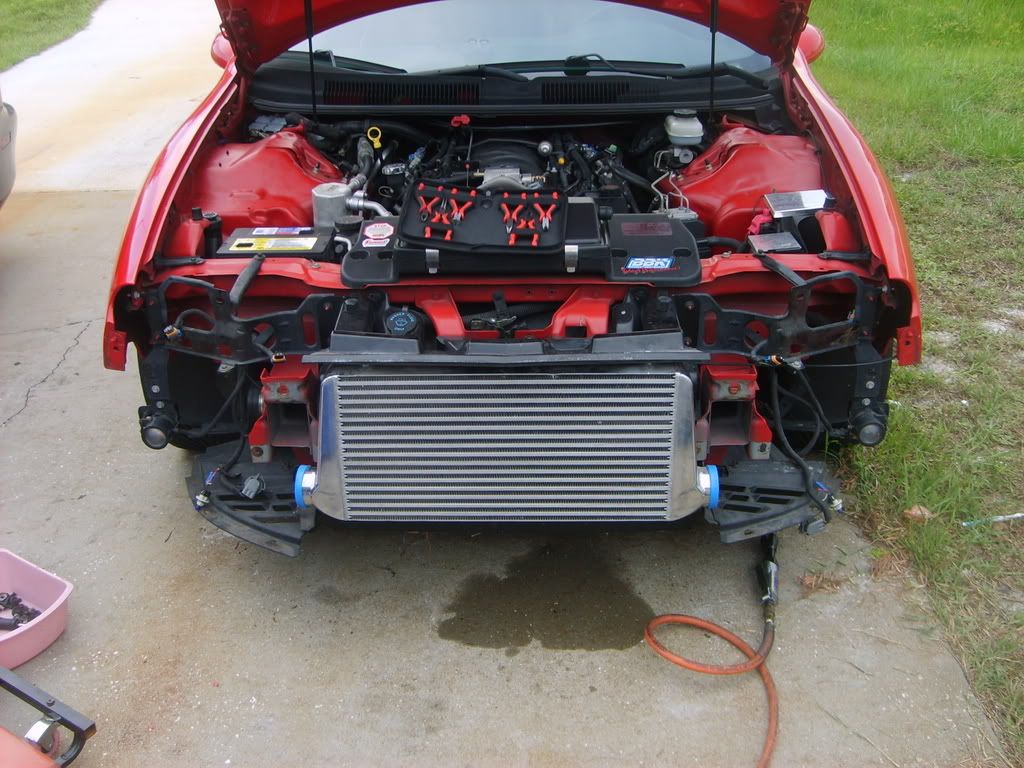
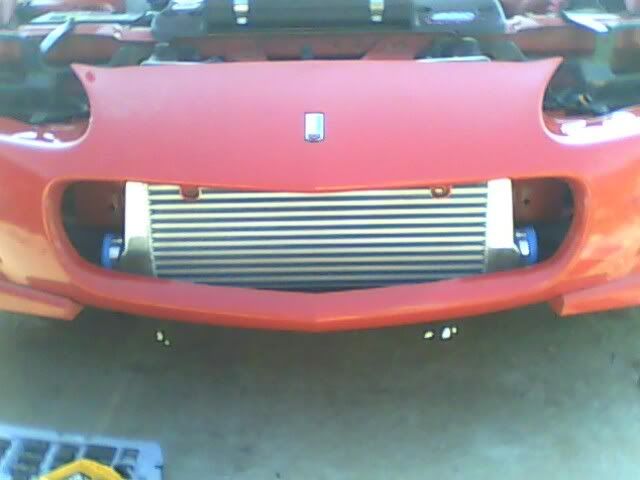
well finally some forward progress on the install.. the piping went out to be coated a few days ago but wont be done for another 2 weeks.. so in the mean time i figured i would tear apart the from of my car and throw on the FMIC.. here ya go
Last edited by presto_z; Jun 3, 2008 at 04:40 PM.
Keep it coming along, I know I need to get my build thread on here. I am waiting on some parts that got lost in the mail than it should be done in 2 weeks or so. Should have been done by now but out of my control  Looking good btw!
Looking good btw! tell me about it.. i started this last july and due to work being really slow/dead, school being overwhelming and some family stuff i have had no time or money..
im out ofd school for the summer, work has picked up and everything seems to be going good now
i managed to save up a few bones to get the rest of the stuff i needed so here is goes
im out ofd school for the summer, work has picked up and everything seems to be going good now
i managed to save up a few bones to get the rest of the stuff i needed so here is goes
I responded in the other thread about the IC location. Mine is in the same spot. I modified that brace that is missing in your pic so I could bolt the IC directly to it.
Glad to see you're making progress again. I'm stuck, only have the down pipe left to make and my welder doesn't have time to come NEXT DOOR and hit it for me.(about 2 hrs of work) About to order HP Tuners this week also.
Glad to see you're making progress again. I'm stuck, only have the down pipe left to make and my welder doesn't have time to come NEXT DOOR and hit it for me.(about 2 hrs of work) About to order HP Tuners this week also.
tomorrow im going to trim up my front bumper and im going to see if i can mount the IC a little closer to the front.. i would like to keep the brace on the front of the car for added protection just incase i smash into a tree (im going to avoid them at all costs, but you never know)
i think i can squeeze it in there without cutting the support at all.. i need to pick up some steel tubing tomorrow and see what i can come up with. the metal shop i usually go to burnt down a few weeks back, so now i have to find a new place to get my supplies
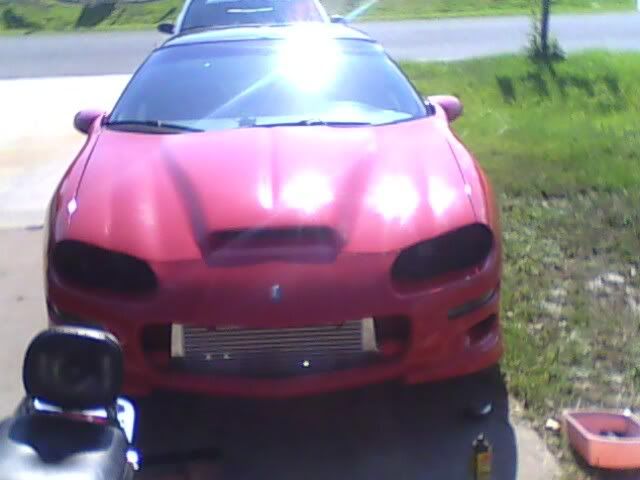
well i trimmed up the front bumper a bit, i started off with a jigsaw then quickly scrapped that idea and went to a sharp utility knife. it slices through the plastic quite easily..
just tape off your cut line, keep steady pressure on the blade, make sure you dont slip... use a dremel to clean up any imperfections.. i left 2 mounting tabs, but i will most likely cut them off as well.. im going to lower the IC about an inch and a half
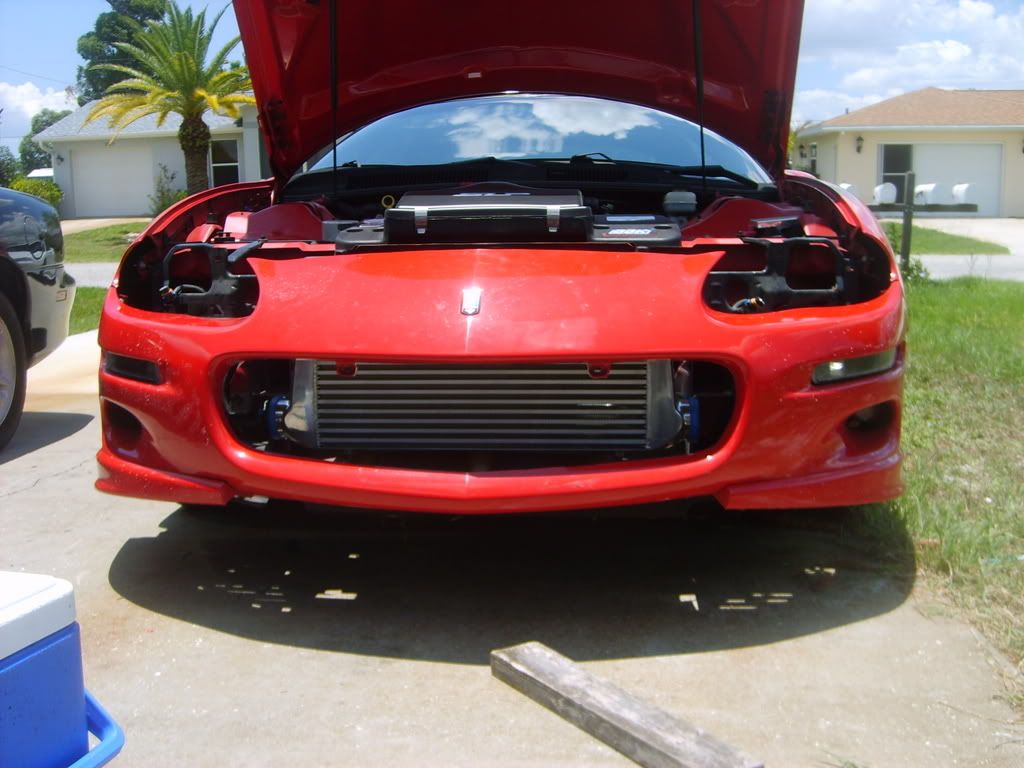
just tape off your cut line, keep steady pressure on the blade, make sure you dont slip... use a dremel to clean up any imperfections.. i left 2 mounting tabs, but i will most likely cut them off as well.. im going to lower the IC about an inch and a half
LS1 Tech Stories
The Best V8 Stories One Small Block at Time

6 Common C5 Corvette Failures and What's Involved In Repairing Them
Pouria Savadkouei
Retro Modern Bandit Pontiac Trans AM Comes With Burt Reynolds' Autograph
Verdad Gallardo
Top 10 Greatest Cadillac V Series Performance Models Ever, Ranked
Pouria Savadkouei
Top 10 Most Powerful Chevy Trucks Ever Made!

Hennessey's New Supercharged Silverado ZR2 Has 700 HP
Verdad Gallardo
Coachbuilt N2A Anteros Is an LS2-Powered C6 Corvette In Italian Clothes
Verdad Gallardo
Awesome K5 Blazer Restomod Comes With C7 Corvette Power
Verdad Gallardo
10 Camaros You Should Never Buy

10 LS Engine Myths That Refuse to Die
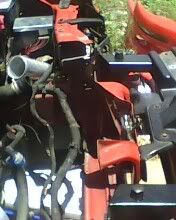
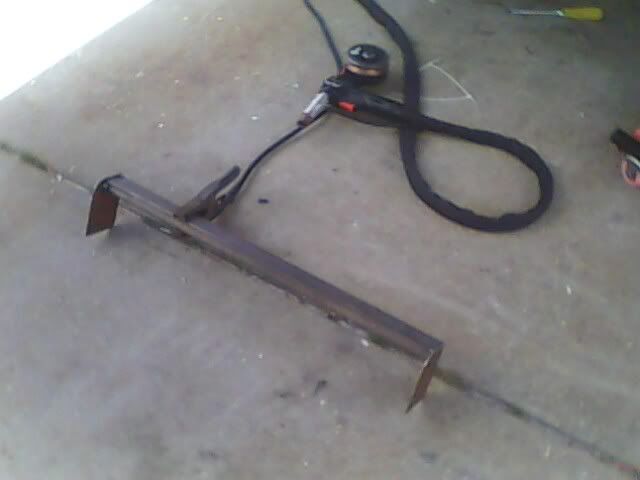
Verdad Gallardo well i figured out a different way to mount the IC, it is much sturdier, the car will maintain all of the structural supports that alot of people have cut or taken out and it looks alot better with it being closer to the front
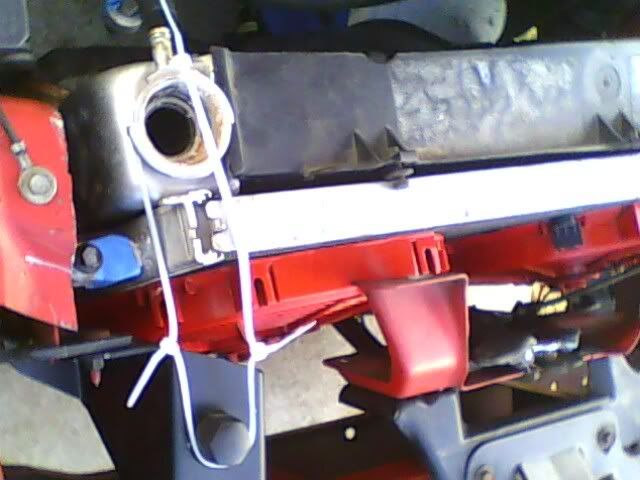
i used 2" square tubing, then came off of it with 2 pieces or 3/4" square tubing.. this also allows a little bit of adjustment from left to right so you can center everything up perfectly.. im going to weld it all up after i make sure the IC piping will fit
mount

mount from the front
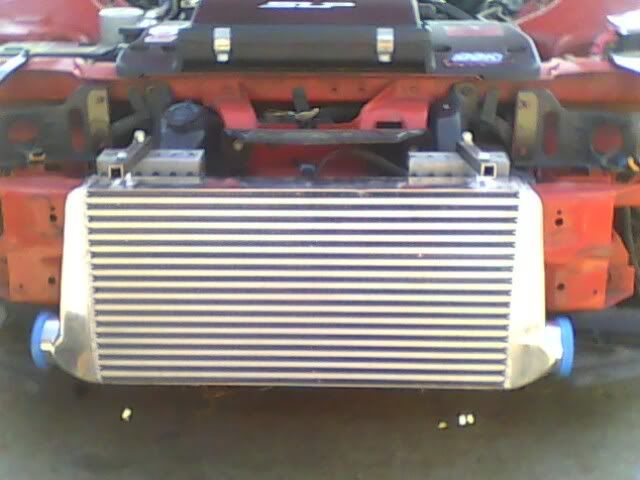
i used 2" square tubing, then came off of it with 2 pieces or 3/4" square tubing.. this also allows a little bit of adjustment from left to right so you can center everything up perfectly.. im going to weld it all up after i make sure the IC piping will fit
mount
mount from the front
Last edited by presto_z; Jun 4, 2008 at 05:41 PM.

Interesting way to mount up the FMIC. I really didn't think the nose would fit on with it mounted in front of the support. Problem you may have now though is you're not going to get much air actually flowing through the IC so it may not be as efficient as it would without the support behind it.
i really don't think mounting it where the brace would be would let alot of air through either, especially since the windshield washer reservoir, ac condenser and all the other stuff is blocking the air flow anyways.. i would rather have air temps 5* higher then to have no support in the front of my car incase of an accident.. this car is my DD... its also going to be meth injected so that should drop the temp alot..
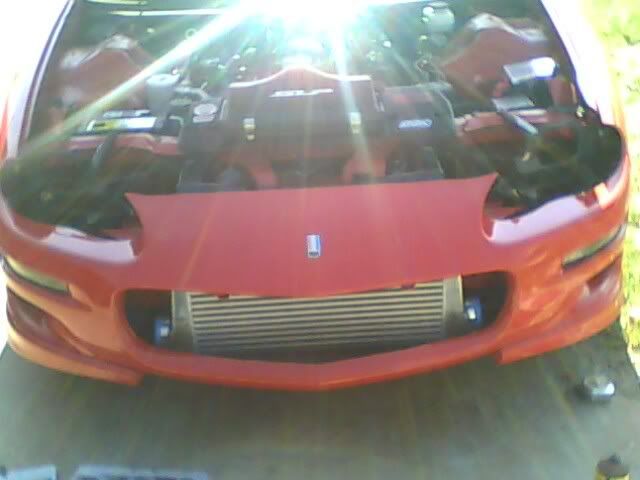
i just threw on a 90* on both ends and everything fits nicely under the bumper cover.. now i have to wait for my pipes to come back from being coated
im also starting a photobucket album of the install http://s77.photobucket.com/albums/j6...bitch/TURBO_Z/ for all the other people who are installing the same kit as me..
well after seeing FROST's ptk build and how tight everything was i decided to do something a little different to allow more room for the turbo
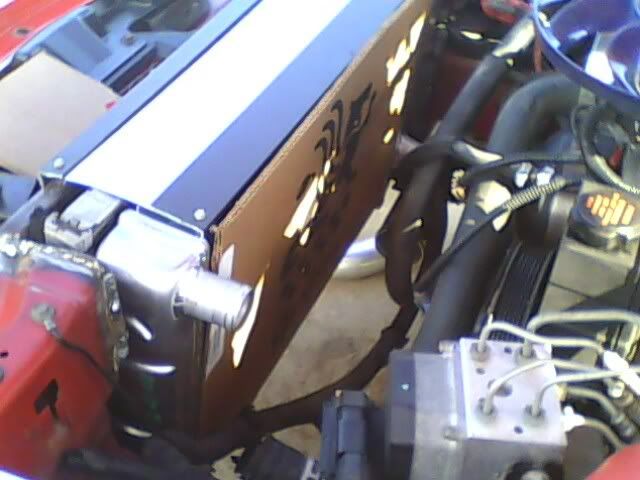
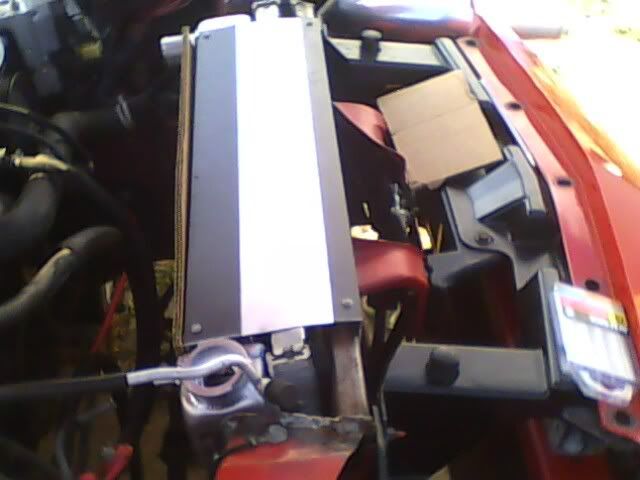
i decided that a vertical radiator was the only way to go to allow the maximum amount of space
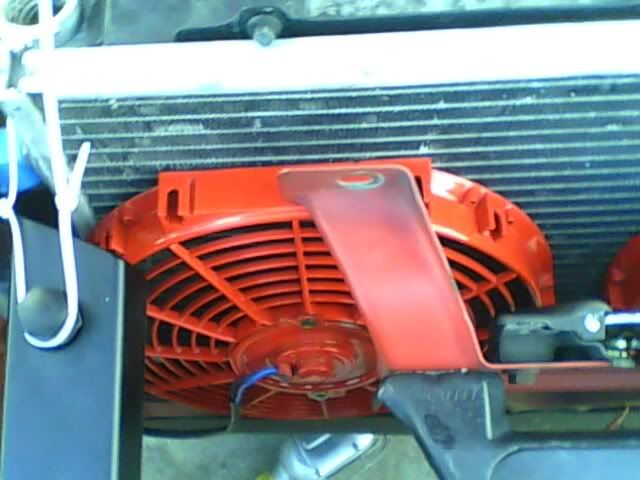
i ordered a new griffin radiator from summit yesterday, but the more i thought about radiators i remembered a radiator i had buried in the garage from my old SB GMC Jimmy a few years back. it has the same exact measurements as my new one, so im using it for mock up purposes. i also happened to have 2 12" fans that move 1200cfm each..
here are a few pics (sorry for the low quality pics. my batteries are dead on my digital, so i had to use my cell)

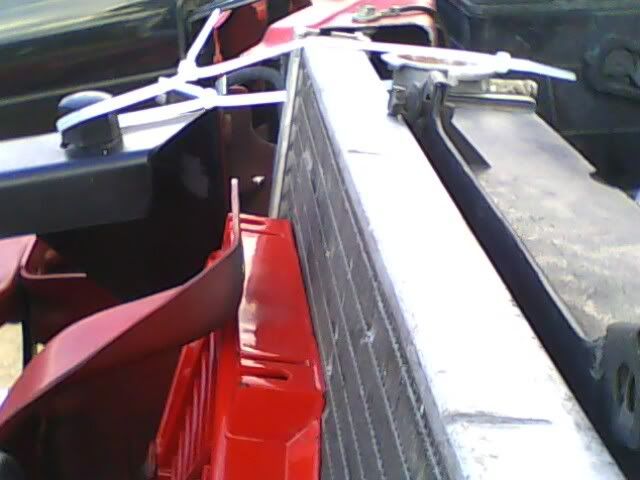
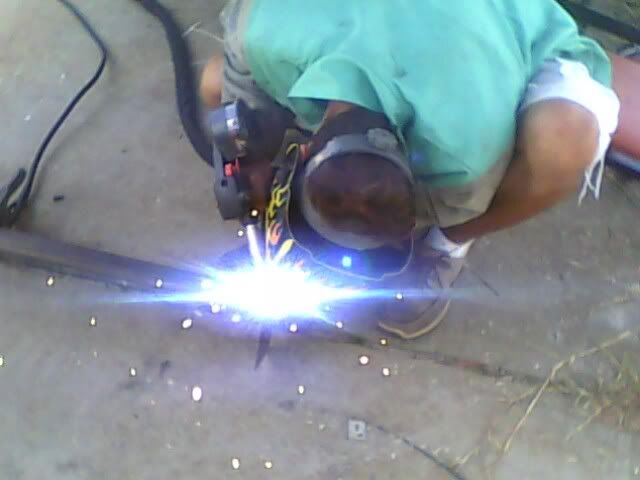
tomorrow morning im going to weld up the ends of the cross brace as well as weld in my new 2"x1" rectangular steel brace to strengthen everything up.. now i have much more room to fit everything in there
EDIT: this did not have to be done, but i decided it would be much easier to access every thing in the future, and now i have a bigger radiator to keep everything nice and cool
i decided that a vertical radiator was the only way to go to allow the maximum amount of space
i ordered a new griffin radiator from summit yesterday, but the more i thought about radiators i remembered a radiator i had buried in the garage from my old SB GMC Jimmy a few years back. it has the same exact measurements as my new one, so im using it for mock up purposes. i also happened to have 2 12" fans that move 1200cfm each..
here are a few pics (sorry for the low quality pics. my batteries are dead on my digital, so i had to use my cell)
tomorrow morning im going to weld up the ends of the cross brace as well as weld in my new 2"x1" rectangular steel brace to strengthen everything up.. now i have much more room to fit everything in there
EDIT: this did not have to be done, but i decided it would be much easier to access every thing in the future, and now i have a bigger radiator to keep everything nice and cool
update
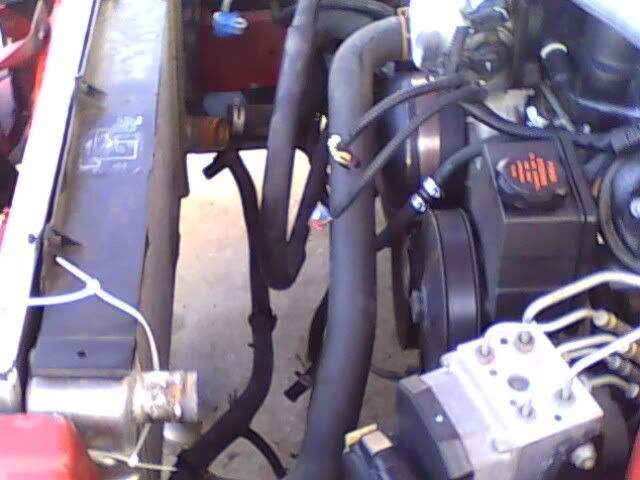
i welded in a 2x1 rectangular steel brace to strengthen the section i cut out to stand the radiator upright

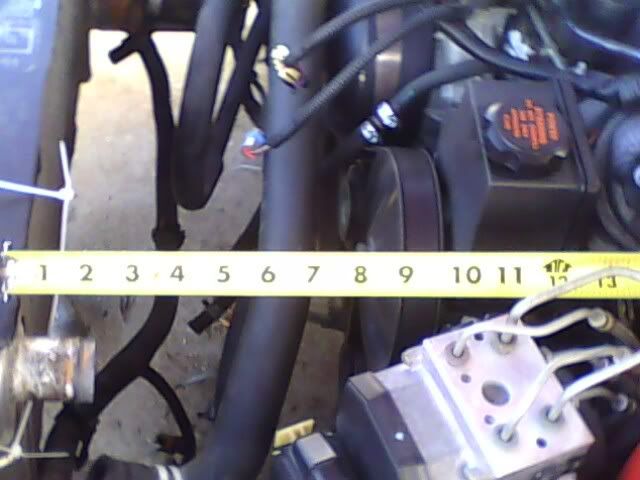
i also put in the new radiator and fabbed up a support out of some angle aluminum for the bottom as well as the top
Griffin 1-25241-X
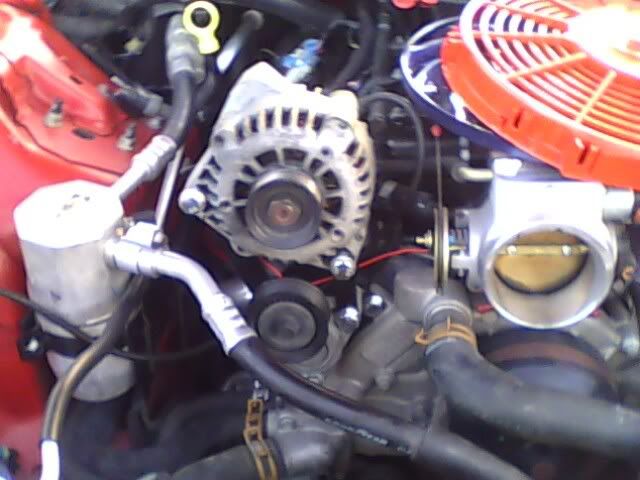
i also installed smokinhawks alternator relocation bracket
mine took a 6rib 73.5" belt. i got mine from advanced auto parts and the PN is 5060735 the last 3 digits of the PN dictate the belt length
i welded in a 2x1 rectangular steel brace to strengthen the section i cut out to stand the radiator upright
i also put in the new radiator and fabbed up a support out of some angle aluminum for the bottom as well as the top
Griffin 1-25241-X
i also installed smokinhawks alternator relocation bracket
mine took a 6rib 73.5" belt. i got mine from advanced auto parts and the PN is 5060735 the last 3 digits of the PN dictate the belt length
Last edited by presto_z; Jun 11, 2008 at 04:12 PM.


i got all of my stuff back friday, but its been raining here so i havnt been able to tinker around.. i also got a comp cam for free from a local shop and site sponsor (revXtreme), my question is how good would it be for my application. here are the specs
Serial # D 6068-04 Spec Card# 06930104
Part # 54-000-11 CAMSHAFT, LS1 CHEVY LS1/GEN III '97-UP
Core C54-11H CAMSHAFT BLANK, LS1 1997 UP 5.7 CORVETTE
Grind # LS1 3724R /3726R HR112+4
DURATION @ .050 INTAKE 228 ROCKER ARM RATIO
VALVE ADJ INTAKE .000 DURATION @ .050 EXHAUST 232 INTAKE 1.70
VALVE ADJ EXHAUST .000 LOBE LIFT INTAKE .3460 EXHAUST 1.70
VALVE LIFT INTAKE .588 LOBE LIFT EXHAUST .3500
VALVE LIFT EXHAUST .595 LOBE SEPARATION 112.0
DURATION .006 INTAKE C/L 108.0
TAPPET LIFT INTAKE 277 CAM ADVANCE 4
TAPPET LIFT EXHAUST 281 HYDRAULIC Y
VALVE TIMING .050 OVERHEAD CAM N
VALVE OPEN INTAKE 6 JOURNAL DIAMETER STD 2.165
VALVE OPEN EXHAUST 52 RECOMMENDED VALVE SPRINGS
VALVE CLOSED INTAKE 42 DEPARTMENT P
VALVE CLOSED EXHAUST 0 SPC INSTR FOR CUSTOMER
any input would be greatly appreciated. im also going to post this up in the internal engine section


Looking really good, especially with more room in front. To my knowledge the bigger cams take away from the turbos. Alot of people go with a ZO6 cam. Try calling one of the sponsors they should be able to help. I have a bigger LSA on mine like stated above and it isn't as big.
Last edited by MUSTANGBRKR02; Jul 14, 2008 at 02:29 AM.