


EBAY Front mount guys in here ...
Thread Starter
TECH Enthusiast
iTrader: (9)
Joined: Oct 2005
Posts: 702
Likes: 0
From: Greenville, Raleigh NC
I have been searching and looking at pictures but I cant find any good ones of how the intercooler piping is ran. I am doing a custom rear mount. All I see is that STS runs the pipe across the front and coming up on the passenger side then right back across the bottom under the pullies then somehow up to the intake? Does anyone have any other pics or better shots of how this is done .. also where can I get he needed MAF and IAT wire extentions if I need to move them.
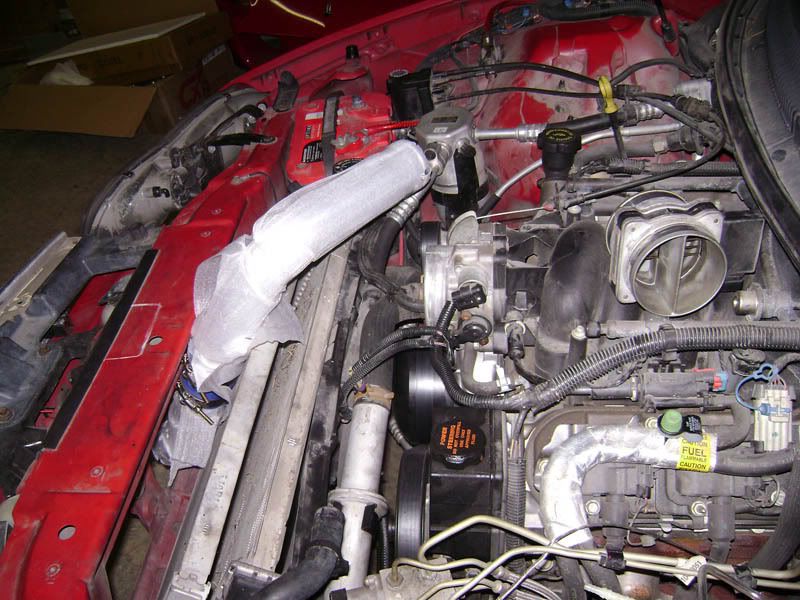
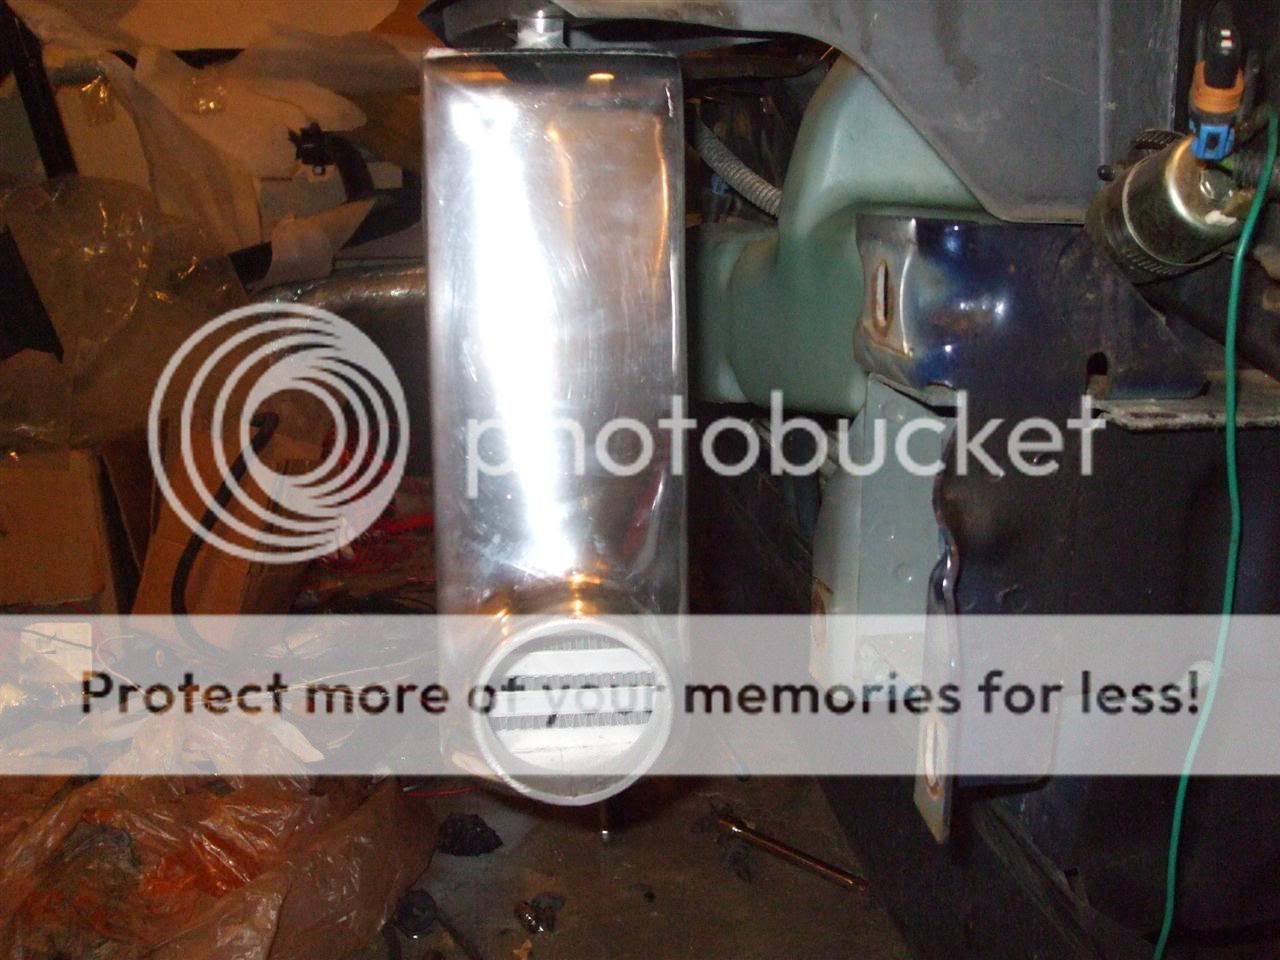
Here is a couple pics.Not sure if they will help.One picture of were the iat sensor is.The pipe going to the intercooler on the driverside.Comes out on the passengerside,crosses over to the driverside and turns up towards the top of the motor.If you need a different pic let me know.
Last edited by vandal0-0; Apr 23, 2008 at 08:09 PM.
8 sec potential, 12 sec slip
iTrader: (50)
Joined: Apr 2002
Posts: 4,092
Likes: 2
From: Savannah, GA
EPP sells those extensions you are wanting. But one question tho- if you are making your own piping, why not just position the MAF and IAT sensors where you won't need any extensions?
Thread Starter
TECH Enthusiast
iTrader: (9)
Joined: Oct 2005
Posts: 702
Likes: 0
From: Greenville, Raleigh NC
Here is a couple pics.Not sure if they will help.One picture of were the iat sensor is.The pipe going to the intercooler on the driverside.Comes out on the passengerside,crosses over to the driverside and turns up towards the top of the motor.If you need a different pic let me know.
I thought about that too but I need a straight section of pipe before the maf thats about 10" long .. says my tuner. So it was looking like I will need to extend it .. like STS does ..
Trending Topics
Thread Starter
TECH Enthusiast
iTrader: (9)
Joined: Oct 2005
Posts: 702
Likes: 0
From: Greenville, Raleigh NC
Now that im looking at everyones pics .. did everyone cut the front bumper support to fit the FMIC? I made brackets off of the front of mine .. looks like there is plenty of room where the styrofom (sp?) was at. Pics would be nice for that too .. P.S thanks for the help
LS1 Tech Stories
The Best V8 Stories One Small Block at Time

Topdon ONE vs. Artidiag 800 BT2: Which is the Diagnostic Tablet For You?
Pouria Savadkouei
Gas Monkey Built a 6-Wheel Ferrari Testarossa With a Corvette LT4 Engine
Verdad Gallardo
7 Most Reliable High-Performance Engines GM Has Ever Built
Verdad Gallardo
Amazing '71 Camaro Restomod Is Modern Muscle Car Under the Skin
Verdad Gallardo
6 Common C5 Corvette Failures and What's Involved In Repairing Them
Pouria Savadkouei
Retro Modern Bandit Pontiac Trans AM Comes With Burt Reynolds' Autograph
Verdad Gallardo
Top 10 Greatest Cadillac V Series Performance Models Ever, Ranked
Pouria Savadkouei
Top 10 Most Powerful Chevy Trucks Ever Made!

Hennessey's New Supercharged Silverado ZR2 Has 700 HP
Verdad Gallardo Thread Starter
TECH Enthusiast
iTrader: (9)
Joined: Oct 2005
Posts: 702
Likes: 0
From: Greenville, Raleigh NC
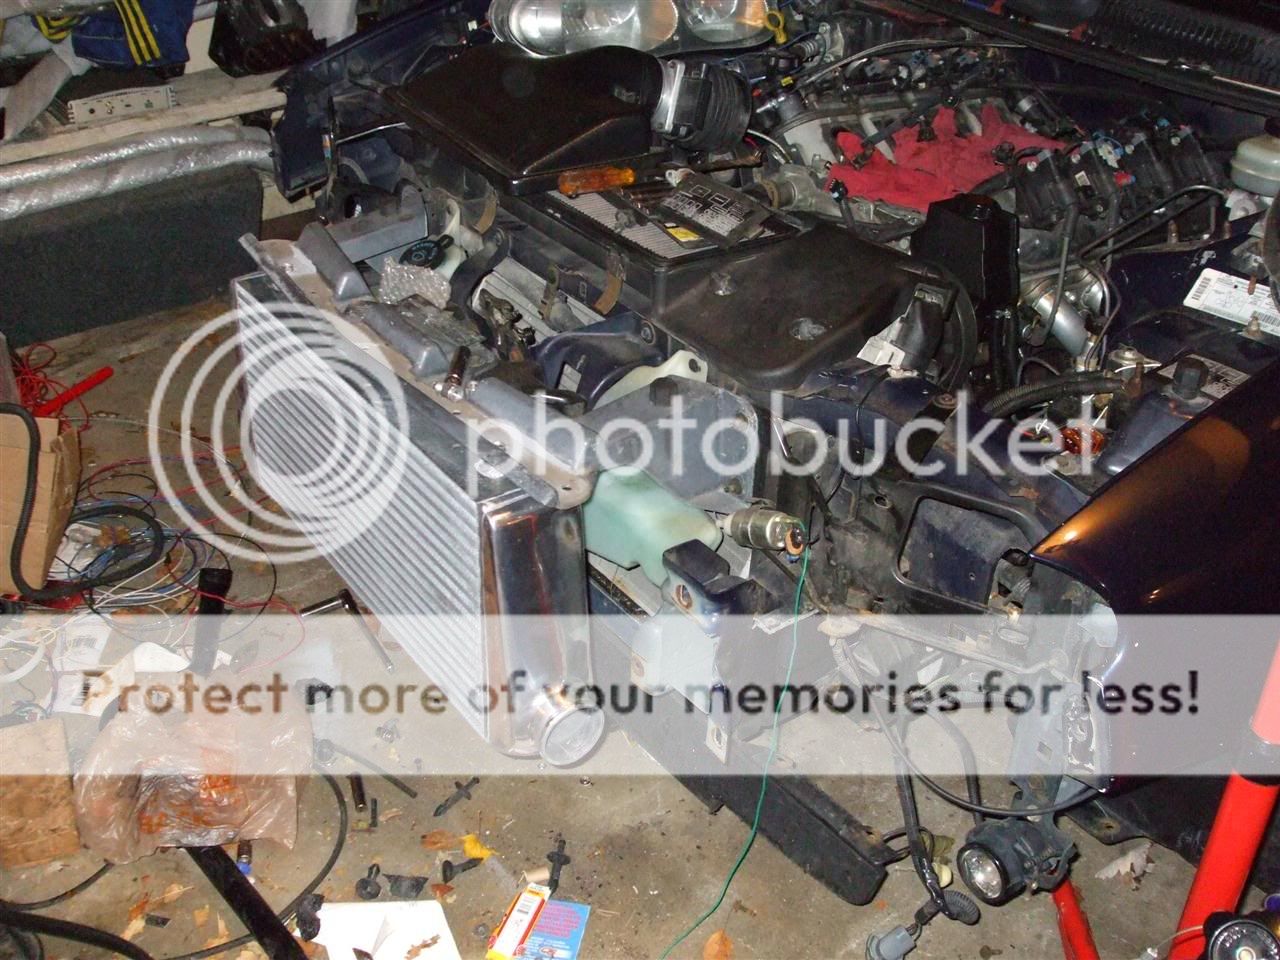
Here are some pics of how I have it now.. Please provide some feedback, im starting to think this will be sticking out to far to get the bumper to clear the pipes coming off the pass. side.
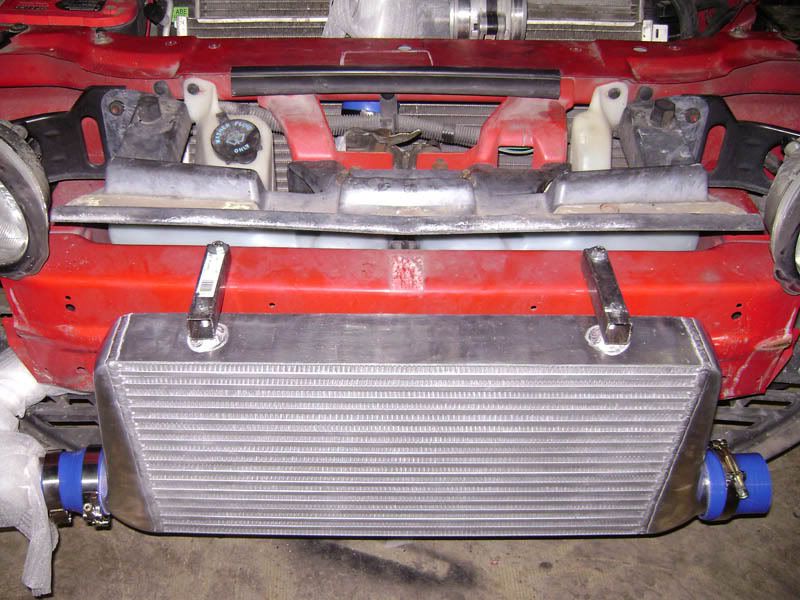
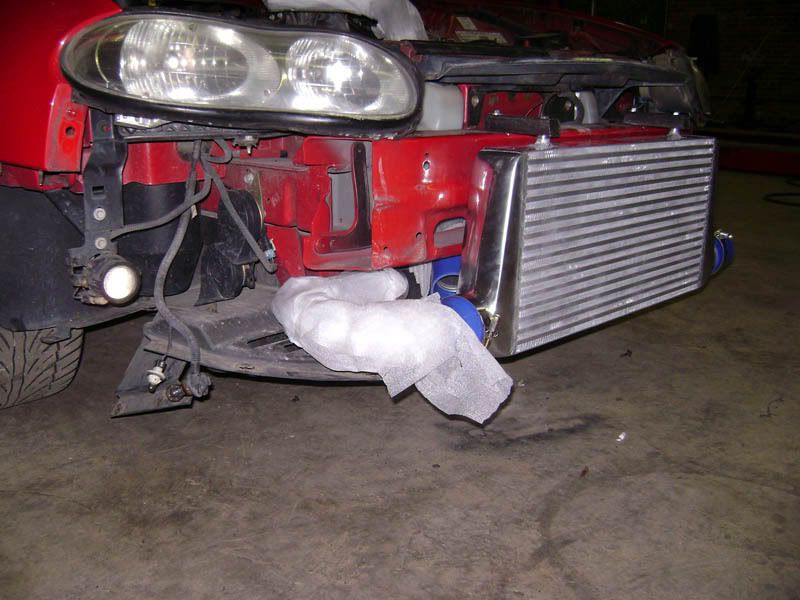


I pulled the big bumper support/brace and mounted the intercooler on that gray piece of plastic that the top of the bumper cover sits on. That's probably where I'm going to keep it, I just need to add a brace under the IC to mount to where the bumper support used to be. I'm going to try to use some of the foam again to keep the bumper cover from sagging and such, but we'll see how it goes once I get the piping finalized and the bumper cover back on. As it is right now, the IC is EXACTLY where I want it, and my piping will line up about perfect...and it will all tuck behind the bumper cover perfectly.
Thread Starter
TECH Enthusiast
iTrader: (9)
Joined: Oct 2005
Posts: 702
Likes: 0
From: Greenville, Raleigh NC
I pulled the big bumper support/brace and mounted the intercooler on that gray piece of plastic that the top of the bumper cover sits on. That's probably where I'm going to keep it, I just need to add a brace under the IC to mount to where the bumper support used to be. I'm going to try to use some of the foam again to keep the bumper cover from sagging and such, but we'll see how it goes once I get the piping finalized and the bumper cover back on. As it is right now, the IC is EXACTLY where I want it, and my piping will line up about perfect...and it will all tuck behind the bumper cover perfectly.
I wish I had a pic of it with the bumper off, but I don't. Where you have the brakets bolted to the brace is about where my holes are except my IC is basically sitting inside the cross brace. It only blocks a couple inches at the top of the IC and I notched the styrofoam so it didn't block airflow. I was afraid w/o the styrofoam that the bumper would eventually get ripples and waves in it when summer and 100+ temp days started rolling around.
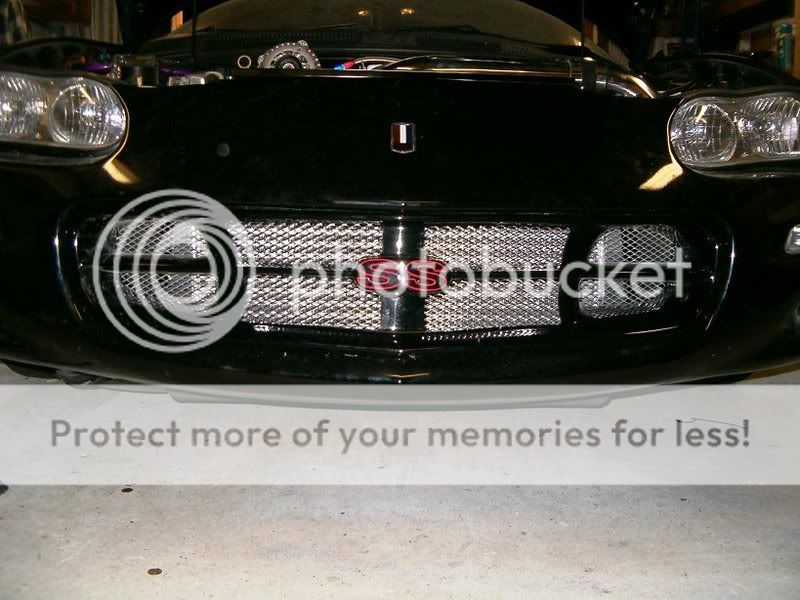
There's another resent IC thead where I have a finished pic. If you look closely you can see the IC, but I put alum mesh over the holes to keep trash and small animals off the intercooler. Looks like it'll get good airflow.
There's another resent IC thead where I have a finished pic. If you look closely you can see the IC, but I put alum mesh over the holes to keep trash and small animals off the intercooler. Looks like it'll get good airflow.
Thread Starter
TECH Enthusiast
iTrader: (9)
Joined: Oct 2005
Posts: 702
Likes: 0
From: Greenville, Raleigh NC
so you took your washer sprayer tank out and out it there? Do you have any pics .. the piping or anything? seems like it will be a hard turn to make from the intercooler to the intake that far back. Thanks for the help though.
Batteries are dead on my camera.
I have the 3" IC. It sets only 1/2 inch infront of the washer tank. The pipping is alittle cramped, but none of the turns are over 90 degrees. The turbo is infront of the crank pulley so the charge pipe goes straight over to the pass side and then turns up and forward, then back down aliitle and into the IC. Comes out on the other side about 6" makes about a 90 at angle upwards and goes into the engine bay where the fuse panels are thes another 90 just before it comes throught there. Then I just brought it up level with the TB, I have a 4" to 3" reducer on a 45 and it runnes over to that last 90 at the fuse panels. I now it's might be hard to picture all of this.
As far as the crossbrass is concerned my IC is inside of it. I notched the enginebay side sraight across the top and the IC sticks out past it about 3/4". I hope I didn't get to confusing with all this.

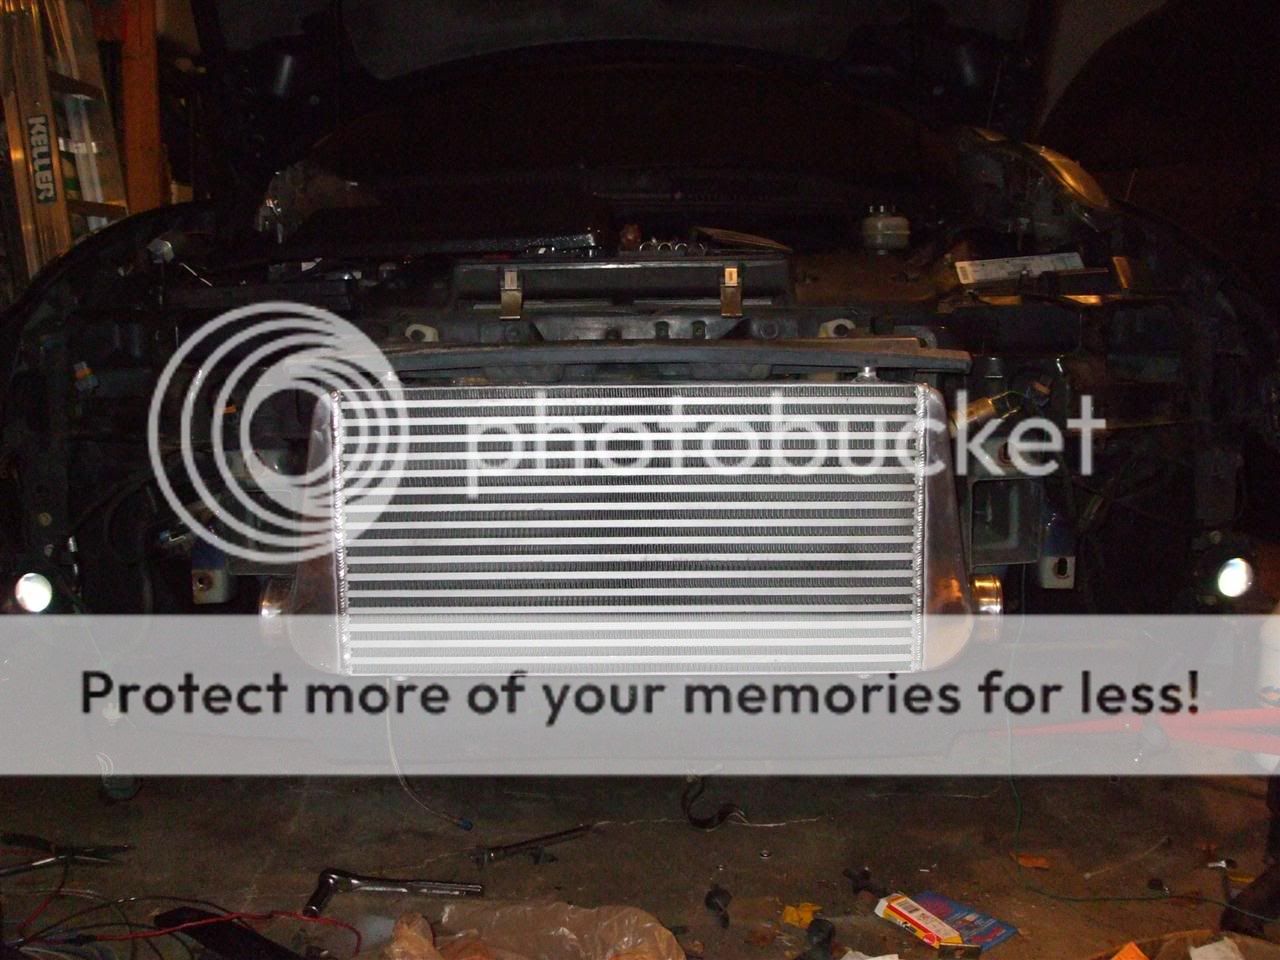
Here's what it is going to look like afterwards..except I'm having the wire mesh painted black to match the cut-up grill. It'll look more stock, plus it'll make the intercooler "pop" out 
Pics below courtesy of CountryBoy hope he doesn't mind me whoring them out
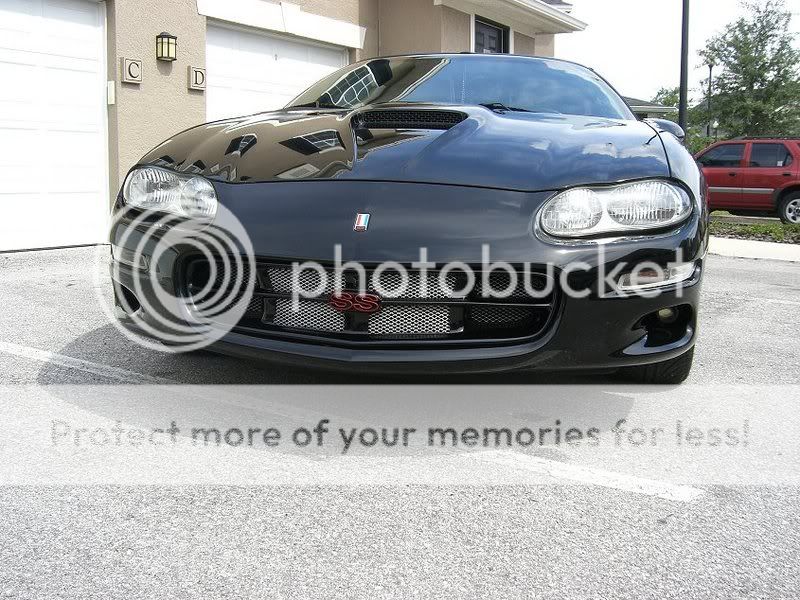
Pics below courtesy of CountryBoy hope he doesn't mind me whoring them out