

 05-20-2016, 11:17 AM
Last edit by: IB Advertising
See related guides and technical advice from our community experts:
Browse all: Chevrolet Camaro or Pontiac Firebird Engine Guides
- Camaro and Firebird How to Change Serpentine Belt<br>Step by step instructions for do-it-yourself repairs.
Browse all: Chevrolet Camaro or Pontiac Firebird Engine Guides

any write ups on how to change serpentine & AC belt on an ls1?
03-22-2008, 05:32 PM
#1
TECH Apprentice
Thread Starter

Join Date: Oct 2006
Location: midwest
Posts: 371
Likes: 0
Received 0 Likes
on
0 Posts
hey, so i have a lot of free time now and have decided that i want to start working and learning my car myself instead of paying people. i know this is real newbish but im just a kid with no real car experience. sorry, i grew up in a family where we paid everybody to do stuff for us. but we all gotta start somewhere right?
so; are there any write ups on how to change a serpentine and AC belt on an ls1?
thanks
i really wanna do everything myself now
so; are there any write ups on how to change a serpentine and AC belt on an ls1?
thanks
i really wanna do everything myself now
 03-22-2008, 06:14 PM
#4
LS1Tech Administrator
iTrader: (3)
Join Date: Nov 2001
Location: Schiller Park, IL Member: #317
Posts: 32,375
Likes: 0
Received 1,806 Likes
on
1,287 Posts

It's extremely simple. If you have any mechanical abilities, this will be a super easy job, even the first time you do it. All you need to do is put a 15mm socket or wrench on the tensioner pulley bolt and push as though you are tightening the bolt. Tensioner pulley is the one on the top passenger side of the engine. You will notice the pulley assembly begin to move and the belt will become loose. Easy stuff.  Same process for the A/C belt, but I think that one is a 13mm bolt. And you can't change the A/C belt until the main belt is removed.
Just make sure to follow the belt routing diagram on the strut tower when installing the new belt.
Same process for the A/C belt, but I think that one is a 13mm bolt. And you can't change the A/C belt until the main belt is removed. Just make sure to follow the belt routing diagram on the strut tower when installing the new belt.
03-22-2008, 06:40 PM
#5
Staging Lane
Join Date: Aug 2007
Location: Plant City, FL
Posts: 58
Likes: 0
Received 0 Likes
on
0 Posts
^Yeah that's the basics, it's like a fifteen minute job, I'll write it up a bit more in depth and add pics, I'm pretty sure the A/C is a 15mm, I'll check.
The how-to with pics:
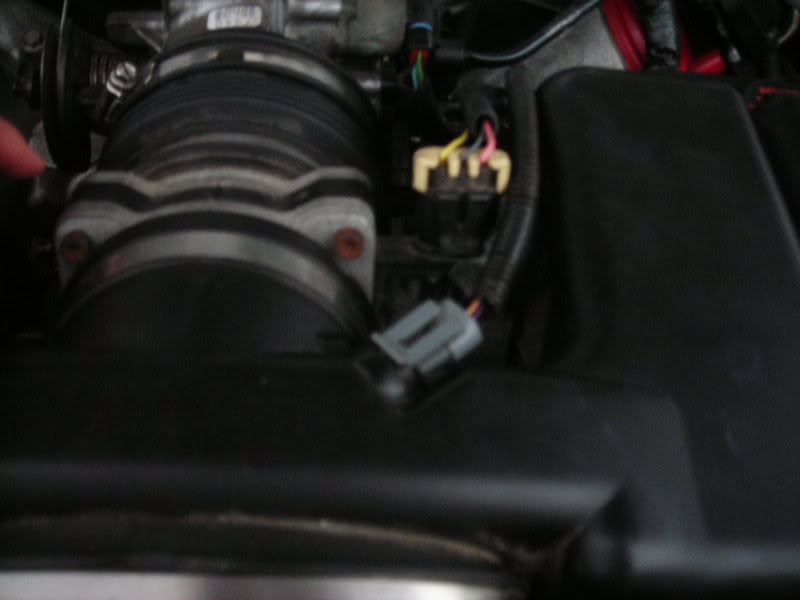
1st: Kinda obvious but you need to do it, open the hood. You should see something like this (minus the duct tape holding the baffle down lol):

Then loosen and remove your air lid baffle by loosening the screw and undoing the two plugs unless you just want to set it atop the motor.
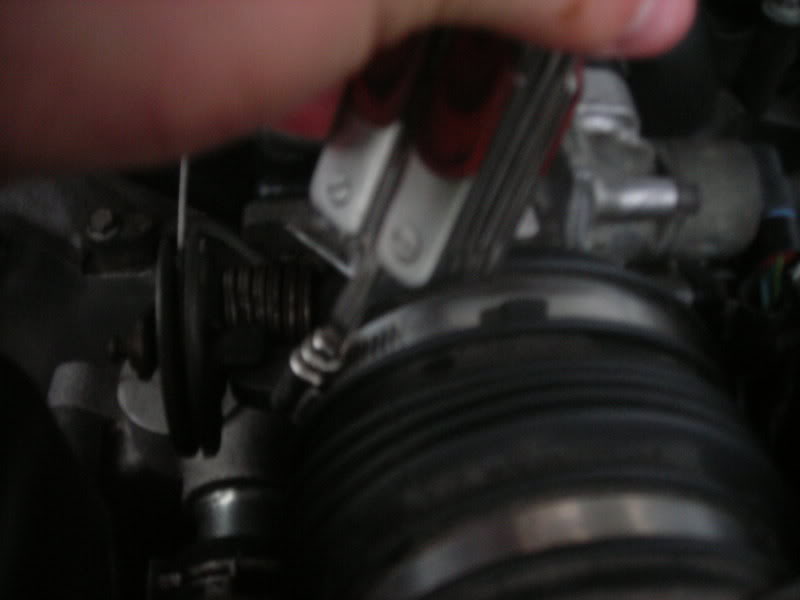
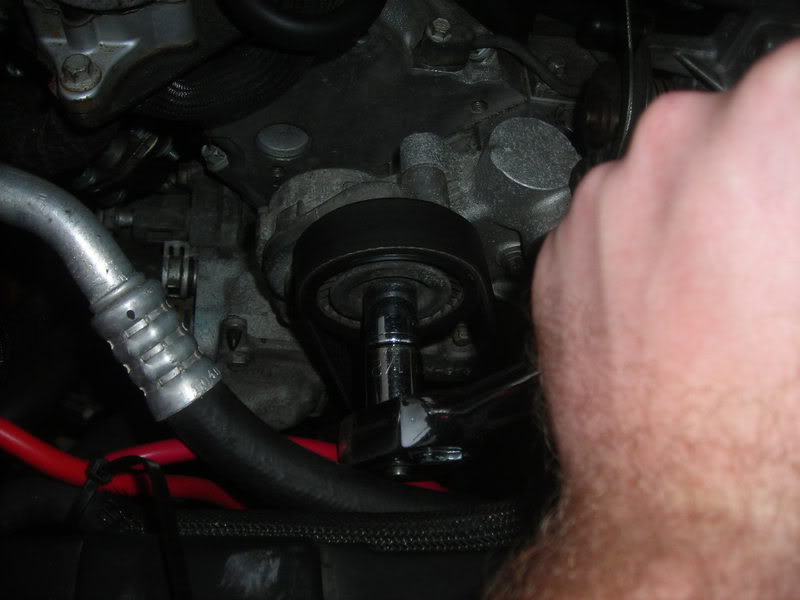
The main belt tensioner (pictured) is a 15 mm bolt, turn it as if to tighten it. It will move to the right and you will be able to pull the belt off.
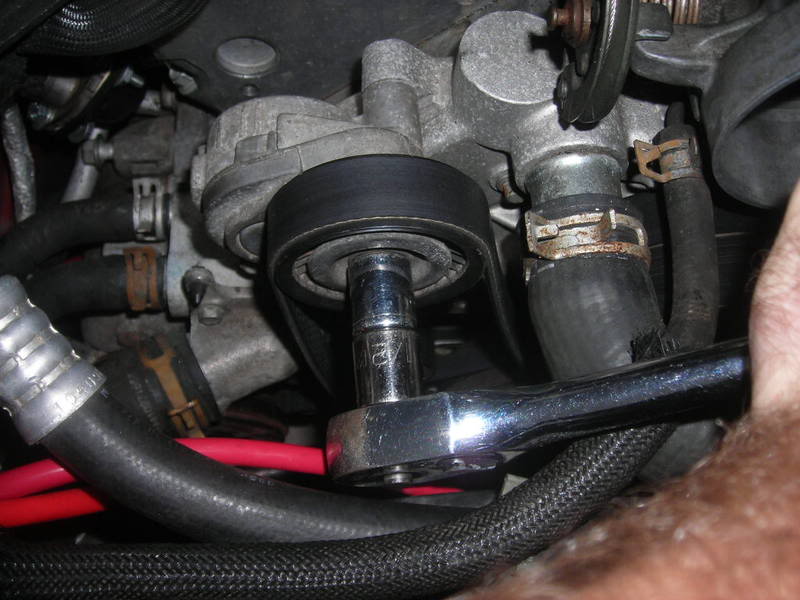
Once you have the belt off, the A/C belt has two tensioners, one above the belt, one below. I checked, it is indeed a 15mm head, you only have to move the bottom tensioner. Turn it downward, and then refer to your belt diagram and put the belts back on the same way. And the belts are auto-tensioned by the tensioners so you don't need to worry about that.
Once the new belts are on, replace the filter housing. You may not need to take it off, but I do because I still have the stock lid and that big baffle behind it blocks my fat arms.
The how-to with pics:
1st: Kinda obvious but you need to do it, open the hood. You should see something like this (minus the duct tape holding the baffle down lol):
Then loosen and remove your air lid baffle by loosening the screw and undoing the two plugs unless you just want to set it atop the motor.
The main belt tensioner (pictured) is a 15 mm bolt, turn it as if to tighten it. It will move to the right and you will be able to pull the belt off.
Once you have the belt off, the A/C belt has two tensioners, one above the belt, one below. I checked, it is indeed a 15mm head, you only have to move the bottom tensioner. Turn it downward, and then refer to your belt diagram and put the belts back on the same way. And the belts are auto-tensioned by the tensioners so you don't need to worry about that.
Once the new belts are on, replace the filter housing. You may not need to take it off, but I do because I still have the stock lid and that big baffle behind it blocks my fat arms.
03-22-2008, 06:44 PM
#6
LS1Tech Administrator
iTrader: (3)
Join Date: Nov 2001
Location: Schiller Park, IL Member: #317
Posts: 32,375
Likes: 0
Received 1,806 Likes
on
1,287 Posts
Holy ****, you have a '98 that's still got the stock air lid after 10 years!? 
03-22-2008, 06:45 PM
#7
Staging Lane
Join Date: Aug 2007
Location: Plant City, FL
Posts: 58
Likes: 0
Received 0 Likes
on
0 Posts
lol yeah I spun a rod bearing and had to rebuild the sucker, and the other mods I got in package deals with the replacement stuff, then I ran out of money... I got it in 06 stock except for a Flowmaster muffler mated to the stock tips, now it's got some mods, the next one is a lid and a tune.
I got it in 06 stock except for a Flowmaster muffler mated to the stock tips, now it's got some mods, the next one is a lid and a tune. Trending Topics

 03-29-2008, 12:31 AM
#9

 03-29-2008, 12:44 PM
#11
+1 on buying a tool set, id get an all metric set as you wont use very many standard sizes on any of the newer cars and when you do just go and buy that tool if youre gonna do that job a few times if not just borrow it.
03-29-2008, 05:25 PM
#13
Staging Lane

Join Date: Mar 2007
Location: Oklahoma
Posts: 91
Likes: 0
Received 0 Likes
on
0 Posts
Hey man i give you props for starting to work on your own car. Working on your on car will give you a new found respect for it. Sometimes it takes a bit to learn but its definately somthing you wont regret in the future

 04-24-2012, 09:44 AM
#17

Make sure you get a quality replacement belt. You don't want to start hearing a lot of squeaking and other racket. I recommend a Gaterback belt like Advance Auto sells. They run quieter and I've never had one thrown off at high rpms.
