General Maintenance & Repairs Leaks | Squeaks | Clunks | Rattles | Grinds

PS pump repair in PICS !

Thread Tools
 
Search this Thread
 
Old 11-11-2017, 01:09 AM
  #1  
TECH Senior Member
Thread Starter
iTrader: (1)
 
sjsingle1's Avatar
 
Join Date: Feb 2010
Location: Fort Worth TX
Posts: 6,498
Received 215 Likes on 176 Posts

Default PS pump repair in PICS !

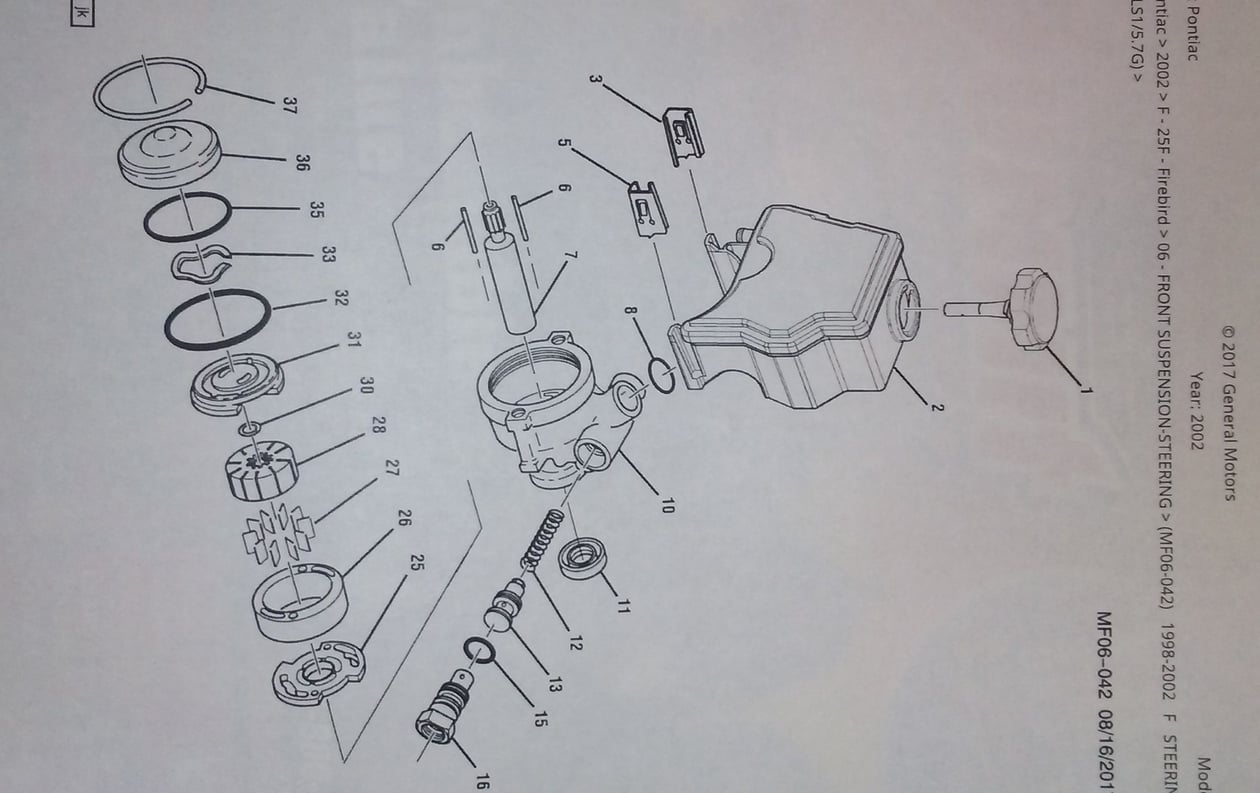
rebuilding the Saginaw (Type 2) TC PS pump !! The top secret rebuild info no one wants you to know !!

Finally got her dun .....here is what ya need

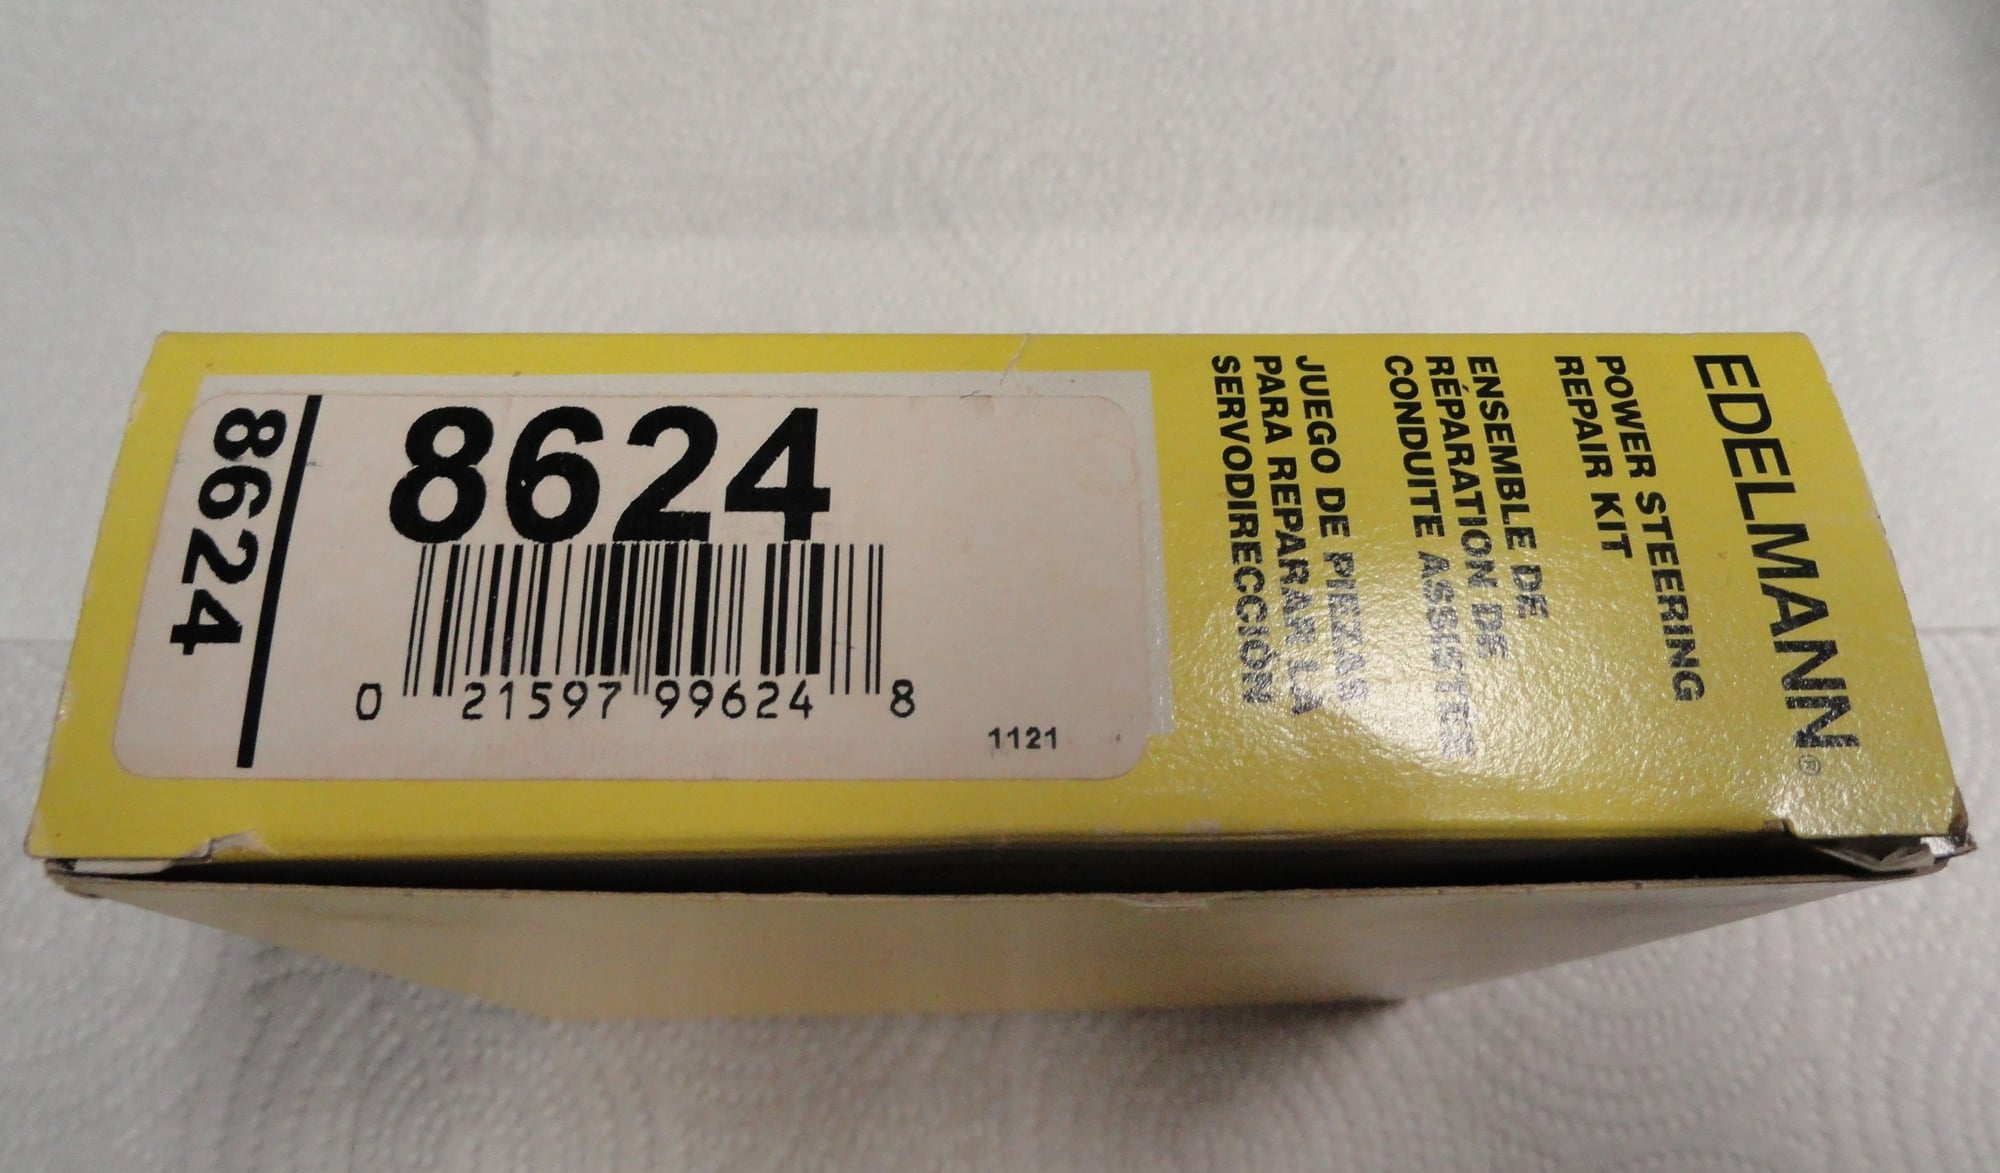
seal kit...I used a edelmann part.....or you can use GM 26053277
ring kit ...GM 26046606
small screw driver.....sharpened
punch... 3/32
press.... i used the larger harbor freight one ( 2 tons? )
22 mm wrench or socket
3/8 allen
pick and hook set
rubber mallet
assembly lube...I used lucas...green n sticky
vasaline....use it on the seals

much kudos to PSC Motorsports in Azle TX for allowing me to pick their brains to find out how to do this as I know of no manual available for repair ( and neither did PSC ) , they do all steering systems for any car or truck but specialize in 4x4 stuff...hit em up if ya need em

follow along......

Last edited by sjsingle1; 11-12-2017 at 02:56 AM. Reason: corrected to Saginaw (Type 2) and capitalized Saginaw to properly honor the fine people of the namesake city in Michigan.
The following users liked this post:
Vroom! (11-25-2021)
Old 11-11-2017, 01:10 AM
  #2  
TECH Senior Member
Thread Starter
iTrader: (1)
 
sjsingle1's Avatar
 
Join Date: Feb 2010
Location: Fort Worth TX
Posts: 6,498
Received 215 Likes on 176 Posts

Default

Old 11-11-2017, 01:10 AM
  #3  
TECH Senior Member
Thread Starter
iTrader: (1)
 
sjsingle1's Avatar
 
Join Date: Feb 2010
Location: Fort Worth TX
Posts: 6,498
Received 215 Likes on 176 Posts

Default

Old 11-11-2017, 01:11 AM
  #4  
TECH Senior Member
Thread Starter
iTrader: (1)
 
sjsingle1's Avatar
 
Join Date: Feb 2010
Location: Fort Worth TX
Posts: 6,498
Received 215 Likes on 176 Posts

Default

Old 11-11-2017, 01:11 AM
  #5  
TECH Senior Member
Thread Starter
iTrader: (1)
 
sjsingle1's Avatar
 
Join Date: Feb 2010
Location: Fort Worth TX
Posts: 6,498
Received 215 Likes on 176 Posts

Default


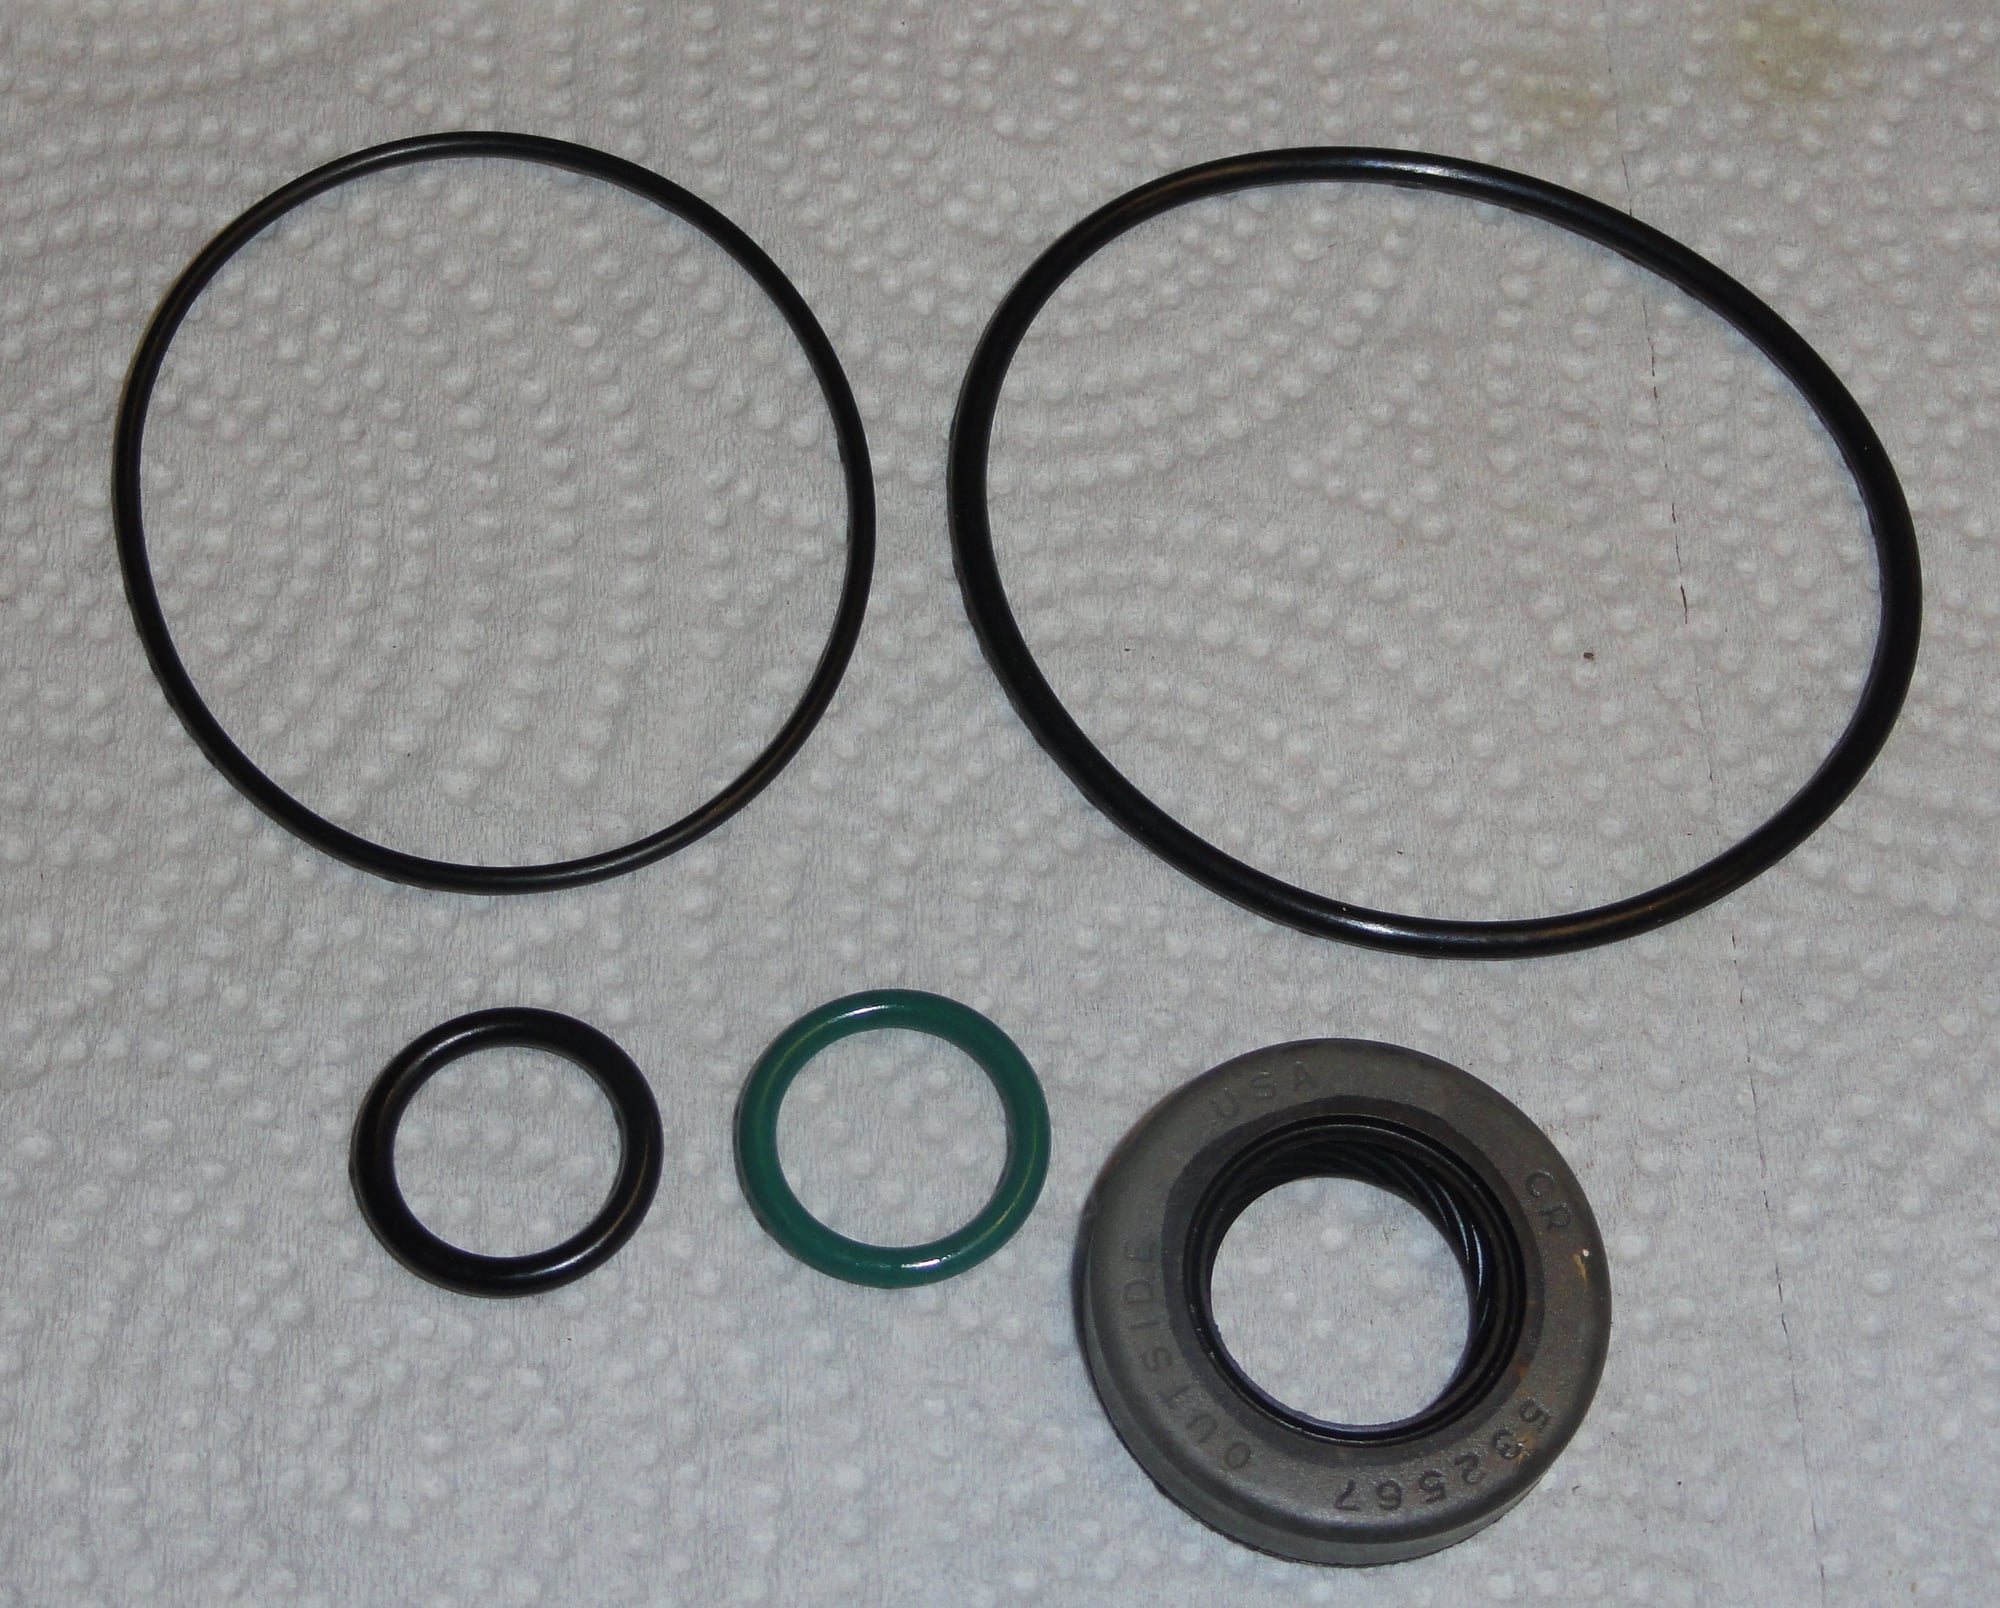
the big O ring goes in the housing....smaller of the big O rings goes in the outer cover

small black for the reservoir....small green on the pressure valve nut

seal...self explanatory

Last edited by sjsingle1; 11-11-2017 at 02:03 AM.
Old 11-11-2017, 01:12 AM
  #6  
TECH Senior Member
Thread Starter
iTrader: (1)
 
sjsingle1's Avatar
 
Join Date: Feb 2010
Location: Fort Worth TX
Posts: 6,498
Received 215 Likes on 176 Posts

Default


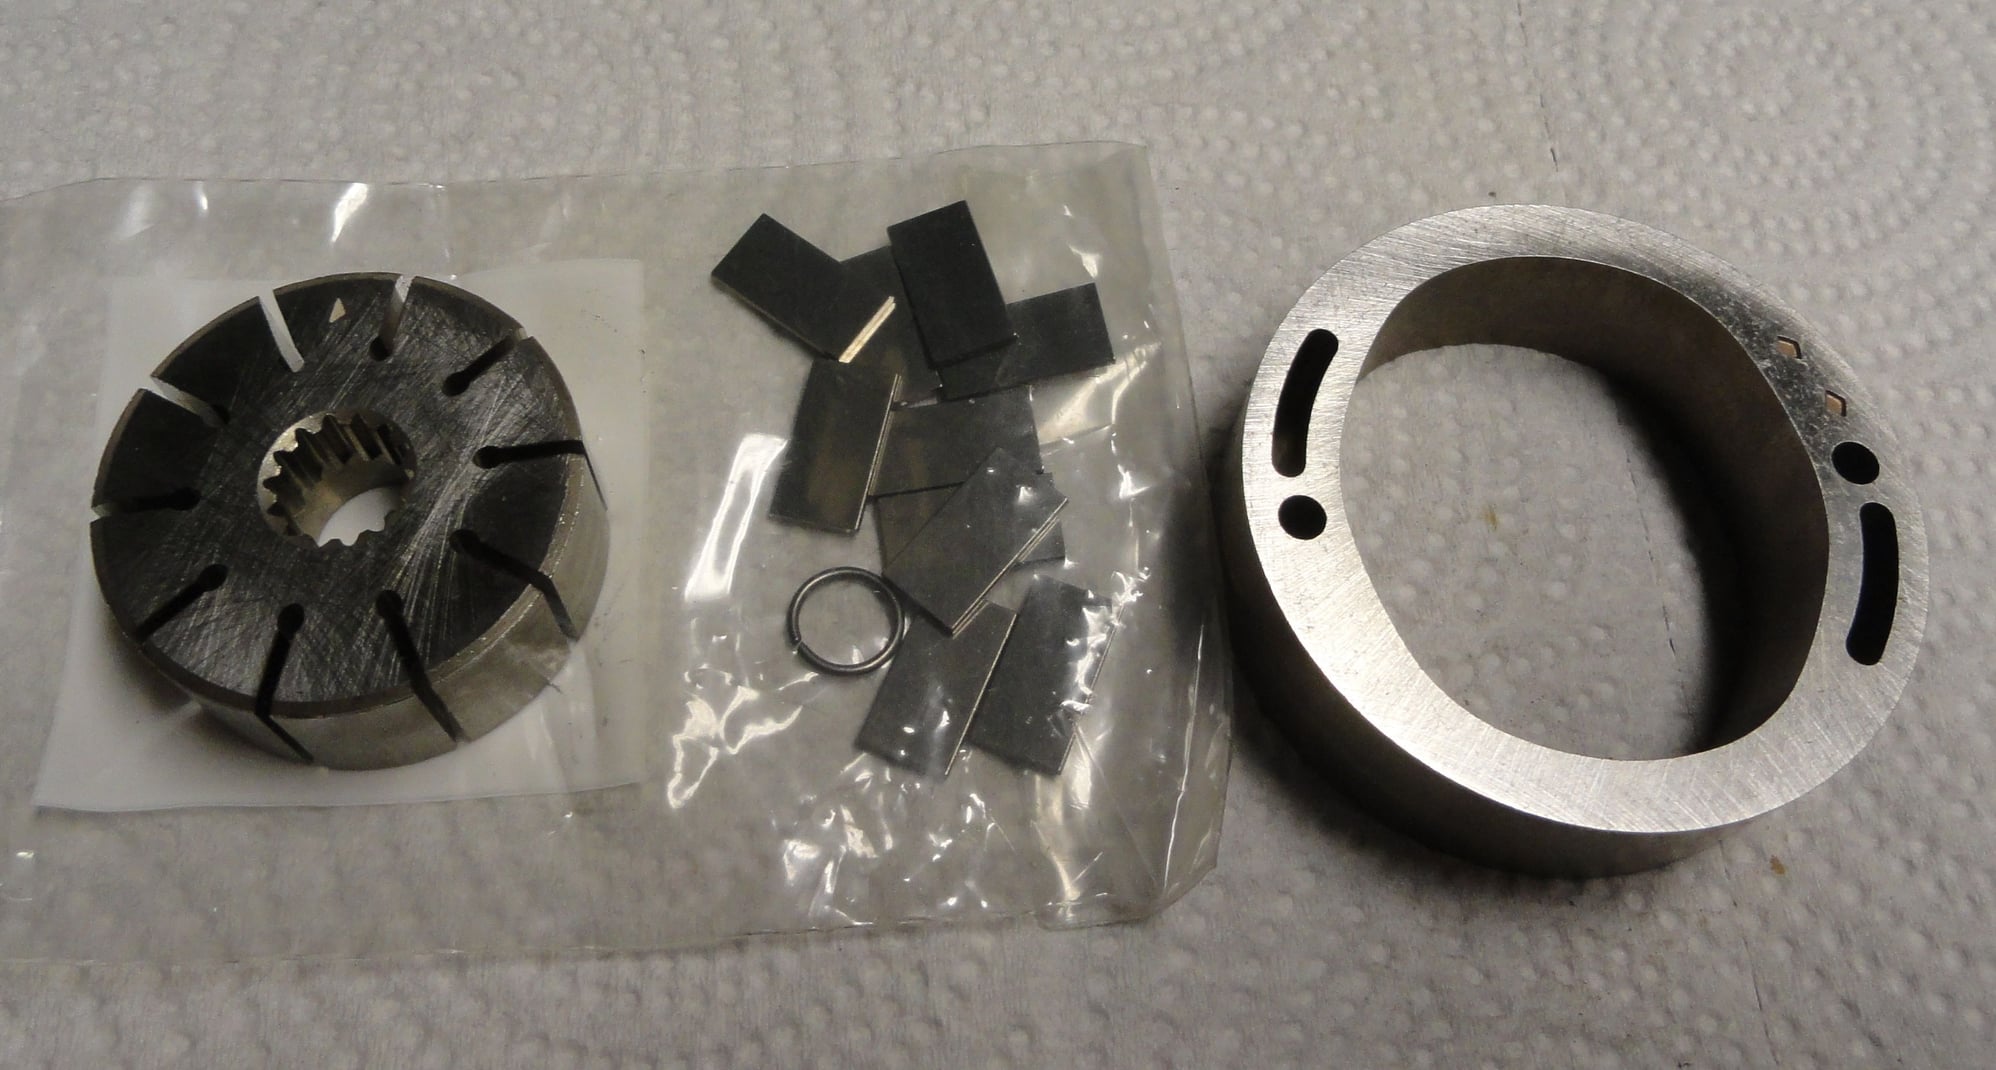
GM ring kit

inner rotor and rotor housing....vanes ...10 of em !

Last edited by sjsingle1; 11-11-2017 at 02:20 AM.
Old 11-11-2017, 01:12 AM
  #7  
TECH Senior Member
Thread Starter
iTrader: (1)
 
sjsingle1's Avatar
 
Join Date: Feb 2010
Location: Fort Worth TX
Posts: 6,498
Received 215 Likes on 176 Posts

Default


vanes and the PITA retaining ring
Old 11-11-2017, 01:16 AM
  #8  
TECH Senior Member
Thread Starter
iTrader: (1)
 
sjsingle1's Avatar
 
Join Date: Feb 2010
Location: Fort Worth TX
Posts: 6,498
Received 215 Likes on 176 Posts

Default


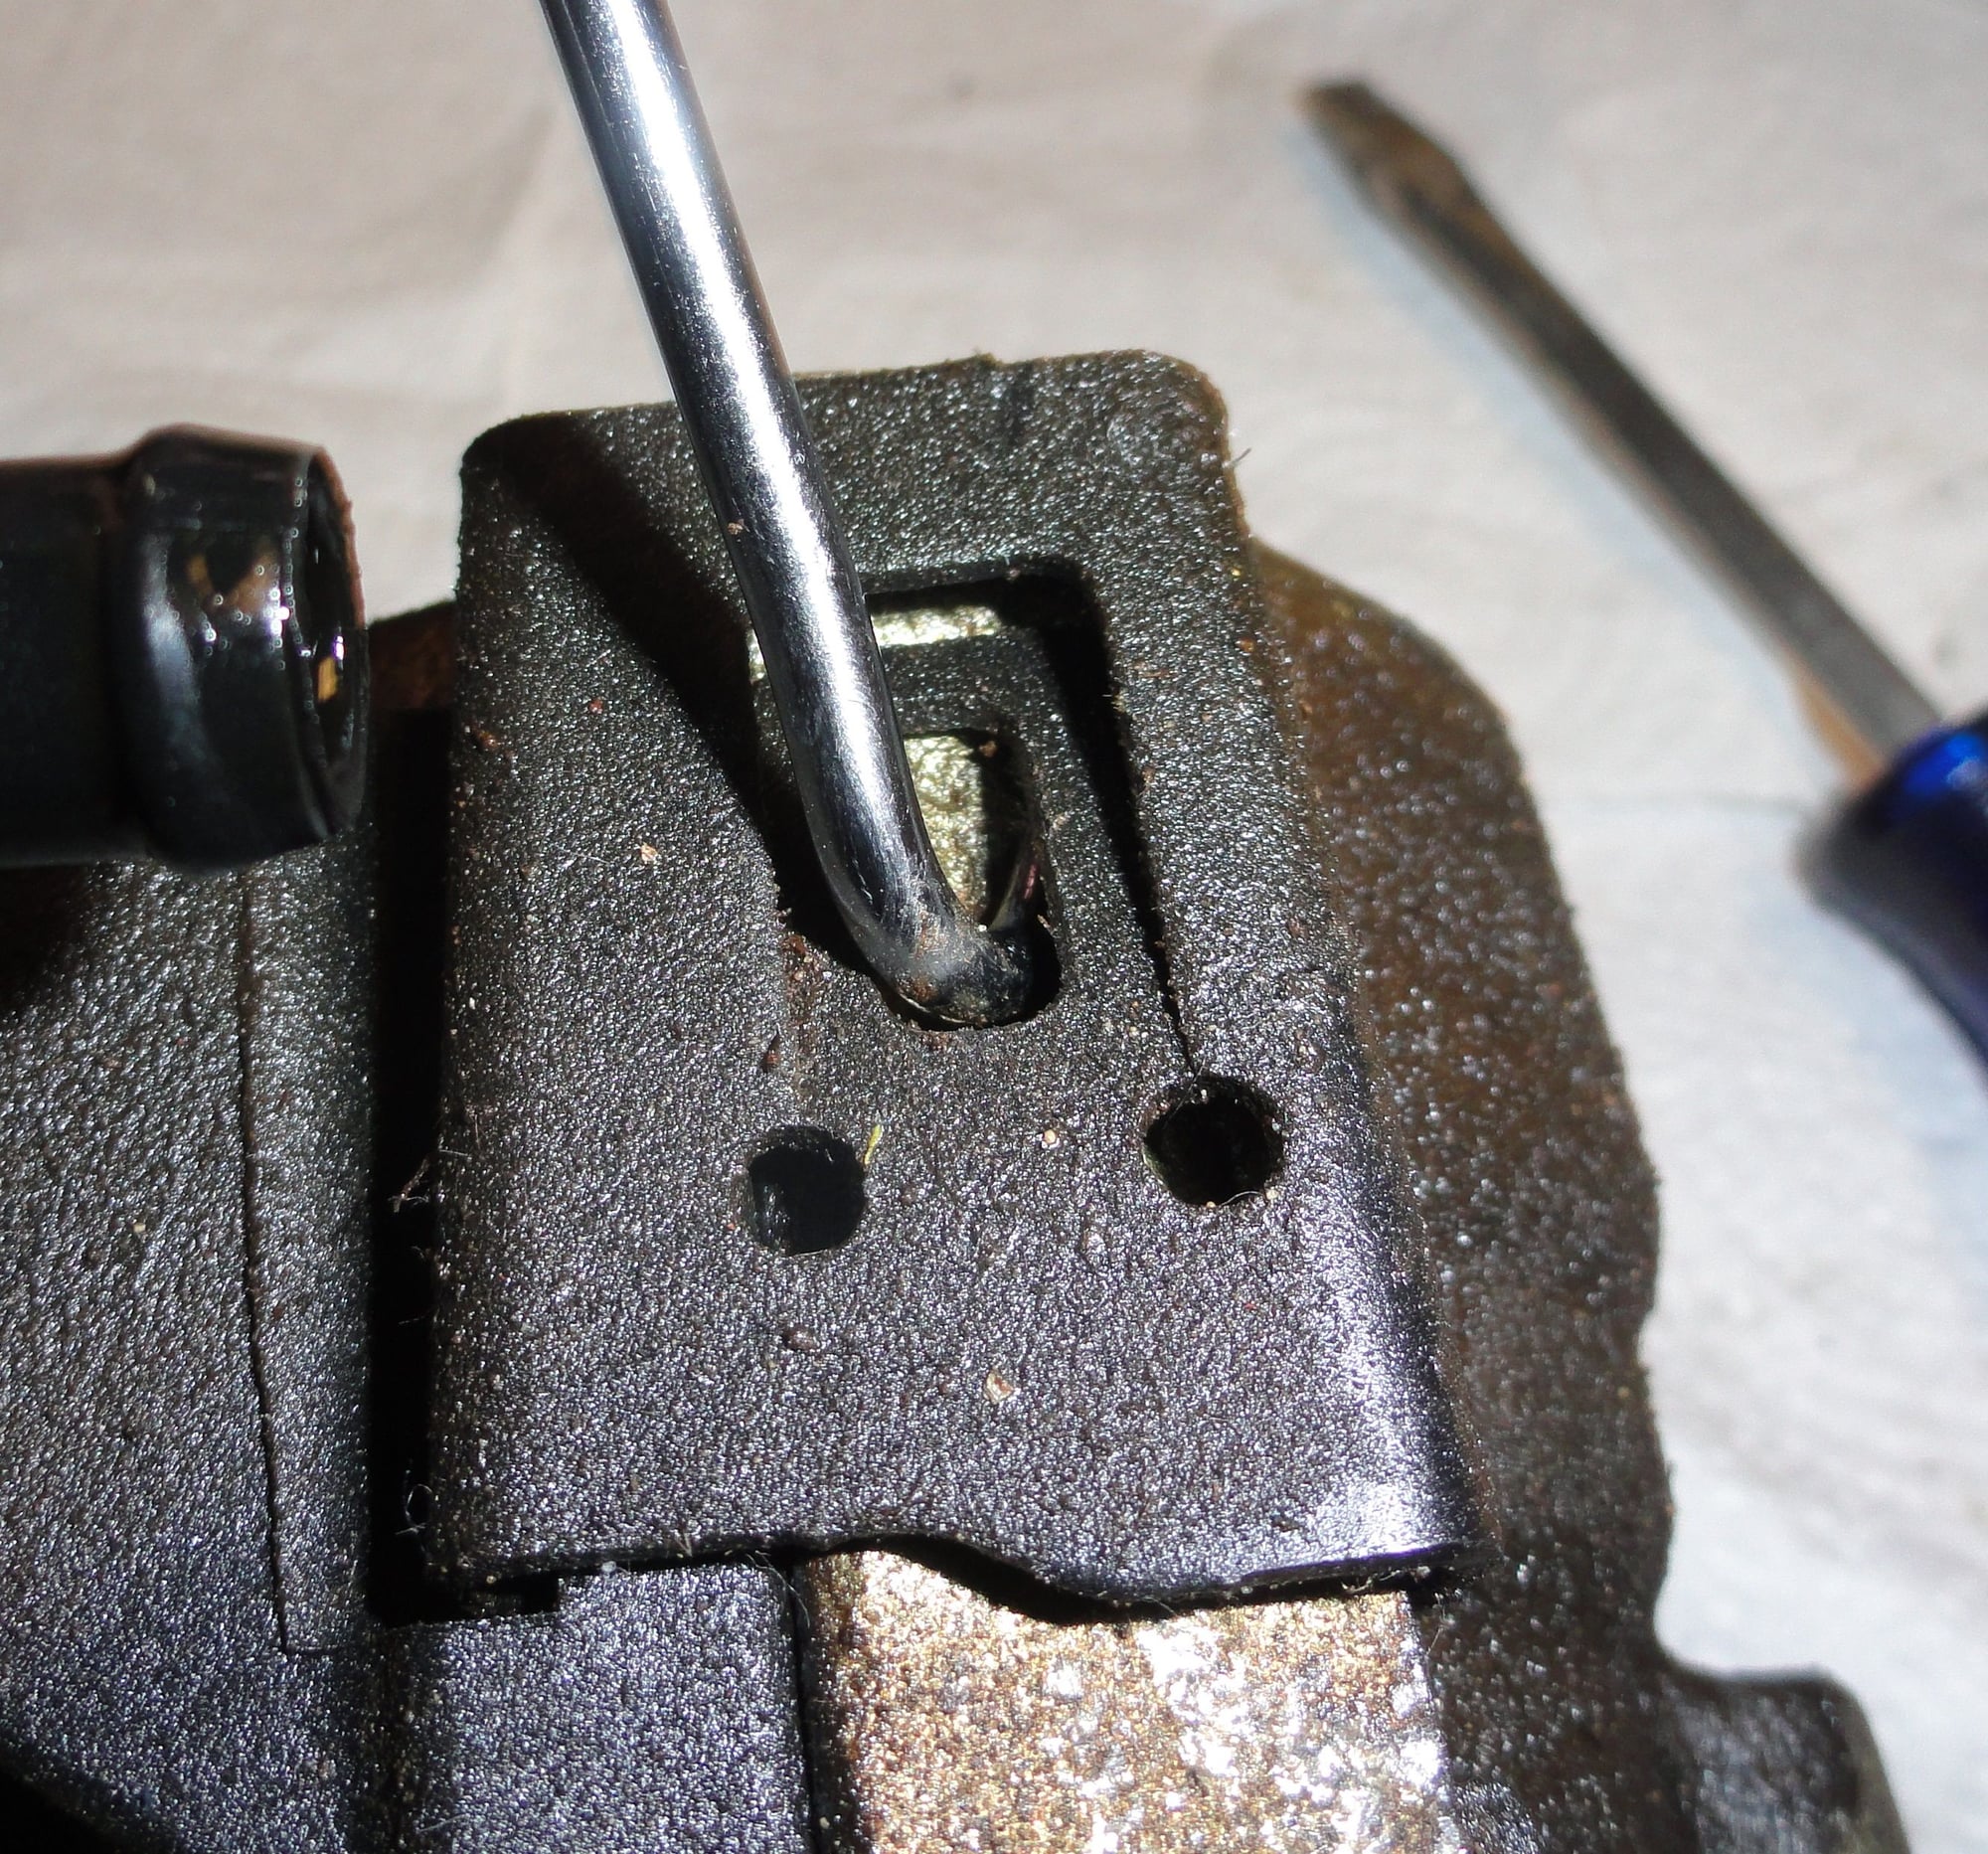
first step....remove resevoir....to do that ya gotta get the clips off

I used a hook from a pick and hook tool kit

lift up on the inner tab and punch the other side of the edge of the clip with a screwdriver to push the clip off...if ya got a friend to help MUCH easier

pull off the reservoir and notice how bad the O ring is ....leak city !!!

Last edited by sjsingle1; 11-11-2017 at 02:22 AM.
Old 11-11-2017, 01:19 AM
  #9  
TECH Senior Member
Thread Starter
iTrader: (1)
 
sjsingle1's Avatar
 
Join Date: Feb 2010
Location: Fort Worth TX
Posts: 6,498
Received 215 Likes on 176 Posts

Default


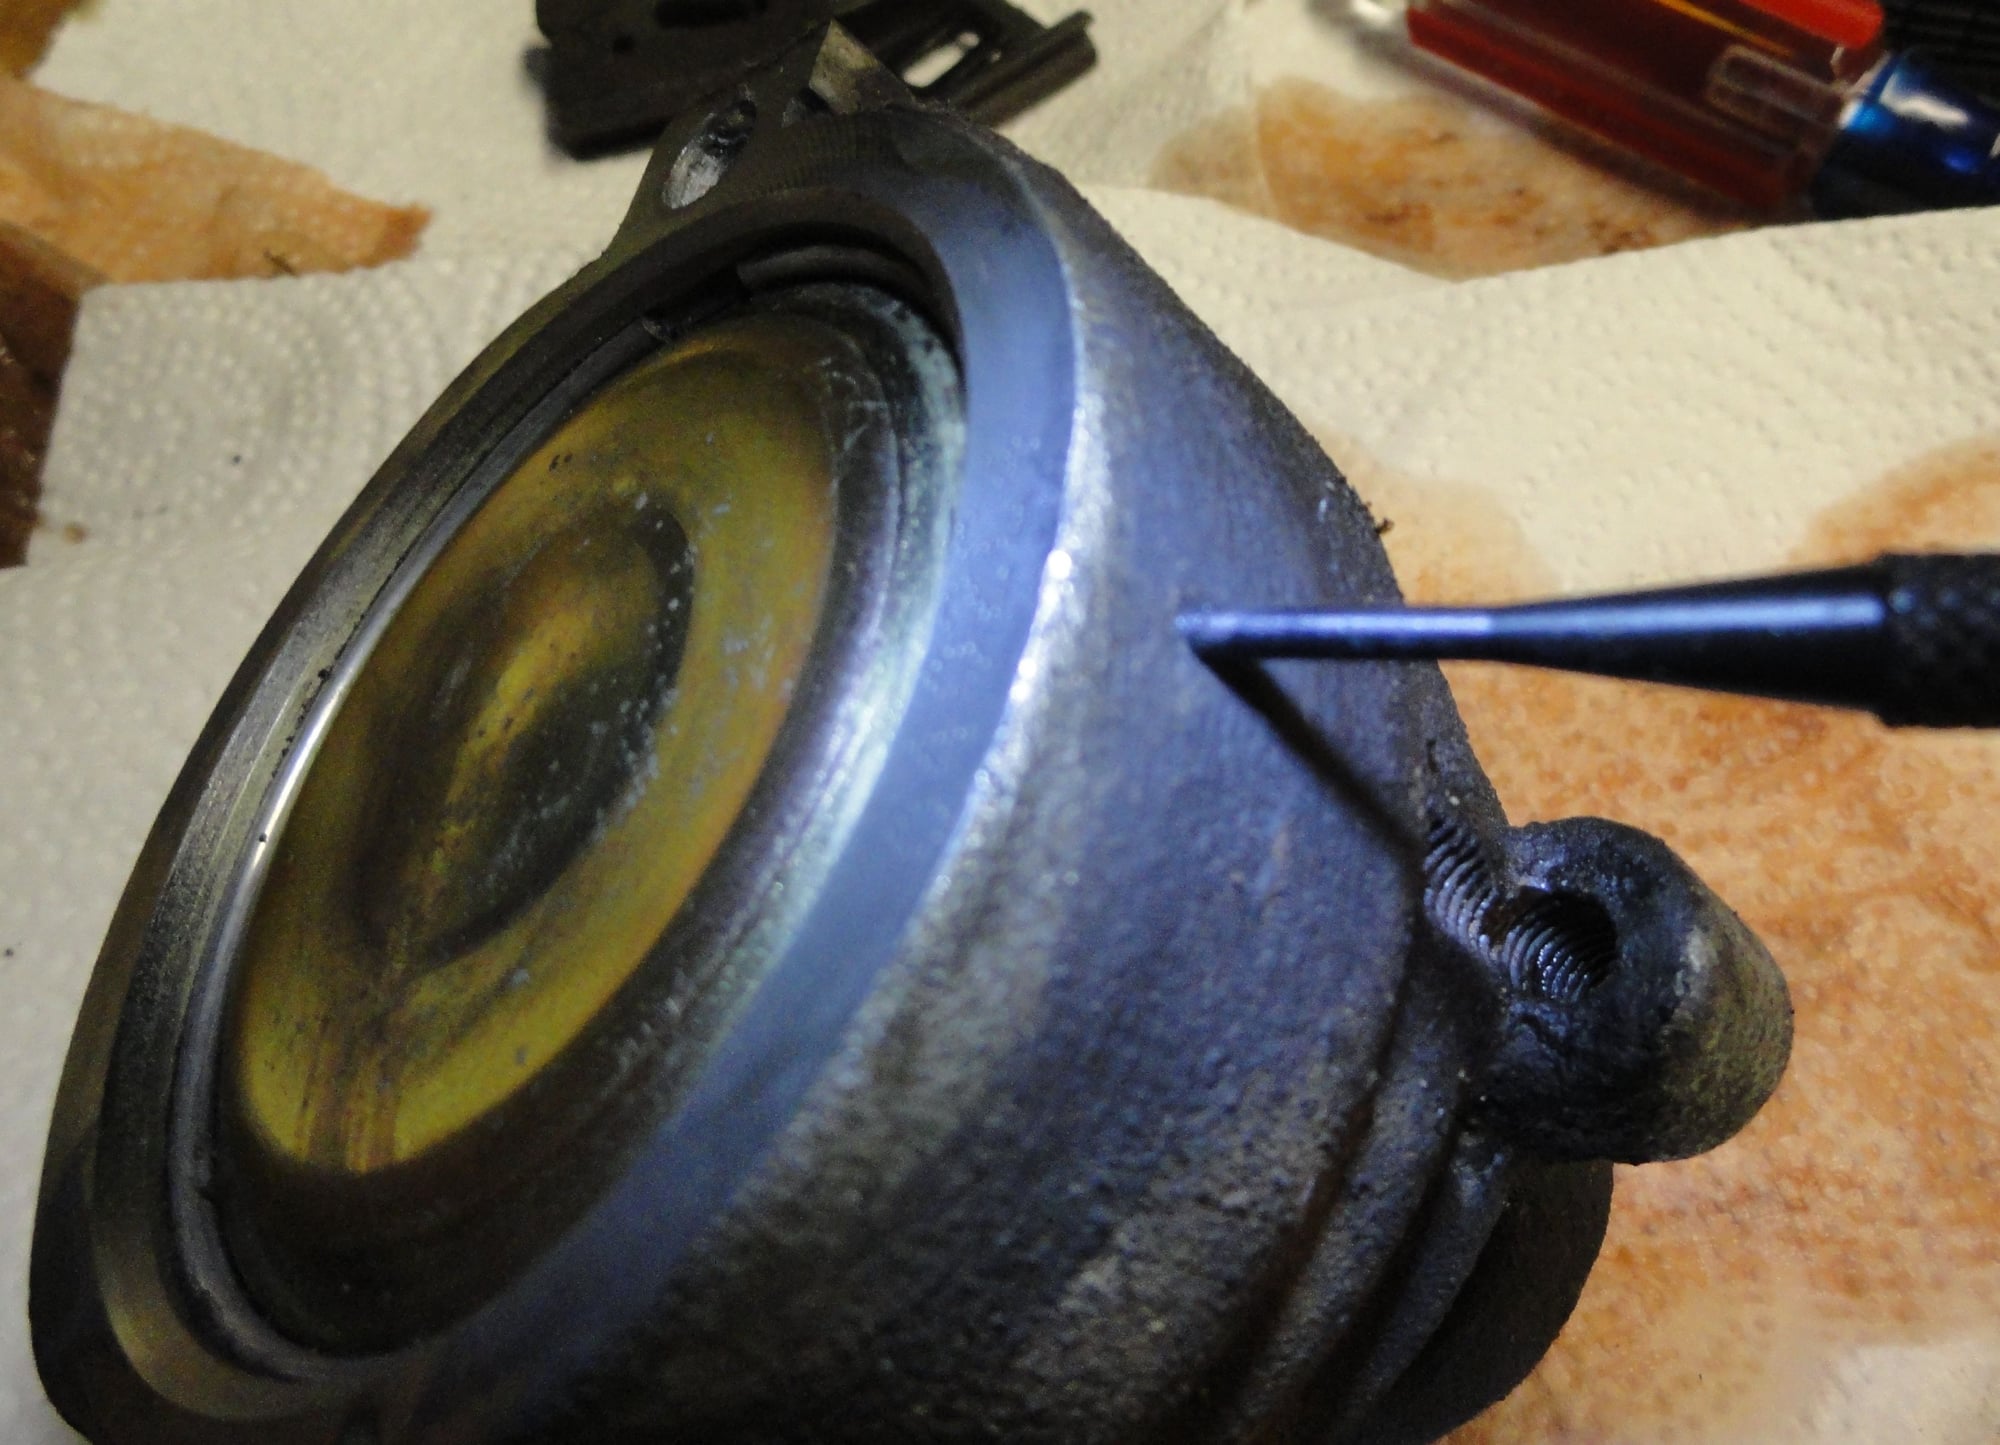
next step ...get the ring retainer out of the back cover

there is a small hole on the bottom of the pump ...use the 3/32 punch to dislodge it out of the recess
Old 11-11-2017, 01:20 AM
  #10  
TECH Senior Member
Thread Starter
iTrader: (1)
 
sjsingle1's Avatar
 
Join Date: Feb 2010
Location: Fort Worth TX
Posts: 6,498
Received 215 Likes on 176 Posts

Default


use the small screwdriver to go around and remove the ring
Old 11-11-2017, 01:21 AM
  #11  
TECH Senior Member
Thread Starter
iTrader: (1)
 
sjsingle1's Avatar
 
Join Date: Feb 2010
Location: Fort Worth TX
Posts: 6,498
Received 215 Likes on 176 Posts

Default


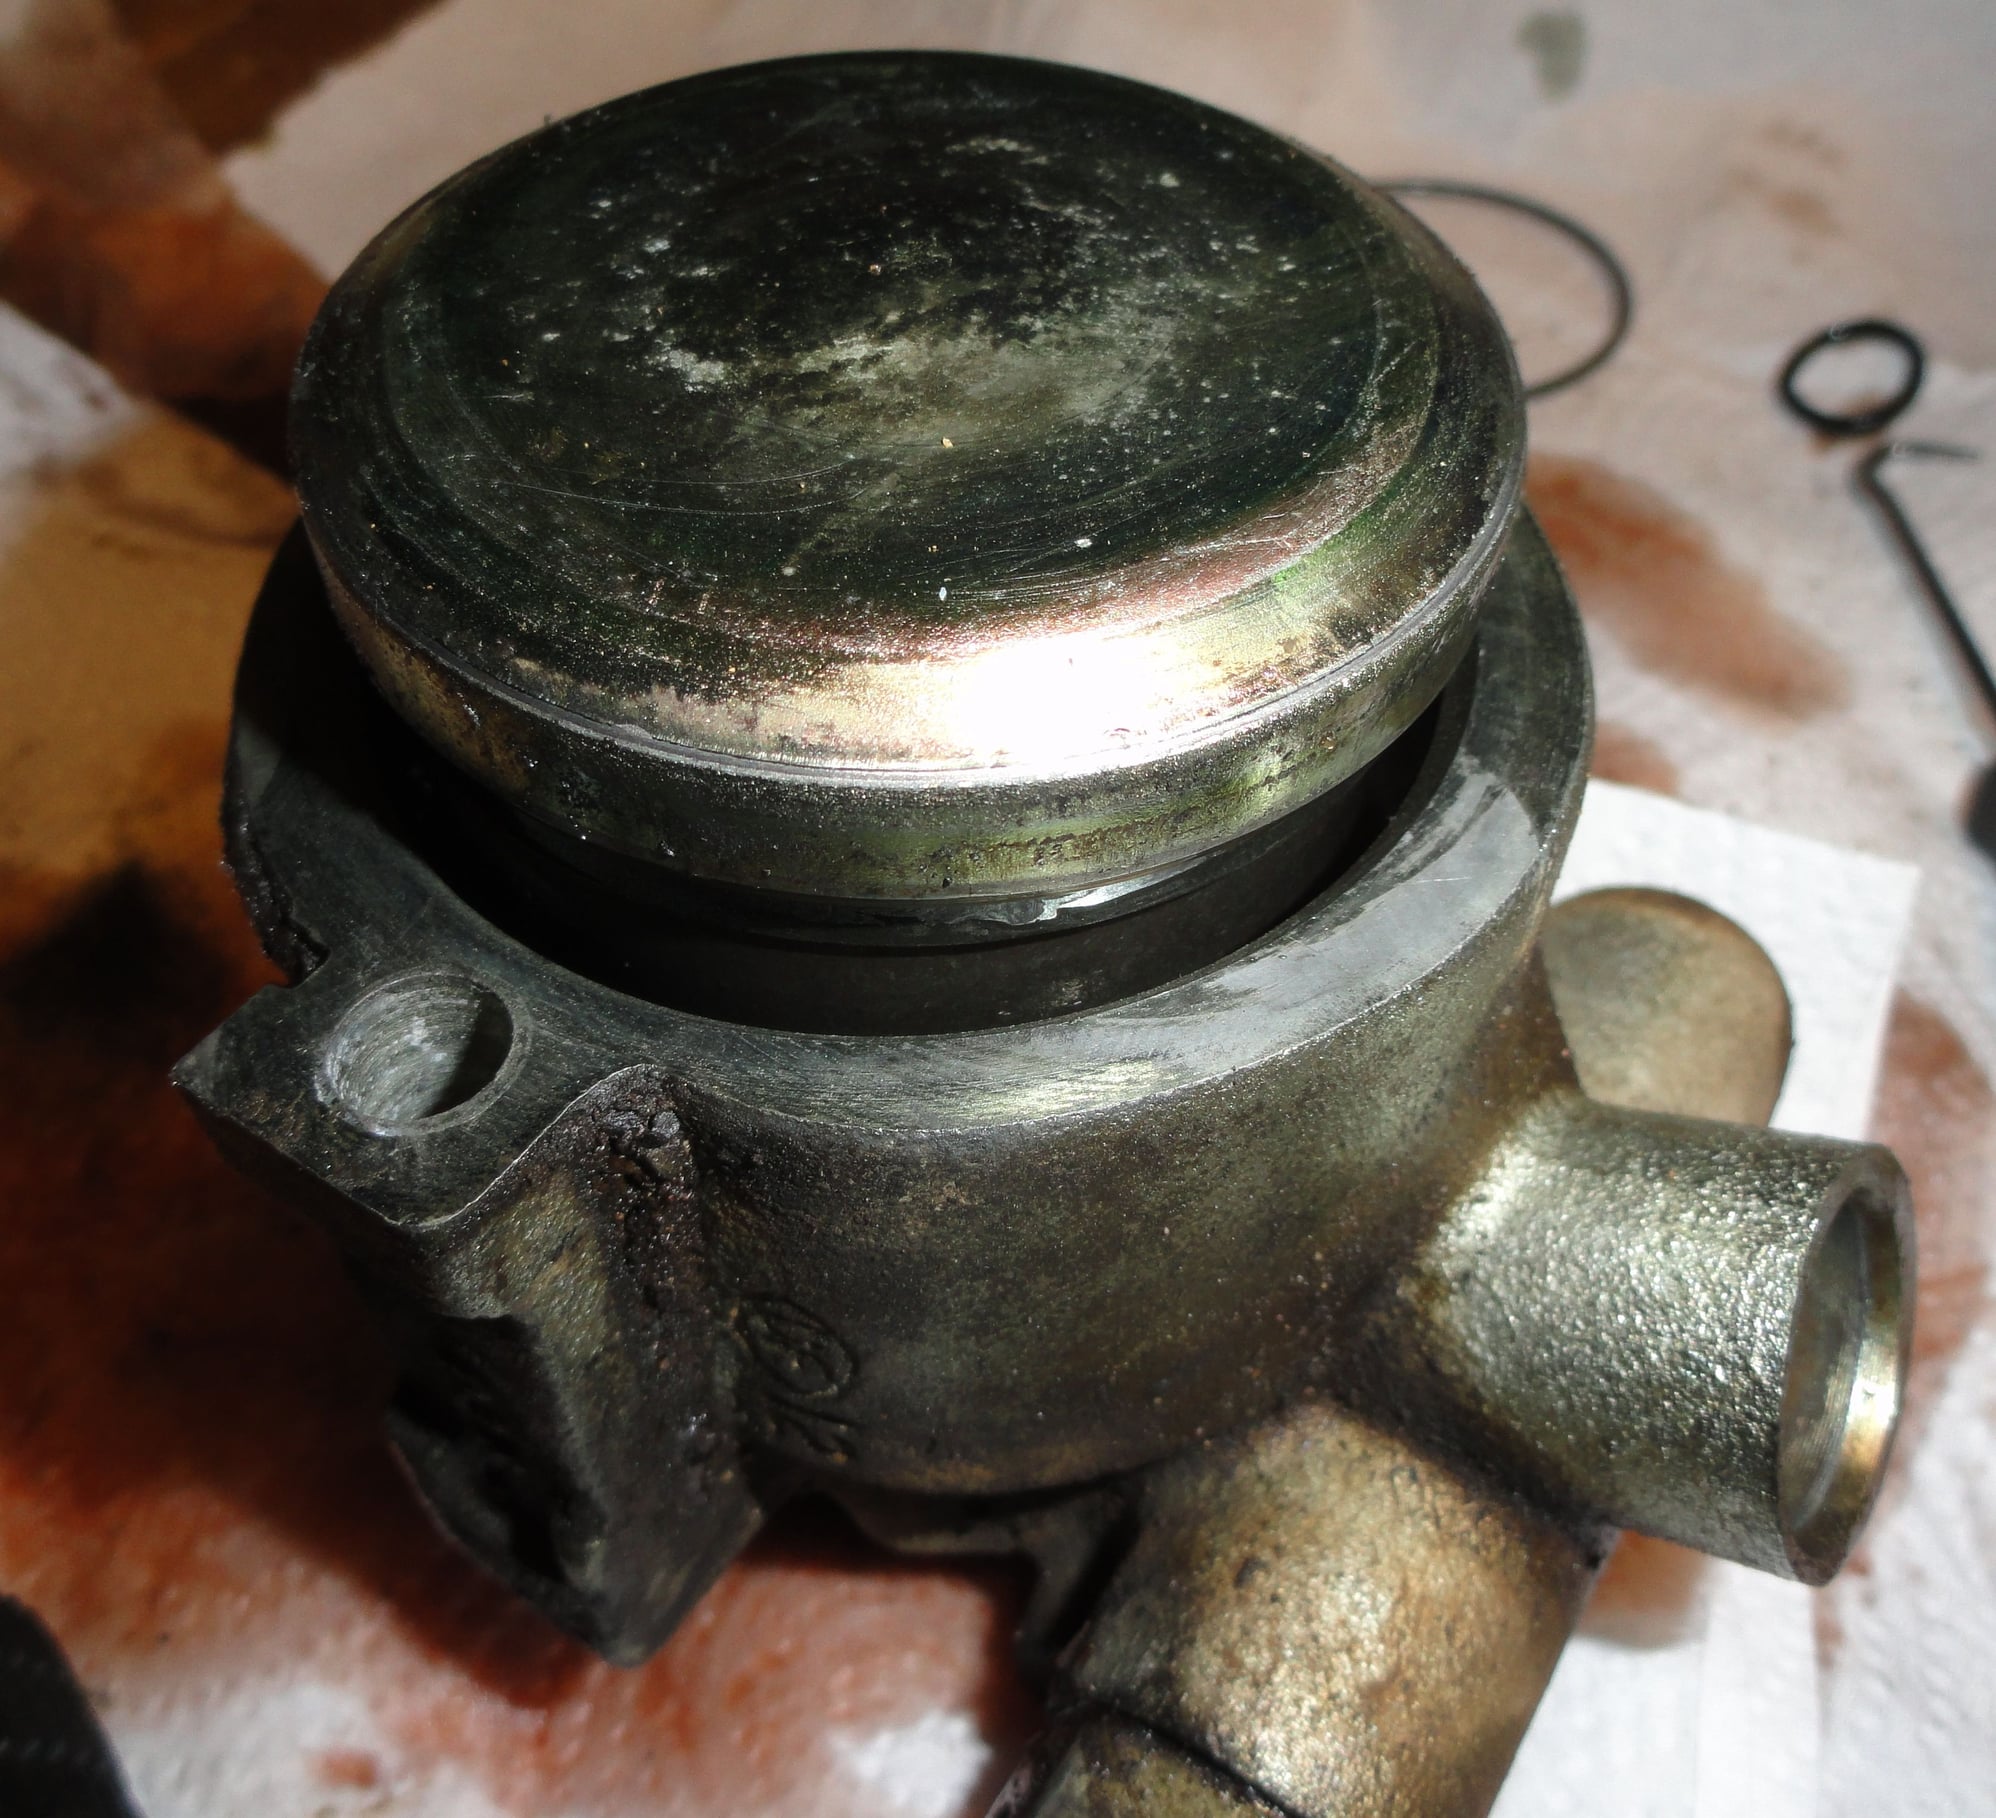
the back cover does not just pop off....use a rubber mallet to hit the the end of the shaft to push the cover out and off

not to hard or you will send it across the room !

Last edited by sjsingle1; 11-11-2017 at 02:23 AM.
Old 11-11-2017, 01:22 AM
  #12  
TECH Senior Member
Thread Starter
iTrader: (1)
 
sjsingle1's Avatar
 
Join Date: Feb 2010
Location: Fort Worth TX
Posts: 6,498
Received 215 Likes on 176 Posts

Default


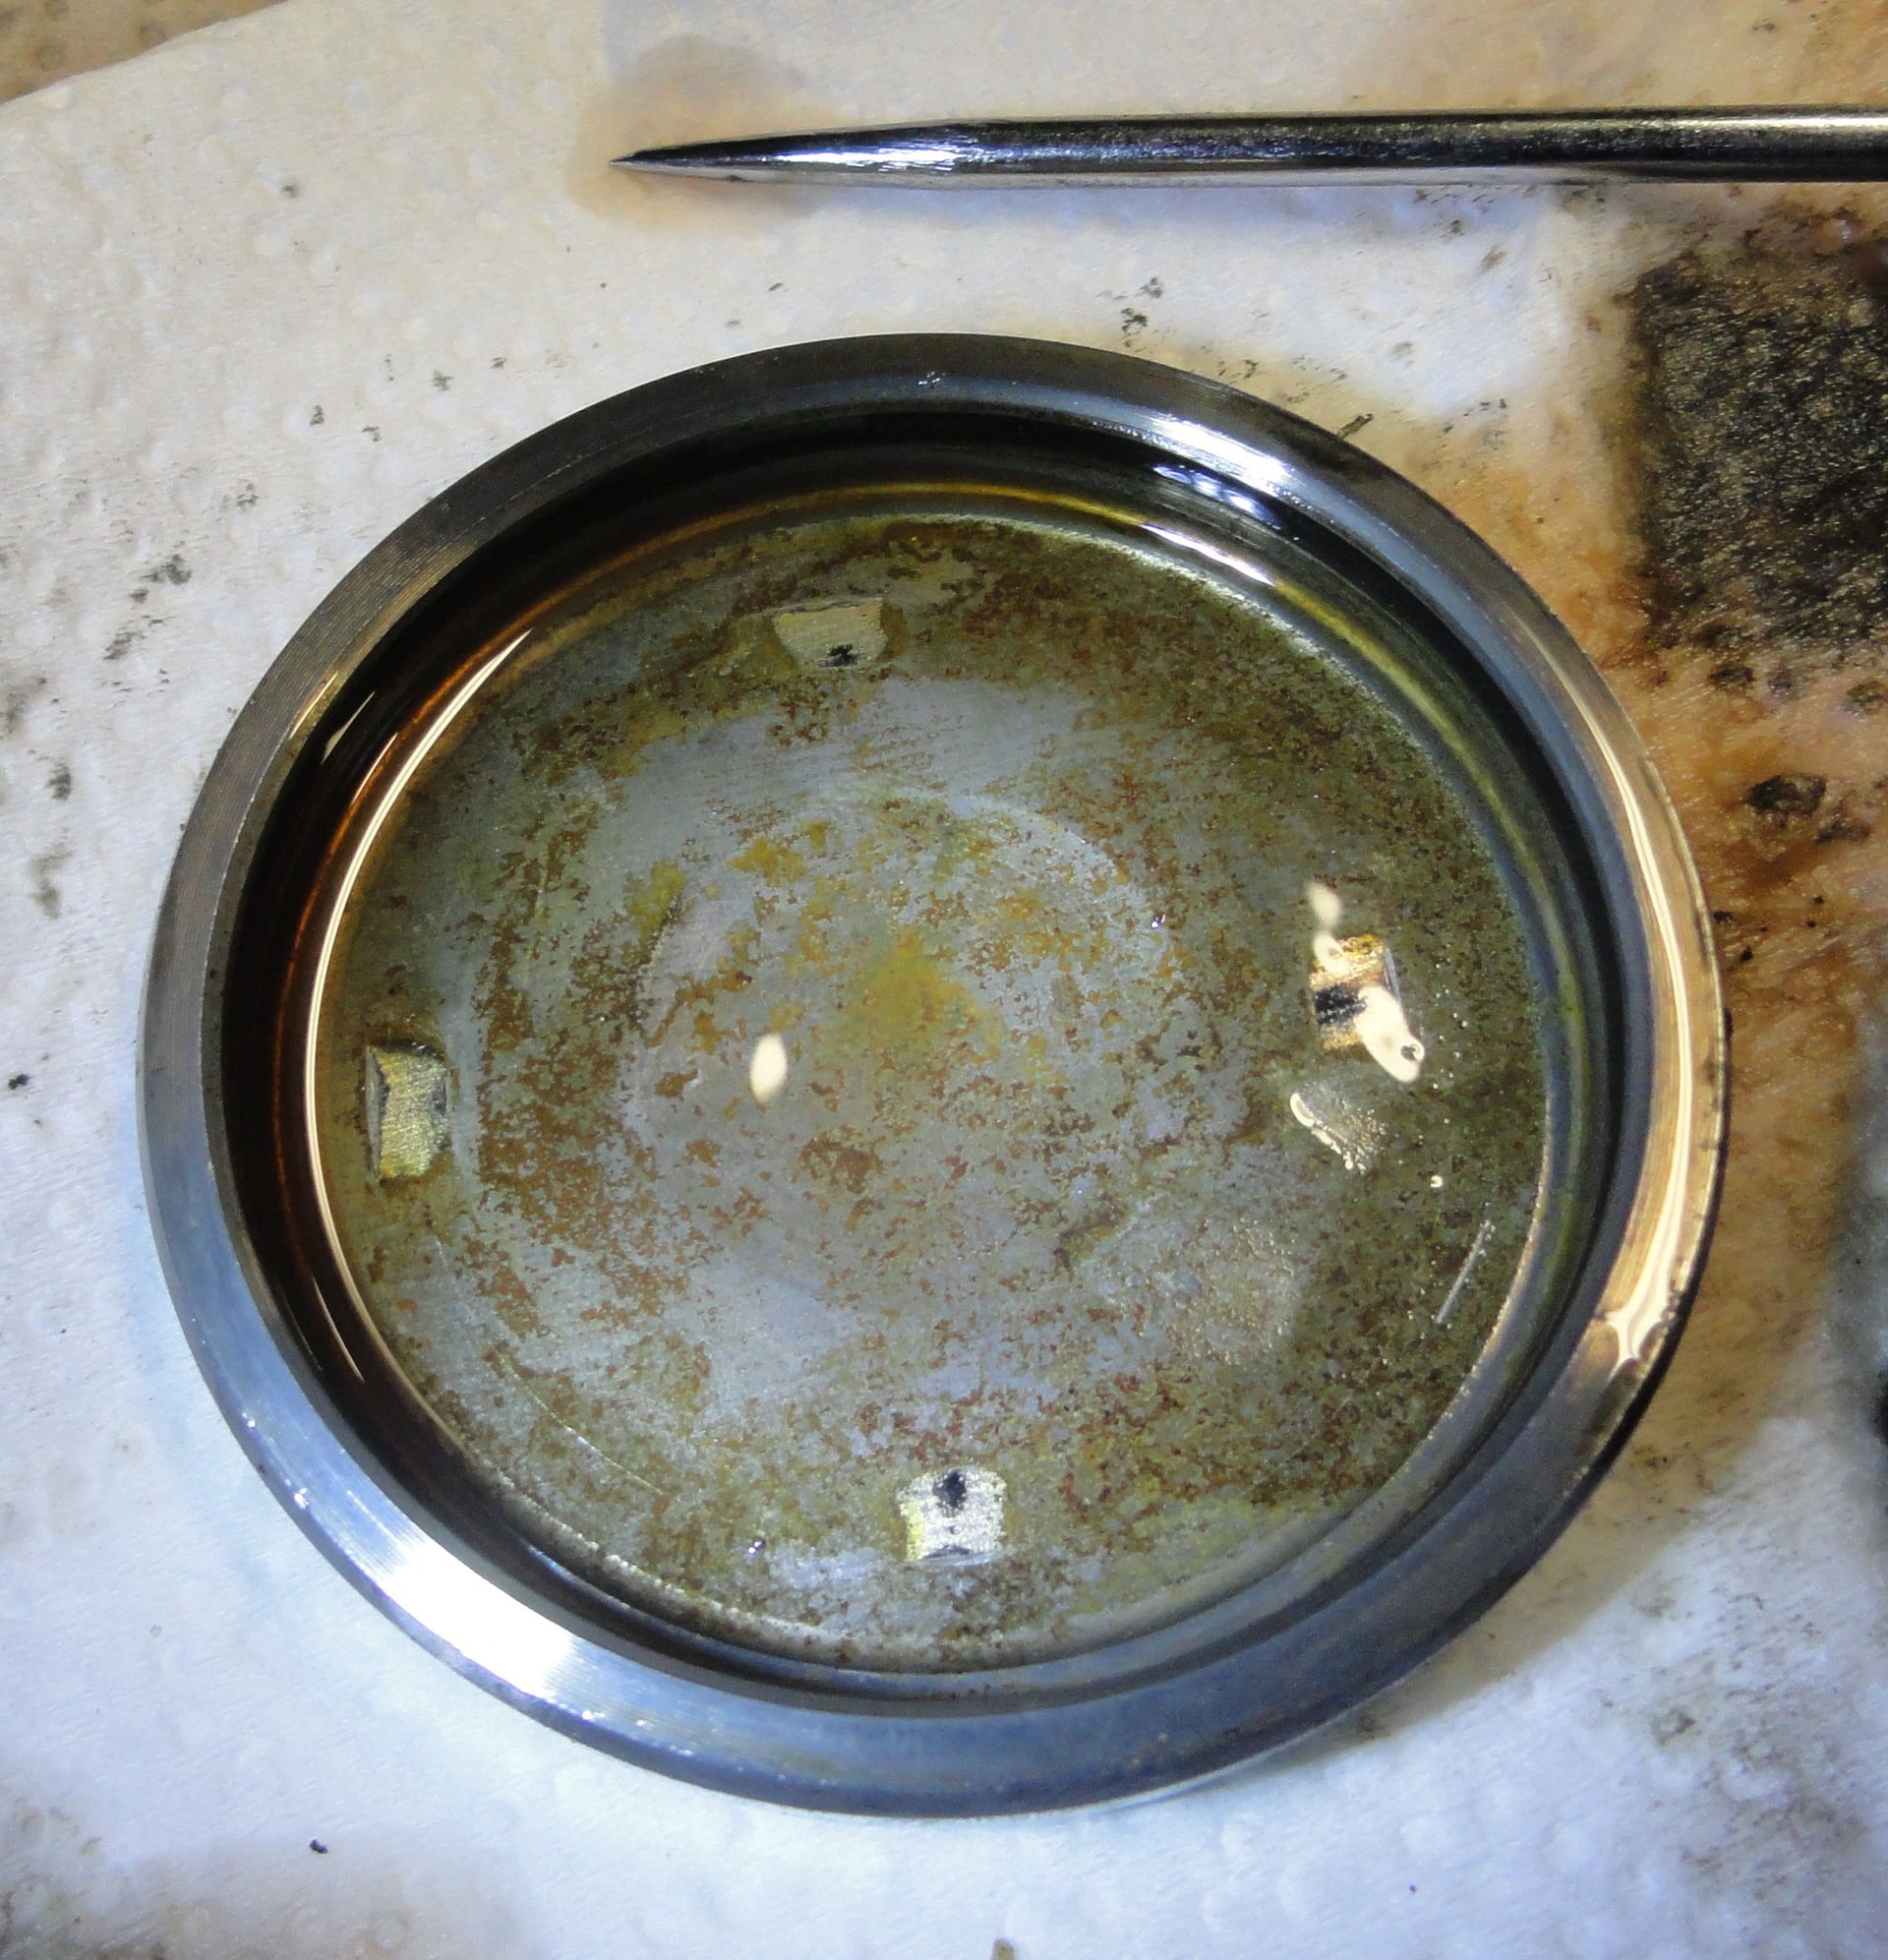
inside of the back cover...there is a o ring inside of it
Old 11-11-2017, 01:23 AM
  #13  
TECH Senior Member
Thread Starter
iTrader: (1)
 
sjsingle1's Avatar
 
Join Date: Feb 2010
Location: Fort Worth TX
Posts: 6,498
Received 215 Likes on 176 Posts

Default


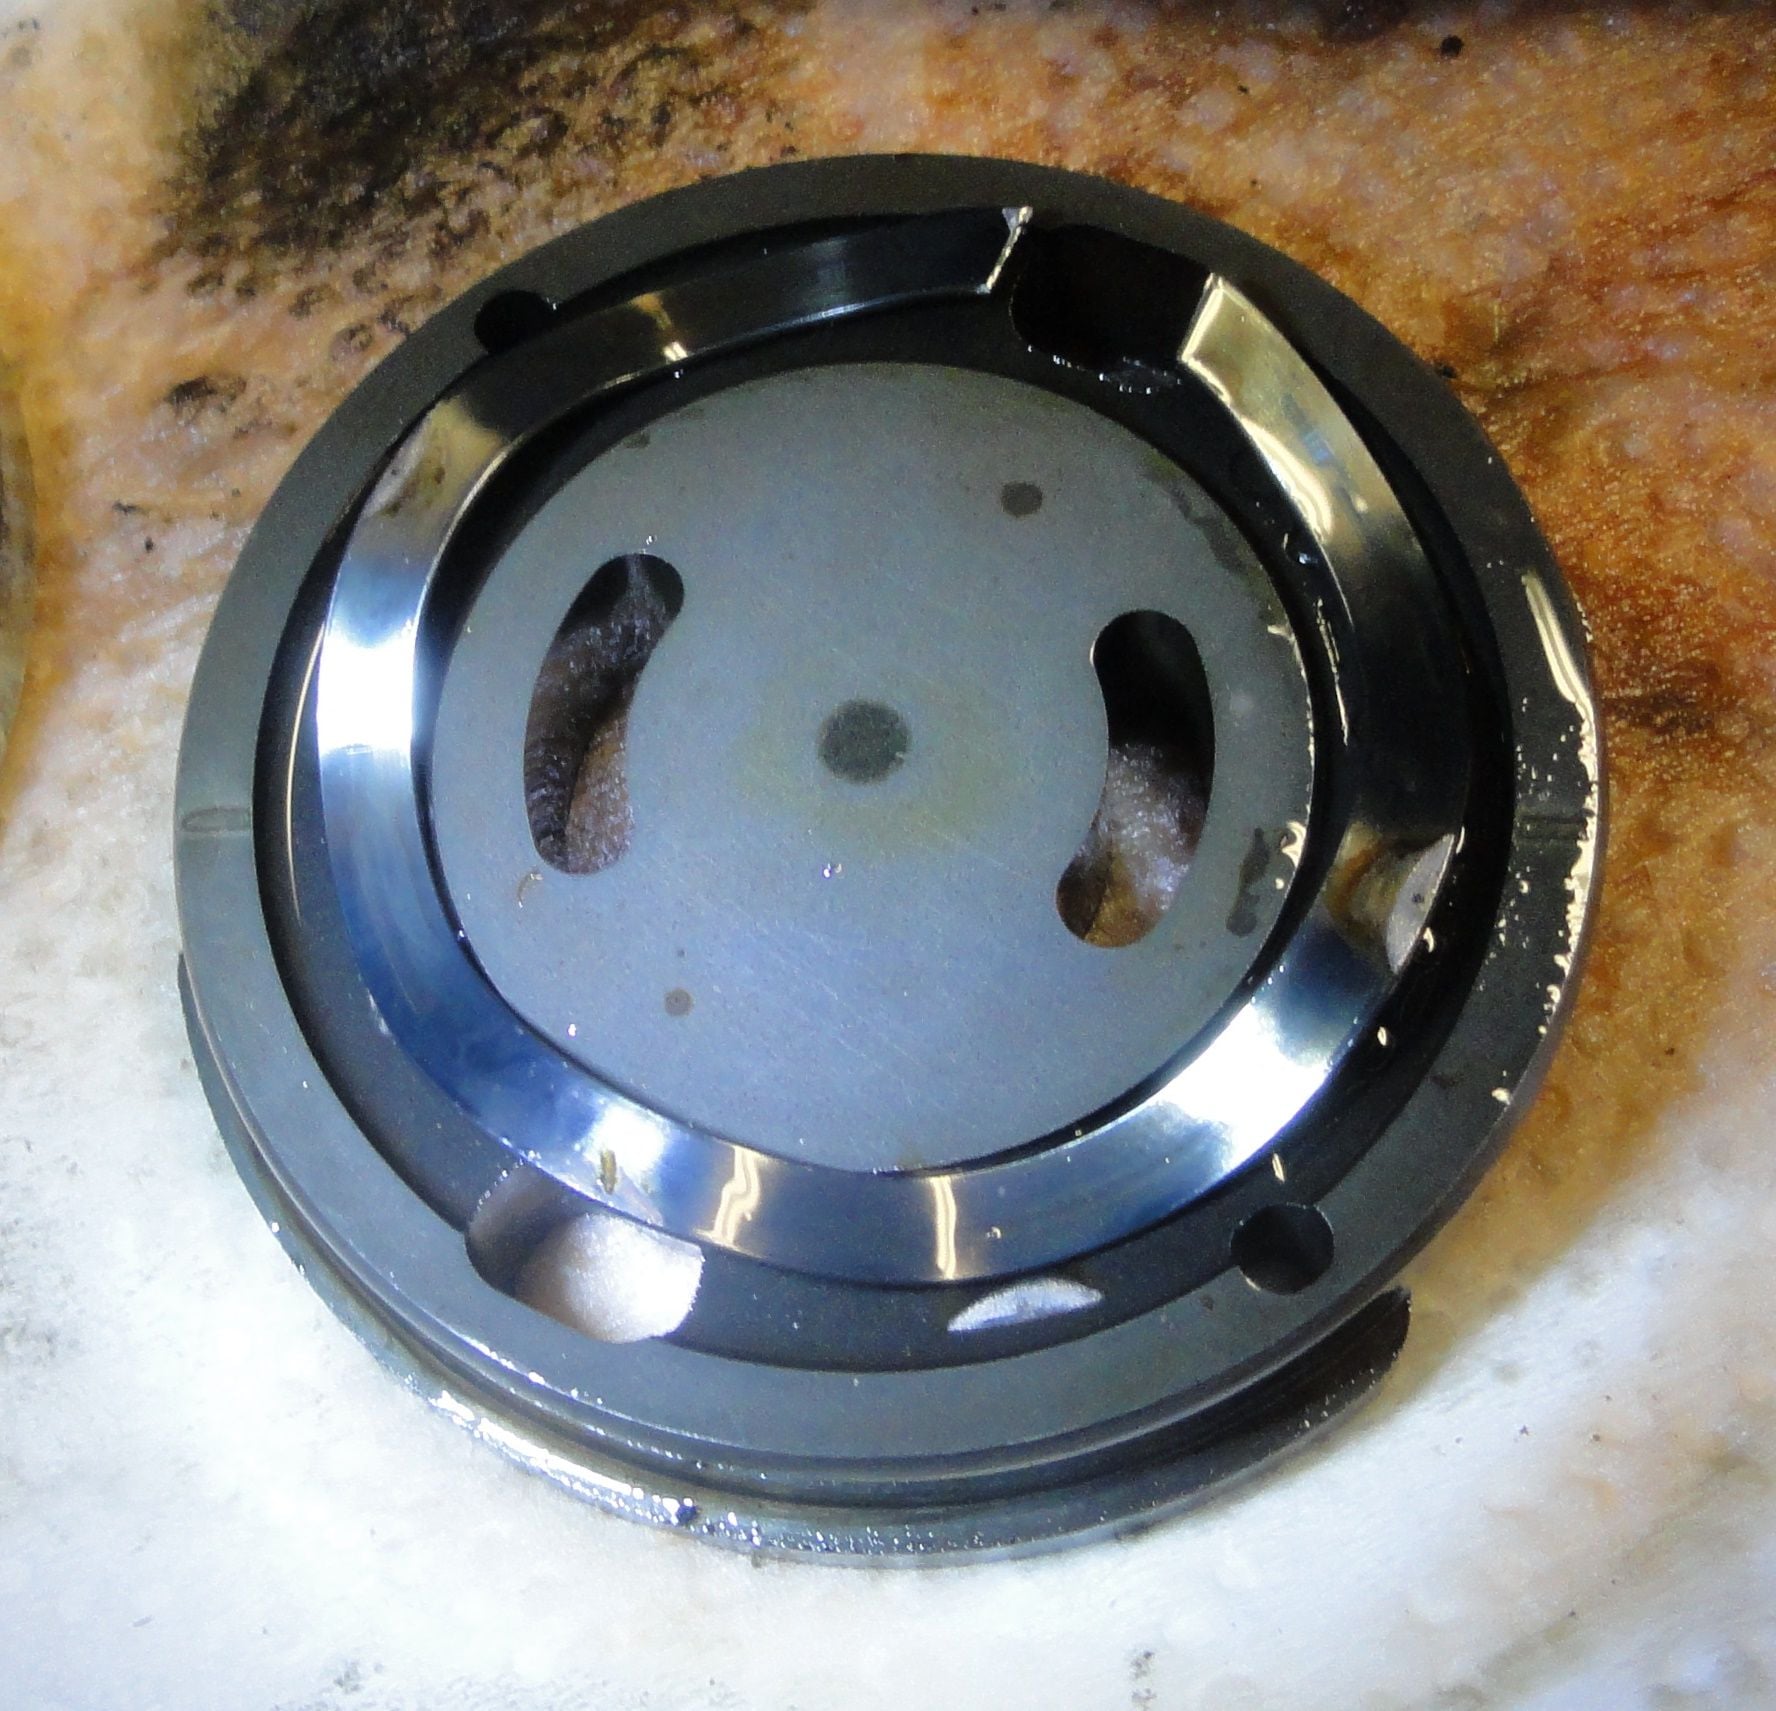
underneath the cover is the top plate and wave spring
Old 11-11-2017, 01:24 AM
  #14  
TECH Senior Member
Thread Starter
iTrader: (1)
 
sjsingle1's Avatar
 
Join Date: Feb 2010
Location: Fort Worth TX
Posts: 6,498
Received 215 Likes on 176 Posts

Default


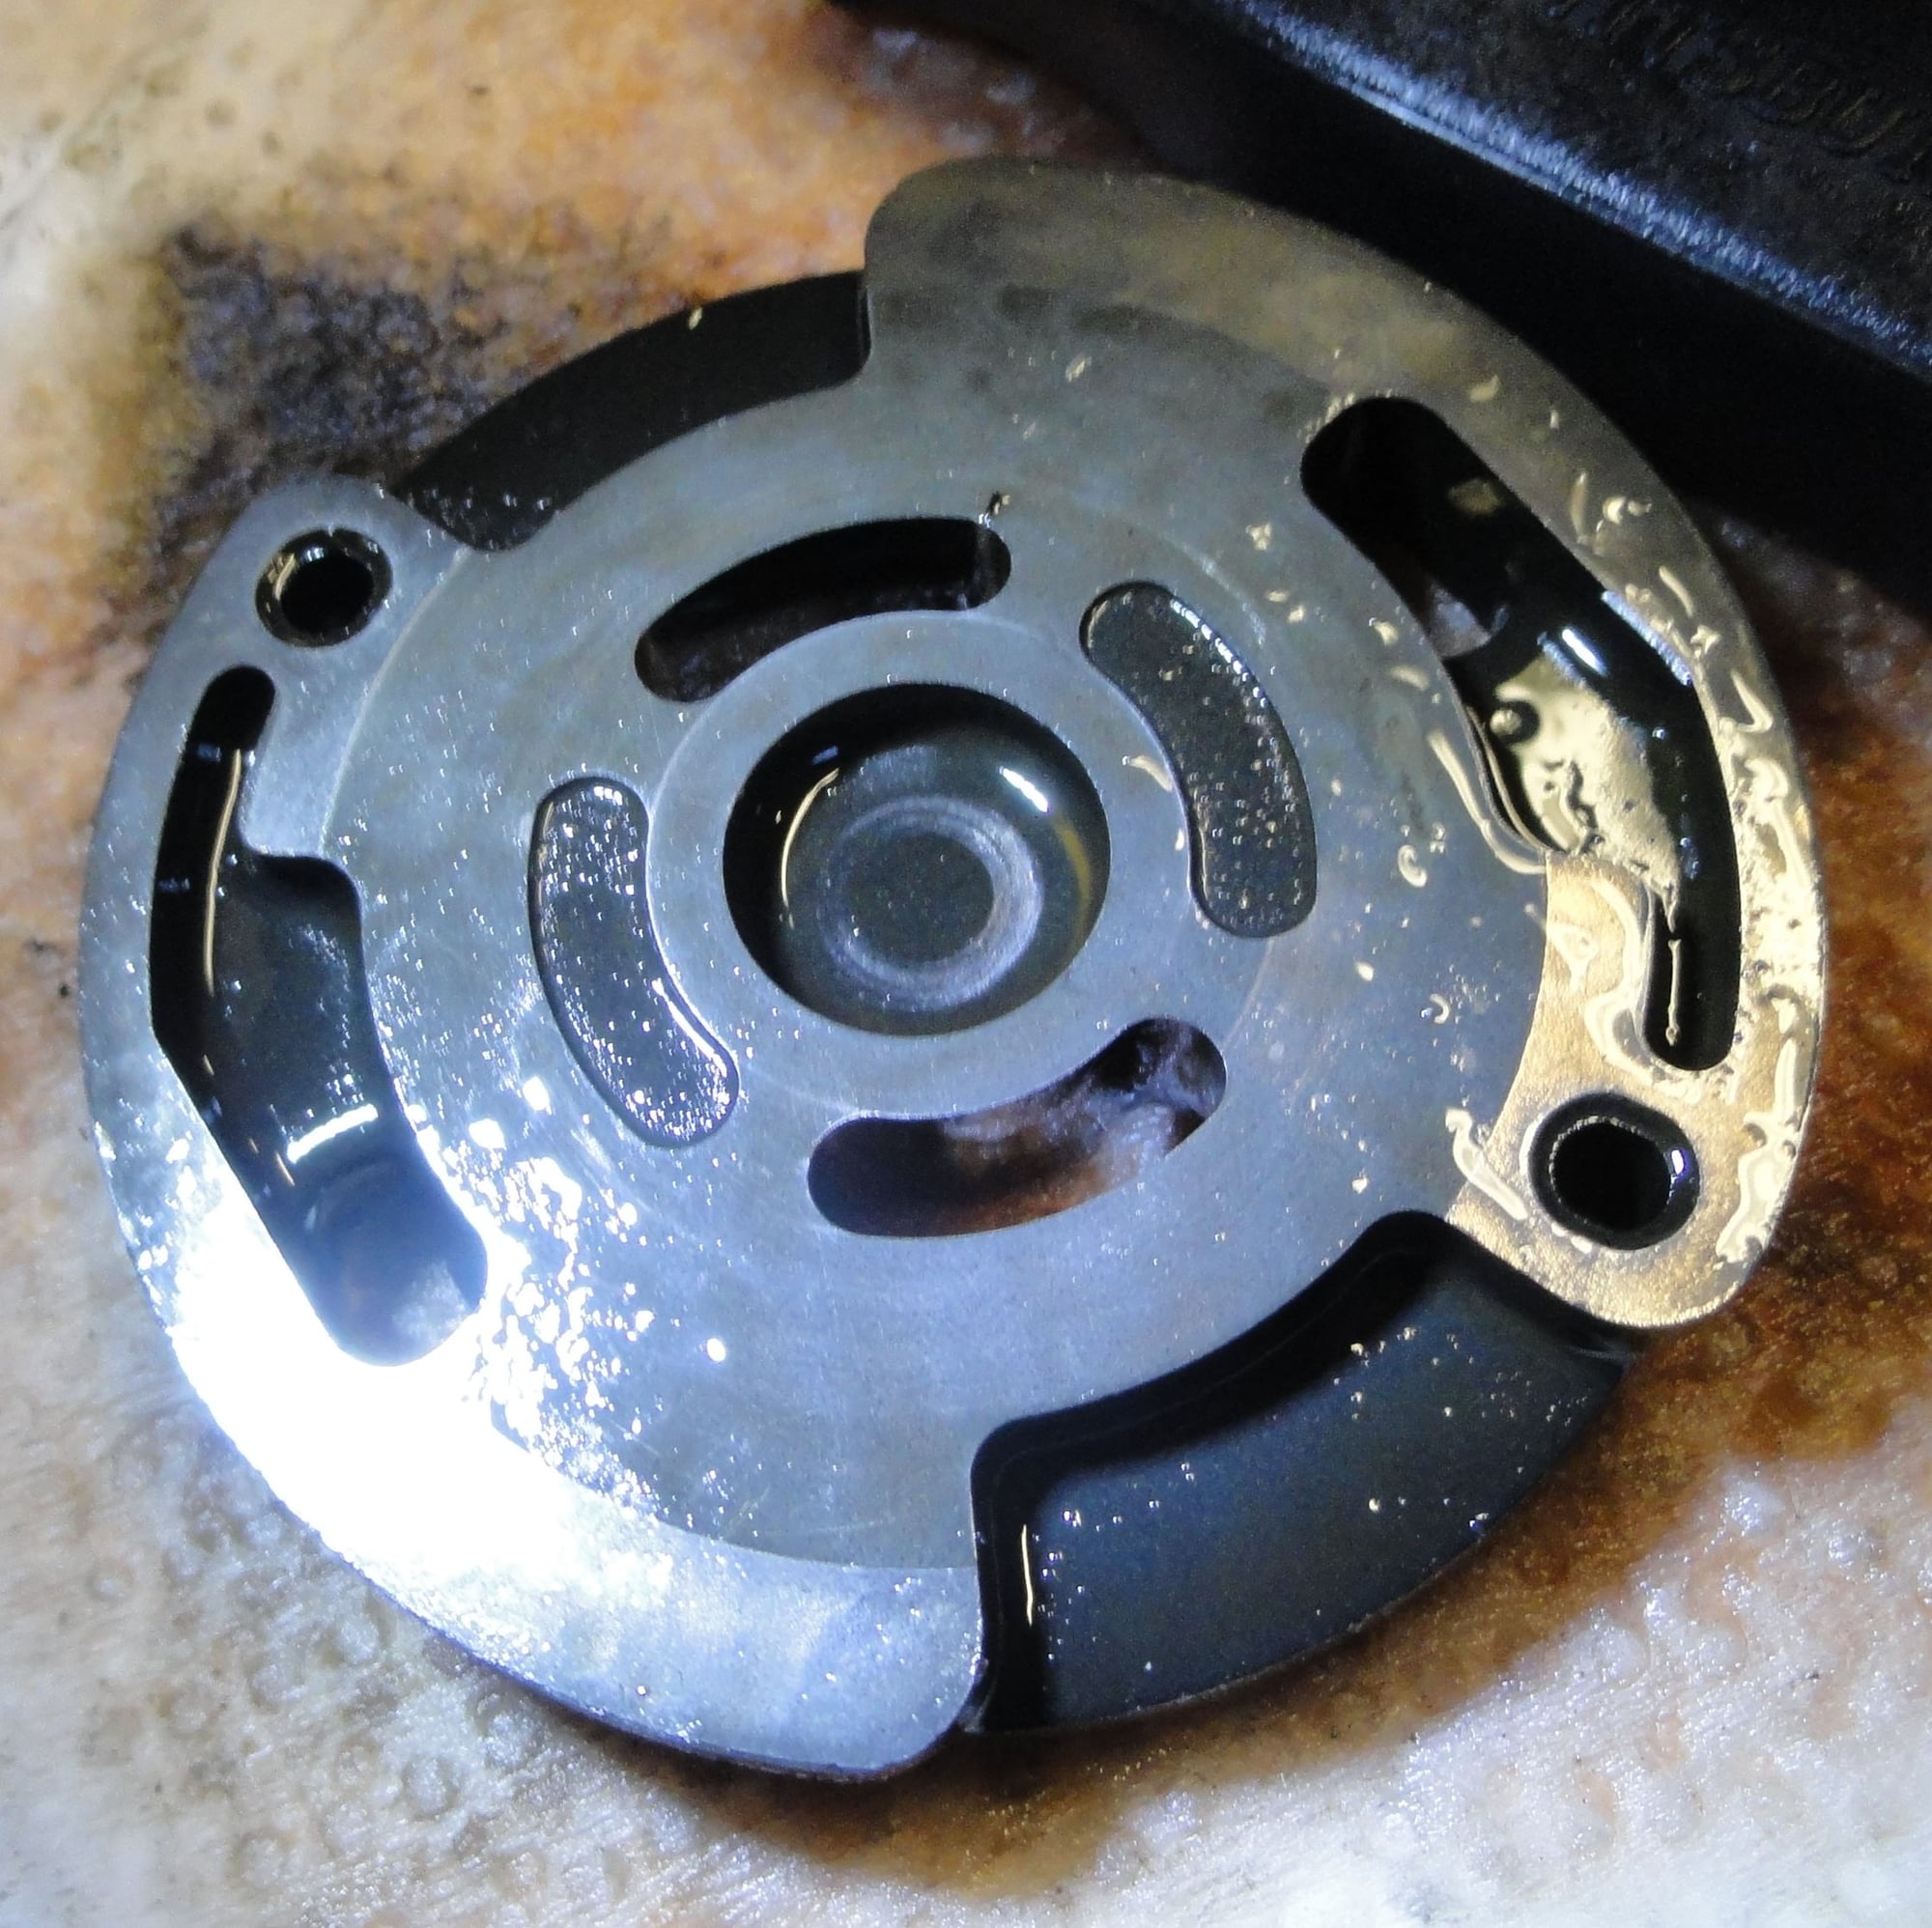
other side of the top plate
Old 11-11-2017, 01:25 AM
  #15  
TECH Senior Member
Thread Starter
iTrader: (1)
 
sjsingle1's Avatar
 
Join Date: Feb 2010
Location: Fort Worth TX
Posts: 6,498
Received 215 Likes on 176 Posts

Default


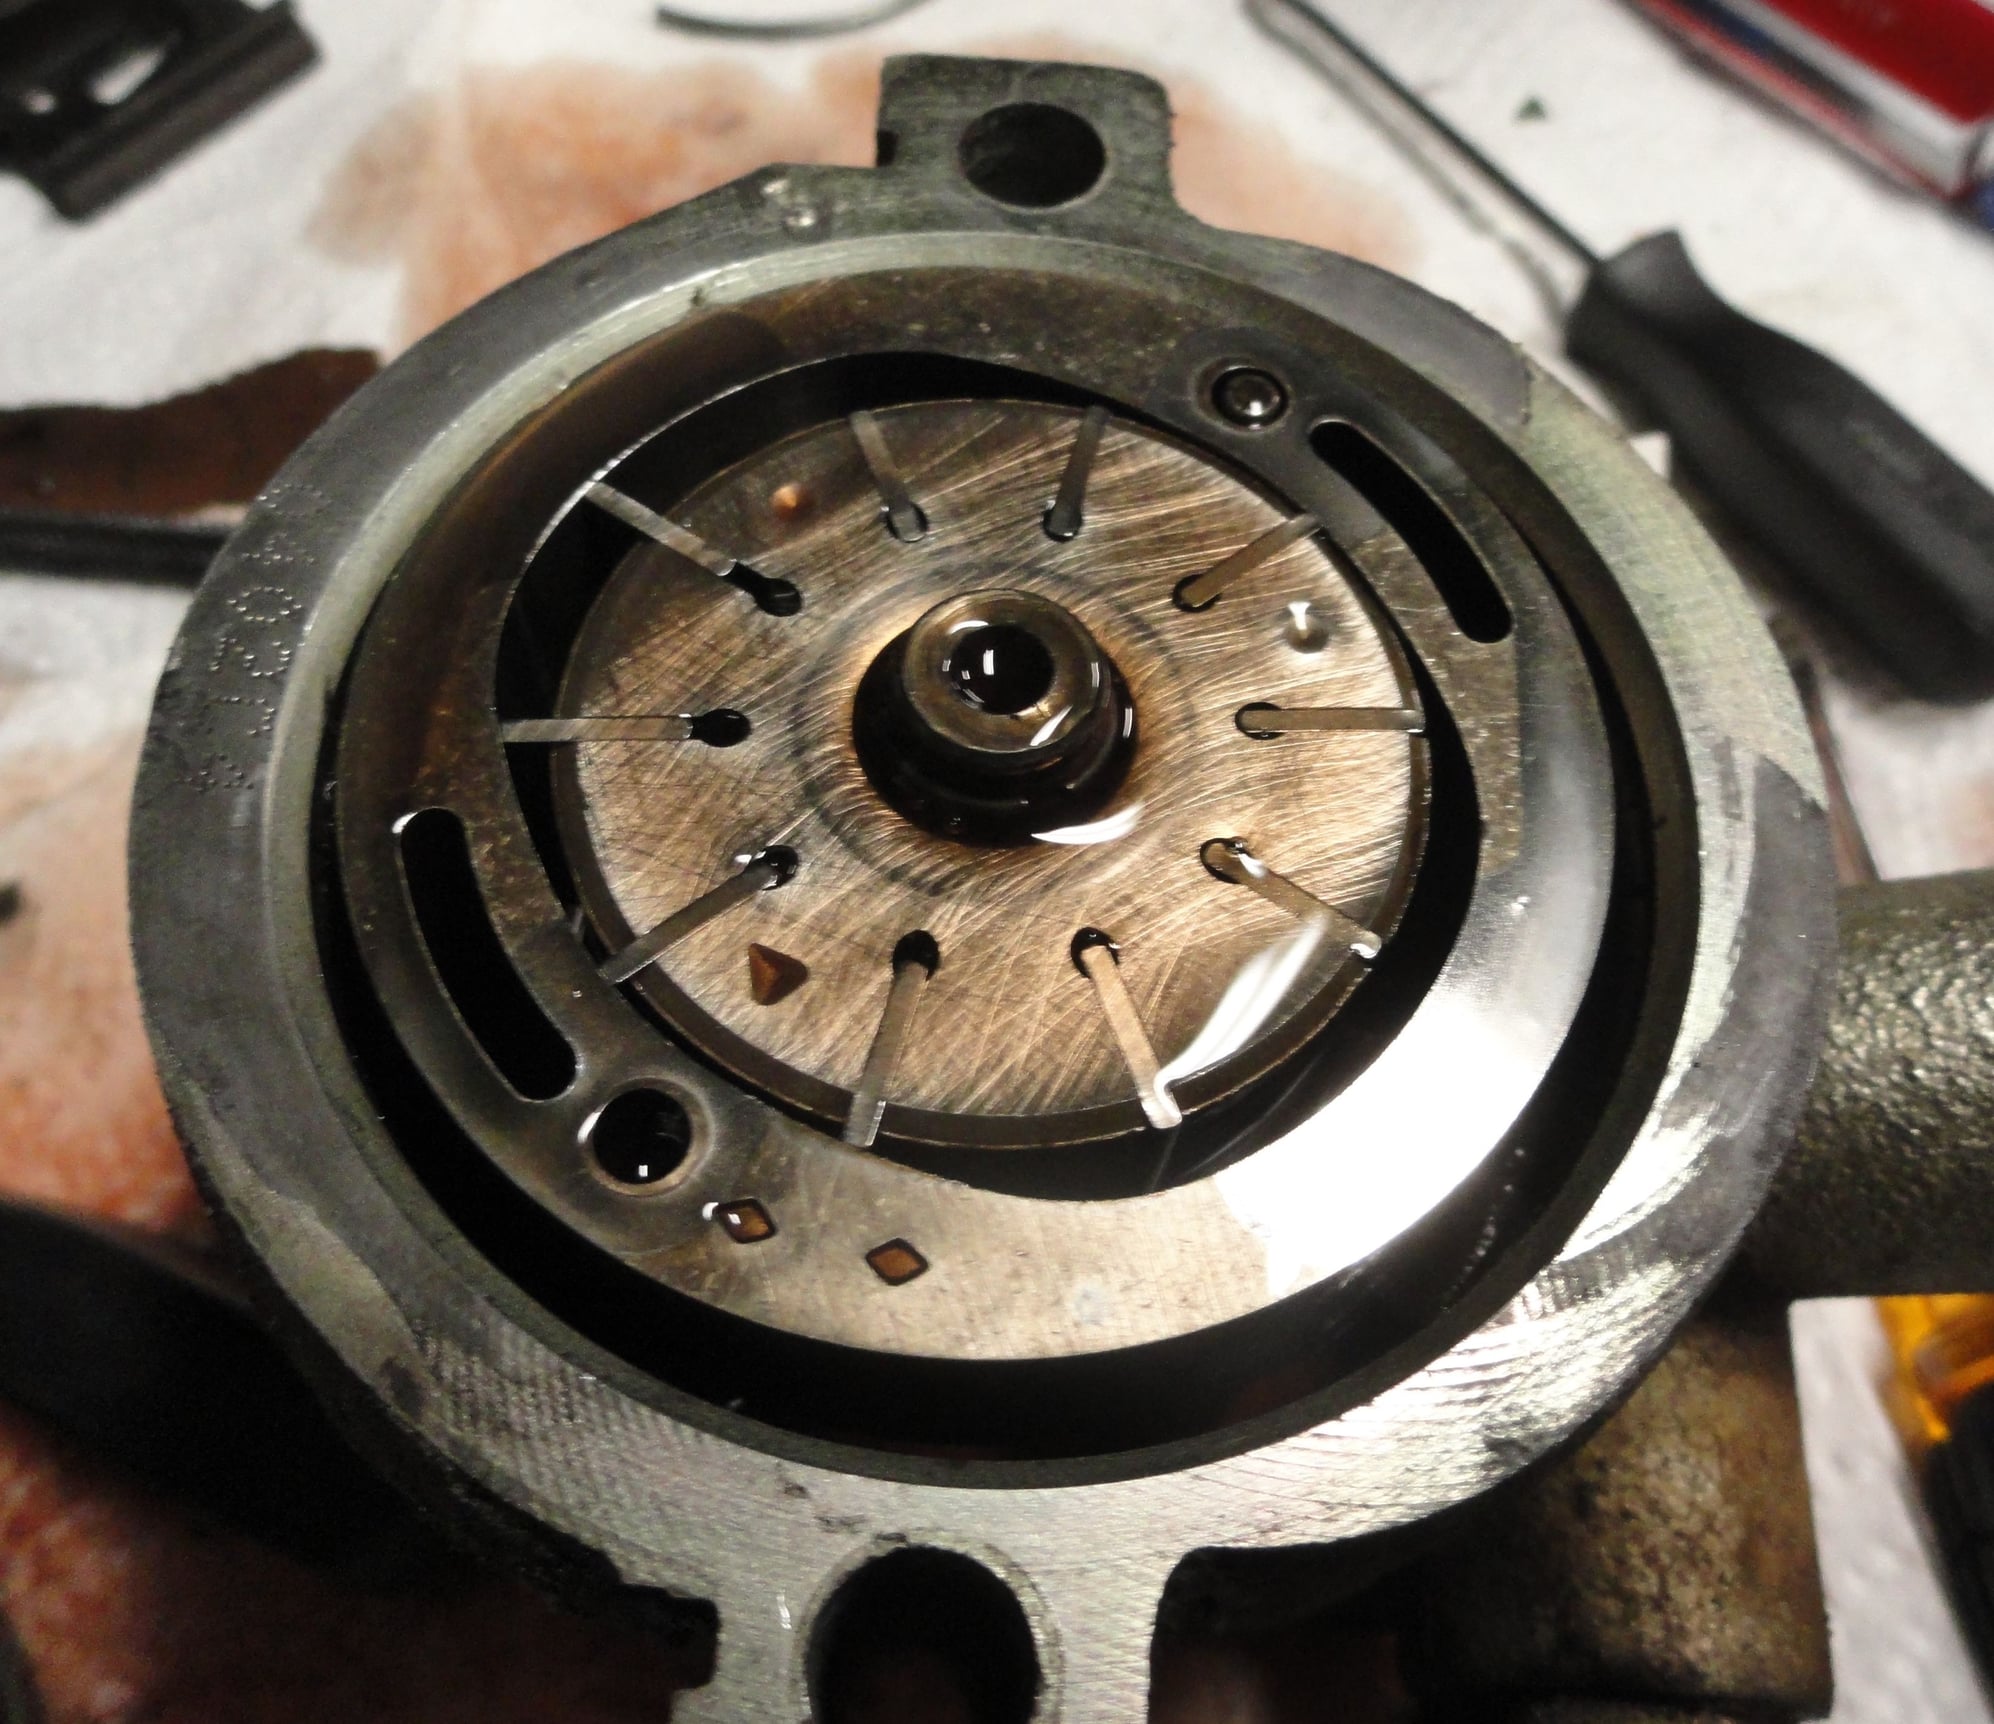
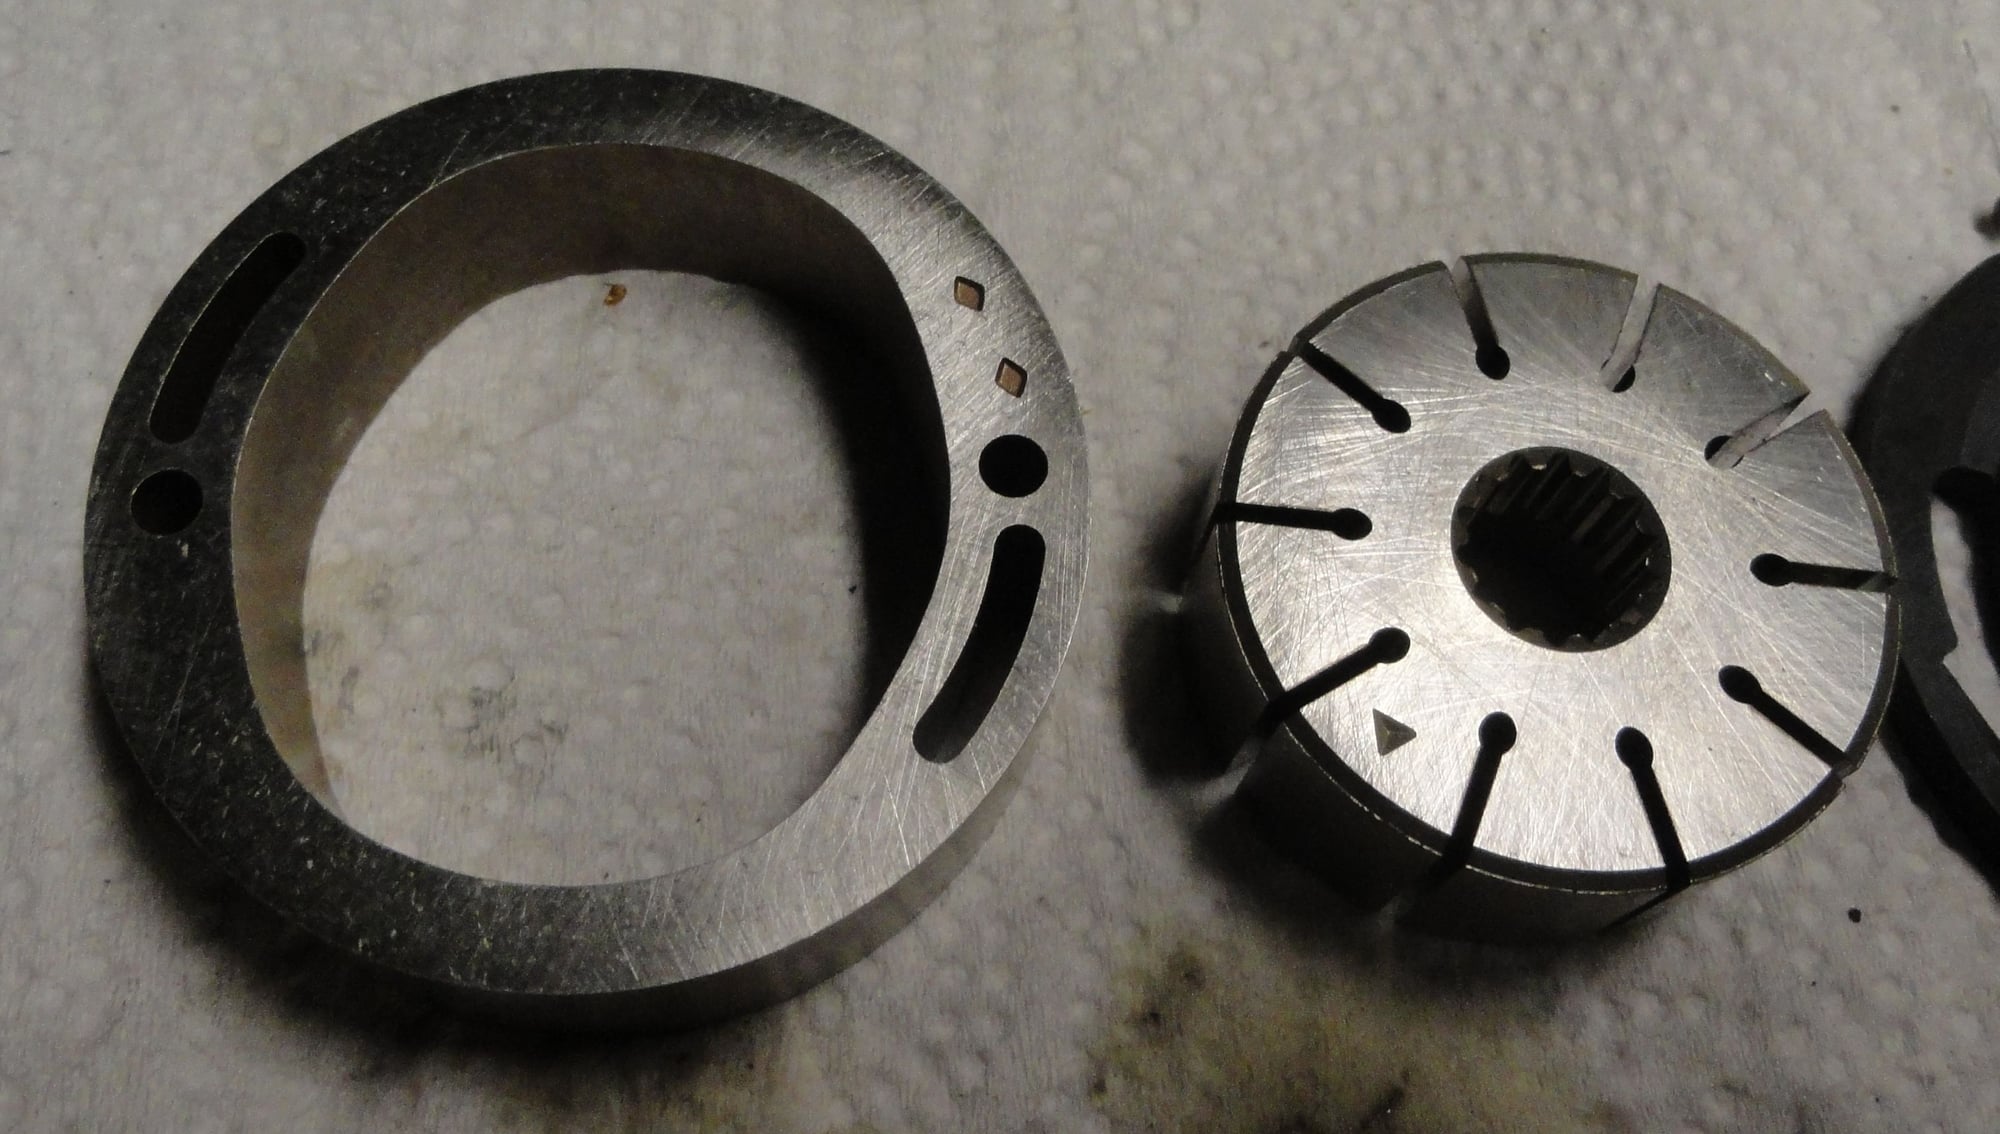
with the cover and top plate out of the way you can see the rotor...vanes and outer rotor housing

notice the 2 diamonds on the outer housing.....important for later reassembly ....diamonds go up toward you
Old 11-11-2017, 01:27 AM
  #16  
TECH Senior Member
Thread Starter
iTrader: (1)
 
sjsingle1's Avatar
 
Join Date: Feb 2010
Location: Fort Worth TX
Posts: 6,498
Received 215 Likes on 176 Posts

Default


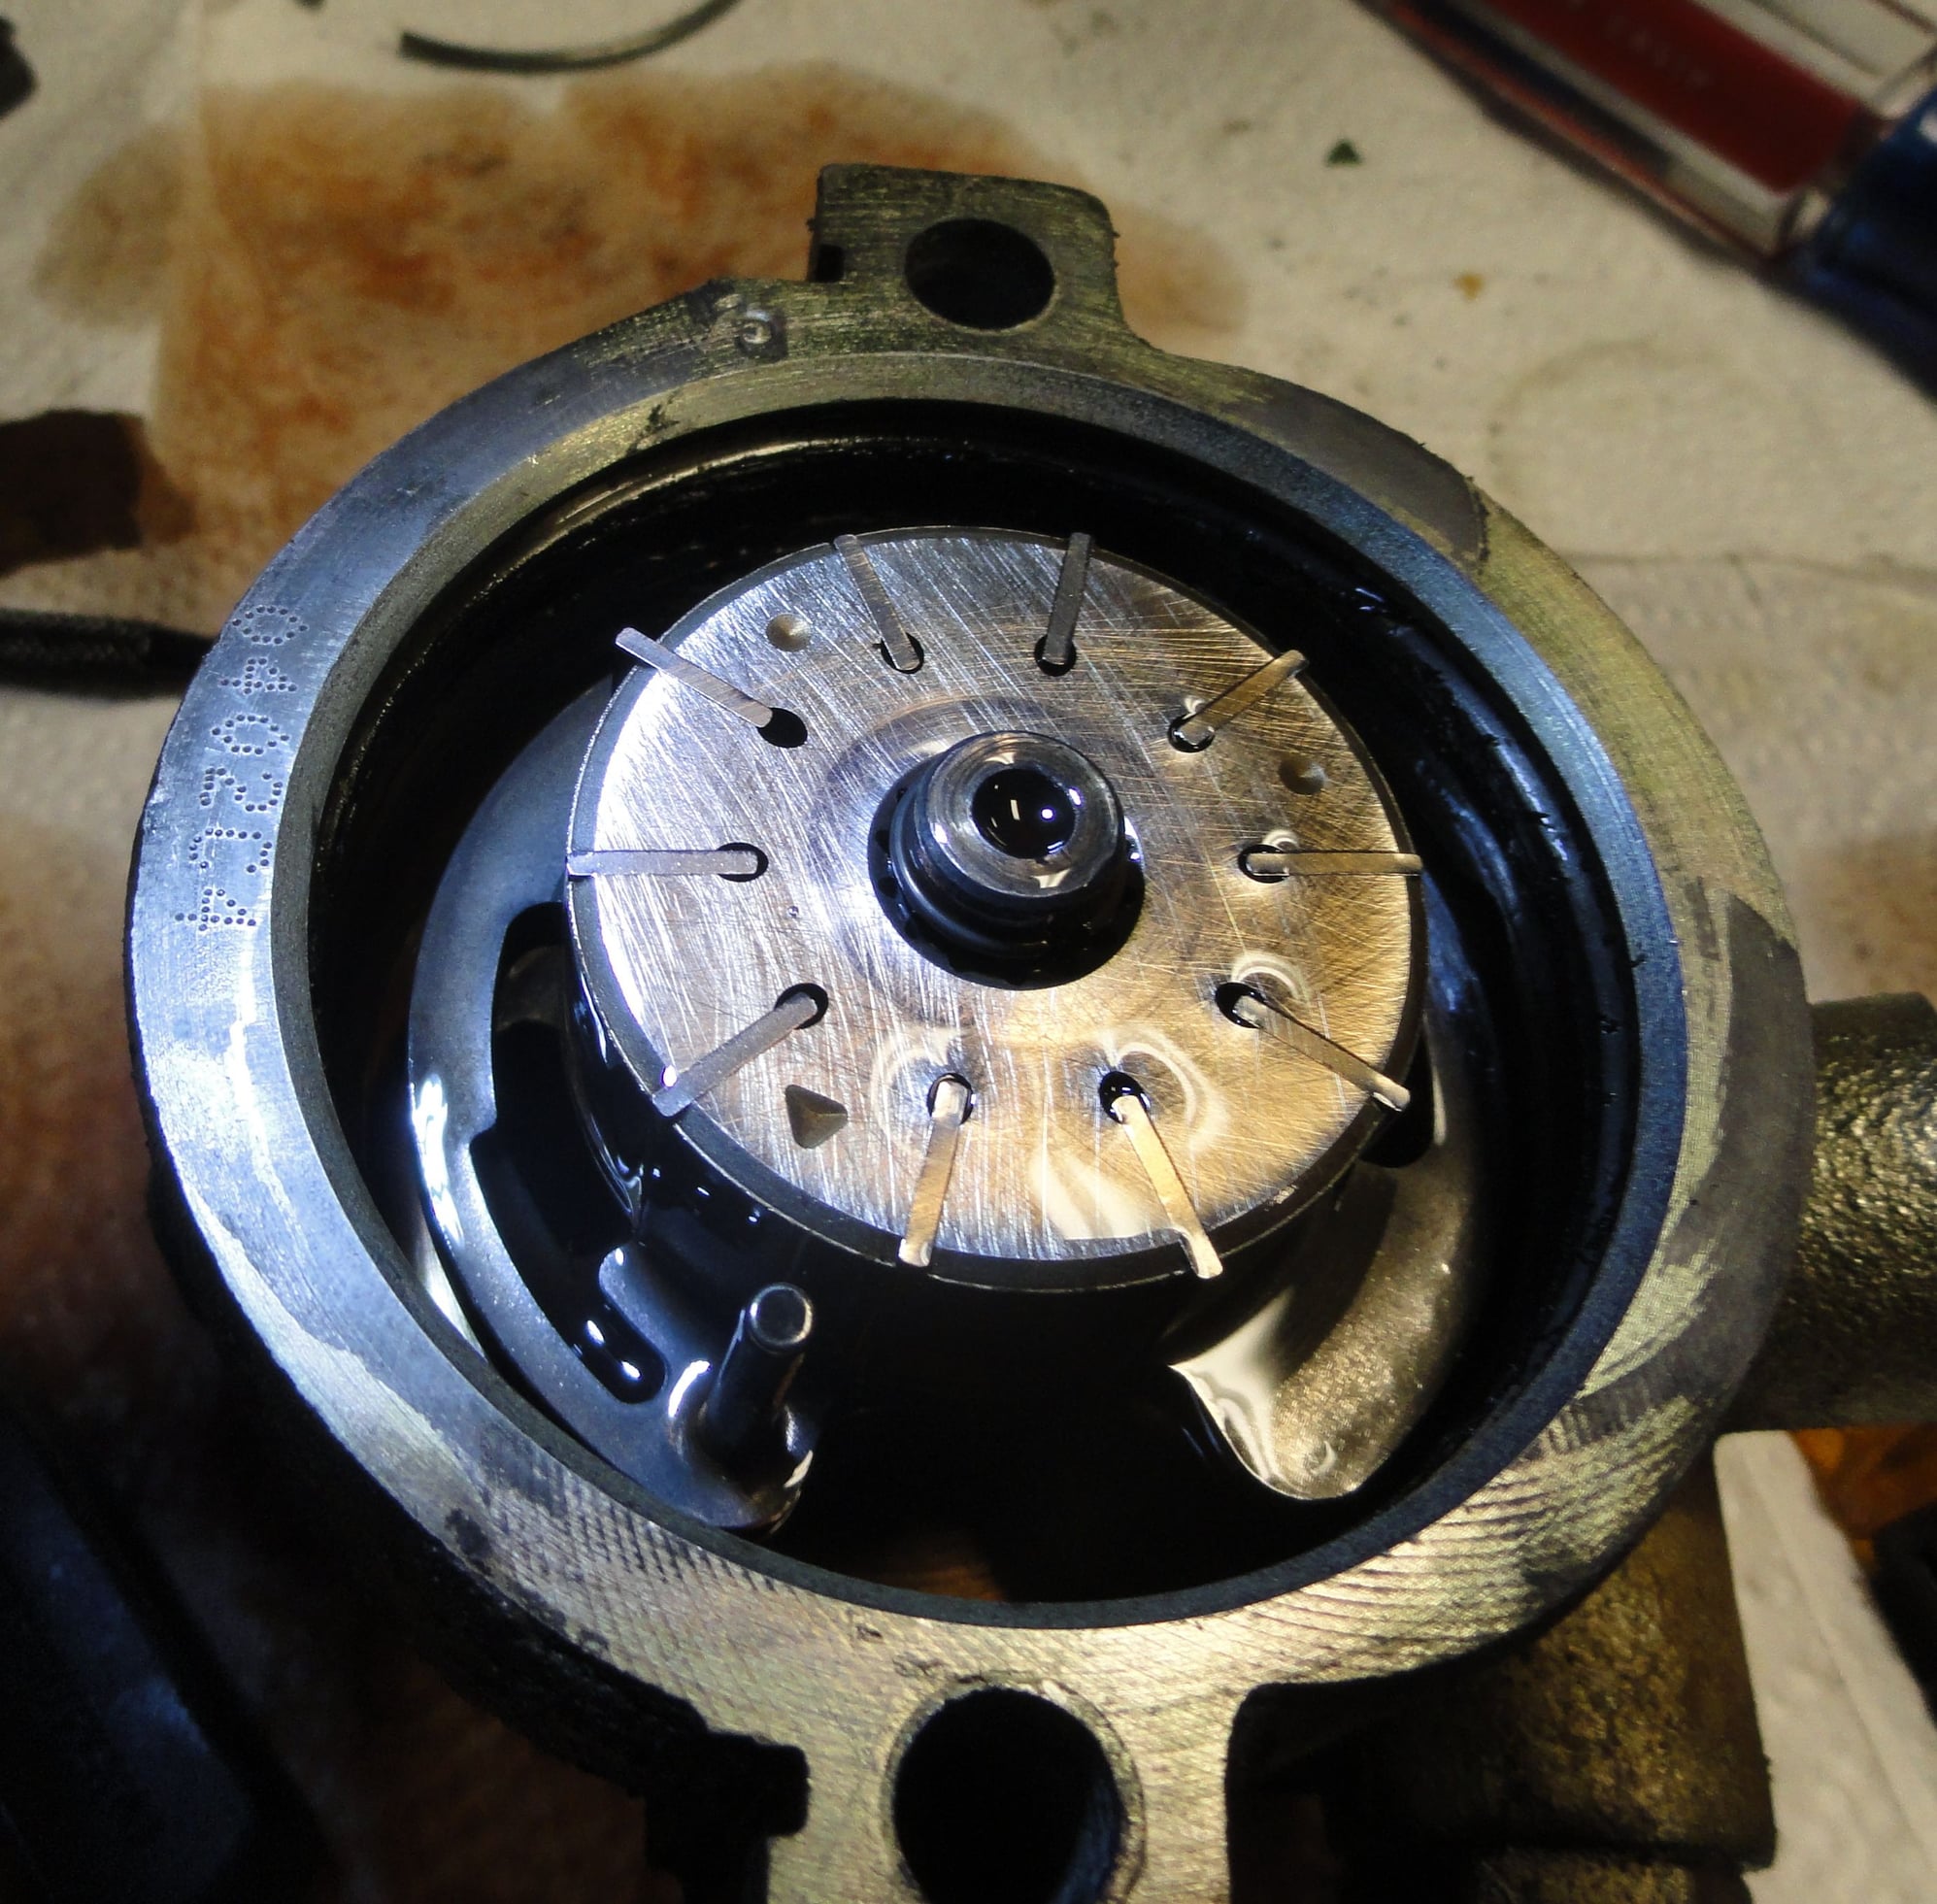
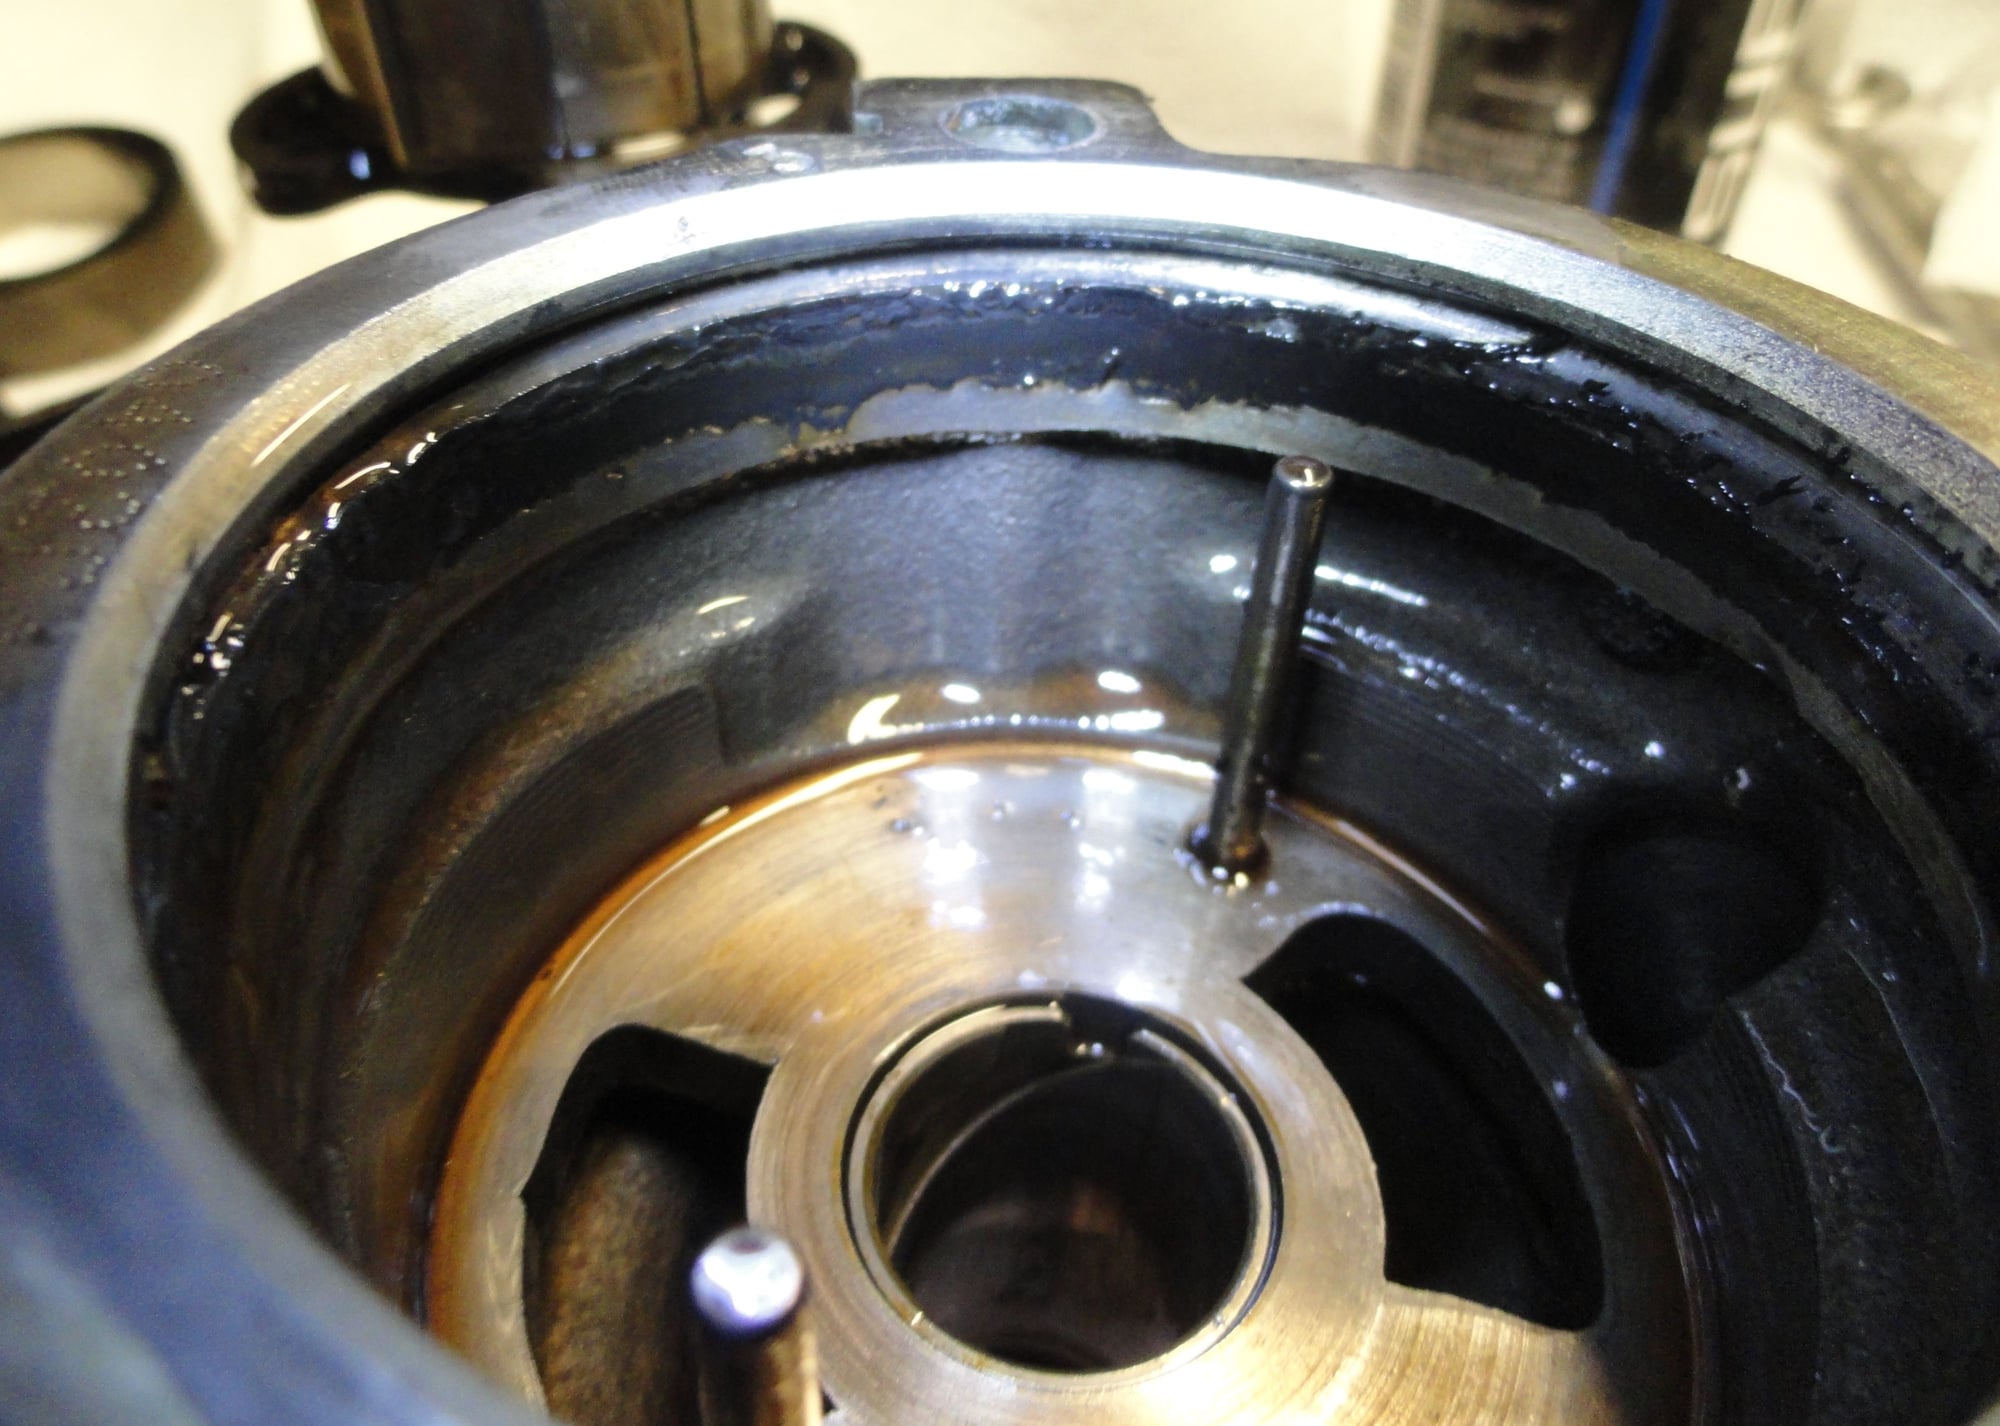
outer housing removed

notice the alignment pin(s)

see the diamond on the rotor....up toward you for reassmbly

Last edited by sjsingle1; 11-11-2017 at 02:06 AM.
Old 11-11-2017, 01:30 AM
  #17  
TECH Senior Member
Thread Starter
iTrader: (1)
 
sjsingle1's Avatar
 
Join Date: Feb 2010
Location: Fort Worth TX
Posts: 6,498
Received 215 Likes on 176 Posts

Default


shaft and rotor removed....showing both alignment pins

the black thing is the o ring in the body .... totally shot
Old 11-11-2017, 01:31 AM
  #18  
TECH Senior Member
Thread Starter
iTrader: (1)
 
sjsingle1's Avatar
 
Join Date: Feb 2010
Location: Fort Worth TX
Posts: 6,498
Received 215 Likes on 176 Posts

Default


all the internals laid out
Old 11-11-2017, 01:31 AM
  #19  
TECH Senior Member
Thread Starter
iTrader: (1)
 
sjsingle1's Avatar
 
Join Date: Feb 2010
Location: Fort Worth TX
Posts: 6,498
Received 215 Likes on 176 Posts

Default


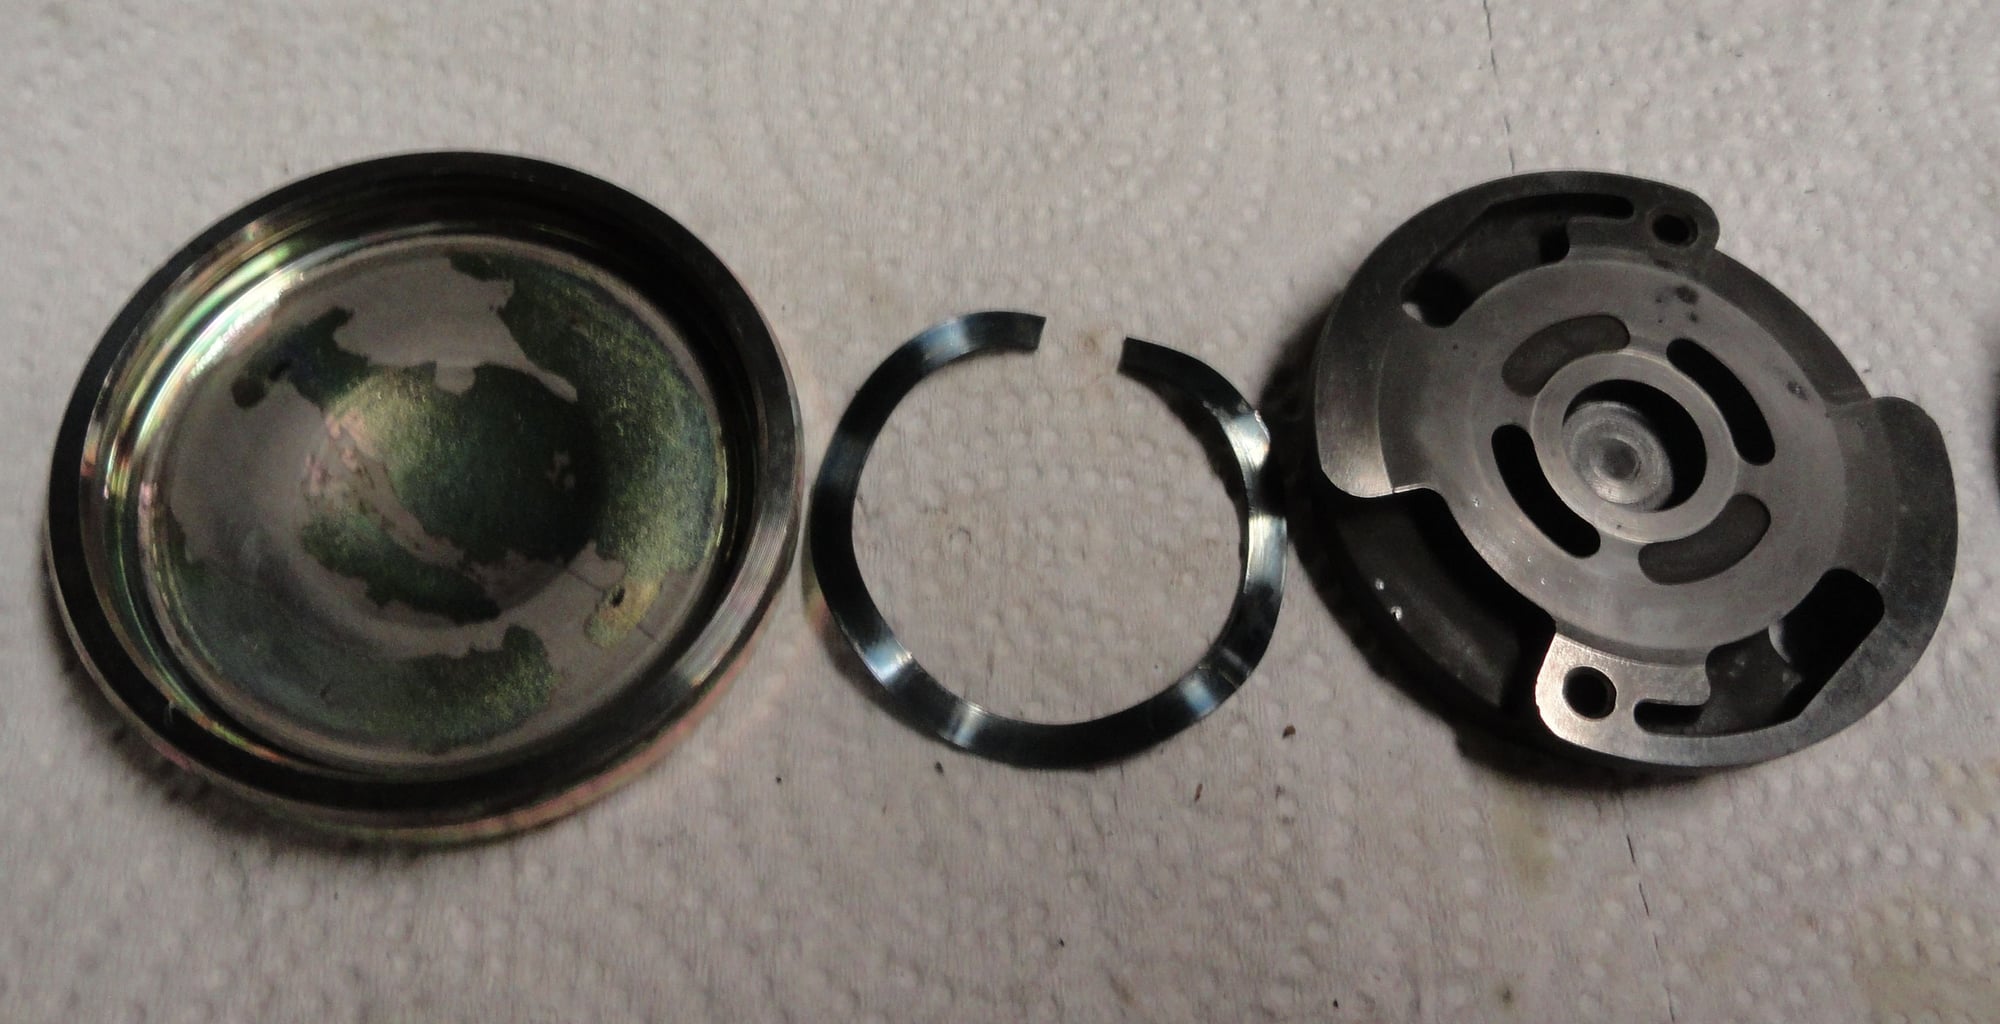
outer cover...wave spring....top plate
Old 11-11-2017, 01:32 AM
  #20  
TECH Senior Member
Thread Starter
iTrader: (1)
 
sjsingle1's Avatar
 
Join Date: Feb 2010
Location: Fort Worth TX
Posts: 6,498
Received 215 Likes on 176 Posts

Default


rotor and outer housing


Quick Reply: PS pump repair in PICS !


All times are GMT -5. The time now is 07:42 PM.