


Solid Motor Mounts...old idea with a whole new design!
LS1 Tech Stories
The Best V8 Stories One Small Block at Time

Gas Monkey Built a 6-Wheel Ferrari Testarossa With a Corvette LT4 Engine
Verdad Gallardo
7 Most Reliable High-Performance Engines GM Has Ever Built
Verdad Gallardo
Amazing '71 Camaro Restomod Is Modern Muscle Car Under the Skin
Verdad Gallardo
6 Common C5 Corvette Failures and What's Involved In Repairing Them
Pouria Savadkouei
Retro Modern Bandit Pontiac Trans AM Comes With Burt Reynolds' Autograph
Verdad Gallardo
Top 10 Greatest Cadillac V Series Performance Models Ever, Ranked
Pouria Savadkouei
Top 10 Most Powerful Chevy Trucks Ever Made!

Hennessey's New Supercharged Silverado ZR2 Has 700 HP
Verdad Gallardo
Coachbuilt N2A Anteros Is an LS2-Powered C6 Corvette In Italian Clothes
Verdad GallardoLaunching!
Joined: Jan 2010
Posts: 283
Likes: 0
From: N. Va
Alright guys...I wrote up a quick how-to on this, but really this is such an easy thing to do you don't need one. The hardest part of the hole thing is getting to it, which is blocked by headers, AC Compressor, and the Alternator. So those are the time consuming parts of this install, but not difficult.
Total install time: approx 15 hours for me when I did it by myself figuring everything out with no air tools (i hate myself apparently)...but following this writeup you can probably knock it down to 10....and if you have a second pair of hands helping knock it down to 6
Here's the write-up. I'll walk outside here in a sec to get pics.
Solid Motor Mounts from Motovative Performance LLC
www.motovativeperformance.com
What you need:
Metric sockets and wrenches primarily using 18mm, 15mm,& 13mm
At least 2 jack stands and floor jack, or something similar that’ll get the job done
Zip-Lock Bags : LABEL WHERE YOU’RE HARDWARE CAME FROM!
Intro:
I’m doing a few things at the same time, removing AC, swapping in headers, and removing coilpacks which made the install for these mounts much easier. However I’ll write this up as if I were only doing the motor mounts.
Procedures:
1. Jack up car and put it on jack stands
2. Disconnect Y-Pipe from Headers and transmission hang down bracket
- Note: If you’re using stock exhaust manifolds, you probably won’t be doing this install, but if you are be prepared that you’re probably going to sheer off a couple bolts disconnecting the stock Y. Happens to everyone and happened to me.
3. Pull the plug wires off the spark plugs and let them hang loose.
- Optional: Remove Coilpacks
- Optional: Remove Spark Plugs
-- Note: I didn’t remove the spark plugs when removing the stock exhaust manifolds, but I would encourage you to, especially if you don’t have the car jacked up very high.
4. Loosen header bolts working your way from the outside in. There are 6 on each side.
From here lets work one side at a time, starting with the passenger side
5. Go ahead and take out all the header bolts and remove the header from underneath
6. The AC Compressor and Alternator are both in the way of removing the through bolt on the motor mount, so both need to be unbolted and shifted forward.
- Remove both belts on the pulleys
- Remove the 2 bolts on the front, and 1 in the back of the alternator that bolt to the bracket
- If not already loose, wiggle around pulling down and get it resting on the sway bar
- The AC compressor was a massive pain for me. I ended up remove 5 bolts altogether which removed both the compressor and AC tensioner. I ripped those out so I wasn’t too gentle, but you may want to try to be. Again, remove all 5 bolts and rest on sway bar.
7. At this point I went ahead and put the floor jack under the oil pan with a 2x4 in-between and just supported the engine. I didn’t lift the engine at this time.
8. I broke loose all 4 13 mm bolts on the stock motor mount that connect it to the engine block. You should be able to get these finger loose fairly quickly
9. I also broke loose the 18mm through bolt by placing a ratchet/socket on one end and an 18mm ratchet wrench on the other. Having 2 people doing this make things much easier
10. At this point I barely lifted the engine with the jack just to get the weight off the through bolt.
11. Go ahead and remove all 4 13 mm bolts which you may be able to do by hand
12. Go ahead and remove the 18 mm nut off the through bolt and pull the through bolt out the front
- Note: The stock motor mount will not fall down as it has a little tab to hold it up
13. Pull out the stock motor mount off the pedestal. Good job!
14. Grab the new mount and get it on the pedestal and put the 18mm through bolt back in.
- NOTE: The design of the mounts is supposed to have the number upright and at the bottom of the mount. However if you install them upside down, the bolt holes won't line up at all nor will the mount sit flush against the block...so use some common sense here.
15. Go ahead and finger tighten the 4 13 mm bolts to the engine block
- NOTE: If the bolt holes do not line up perfectly, you may have to loosen the 4 bolts on the pedestal from the K-member to get you some play. Don’t remove the pedestal’s bolts, just loosen it up. This should give you enough room to finger start the bolts going through the mount into the engine block. I fought several different ways of getting things to line up, and this way was very quick and easy.
16. If you loosened the pedestals, go ahead and tighten it back down
17. Tighten the 4 13mm bolts into the block
18. At this point while the engine is supported, you may want to pull the 18mm through bolt, lift the engine slightly and install the headers if you need to. Just a thought.
19. Put the through bolt in tight and torque it down
- Note: I installed my 18mm through bolt from the front like before, but that’s because I removed my AC compressor. If you’re keeping that, I would suggest installing from the rear so you won’t have to deal with the AC compressor next time your in there.
20. Install header if not already done
Driver Side
21. Again, remove the header bolts and remove header
22. Remove the exhaust shield that’s on stud bolts which are also the motor mount bolts. Remove nuts off the top two stud bolts and pull out the exhaust shield.
23. Again, loosen both the 4 13mm stud bolts on the motor mount and the 18mm through bolt
24. With the engine supported, remove the 4 13mm stud bolts and 18mm through bolt
25. Remove stock motor mount
26. Grab the new motor mount and place down on the pedestal placing the through bolt in.
- Note: I installed from the rear so I wouldn’t have to remove the alternator next time I’m in there.
- Again, if the bolt holes don’t line up, loosen the pedestal…I didn’t have to
27. Finger start the 4 13 mm stud bolts and then tighten down
28. Tighten down the pedestal if you loosened it
29. At this time it might be advantageous to remove the through bolt, jack up the engine a little bit just to get the header installed. Just put a couple bolts on the header to hold it up
30. Reinstall the 18 mm through bolt (from the rear) and tighten down.
31. Install spark plugs if removed
32. Bolt the headers back down working from the inside out
33. Install coil packs if removed
34. Put plug wires back on spark plugs
35. Install y-pipe
Recommendation: If you install solid motor mounts, I would suggest installing a poly transmission mount. It’s extremely simple and took me all of 15 mins to do.
1. Support tail of transmission with floor jack with 2x4 in-between the two
2. Remove nut that’s in the center of the transmission cross member
3. Unbolt the 4 bolts holding the transmission cross member up and let it down
a. Ensure you’re supporting the transmission with that floor jack!
4. Remove the 2 bolts that hold the stock rubber mount to the transmission
5. If needed, with the new poly transmission mount, place the threaded stud in the center position. You may need to get the lining of poly outta there, but it’s threaded.
6. Bolt the new mount up to the transmission
7. Put some lithium grease on the poly mount
8. Reinstall the cross member
9. Lower floor jack to let transmission sit on cross member
10. Put new nut on the threaded stud and tighten down
YOU’RE DONE!!
One more thing to add. When you talk about support from a products manufacturer, we all know UMI is pretty good here on the forum and Sam Strano is the best, and I hope they continue to be....however I pm'd Blake about 4 times asking some things and he was great about getting back to me very quickly and had some great ideas. With him supporting his product the way he does and willing to help out his customers, I'll always suggest people use his products. They work, they work well, and the backend support will help you through any little issues you may think you have. Thanks Blake!
Last edited by 98_TA_EMLC; Jan 11, 2011 at 07:58 PM.
Launching!
Joined: Jan 2010
Posts: 283
Likes: 0
From: N. Va
PICS!
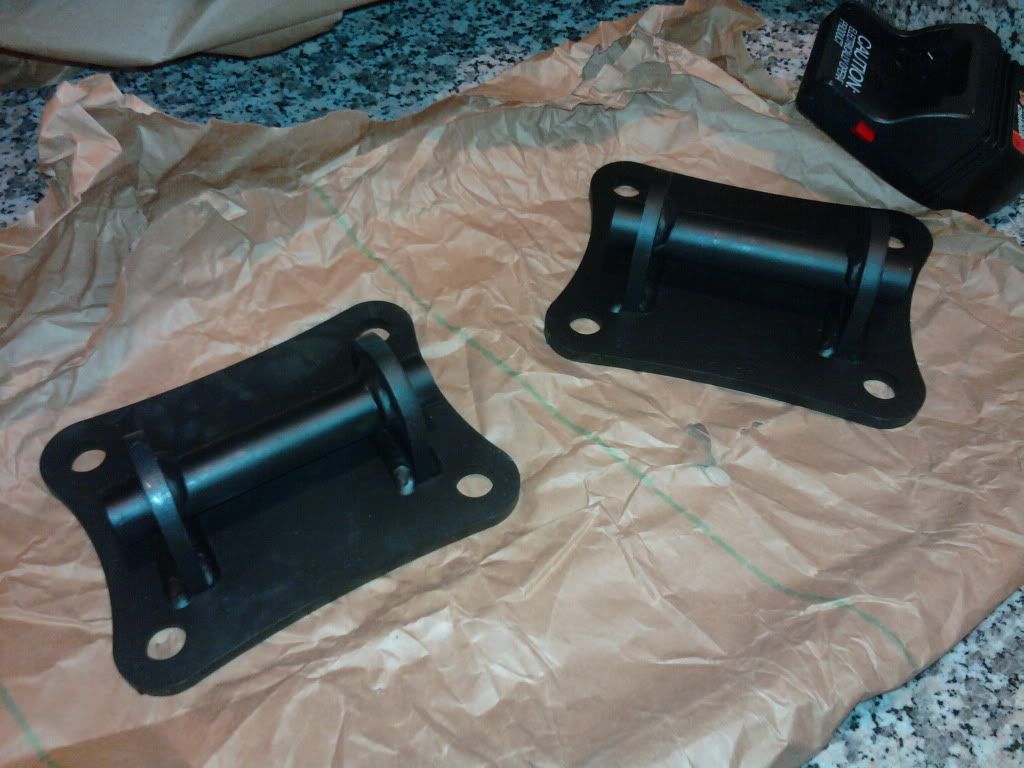
Here's the motor mounts from Motovative Performance compared to the stock mounts. Note that Motovative's mounts do NOT raise or lower the engine at all, but retains the factory position. My rubber mounts were sagging horribly, so these were a great thing to have.
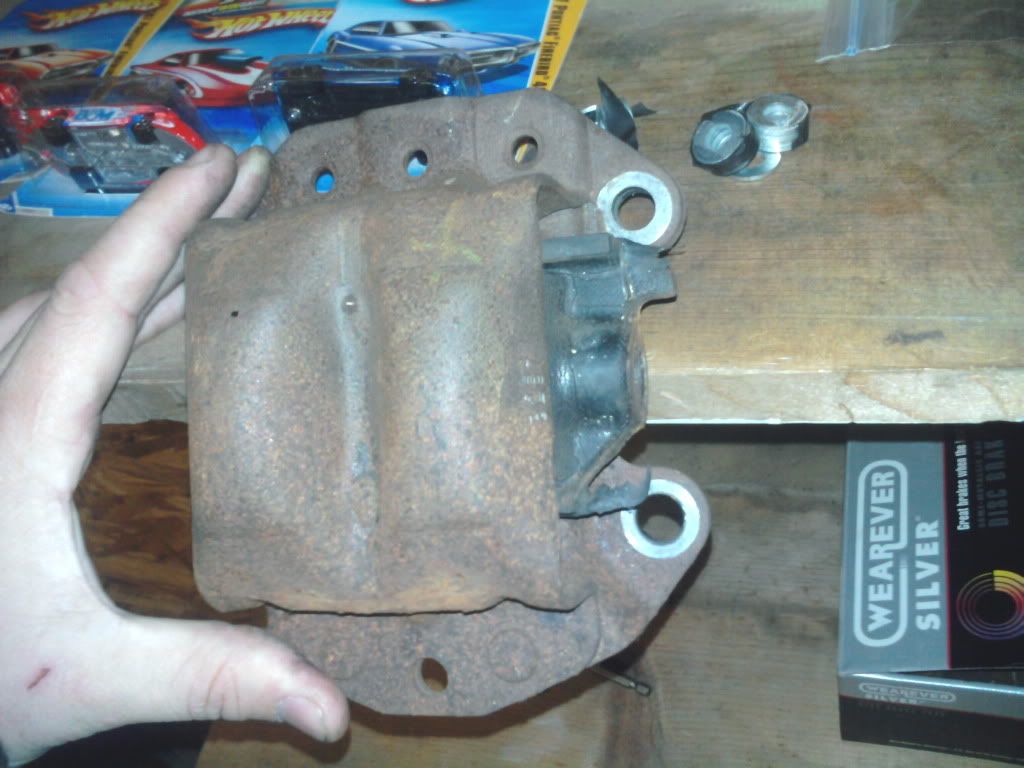
AC Compressor

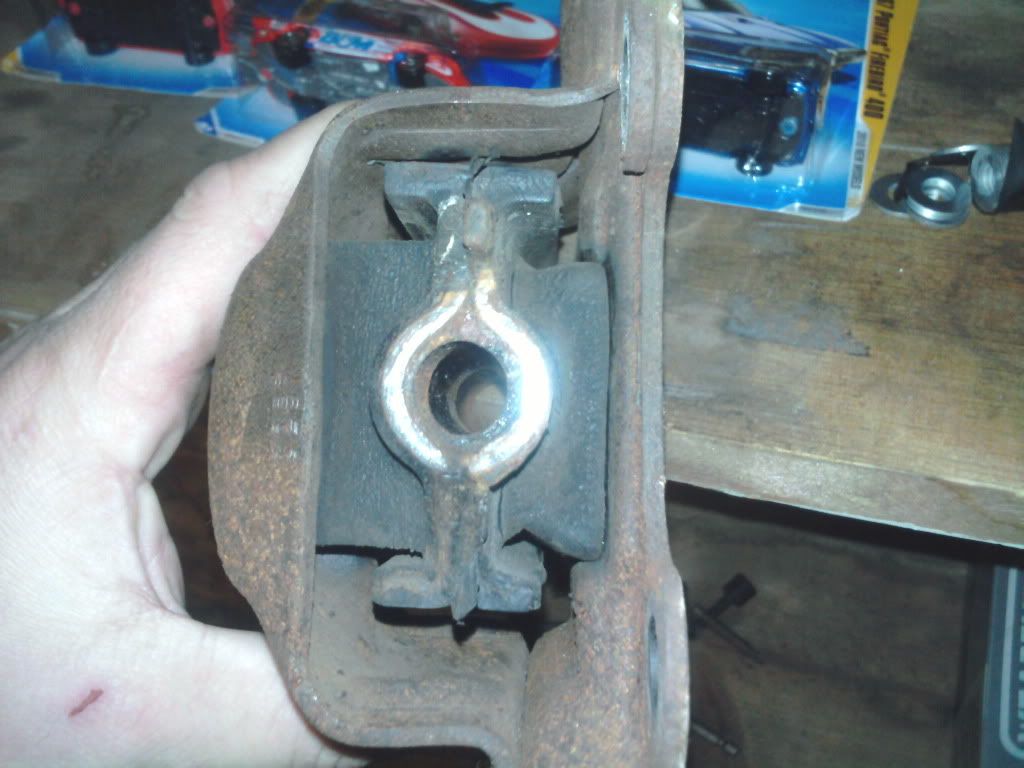
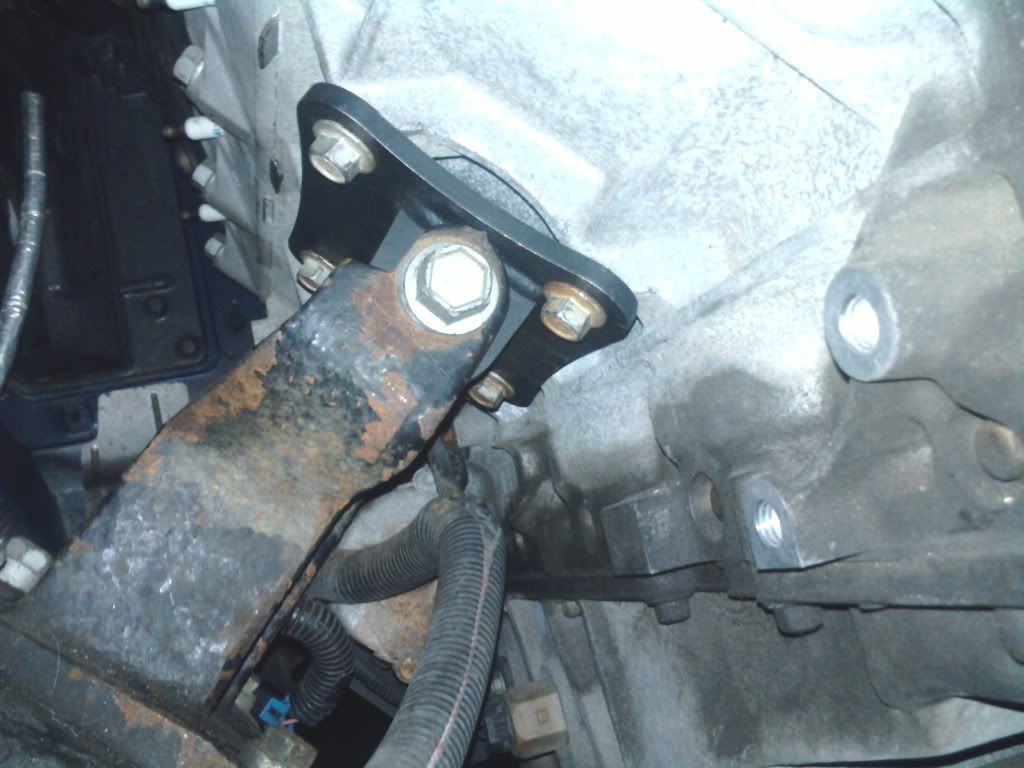
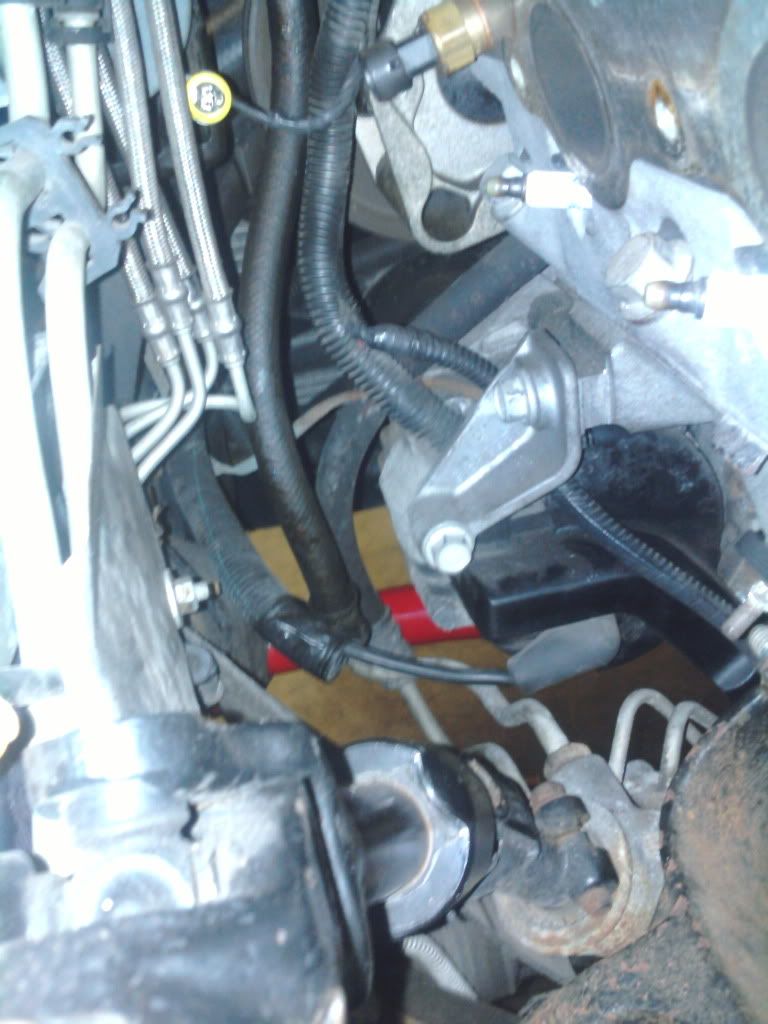
Passenger Side Motor Mount on Pedestal
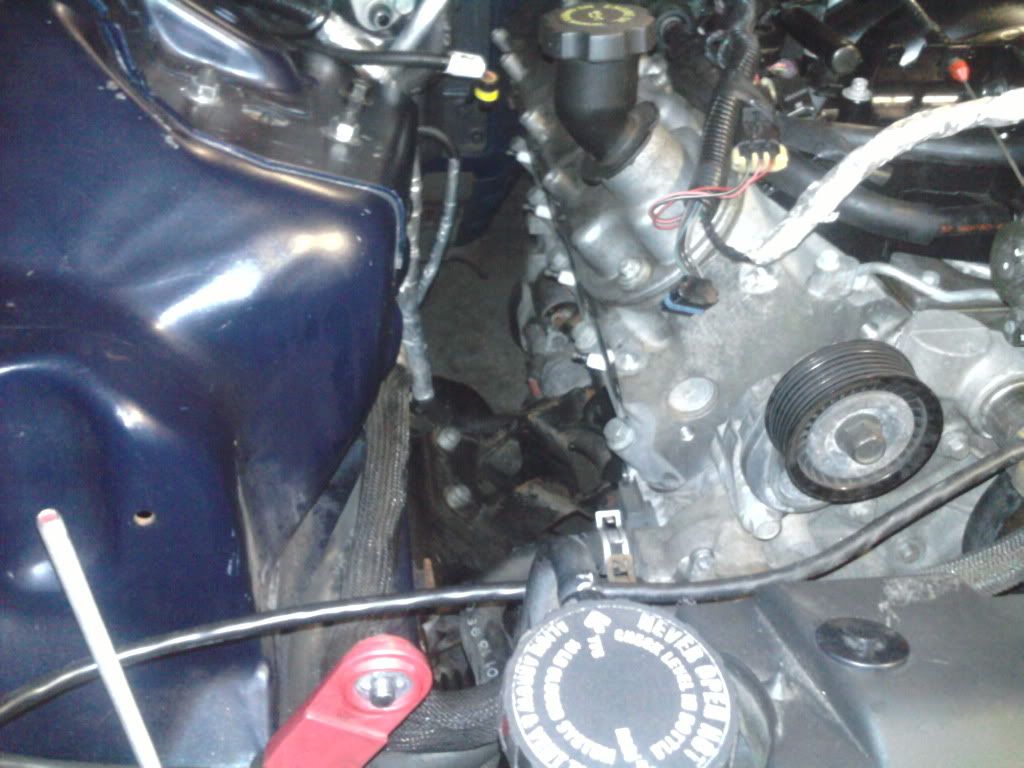
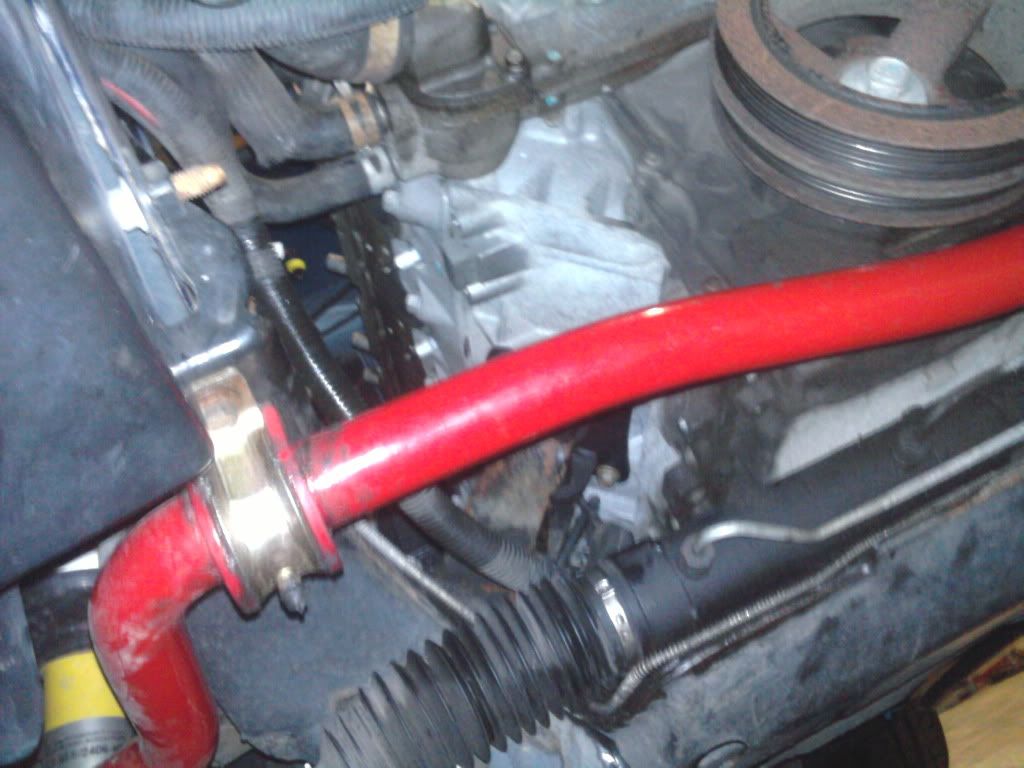
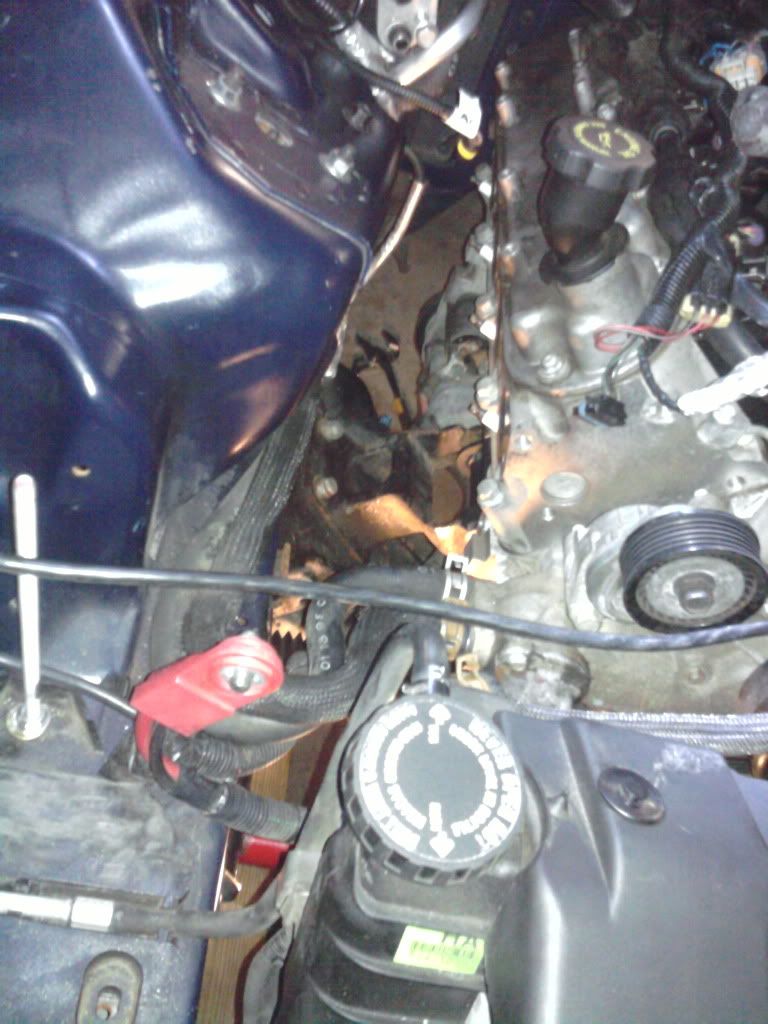
Passenger Side - Tons of room to access without AC Compressor there
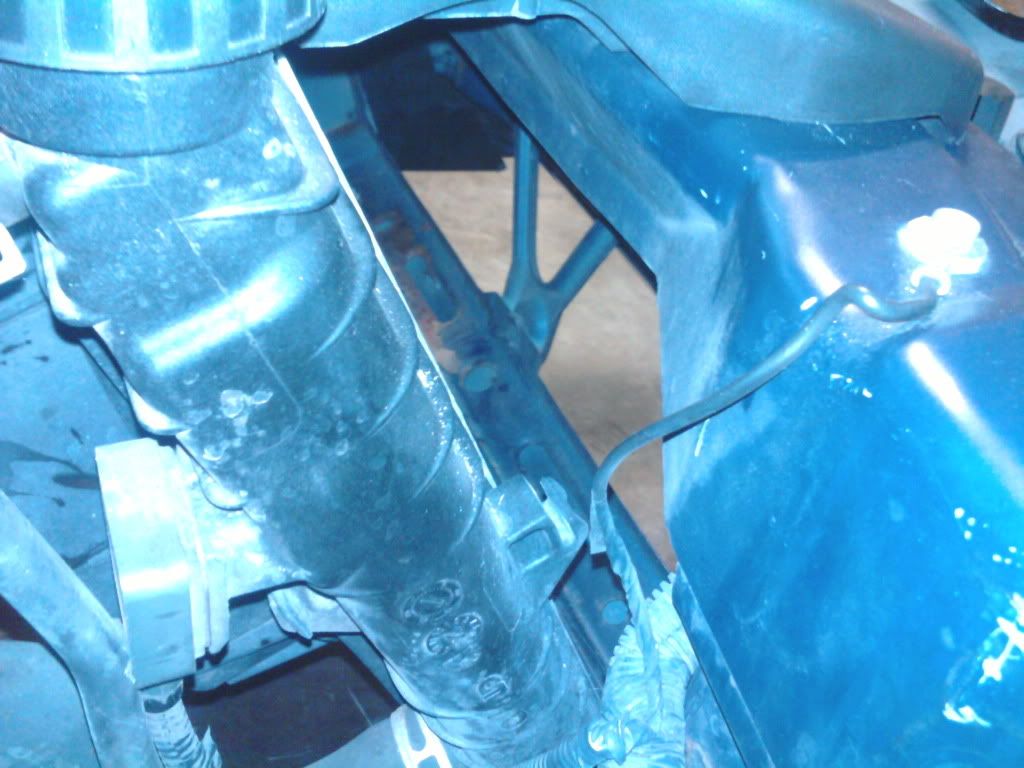
Rear View
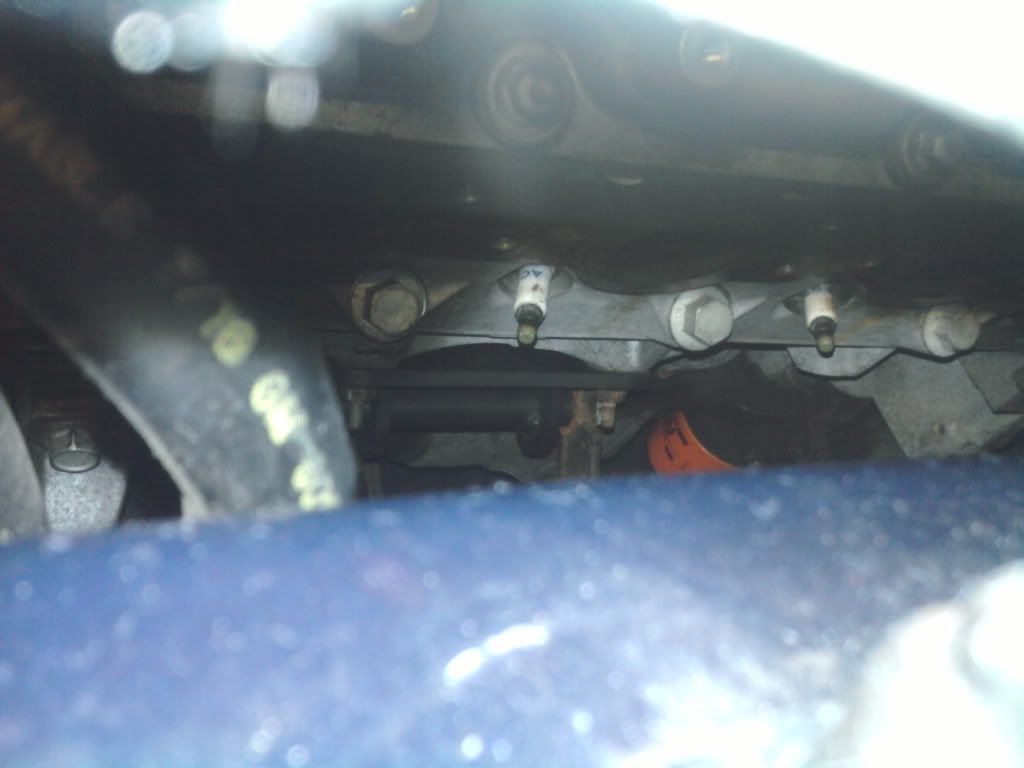
Driver Side Alternator Front Bolts
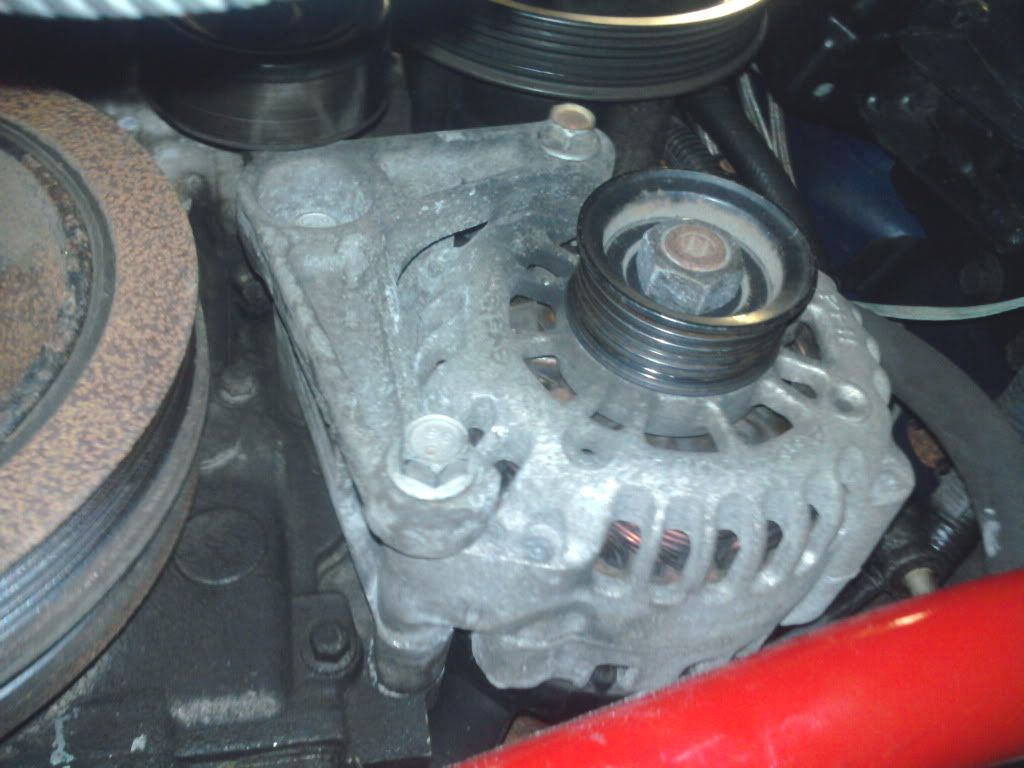
Alternator Rear Bolt
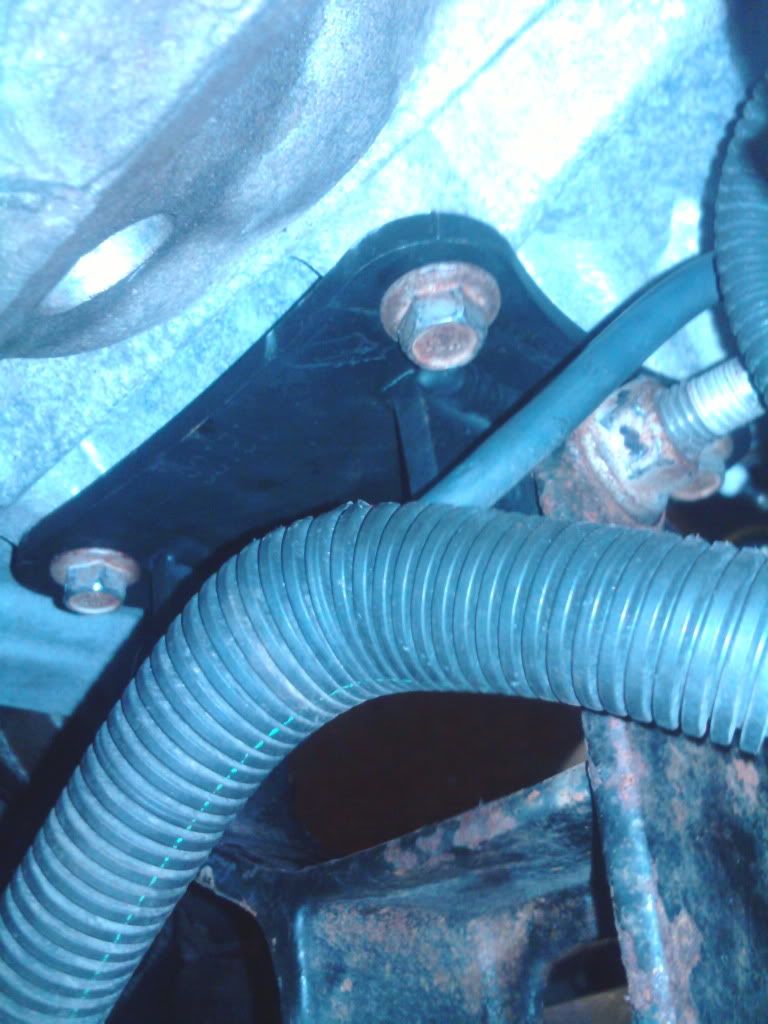
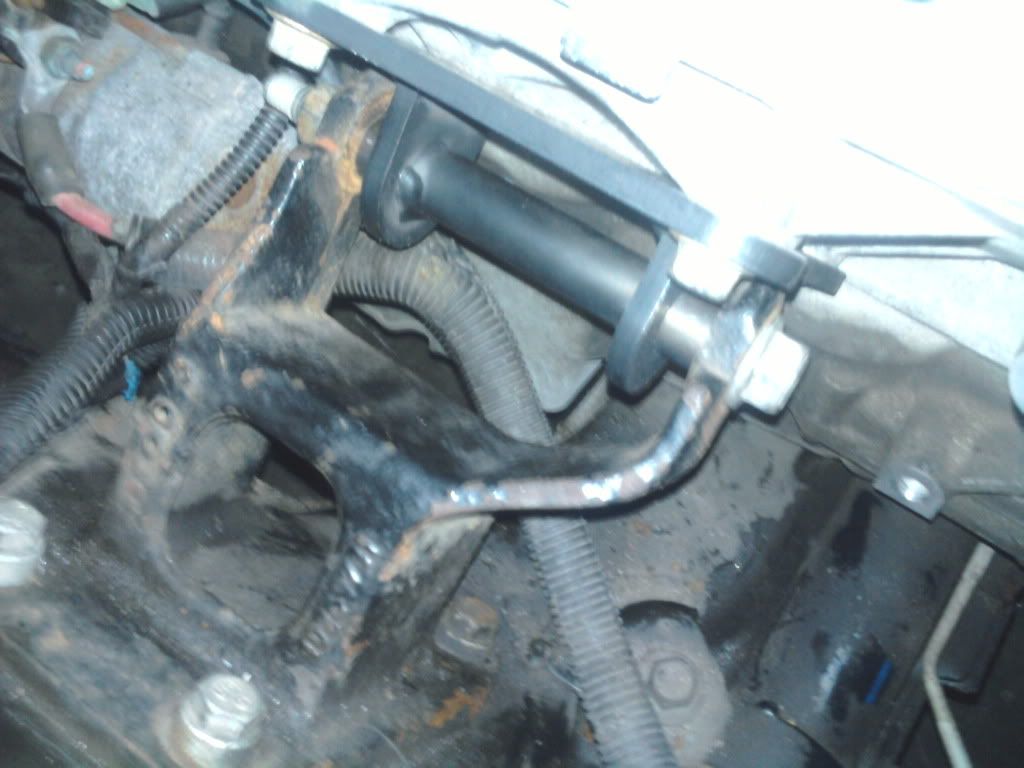
Driver Side Motor Mount Installed
And just to show you how much removing the AC helps...
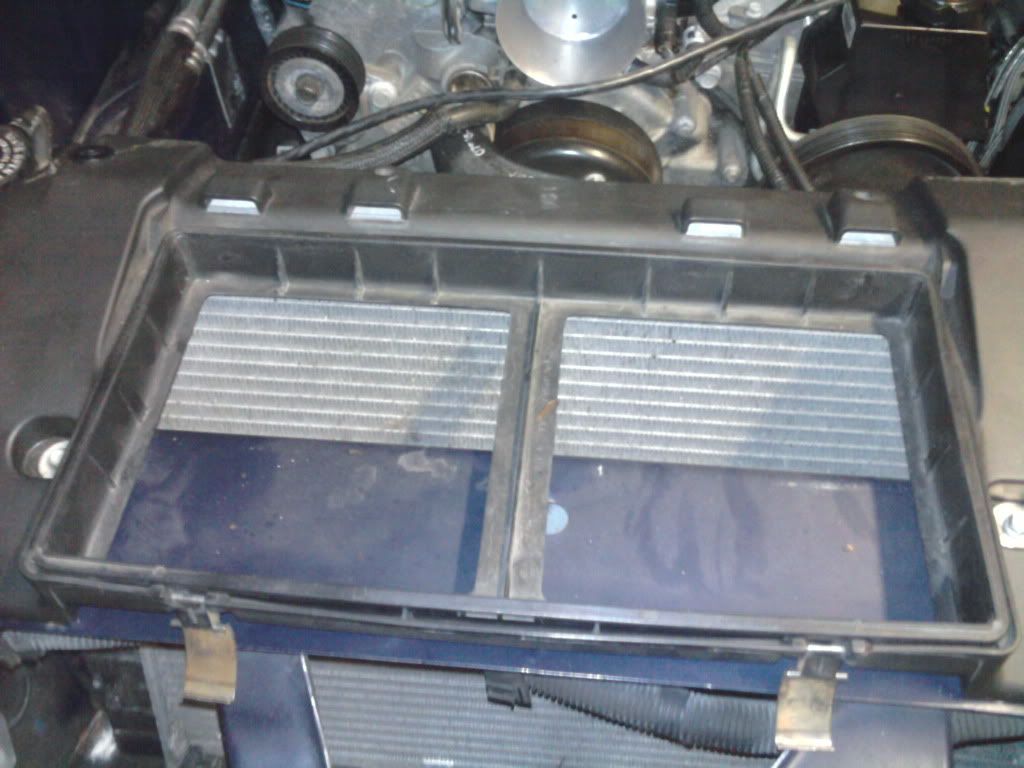
Still need to get the box off the FW, but this is everything else..
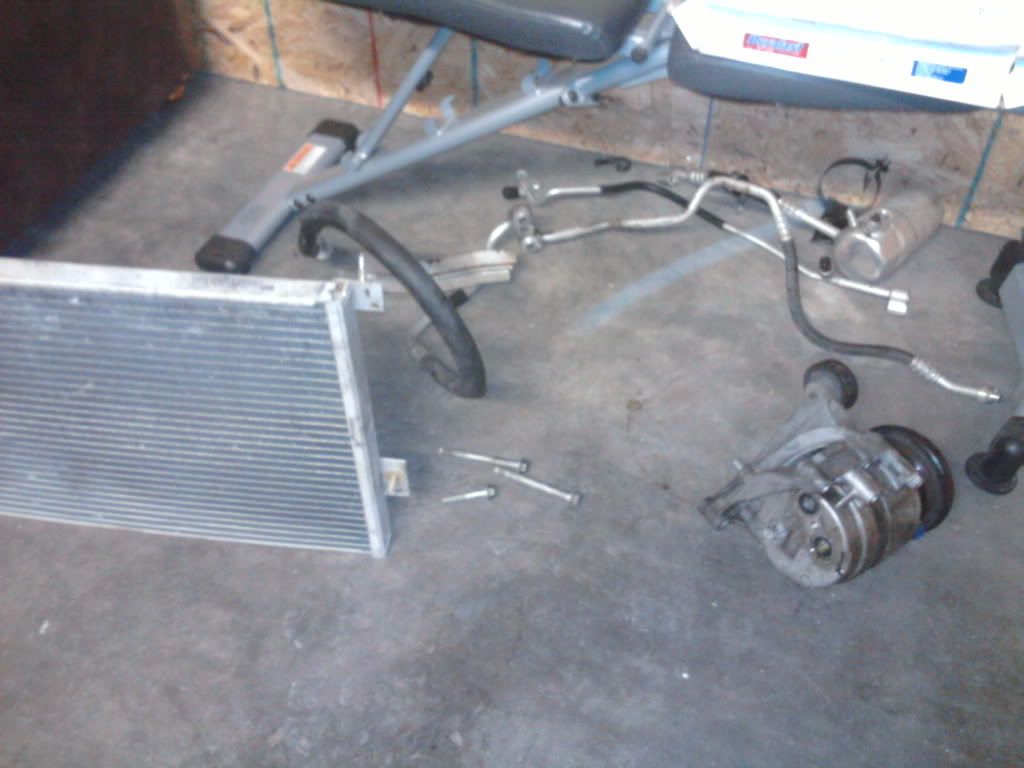
Tons of room in front of the radiator now (windshield resevoir's gone too)
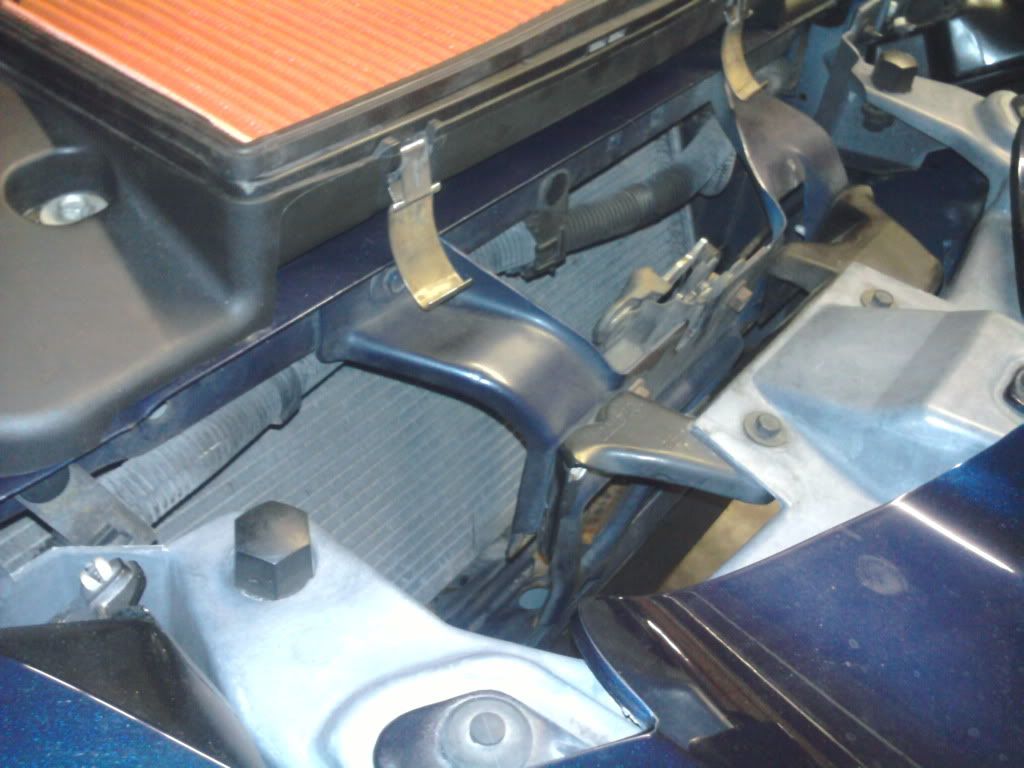
Tons of air space with the free air mods
You can almost dive into the engine bay with it all gone!
Here's the motor mounts from Motovative Performance compared to the stock mounts. Note that Motovative's mounts do NOT raise or lower the engine at all, but retains the factory position. My rubber mounts were sagging horribly, so these were a great thing to have.
AC Compressor
Passenger Side Motor Mount on Pedestal
Passenger Side - Tons of room to access without AC Compressor there
Rear View
Driver Side Alternator Front Bolts
Alternator Rear Bolt
Driver Side Motor Mount Installed
And just to show you how much removing the AC helps...
Still need to get the box off the FW, but this is everything else..
Tons of room in front of the radiator now (windshield resevoir's gone too)
Tons of air space with the free air mods
You can almost dive into the engine bay with it all gone!
Launching!
Joined: Jan 2010
Posts: 283
Likes: 0
From: N. Va
Some things to consider after the fact....
1. Remove you pedestals and clean them up before reinstalling.
2. AIR TOOLS AIR TOOLS AIR TOOLS!!!! My forearms are all bruised up from squeezing them in tight spaces and trying to use a ratchet
3. Have a friend help you...it'll make the install a million times easier and faster
4. Knock out 2, 3, or 4 birds with one stone. I timed this install along with my tranny mounts, header swap, ac delete, coil pack relocation, and some other general under the hood cleanup/re-wiring. If you're already in there...knock it all out at once. It'll make your life easier.

