

EGR @ AIR removal, Home made block off plates, guide w/ pics


Thread Starter
On The Tree
Joined: Nov 2006
Posts: 156
Likes: 0
From: Cincinnati OH
So I've been a lurker here for a while but I haven't contributed too much in the past � I didn't really have much to contribute really. The EGR on my Camaro has been broken for about 2 years now and I've recently gotten around to making block off plates and removing it along with the air system. I looked around for a guide before going at and didn't find anything on making the block off plates or removing the EGR � it's all pretty simple stuff really but I figured I'd write a guide in case anyone is interested.
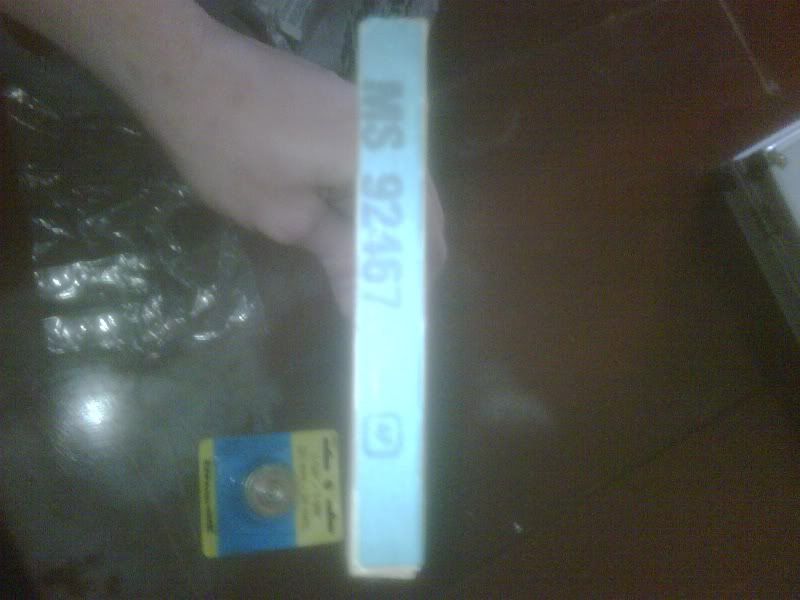
First thing you need to do is to procure some metal plate. It doesn�t matter what type of metal you get but it should be at least 1/8� thick and large enough to get 3 approximately 2�x3� rectangles out of it. I ended up with 3/16� thick mild steel plates.
The second step is to head to your local parts store and buy a 1-3/8� adjustable rubber freeze plug and the necessary gaskets. I was unable to find a store near me that carried just the gaskets for the air fittings but fel-pro does make a gasket set that has manifold, EGR and air gaskets. The gasket set was $11, the freeze plug was $1.50 or so.
Next step is to make the block off plates. First pull out the air and egr gaskets and trace them onto your metal plates.
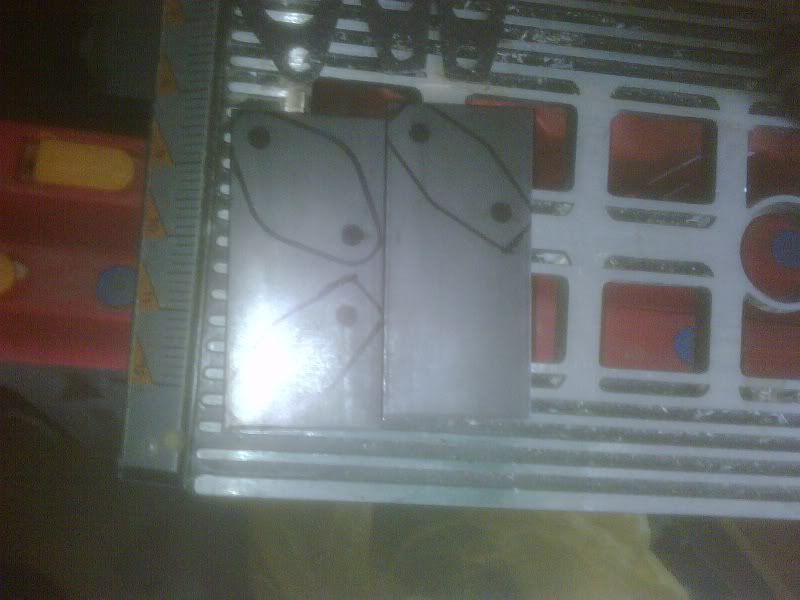
Then ping the center of the holes with a punch and hammer. Do your best to get them as centered as possible. You can see that I failed pretty good at centering the pings, it ended up making fitting the plates a bit more difficult on me.
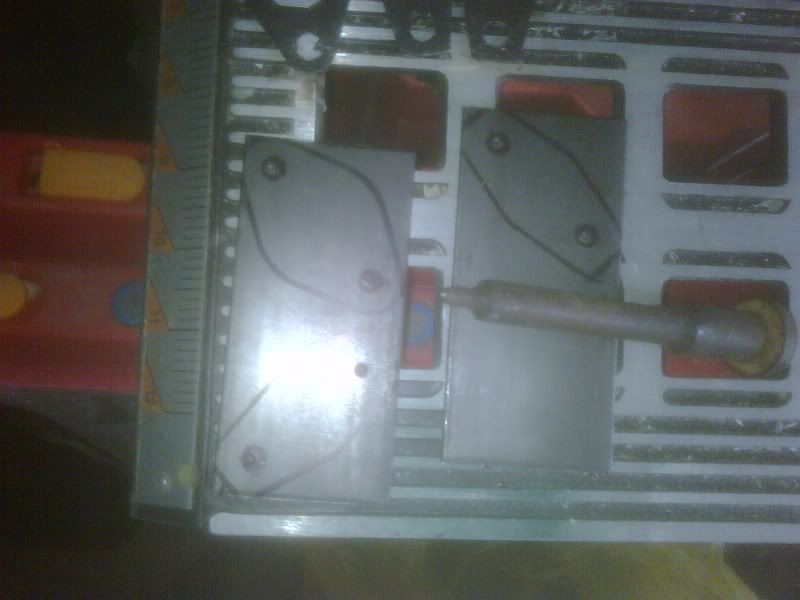
Next drill out the holes. If you don't have a big ballsy drill and nice sharp bits just start with a small bit then go progressively larger until the hole is large enough. My nice sharp drill bits with the size etched on them stopped at 1/4� which ended up being too small for the bolts to go through so you will need a minimum of a 5/16� drill bit, assuming you managed to ping the holes dead nuts centered, I was only vaguely centered on mine. Make sure to clamp the plates � securely - to something sturdy while you are drilling through them, the drill bit likes to periodically grab the plates and send them whizzing off in all sorts of fun directions if they aren't secured to something (yes I did manage to cut myself not clamping the plate down securely).
Then cut the plates along the lines. I started off with using a die grinder with a cut-off wheel which would have worked swimmingly if my air compressor had enough ***** to run a die grinder for more than 20 seconds at a time. I ended up just mauling out the basic shape of the plates out with a hack saw. Fun times cutting 3/16 steel plate by hand XD. If you are concerned with how they look you can take the time to make them pretty, I didn't.
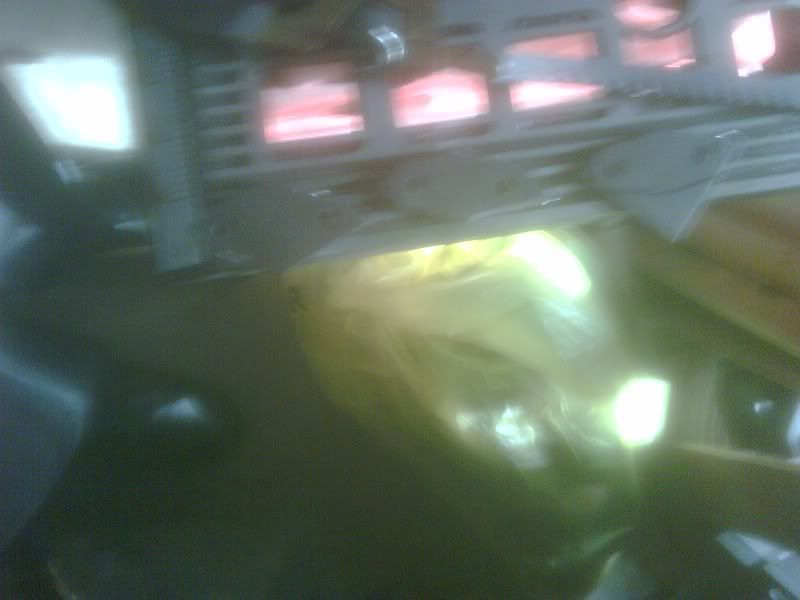
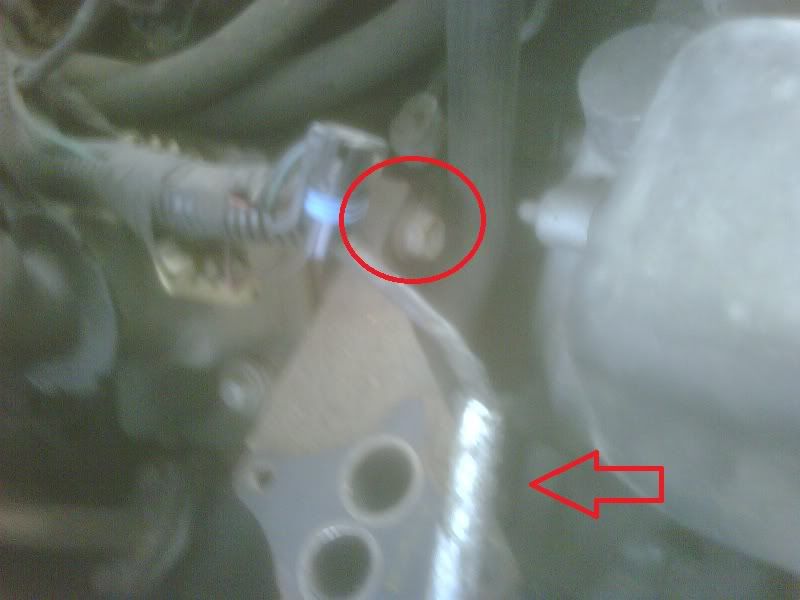
Now that the plates are done we can go about pulling off the EGR. First off remove the fitting from the intake manifold. It is right on top behind the TB and held in with a single bolt. I circled it in nice bright red. Once the bolt is out you can just grab the tube and bend it out of the way.
Since I happen to have a knack for doing dumb things (I was already bleeding a little from a voracious finger wound) I went ahead and put the plug in the intake before doing anything else as I feel it's safe assume anything falling into the open hole would be a bad. Just put the freeze plug into the hole and crank on the nut while holding it until it is snugly in there and won't come out when you tug on it.
Next pull the EGR valve itself off. It is held on by two bolts. You may be able to skip this step but just pulling the EGR off and tossing it into a corner makes accessing the other bolts in the system easier.
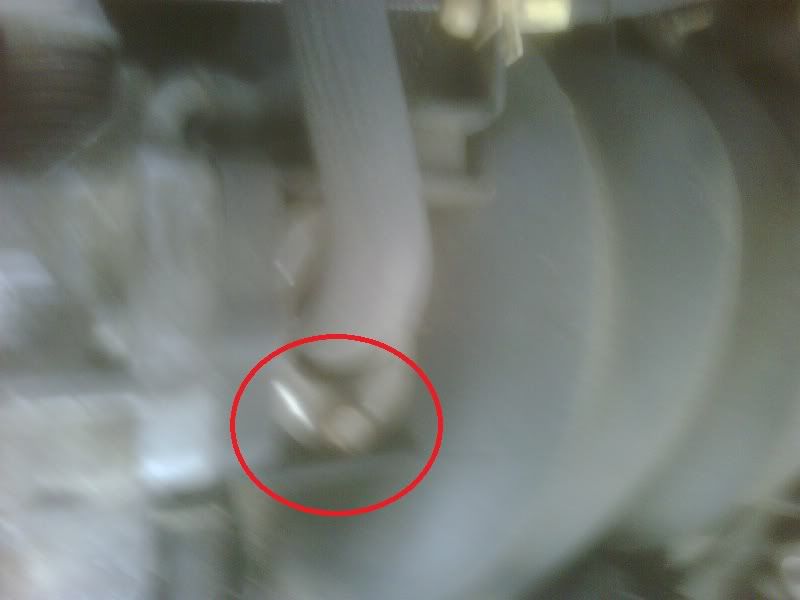
Next the bracket. There are 2 bolts one right out there in the open and another that is hidden under the valve. The red arrow is point approximately to it's location.
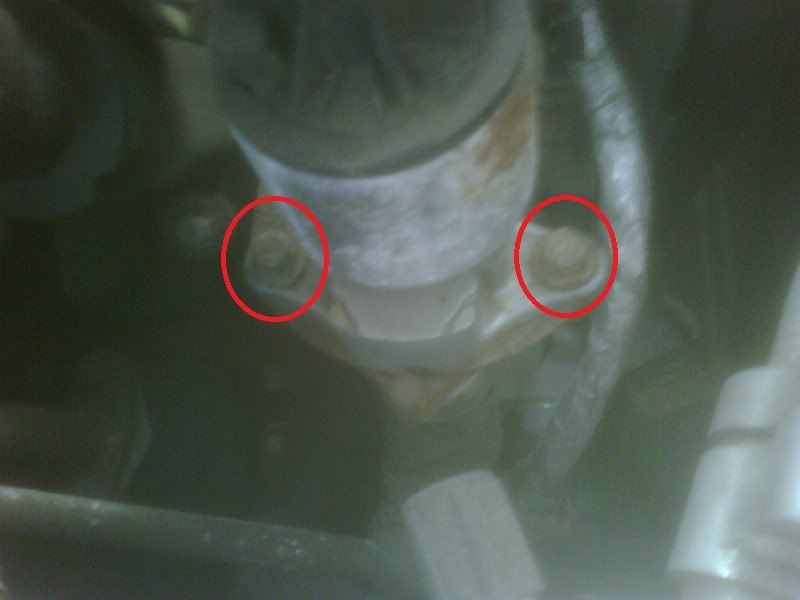
Then remove the EGR fitting from the exhaust manifold. There was too much junk in the way for me to get a clear picture of how it sits with the EGR piping still on the engine but you can pretty easily make out where they are by looking at the hole with all the piping gone. The bolts are a little bit of a bitch to get to with all the A/C stuff still on the car. I needed an extension and a U joint to get the top bolt out and a short socket to get the bottom bolt.
Now time to fit the plates on. Easiest way to put them on is to slide the top bolt through the plate and gasket and finger tighten it to the manifold then but the lower bolt through the plate an gasket and tighten it in. The manifolds are not cast from a particularly hard metal so it is very easy to cross the threads in the manifold if the holes in you plates aren't spaced correctly. If you can't tighten the bolt with your fingers take the plate off and either drill out the holes with a larger drill bit or slot them with a grinder. If you do manage to cross the threads you can feed the bolt through the manifolds backwards with an open end wrench to fix the threads (I'm sure you can imagine how I learned all that). One you have the bolts finger tight grab a ratchet and tighten them up. Fire the car up to check for any leaks and you're done.
Removing the air system has already been talked about here. Fitting the plates for the air fittings goes the same as for the EGR. Just remember if you can't tighten the bolts with your fingers then go drill out or slot the holes in your plate.
All and all it's pretty easy stuff really.
First thing you need to do is to procure some metal plate. It doesn�t matter what type of metal you get but it should be at least 1/8� thick and large enough to get 3 approximately 2�x3� rectangles out of it. I ended up with 3/16� thick mild steel plates.
The second step is to head to your local parts store and buy a 1-3/8� adjustable rubber freeze plug and the necessary gaskets. I was unable to find a store near me that carried just the gaskets for the air fittings but fel-pro does make a gasket set that has manifold, EGR and air gaskets. The gasket set was $11, the freeze plug was $1.50 or so.
Next step is to make the block off plates. First pull out the air and egr gaskets and trace them onto your metal plates.
Then ping the center of the holes with a punch and hammer. Do your best to get them as centered as possible. You can see that I failed pretty good at centering the pings, it ended up making fitting the plates a bit more difficult on me.
Next drill out the holes. If you don't have a big ballsy drill and nice sharp bits just start with a small bit then go progressively larger until the hole is large enough. My nice sharp drill bits with the size etched on them stopped at 1/4� which ended up being too small for the bolts to go through so you will need a minimum of a 5/16� drill bit, assuming you managed to ping the holes dead nuts centered, I was only vaguely centered on mine. Make sure to clamp the plates � securely - to something sturdy while you are drilling through them, the drill bit likes to periodically grab the plates and send them whizzing off in all sorts of fun directions if they aren't secured to something (yes I did manage to cut myself not clamping the plate down securely).
Then cut the plates along the lines. I started off with using a die grinder with a cut-off wheel which would have worked swimmingly if my air compressor had enough ***** to run a die grinder for more than 20 seconds at a time. I ended up just mauling out the basic shape of the plates out with a hack saw. Fun times cutting 3/16 steel plate by hand XD. If you are concerned with how they look you can take the time to make them pretty, I didn't.
Now that the plates are done we can go about pulling off the EGR. First off remove the fitting from the intake manifold. It is right on top behind the TB and held in with a single bolt. I circled it in nice bright red. Once the bolt is out you can just grab the tube and bend it out of the way.
Since I happen to have a knack for doing dumb things (I was already bleeding a little from a voracious finger wound) I went ahead and put the plug in the intake before doing anything else as I feel it's safe assume anything falling into the open hole would be a bad. Just put the freeze plug into the hole and crank on the nut while holding it until it is snugly in there and won't come out when you tug on it.
Next pull the EGR valve itself off. It is held on by two bolts. You may be able to skip this step but just pulling the EGR off and tossing it into a corner makes accessing the other bolts in the system easier.
Next the bracket. There are 2 bolts one right out there in the open and another that is hidden under the valve. The red arrow is point approximately to it's location.
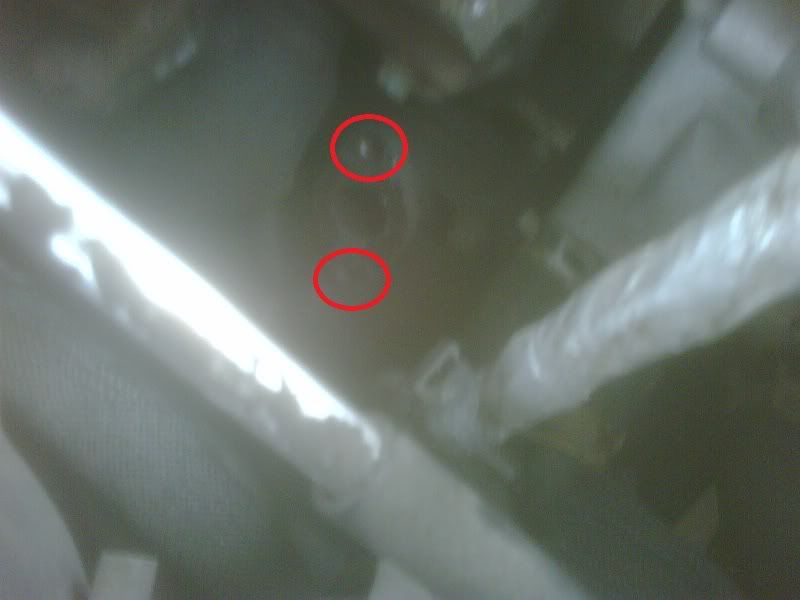
Then remove the EGR fitting from the exhaust manifold. There was too much junk in the way for me to get a clear picture of how it sits with the EGR piping still on the engine but you can pretty easily make out where they are by looking at the hole with all the piping gone. The bolts are a little bit of a bitch to get to with all the A/C stuff still on the car. I needed an extension and a U joint to get the top bolt out and a short socket to get the bottom bolt.
Now time to fit the plates on. Easiest way to put them on is to slide the top bolt through the plate and gasket and finger tighten it to the manifold then but the lower bolt through the plate an gasket and tighten it in. The manifolds are not cast from a particularly hard metal so it is very easy to cross the threads in the manifold if the holes in you plates aren't spaced correctly. If you can't tighten the bolt with your fingers take the plate off and either drill out the holes with a larger drill bit or slot them with a grinder. If you do manage to cross the threads you can feed the bolt through the manifolds backwards with an open end wrench to fix the threads (I'm sure you can imagine how I learned all that). One you have the bolts finger tight grab a ratchet and tighten them up. Fire the car up to check for any leaks and you're done.
Removing the air system has already been talked about here. Fitting the plates for the air fittings goes the same as for the EGR. Just remember if you can't tighten the bolts with your fingers then go drill out or slot the holes in your plate.
All and all it's pretty easy stuff really.
Looks pretty good! Instaluniversity or w/e it's called has write ups on doing !air an egr but now there's one on here. I want to do this but I'll prob wait till I need a tune

