
Raptr Cam n 243 heads "build"


 04-03-2013, 04:14 PM
#62
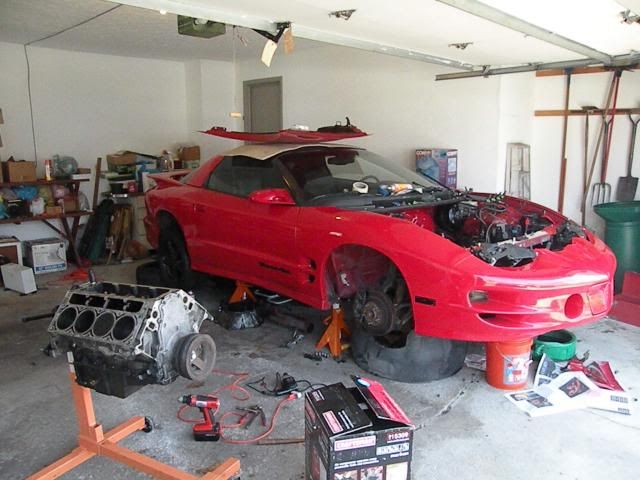
progress
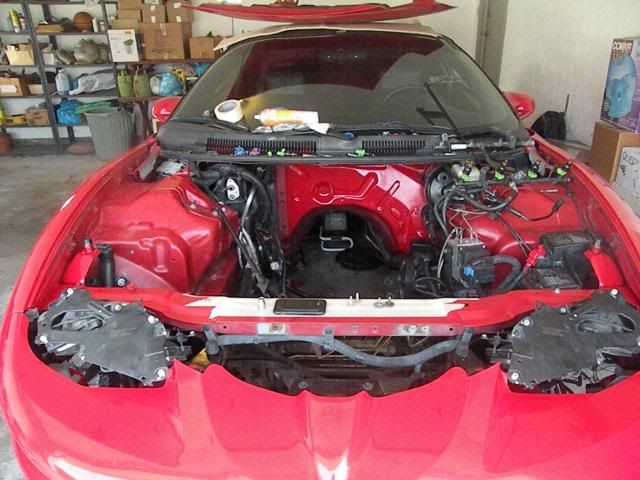
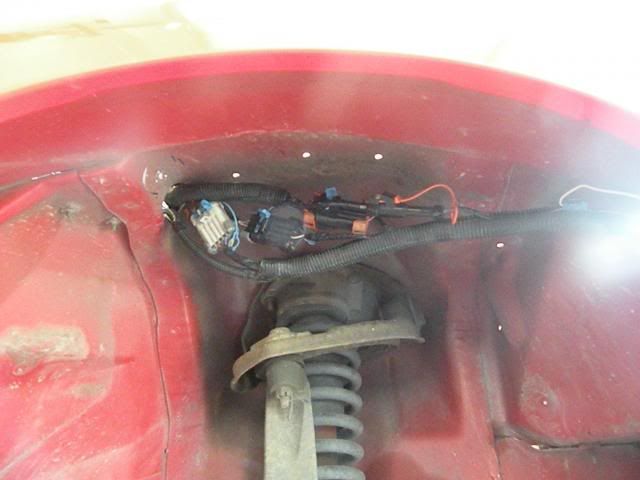
will be velcrod and taped up. also going to fill those holes.
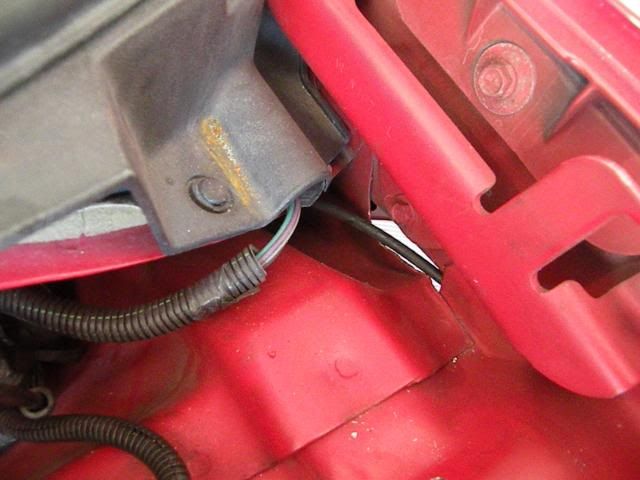
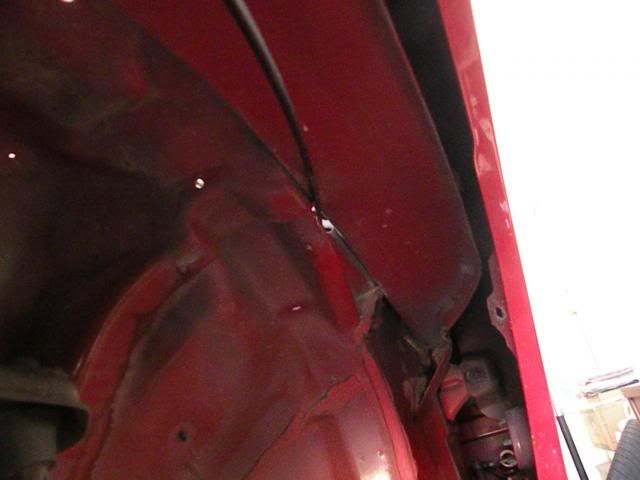
hid the hood pop cable through this gap. i drilled a hole but used too small of a bit so went this route. had to bend the metal a bit so it would fit through. anyone else do it this way?
 G]
G]
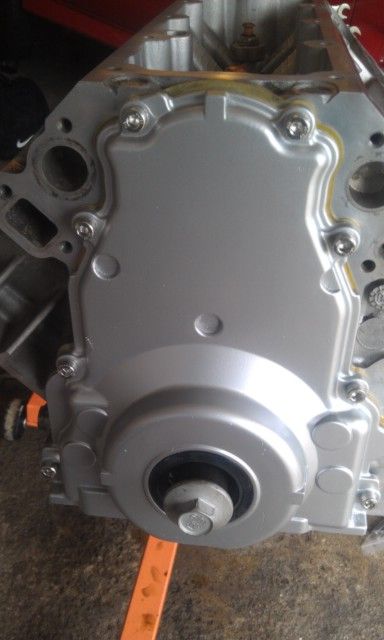
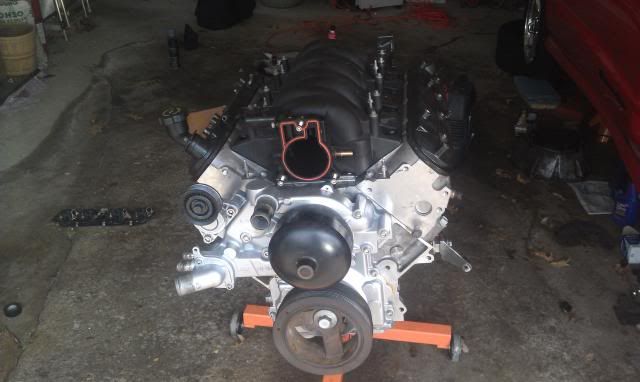
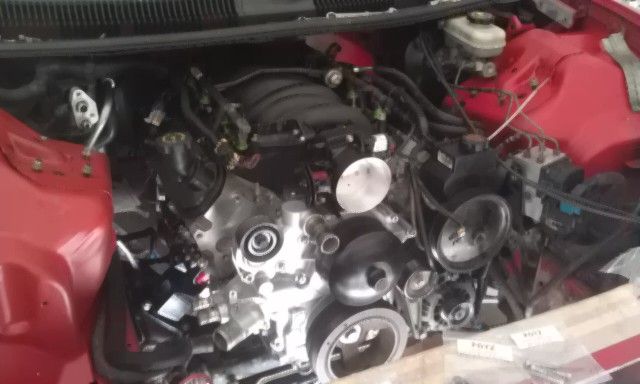
the new engine. supposed to have 15,000 miles on it. anyone think lower, possibly??
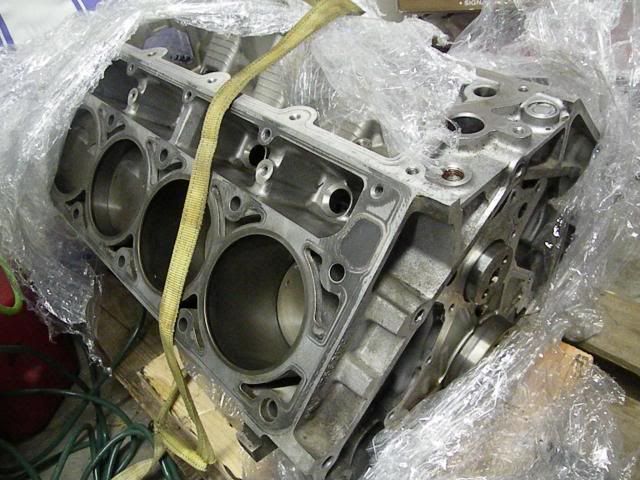
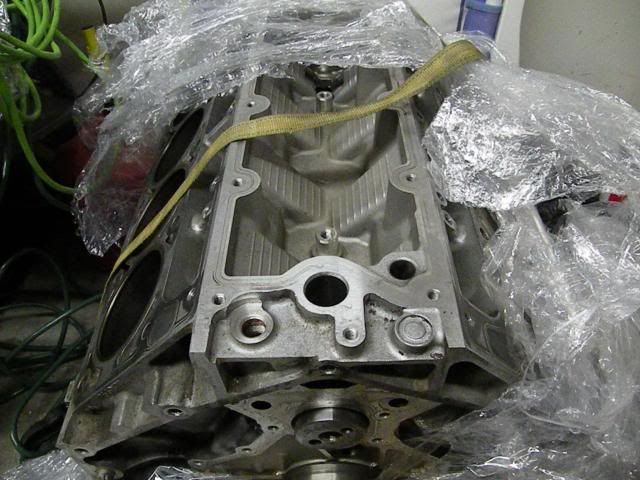
looks like new
got rid of that nasty silver tape. black electrical tape now
was bored and had the supplies so why not.
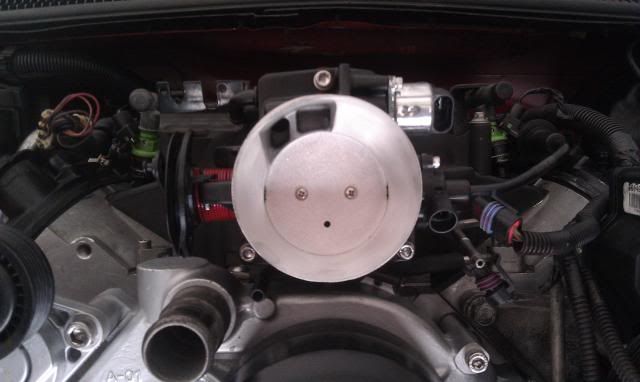
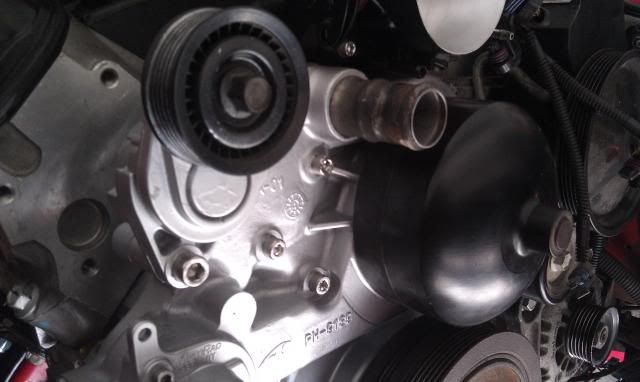
engine lookin good
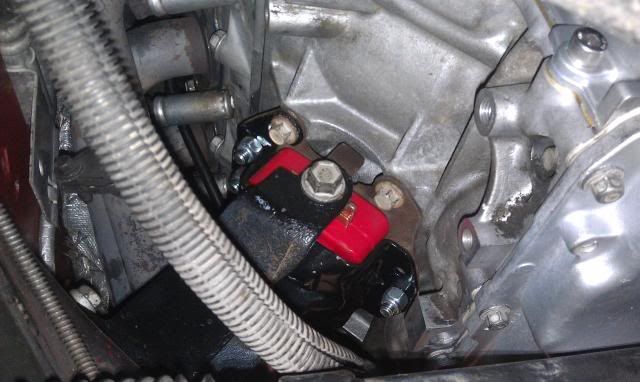
painted oil pan, painted motor mount brackets. maybe re do them next time I have the motor out
the ACME on the diff cover was friend's idea. I have blown it 3 times.

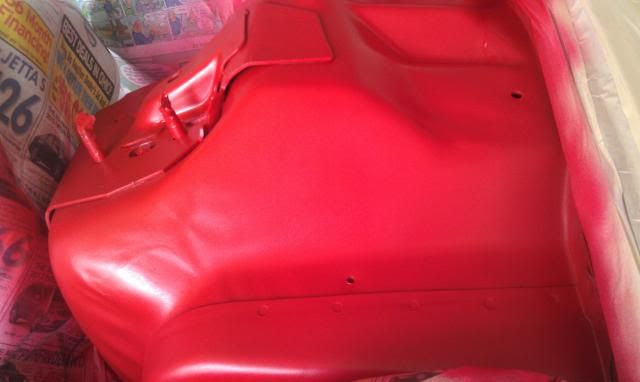
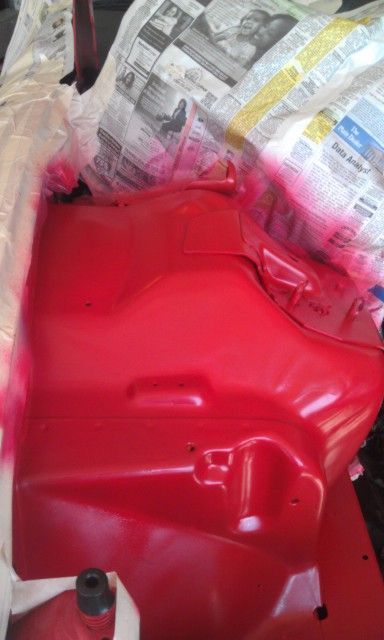
painted the strut towers. need another coat and clear. the paint is not smooth.
will be velcrod and taped up. also going to fill those holes.
hid the hood pop cable through this gap. i drilled a hole but used too small of a bit so went this route. had to bend the metal a bit so it would fit through. anyone else do it this way?
G]the new engine. supposed to have 15,000 miles on it. anyone think lower, possibly??
looks like new

got rid of that nasty silver tape. black electrical tape now

was bored and had the supplies so why not.


engine lookin good


painted oil pan, painted motor mount brackets. maybe re do them next time I have the motor out

the ACME on the diff cover was friend's idea. I have blown it 3 times.

painted the strut towers. need another coat and clear. the paint is not smooth.


Last edited by autogeek23; 05-12-2013 at 06:03 PM.
04-10-2013, 02:32 PM
#63
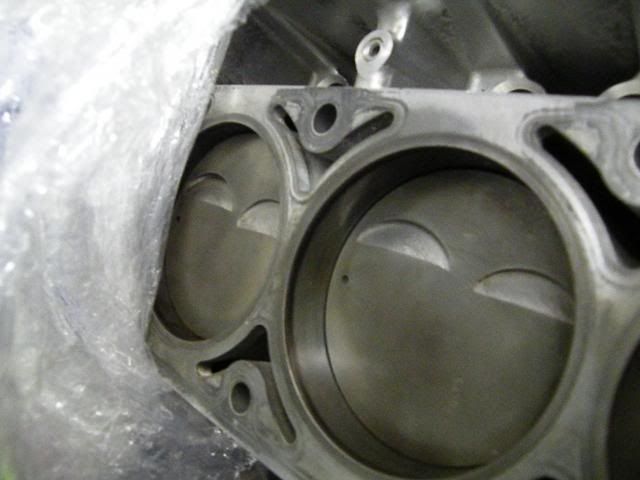
Soooo i noticed this the other day.
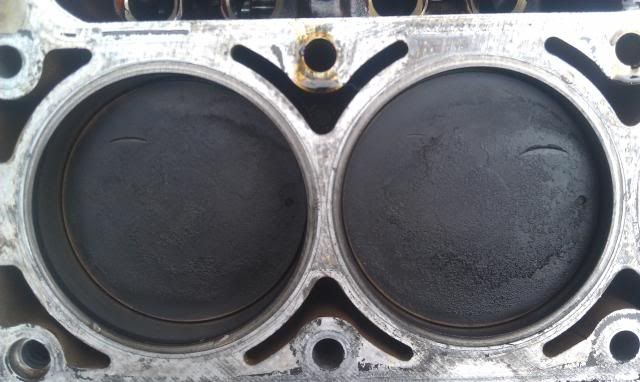
think my valves are bent? i have been told a couple ways to check them. roll them on a smooth surface. put some liquid parts cleaner on top of the valves and let them sit over night and see if any got past the valves in the morning. or use some marking compound on the back of the valve and spin it in the seat(with the spring off of course). any other methods?? there is athird piston with a mark but not as deep as these two.
think my valves are bent? i have been told a couple ways to check them. roll them on a smooth surface. put some liquid parts cleaner on top of the valves and let them sit over night and see if any got past the valves in the morning. or use some marking compound on the back of the valve and spin it in the seat(with the spring off of course). any other methods?? there is athird piston with a mark but not as deep as these two.
05-06-2013, 06:22 AM
#64
engine is in. all things look ok. i had a issue with a header leak and put the old gasket in and it fixed it.
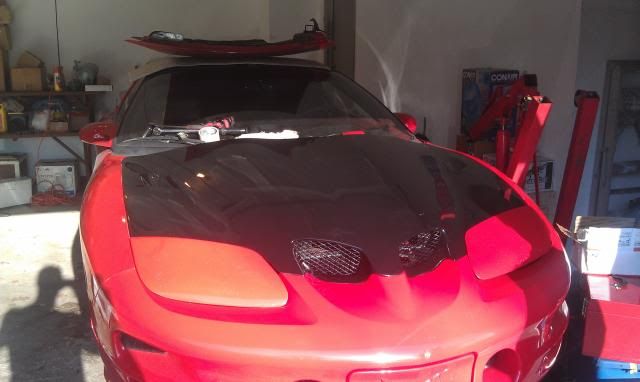
another shot of the new hood. met up in seville with some guys before going to Ohio LSX dyno day

just another shot of it


another shot of the new hood. met up in seville with some guys before going to Ohio LSX dyno day

just another shot of it

Last edited by autogeek23; 05-12-2013 at 05:59 PM.
05-06-2013, 07:14 AM
#65
 05-08-2013, 01:26 PM
#66
but the valves and heads are actually ok. car is running but needs tuned. I found out my tune is pretty shitty. tune will be in maybe 2 weeks.
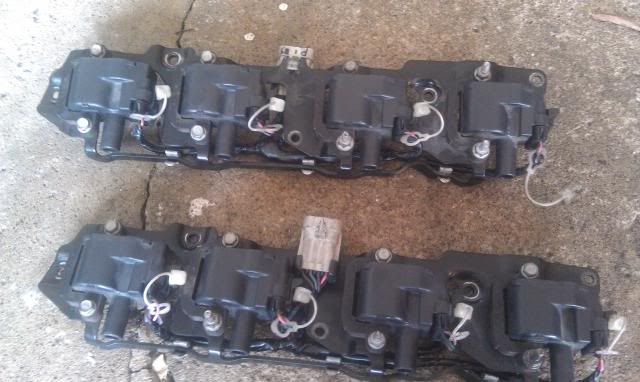
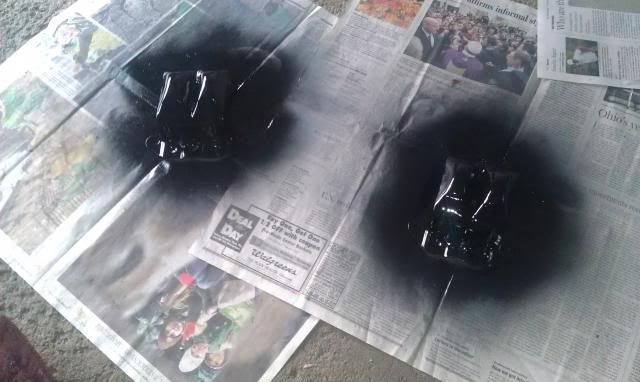
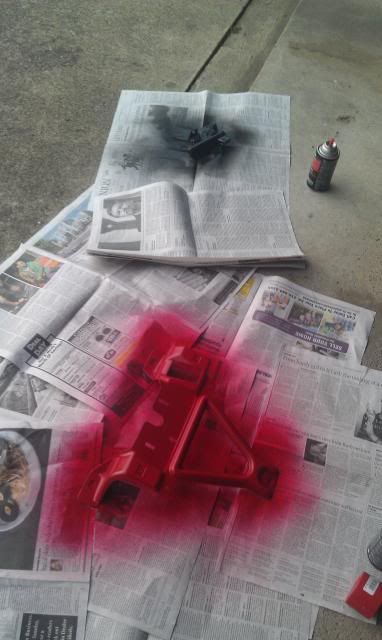
heres what I did today. another one will happen later today.

