

** The best poly motor mount write up ever written **
 02-04-2009, 11:12 PM
#101
After a giant PITA broken bolt, we got the motor mounts back on the car. Now we just have to reinstall everything back to its original position and finish the exhaust. Whew! Quick Tip: I found an alternative to shaving down the long motor mount bolt tips. We got the passenger side bolt in place and then loosened the drivers motor mount pedistal bolts to give it some play. It worked great! Had it in there and hammered home in like 5 min.
 03-13-2009, 06:55 PM
#102
On The Tree
iTrader: (8)

Join Date: Feb 2008
Location: Kansas City MO
Posts: 120
Likes: 0
Received 0 Likes
on
0 Posts
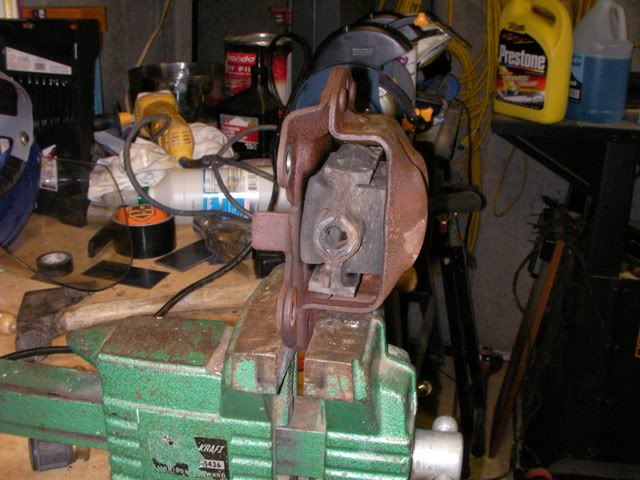
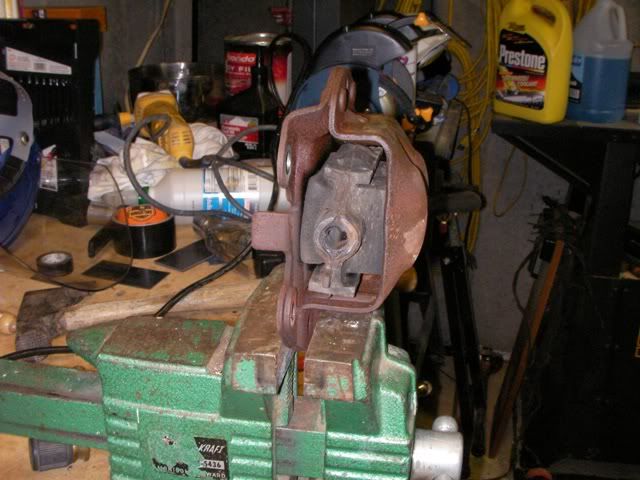
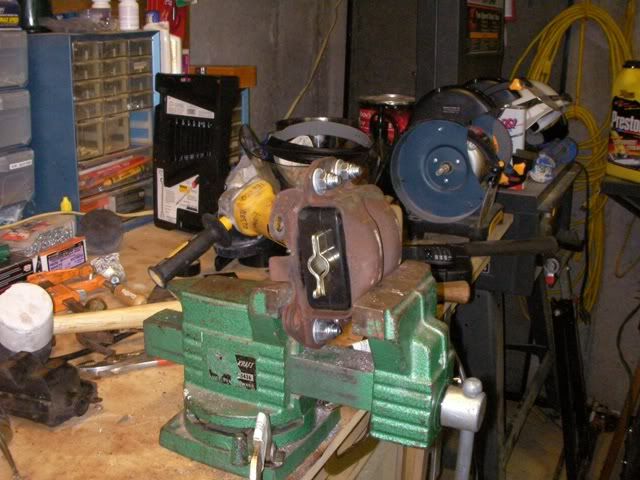
I just defeated this task! It took a while, and was not fun at all, but it's done and i feel like i accomplished something. This write up and everyone's comments helped out a ton in figuring out how to do this. For my .02, i took pictures of the rubber mount in the clamshell, and then the poly in the clamshell so everyone can see how much better they are.

07-07-2009, 11:16 AM
#105
12 Second Club
Join Date: Feb 2007
Location: Fairfield, Cali
Posts: 150
Likes: 0
Received 0 Likes
on
0 Posts
I just defeated this task! It took a while, and was not fun at all, but it's done and i feel like i accomplished something. This write up and everyone's comments helped out a ton in figuring out how to do this. For my .02, i took pictures of the rubber mount in the clamshell, and then the poly in the clamshell so everyone can see how much better they are.
 07-12-2009, 02:18 AM
#108
Staging Lane
Join Date: Jun 2009
Location: Southern California
Posts: 65
Likes: 0
Received 0 Likes
on
0 Posts
holy crap, im going to be doing a header install and motor mounts at the same time. Now im really not looking forward to this, seems like a hell of a job. Although i do have my dad to help me, who is very mechanically inclined.
Anyone want to buy a set of New in the box prothane motor mounts?? Im SERIOUSLY thinking about just doing solids instead.
Anyone want to buy a set of New in the box prothane motor mounts?? Im SERIOUSLY thinking about just doing solids instead.
07-12-2009, 04:23 PM
#109
TECH Regular
iTrader: (1)

Join Date: Aug 2008
Location: Colorado
Posts: 410
Likes: 0
Received 0 Likes
on
0 Posts
holy crap, im going to be doing a header install and motor mounts at the same time. Now im really not looking forward to this, seems like a hell of a job. Although i do have my dad to help me, who is very mechanically inclined.
Anyone want to buy a set of New in the box prothane motor mounts?? Im SERIOUSLY thinking about just doing solids instead.
Anyone want to buy a set of New in the box prothane motor mounts?? Im SERIOUSLY thinking about just doing solids instead.
07-12-2009, 10:23 PM
#110
TECH Resident
iTrader: (23)

Join Date: Oct 2008
Location: Rhode Island
Posts: 990
Likes: 0
Received 0 Likes
on
0 Posts

wow i just read through this whole thread. i just got my bmr k member with mounts. so does this mean i mount the clamshell with the poly m/m to the bmr k member forks??
what is this im reading about shaving the tips of the long bolts that go through the mounts? how much of a needle nose to you guys give it?
i guess this will be a bit easier while installing headers. damn i kinda wanna put a cam in while the motor is practically out. how hard would it be to but an off the shelf thunder cam in?
im purchasing my poly mounts as we speak. i guess i should stock up on some beer for this upcoming BS
07-14-2009, 08:53 AM
#112
TECH Regular
iTrader: (1)
Join Date: Aug 2008
Location: Colorado
Posts: 410
Likes: 0
Received 0 Likes
on
0 Posts
Not shaving down bolts to try and get it in! :p I don't have any of the right tools to even try that. And that way you don't have to mess with the rivets, as I honestly don't know if my drill will work on them :p
07-20-2009, 12:20 PM
#113
12 Second Club
Join Date: Feb 2007
Location: Fairfield, Cali
Posts: 150
Likes: 0
Received 0 Likes
on
0 Posts
I'm having some trouble with the passenger side motor mount.. I already have the driver side in it's bolted in and everything... I have the passenger mount bolted to the block already just can't get it to line up so I can install the long bolt. Even with the use of my pry bars..!! LOL... does anyone have any tips installing this side easier?? All help appereciated..!!
07-20-2009, 04:19 PM
#114
I'm having some trouble with the passenger side motor mount.. I already have the driver side in it's bolted in and everything... I have the passenger mount bolted to the block already just can't get it to line up so I can install the long bolt. Even with the use of my pry bars..!! LOL... does anyone have any tips installing this side easier?? All help appereciated..!!
I also installed the driver side long bolt backwards. Inserting it from the rear of the engine compartment and having the nut on the front. This way you have next to nothing in the way so you can use a hammer to pound that sucker home. Hope this helps. Good luck.
07-20-2009, 04:31 PM
#115
12 Second Club
Join Date: Feb 2007
Location: Fairfield, Cali
Posts: 150
Likes: 0
Received 0 Likes
on
0 Posts
I'll try that out.. I heard about the pedstal being loose to give you some more play to line everything up..!! well gonna attack it tonight.. and see what happens.!!!
07-23-2009, 03:10 PM
#116
12 Second Club
Join Date: Feb 2007
Location: Fairfield, Cali
Posts: 150
Likes: 0
Received 0 Likes
on
0 Posts
update guys... yep mumbles right on for the tip... just loosen them bolts to the pedstal gave me enough clearence i needed for it to line up then a couple taps of the hamer.. went in like a charm... I was able to put it back the bolt without having to shave it down to a point...
07-24-2009, 12:45 AM
#117
update guys... yep mumbles right on for the tip... just loosen them bolts to the pedstal gave me enough clearence i needed for it to line up then a couple taps of the hamer.. went in like a charm... I was able to put it back the bolt without having to shave it down to a point...

 10-03-2009, 12:56 PM
#120
Staging Lane
iTrader: (3)
Join Date: Mar 2009
Location: Ankeny IA
Posts: 77
Likes: 0
Received 0 Likes
on
0 Posts
mount to block 37 lb ft
through bolt 70 lb ft
pedastal bolts 43lb ft
If you just loosen the through bolt and take out the mount to block and pedastal to k-member bolts it comes out as one piece. That way you don't have to do anything with the a/c compressor or alternator.
through bolt 70 lb ft
pedastal bolts 43lb ft
If you just loosen the through bolt and take out the mount to block and pedastal to k-member bolts it comes out as one piece. That way you don't have to do anything with the a/c compressor or alternator.