
243 intake and exhaust volume's before and after porting diy head porting
 08-07-2013, 10:46 AM
#1
On The Tree
Thread Starter

Join Date: May 2004
Posts: 122
Likes: 0
Received 0 Likes
on
0 Posts

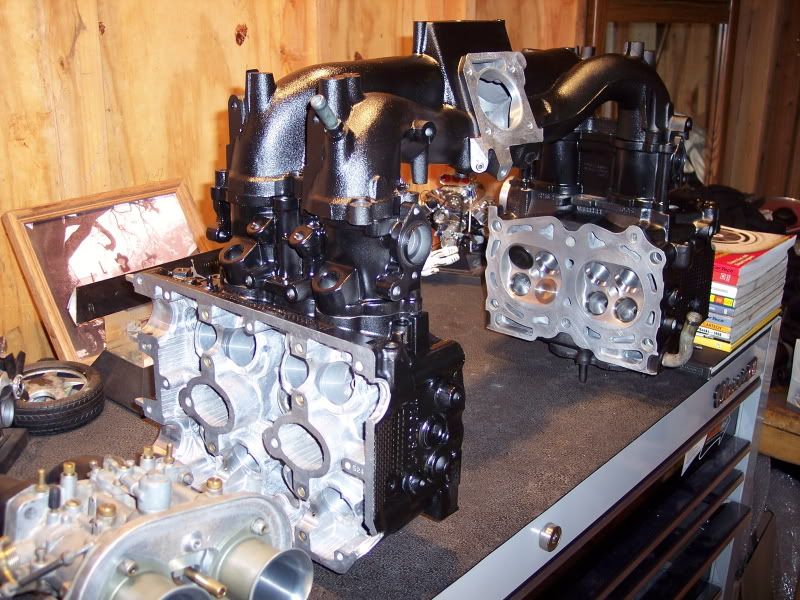
So a friend of mine asked if I can port some 243 heads for him it's been about 5 years since I put a burr inside a cylinder head. As i work for a professuonal race team i dont have much time for my hobby anymore between the 50 engines we cycle at the shop and being on the pit crew im pretty busy..Not being an lsx guy I was looking for some quick info..here are a couple of photos got one head done i have about 6 hours into them I think for 350 bucks its looking pretty good so far I left the intake a Little rough and It might stay that way but he's bringing over a single plane manifold that we and bolt Up and match..so the int ports are still in progress..
What are the volumes of the stock ports
Intake:
Exhaust :
What kind of volumes after porting the stock casting :
What are the volumes of the stock ports
Intake:
Exhaust :
What kind of volumes after porting the stock casting :
Last edited by xRaTeD; 10-30-2013 at 09:18 PM.


 08-07-2013, 12:43 PM
#4
Welcome to Road America - the National Park of Speed!
Looking forward to watching you guys this weekend now that the storms have passed and good weather ahead! Great to have Rolex & ALMS together!
A pic from the gate:

Looking forward to watching you guys this weekend now that the storms have passed and good weather ahead! Great to have Rolex & ALMS together!
A pic from the gate:
08-07-2013, 11:10 PM
#5
On The Tree
Thread Starter
Join Date: May 2004
Posts: 122
Likes: 0
Received 0 Likes
on
0 Posts
I will be at laguna seca the next couple of weekends for the monterey historics but will be at road America later this month.. I prefur to be there.. I like working fire breathing turbo charged vintage porsche's I think there way cooler then the modern stuff..

Trending Topics


 08-09-2013, 12:15 PM
#10
looks good man. What size did you put the throats at? Couldn't tell from the pics or not if you did any short turn work but I have found 10-12cfm on our flow bench from lightly taking down/laying back that little step on the short turn. Also there are more pluses than negatives for deshrouding the valves a tiny bit.

 08-09-2013, 11:40 PM
#13
On The Tree
Thread Starter
Join Date: May 2004
Posts: 122
Likes: 0
Received 0 Likes
on
0 Posts
I was gonna swirl polish the valves and kiss the seats and valves I lapped the valve they were not bad. It's up to my buddy trying to keep the cost down for him if it were me I'd start with a aftermarket casting. If I wanted to spend less then 850-950 on cores plus porting and milling I'd go this route. If I had 1500 to spend I'd get a better casting.
08-13-2013, 12:12 AM
#15
I'm doing my 799's now, which is the same head as the 243. There is no way I can make my work look that good! So I applaud your touch with the tools. However, my shapes are looking very much the same.
Your second video is private....I couldn't watch it.
I have a question or two if you have a chance to answer.
The intake seats are smaller than the bowl where they meet. So I blended the seat to the bowl with a seamless transition. How do you set the ID on the seat itself? I find that quite difficult by hand. I was planning to have my builder do a cut when he does the valve job, but haven't discussed with him yet. As it is now, I left a venturi just below the valve seat itself.
On the exhaust, can you post a good photo of the bowl? I removed the ridge left by the factory below the seat, but am unsure if I should remove it right up to the guide.
Lastly. Did you enlarge the opening of the exh port at all? It is quite a lot smaller than the manifolds I will be using. I say manifold because this will be a turbocharged 5.3.
That intake manifold looked really rough inside....not all that uncommon.
Great work, thanks for sharing.
ron
Last edited by RonSSNova; 08-13-2013 at 10:28 AM.
08-13-2013, 02:53 AM
#16
On The Tree
Thread Starter
Join Date: May 2004
Posts: 122
Likes: 0
Received 0 Likes
on
0 Posts
I'm doing my 799's now, which is the same head as the 243. There is no way I can make my work look that good! So I applaud your touch with the tools. However, my shapes are looking very much the same.
Your second vido is private....i couldn't watch it.
I have a question or two if you have a chance to answer.
The intake seats are smaller than the bowl where they meet. So I blended the seat to the bowl with a seamless transition. How do you set the ID on the seat itself? I find that quite difficult by hand. I was planning to have my builder do a cut when he does the valve job, but haven't discussed with him yet. As it is now, I left a venturi just below the valve seat itself.
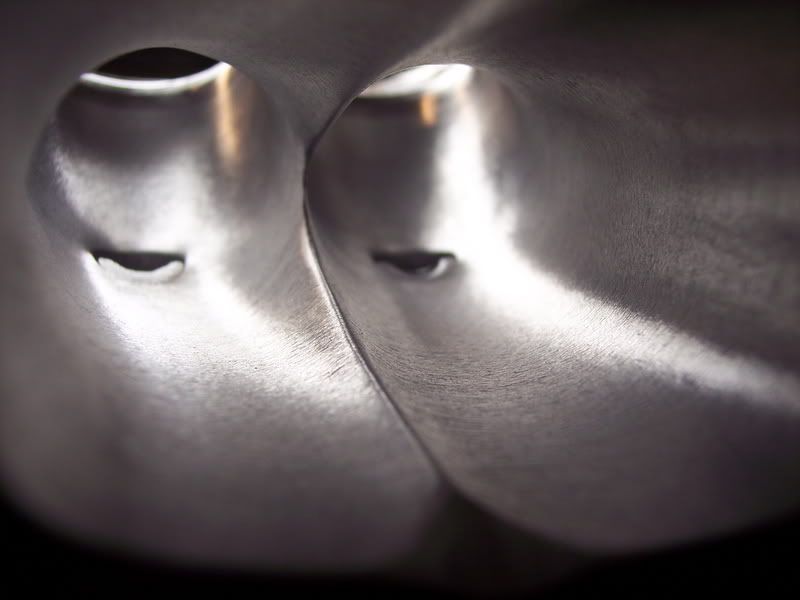
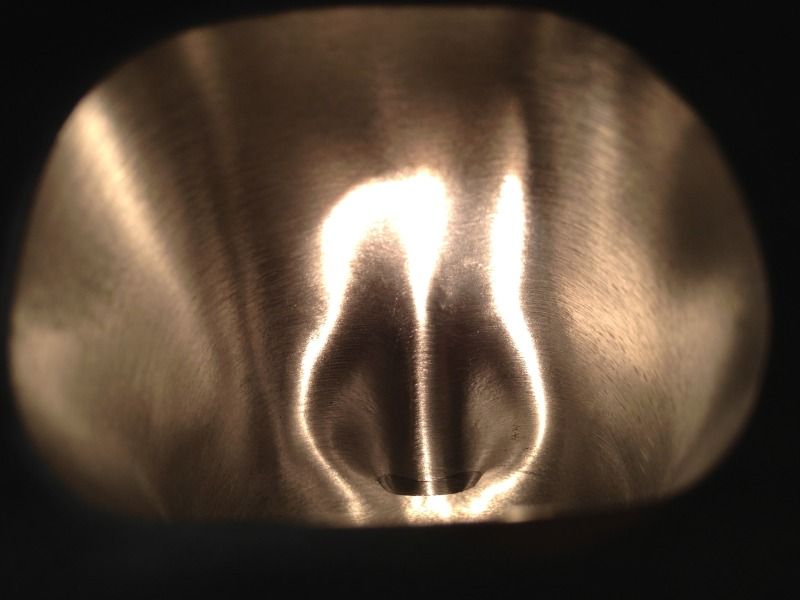
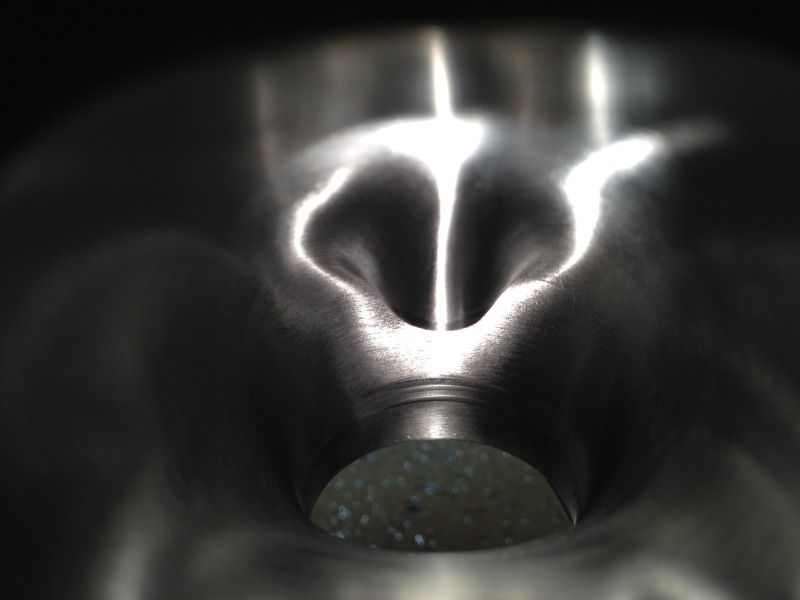
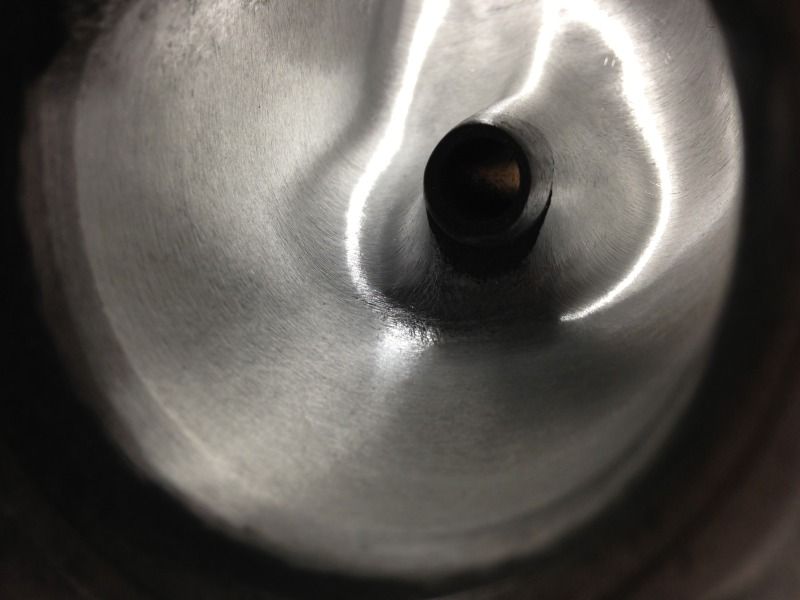
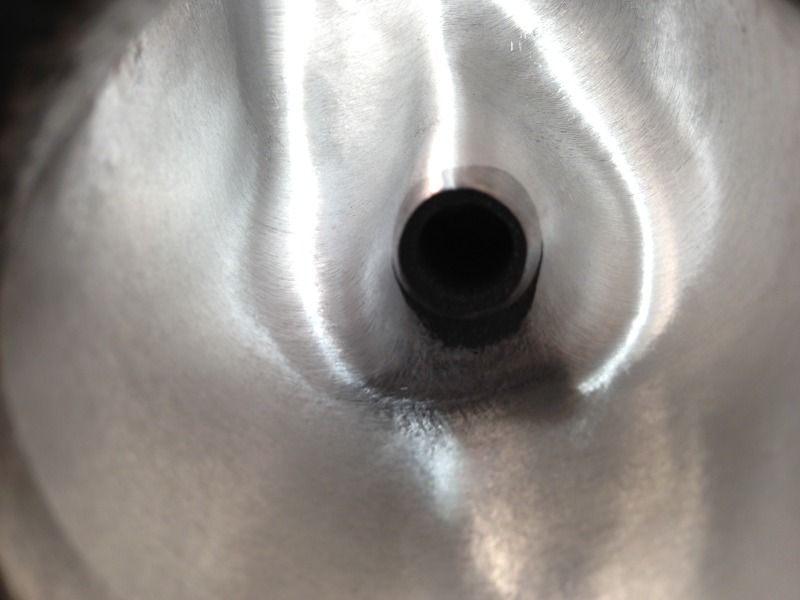
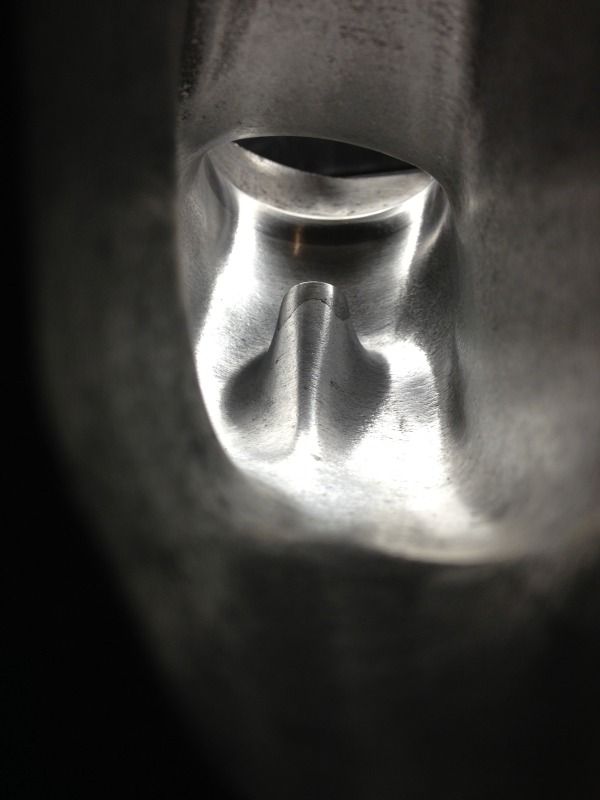
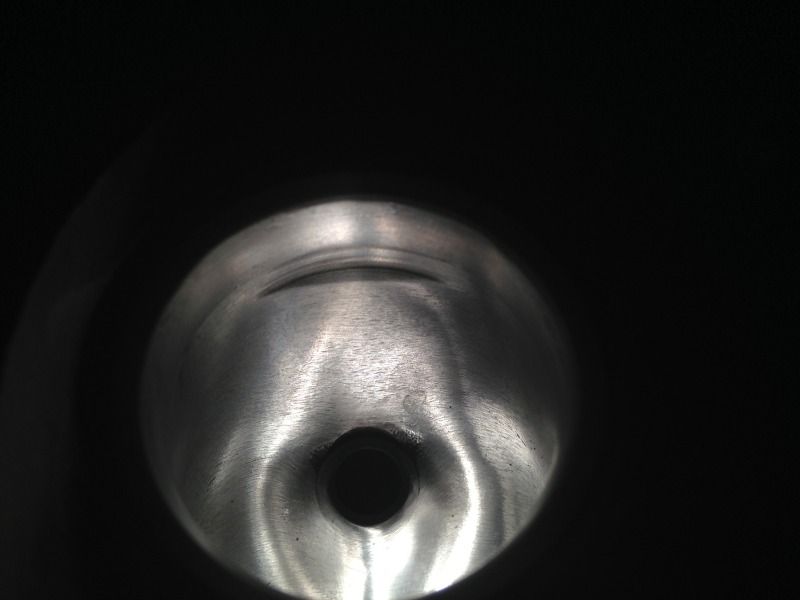
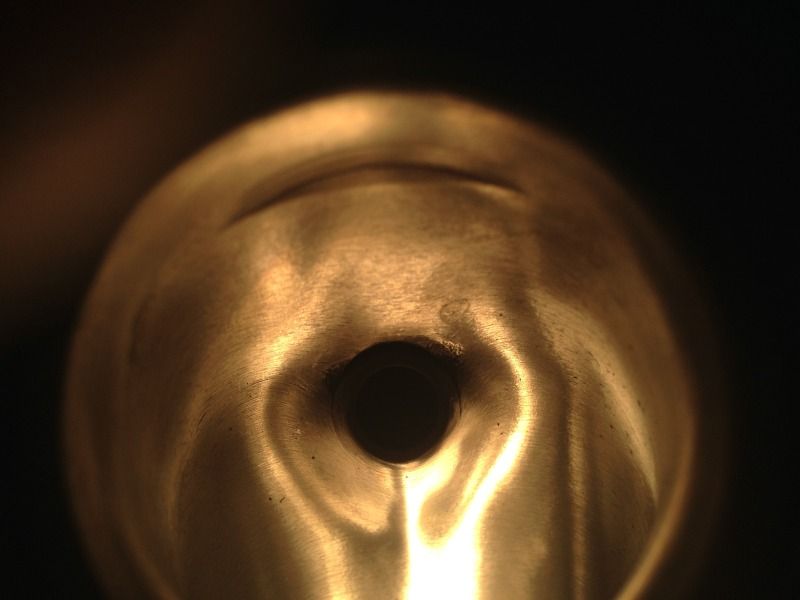
The best way to start a port job is to first cut the seats and throats IMO in a seat and guide machine and then port and blend to that..I don't do any measuring or any of the fancy stuff the EXPERTS try tell you you need to do.. i do measure volume however. i have spent hours on flow bench's port mapping and and re-profiling helping to develop heads and flow equipment and most of that info got filed and stuck into some
Drawer only to get lost lol .I think that's just to scare guys from trying to port the heads themselves ..most guys are not building a spec motor where they trying to gain 3-5 hp over a competitor by developing a port. Just do you best and turn up the Boost..lol anyhow here is some pics of the seat s on the intake side remember these are budget 600 dollar heads including the cores+porting.
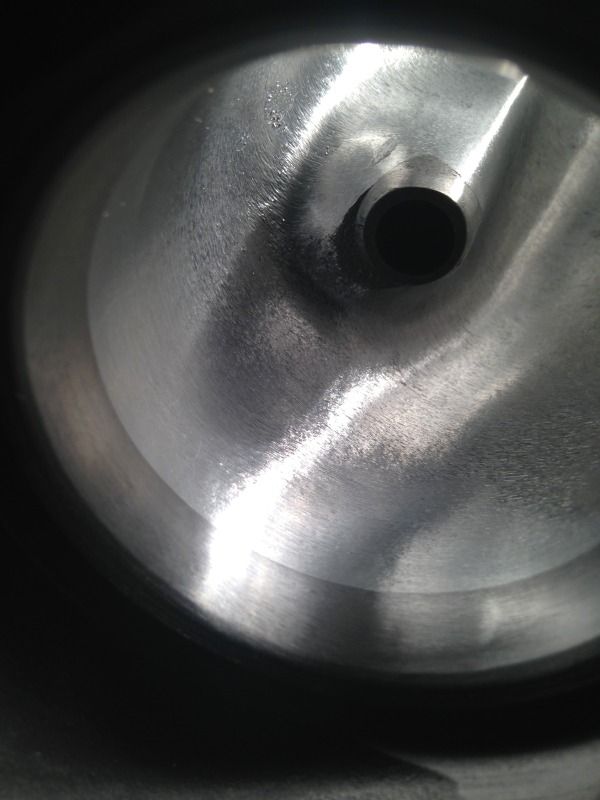
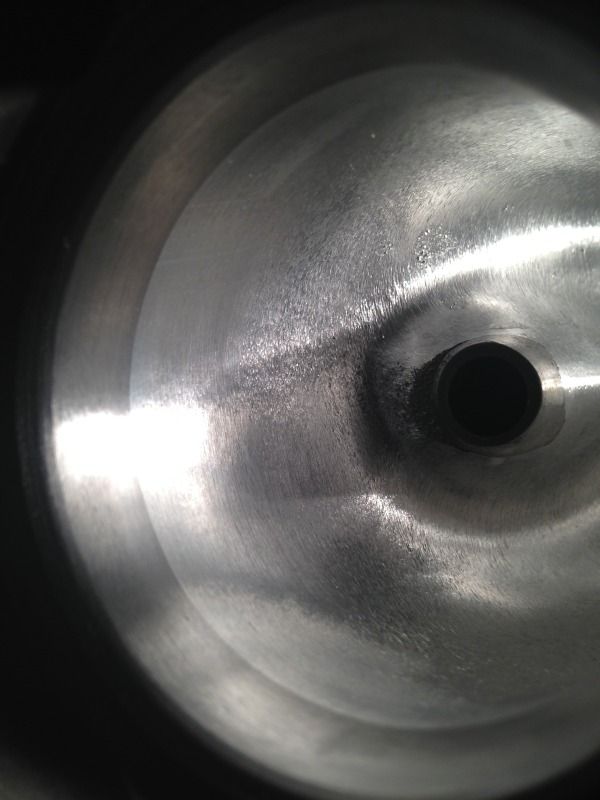
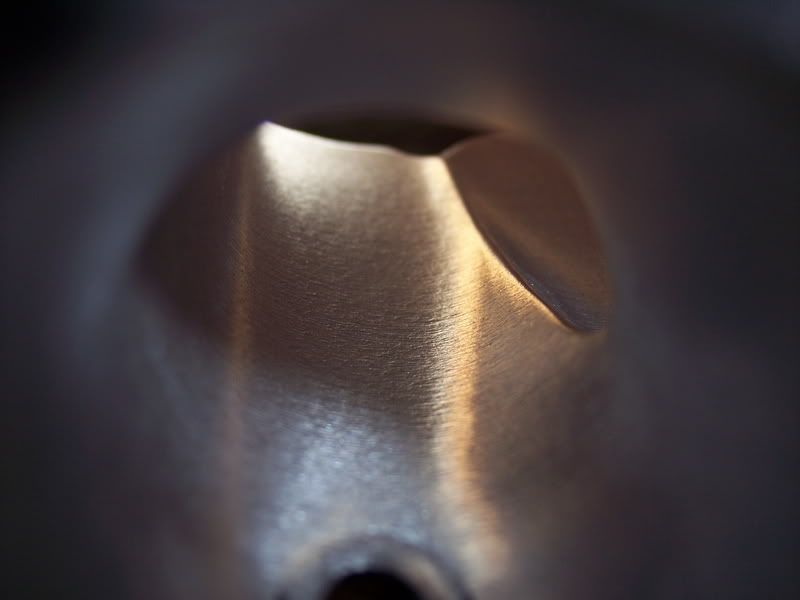
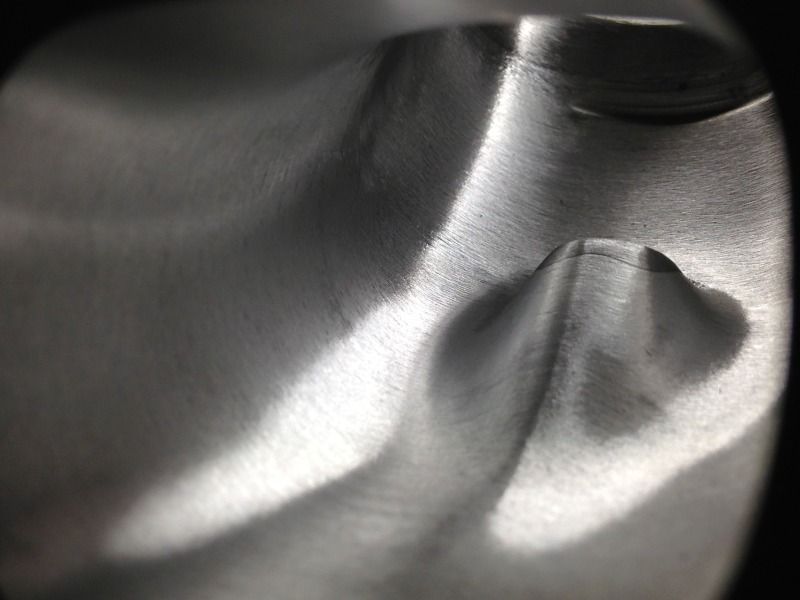
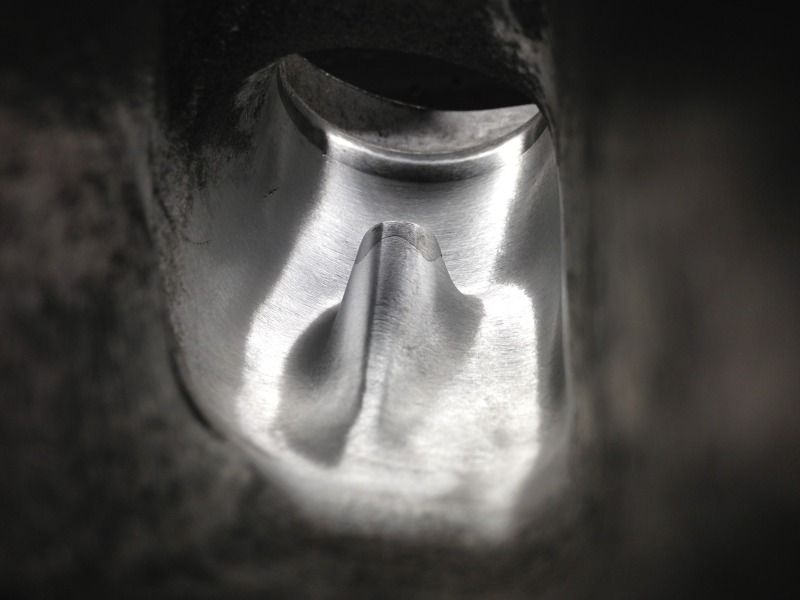
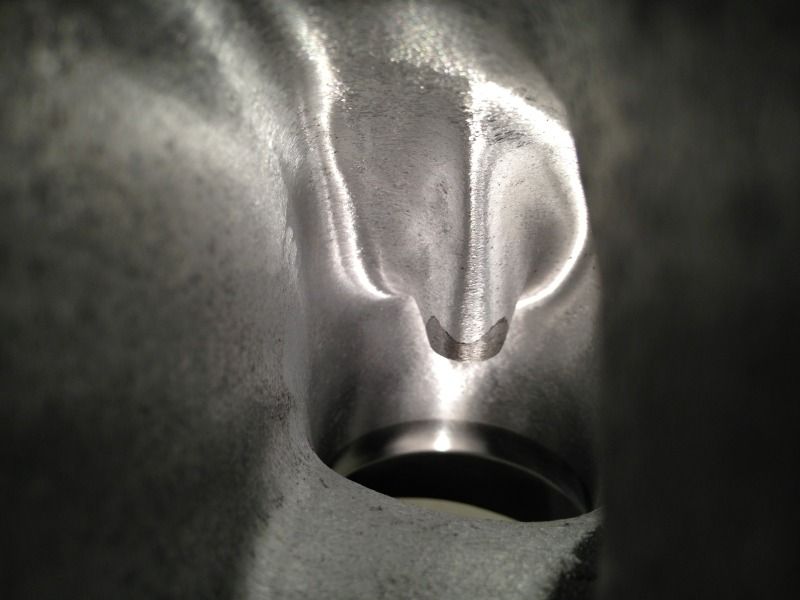
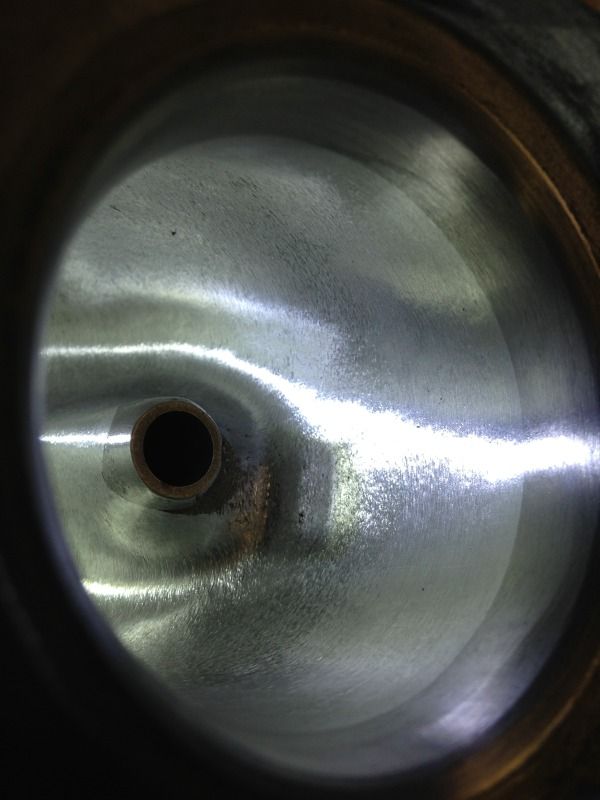
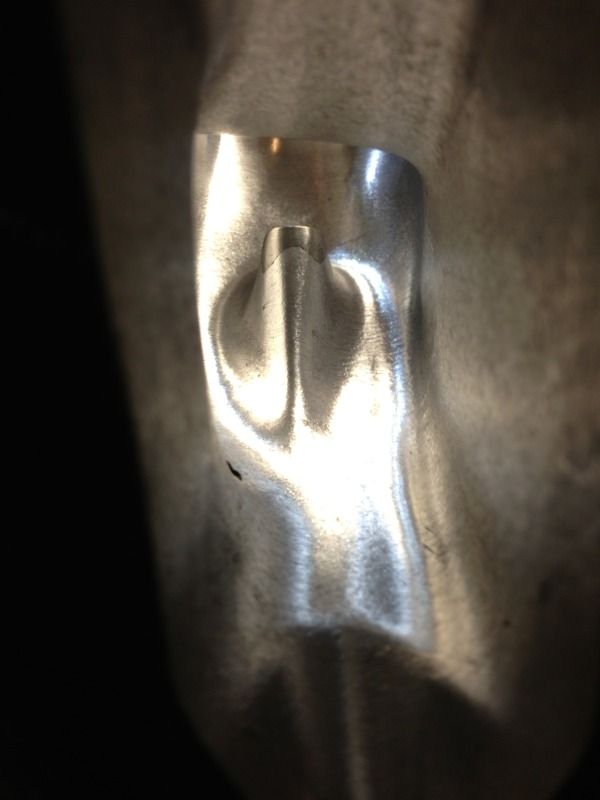
On the exhaust, can you post a good photo of the bowl? I removed the ridge left by the factory below the seat, but am unsure if I should remove it right up to the guide. I could have done a lot more but again this is 300 dollar trade for parts also seats Look kind of wavy because the was vasoline on them from ccing them
Lastly. Did you enlarge the opening of the exh port at all? It is quite a lot smaller than the manifolds I will be using. I say manifold because this will be a turbocharged 5.3.
I was thinking about getting the exhaust to around 86 cc if so I'd remove from the top of port wall an widen the the port around the guide boss.. But again for 300 I think we're good..
That intake manifold looked really rough inside....not all that uncommon.
Great work, thanks for sharing.
ron
Your second vido is private....i couldn't watch it.
I have a question or two if you have a chance to answer.
The intake seats are smaller than the bowl where they meet. So I blended the seat to the bowl with a seamless transition. How do you set the ID on the seat itself? I find that quite difficult by hand. I was planning to have my builder do a cut when he does the valve job, but haven't discussed with him yet. As it is now, I left a venturi just below the valve seat itself.
The best way to start a port job is to first cut the seats and throats IMO in a seat and guide machine and then port and blend to that..I don't do any measuring or any of the fancy stuff the EXPERTS try tell you you need to do.. i do measure volume however. i have spent hours on flow bench's port mapping and and re-profiling helping to develop heads and flow equipment and most of that info got filed and stuck into some
Drawer only to get lost lol .I think that's just to scare guys from trying to port the heads themselves ..most guys are not building a spec motor where they trying to gain 3-5 hp over a competitor by developing a port. Just do you best and turn up the Boost..lol anyhow here is some pics of the seat s on the intake side remember these are budget 600 dollar heads including the cores+porting.
On the exhaust, can you post a good photo of the bowl? I removed the ridge left by the factory below the seat, but am unsure if I should remove it right up to the guide. I could have done a lot more but again this is 300 dollar trade for parts also seats Look kind of wavy because the was vasoline on them from ccing them
Lastly. Did you enlarge the opening of the exh port at all? It is quite a lot smaller than the manifolds I will be using. I say manifold because this will be a turbocharged 5.3.
I was thinking about getting the exhaust to around 86 cc if so I'd remove from the top of port wall an widen the the port around the guide boss.. But again for 300 I think we're good..
That intake manifold looked really rough inside....not all that uncommon.
Great work, thanks for sharing.
ron
I did unblock the video try it now
08-13-2013, 10:33 AM
#17
Very helpful. Thanks!
On the seats, I stayed away from the bottom cut, so my guy should have plenty there to work with . He does have Serdi equipment and all the cutters. I'd like to get him more into the LS stuff, he mainly does SBC stuff for circle track cars, his own especially.
I will finish my work in the next couple of days and let him do the VJ. My seats, esp the exh, weren't too great. The heads had 136k miles on them.
Sent you a PM
Ron
08-13-2013, 10:53 AM
#18


