When you click on links to various merchants on this site and make a purchase, this can result in this site earning a commission. Affiliate programs and affiliations include, but are not limited to, the eBay Partner Network.
And thanks for the info on the drainback, I didn't know about that.
As far as the power, it's gonna be a monster either way you go. Just throwing some stuff out there so you have all the info and you make a choice, your car your thing and it's coming together really good so either way it's gonna a lot of fun
So, coils. The Katech guy is keeping his coils for his new build. I have the coils on my LS1, but would kinda prefer to leave them there and sell them with the engine -- I feel like I can get a better price for it complete than I can partial.
If you were buying coils for an LS3 in an LS1 Camaro, what would you buy? Some initial googling seems to indicate that LS3 coils aren't the same as LS1 coils. What's the difference?
Contact Lance at panteraefi
His screen name here is Pantera_efi (pretty sure that's right)
Well, it's been about a year (); time for an update!
I have the LS3, as described above. Got it in June last year. Over the summer I acquired everything I needed for the accessory drive and got that assembled. ATI 10% underdrive SuperDamper, TurnOne PS pump with billet pulley, truck alternator with overdrive pulley, Katech billet tensioner. I used ICT Billet mounting brackets for the alternator and PS pump. I've assembled the mounts with the poly inserts, and those are mounted to the block. I pressed out all of my old control arm bushings and replaced with with the Moog stuff Strano recommended, and the rack and control arms have been assembled to the UMI road race K-member (with rack bolts inverted!). I acquired a set of stock LS3 coils on eBay for surprisingly cheap.
Then, last fall, my house suddenly needed about $10k from my budget, so things had to go on hold for a bit. In October, I started a new job with a HUGE raise, and as of this spring the budget has fully recovered -- which is good, because I need to order more stuff!
I traded my 120k-mile LS1 w/ K-member, plus my 10-bolt, driveshaft, and torque arm, straight up for a Moser 12-bolt w/ 4.10 posi, appropriate driveshaft, and BMR torque arm; the other guy was putting a car back to stock. I managed to get rid of a TON of stuff I didn't need anymore all at once while also resolving the single biggest thing I wasn't addressing about the car.
My plan is as follows, with parts getting ordered this week:
Dewitts HP direct-fit radiator
Improved Racing oil cooler adapter w/ t-stat (planning on using the automatic trans version of the radiator, and running the oil through the trans cooler -- Dewitts says this will be okay and is even setting it up with AN fittings for me)
Strano SP4000 hubs with ARP studs and Gorilla nuts
On3 Performance's steam vent kit
Tick clutch master cylinder
Cam sensor extension harness
Also getting some AN tools, line, and fittings, and a fuel pump lock ring tool, because I can't get the damn thing to budge with the hammer and screwdriver approach.
I have some questions maybe you guys can help with:
I need a MAF to sit between my 104mm FastToys lid and my 92mm throttle body. I was thinking of Texas Speed's 100mm unit. Advice appreciated!
I also need hoses to connect the lid to the MAF and the MAF to the throttle. I am looking at IntakeHoses.com, e.g. https://www.intakehoses.com/silicone...oss-black.html. Advice appreciated here as well.
The LS3 did not include its factory knock sensors, and my original sensor went with the LS1. I understand that the sensor, location, and connection are all different. The LS3 valley cover doesn't have provisions for LS1-style sensors, and so I conclude that I need two LS3 knock sensors, this adapter from Racetronix, and tuning adjustments to account for the different sensor.
Can someone confirm, and also let me know if I'm missing something?
Wow, it has been waaaaaay too long since I updated this thread!
My schedule has been insanely busy for the past three years, so I've gotten very little done. But, I got laid off in May, and it took me eight weeks to find and start a new job. I spent a lot of those eight weeks working on the car!
I'm now pleased to report some progress:
The motor is in the car!
Also installed now are the cooling system, the air conditioning system, the Tick master cylinder, the UMI road-race K-member, the Kooks headers, the TurnOne PS pump, the new PS rack,
With the motor in the car, there's a lot more open space in my little garage. 🎉
Stuff I'm working on now:
In order to mount a throttle cable, I need to relocate the MAP sensor. I have some stuff on the way for that, but I also need a place to mount the sensor. At the same time, I have my EVAP solenoid just zip-tied to a fuel rail, and I hate how janky that is. I've been teaching myself CAD, and I'm designing a bracket that will accommodate both items cleanly. The design is nearly done; just need to wait for some of the MAP relocation hardware to get here so I can take some measurements and then adjust accordingly. Once that's done, I'll send the design out to one of the many manufacturing services (e.g. SendCutSend, but there are >10 options and I need to evaluate them).
I bought a Tick shifter, and I also bought a more modern-style stick/boot/**** kit. Unfortunately, the Tick shifter stick and the new **** are not compatible, so I need to design a new stick and have that fabricated too. I have that design mostly done as well.
I am also figuring out the lid-MAF-throttle airway. I have it mostly worked out, but despite what other people's pictures show, my 100mm MAF will not slide into the opening at the back of my Fast Toys 104mm lid, and the accordion-style bellows between the MAF and the throttle just barely has enough flex in it to aim up to the lid opening anyway, which means it'll be at the end of its range of motion already when it has to deal with vibrations from the road and the engine. Not good! I'm probably going to get rid of the bellows and get a smooth elbow. Haven't decided on the lid-to-MAF situation yet, but probably a silicone coupler there as well.
Buttoning up all the connections (wiring, vacuum, cooling, HVAC, steering...) and getting the PCM back in its home.
Remaining to-do items:
Plumb my steam vents back to the cooling system.
Build a new front-right brake hard line.
Press out all my old wheel studs and install the fancy new ones I bought from Strano
Reinstall front suspension & brakes.
Install Kooks Y-pipe
Assemble and install new (to me) 12-bolt with new brakes, LCAs, and swaybars.
Fill and bleed all fluids
Start it, figure out and fix whatever I missed
Measure for and order a new driveshaft
Add a lid to my fuel pump trap door and put the interior back together.
Tune it (I bought an HPTuners MPVI3 and a couple credits and plan to teach myself to tune)
Shakedown testing and fine-tuning
Align it
Drive it!!!
And then, probably, find out I need better tires and spend even more money! 💸💸💸🤣
Relocate MAP sensor -- done. I didn't end up including it on the custom bracket -- it's just bolted to the coil pack bracket
Figure out throttle cable -- parts are in, haven't tried to install them yet
Shifter -- I think the stick that came with the **** will bolt up, just somewhat awkwardly. Going to try it that way before I go to the trouble of designing anything and having it fabricated.
lid-MAF-throttle -- waiting on some hoses I bought from intakehoses.com.
Buttoning up all the connections -- I kinda hate this work and am putting it off while I focus on other parts of the job.
Plumb my steam vents back to the cooling system
Build a new front-right brake hard line -- buried in the giant pile of parts waiting to go back on was the old one. I thought I had sent it away with the LS1! Whew, saved myself a bunch of trouble. 😅
Press out old wheel studs and install the fancy new ones I bought from Strano -- This is done in the rear. Still todo in the front.
Reinstall front suspension & brakes -- haven't done this yet. Waiting for my first paycheck from the new job to come (next week). Depending on how the finances look after that, considering holding out for tubular upper and lower control arms. Definitely don't want to reinstall the stockers if those are in the cards!
Install Kooks Y-pipe
Assemble and install new (to me) 12-bolt with new brakes, LCAs, and swaybar -- in progress!
Fill and bleed all fluids
Create a tune with baseline VE/PE tables, updated injector info, and other parameters
Start it, figure out and fix whatever I missed
Measure for and order a new driveshaft
Add a lid to my fuel pump trap door and put the interior back together.
Tune it
Shakedown testing and fine-tuning
Align it
New tires
Drive it!!!
Plus some things I didn't list before:
Purchase new battery (not installed yet)
Acquire and install new aluminum diff cover (while the cover was off, I counted gear teeth and confirmed 4.10 gears).
New breather on 12-bolt (right now it just has an exposed hose barb)
Acquire and install replacement ABS tone rings for the rear axle (ordered)
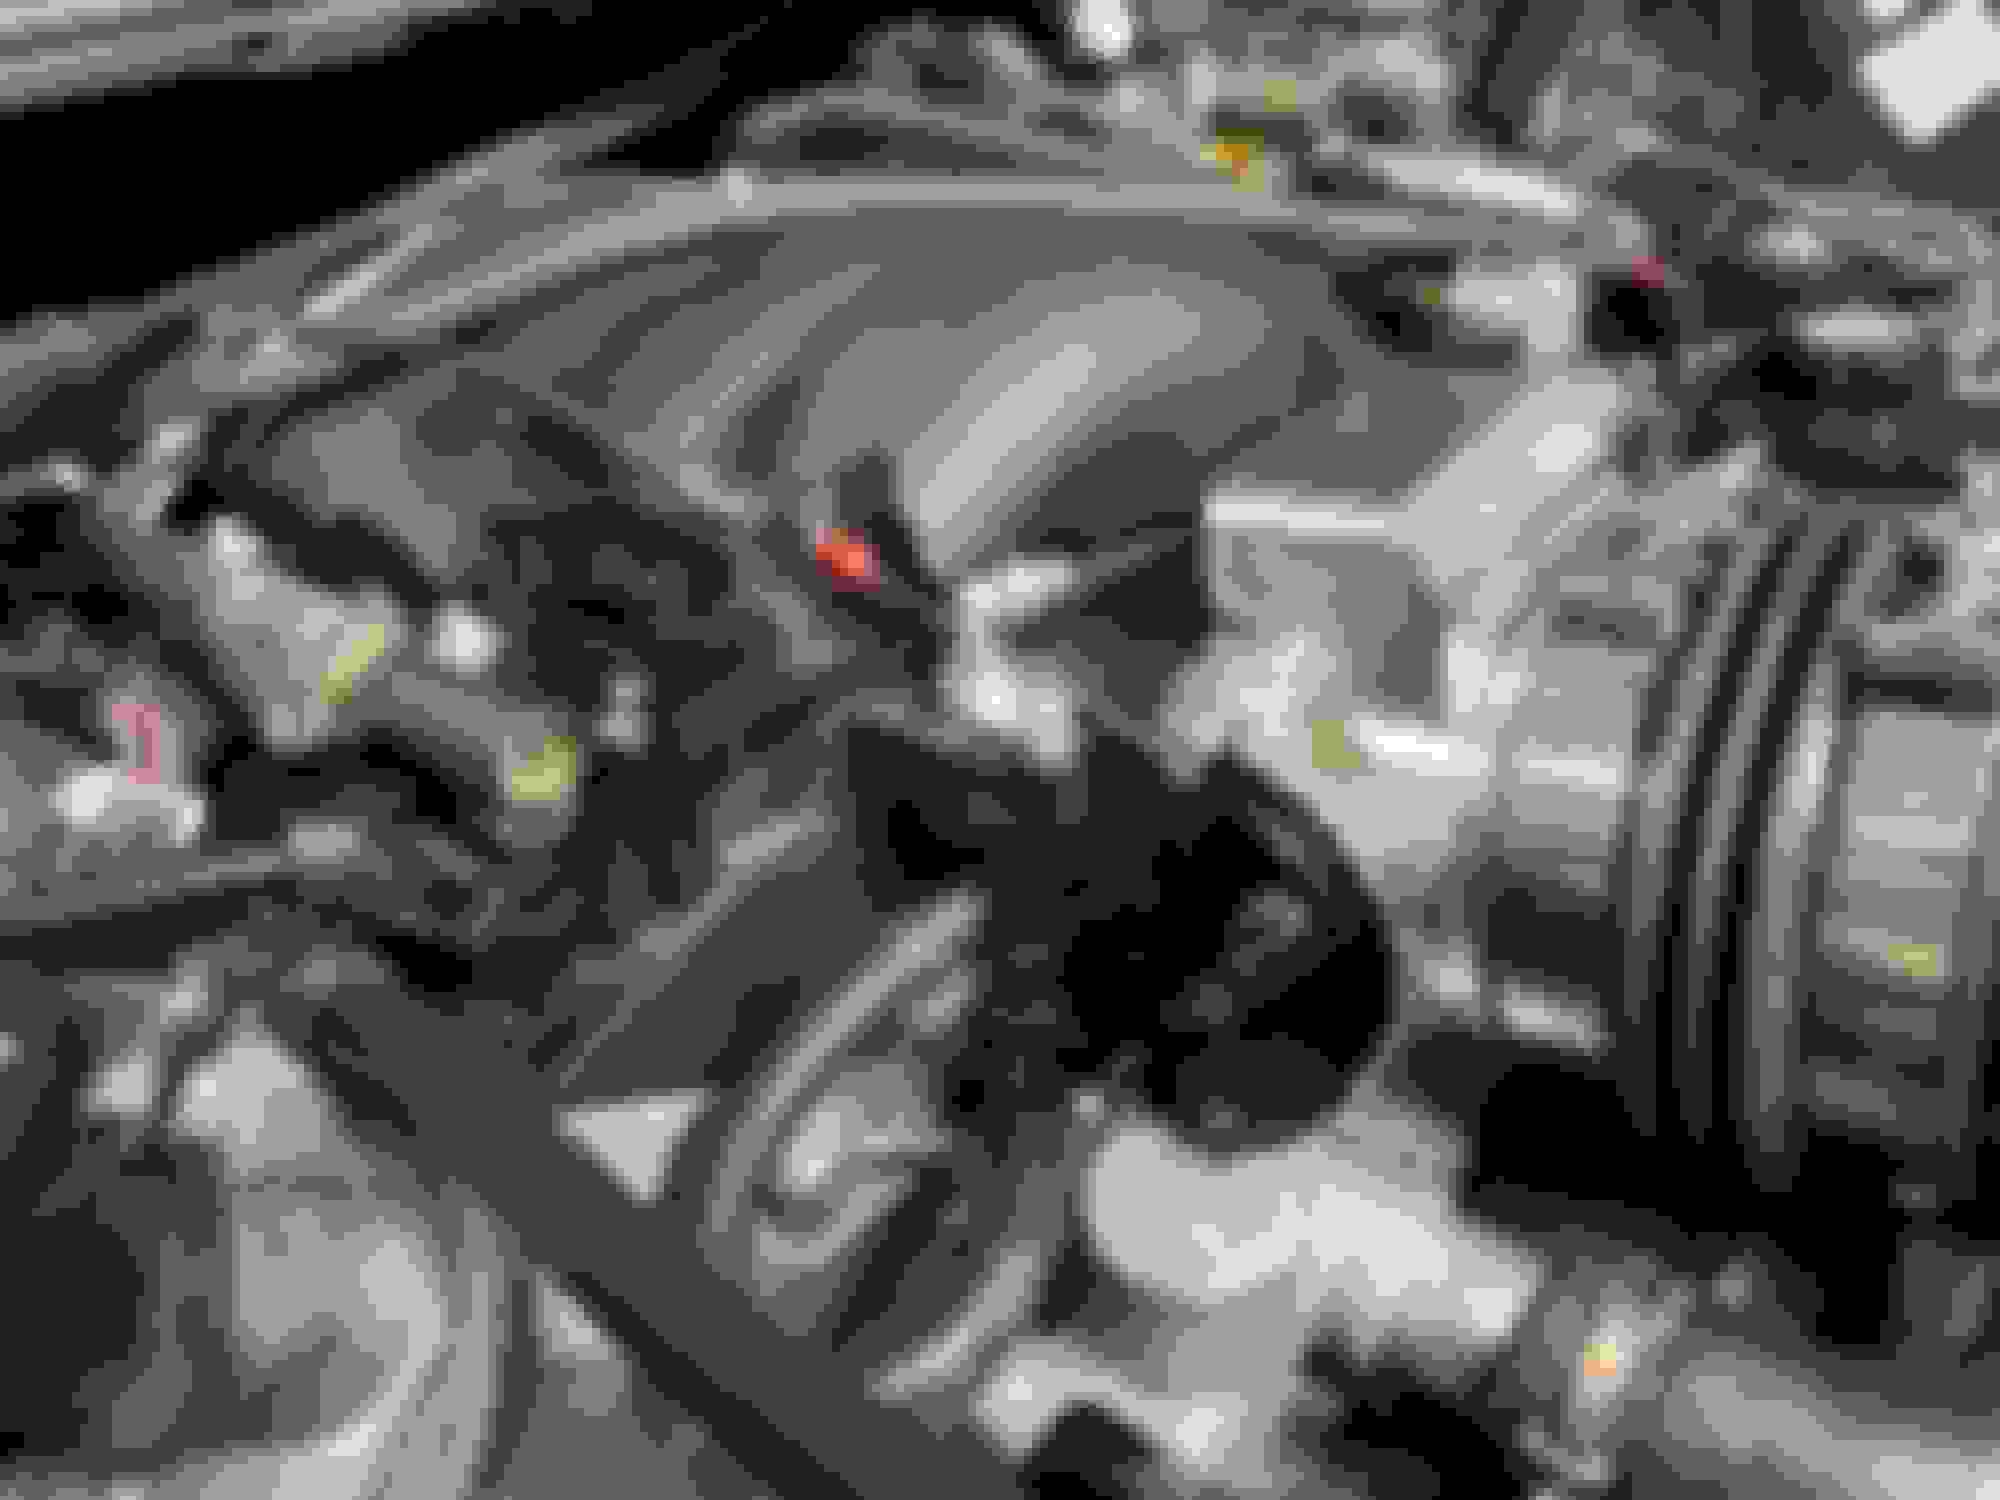
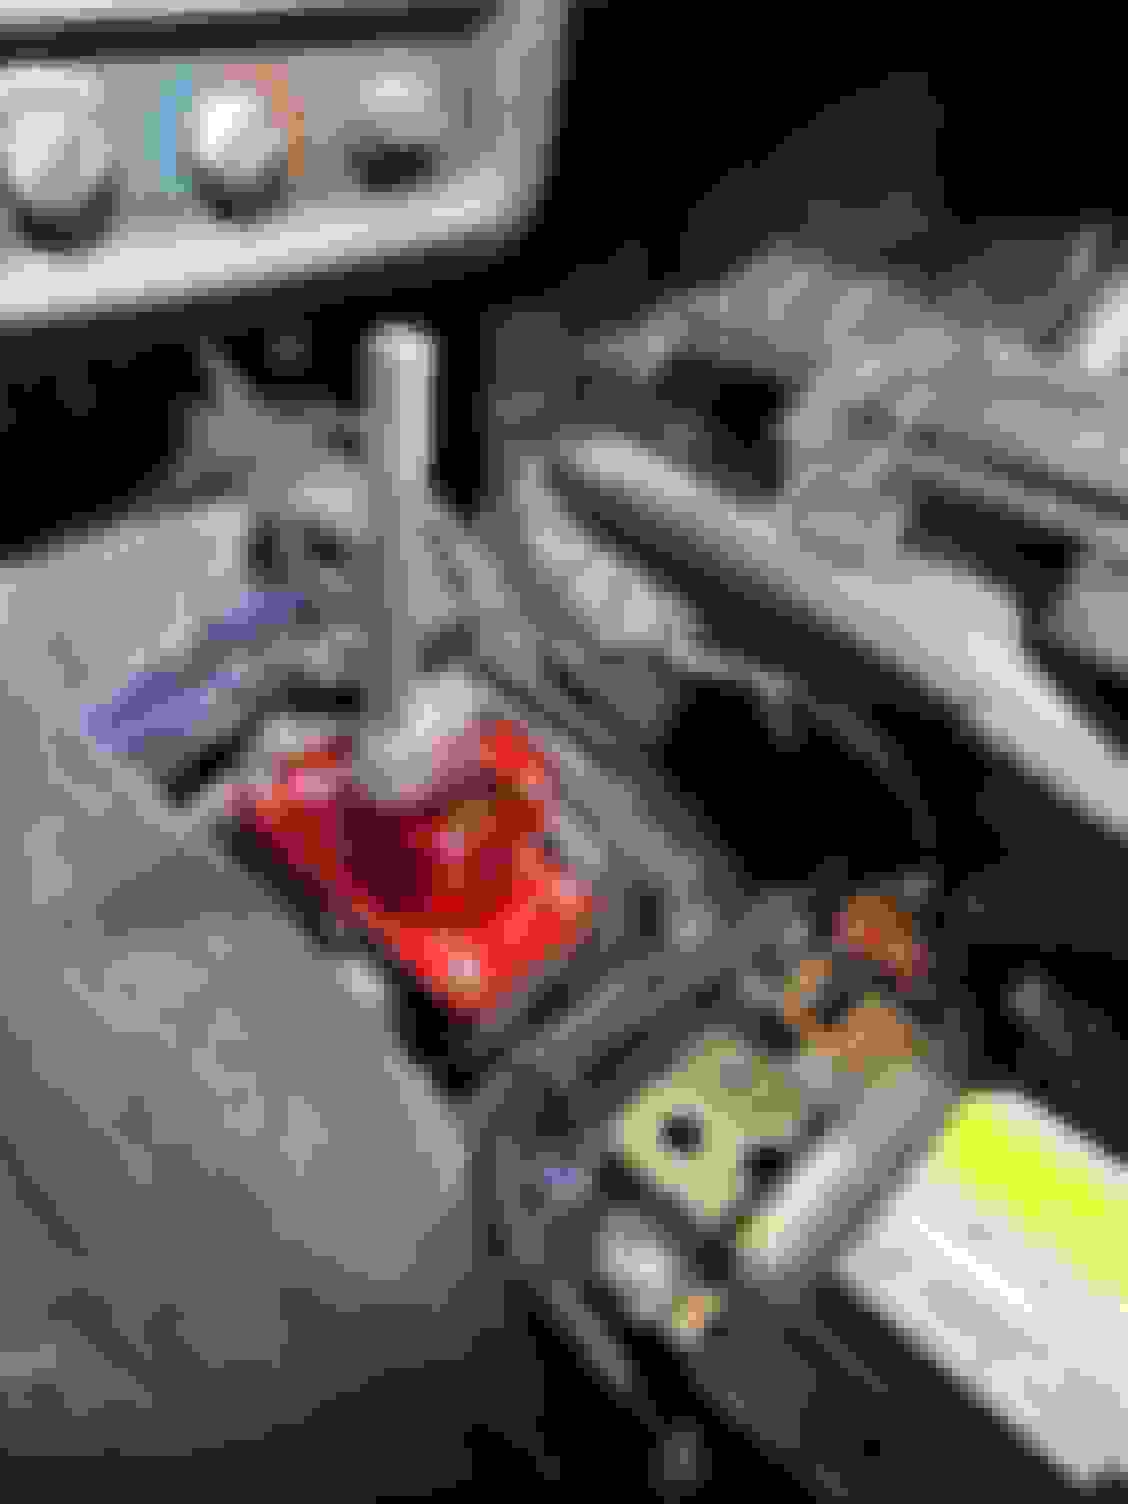
The bracket came, and wouldn�t you know it, it interferes with the LS3 intake manifold. Upon closer inspection, it interferes only with the beauty cover.
Since the engine is already in the car, I opted not to mess around with removing the fuel rails in order to remove the cover. Maybe I�ll do that later on. In the meantime, I broke out the ol� oscillating saw and just cut into the cover.
With that clearanced as shown, I popped out the two bolts, installed the bracket, popped the throttle cable into its slot, and we�re in business!
The bracket hides the cuts, so it looks less janky than I feared. 😅
I�m not sure if I actually needed to relocate the MAP sensor after all. Might see if it fits back in its original spot.
Oh, I also got a fuel pressure gauge. You can kinda see it, directly behind the throttle in the second pic.
Yeah, that foam-lined cover was designed as a sound deadening device, to help keep interior noise levels down. It’s a “muffler’ for under hood engine noise, that the lightweight LS3 intake apparently amplified. I’ve never seen that type of cover used on anything but the LS3. Pretty sure everyone tosses them.
Yeah, I would have tossed it, but it'd be a PITA to remove at the moment. Wish I had thought to rig a throttle cable bracket before I put the engine in the car! For now, my priority is to get the car back to a running state, and notching it was the quickest option.
Two things accomplished tonight:
1. Installed my Tick shifter. This went super smoothly; biggest hurdle was that I had to hammer in the brass cup.
2. Sone years ago I bought the AutoTrix passenger window express-down kit w/ hotwire relay. When we pulled the engine harness, apparently we cut those wires. (I had tucked them into the loom, so it was not obvious that they didn�t need to be removed. I had help that day and wasn�t watching the friend that did it.)
Anyway, to avoid that ever happening again, I added a Metripak 280 connector where the wires were cut. This was the only task in the way of getting the PCM installed back in its home, so hopefully I can do that tomorrow!
Getting super close to the point where I can turn the car on. Hopefully next week. Not quite as close to it being ready to drive; I estimate I�ll be driving it and refining the tune by mid-August.
Un-relocated the MAP sensor, as the new throttle cable bracket does not require that modification.
Pressure-washed the axle housing -- it's used, and had a fair bit of road grime on it. It's much nicer to work with now.
Discovered that I need tone rings for the rear wheel speed sensors, as the 12-bolt didn't come with any. I've ordered a couple. When they arrive, I will need to remove the axles, have the axle bearings pressed off, the tone rings pressed on, then the axle bearings put back in place.
Mounted my UMI torque arm (the rear of the arm is just hanging there, held up by a jack stand)
Reinstalled the PCM and restored all of the harness routing and connections in that general area.
Added a Metripak 280 connector on the custom wiring for my passenger window hotwire setup, which will simplify future engine removal if that's ever a thing again. (I hope not!)
I am suuuuper close to being able to turn the car on, at which point I can read the tune from the PCM and get started in HPTuners. I'll also be able to verify fuel pressure and lots of other stuff (lights, horn, locks, windows, etc). Should be within a week!
Acquired, re-loomed and taped, and installed new battery/starter/alternator cables (4awg upgrade!)
Mounted the fuse holder for the fuel pump hotwire kit
Rerouted the clutch hydraulic line and remote bleeder line behind a heat shield where the should be
Reconnected the last of the grounds
Installed a pressure-balancing vent on the axle
Ordered some POR-15 so I can keep the rear axle housing looking nice and rust-free
I am still waiting for the tone rings I ordered, I don't want to install the axle until those get here and I have them pressed in, so this isn't really slowing me down.
Installed the battery
Remaining:
I didn't hook up the battery positive post yet, but that's the next thing to do before I can turn the key (to ON, not START) and check all the electrical circuits.
If I discover any bugs here, I may have some rework or troubleshooting to do.
Hook up the steering shaft (forgot to do this as the engine was going in -- thankfully, I inverted the driver side PS rack bolt, so I can remove and reinstall the rack without difficulty).
Install the Y pipe
Fill and bleed all fluids
Crank the engine w/ fuel pump fuse disconnected to distribute some oil
Read the stock tune from the PCM
Spend some time in HPTuners putting together a baseline tune
Flash the PCM with the updated tune
Start the engine!
Still plenty after that (front and rear, brakes & suspension, rear axle, driveshaft, button up the trap door, put the interior back together), but I'm getting into the really exciting parts!
Progress update:
Got my *** kicked last week by a root canal and an infection that followed. I was out of commission almost the whole week! 😭
Anyway: I’ve got the catback hooked up now, and I finally got around to re-tightening the bolts we loosened a couple months ago in order to drop the fuel tank an inch or so to get the hotwire kit routed through there. Now that the engine has started and shown good fuel pressure, I felt reasonably safe doing that.
My new (purchased a couple years ago) PS rack from Rack Doctor has a huge leak. After I ran the engine, there was a big puddle under the rack. It appears to be coming from the seal where the input shaft comes in from the column. Super disappointing! I could repair or rebuild it, but I’ve now become aware of Detroit Speed’s quick-ratio rack, and really want to nab one of those! It's a little pricey; we'll see what the budget looks like.
Catback is not only connected but properly hung now. (It was just sitting on jack stands.)
ABS tone rings for the rear axles should be here today. Got the axles pulled from the Moser in prep for that; need to figure out what shop I'm having press things off/on for me. I kinda love that the Moser doesn't use C-clips and that I can remove axles without cracking open the housing.
The Moser is roughly in position under the car. Trying to get everything lined up w/ control arms, shocks, panhard, and torque arm. It's a bit of a PITA with just one person and no lift, but I was getting close last night when it came time to call it quits. I believe the thing currently holding me up is that the front end of the torque arm is slid too far through the rubber mount sleeve and needs to be slid rearward a couple inches to properly interface with the axle. Shouldn't be a big deal. (I'm probably not going to tie everything up just yet; want to coat the axle housing with POR15 first. But meanwhile, I want to test-fit my driveshaft and make sure the UMI torque arm is fully compatible with the Moser. (It seemed to be when I tried fitting them together with neither on the car.)
Looks like I have an oil leak near the filter -- even when the car is not running. Haven't investigated yet; just put down some oil dry and a cup to catch the drips. I'm guessing it's the little cover plate above the filter; I was planning on installing an oil cooler, and left the factory cover on just to keep dust out until the time comes to add that. I probably installed it without its gasket. Kinda annoying, as I'll have to drain all the oil I added already and try to catch it so I can pour it back in after everything is fixed. (Or just buy six more quarts of Mobil1, but that's just wasteful!)
Got the oil leak sealed up, and removed the old leaky PS rack.
My father-in-law has a friend with a press. We brought the axles over to his shop and were told that the bearings are going to be destroyed by pressing them off (hardened retaining rings that will need to be cut), so now I have to source new bearings and retaining rings. Moser is being a bit obtuse about telling me what to buy; I need to call them today.
I got the rear assembled onto the car and test-fit the busted driveshaft (there's a big gouge around the shaft, and a one of the U-joint caps is missing a bunch of needles in its bearing). Length was good, so I had the info I needed to order a replacement. Called PST; new 3.5" aluminum shaft with billet yoke should be here early next week. I believe the driveshaft will be the strongest part of my drivetrain (should be strong enough for 1200hp -- most of the rest is good for 7-800), and I like the sound of that.
Then I took the rear end back out of the car and started stripping it down. I'm going to shine it all down to bare metal (mostly using a flap disc on my grinder), then paint it with POR-15. I have maybe almost half of the grinding done. I probably should have just stripped it down to just the housing and taken it somewhere for sandblasting, but that's honestly a lot more work, and using the flap disc and revealing all that shiny metal is really satisfying!
The Detroit Speed quick-ratio steering rack came yesterday; I'm hoping to get it installed tonight. Once that's in, we should be ready to install the front suspension! Control arms, brakes, spindles, shocks, and springs can all go in. Pretty exciting. I have new SKF X-Tracker hubs to install as part of this, and I also acquired a set of Blaine Fab brake cooling duct shrouds a while back, and plan to see if I can integrate those as well.
While I was ordering from Detroit Speed, I also ordered a set of their fender flange protectors -- didn't know this was a thing, but my fender flanges got crushed years ago and it's always bugged me. Now there's a nice robust chunk of metal there to protect them (and it should be nice for lifting the car, too!). Those came yesterday as well, and in the little bit of garage time I had yesterday, I got one of them installed. It's a reasonably straightforward process, complicated a bit by the fact that my flanges are already crushed.
Waiting on some parts from UMI -- I ordered a driveshaft loop, a new on-car-adjustable panhard bar, their tubular panhard brace and lowering adapter, and new hardware for all of that. Also a pair of new LCA relocation brackets, as mine seem to have been crushed somehow. I could heat them up and hammer them flat, but new ones will be better.
I am interested in a FTRA/SSRA, or some other means of getting more air to the airbox. The little slots at the front of the box just don't make me feel like they'll provide enough flow. But with the 3" Dewitts radiator, there's pretty much zero room for those products, so I have to figure out something else. I'm still in the ideas phase here.

 05-24-2019, 03:38 PM


 ); time for an update!
 In October, I started a new job with a HUGE raise, and as of this spring the budget has fully recovered -- which is good, because I need to order more stuff!