When you click on links to various merchants on this site and make a purchase, this can result in this site earning a commission. Affiliate programs and affiliations include, but are not limited to, the eBay Partner Network.
I have about ~12,000 miles after a full rebuild. The first 10k miles I noticed I was constantly getting bronze glitter in my oil from the CHE Bronze Trunnions I installed - so at 10k miles, I replaced them after thinking I had messed up when I had tightened down my rocker arms.
Well, since then, in the past 2,000 miles, I did another oil change and found a lot less glitter (but still had some) - after opening my valve trains, I think I discovered that my rockers had bad placement from the rocker pedestals the entire time... To prove this theory, I purchased new pedestals and noticed that my preload for both exhaust and intake is just over half a turn, when originally, some of my rockers would take more turning (since they were not centered correctly).
I originally thought my exhaust rockers just had more preload or something - but I was wrong the whole time....
So, my current theory is - my rocker pedestals were not straight, so it caused issues with my rocker arms properly being centered, thus, causing accelerated uneven wear on my bronze bushing, and even damaging my valve tips... I am wondering if my cam / lifters are OK too. At this point, I know I obviously needed the new rocker pedestals, but it looks like I will need new valves, and I should inspect the lifters and cam as well.
Before I go in and rip my heads off, do you guys think I am on the right track? (Yes I also realize my preload is on the low end for my LS7 lifters, I will also need to sort that)
Oil pressure cold idle ~50-52psi
Oil pressure hot idle ~30-32psi
Oil pressure is normal during driving and wot
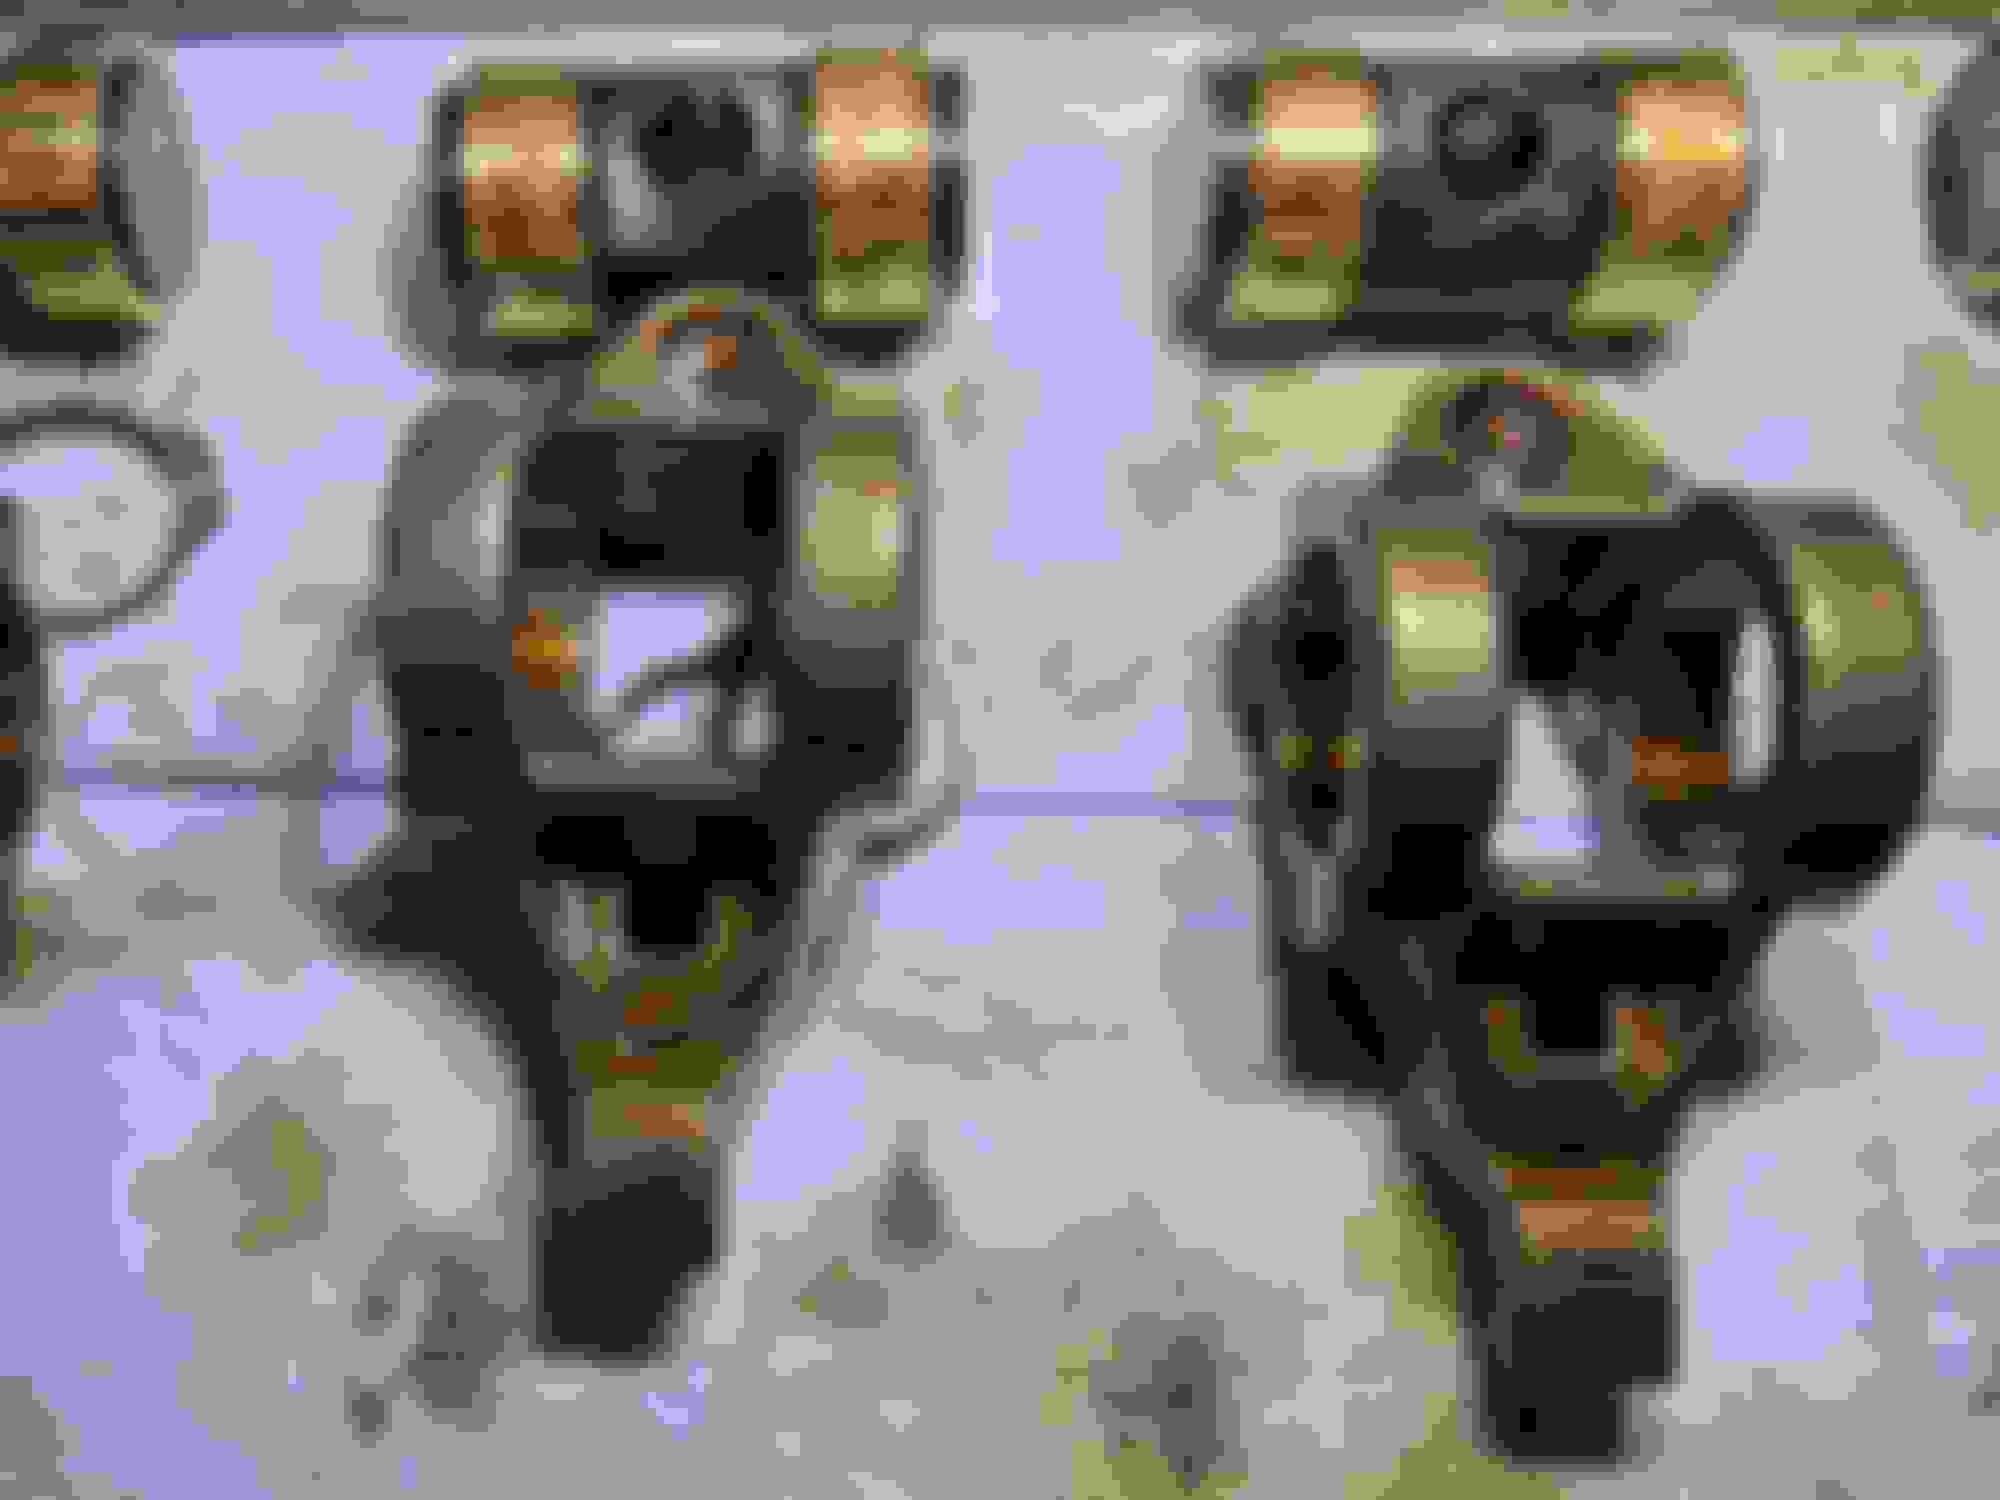
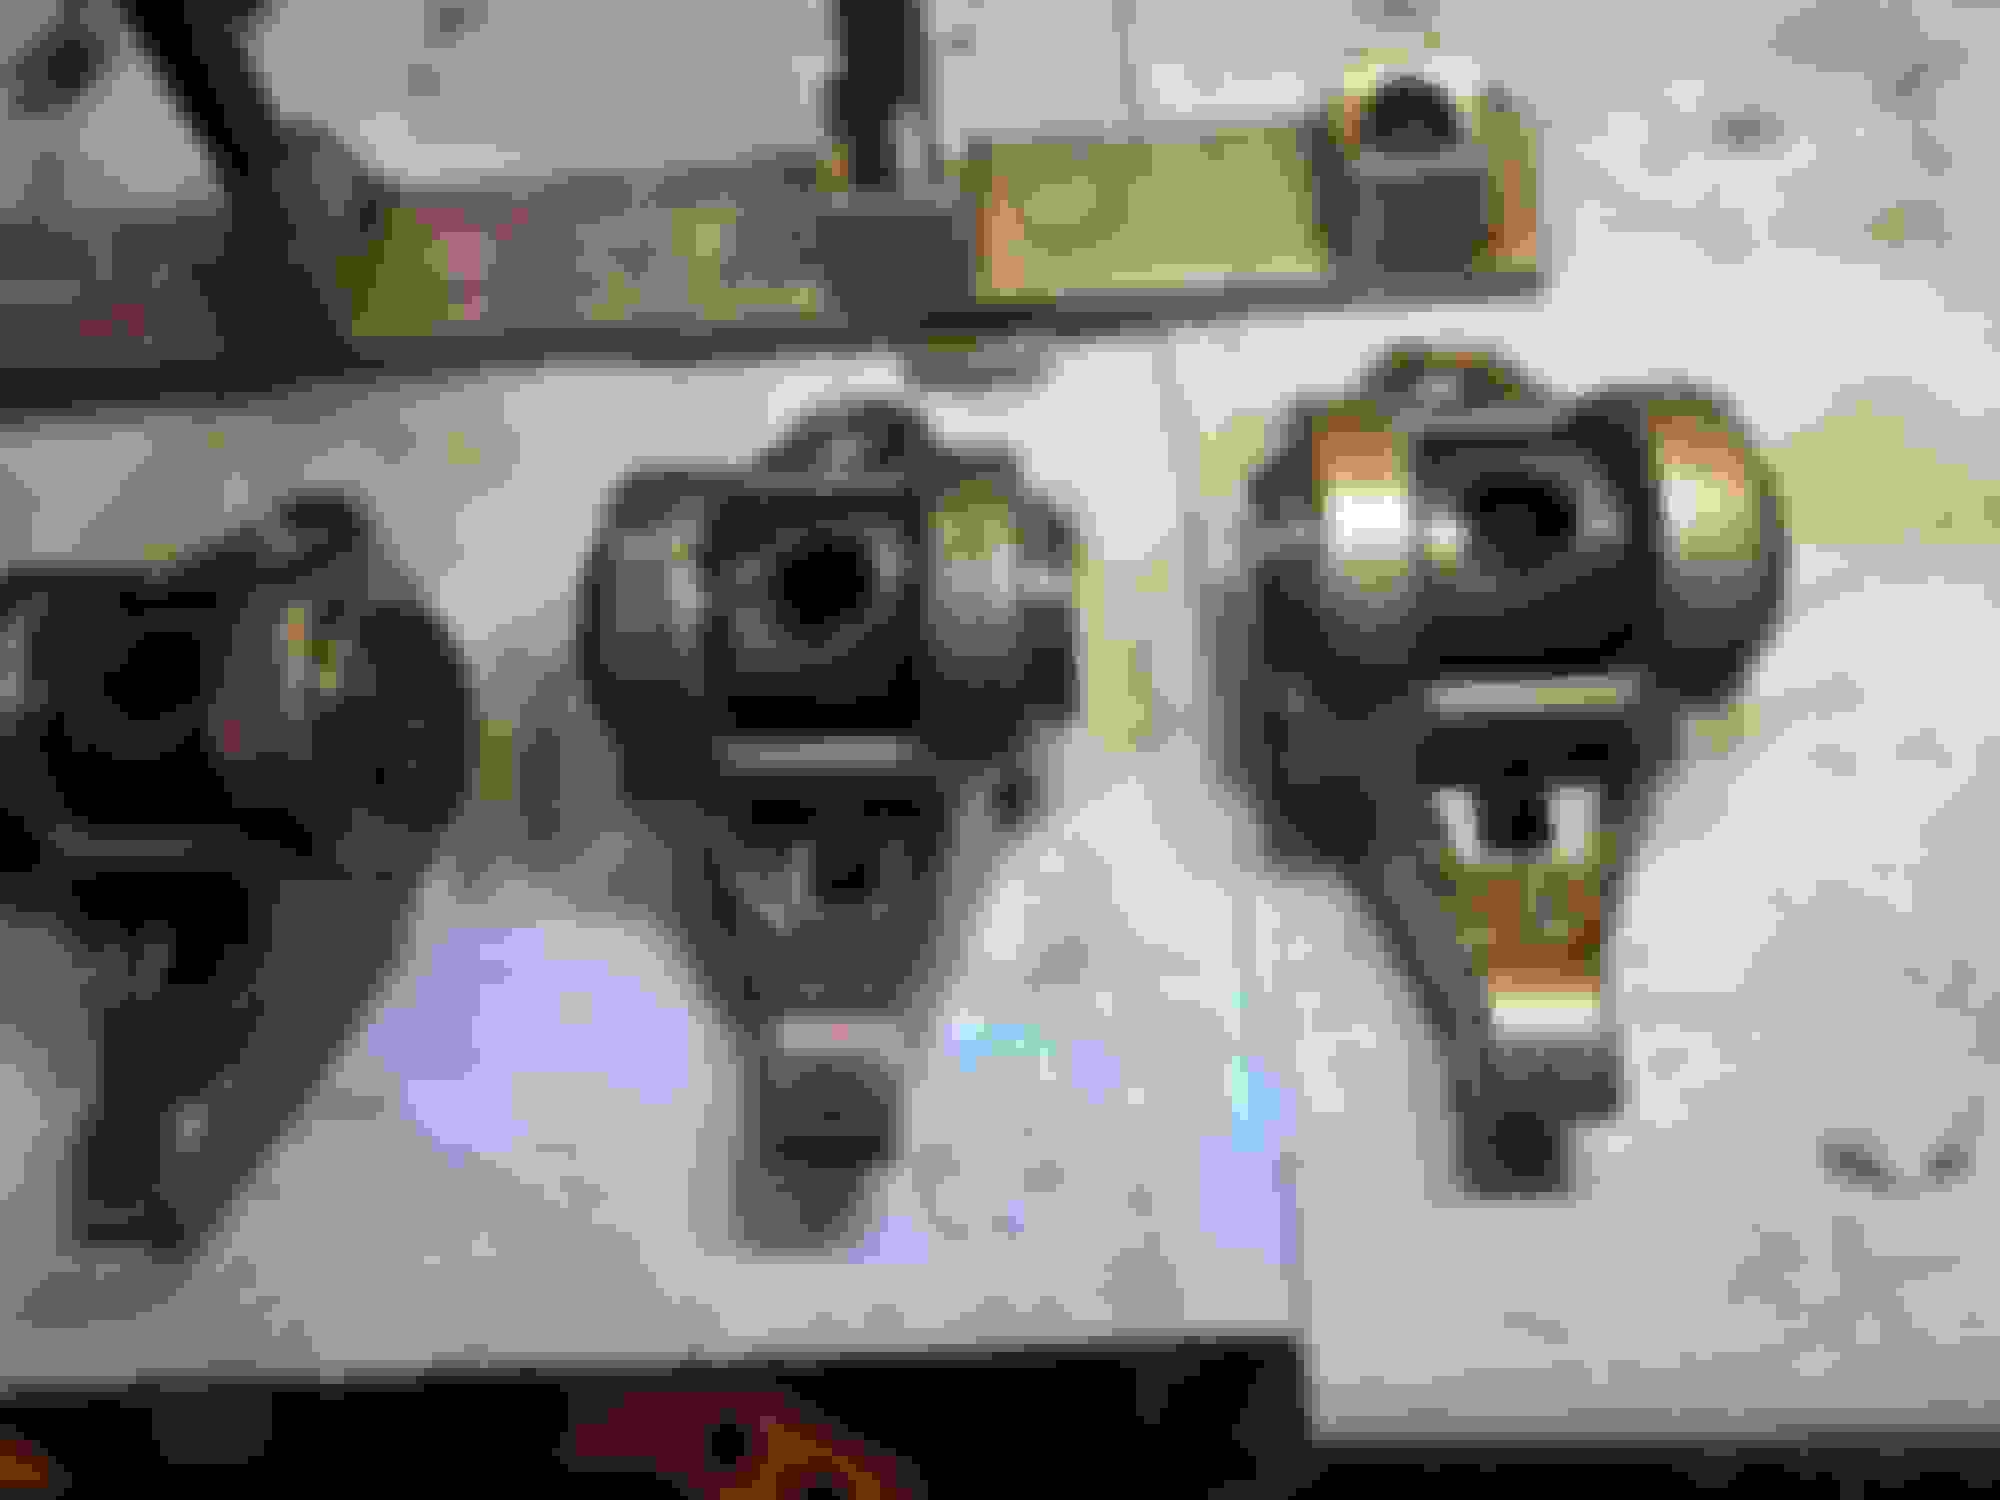
Pics (all labeled with their cylinder number):
You can also see that some of the rockers have some odd wear on the pedestal to trunnion mating location.
Looks like you ditched the stock GM mounts somewhere in time. Why did you do that? They work fine, even on .600"+ lift cams. Who makes the replacements, Summit?
Who knows and what can you tell us about those valves? Worn out valves and guides is definetly an indicator that something wasn't right with the valvetrain setup and the rocker stand not being stock dosen't mean a hill of beans because if you've measured for correct pushrod length and checked the swipe over the valves then you would know if you had proper valve geometry. This is one surefire reason why you'd want roller tip rocker arms and from the looks of the wear on the valve tips I'd be concerned about trash having gotten into the engine bearings. Have you dropped the pan and inspected the oil filter element? It almost looks as though the rocker arm was bouncing off some of the valves.
Last edited by 01CamaroSSTx; Mar 8, 2026 at 01:05 PM.
I just got those Summit rocker mounts because it seems like my GM mounts are not straight. There is one rocker on the GM mount that is for sure off center when it is torqued down. (it looks slanted)
I haven't ran those new stands yet, but since putting the new stands in, I am getting consistent readings on how many turns I get after zero lash. On the GM mounts, some of the rockers would have higher turns from zero lash, appearing like they were off center.
I have checked the filter element, and nothing looked bad. I did see bronze material and some other metallic material.
I am wondering if the bouncing is from the rockers not being torqued to spec in this case.. Regardless, I suppose you guys wouldn't run this until the valves are fixed and I have confirmed that rocker geometry is solid?
It can actually amount to something if the aftermarket parts are not machined to the same quality tolerances as the OEM. Too many people automatically assume aftermarket anything is superior to the OEM pieces. Sometimes they are, and in a few cases, sometimes they aren't. Perhaps the OP has a burr or some other small amount of damage to the OEM rocker stand. I know I always slightly wiggle the rockers as I torque them down, and have found it helps "nest" the trunnions in place properly, which ensures better centering. IDK, it works for me. You can't be too careful.....
This is a good point. I haven't ran the heads with the new stands yet, but either the OEM stands had issues, or I did something wrong on installation...
I am going to take my time and really test both, this time I will go all the way and check how many turns every rocker takes from zero lash for a sanity check on the OEM stands, then do the same thing with the aftermarket stands. (The aftermarket stands are also slightly thicker, so if I did run them, I will need longer pushrods)
If oiling wasn't the issue for these valve tips, the only thing I can come up with is either the OEM stands were warped somehow, or I somehow miraculously messed up the install. At the very least, I do have proof of the exhaust rocker on cyl 3 is not centered. I can get a pic later.
Regarding the Rocker Stands. The OEM stands are not that Precise, But they are cost effective. CNC Machined one's would hold a tighter tolerance over the Die Cast OEM units.
I Flat filed the bottom of mine and Shimmed them. But I am Also running Short travel lifters that require tighter tolerance Pre load. In fair ness No one offered Replacement stands When I Initially built the motor.
I can not remember, But I think it was Lingenfelter that offered a replacement Stand back in the day. They were a nice piece but every one said the same thing. Not worth the money OEM works... If you needed more step up something like Jessel.
Some where I have a set. IIRC, there were $199.99 made of steel and had a black oxide coating on them. They have not been made for several years but were a nice piece.
EDIT: It was Lingenfelter Part number L200145297
I believe this is the old description from there site.
The LPE heavy duty rocker stands are designed to replace the factory cast aluminum stands and are designed to improve valvetrain stability and cylinder head stiffness while providing increased valvetrain geometry precision. These heavy duty rocker arm stands are precision CNC machined from 11L17 cold rolled steel and are black oxide coated for added durability and appearance. Fits all GM Gen III small block V8 engines including the LS1, LS6, 6.0L LQ9, 6.0L LQ4, 5.3L LM7 and 4.8L LR4. These rockers stands are highly recommended for high rpm, high valve spring load and endurance applications and are especially recommended on ported cylinder heads. Engine dynamometer tested design for durability and function. Easy to install with factory rockers and hardware. Sold in pairs of two.
Last edited by 1FastBrick; Mar 8, 2026 at 11:25 PM.
If the guides were checked during the full rebuild, I wouldnt think so.
In My opinion it is an alignment issue. It could also be contributed to preload.
If you look Closely at some of the shafts, It looks like they may have had a seating issue. Notice how there some areas that show no contact? Perhaps they shifted during operation or they weren't seated properly. Its also possible in the OEM configuration they were like this as well.
As I stated before these are a Die Cast part. They are mass produced and the can and do get damaged in handling. I have new ones that are rounded over on some of the corners which tells the tale of how they are treated and handled.
Even if the OEM stands were slightly warped, the 8 hold down bolts would pretty much flatten them out. When we used to machine flat spacers for machine building, we used a surface grinder. All that usually mattered was that the magnet on the grinder was strong enough to hold the piece flat on the magnet. Sometimes when the magnet was released the piece would spring up off the magnetic chuck. As long as the surfaces were parallel, the bolts would flatten them. Being parallel and being flat are 2 different things. I would think the 8 bolts would hold them flat, even if they're warped. But burrs or high spots are a totally different thing.....
Yea, I think preload + alignment is the main issues we are seeing here. Or, rather, alignment was off causing me to not get the right preload when torquing down? For the record, the heads were completely redone and were fresh during the original rebuild. New valves, guides, springs, etc.
Rockers, rocker bolts and rocker mounts were the only thing in the valve train that were re-used, since I threw in the CHE kit originally during rebuild.
If this were you, I assume you all would take off the heads to be safe and just have them re-done (or I upgrade my heads hehe).
Even if the OEM stands were slightly warped, the 8 hold down bolts would pretty much flatten them out. When we used to machine flat spacers for machine building, we used a surface grinder. All that usually mattered was that the magnet on the grinder was strong enough to hold the piece flat on the magnet. Sometimes when the magnet was released the piece would spring up off the magnetic chuck. As long as the surfaces were parallel, the bolts would flatten them. Being parallel and being flat are 2 different things. I would think the 8 bolts would hold them flat, even if they're warped. But burrs or high spots are a totally different thing.....
In case you are not aware, the OEM's are Die cast Aluminum. The base is not totally flat on the bottom side and no machining is done after the part is cast. It is possible for them to distort ever so slightly. If, at any point the rocker was not tightened correctly with no Load, They can shift sideways and damage the upper Pedestal portion where the rocker rides. As much as I hate to admit it, I have seen it as well as done it myself when trying to do things in a hurry trying to help someone else out in a jam... Hope that Helps!
I've always lined up the bolt holes and ran the rocker arms down hand tight on the ends and another one somewhere in the middle without pushrods to get it centered up. I don't undestand why people use the turn method on non-adjustable rocker arms to set preload. Find zero lash with a PR length checker and measure the length with a caliper gauge and add the desired preload. Order your pushrods and when installing them make damn certain that each pushrod is actually sitting in the lifter cup before installing your rocker arms and torque to 22-26 ft lbs and it's done. You'll want to do this on each cylinder with both valves closed where the camshaft is on its base circle if you're not using the EOIC method to install them but per the GM manual
Rotate the crankshaft until the number one piston is at top dead center (TDC) of the compression stroke. In this position, cylinder number one rocker arms will be off lobe lift, and the crankshaft sprocket key will be at the 1:30 position. The engine firing order is 1,8,7,2,6,5,4,3. Cylinders 1,3,5, and 7 are left bank. Cylinders 2,4,6, and 8 are right bank.
With the engine in the number one firing position, tighten the following valve rocker arm bolts:
(1) Tighten the exhaust valve rocker arm bolts 1,2,7, and 8 to 30 N�m (22 lb ft).
(2) Tighten the intake valve rocker arm bolts 1,3,4, and 5 to 30 N�m (22 lb ft).
Rotate the crankshaft 360 degrees.
Tighten the following valve rocker arm bolts:
(1) Tighten the exhaust valve rocker arm bolts 3,4,5, and 6 to 30 N�m (22 lb ft).
(2) Tighten the intake valve rocker arm bolts 2,6,7, and 8 to 30 N�m (22 lb ft).
Last edited by 01CamaroSSTx; Mar 9, 2026 at 01:35 PM.
I used the method you showed to loosen them safely, I will do the same when testing and re-assembly. At this rate, I am going to pull the heads, either get them fully cleared (or get new ones). I am going to get new rockers, because some are definitely damaged, and make sure my pushrods are still good, but I am probably going to need new ones anyways to make sure I get enough preload. At least I can then check the cam and lifters with the heads off, so I will sleep better.
I really should have opened her up deeper into the winter... oh well haha
In case you are not aware, the OEM's are Die cast Aluminum. The base is not totally flat on the bottom side and no machining is done after the part is cast. It is possible for them to distort ever so slightly. If, at any point the rocker was not tightened correctly with no Load, They can shift sideways and damage the upper Pedestal portion where the rocker rides. As much as I hate to admit it, I have seen it as well as done it myself when trying to do things in a hurry trying to help someone else out in a jam... Hope that Helps!
I understand that. Generally speaking, die cast pieces should all be the same. That's why they diecast parts like this. If the die is machined correctly, the diecast parts will be correct, and all be the same. I realize a part that is machined can be held to closer tolerances....IF it is ACCURATELY machined. The rockers themselves are investment castings. All this said, I have never had any problem with the factory setup when I had it. I also thought it could be produced, and located, more accurately. I know if you don't manipulate the rockers properly when you install them, they can feel like they're tight, but can actually be a bit off center/crooked. I agree with the post about pulling the heads and closely inspecting the valvetrain. One other suggestion that can't hurt. Check the trunnions themselves, around the screw hole. I have found some that had some considerable burrs from the manufacturing process. The factory rocker mounts, IIRC, have a relief in the saddles (like a shallow counterbore) that allows the burrs to exist without cocking the rockers. If the Summit pieces don't have that shallow counterbore, be sure you remove any burrs on the trunnion axle. I hope this helps.....
As Joseph (1FastBrick) said above, you’re gonna want to replace the valves. You can have the tips resurfaced, but it will mess up the geometry with this non-adjustable OEM setup. If you had an adjustable setup in place, you could make a cut down valve work, but not in the current configuration. Either way, the heads are coming off. Use it as an excuse to have a quality valve job done with the new valves…worth 25hp all day. When you go to put it back together, mock up your rockers and check for the rocker being square both laterally, and north/south movement is square to the head. Don’t just look at 3-4 of them…check all 16. I’d have the guides checked as well while it’s at the shop…might be the issue to start with, or at least some of it.
As Joseph (1FastBrick) said above, you�re gonna want to replace the valves. You can have the tips resurfaced, but it will mess up the geometry with this non-adjustable OEM setup. If you had an adjustable setup in place, you could make a cut down valve work, but not in the current configuration. Either way, the heads are coming off. Use it as an excuse to have a quality valve job done with the new valves�worth 25hp all day. When you go to put it back together, mock up your rockers and check for the rocker being square both laterally, and north/south movement is square to the head. Don�t just look at 3-4 of them�check all 16. I�d have the guides checked as well while it�s at the shop�might be the issue to start with, or at least some of it.
Thanks - I am definetly going to not take any shortcuts or chances this time. Its all going to be fixed and this time - I am going to be very careful with the rocker arm install.
Update: Spoke with Matt at CHE Precision - I am sending my 10k miles trunnion kit + my 2k miles trunnion kit + my rocker arms and rocker pedestals to investigate. I also got my heads in the shop and the guy there was also unsure what went wrong, but he will tear them down to take a look to see what he sees on the valves / springs / seal etc.
6 Common C5 Corvette Failures and What's Involved In Repairing Them
Slideshow: From wobbling harmonic balancers to failed EBCMs, these are the issues that define long-term C5 ownership and what repairs typically involve.
Retro Modern Bandit Pontiac Trans AM Comes With Burt Reynolds' Autograph
Slideshow: A modern Camaro transformed into a retro icon, this limited-run "Bandit" build blends nostalgia with brute force in a way few revivals manage.
Top 10 Greatest Cadillac V Series Performance Models Ever, Ranked
Slideshow: Cadillac didn't just crash the high-performance luxury vehicle party, it showed up loud, supercharged, and occasionally a little unhinged...
Coachbuilt N2A Anteros Is an LS2-Powered C6 Corvette In Italian Clothes
Slideshow: A one-off sports car that looks like a vintage Italian exotic-but hides a C6 Corvette underneath-just sold for the price of a new mid-engine Corvette.