When you click on links to various merchants on this site and make a purchase, this can result in this site earning a commission. Affiliate programs and affiliations include, but are not limited to, the eBay Partner Network.
This should be flat out fun. I love the pictures of the mamo-fication. The work looks top notch.
Thanks for the pictures of the valve clearance. I understand that you have custom pistons, but it's probably safe to say that the 12� valves really improve ptv clearance.
This thing should sing.
What's in store for your transmission? Anything fancy planned to support shifting at 6000rpms?
What's the rest of your exhaust system look like? Are you going to have cut-out's for the track/road course? Have you thought about stepping up to kook's 2" long tubes?
David,
I was shocked at how much clearance there was. In fact, I checked it twice, put the heads on, then thought something can't be right so I pulled a head and checked it again. Definitely the 12 degree heads helped. My lift is relatively mild as well.
Transmission remains stock for now. It's got a Street Slayer dual carbon clutch and I run Mobil 1 ATF in it and it shifts like butter. I was shifting the old engine at 6300 without issue so until it gives me a reason to dig into it (hopefully not anytime soon) then I'll leave it be.
Right now I am running ARH 1 7/8" long tubes into 3" pipes, x-pipe, then necked down to 2 1/2" pipes into the stock cans. I was running cats but those are going away with this build. I plan to keep the current setup to include the stock cans as they actually help aero in the back of the car. Thanks.
Got the new taller pedestals in from Yella Terra. They are .157" taller than the originals that came with the rockers. These improve the rocker contact patch immensely. Wipe pattern on the valve tip is spot on and follows mid-lift principle for setting up rockers.
So with the new pedestals in I was able to measure for pushrod length and get those on order. All of the pushrods lengths came in very close. Intakes were all within .005" of each other coming in around 8.065" and the exhausts were all within .003" coming in around 8.053". This assumes about .035" preload on the Johnson 2116LSR lifters.
Also assembled the Mamofied FAST LSXR with the tall Injector Connection 60lb injectors and the stock fuel rail flipped. Assembly went fine. Use Syl-glide for injector O-rings! Makes pressing injectors go like butter. Flipping the fuel rail and running the taller injectors required a 1/4" spacer and M6 20mm bolts but looks good. Thanks Home Depot for stocking some spacer and bolts to tie this up. Also bought Russell fuel line to -6an connectors and a NOS -6an fuel hose for a cleaner look.
In the car I am finishing the Innovate Motorsports gauge install. DLG-1 and LC-2 gauge and wideband controller plus MTX-D gauge just about done. Ended up getting a 6-way ganged fuse block to add these to the fuse panel in the dash. All coming off an old switched cigarette lighter port that I replaced with a line lock momentary button switch. So I fuse tapped that since its twenty amps and I only need to support nine for the gauges.
Next issue I am working through is oil cooler capacity. Looks like the 25 row Mocal I have is not going to be enough so now looking at having to buy another 25 row and run them in series (proven solution) to keep track temps below 260 degrees. Another budget whopper!
Might have the pushrods by weeks end. If they show, I'll shoot for final assembly this weekend then start putting together my homemade pre-lube setup together and running some oil through it real good before I start shoe-horning it back into the car.
I love the set up (4.155 x 4.125). Currently it is a little lazy down low and then pulls like a freight train to about 6k then starts to fall off. It really is a blast to drive on the street. Keeps from blowing the tires (275's) off down low and then the 3.91's get things moving along the band pretty quickly. Will be going back to the dyno in a few weeks and get more aggresive with the tune and she what she puts down. First trip with a conservative tune was 540/490. The FAST is my restriction, but we knew it would be going in. Frankenstein did the heads and ported the intake to match, or at least got the intake as close to match as he could. Chris just could not get the ports large enough to fully take advantage of the heads. Going to need something different on the intake side if I want to see these heads reach their full potential. I have some inefficiencies to chip away at over time, but it is a fun process.
Best of luck on your build, looks like it is going to be monster.
The FAST isn't your problem
Originally Posted by blackonblacksls
I don't see how a properly built 4.155x4.125 motor is lazy down low?
Also 540 or so is quite low even with a fast, is that through an auto?
So there has been a bit of a delay while I waited on the pushrods to show up. Took the time to finish installing the Innovate Motorsports DLG-1 dual wideband and MTX-D oil pressure/temp gauges. Finished all the wiring and have a nice clean install in an Autometer A Pillar pod.
Also finished assembly of the FAST manifold. Got a killer deal on some 60lb injectors from the Fuel Injector Connection. Jon also sent me the tune data for them so added that to the tune. Also flipped the fuel rail for a cleaner install. Got some Russell fuel line -AN adapters and a NOS braided fuel hose to connect everything. Found a good deal on a VMAX Velocity Ring to smooth the transition from the ported TB to the FAST. For you guys fighting injector seating, I used Syl-glide and they went in like butter. Other than that just monkeying with the tune and getting help over on the Tuning section on that so I can get a base tune together for fire up and load on the trailer.
Pushrods finally showed last night so I'll start measuring and install them this weekend. Once that is done I am going to use my homemade Harbor Freight parts prelude to get the oil nice and circulated. Then it's drop her in and start the maze of harness connections and of course fight the transmission mating.
Still a few weeks out from firing though as off for archery season next week to try and bag a big Bull.
Last edited by tadams72; 08-27-2015 at 01:25 PM.
Reason: Typo.
So installed the pushrods today and all but three were spot on. Not sure what happened there but I'm going to double check everything again tomorrow and if I'm still off I might be ordering three more to make it right.
All the Manton's were within .002" of each other and most were right on the money. Most went from zero lash to full torque in right at ¾ of a turn which should be right at .035" preload. That's right where I wanted it to be. However I had three on the exhaust side that came in at .041", .047", and .052". Sucks to be so good on all but three. Looks like I might be adding another week to the build schedule. Guess I'll start looking at mocking up the oil cooler and mount in the mean time.
Lol you're splitting hairs man. That could be lifter bleed down.
Lol you're splitting hairs man. That could be lifter bleed down.
Johnson said I should be shoot for .030-.045 preload. What seems off to me is how just three lifters are seeing too much as compared to the others with all of the pushrods within .002 of each other in length. I am wondering if I was not quite on base circle for those particular valves. Going to double check tomorrow.
Johnson said I should be shoot for .030-.045 preload. What seems off to me is how just three lifters are seeing too much as compared to the others with all of the pushrods within .002 of each other in length. I am wondering if I was not quite on base circle for those particular valves. Going to double check tomorrow.
I wouldn't worry with it. Just run em lol. I only checked one cylinder when I did mine. Didn't use checker springs either. Mine turned out fine. So far at least lol. And makes pretty damn good power for what it is.
So turns out I was just a little off the base circle. Rechecked again this weekend and all is good. Every rocker was fully torqued at about � turn from zero lash so I am right at .035-.040" preload. Top end buttoned up and the engine is ready to drop in.
Used a little drill operated pump to prelube the engine as well so she is ready to fire with fresh oil. Had a blooper as one of my temp lines on the oil cooler adapter blew off and that made for a bit of a mess.
Finalizing the way ahead on steam vent lines. Picked up the front steam line from an Escalade to use on the rear. Looking to use Swageloks to transition from the hard line to a -4an line to run to the radiator.
Still working secondary oil pressure monitoring. Plan now looks like I'll be tapping into the oil galley on the from drivers side of the block. The sender looks to big so going to put it on a 90 degree not fitting to turn it and make a little more room.
Oil cooler isn't going to be big enough so adding a second one in series which seems to be the solution a lot of road track guys are using with success.
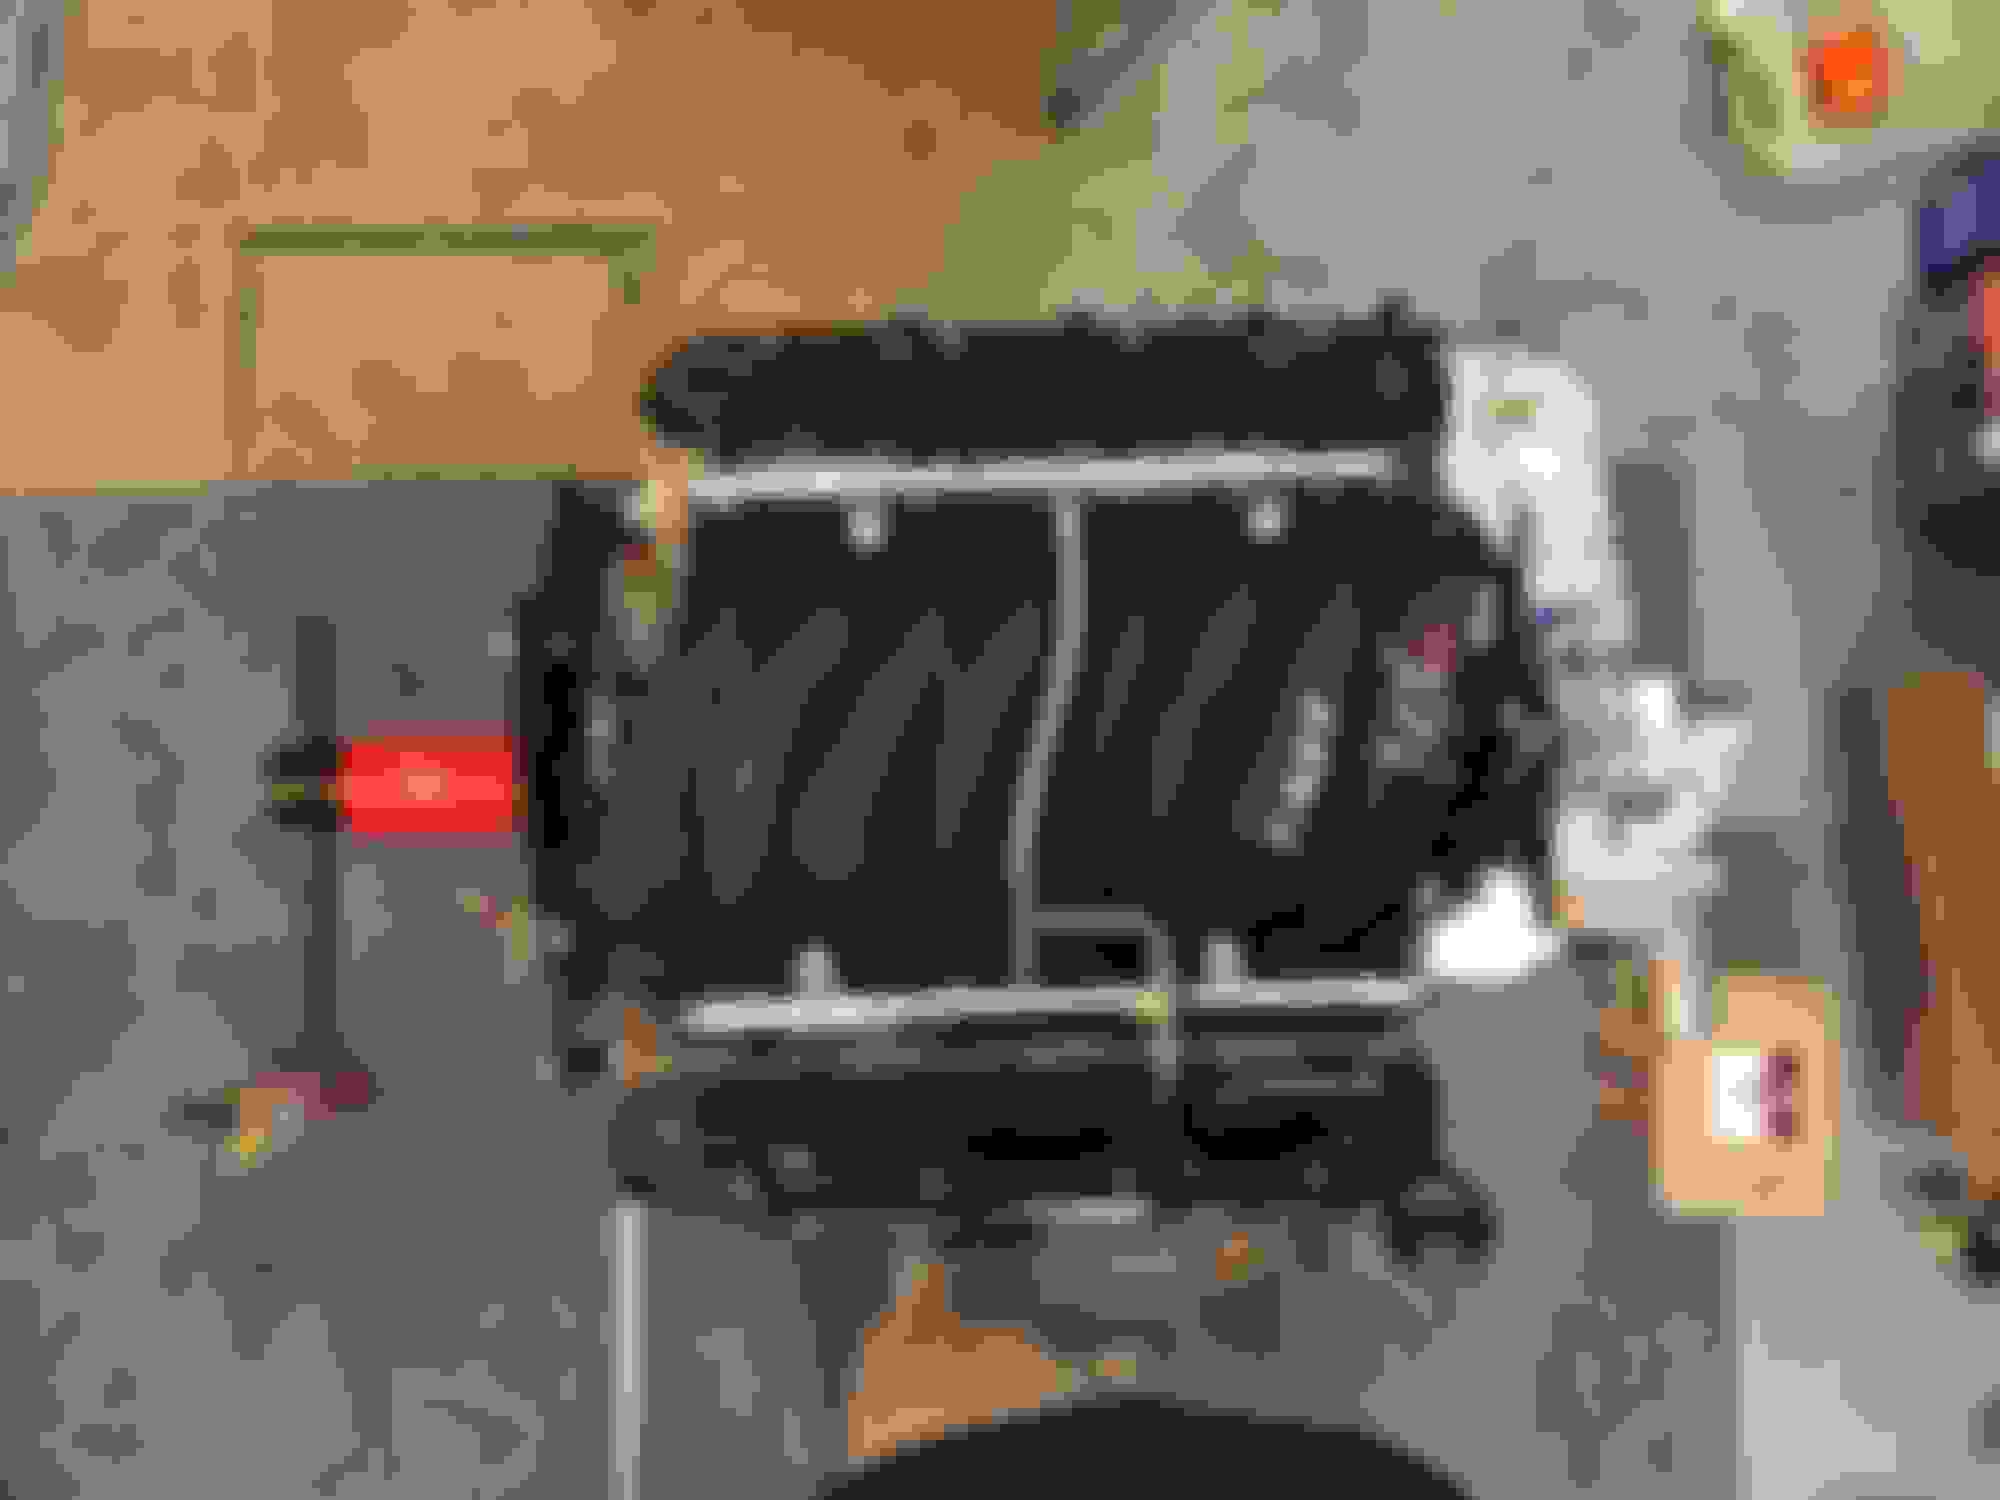
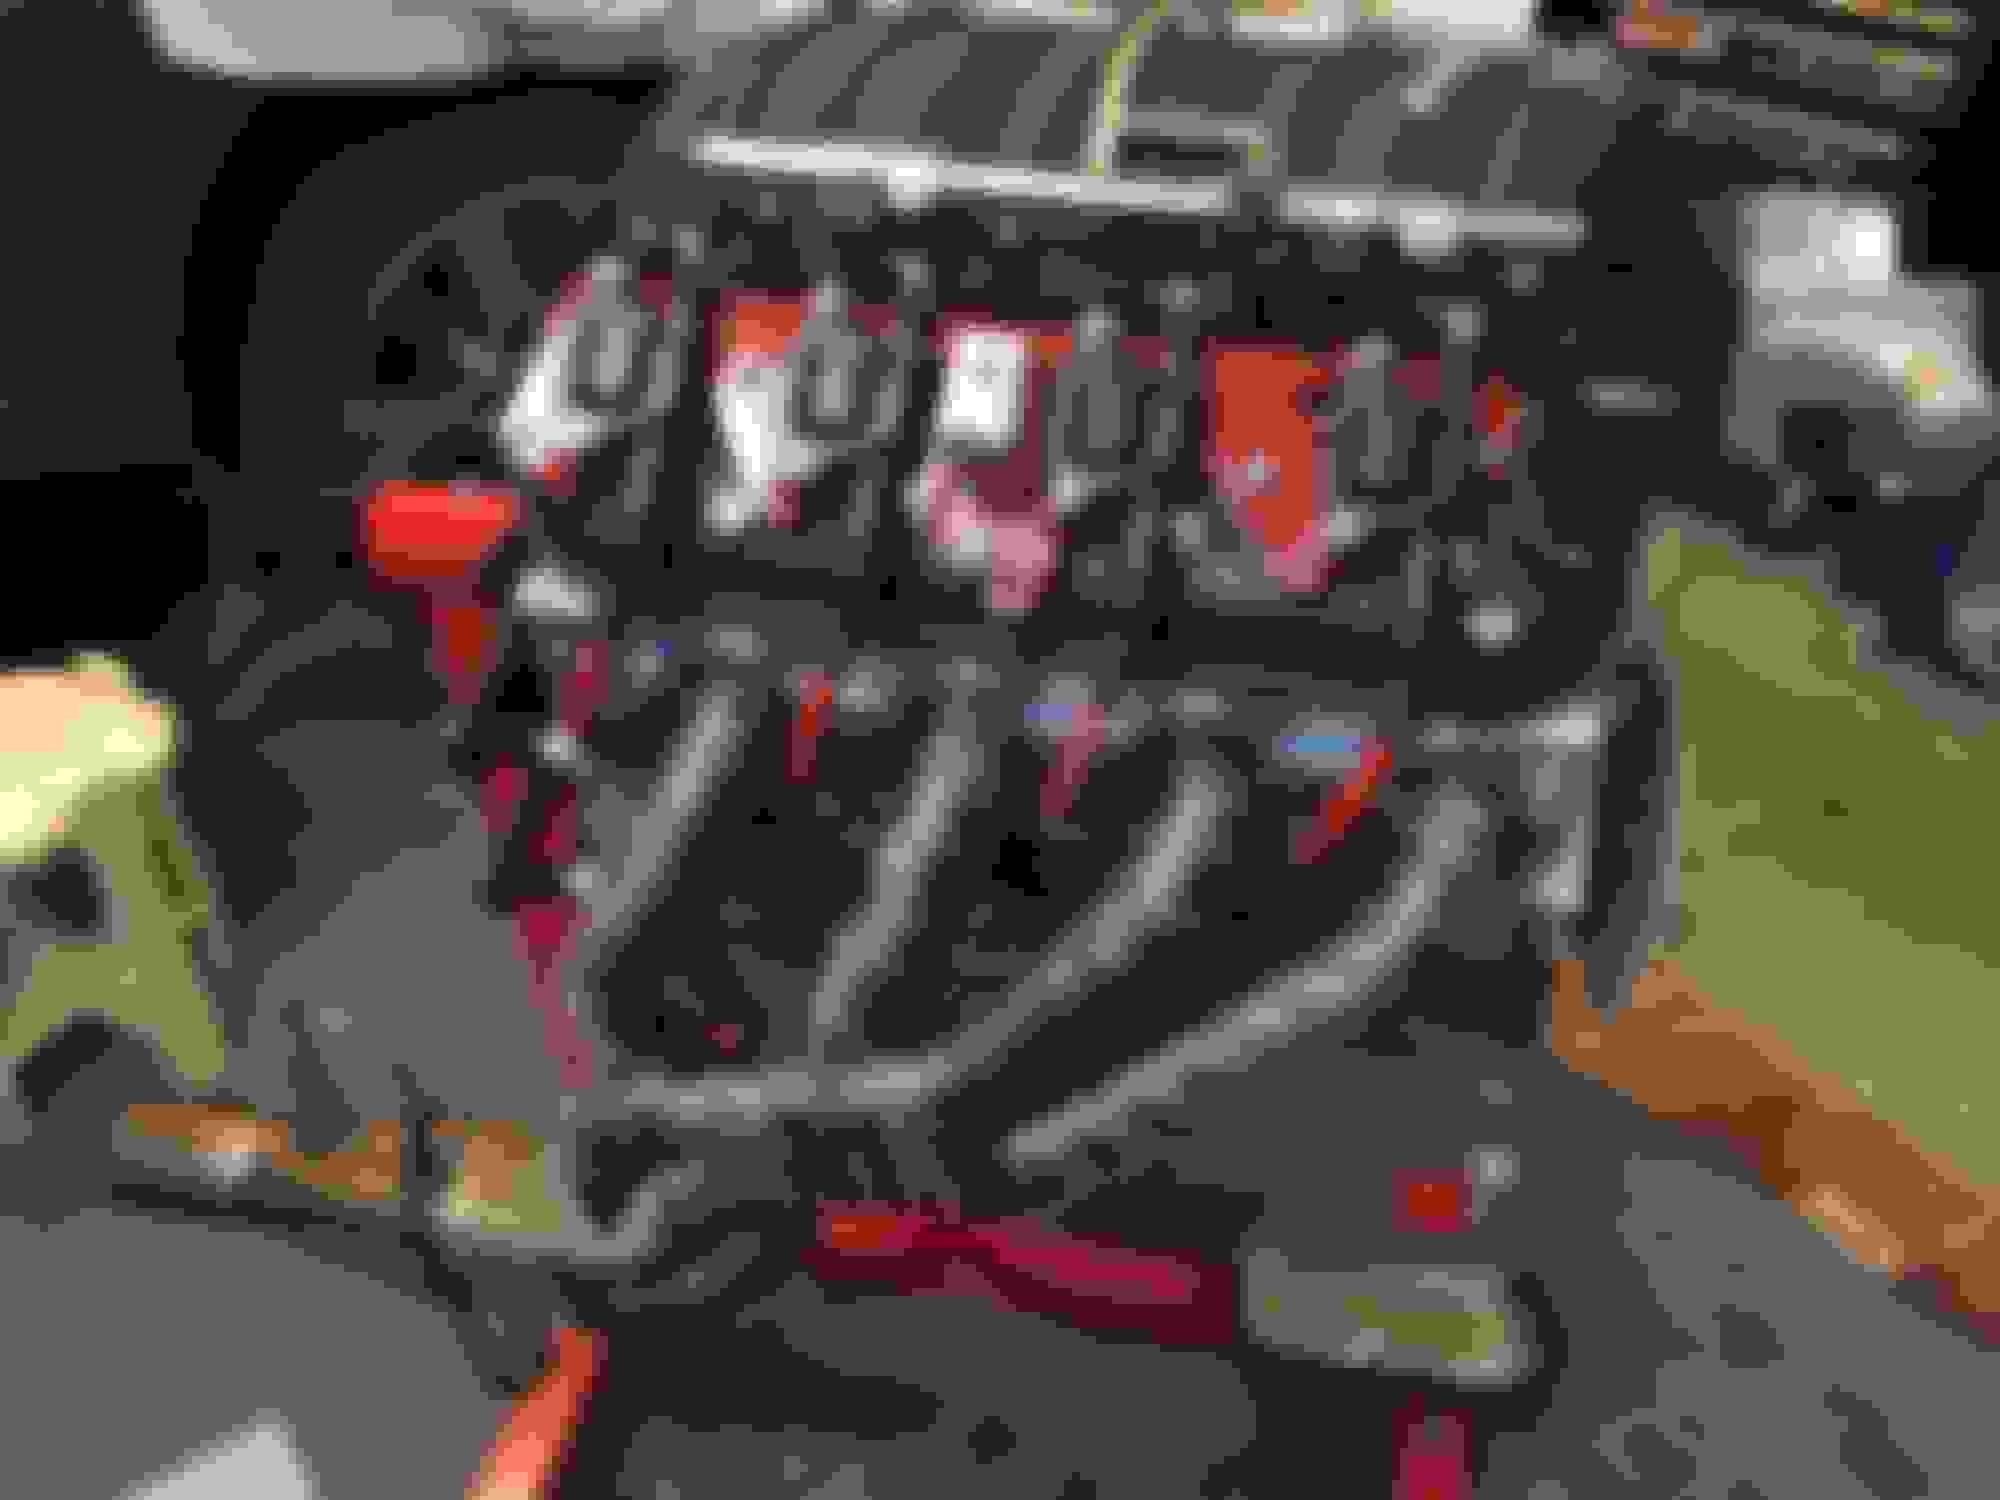
Just a mock up with the headers and intake.
Adding a five quarts of oil for the prelube and giving the valve train a good bath.
Wrinkle coat matched the intake pretty good and the victory red gives factory coil brackets the look they should have had.
Yeah its a little bigger than the stocker but I've got plenty of room in a 5th Gen. No plans to fire it up on the stand. Just wanted to get a few good pics all around before I shoe horn it in the engine bay. Intake is just resting on top and the headers are just snugged in place with a couple bolts.
As for firing it up, still a month out probably. Priority is on a hunting trip now and i've still got a few loose ends to tie up parts wise and fab lines and mounts for the oil cooler. Getting closer though.
Fab'd up steam vent lines using some SS hard lines and brass swagelok fittings. I know it's controversial but since the TFS heads have the rear steam ports open I figured I should plumb them. This was low cost solution as I bought an Escalade crossover from the dealership to use in the rear and the line and fittings I got on a hook up from a buddy. Result is pretty damn nice for about $35.

 07-27-2015, 05:20 PM