


Custom Painted Hoodliner
Thread Starter
Teching In
Joined: Oct 2011
Posts: 26
Likes: 0
From: Westminster, MD
Ok so a few people have asked me now how I got the GXP emblem painted on my hoodliner so I though that I would do a little write up. I can't take all the credit on this one though. I originally saw this thread at Grand Prixs of North America: http://www.gpona.com/forums/do-it-yo...liner-t40.html I just used the GXP Logo which is a bit more complicated but doable. Total time frame for this was less than a day including dry time for the paint.
I followed the thread's instructions and removed the hood liner by taking out the push pins. Once it was out I brushed it off and did not wash it. I had a can of some generic high temp black paint. I think I used "woodstove black." After a few light coats I was happy with the even black color of the hoodliner.
Next was the hard part; finding a good stencil. I attached the file below that I used. I was able to print this out on six 8.5x11 sheets of paper and then tape them together. (I used a photoshop like program to be able to blow the logo up and divide it into 6 pages) I used a sharp hobby knife and scissors to cut out the black parts in the attached file. Take your time.
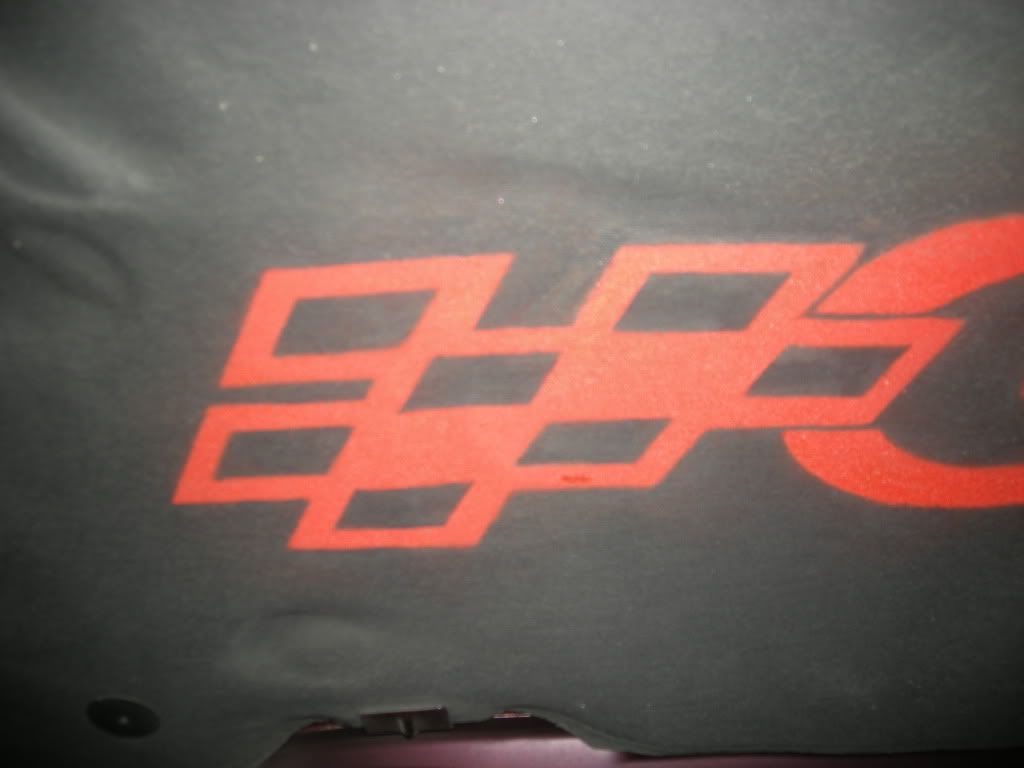
Next, I taped the stencil to the hood liner using double sided tape and blue painters tape. I was extra careful on the diamonds segments. Then I masked the rest of the hood liner with newspaper so I would not get overspray on it.
I used VHT brand red caliper paint because I had some of that laying around too. It took many light mist coats to get the color you see below.
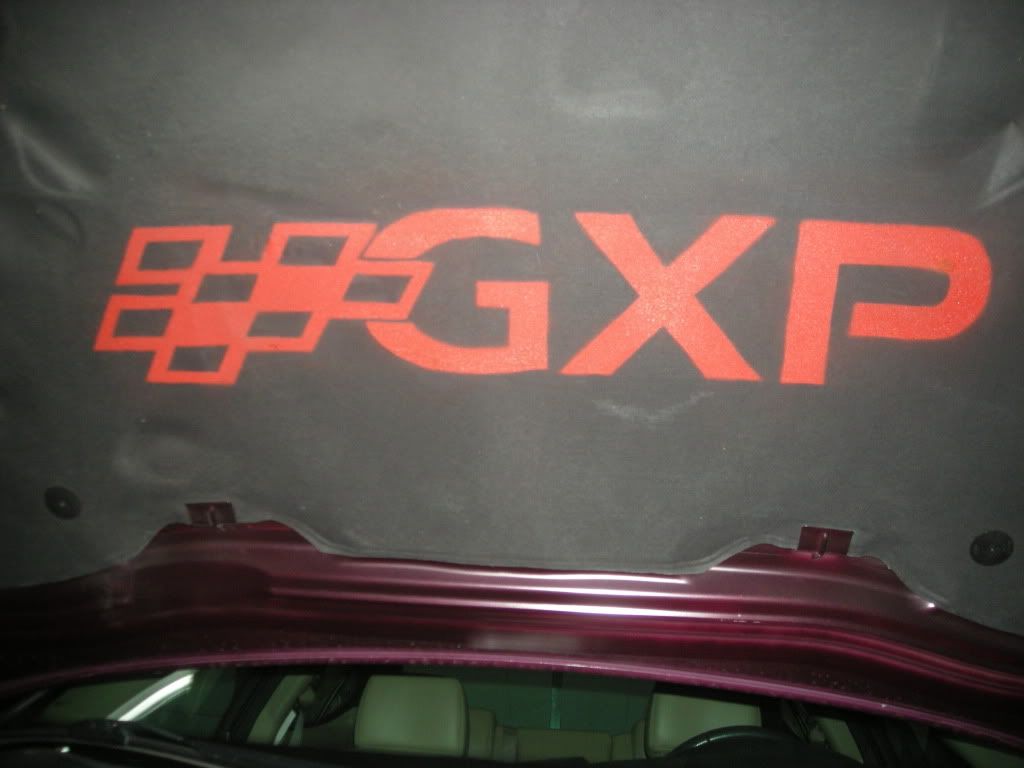
I did this back in June before Carlisle GM nationals and I took these pics tonight so it seems to be holding up well.
Some advice if I were to do this again. I used regular printer paper for my stencil. As I painted more coats of the Red the paper began to curl up on the edges (it takes a lot of coats to get the color I got). I would use a heavier paper like cardstock or maybe try and print it on label paper.
Let me know if anyone has any questions or wants more pics.
I followed the thread's instructions and removed the hood liner by taking out the push pins. Once it was out I brushed it off and did not wash it. I had a can of some generic high temp black paint. I think I used "woodstove black." After a few light coats I was happy with the even black color of the hoodliner.
Next was the hard part; finding a good stencil. I attached the file below that I used. I was able to print this out on six 8.5x11 sheets of paper and then tape them together. (I used a photoshop like program to be able to blow the logo up and divide it into 6 pages) I used a sharp hobby knife and scissors to cut out the black parts in the attached file. Take your time.
Next, I taped the stencil to the hood liner using double sided tape and blue painters tape. I was extra careful on the diamonds segments. Then I masked the rest of the hood liner with newspaper so I would not get overspray on it.
I used VHT brand red caliper paint because I had some of that laying around too. It took many light mist coats to get the color you see below.
I did this back in June before Carlisle GM nationals and I took these pics tonight so it seems to be holding up well.
Some advice if I were to do this again. I used regular printer paper for my stencil. As I painted more coats of the Red the paper began to curl up on the edges (it takes a lot of coats to get the color I got). I would use a heavier paper like cardstock or maybe try and print it on label paper.
Let me know if anyone has any questions or wants more pics.
Thread Starter
Teching In
Joined: Oct 2011
Posts: 26
Likes: 0
From: Westminster, MD
I would think you could get one at the dealer but it would probably cost ya but maybe not. I will say that the fabric on the edges of mine was starting to pull away in a few spots so I used a little superglue to hold it back down before I painted it.
Trending Topics
LS1 Tech Stories
The Best V8 Stories One Small Block at Time

Topdon ONE vs. Artidiag 800 BT2: Which is the Diagnostic Tablet For You?
Pouria Savadkouei
Gas Monkey Built a 6-Wheel Ferrari Testarossa With a Corvette LT4 Engine
Verdad Gallardo
7 Most Reliable High-Performance Engines GM Has Ever Built
Verdad Gallardo
Amazing '71 Camaro Restomod Is Modern Muscle Car Under the Skin
Verdad Gallardo
6 Common C5 Corvette Failures and What's Involved In Repairing Them
Pouria Savadkouei
Retro Modern Bandit Pontiac Trans AM Comes With Burt Reynolds' Autograph
Verdad Gallardo
Top 10 Greatest Cadillac V Series Performance Models Ever, Ranked
Pouria Savadkouei
Top 10 Most Powerful Chevy Trucks Ever Made!

Hennessey's New Supercharged Silverado ZR2 Has 700 HP
Verdad Gallardo

Teching In
Joined: Oct 2010
Posts: 17
Likes: 0
From: Lorette Manitoba
You can also use a program called rasterbator to make an image as large as you like.
http://the-rasterbator.en.softonic.com/
http://the-rasterbator.en.softonic.com/
Staging Lane
Joined: Dec 2011
Posts: 56
Likes: 0
There is no need to hesitate on which square needs to be filled. As the image shows, it's black on white. Anything that is colored in black in the image needs to be painted.
So, if you're painting the hoodliner, I'd paint it white since the hoodliner is relatively black.
At the end of the day, it's all up to you.
