


New front Poly motor mount

Thread Starter
Joined: Feb 2011
Posts: 383
Likes: 0
From: S. FL to Philly ??
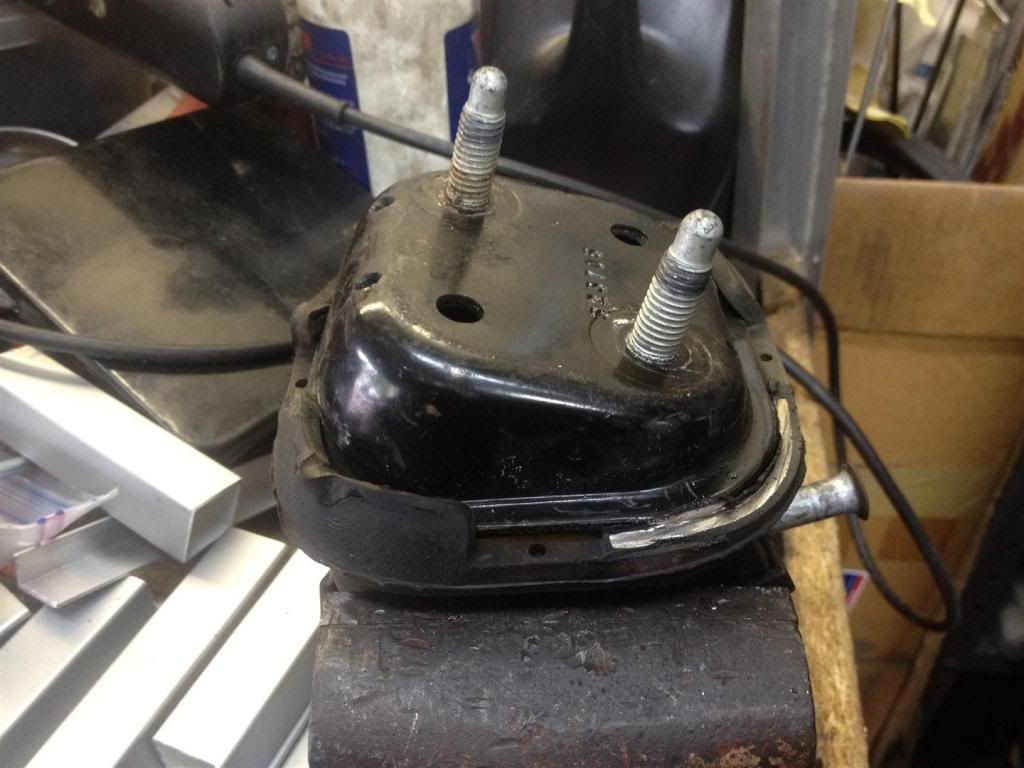
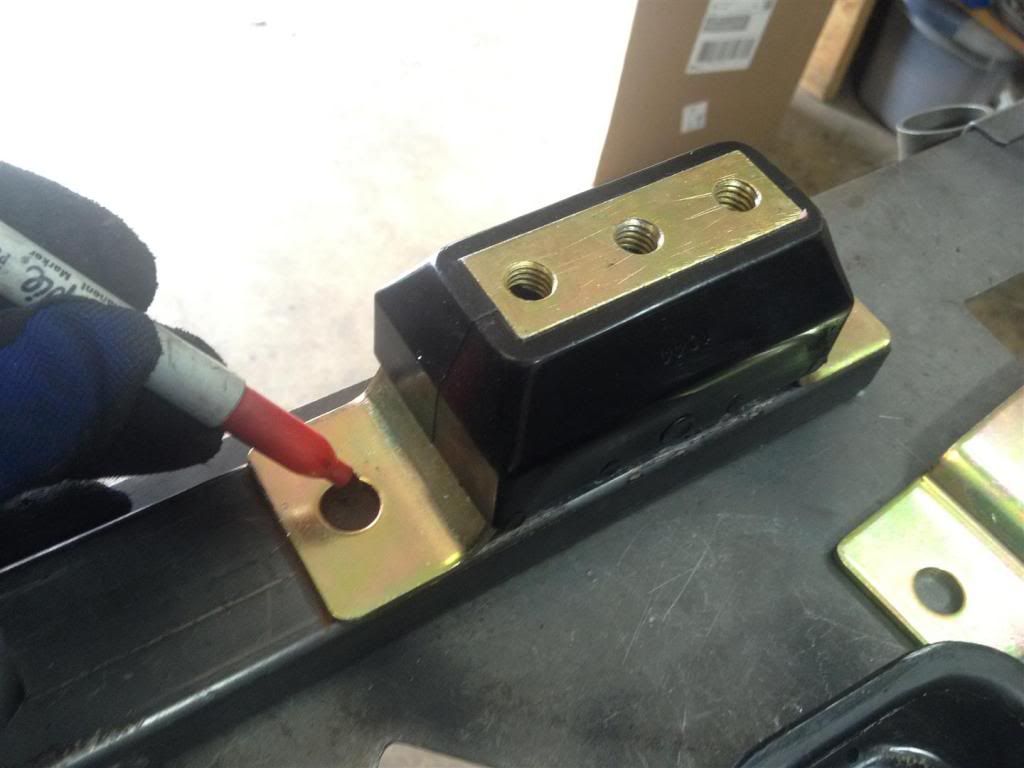
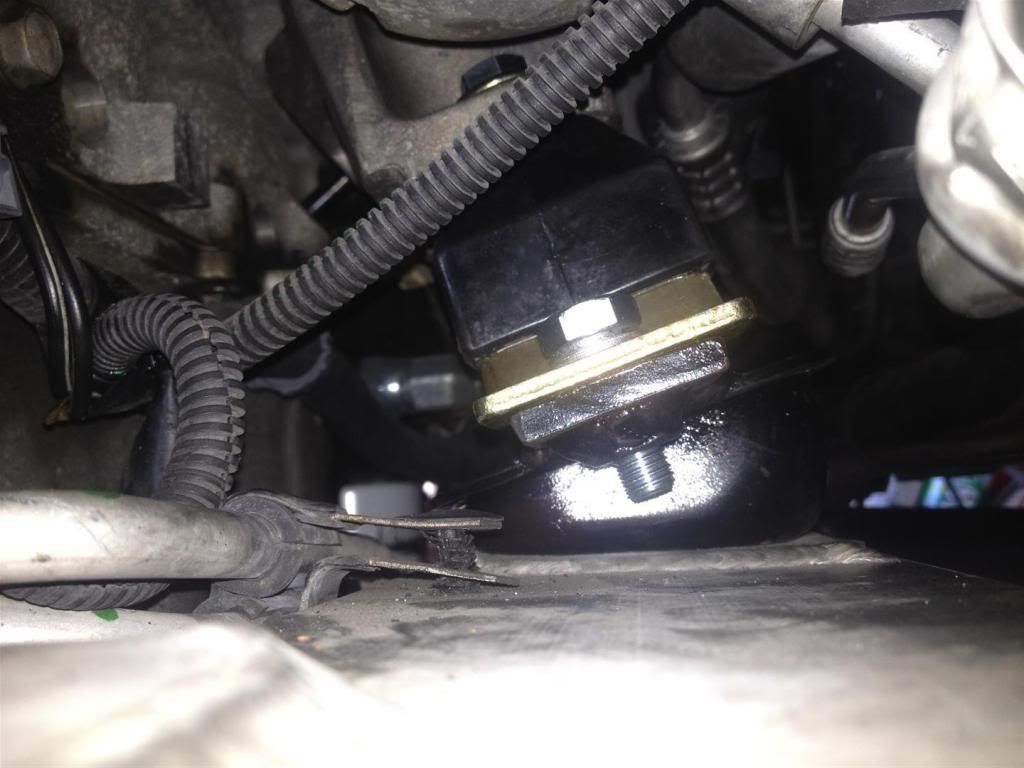
Yes, it's homemade - but stout !!
I'm still waiting for prototypes of drop in replacement poly mounts, but needed to do something because my front mount was shot....
Some searching turned up Energy Suspension 4.1104G Transmission Mount with "close" to the right bolt spacing. Just need the stock mount base and a piece of 3/16 x 2" steel.
Pics should say the rest...


Last edited by x11 nut; May 4, 2014 at 08:32 PM.
Thread Starter
Joined: Feb 2011
Posts: 383
Likes: 0
From: S. FL to Philly ??
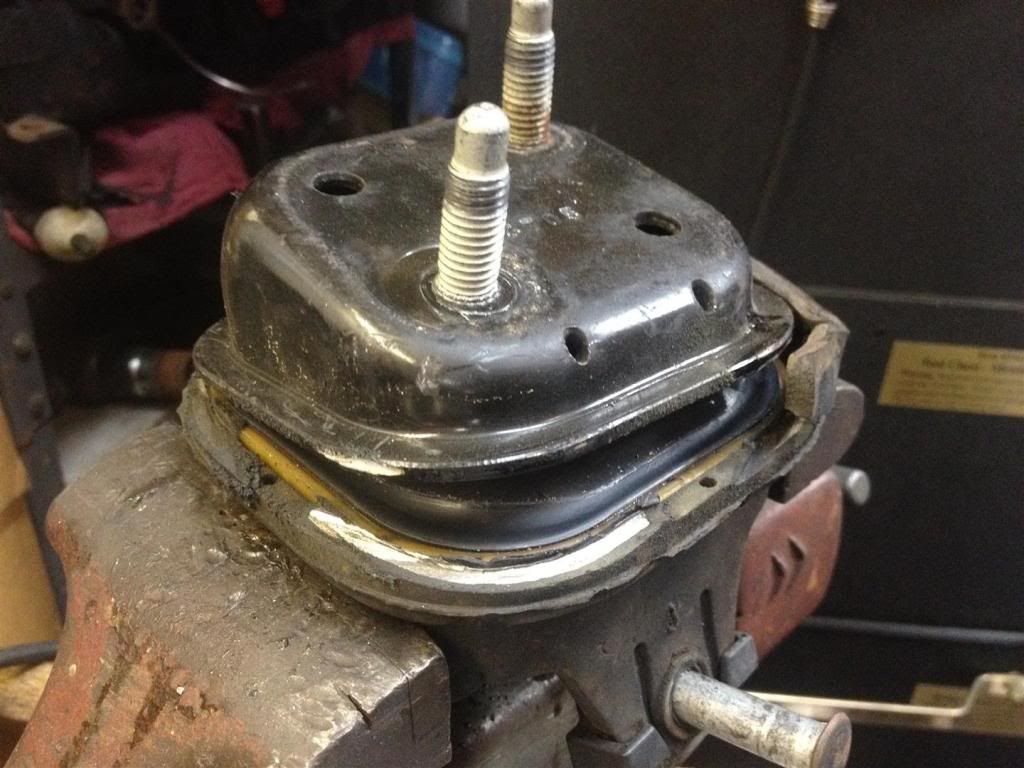
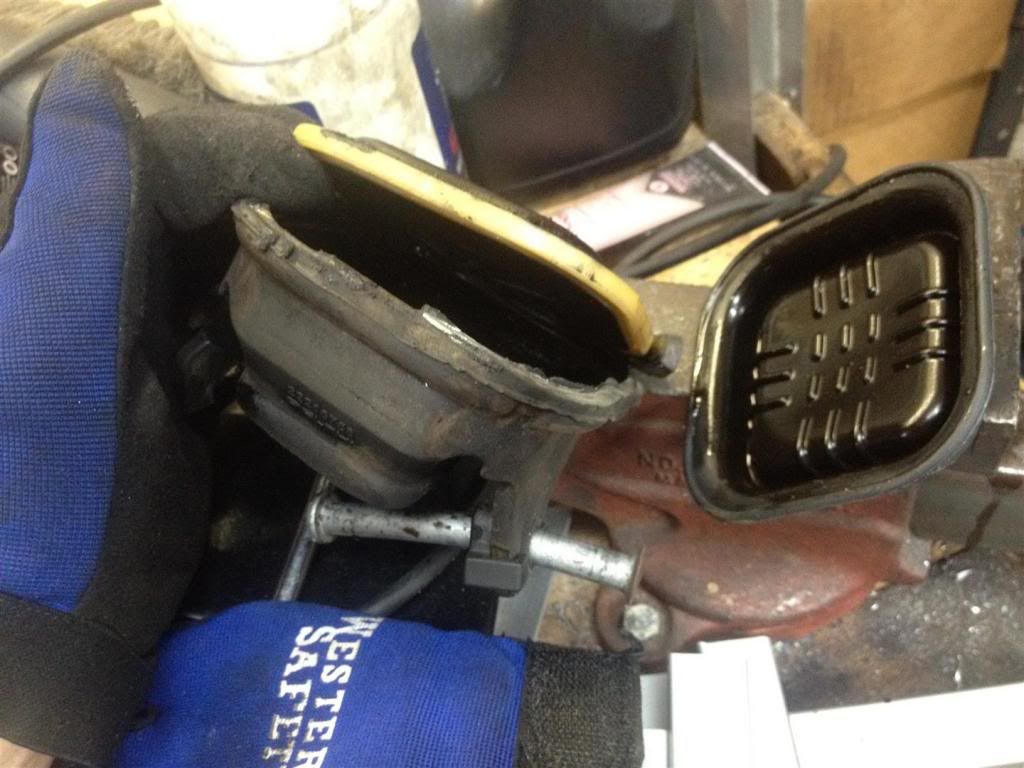
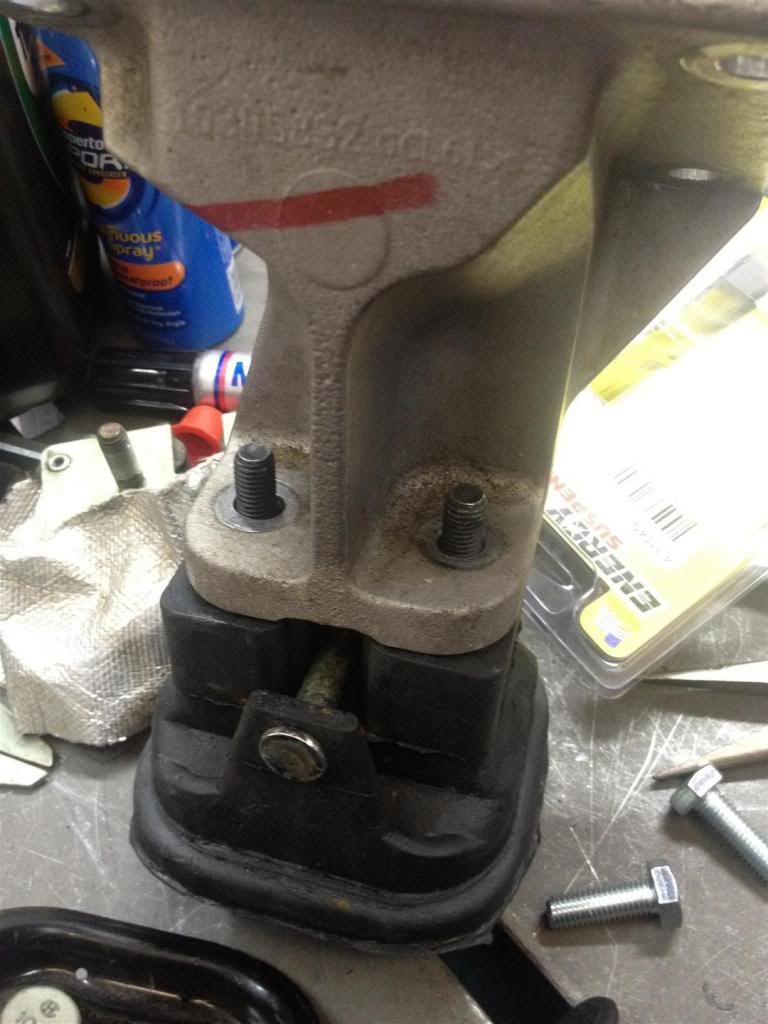
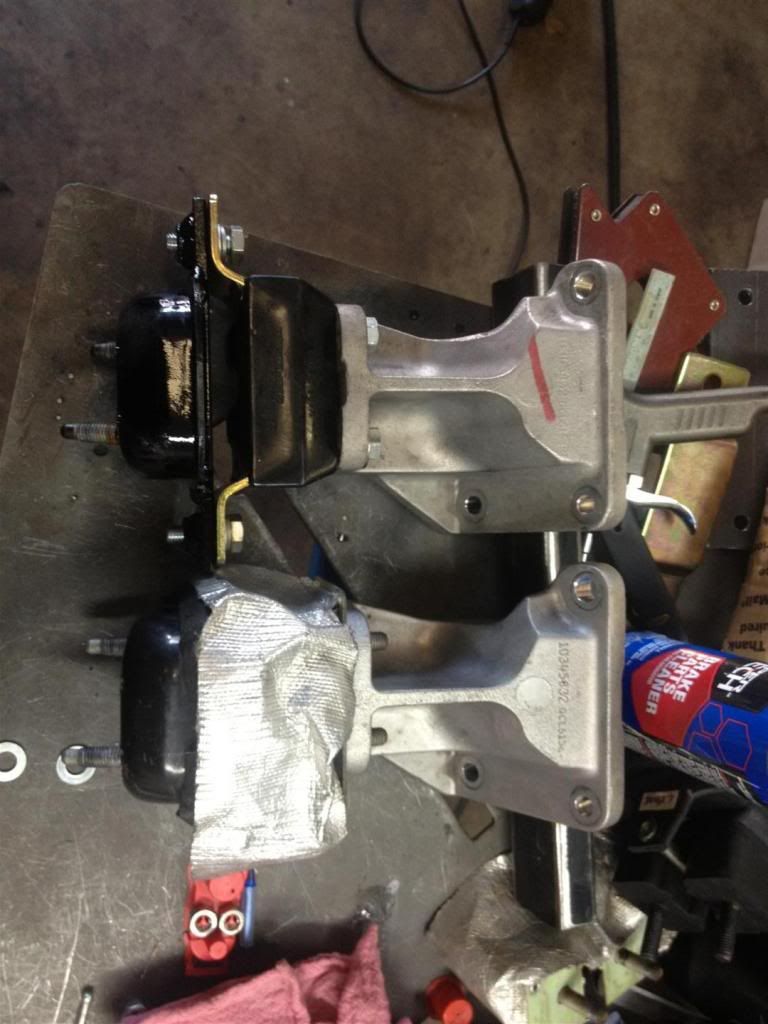
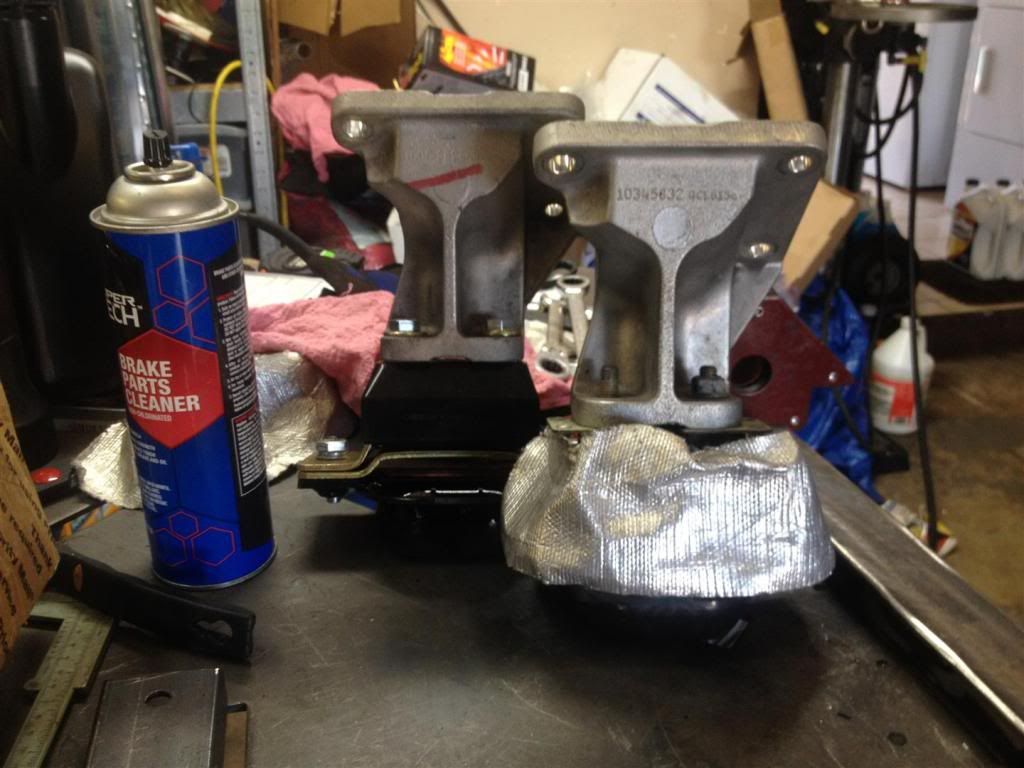
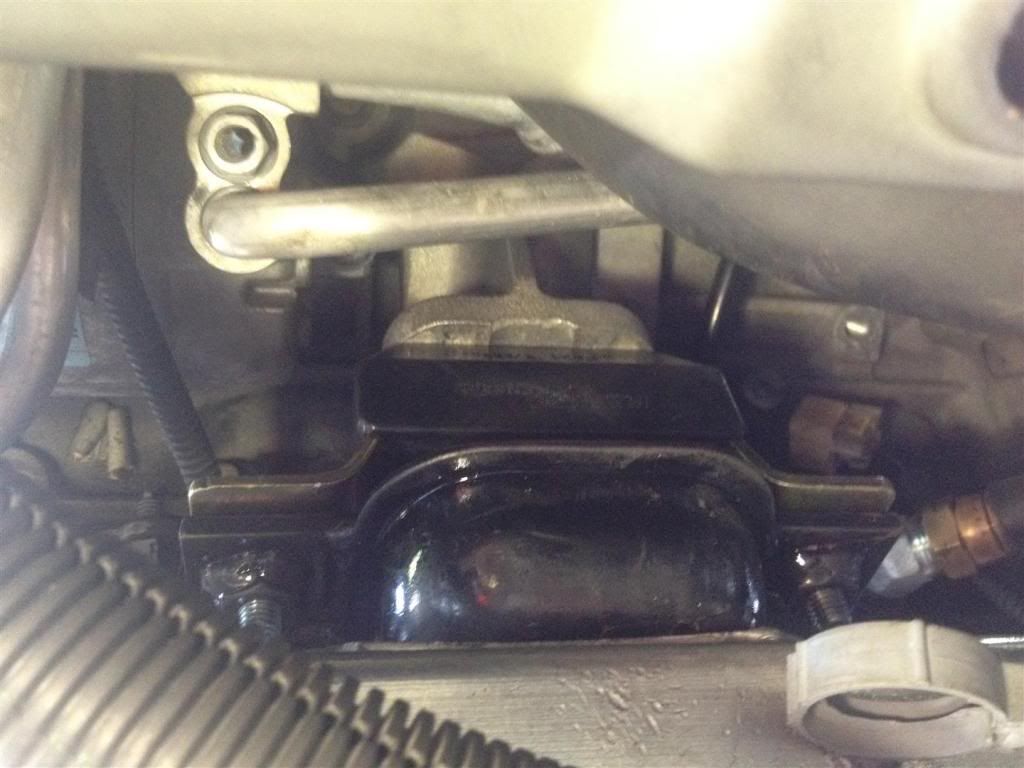
Compare stock vs new poly setup...
The stock mount compresses 1/4 - 3/8" when installed - so although they line up even unloaded, the poly will not compress the same. I did not use the second steel sleeve as it made installed height to high because the poly does not compress.

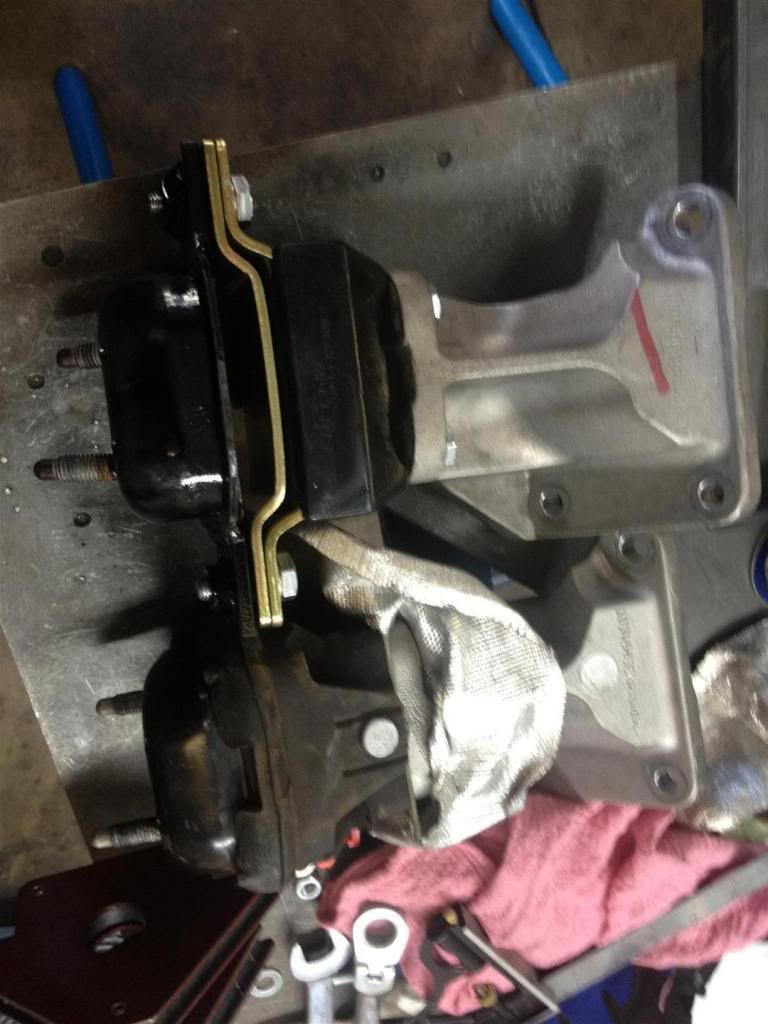
The stock mount compresses 1/4 - 3/8" when installed - so although they line up even unloaded, the poly will not compress the same. I did not use the second steel sleeve as it made installed height to high because the poly does not compress.


Thread Starter
Joined: Feb 2011
Posts: 383
Likes: 0
From: S. FL to Philly ??
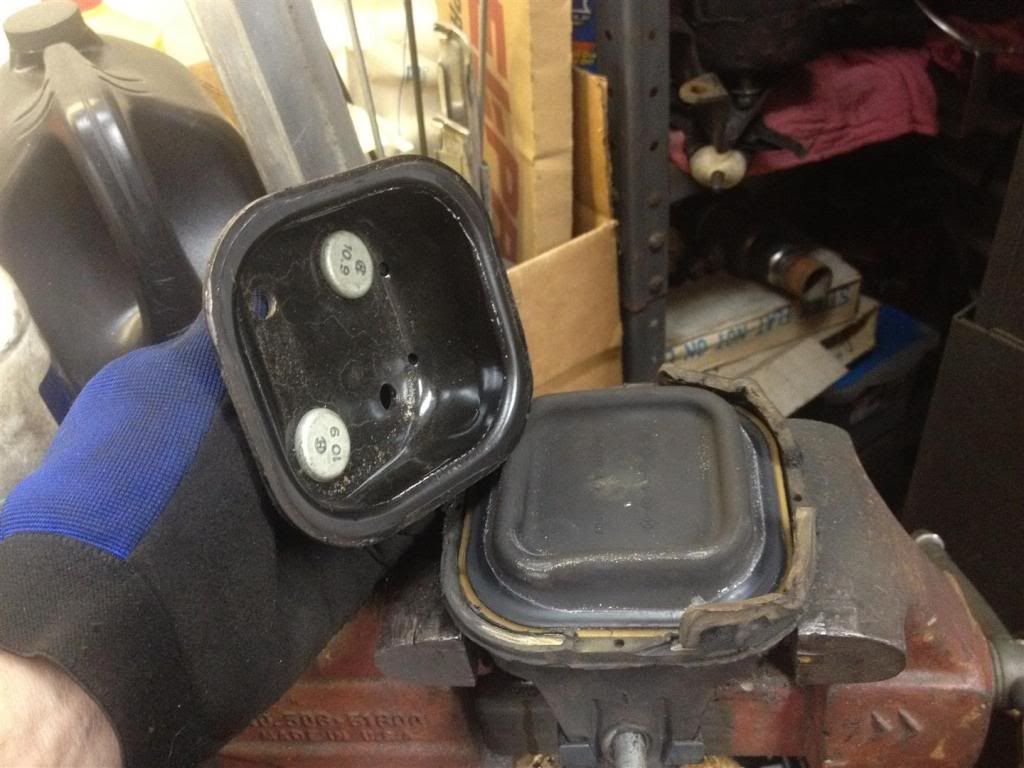
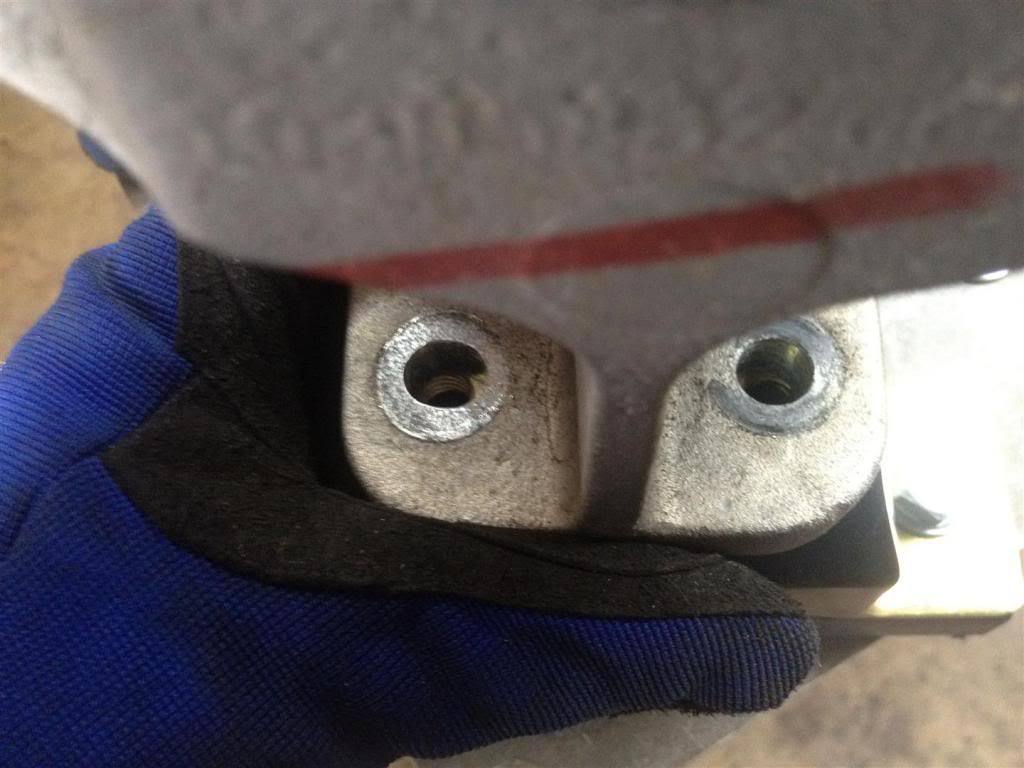
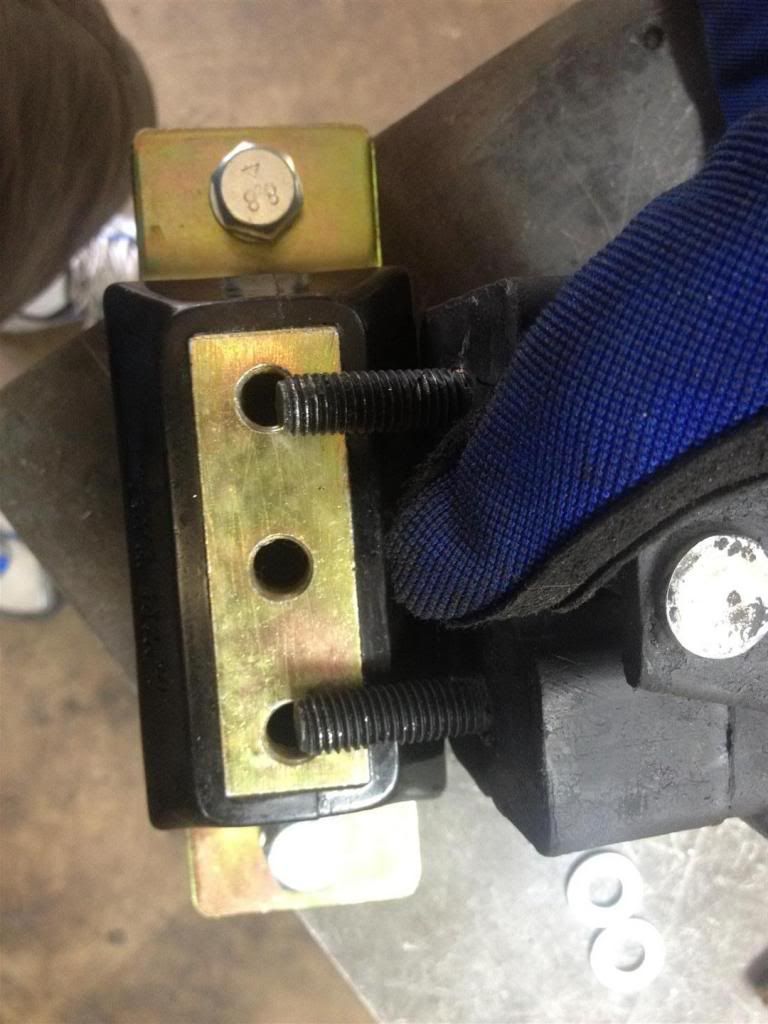
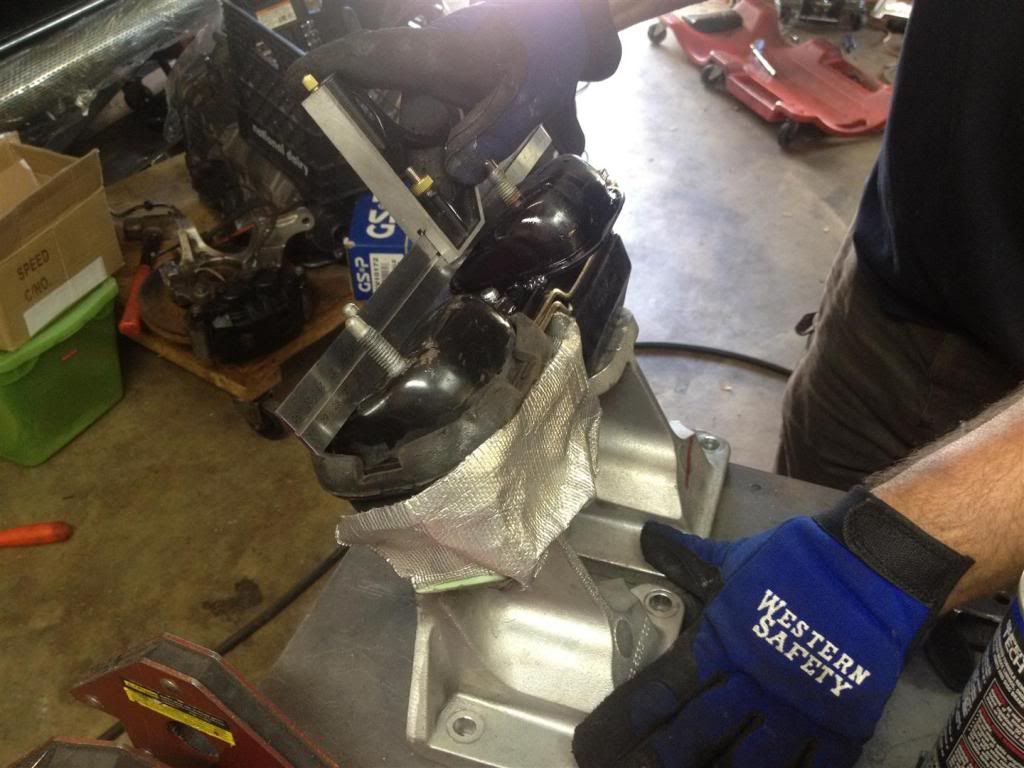
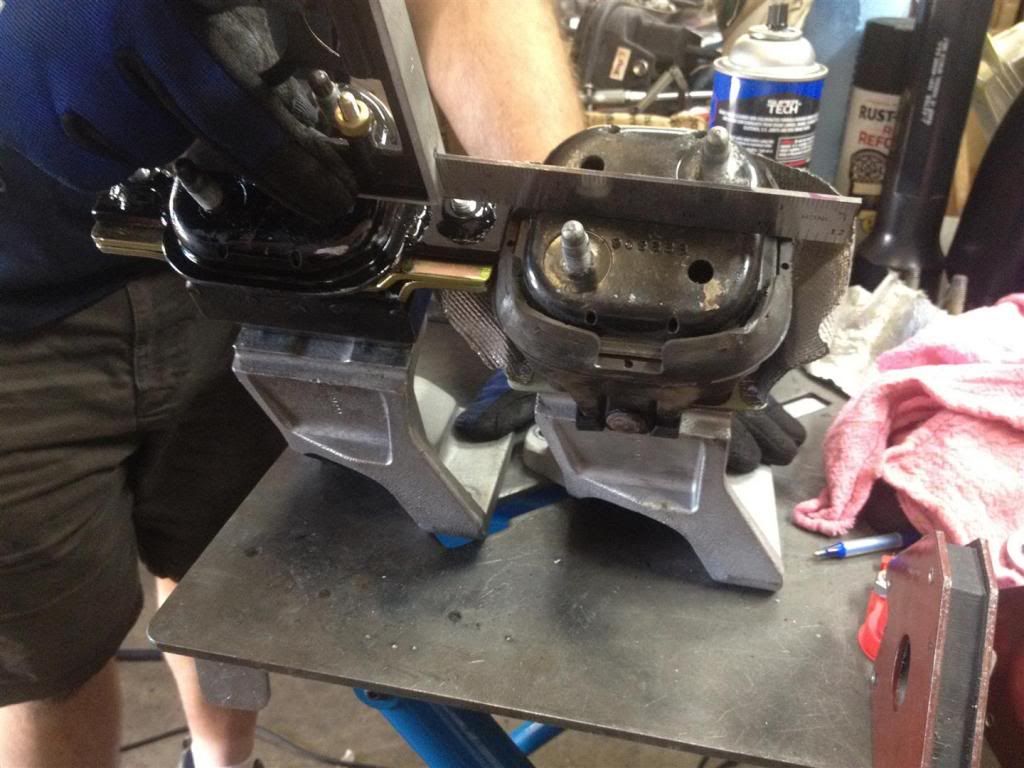
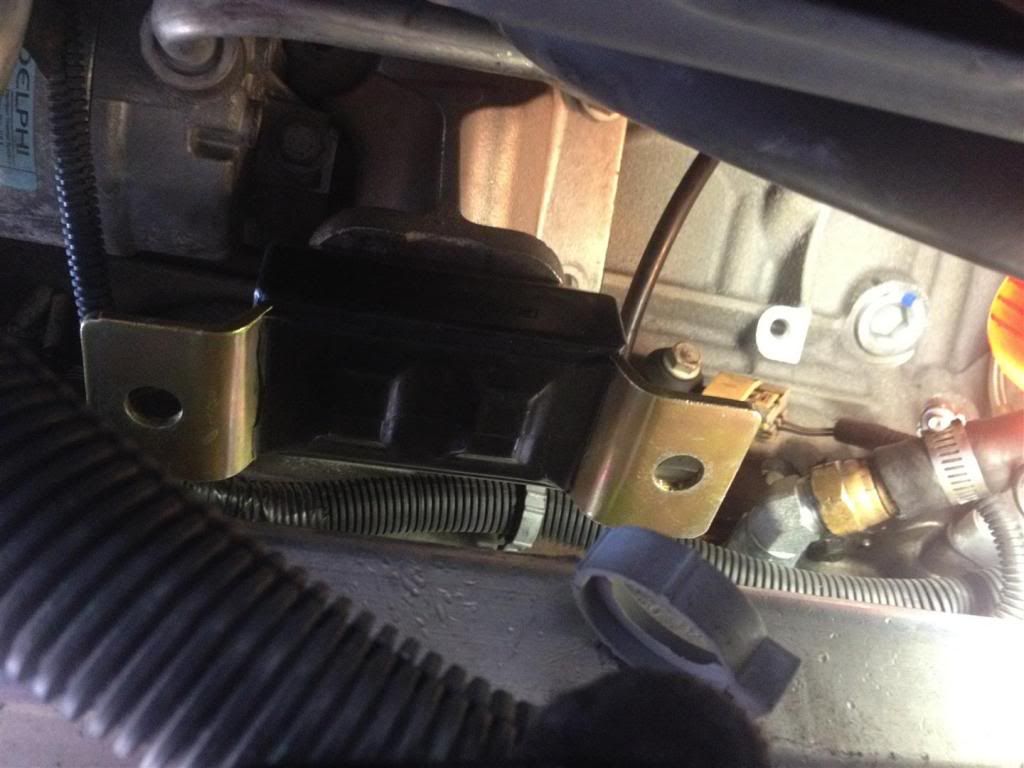
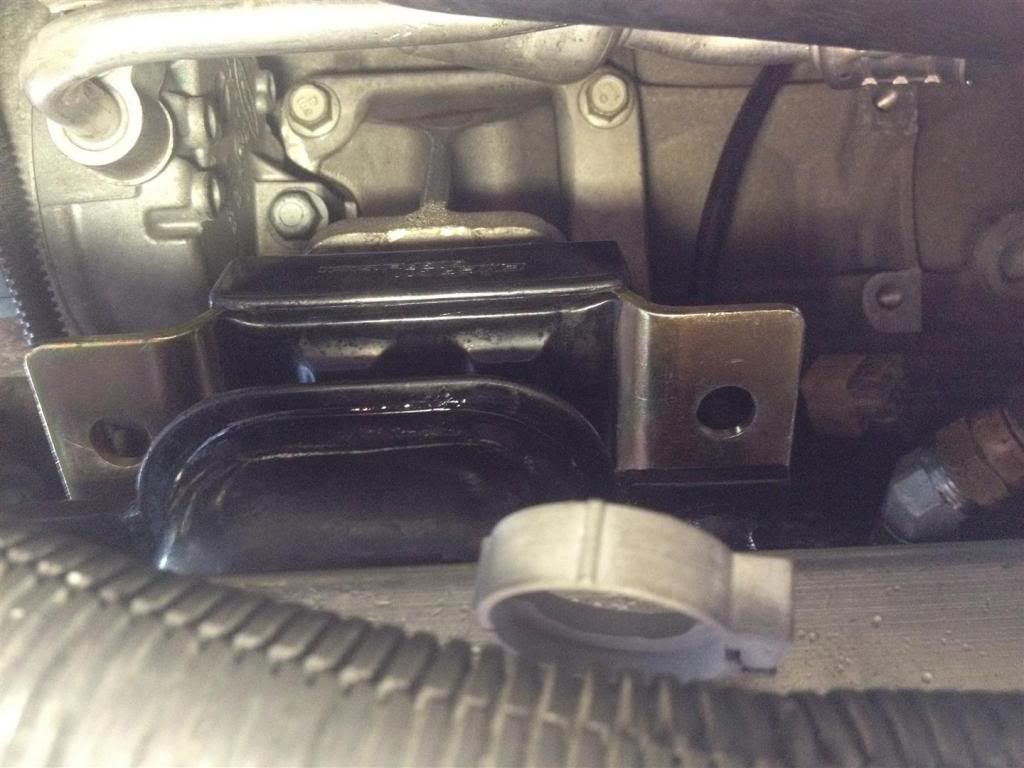
Now the install - the mount was out for opening the bolt holes. The easiest process is to bolt the poly mount to the bracket and install, then place the bottom piece in cradle slots, then bolt lower bracket to mount, then lower engine and tighter lower mount to cradle.
Special note - due to thickness of stock mount bracket, the bolts that comes with the poly mount are not long enough - you'll need two 7/16-14 x 1" bolts.
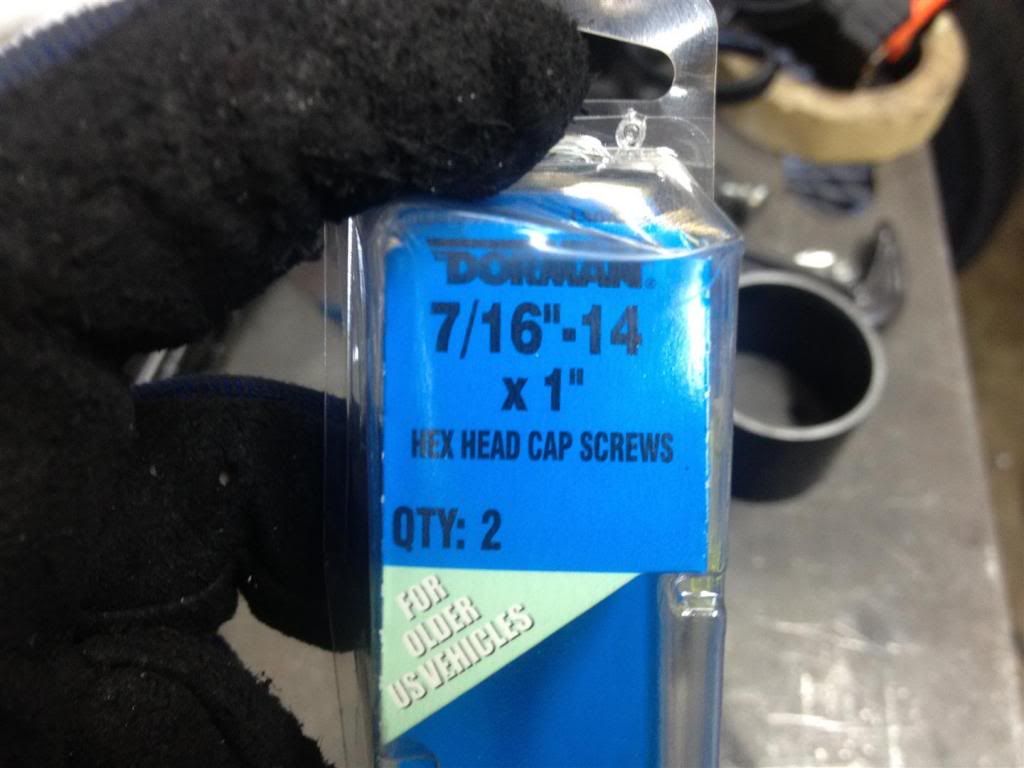

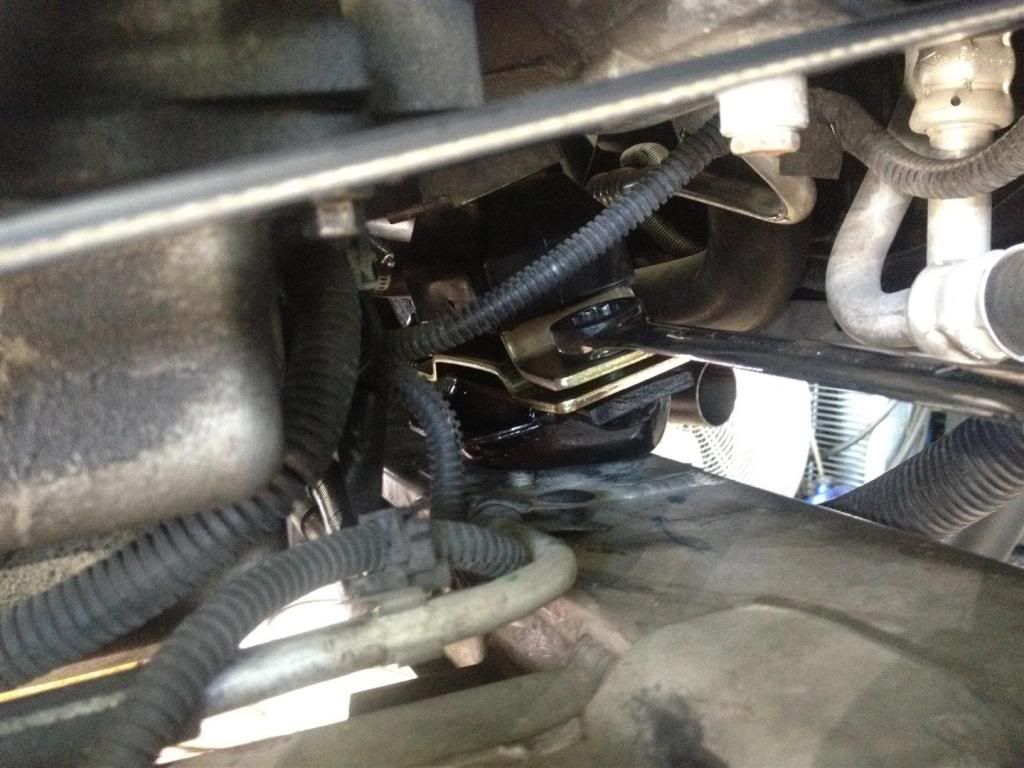
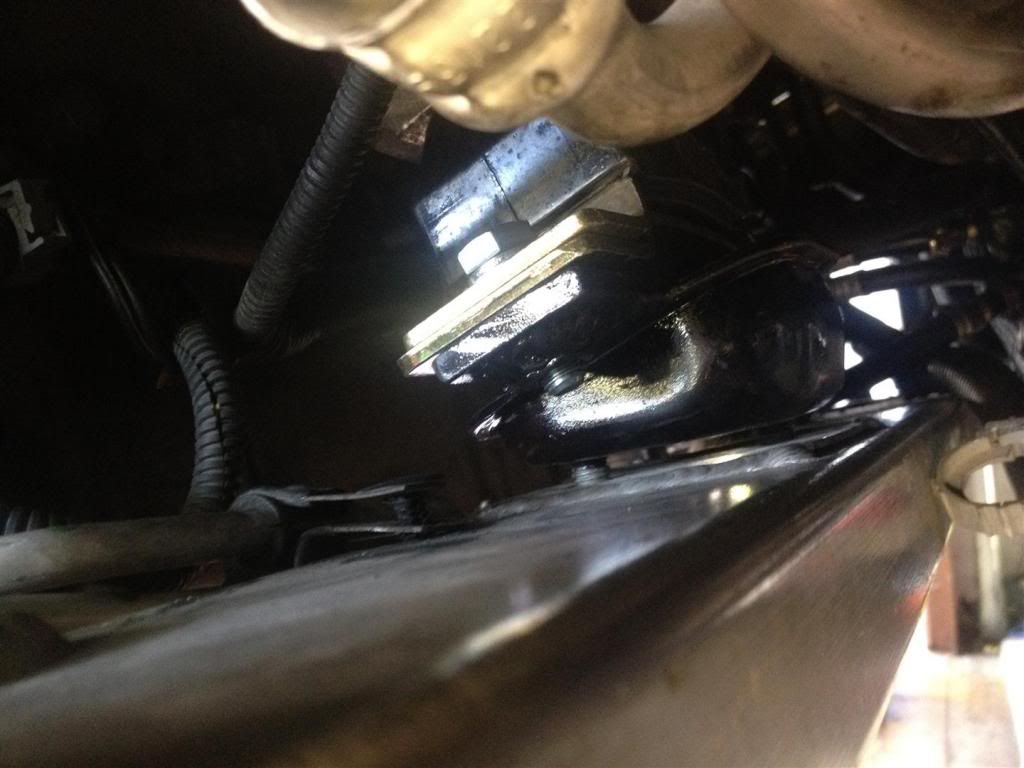
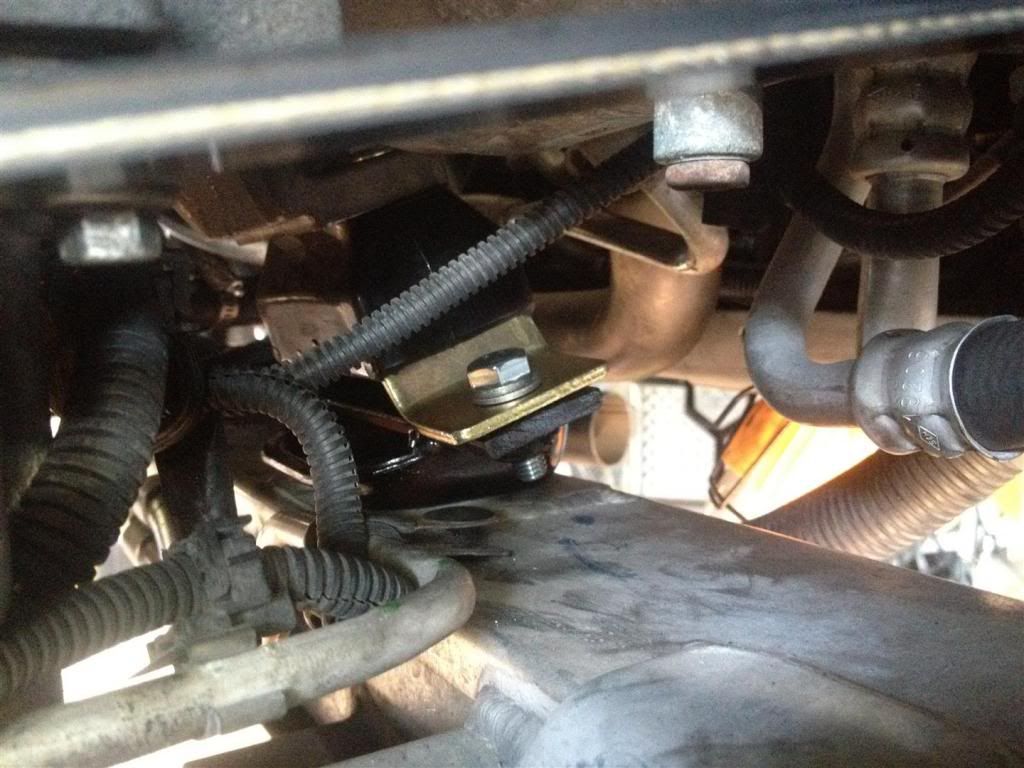
Special note - due to thickness of stock mount bracket, the bolts that comes with the poly mount are not long enough - you'll need two 7/16-14 x 1" bolts.


Niiiiiice.
This is awesome to see another angle on a common problem. I had to re work mine shorter than stock as well plus its good to have a little preload with the motor tilted foward . I had to redrill my dogbone and decided the dogbone should be used I didn't want the cradle and/or block mounts to crack or be under to much stress. Mine survived the first track passes. Well see in the future lol.
This is awesome to see another angle on a common problem. I had to re work mine shorter than stock as well plus its good to have a little preload with the motor tilted foward . I had to redrill my dogbone and decided the dogbone should be used I didn't want the cradle and/or block mounts to crack or be under to much stress. Mine survived the first track passes. Well see in the future lol.
Trending Topics
LS1 Tech Stories
The Best V8 Stories One Small Block at Time

Topdon ONE vs. Artidiag 800 BT2: Which is the Diagnostic Tablet For You?
Pouria Savadkouei
Gas Monkey Built a 6-Wheel Ferrari Testarossa With a Corvette LT4 Engine
Verdad Gallardo
7 Most Reliable High-Performance Engines GM Has Ever Built
Verdad Gallardo
Amazing '71 Camaro Restomod Is Modern Muscle Car Under the Skin
Verdad Gallardo
6 Common C5 Corvette Failures and What's Involved In Repairing Them
Pouria Savadkouei
Retro Modern Bandit Pontiac Trans AM Comes With Burt Reynolds' Autograph
Verdad Gallardo
Top 10 Greatest Cadillac V Series Performance Models Ever, Ranked
Pouria Savadkouei
Top 10 Most Powerful Chevy Trucks Ever Made!

Hennessey's New Supercharged Silverado ZR2 Has 700 HP
Verdad GallardoTECH Enthusiast
Joined: Dec 2012
Posts: 696
Likes: 0
From: WEST PALM BEACH FL


TECH Enthusiast
Joined: Dec 2012
Posts: 696
Likes: 0
From: WEST PALM BEACH FL
Well with u knowing my track record of my breaking stuff AKA Mr destructor 
I have not broke it so it must mean that just maybe u did something right this time Lol And i dont see my self breaking it anytime soon!!
This Mount that X Nut Made Is The **** He is the man!!!!
I have not broke it so it must mean that just maybe u did something right this time Lol And i dont see my self breaking it anytime soon!!
This Mount that X Nut Made Is The **** He is the man!!!!

TECH Enthusiast
Joined: Dec 2012
Posts: 696
Likes: 0
From: WEST PALM BEACH FL
Thanks X11 Nut for the mount. Great finished product and a professional, clean design. Just comparing the two mounts side by side in person, one can see how "squishy" the stock mount is compared to this. I installed my mount a few days ago and today did some hard pulls and normal driving around town. Mount feels solid, no additional vibration, and although my car already shifts quick/hard due to the Cartuning trans build/tuning, this mount is definitely one of the missing links I needed for my set up to help get the power to the ground and make the mounting points more solid. Good work!