Restoring my 1995 Bird..


 06-25-2009, 09:00 PM
#102
TECH Apprentice
Thread Starter
iTrader: (1)

Join Date: Jun 2008
Location: Fort Worth, Texas
Posts: 303
Likes: 0
Received 0 Likes
on
0 Posts
Thanks RSbeast! I'm getting pretty eager myself! I ran into an ASE certified mechanic today. He is VERY familiar with 4th gen Camaro's/Firebird's.. Looks like he might be my "go-to" guy on my brakes, minor suspension parts and even some tuning. Since I am a police officer, I ran into him at our fleet shop (he is also a city employee, who has worked on numerous LT1 / LS1 police Camaro's)!
On a side note, I found some audio cables on eBay and I can't think the seller enough for shipping his cables to me via Priority Mail! Whew.. He really saved the day for me (makes it MUCH easier routing my stereo wires/cables). I also got a call from the upholstery shop and they said my gauge bezel, shift boot and KEEAUDIO double din radio bezel are done and ready to be picked up! I will try to pick em up tomorrow (obviously, pictures will follow) : )
On a side note, I found some audio cables on eBay and I can't think the seller enough for shipping his cables to me via Priority Mail! Whew.. He really saved the day for me (makes it MUCH easier routing my stereo wires/cables). I also got a call from the upholstery shop and they said my gauge bezel, shift boot and KEEAUDIO double din radio bezel are done and ready to be picked up! I will try to pick em up tomorrow (obviously, pictures will follow) : )
06-27-2009, 05:26 PM
#104
TECH Apprentice
Thread Starter
iTrader: (1)
Join Date: Jun 2008
Location: Fort Worth, Texas
Posts: 303
Likes: 0
Received 0 Likes
on
0 Posts
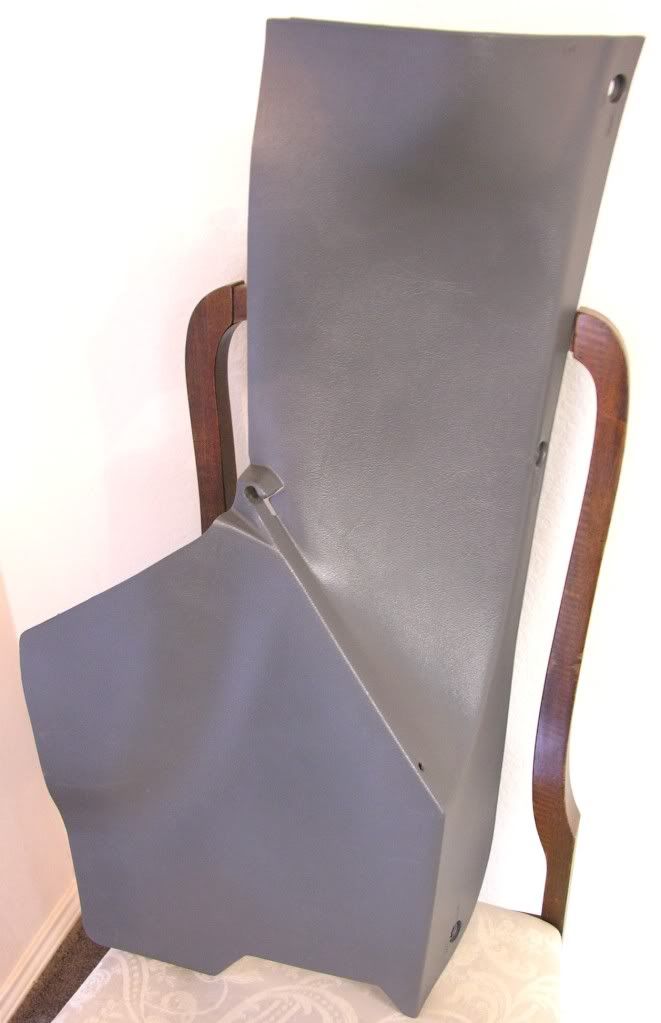
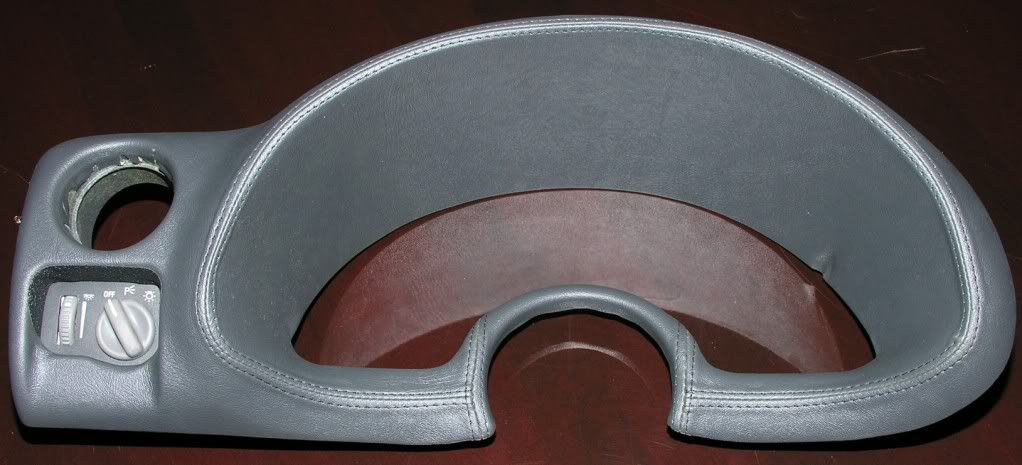
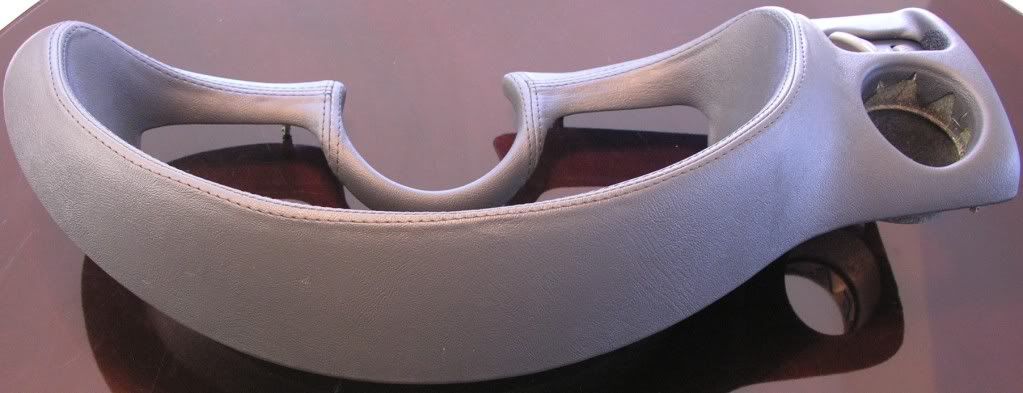
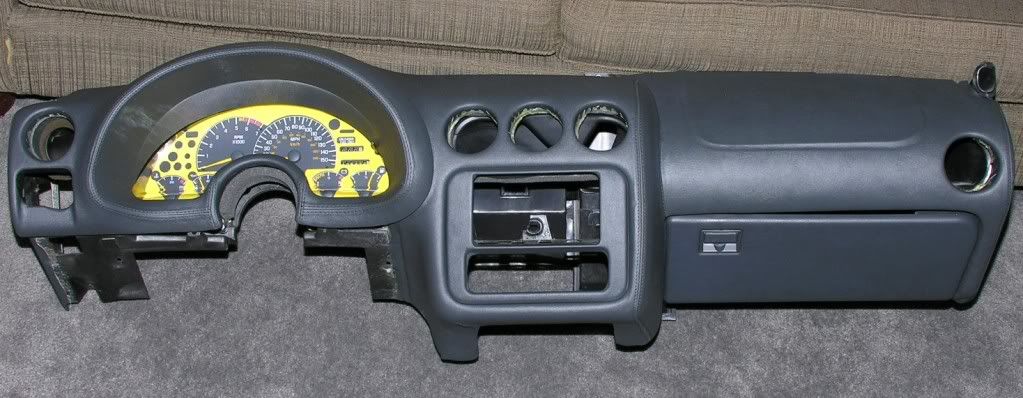
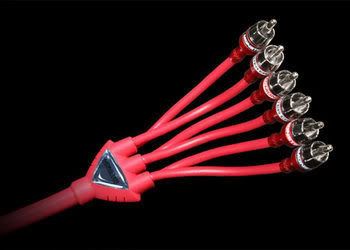
OK.. got my other pieces back from the upholstery shop. I'm happy with the final product. Now all I have to do is re-assemble EVERYTHING.. sigh. It's hot outside and I am NOT looking forward to sweating my butt off. Not pictured is the shifter boot. I am gonna re-install that, then take a picture of it installed. Oh, good news also.. My Monster Cable 6 channel Audio Interconnects (part number: Monster 306 XLN interconnect cables) arrived today. That's gonna help a bunch!
KEEAUDIO double din radio bezel:
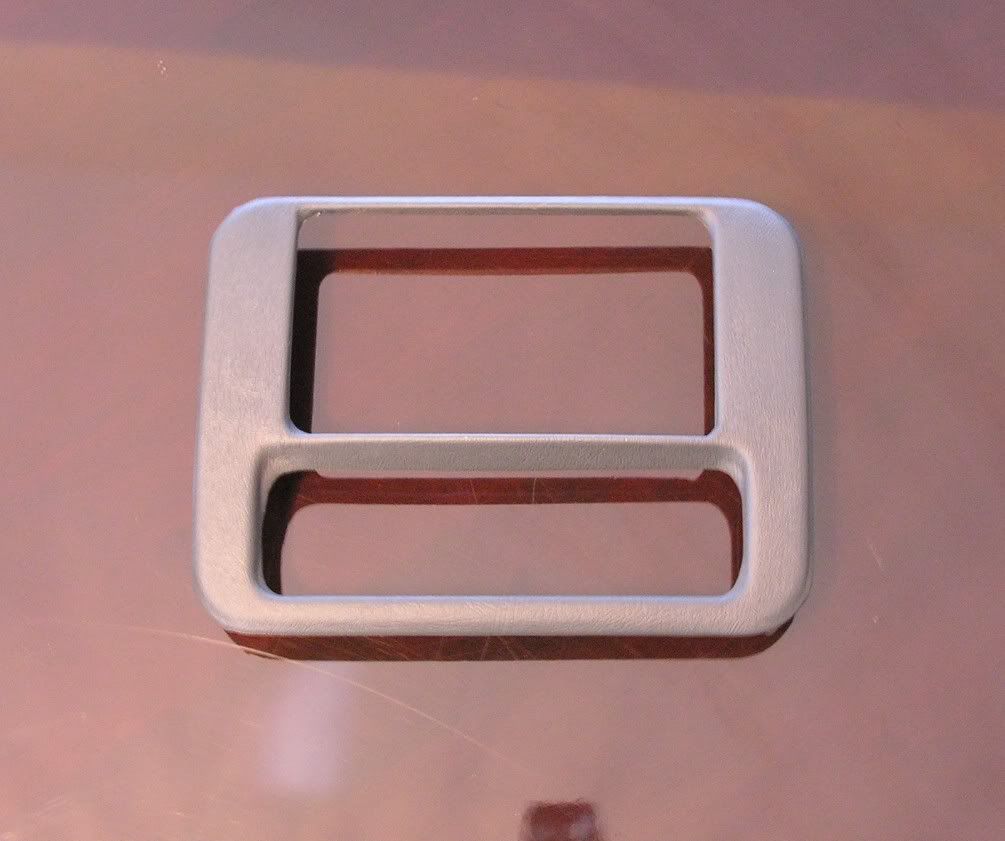
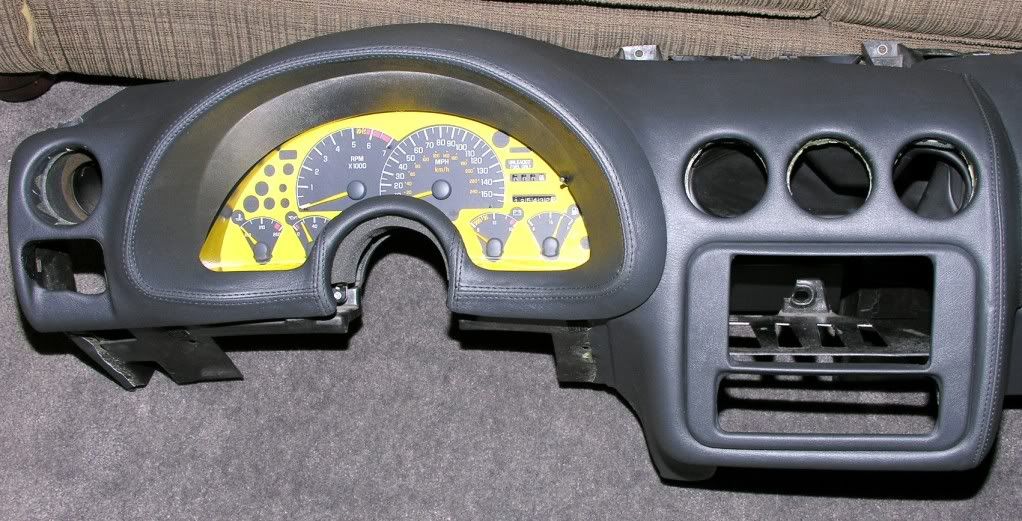
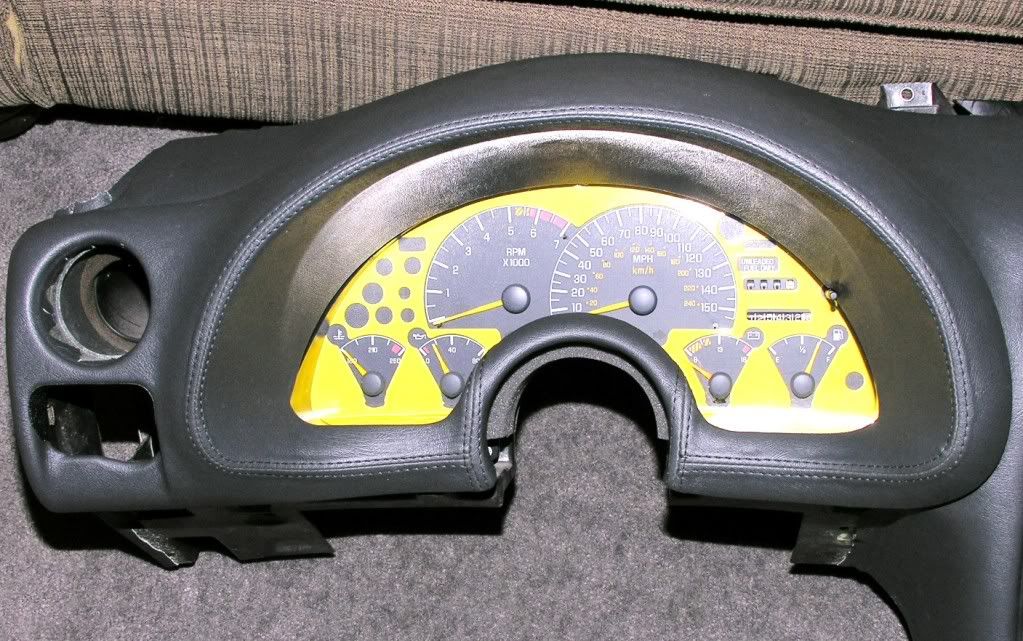
Dash gauge bezel:
KEEAUDIO double din radio bezel:
Dash gauge bezel:
06-27-2009, 07:50 PM
#106
TECH Apprentice
Thread Starter
iTrader: (1)
Join Date: Jun 2008
Location: Fort Worth, Texas
Posts: 303
Likes: 0
Received 0 Likes
on
0 Posts
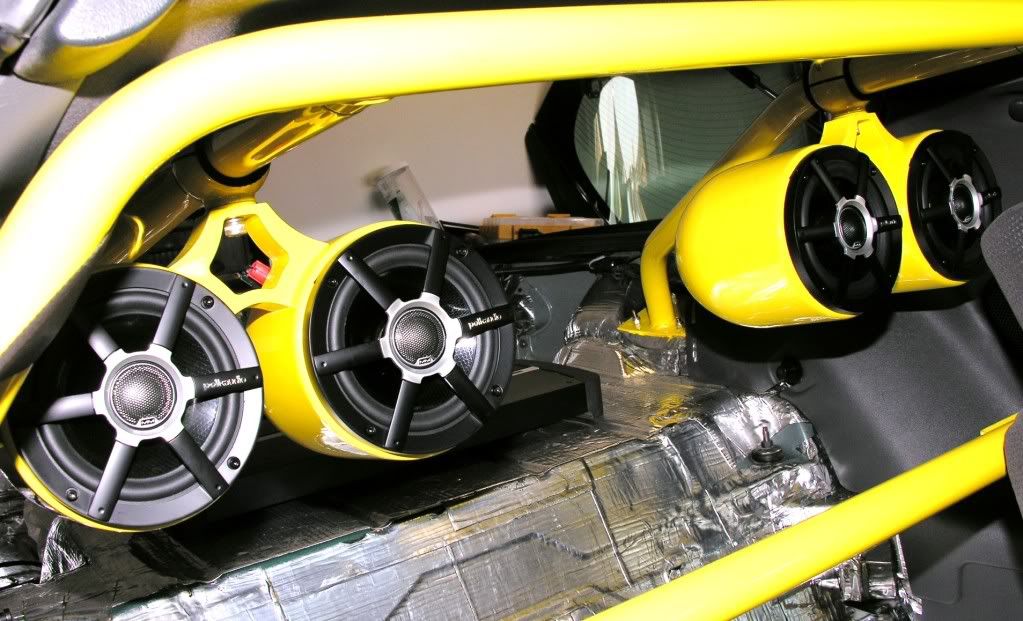
Thanks! Just a few updated pics for yall.. I had to trim a few holes but finally, everything mounted up. I will try to reinstall the dash tomorrow. This should give you a little better idea of what everything will look like when mounted up:
06-28-2009, 07:50 PM
#107
TECH Apprentice
Thread Starter
iTrader: (1)
Join Date: Jun 2008
Location: Fort Worth, Texas
Posts: 303
Likes: 0
Received 0 Likes
on
0 Posts
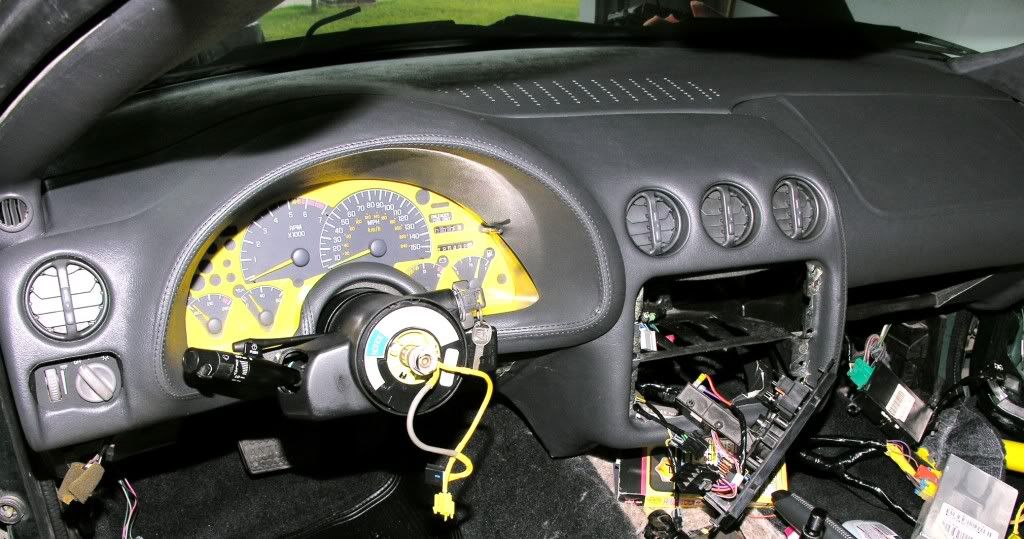
I kinda knew it was going to be a little difficult uninstalling and reinstalling the dash by myself but this is rediculous.. OMG! Wires everywhere.. and trust me, they are a pain the butt to work with. I have been working on installing the dash for the past 6 1/2 hours.. I'm STILL not done but I will say that I am about 75% done. I'll try to finish up the remaining parts tomorrow. Here is my progress: (One picture I used the flash on my camera and one picture I did not)
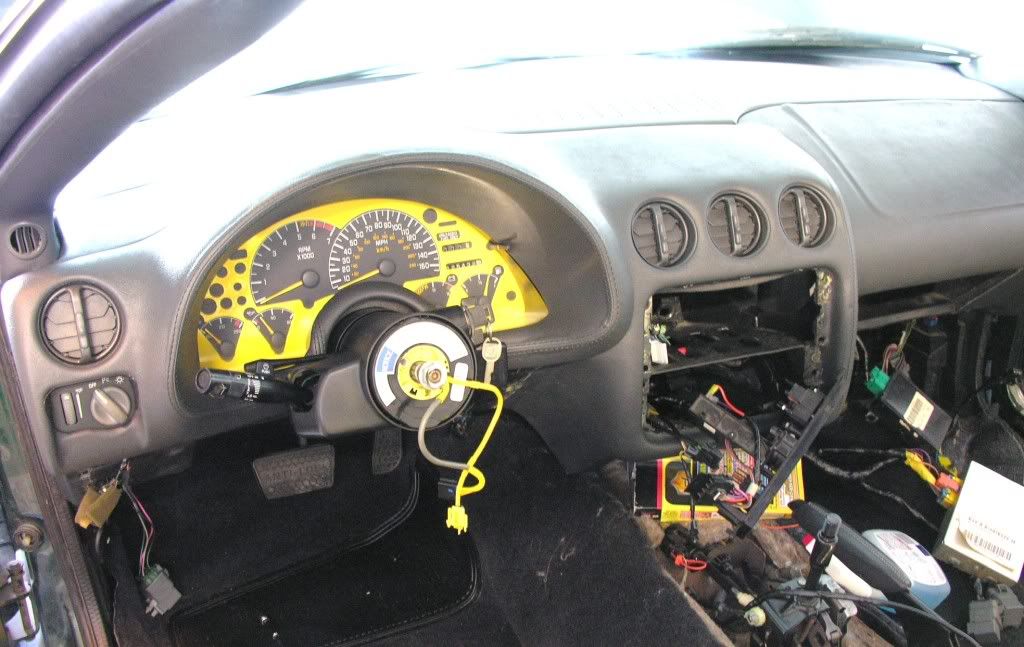
Last edited by officermartinez; 06-28-2009 at 08:08 PM.
06-29-2009, 07:59 PM
#108
TECH Apprentice
Thread Starter
iTrader: (1)
Join Date: Jun 2008
Location: Fort Worth, Texas
Posts: 303
Likes: 0
Received 0 Likes
on
0 Posts
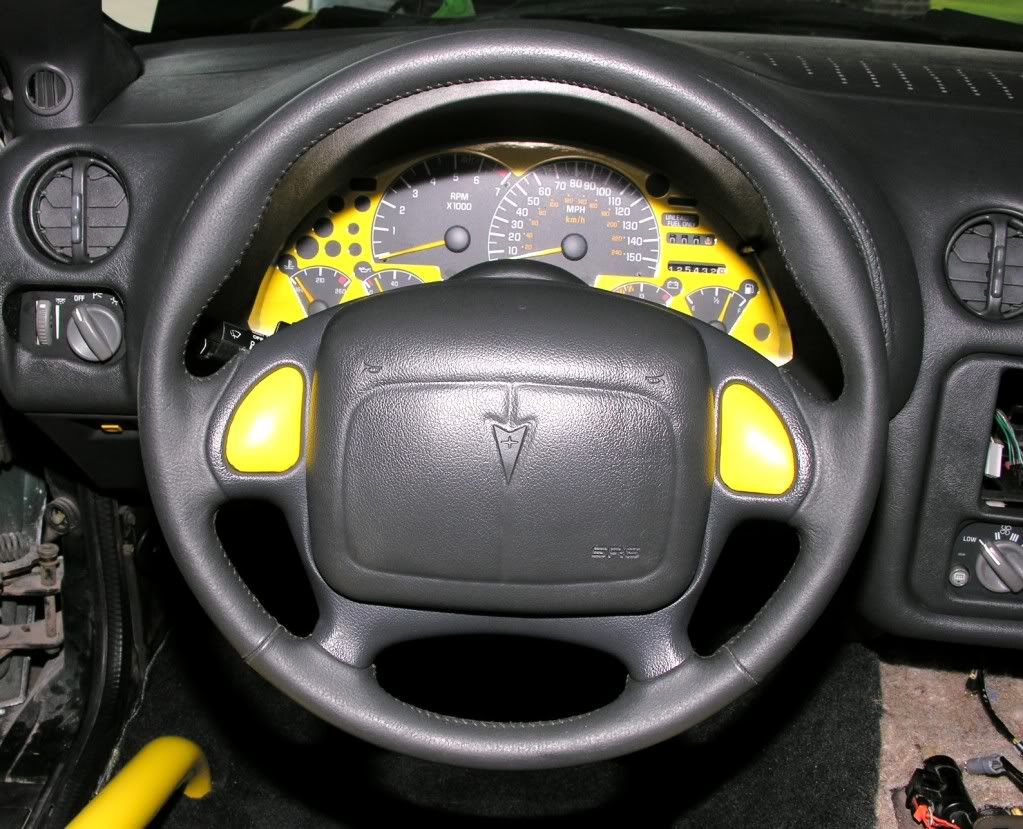
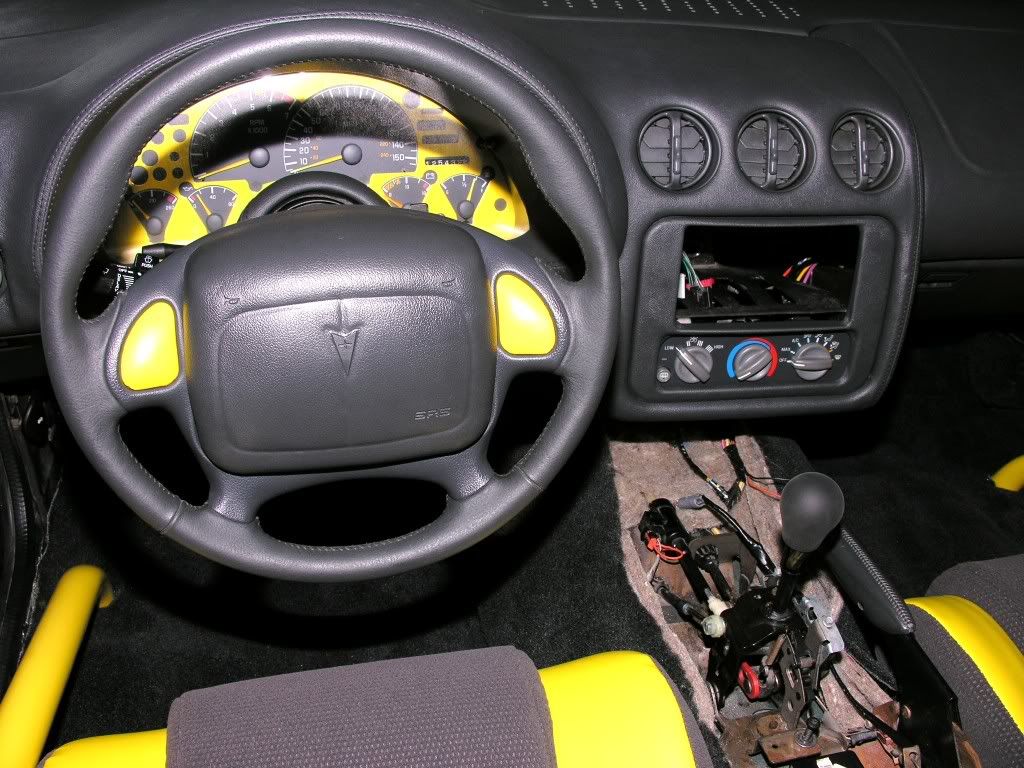
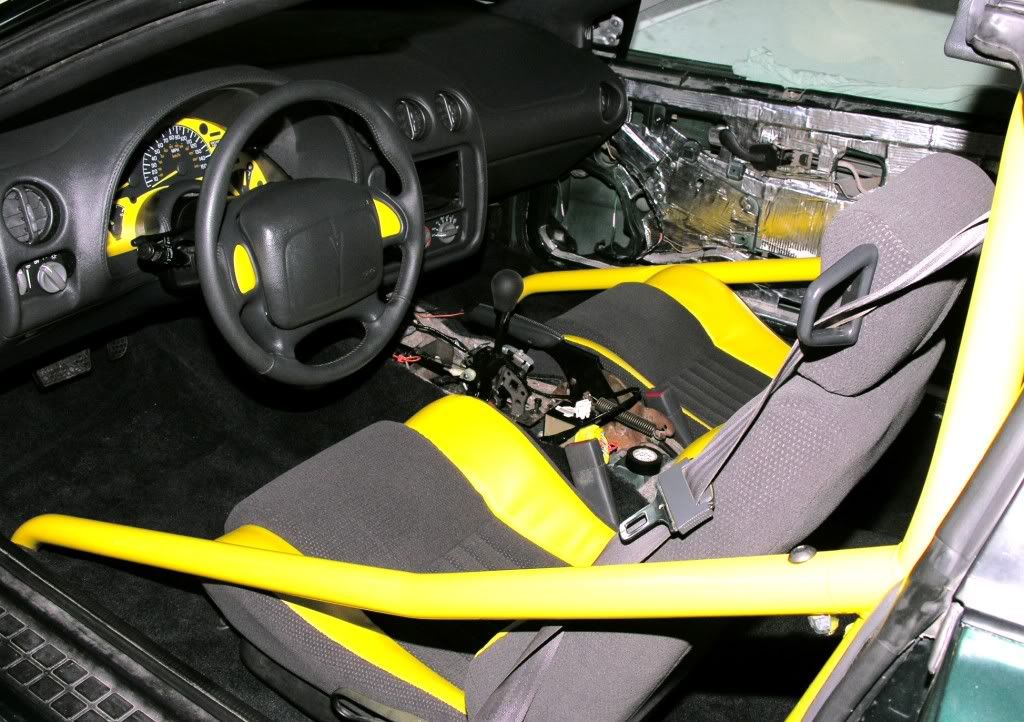
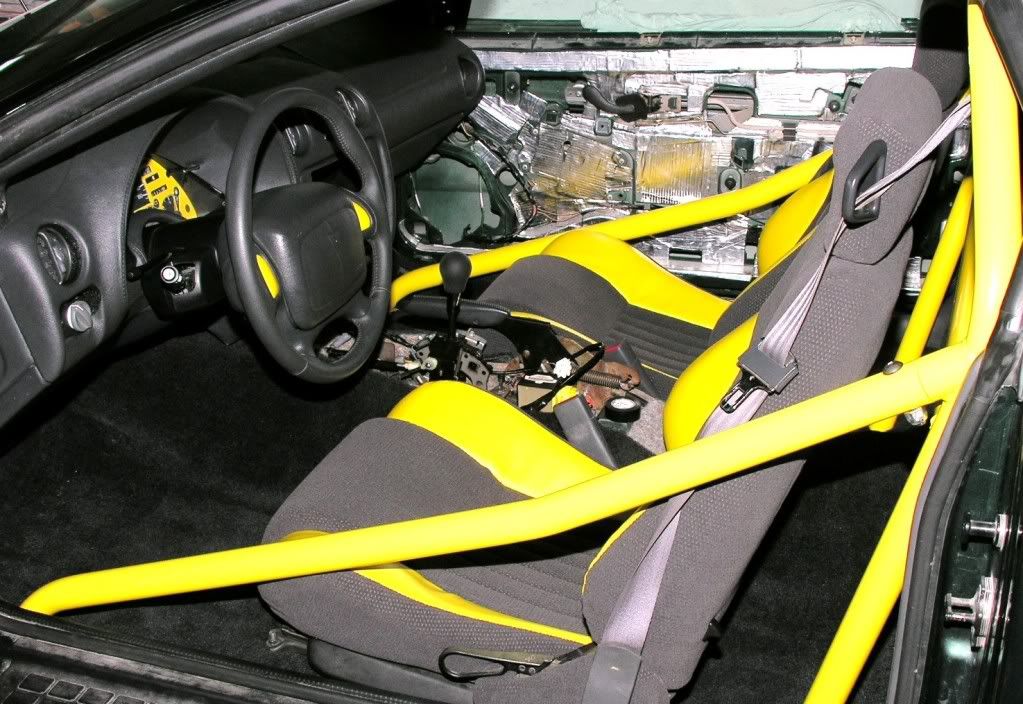
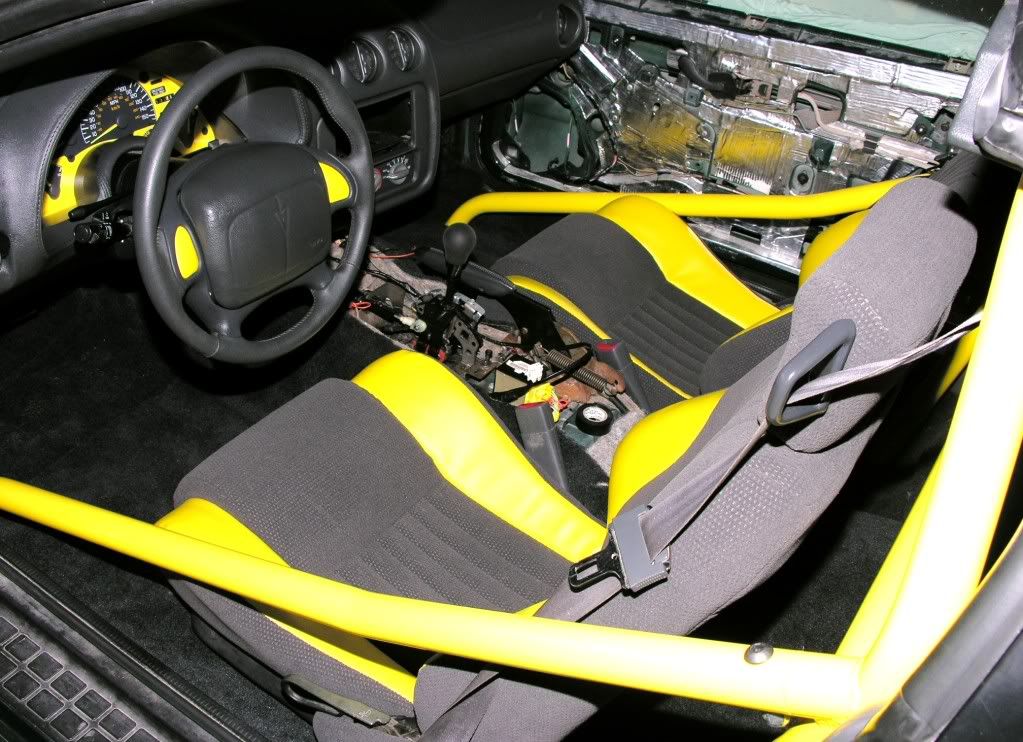
Another small update.. Got the rest of the dash finally installed today. Also got the steering wheel, both front seats and seat belts installed. Here are a few shots (tried to vary the angles a little but it really didn't help):
07-05-2009, 11:20 AM
#109
TECH Apprentice
Thread Starter
iTrader: (1)
Join Date: Jun 2008
Location: Fort Worth, Texas
Posts: 303
Likes: 0
Received 0 Likes
on
0 Posts
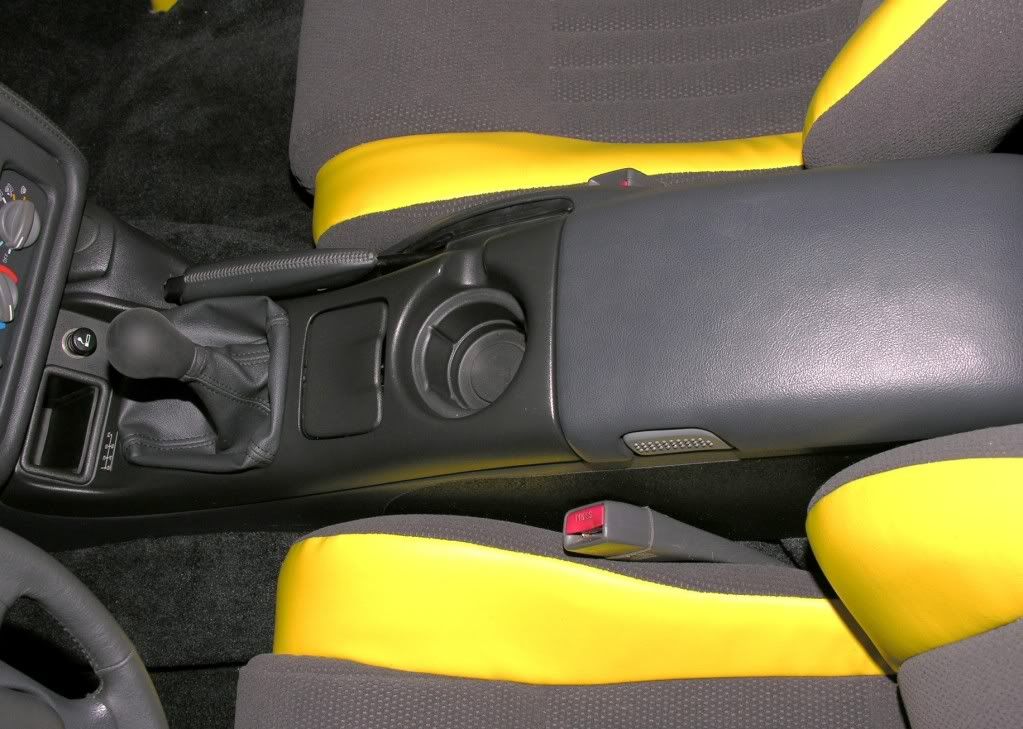
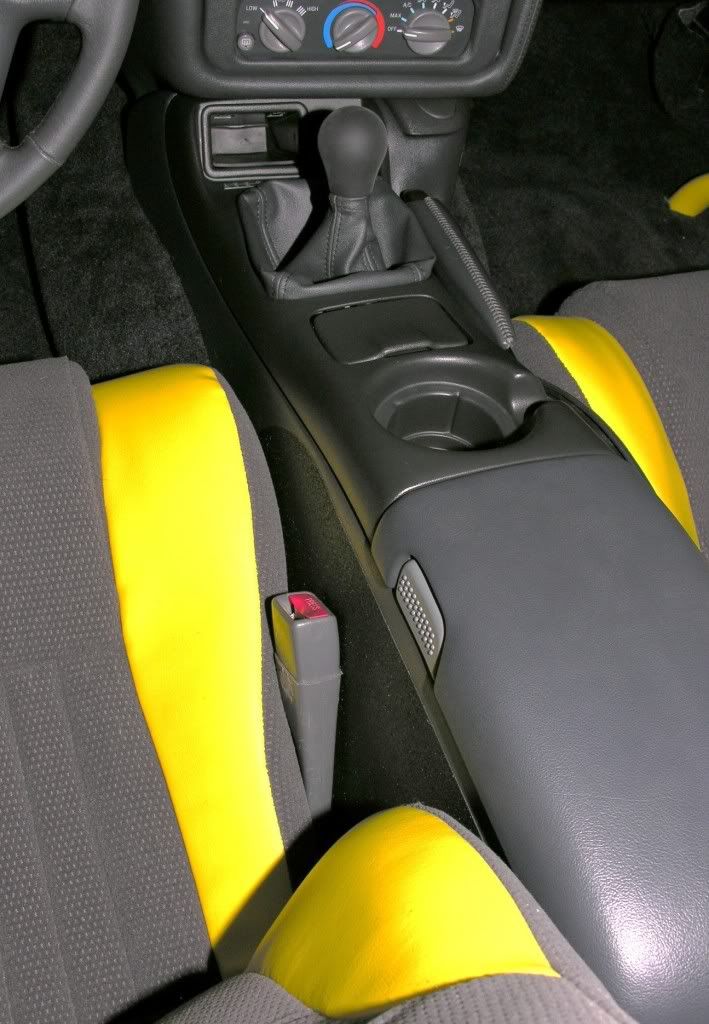
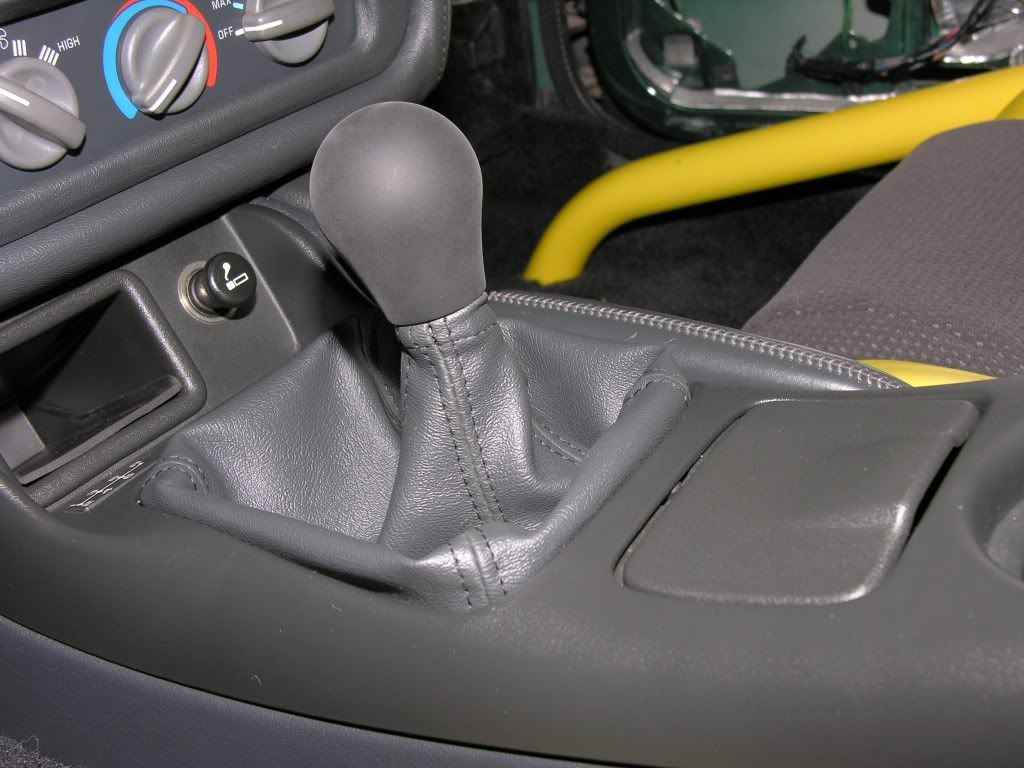
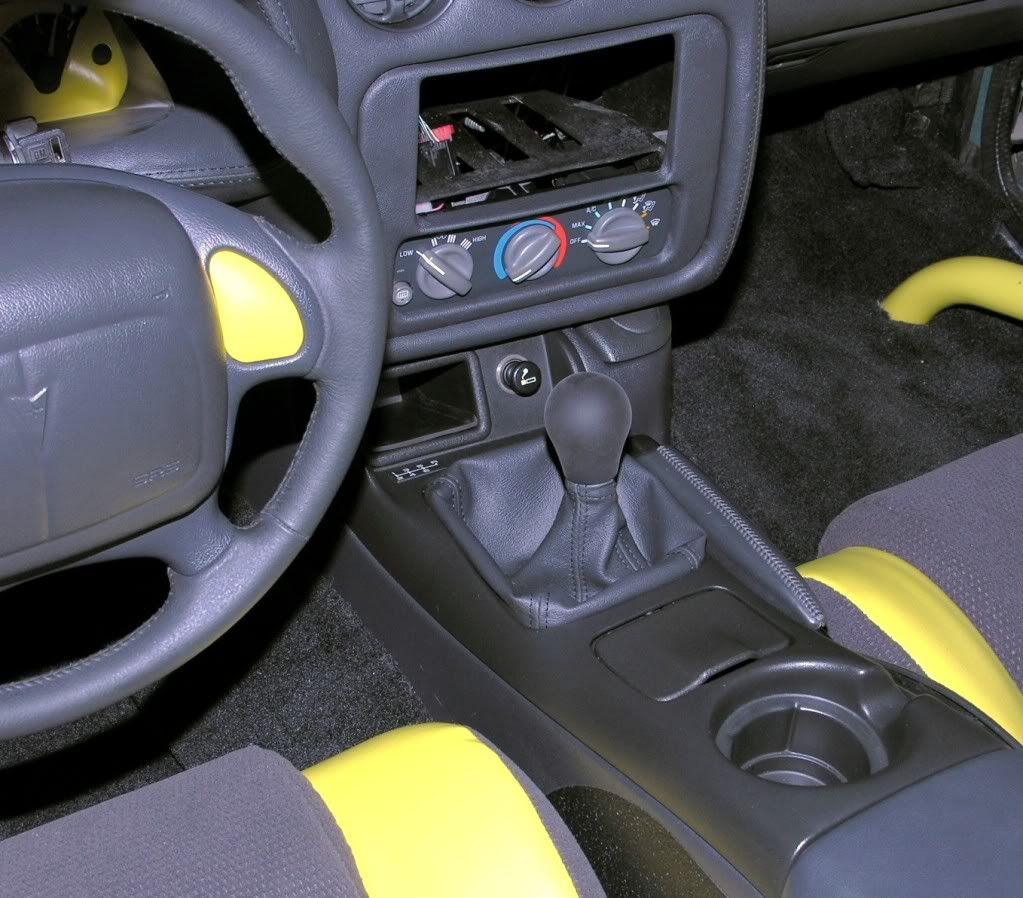
Another update.. Today is my first day off from work. I spent the morning installing my M6 center console on my A4 trans. It came out looking pretty nice and for all intents and purposes, "stealthishly stock" looking.. LOL.

07-05-2009, 05:40 PM
#110
TECH Apprentice
Thread Starter
iTrader: (1)
Join Date: Jun 2008
Location: Fort Worth, Texas
Posts: 303
Likes: 0
Received 0 Likes
on
0 Posts
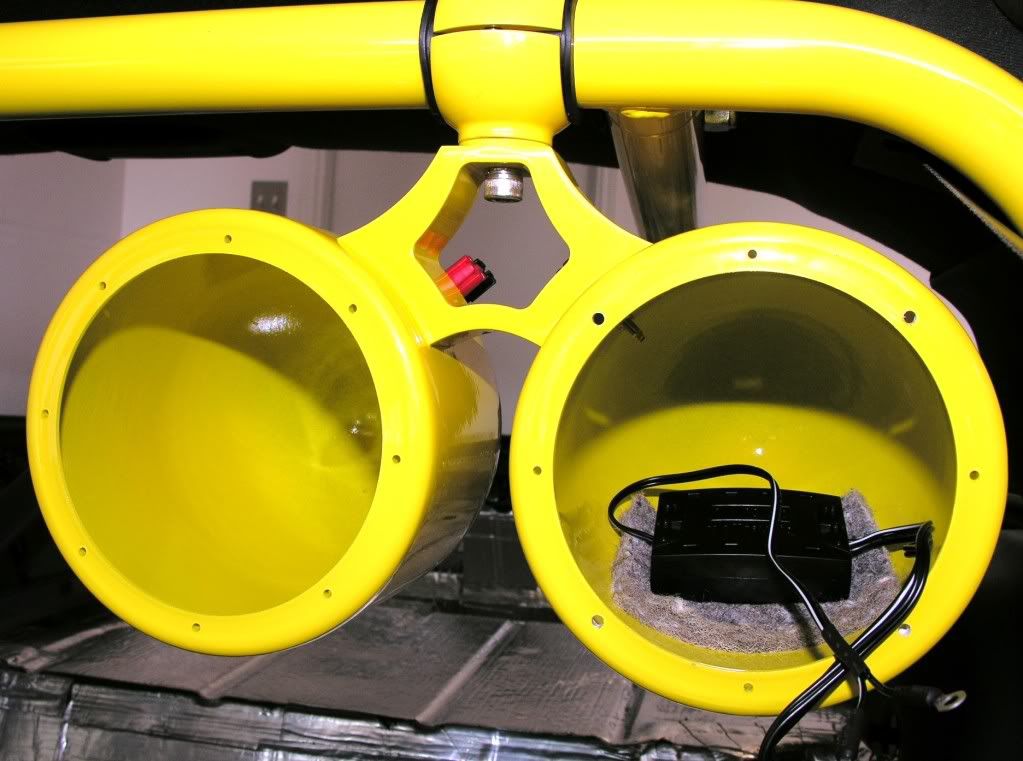
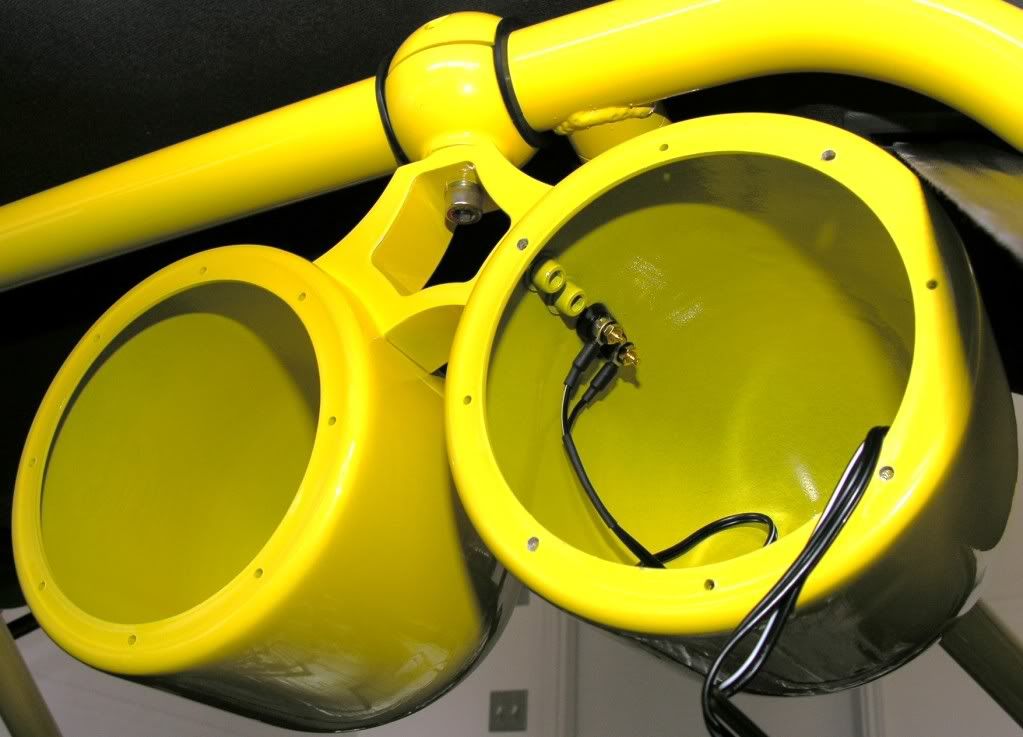
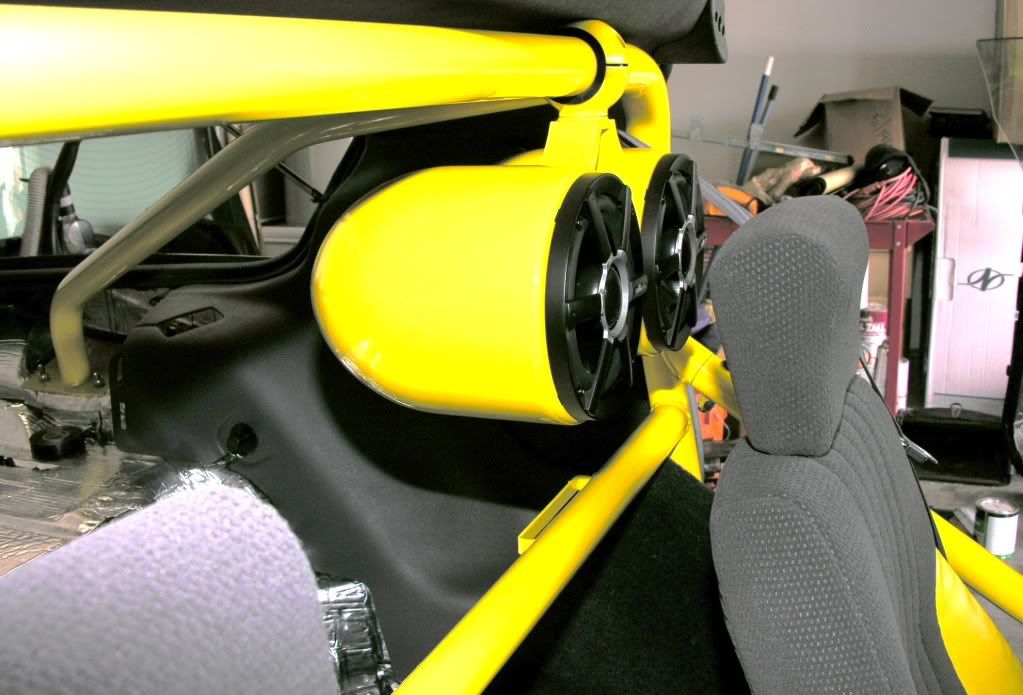
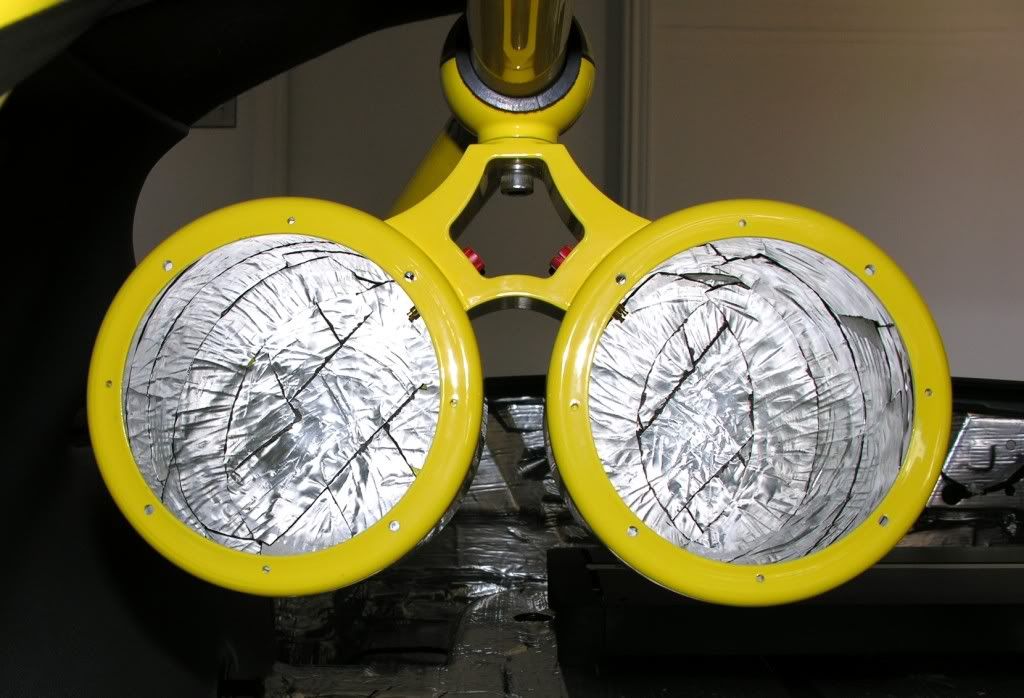
Been working on my installing my speaker pods / Polk Audio MM651 6.5" speakers.. Basically, I installed the built in crossover inside each speaker pod. It was hard mounted to a piece of thick carpet backing. Then, the carpet backing was glued in place to prevent any unnecessary shifting, moving, rattling, etc.. Once I was satisfied that it was not going to move, I filled each speaker pod with some "poly fill". I took plenty of pictures so you can see the progress for yourself.. Again, I tried to take detailed pictures, so 56K users, BEWARE!
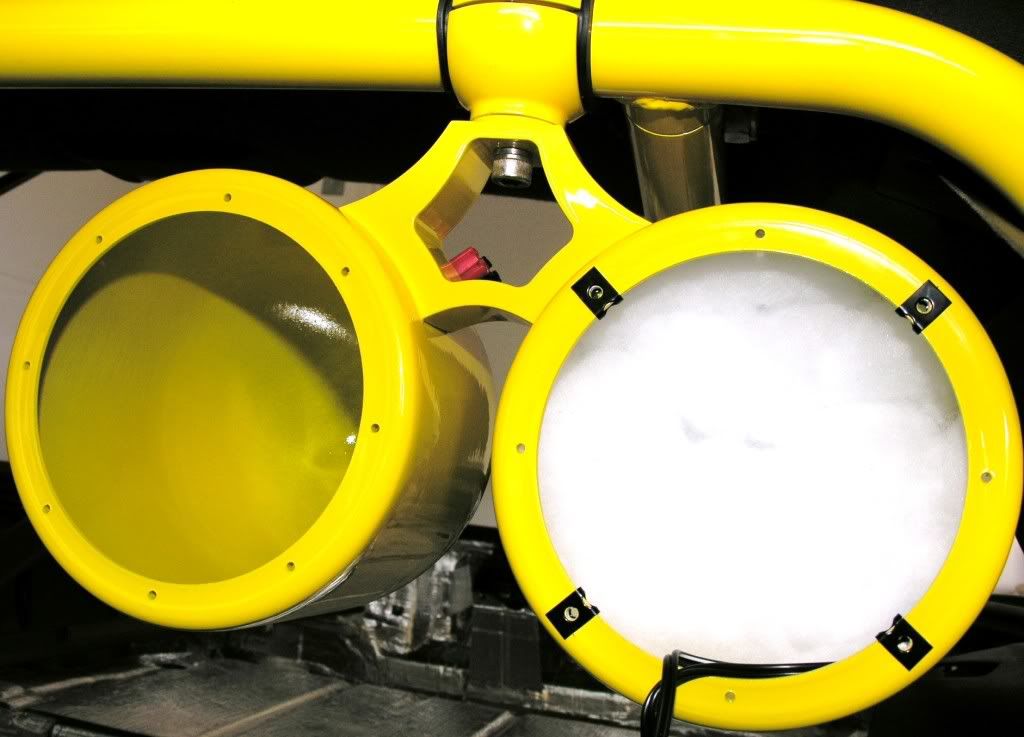
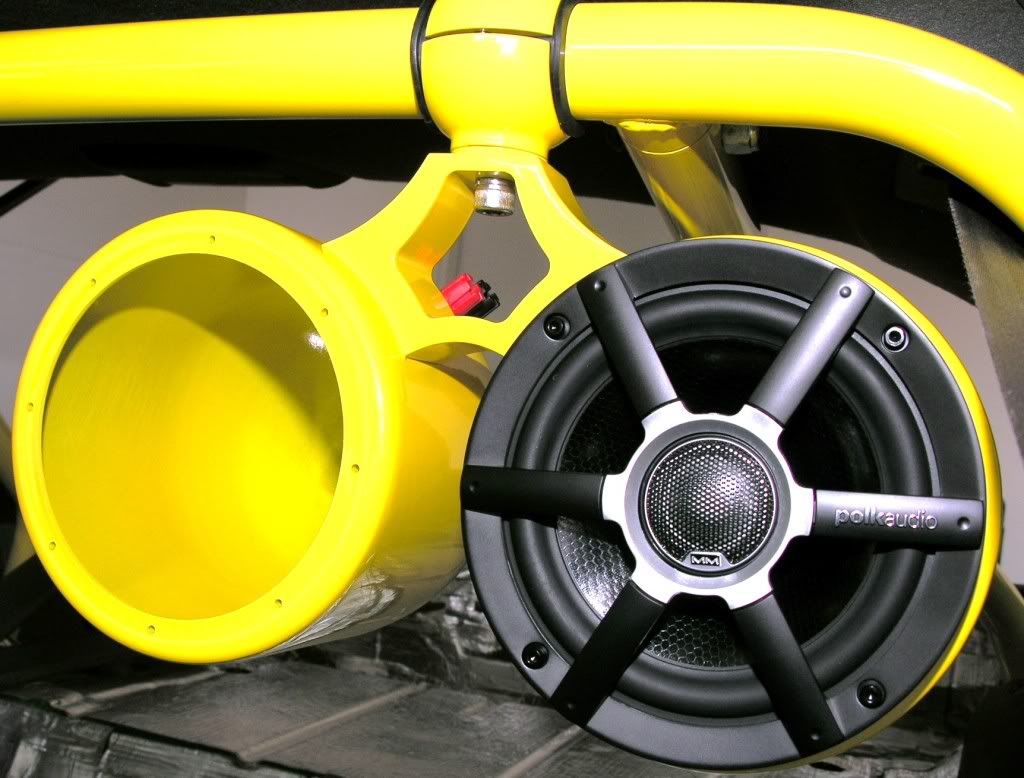

Last edited by officermartinez; 07-05-2009 at 08:22 PM.
07-05-2009, 06:05 PM
#111

OM,
Your definatly moving up into the interior deity status with what your doing. DAMN it looks good. I may drive up to FW when your done..just to see it!
I do have a Q though, I noticed you have your passanger airbag hatch is covered over, did you disconnect the Airbag?
Your definatly moving up into the interior deity status with what your doing.
DAMN it looks good. I may drive up to FW when your done..just to see it!I do have a Q though, I noticed you have your passanger airbag hatch is covered over, did you disconnect the Airbag?
07-05-2009, 07:03 PM
#112
TECH Apprentice
Thread Starter
iTrader: (1)
Join Date: Jun 2008
Location: Fort Worth, Texas
Posts: 303
Likes: 0
Received 0 Likes
on
0 Posts
OM,
Your definatly moving up into the interior deity status with what your doing. DAMN it looks good. I may drive up to FW when your done..just to see it!
I do have a Q though, I noticed you have your passanger airbag hatch is covered over, did you disconnect the Airbag?
Your definatly moving up into the interior deity status with what your doing.
DAMN it looks good. I may drive up to FW when your done..just to see it!I do have a Q though, I noticed you have your passanger airbag hatch is covered over, did you disconnect the Airbag?
Last edited by officermartinez; 07-06-2009 at 06:43 AM.
 07-05-2009, 07:19 PM
#115
TECH Apprentice
Thread Starter
iTrader: (1)
Join Date: Jun 2008
Location: Fort Worth, Texas
Posts: 303
Likes: 0
Received 0 Likes
on
0 Posts
Now, if you notice, there is some material that I added to the side(s) of the console. It is not dark grey. It is black in color. It's meant to prevent the scraping / rubbing / scratching of the sides of the console area that comes in contact with the seat belts.
07-05-2009, 07:29 PM
#116
TECH Apprentice
Thread Starter
iTrader: (1)
Join Date: Jun 2008
Location: Fort Worth, Texas
Posts: 303
Likes: 0
Received 0 Likes
on
0 Posts
Thanks Bro!!!!!! I've been waiting to work on my car all week! I took a few days off to get some work done on it. I am just sitting here, trying to design a new look for the deleted rear seat.. So far, it looks like I will be doing a pretty big fiberglass job on it. And just for grins, I am trying to incorporate a custom amp rack for my big azz 26 1/2 inch long car amplifier. Ugh.. I definitely could use some help from someone who knows how to really work with fiberglass!
07-10-2009, 09:21 AM
#117
TECH Apprentice
Thread Starter
iTrader: (1)
Join Date: Jun 2008
Location: Fort Worth, Texas
Posts: 303
Likes: 0
Received 0 Likes
on
0 Posts
Nothing to update really.. I changed out the drivers side headlight motor. My hands got cut up a little but I eventually got it. I downloaded a step-by-step set of instructions to removing and replacing my window motors. It's 40+ pages long.. OMG! So, I will be doing that is weekend. I will also re-felt the window guides and try to put my door panels on..
My Polk Audio PA1100.5 car amp finally arrived and I've been in contact with a guy who sells lexan / plexiglass / polycarbonite.. I plan on buying a piece of 1 inch thick lexan and having it cut to fit my amp (27" x 11"). He is also going to cut a 3" round hole in the middle for me, to I can route my wires under my amp (it will give it a very clean installation look). My Monster Cable 4 gauge wires (red - power and black -ground wires) arrived and I have some 8 gauge blue wire on its way (it will be my remote sensing wire).
My Monster Cable MPC I306 6C-5M audio connects arrived early last week.
I plan on purchasing some Monster Cable 10 gauge speaker wire soon as well.
Last edited by officermartinez; 07-20-2009 at 07:56 PM.
07-20-2009, 08:05 PM
#118
TECH Apprentice
Thread Starter
iTrader: (1)
Join Date: Jun 2008
Location: Fort Worth, Texas
Posts: 303
Likes: 0
Received 0 Likes
on
0 Posts
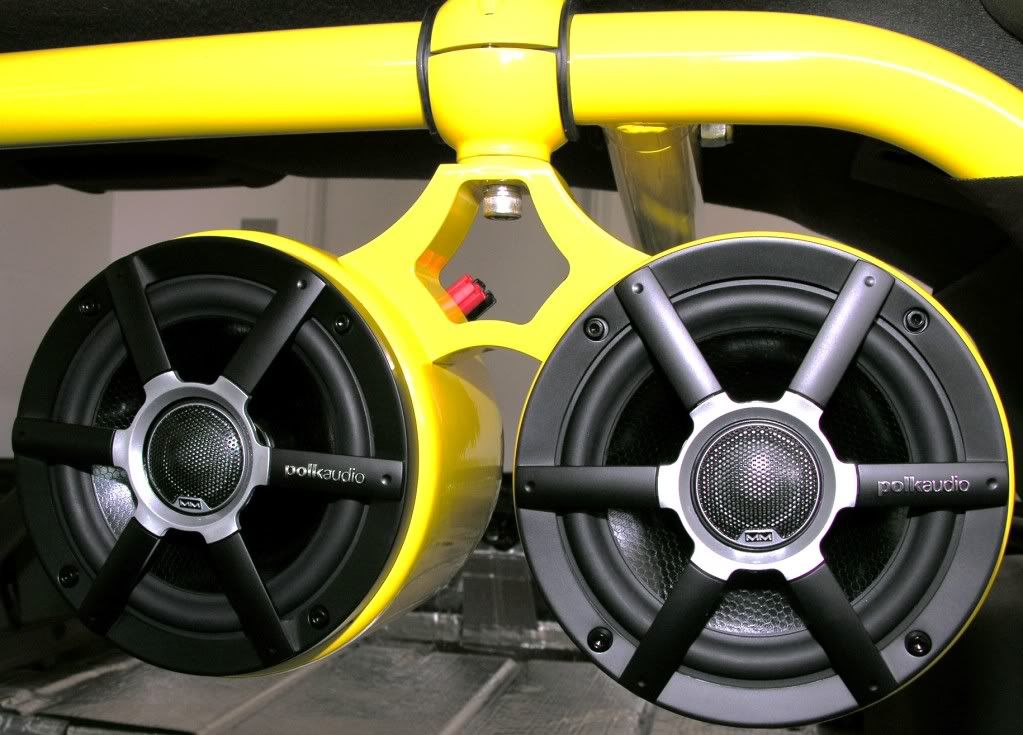
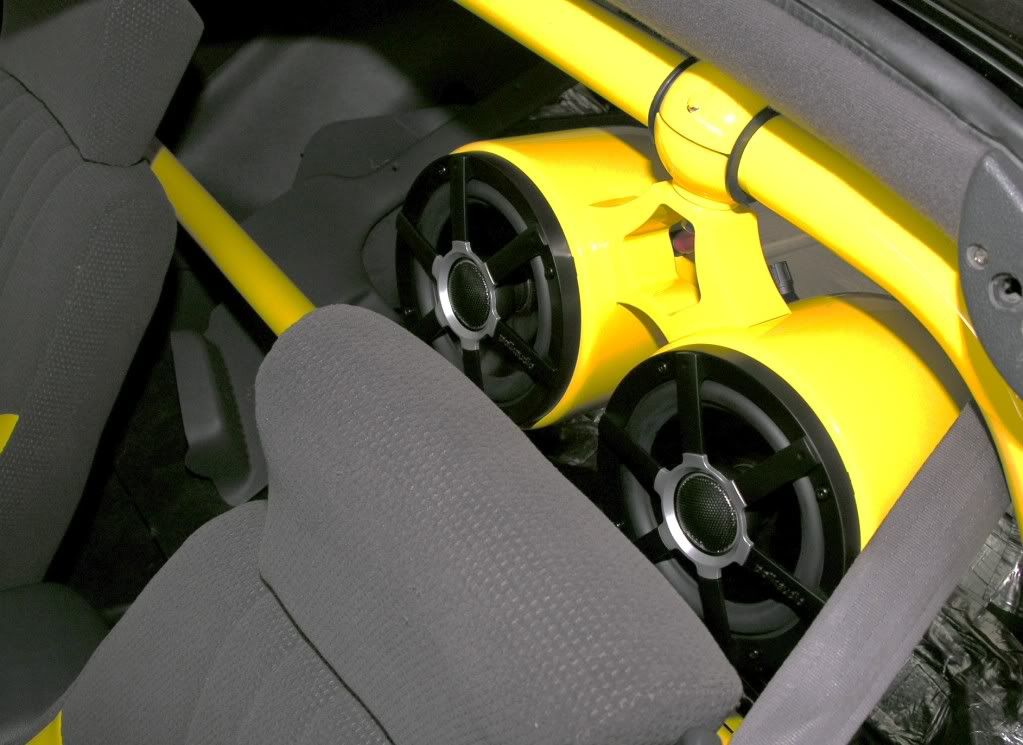
Nothing to update really.. Waiting on payday to pick up a few things.. I was finally able to install the other pair of 6.5" Polk Audio speakers. I did take advantage of the down time to line the interior of all (4) pods with some sound dampener..
I'm pretty certain how the rear trunk and rear seat area is going to be laid out.. It's getting a Subthump speaker enclosure for (3) 10" Polk Audio MM1040DVC subwoofers. The box will be hard mounted and everything is going to be fiberglassed in. I've read every tutorial that I can get my eyes on but honestly, I've never messed with the stuff.. Anyone bored enough to show me ropes so I don't screw it completely up? If you're near the Fort Worth, Texas area, hollar at me! I'd be happy to set you up with a case of any tasty 12 oz beverage of your choice!

I'm pretty certain how the rear trunk and rear seat area is going to be laid out.. It's getting a Subthump speaker enclosure for (3) 10" Polk Audio MM1040DVC subwoofers. The box will be hard mounted and everything is going to be fiberglassed in. I've read every tutorial that I can get my eyes on but honestly, I've never messed with the stuff.. Anyone bored enough to show me ropes so I don't screw it completely up? If you're near the Fort Worth, Texas area, hollar at me! I'd be happy to set you up with a case of any tasty 12 oz beverage of your choice!
07-23-2009, 07:30 PM
#120
TECH Apprentice
Thread Starter
iTrader: (1)
Join Date: Jun 2008
Location: Fort Worth, Texas
Posts: 303
Likes: 0
Received 0 Likes
on
0 Posts
BEFORE:
AFTER: