355 LE2 build pictures!
 07-19-2011, 12:06 PM
#41
On The Tree
Join Date: Oct 2006
Location: Metairie, La.
Posts: 125
Likes: 0
Received 0 Likes
on
0 Posts
I've probably checked PR length a dozen times in a row and I keep getting the stock length as the proper length... I was assuming the correct PR length was going to be 7.100-7.150.. but I keep getting the best sweep pattern with 7.2 stockers..
What do you guys think? block has been slightly decked, using .039 head gasket.. I really want to order the PR tomorrow morning.
What do you guys think? block has been slightly decked, using .039 head gasket.. I really want to order the PR tomorrow morning.
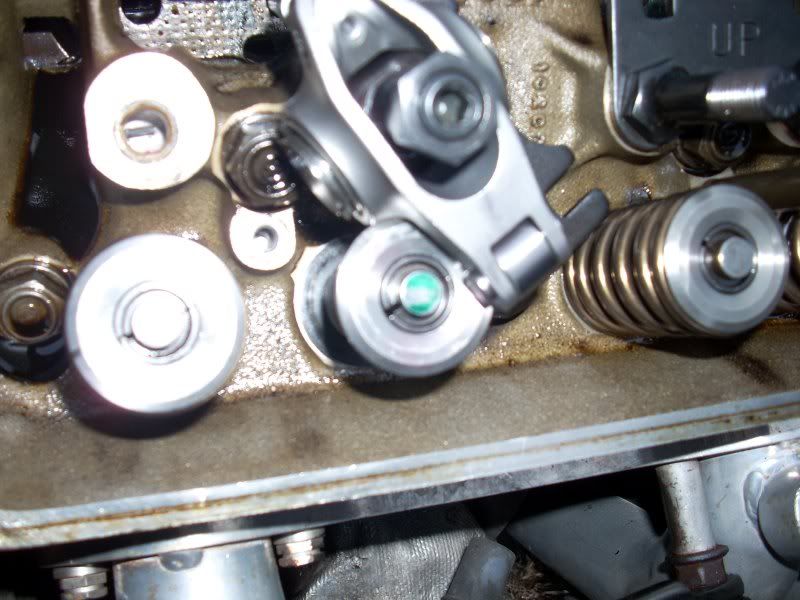
This is from my old thread on how I checked my PR length when I did my cam swap...
I set my pushrod length checker at the stock height of 7.200" and installed it with the roller rocker and weaker spring from Ace hardare. I could only install one side of the retainer to fit the checker in there.
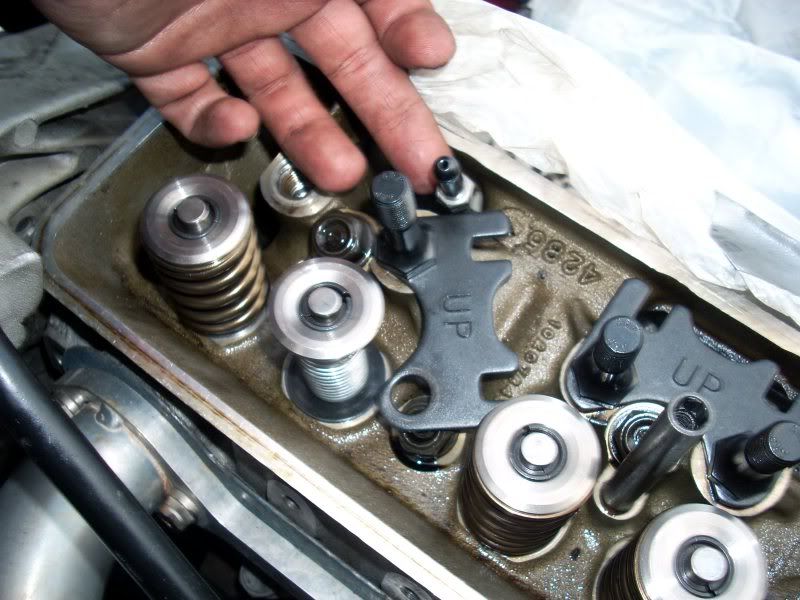
I marked the top of the valve stem with a green highlighter. I then placed the rocker arm on the stud. I twisted the pushrod checker in my fingers while tightening down the rocker arm bolt. When the pushrod checker was no longer able to move I tightened the nut an additional half turn then tightened down the retainer.
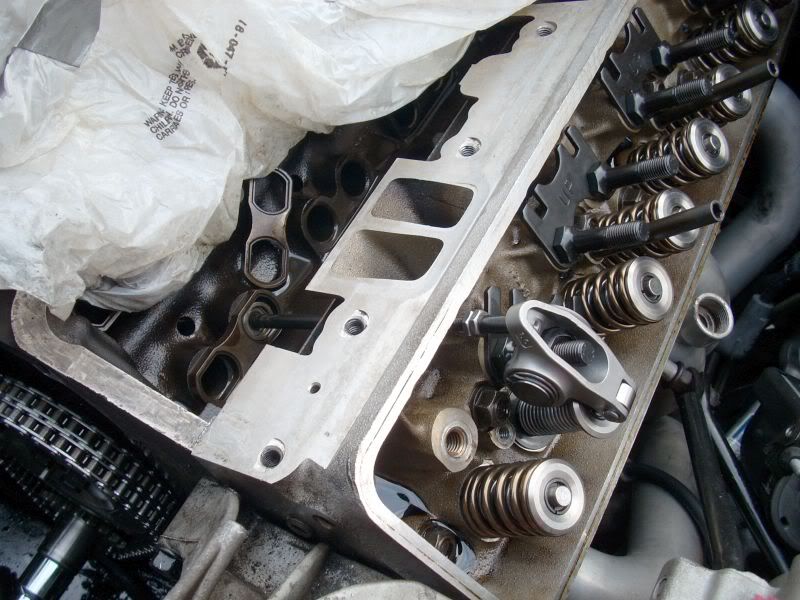
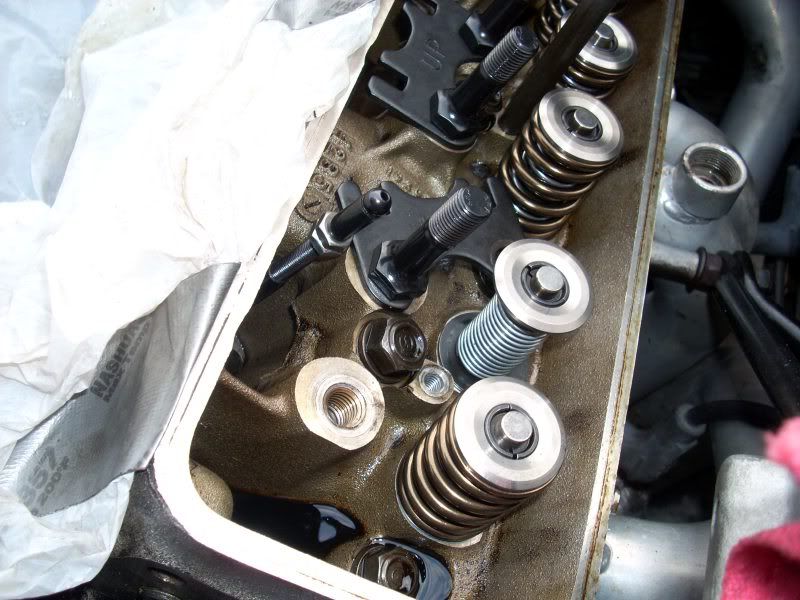
I then turned the crank over by hand about four times while watching the timing mark.
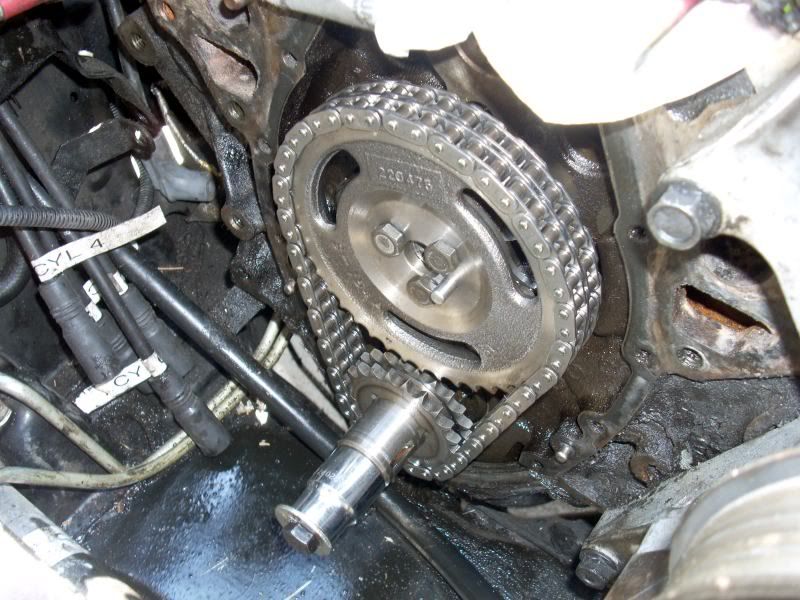
I then removed the rocker arm to see where the wear pattern was on the valve stem. It was more toward the exhaust side indicating that the pushrod length was too long. I kept shortening the pushrod length checker and repeating the process until the wear patter was in the middle.
This was what the wear looked like the last time I did it. I checked the pushrod length checker tool length by measuring it with a digital caliper.

 07-19-2011, 04:41 PM
#42
TECH Regular
Thread Starter
Join Date: Jul 2006
Location: Sacramento, CA
Posts: 452
Likes: 0
Received 0 Likes
on
0 Posts
trust me I thought about it but I decided to save the money and just clean it up myself. Don't think there would be much to gain from a ported intake at my power level.
 07-19-2011, 10:22 PM
#43
Launching!
Join Date: Mar 2009
Location: Sacramento
Posts: 247
Likes: 0
Received 0 Likes
on
0 Posts
07-20-2011, 12:26 AM
#44
TECH Regular
Thread Starter
Join Date: Jul 2006
Location: Sacramento, CA
Posts: 452
Likes: 0
Received 0 Likes
on
0 Posts


 07-20-2011, 12:44 AM
#46
TECH Regular
Thread Starter
Join Date: Jul 2006
Location: Sacramento, CA
Posts: 452
Likes: 0
Received 0 Likes
on
0 Posts
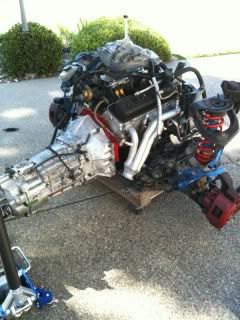
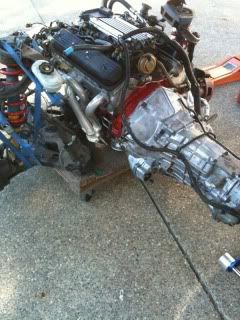
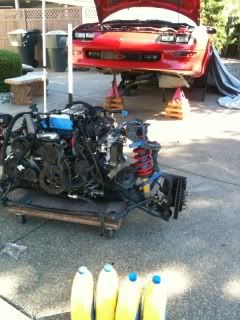
damn this thing is ugly when you get everything back on 
Its all good though ugly and fast is fine with me
Pictures before me and my buddies dropped the car onto the motor and tranny.
Its all good though ugly and fast is fine with me
Pictures before me and my buddies dropped the car onto the motor and tranny.
07-20-2011, 01:05 AM
#47
TECH Enthusiast
Join Date: Aug 2010
Location: New Hampshire
Posts: 543
Likes: 0
Received 0 Likes
on
0 Posts
07-21-2011, 01:16 AM
#49
TECH Regular
Thread Starter
Join Date: Jul 2006
Location: Sacramento, CA
Posts: 452
Likes: 0
Received 0 Likes
on
0 Posts
So heres the plan.. When I get my TB which is the last part I am waiting on, I am going to pull some fuses (idk which ones yet..) and crank it over until I get some oil pressure (using Joe Gibbs break in oil). I'm then going to start it up and let it run for about 15 mins and look for any leaks etc. I'm then going to replace the oil filter, yes just the oil filter, then take it for a spin maybe for about 50 miles. Come back and change the oil, still using joe gibbs break in oil, and then run it for about 500 miles. Then at this point im going to switch over to Mobil 1 synthetic oil 5-W30.
Anyone have any suggestions?
Should i be fine pulling just the PCM fuse from the box or should i pull the injector fuses also?
Anyone have any suggestions?
Should i be fine pulling just the PCM fuse from the box or should i pull the injector fuses also?
07-21-2011, 07:53 AM
#50

I think you are going a little overboard on the break in but hey better safe then sorry. I pulled an injector plug so it wouldnt fire and let it build oil pressure. Started it up and let it run for about 10 mins checked for leaks and getting it to op temps then shut it down. Let it cool down for a bit then took it for a drive and put about 50k on it then changed the oil and then again 500.
07-21-2011, 08:02 AM
#51
It's a shame to see people using the wrong method to prime the oil system.  You should have primed it with the manifold off using a priming tool.
The Joe Gibbs stuff is overkill - unnecessary for a hydraulic roller. Any conventional 5-30 is ideal.
Also, don't let the car idle for too long. Once you've verified that there are no leaks and the car has reached operating temperature, take the car for a drive and do some 1/2 to 3/4 throttle blips to help get the rings to seat. THIS IS VERY IMPORTANT. Do not hesitate to get on it.
My builder suggested that I put 500 miles on the engine before switching to synthetic.
You should have primed it with the manifold off using a priming tool. The Joe Gibbs stuff is overkill - unnecessary for a hydraulic roller. Any conventional 5-30 is ideal.
Also, don't let the car idle for too long. Once you've verified that there are no leaks and the car has reached operating temperature, take the car for a drive and do some 1/2 to 3/4 throttle blips to help get the rings to seat. THIS IS VERY IMPORTANT. Do not hesitate to get on it.
My builder suggested that I put 500 miles on the engine before switching to synthetic.
07-21-2011, 10:05 AM
#52
TECH Regular
Thread Starter
Join Date: Jul 2006
Location: Sacramento, CA
Posts: 452
Likes: 0
Received 0 Likes
on
0 Posts
It's a shame to see people using the wrong method to prime the oil system. You should have primed it with the manifold off using a priming tool.
The Joe Gibbs stuff is overkill - unnecessary for a hydraulic roller. Any conventional 5-30 is ideal.
Also, don't let the car idle for too long. Once you've verified that there are no leaks and the car has reached operating temperature, take the car for a drive and do some 1/2 to 3/4 throttle blips to help get the rings to seat. THIS IS VERY IMPORTANT. Do not hesitate to get on it.
My builder suggested that I put 500 miles on the engine before switching to synthetic.
You should have primed it with the manifold off using a priming tool. The Joe Gibbs stuff is overkill - unnecessary for a hydraulic roller. Any conventional 5-30 is ideal.
Also, don't let the car idle for too long. Once you've verified that there are no leaks and the car has reached operating temperature, take the car for a drive and do some 1/2 to 3/4 throttle blips to help get the rings to seat. THIS IS VERY IMPORTANT. Do not hesitate to get on it.
My builder suggested that I put 500 miles on the engine before switching to synthetic.
07-21-2011, 02:27 PM
#54
I agree with ramair. Seating the rings is very improtant, if you don't do it right the first time you are screwed, ask me how I know 
Start it, verify there are no leaks, take it for a drive. Do some little 1/2 throttle pulls to 3k rpms, let off and let the motor slow you down don't push in the clutch and coast. Do a few of those, 3 or 4 then do some 1/2 throttle pulls to 4k rpms and let the motor slow you down like said above. Now get into it a bit harder, 3/4 throttle to 5k rpms and let the motor slow you down. Now WOT and you should be good. Be sure to keep an eye on your temps and oil pressure during the whole process.
Thats how I break in my motors and have good luck doing that process, but I live out in the middle of nowhere and can get away with doing pulls and slowing down as I please.
 07-27-2011, 08:22 PM
#58
TECH Enthusiast
Join Date: Jun 2002
Location: In the garage fixing LT1
Posts: 634
Likes: 0
Received 0 Likes
on
0 Posts

You want the rings to seat with the piston walls. Dino oil will let them smooth everything off a bit to get a tighter seal. Then change the oil to get rid of any junk (machine shop filings, bits of dirt from the build etc.). After the first couple of oil changes run a synthetic. You get a really nice tight seal that way.